Mike, would you care to share details of what set up you have please..
yes, would love to see the setup
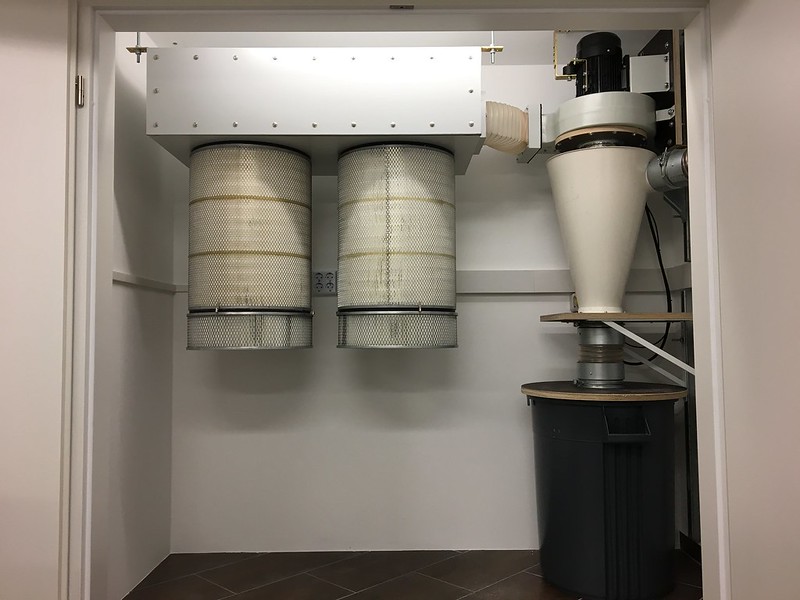
I designed my basement shop around the dust collection system; although, I made some mistakes along the way that will be corrected with the next version. Since my basement is below grade and fully enclosed with no exterior access, anything that happens in the shop can affect the rest of the house, so I made sure I had the best dust collection system I could build. When I had the interior walls put in to separate the shop from the rest of the basement, I included a 1x2 meter closet for the DC system and compressor.
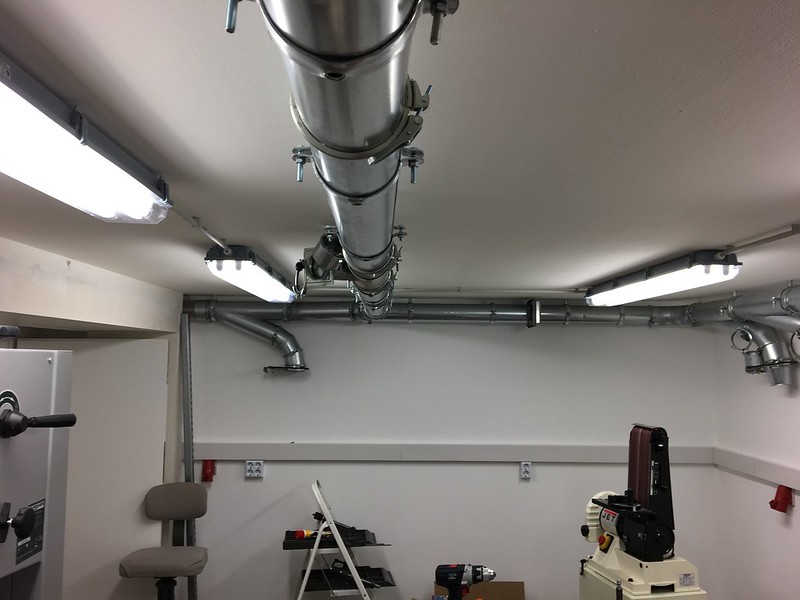
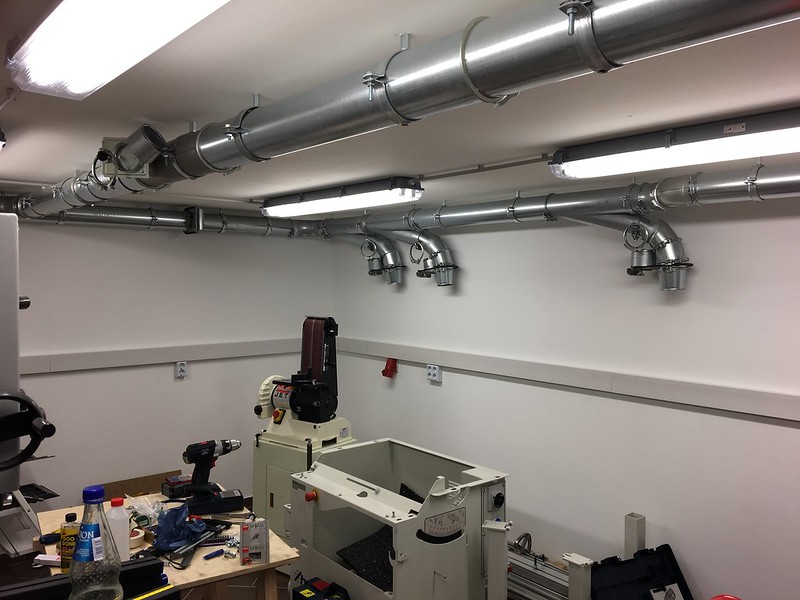
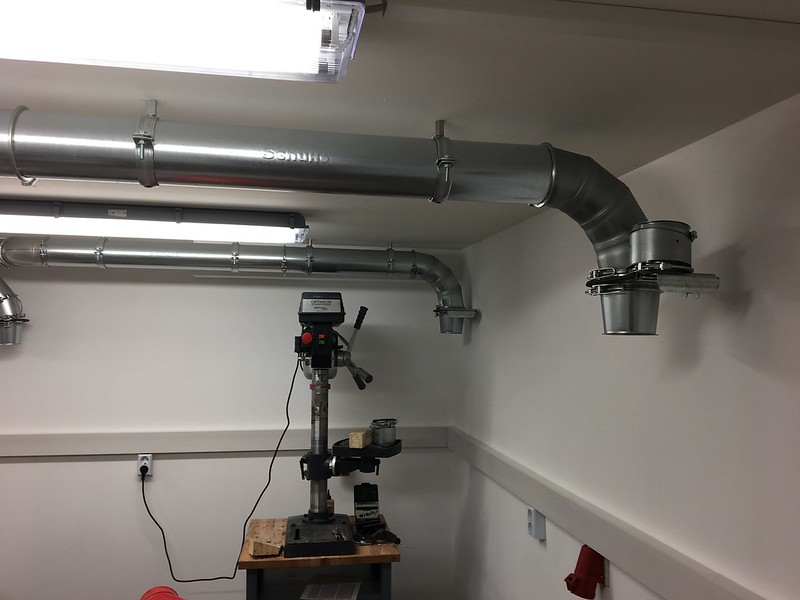
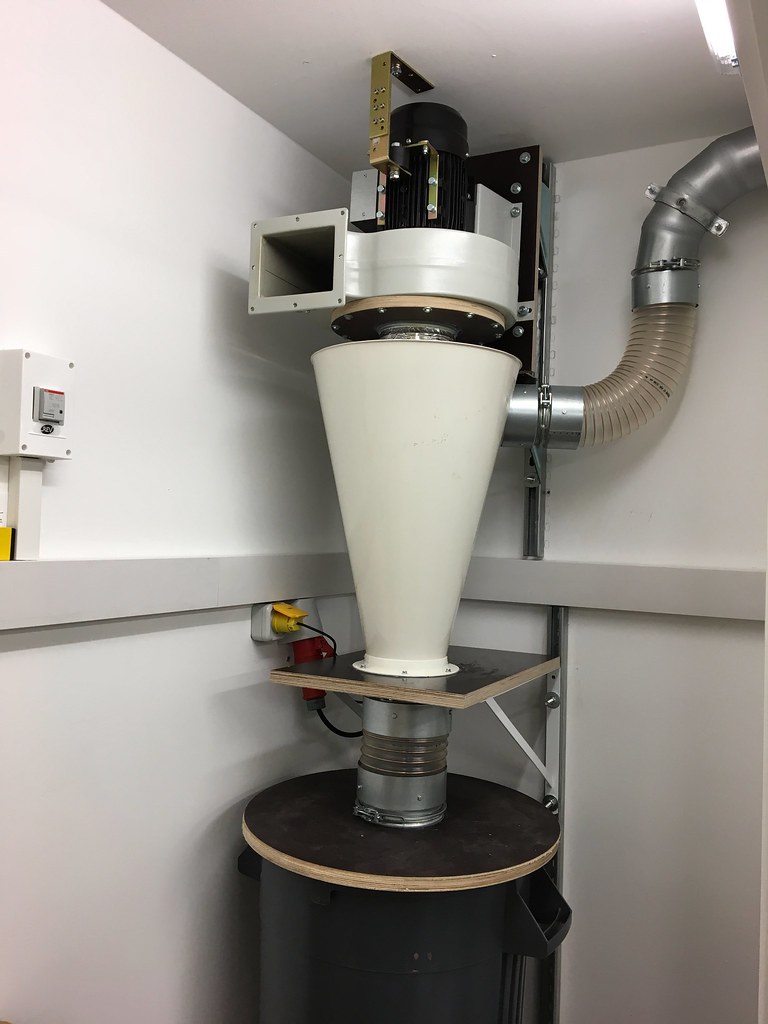
The first mistake was putting two 90-degree bends at the input of the cyclone in order to make the ducting fit the room. The second mistake was building the door offset from the perimeter wall too narrow to allow more room for the ducting to enter the closet. I used 120mm steel Schuko ducting and fittings I bought from the same vendor that sold me the Minimax SC2 Classic saw. I designed the layout in AutoCAD and produced a parts list. I have since removed part of the ducting distribution since my shop design changed a bit and I didn't need the extra run.
Here are photos of the ducting being installed as I built the shop.
I started with a
Bernardo RV-350 Blower. I originally purchased a
Bernardo DC-300 Dust Collector when I planned on using my garage for the shop. I abandoned the garage option in favor of the basement and wanted a larger dust collector. I found a Bernardo distributor near Köln who agreed to exchange my DC-300 system for the RV-350 and €35 refund. He already had a buyer for the DC-300 and was looking at a long delivery time.
I bought the
Oneida Steel 5-inch Super Dust Deputy Cyclone on one of my trips back to the States. The new version is black, but mine is cream colored. I also bought a pair of
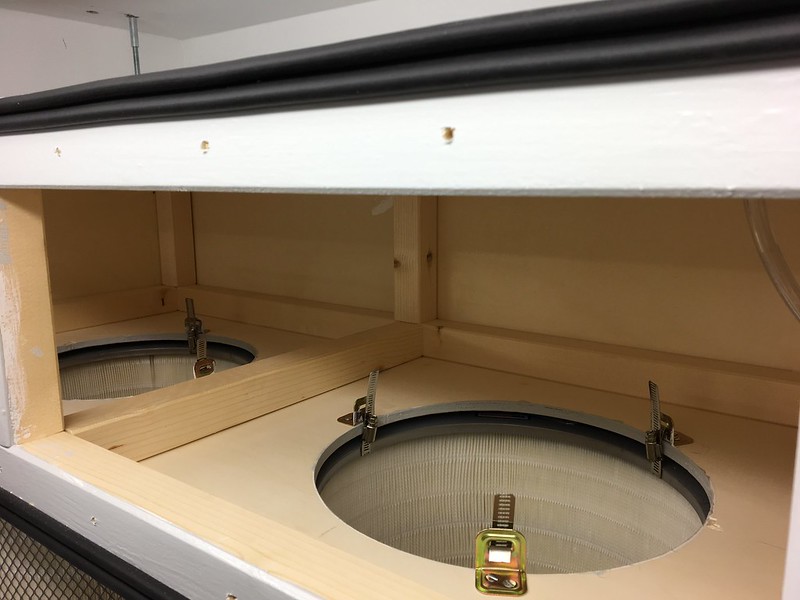
Wynn 35B222NANO Filter Cartriges and a pair of
Wynn 18FP30 Filter Pans that attach to the bottom of the main filters. This makes routine cleaning the filters a bit easier, unless something bad happens and they fill up.
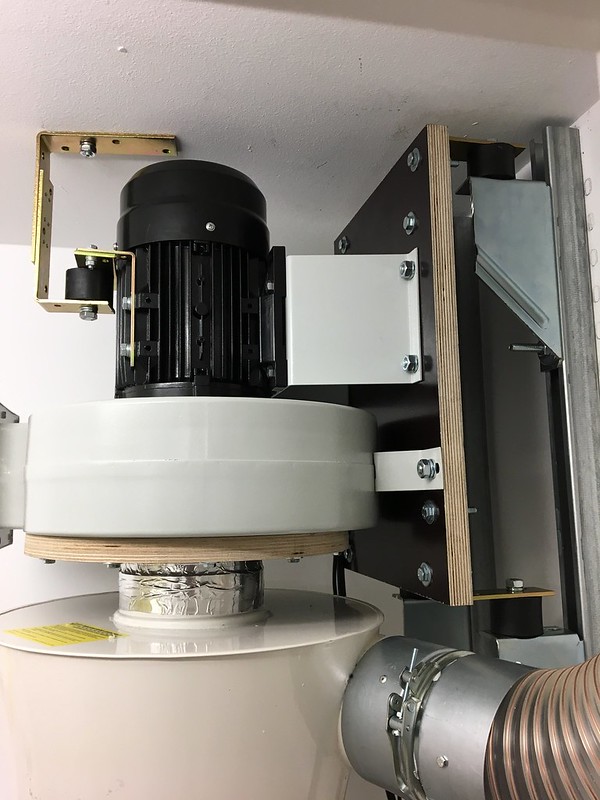
Next was the task of building the plenum to hold the filters and assemble everything in the closet. Since the shop is directly below the dining room, I wanted to reduce vibration and noise as much as possible. I used isolation mounts on the blower assembly. I wasn't happy with the shear rating of the mounts, but was very happy with the compression rating, so I made brackets to hold the blower to the wall and ceiling.
With everything assembled and wired, it was time to build the plenum. In the process of installing the blower, I removed the NVR switch that was part of the motor and installed a contactor with a remote switch to control it. Here you can see the two 90-degree bends at the input of the cyclone. I know know this is not good, so the next version will not be pretty, but will be better.
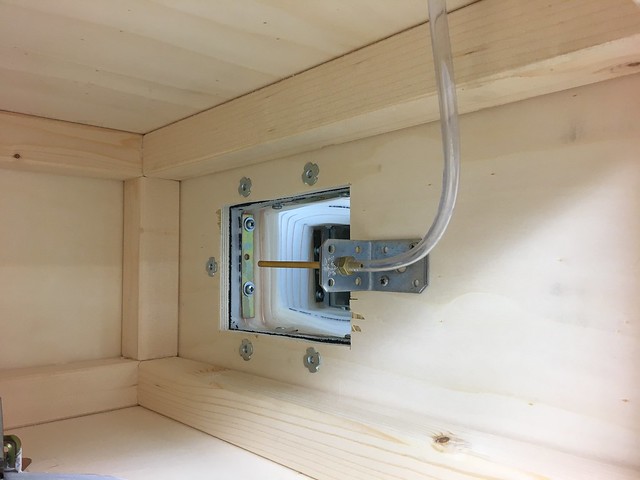
I don't have any build photos of the plenum, but it's simple frame with a 10mm plywood skin to provide an airtight box with an inlet from the blower and two large holes for the filters. I also mounted the pitot for the
Oneida Filter Efficiency Gauge Kit, which is a Magnehelic gauge. The pitot tube connects to the pressure side of the gauge, and the other side of the gauge is open to the ambient pressure. In normal operation, the gauge doesn't move. When the filters start to clog, the gauge moves.
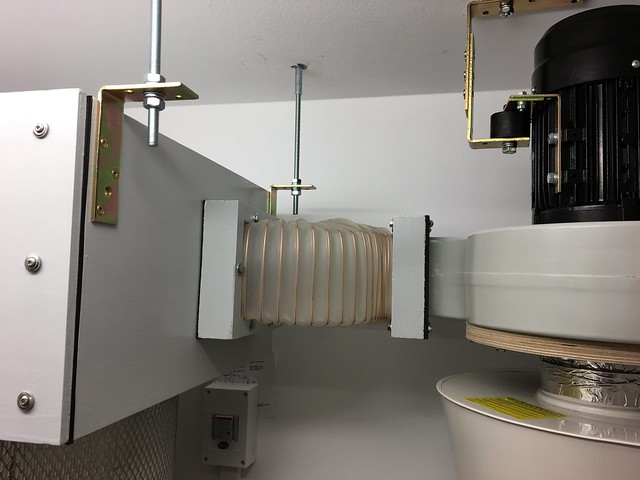
The third mistake I made was not putting more thought into the size of the plenum and ensuring the side had a clear path to the blower output. To compensate for this, I used a section of 180mm flexible hose and created a rectangle that was slightly larger than the output flange of the blower. It was easy to bend the copper wire in the hose, but it took two attempts to find the correct length to compensate for the double bends.
Everything is in place, and the system works great.
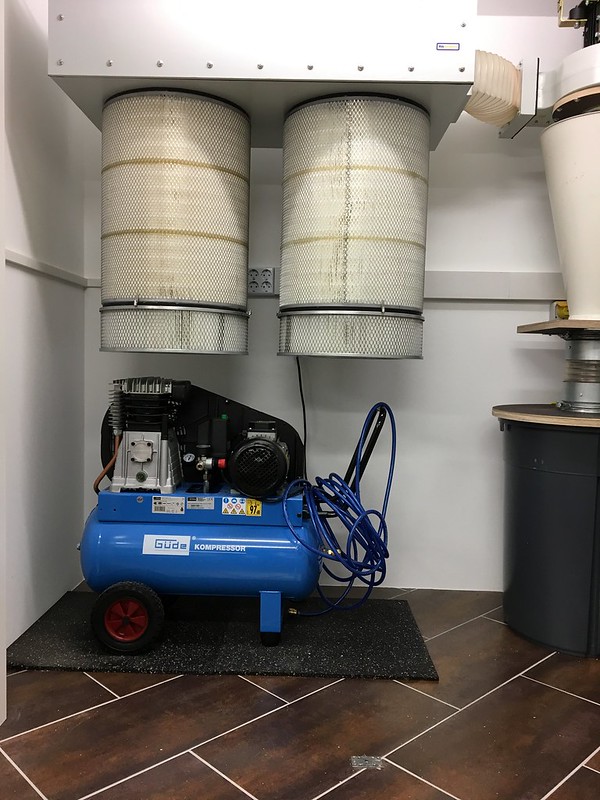
The space below the filters is for the compressor. It is on a rubber pad to reduce the vibration.
I will be replacing the system as soon as I find the time. The only components I will keep are the blower and filters. Everything else will be replaced, including the ducting. I have the
Oneida Super Dust Deputy XL Cyclone that I bought from Toolovation. It is taller than the steel SDD I have, and since I can't move the blower higher, everything must move down. The plastic bin will be replaced with a plywood box that is shorter, but has a larger footprint and a similar 35-gallon capacity. After yesterday's close call, I will put a sight glass insert in the lid of the box so I can check on it without breaking the seal.


