The UKW Infill Project

UKworkshop.co.uk

Help Support UKworkshop.co.uk:

This site may earn a commission from merchant affiliate links, including eBay, Amazon, and others.
Hello CC - I don't know how long it took all together but it's much less than you guess. The first one I made took much longer but things are learnt and knacks got. And that finish - just draw filing :)
 
Wonder if you guys could help me out here - the topic is in point I promise.

I'm a marine engineer and therefore have access to at least a decent set of metalworking tools onboard. I also have free time during the evenings/off-watch so I'd thought about buying a little infill plane kit to keep me amused. Anyone here had experience of any? I'm not ready for the full shebang of making one from scratch, apart from anything my time is unpredictable and I am bad at losing momentum and shelving projects. i would be able to take a small amount of handtools with me to sea but obviously nothing too heavy.

Any input would be gratefully received.
 
Hi MB,

Unfortunately .... you will need an anvil. :) Not the lightest of tools .... Best advice would be to get it together on shore and and do the infilling and fettling afloat.

Depending on what type of plane you get as a kit will dictate the choice of tools. What did you have in mind?
 
mbartlett99":30d0tcpd said:
Wonder if you guys could help me out here - the topic is in point I promise.

I'm a marine engineer and therefore have access to at least a decent set of metalworking tools onboard. I also have free time during the evenings/off-watch so I'd thought about buying a little infill plane kit to keep me amused. Anyone here had experience of any? I'm not ready for the full shebang of making one from scratch, apart from anything my time is unpredictable and I am bad at losing momentum and shelving projects. i would be able to take a small amount of handtools with me to sea but obviously nothing too heavy.

Any input would be gratefully received.

There's an infill maker over here in Germany. It's Gerd Fritsche who does fantastic work. Gerd offers additionally infill kits at very very reasonable prices. Just an idea.

http://www.traditional-handplanes.com/planekits.php

Klaus
 
Well, MB, you would need an anvil if you were starting from plain flat bits of steel like Richard has. But you say 'kit' and there aren't very many of them around as far as I know. Aled who posts on here looked into the idea a while back and did offer a kit for a while, but I'm not sure if he still does. (See http://www.infillplane.co.uk/)

Another possibility would be to buy a rough casting - in theory, you can then hand-file this and fit a lovely exotic infill. There have been a few on eBay recently, but the only reliable source I know of is Bristol Design - see this old thread.

Whatever you do, keep us posted!
 
Thanks for that guys.

Had seen Gerts site and thats looks like a goes there's also a couple of American sites - St James Bay and Brese (bit pricey there). Large lumps of steel and things to hit things with are not in short supply round here, same with files, vices and drilling machines. Band saws are not that abundant and easyjet/BA will probably complain.
 
Jimi, Richard, great project! Looking forward for the longest thread ever!

Jimi, this

DSC_2738.JPG


wouldn't have been a cut for Gill (17 tpi rip cut, 35mm cutting deepth) but for Roberta (12 ? tpi crosscut50mm cutting deepth) If you sand or plane afterwards, it should have been no problem.

Cheers
Pedder
 
marcros":h6u8q8da said:
A true piece of craftsmanship.

Is there a reason why such a plane couldnt be make from a flat sheet and the sides folded up? Is it just the force required that would be the problem, or is it because you couldnt get the corners sufficiently sharp?


The pressure required isnt really much of a problem (press wise) but I dont know if theres tooling easily available thats up to it. I've done a small amount of work with an Amada bending machine (similar to this http://www.amada.co.jp/english/products ... eries.html) and bending 6mm steel wasnt a problem. Putting a crisp bend in material up to 2mm is quite easy - the punch and die look quite flimsy in fact. The punch and die for the thicker stuff is massive in comparison but you could only get a bend with a fairly large radius (think 1p coin), I can only imagine how chunky the tooling would need to be to get a crisper bend. Also theres the stress/damage thats introduced into the steel when cold bending it that way, not sure if it would stand up to it without tearing.

JMO/E, I wont detract from this thread further.
 
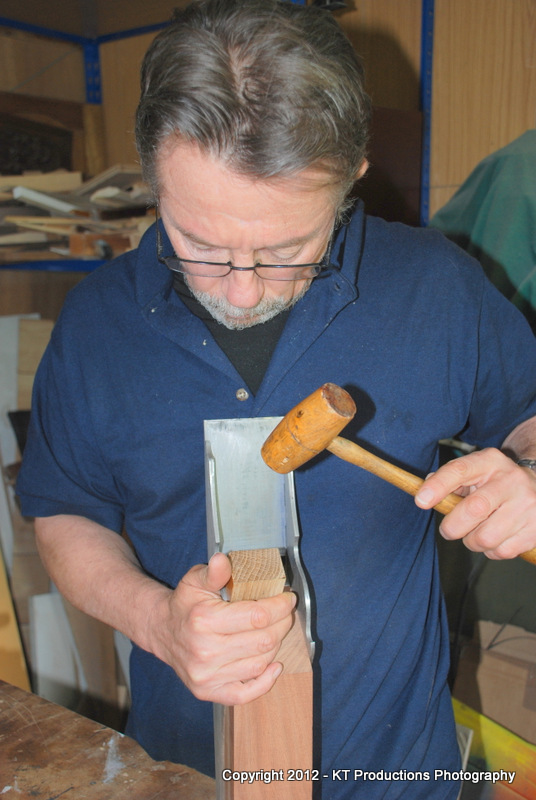
AH! Allen....I'm afraid that was mostly Annie as ALFIE was off trying to add the sound effects for the mallet hitting the wood....

DSC_2711.JPG


But he was rather bored as he could only find one half of a coconut...and the birds are a bit pi$$ed off with him because he has eaten all the white bits! I'll get him to work on the front bun when the time comes...he likes buns! :mrgreen:

Now....let me try to answer some of the other posts before I continue....

CC...sorry mate...I missed your comment about lever cap...yes..as you probably guessed by now...a brass or gunmetal lever cap will be made on the mill. This will be my first one so I will have time to play a bit with the old designs whilst resisting the temptation to copy the wonderful work of Karl Holtey...but yes...a lever cap it shall be. I have a great idea to overcome some of the shortcomings of the old designs too...the fact that the lever cap is a soft metal rotating and pressing against a pair of steel screws or shafts...but that will come later! :wink:

Klaus...thank you my friend...I too love the look of boxwood...it is really subtle and goes with steel so well as you say...but I am also a fan of burr oak and walnut...these both look fantastic against steel...I may have to use these anyway if the boxwood stock is too small....these are the largest chunks of box I have ever seen and so has Rob at Timberline and he thinks it might be pushing it getting a handle out of one...we shall see! Did you hear back from the doctor yet by the way?

MB...the guy mentioned on FleaBay does have a variety of castings....

CLICK HERE

....but having done three castings before I will tell you now...these are not easy to infill well...and to finish the castings really requires a mill. I did it with a disc sander and that was hard work...trust me. Why not make a nice wood plane instead. That is not to be taken lightly but will probably be more practical on a ship.

Pedder my friend...I think I will probably use the beautiful saws you have done for me on the more delicate work around the handle...I was itching to use Ginger but as you will see now...it would not have worked for the rest of the cuts.....

And that leads my nicely on to the next step...

Now...imagine if you will...the sound of a PAIR of coconuts being bashed together by ALFIE....

DSC_2750.JPG


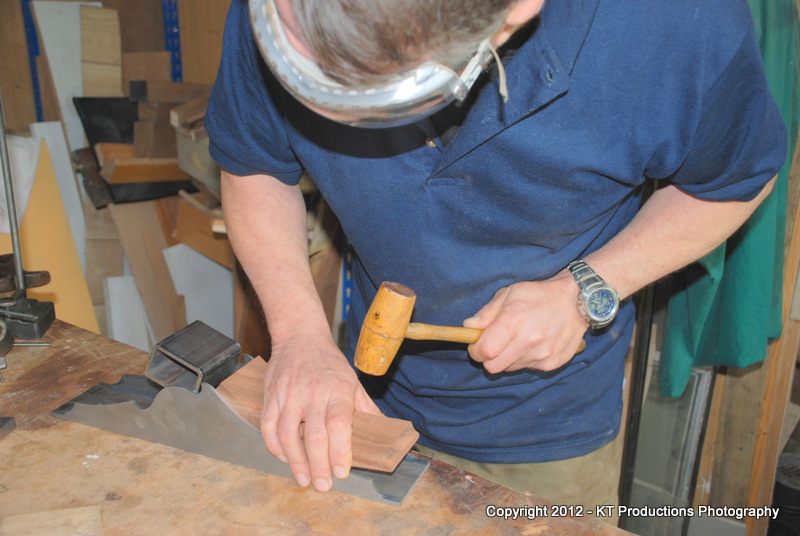
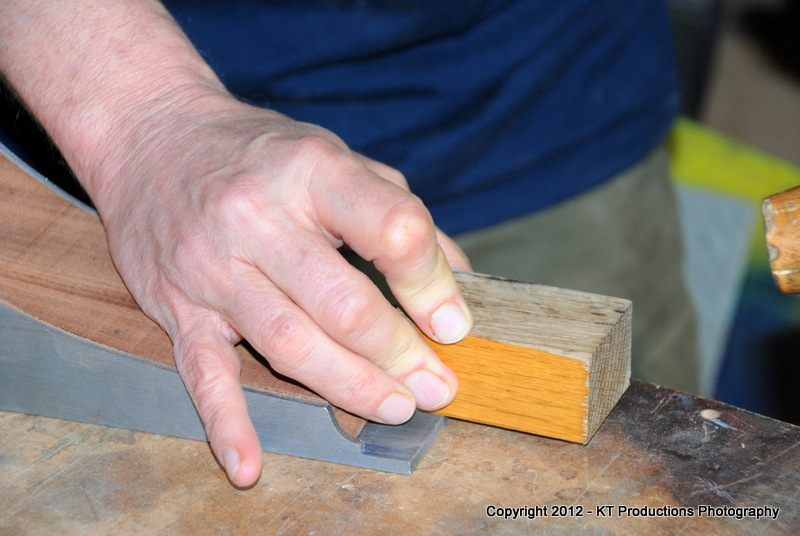
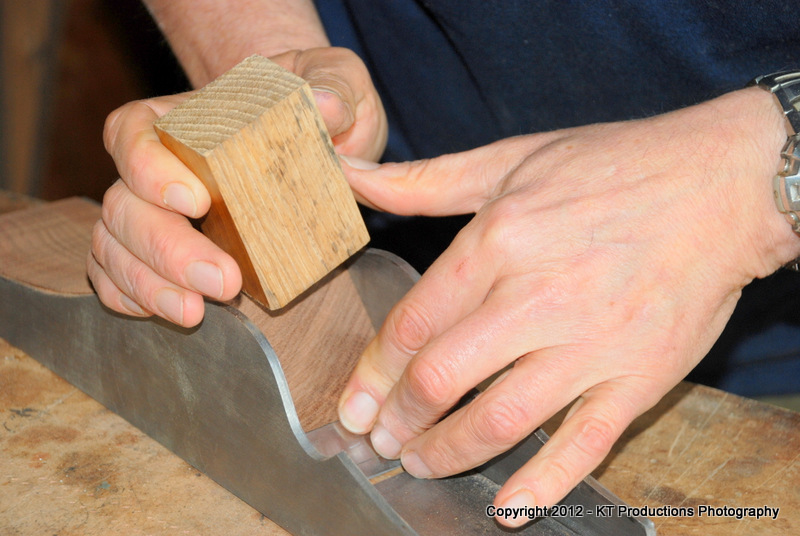
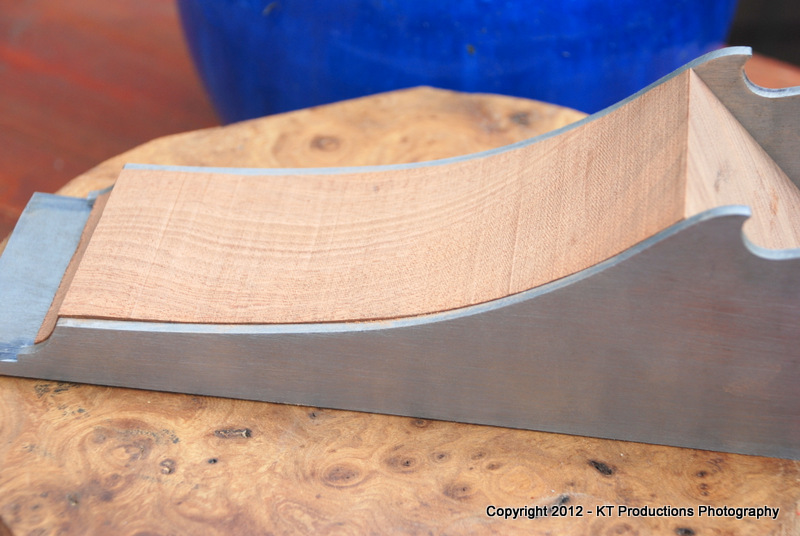
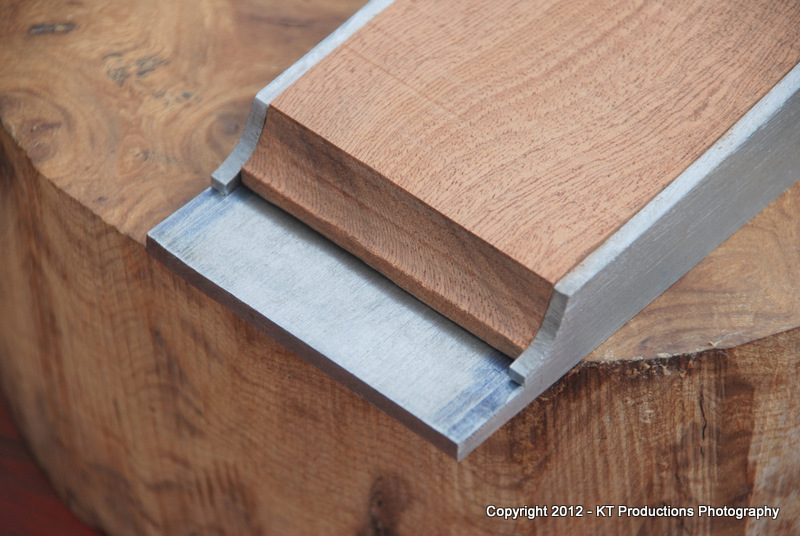
Getting a piece of infill wood into what is effectively a huge spring even with a spacer is quite a laugh...then it needs to be lined up and guess what...

DSC_2749.JPG


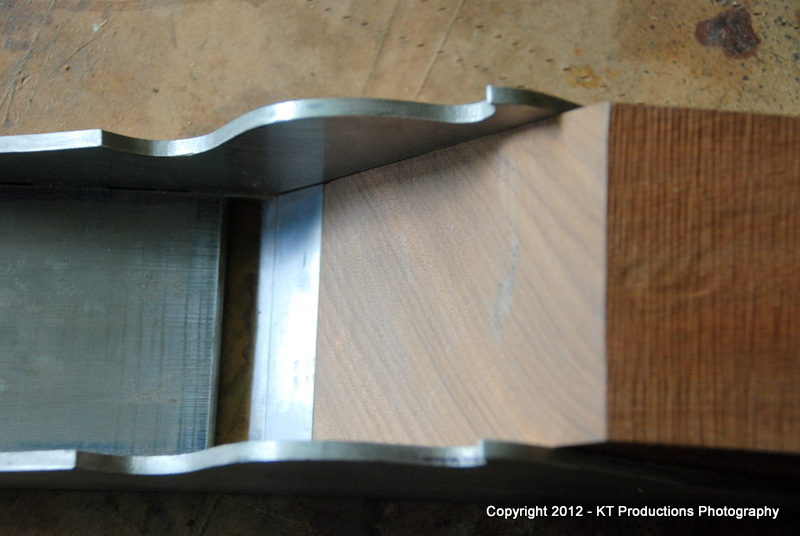
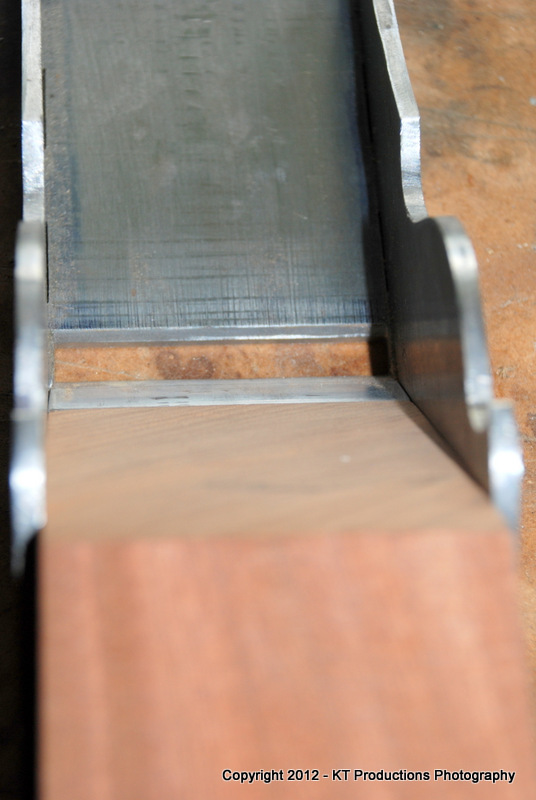
It really is exactly 47.5 degrees Richard!! =D>

Sighting along the compound ramp by eye...oh and using my fingernail...

DSC_2745.JPG


...it was almost spot on...just a slight flair on the right which will scrape out...but not bad first pop! I bet the real wood doesn't go like this! :oops: It never does!

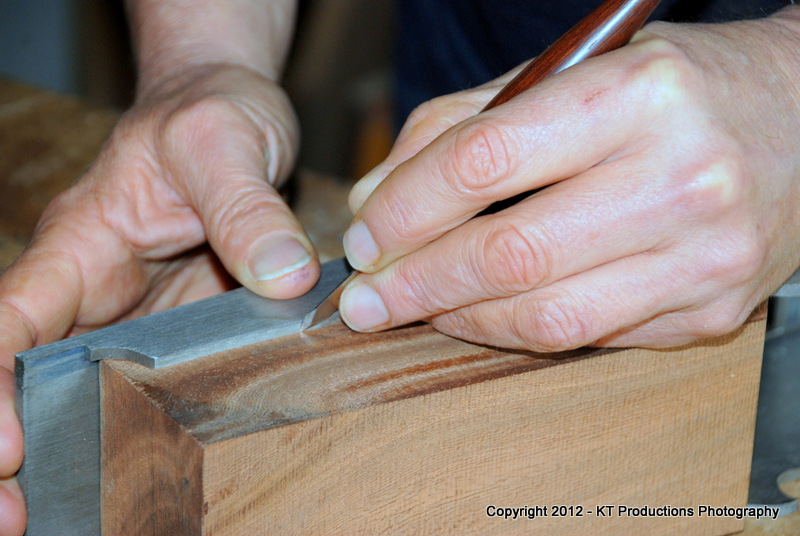
Now...for the marking of the curve....

DSC_2752.JPG


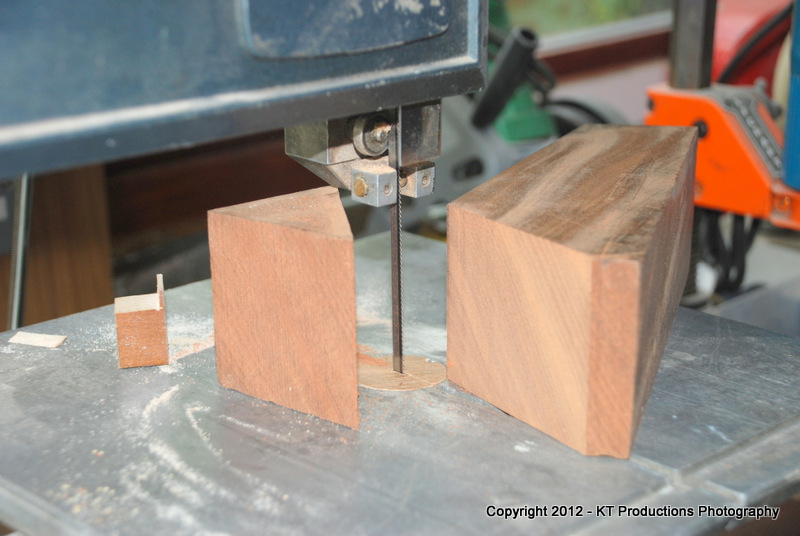
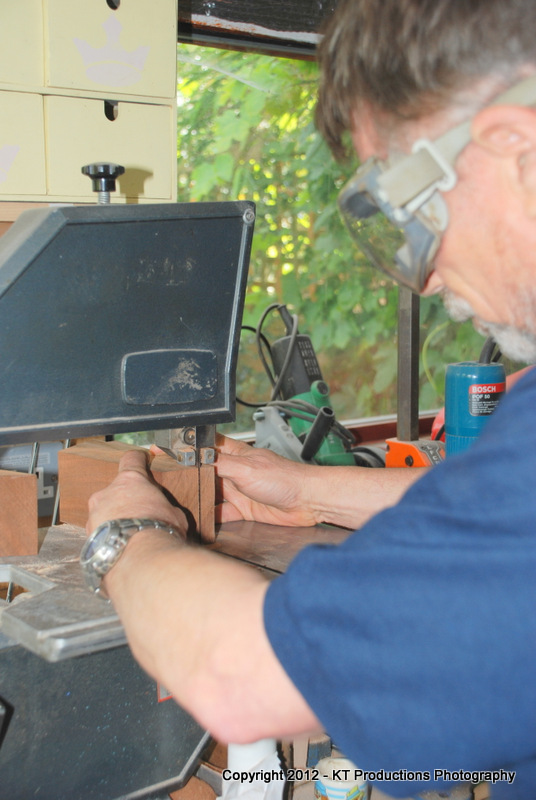
The observant amongst you will see that it is just shy of the tail here! But it is a piece of scrap intended as a dry run...and we ALL know how they ALWAYS come in 2 thou short not long! And we don't want mahogany anyway...so after just as much of a struggle knocking it out again...(I kept thinking of Bill Carter and his burr infill jointer...with a virtual sledge hammer!)....it came out...and it was back to the old Burgess bandsaw to see how well this setup really performs around a curve...

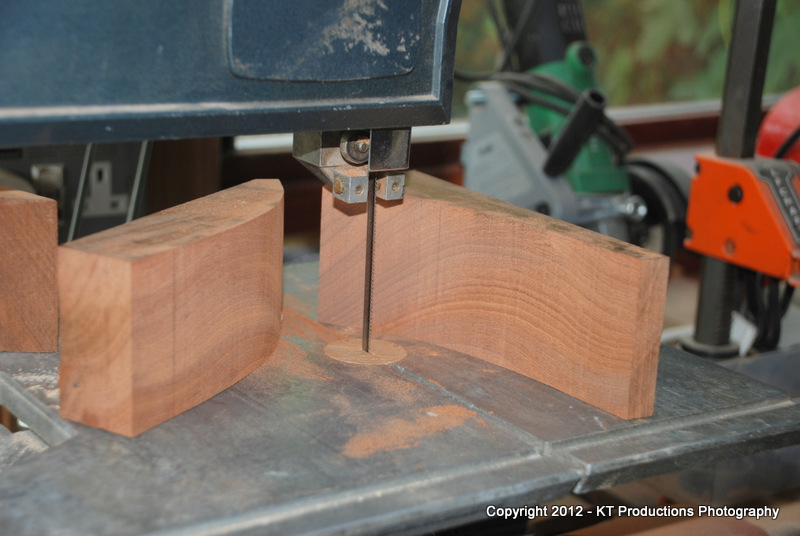
DSC_2754.JPG


I tell you what...this setup is really exceeding my expectations...and I know it was good but this good...

DSC_2755.JPG


But it's not until you fit it back into the plane that you realise how accurate the cut can be...

DSC_2762.JPG


There would be sound effects at this bit but ALFIE had fallen asleep after gorging himself on coconut all morning....

DSC_2730.JPG


How he got this from the bird table I have no idea!!! :mrgreen:

So you will have to imagine the sound of small taps as I slowly worked the infill along towards the frog ramp alignment...

DSC_2768.JPG


Testing with the "fingernail" technique....

DSC_2770.JPG


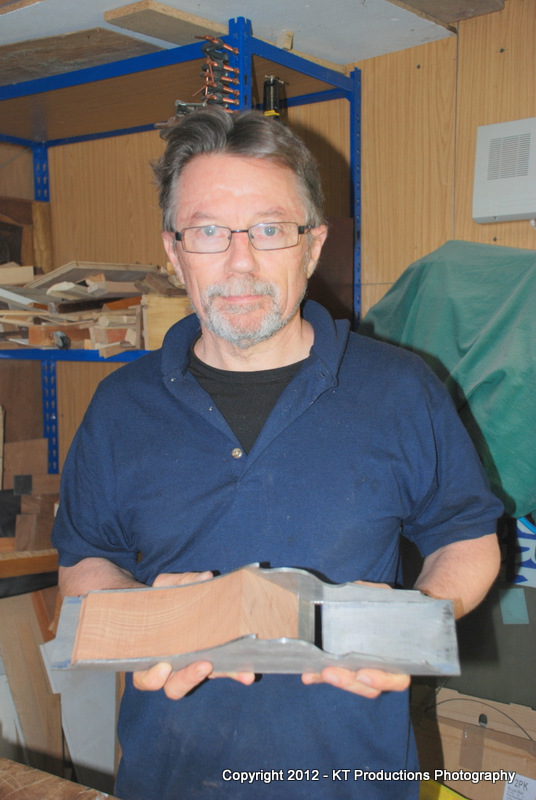
Annie could not resist taking a "first fitting" shot as I was grinning a bit from ear to ear....

DSC_2773.JPG


...actually this was a look of total relief!! I don't want to say how much responsibility I feel to get this right...Richard has set the bar so blinkin' high...the nerves are fraying at the edges already!!

So...no sanding...straight from the bandsaw....

DSC_2778.JPG


....only a few thou left to sand in line with the (yet to be bevelled) edges...

DSC_2781.JPG


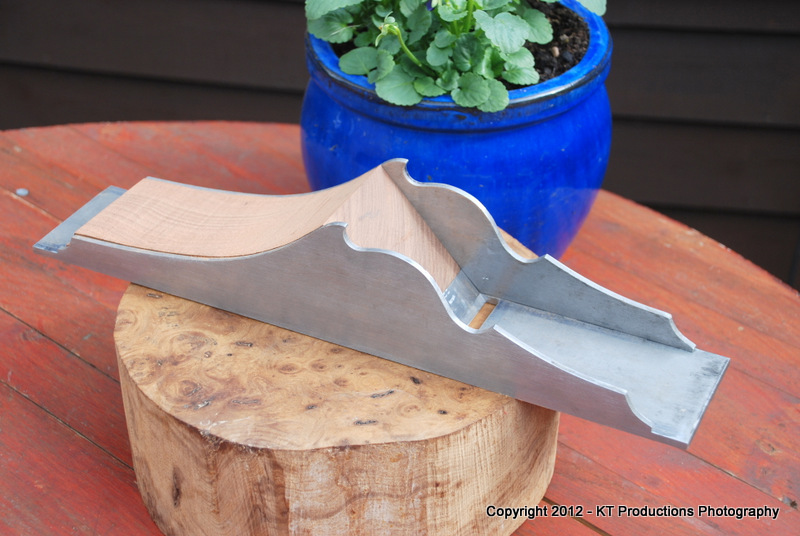
Even the tight bend in the tail fitted perfectly (yes thanks for that little feature Richard!!!)

DSC_2782.JPG


Just need to remember to use a blank slightly longer when I really make the cut!

Well...that's it for the day...I'm off to get some gauge plate for the iron and cap iron...ALFIE's off to get another coconut so we can have sound...and tomorrow is real stock cut day...maybe...OH...and get some brass..or shall we have gunmetal Richard? 8)

Cheers maties....

Jim

P.S. Richard...I have a really cool design for the lever cap pivot assembly...will PM you tomorrow!
 
" A big spring" ... that's exactly what it's like. Very well done Jim for getting that so snug. =D> No wonder you're grinning from ear to there. This is difficult stuff.

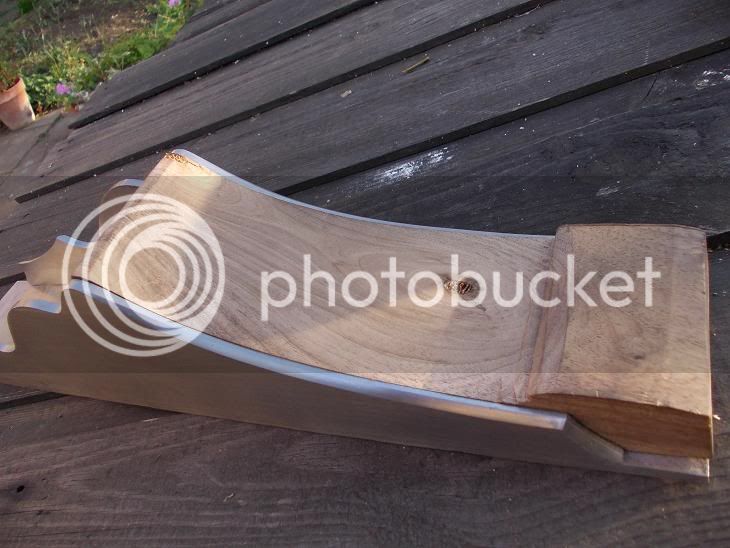
This is why I did everything I could think of to make getting my bit of Walnut in and out easier:

DSCN0378s.jpg


I left a sneck on the back for tapping backwards but this was not anything like as effective as leaving it over - long at the back so it could be tapped or levered upwards.
I've found that however carefully you go and how successfully you get all the lines straight and corners flush in the pins and tails there are always some places that are narrower and wider than others when you pein it up. This makes putting such a tight fitting piece of wood in so much more 'interesting'.

Don't know about brass or bronze - in general brass = soft and bronze = hard but there are mirriad recipes for both. I've been looking at PB102 as I have read that it works by hand well. First I was convinced that the PB must mean that there is lead in the mix but no - it's just for Phosphor Bronze. As you can machine it, it doesn't matter as much.
All it has to do is put pressure downwards after all. I suppose the only concern about it being too soft is that the thread might wear more quickly.
 
Forgot to say earlier, re Norris adjusters, that most peoples' experience of them recently is probably on the Veritas BU smoother and similar; it is mine, and these short, piddly things have no lateral adjustment leverage. I haven't tried one but they must be better when sturdier and longer, behind a BD iron surely? Yet to find out for myself but just a prediction.
 
Richard T":27jb9edg said:
Forgot to say earlier, re Norris adjusters, that most peoples' experience of them recently is probably on the Veritas BU smoother and similar; it is mine, and these short, piddly things have no lateral adjustment leverage. I haven't tried one but they must be better when sturdier and longer, behind a BD iron surely? Yet to find out for myself but just a prediction.

That's a valid point I think. I have a QS BU Jack, and the adjuster is relatively awkward to get at and use, compared to the Norris-from-the-Shed, where it is so accessible it looks almost vulnerable but does not get in the way. The Norris adjuster is just as effective for lateral adjustment as the common Stanley/Bailey design, though the action is more positive because of the extra little pivot points on the casting. (Would it have to have those to work properly? Is it too late to add them?)
It's certainly easier to set than my own superficially similar but adjustment- and name-free infill smoother.

There's more detail on the different designs of Norris adjusters and their pros and cons in this article on Tony Murland's site.
 
Andy, I asked Bill C about those grub screws/dimples and he was quite dismissive of them if I remember right though I'm sure there must be some advantage. As they are grub screws in my Veritas I will take them out and give it a go without them when I get around to it.

That's a great link btw - all the thread sizes for the Norris adjuster right there in black and yellow. I must take a copy before I go and see Stefan at the market again. (Taps and dies).
 
Obviously....I am soon to decide the cavity for the bed infill and the decision to go with an adjuster of Norris design, other design or not at all has to be made relatively quickly.

Should we discuss this now?

Jim
 
You're cracking on with this at an alarming rate Jim so maybe we should.

So the options are:

* Don't use one - make the back infill solid, no need for a cap iron/ or slot for just cap iron bolt head if chip breaking is an important issue. Handle can be let in to mortice in back infill back from iron.

*Don't use one yet but provide for one in future by letting handle in right up to the front having forstnered the right size hole for the banjo and gubbins. (Need to know size of banjo and gubbins) Slot could be probably be easily cut afterwards.

*Buy a Norrisesque adjuster (£50 +) .

*Make a Norrisesque adjuster.

*Make a different adjuster.

The above musings are responsible for filling 50% of my waking headspace.
 
Hi,

You could buy a Holtey plane and remove the adjuster, simples!

Pete
 
During the event at MAC Timbers recently...I had opportunity to speak on this further with Richard Arnold...(also of this Parish) and discuss his favourite plane...a Norris without an adjuster.

His story (correct me if I get something wrong Richard) was that as a young nipper...he was given the gift of choosing the plane from a shop. The shopkeeper did a bind testing with him...the result would be he would have the one he chose by feel. The one he ended up with was a Norris without an adjuster and an absolutely stunning infill.

Since that conversation I have really confirmed what I felt all along...if I ever made one..then it would be without the adjuster.

My Scottish panel has no adjuster and for what I do...I get on fine with it. Maybe this is because I have passed that part of my apprenticeship with the woodies and can tweek the iron in and out relatively accurately and quickly with a mallet. Lateral adjustment has never really been an issue in my opinion....an attempt to fix a problem that is not really there. I mean....how difficult is it to tap left or right and test?

If the argument is for an adjuster based on speed then I would say...get a planer/thicknesser... :mrgreen:

The main benefit of course is that it simplifies the design considerably..reducing the risk of error.

That being said...I'm more than happy to consider a depth adjustment and leave the lateral adjustment manual. I think this is the only adjustment method that is viable.

If we spend some time thinking about this...we can then move on to the front for the time being.

What do you think?

Jim
 
Bristol Designs and Ray Iles used to sell Norris adjusters - one of them to the later design?
Jim Kingshott has details in one of his books - will have a look?
I quite like them and have had no problems with my Norris's, Veritas BU's and my little one that comes in a green bag?

Rod:)
 
Richard T":1bmpd9fq said:
Andy, I asked Bill C about those grub screws/dimples and he was quite dismissive of them if I remember right though I'm sure there must be some advantage. As they are grub screws in my Veritas I will take them out and give it a go without them when I get around to it.

That's a great link btw - all the thread sizes for the Norris adjuster right there in black and yellow. I must take a copy before I go and see Stefan at the market again. (Taps and dies).


I've just done a bit of sourcing for the Norris threads quoted. 5/16 x 32tpi RH is a standard ME (Model Engineer) thread, available from any good model engineering stockist. However, 7/32" x 40tpi LH is a tricky one - the only supplier I can find for this size in left-hand is Tracy Tools in Devon ( www.tracytools.com ).

For someone 'making new', the Metric equivalents may be easier to track down. The 5/16" x 32tpi is pretty close to 8mm x 1mm pitch (Metric Fine), and even closer to the non-standard 8 x 0.75mm. The 7/32" x 40tpi LH is quite close to M5 LH - 5 x 0.8mm.

For metric fine and left-hand, Tracy Tools should be able to supply, or you could try The Tap and Die Company ( www.tapdie.com ).

For anybody with access to the necessary screwcutting lathe (and you won't need a large one), the cheapest way to do the job would be to buy a taper tap only; drill and thread the hole, then use it as a gauge to screwcut the male thread to a nice, shake-free fit. That would save the cost of buying a die for a one-off job. Those without screwcutting lathes will have to buy both tap and die.
 
If anyone does want to make a Norris-alike adjuster, Robert Wearing shows some detailed instructions in "The Resourceful Woodworker" in the chapter on planes. This bit also appeared in the abridged version that Woodworker magazine did as a cover-mount freebie.
 
Back
Top