The bench build WIP. First plane! Pg4.

UKworkshop.co.uk

Help Support UKworkshop.co.uk:

This site may earn a commission from merchant affiliate links, including eBay, Amazon, and others.
Ah you see I'm the opposite, I find it indribly hard to get a nice clean straight cut to the line, so I first cut the end line with the circulaw saw then make lots of cuts in the waste zone which ultimately marks my depth along the whole depth of the joint rather than having a pencil line on the side of the wood.

TDi because I always buy a diesel, username started with my mk4 golf gt tdi, now on to an a4.
 
I must admit with that type of timber I would have used coach bolts, not bothered with joints. With soft poor quality pine you will never get a good joint.
 
Lol never mind then. I'll count it as good practice...I.e if I can cut the joints in poor quality wood then in good quality will be easy haha.

I guess I'll get some coach bolts too then, then as ya say, won't even want to try to move!
 
Unfortunately coach bolts were out of budget, so just got some 6x75mm screws instead. I had a bottle of wood glue which my Dad supplied me with (sofa maker) and that is some strong stuff, sets white?

But anyways, the finished (nearly) article.

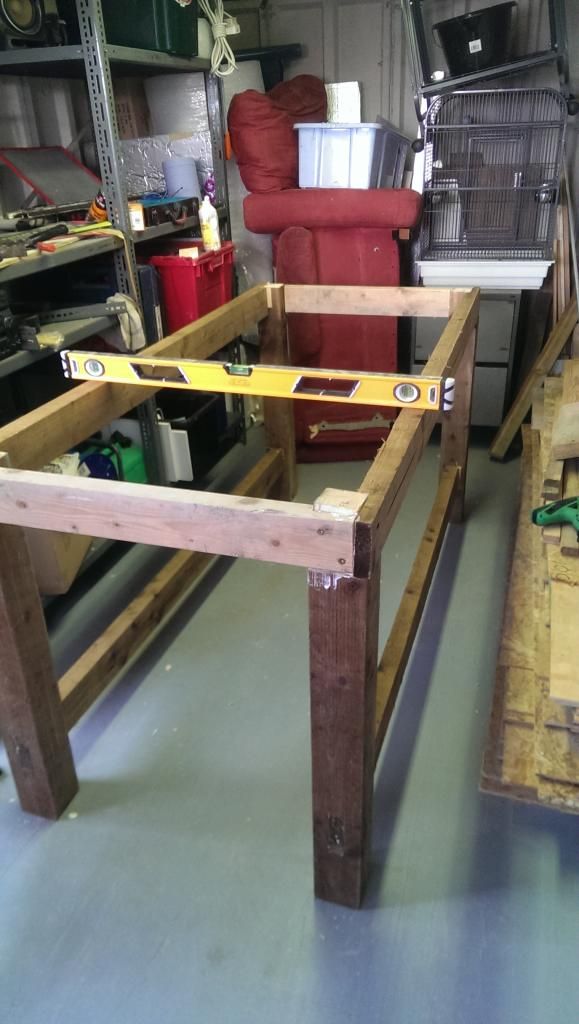
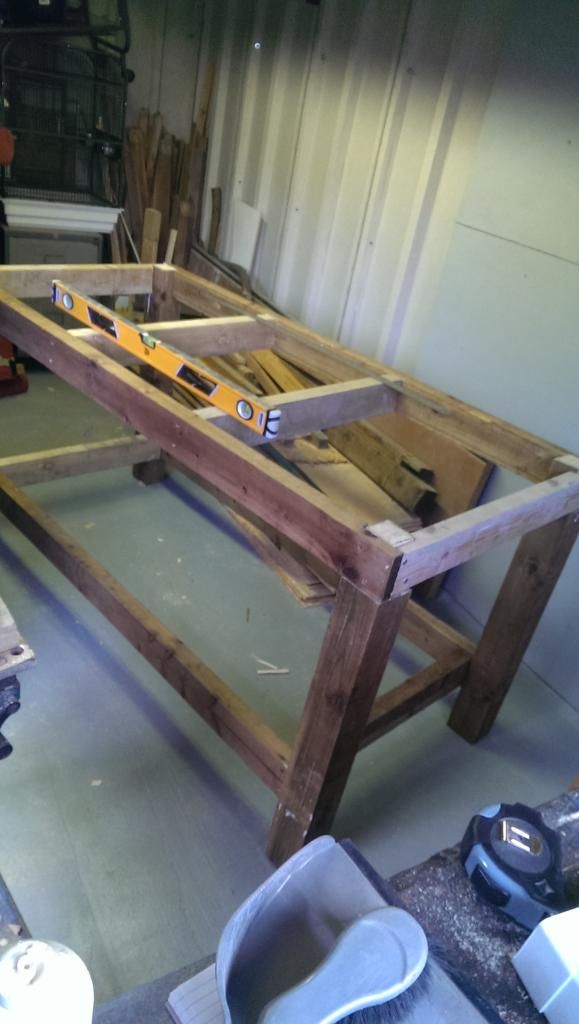
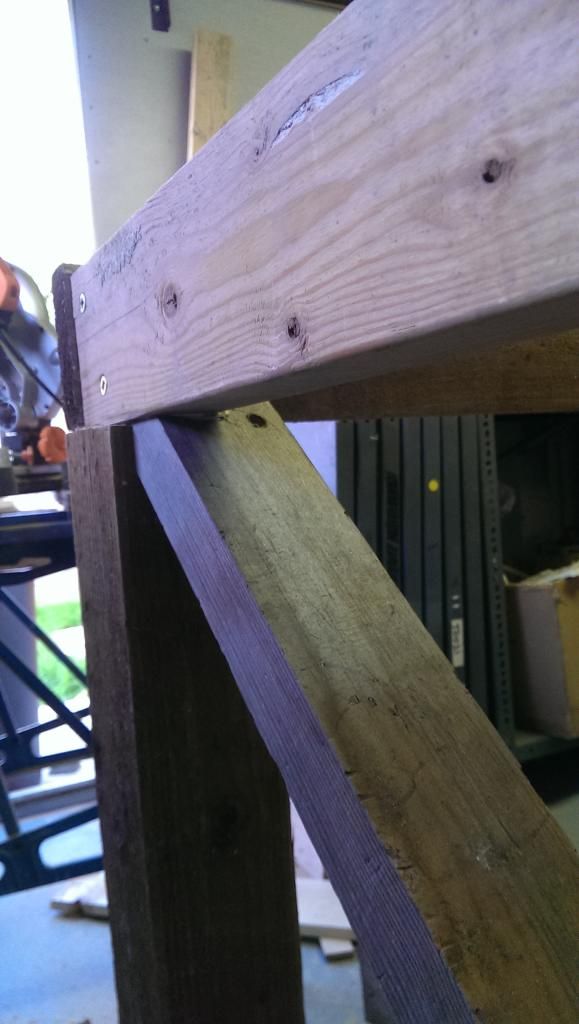
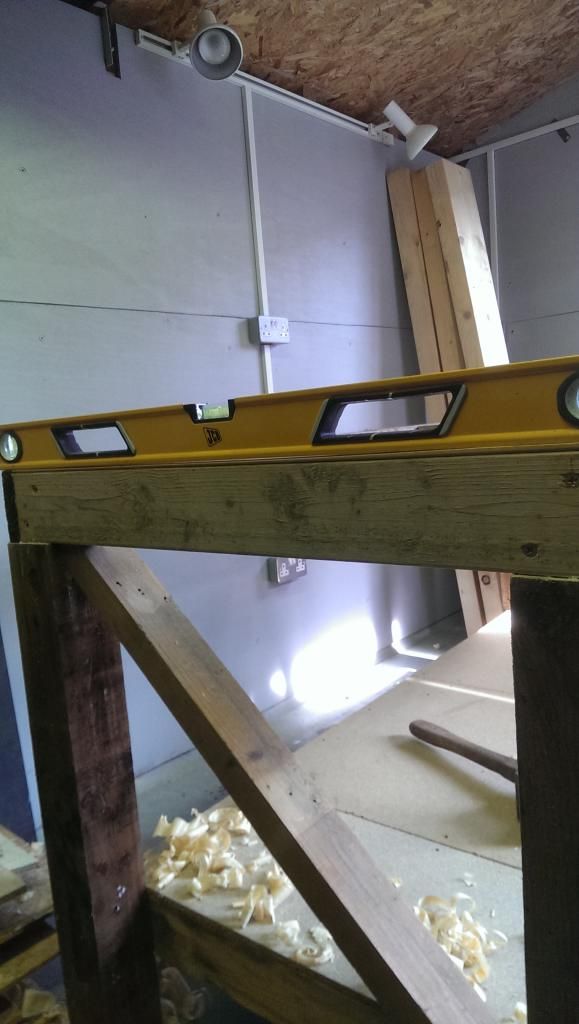
Top side rails on, annoyingly my 4x2" timber was smaller than the fencing 4x2, so the sides sit a little lower.


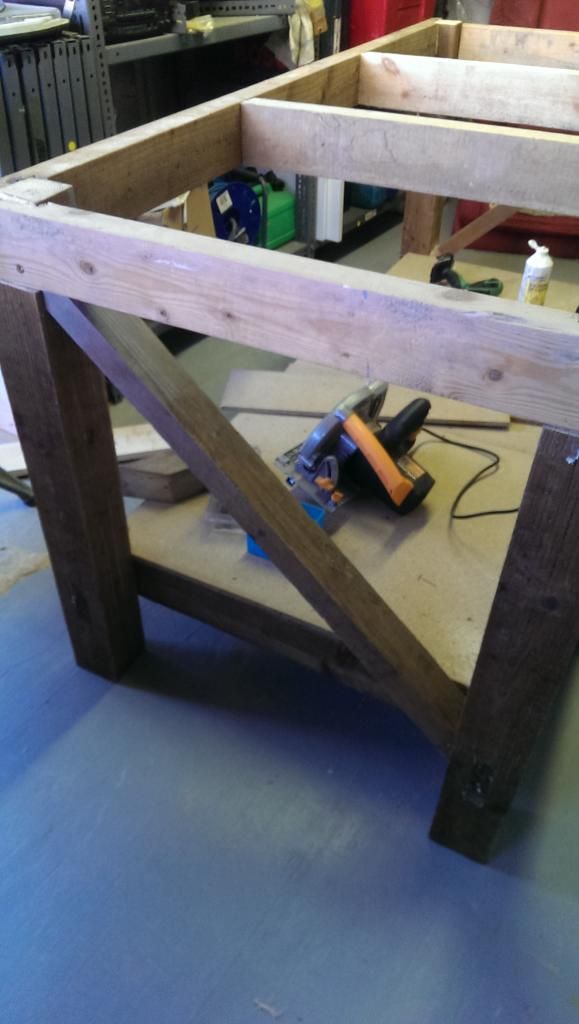
Bottom side rails in, no fancy joints here.


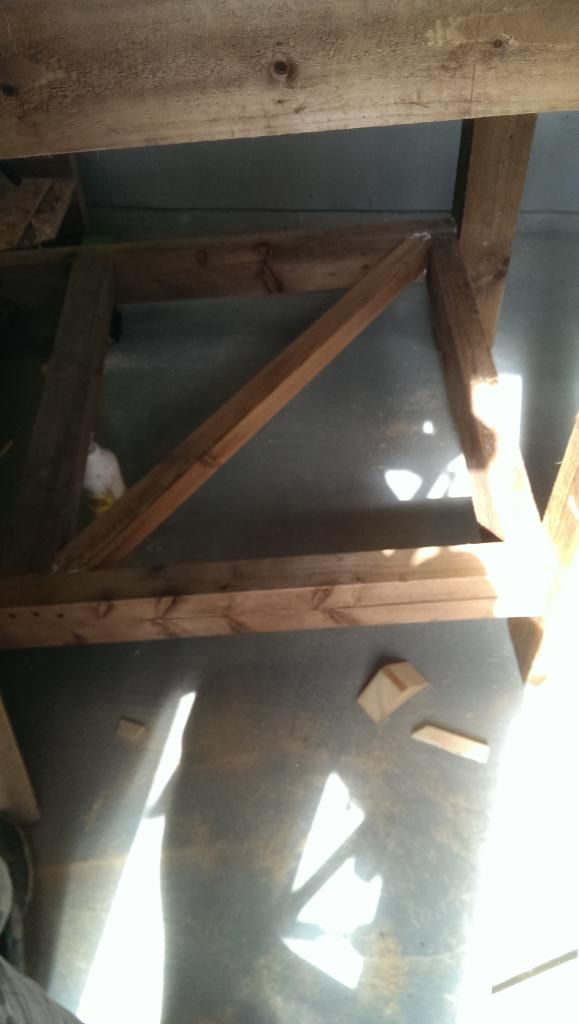
Prepared bracing for the bottom shelf


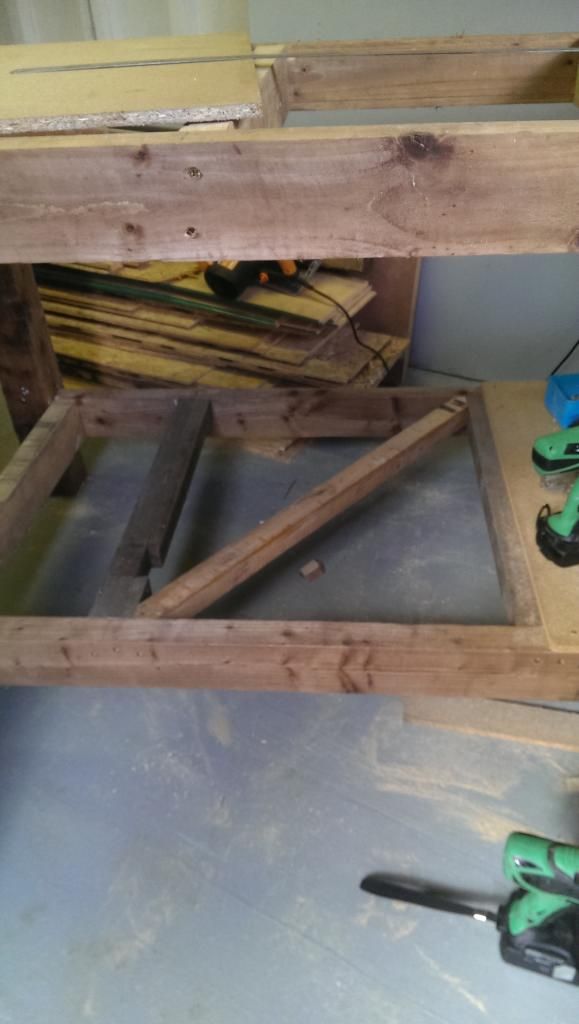
Put some side cross braces in


Very pleased with my cutting for the nifty fit


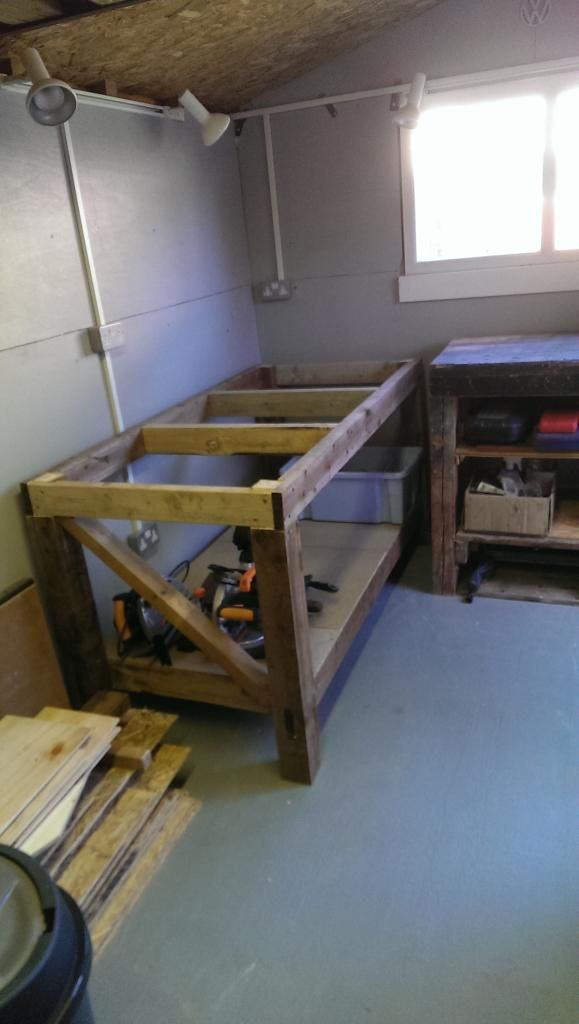
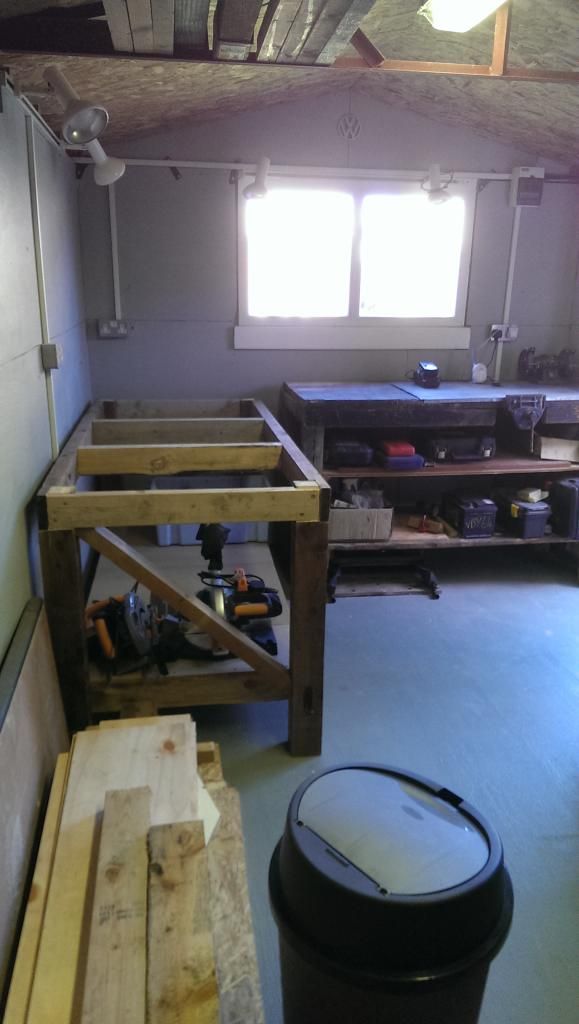
And in situ...


Will probably get 4 lengths of 6x3" for the top and use some thin ply as a back board.

I'm very pleased with it, even without the top on it doesn't wiggle a mm, only rocks a couple of mm where I have placed it due to bad floating on the concrete as it's where my electrics pipe poked through the floor.
 
I have gone with 9x3" timber for the top in the end as it's all the timber yard had.

With 3 lengths it leaves a several inch gap so I'm going to use up some timber I have and use the gap as a tool well 9" from the back.

Currently looking for some nice long meaty screws to hold the top down. I did see 160mm M10 coach screws at the timber yard but think they will be a little overkill.
 
It really doesn't take much to fix down the top. If you think about it, all the weight and all the stresses are downwards on the top, downwards on the frame. It just needs to avoid bouncing -as long as the top is fixed properly dead, nothing much is trying to move the top upwards. I used 2" x 2" angle screwed on to the end cross pieces about 1/16th" down, and 40mm coach screws, two to each top member on each end. It's been taken apart four times, and it's still dead solid. Last time I put it together, I left the washers off for a little more bite - if I made it again I would perhaps put two or three washers under a slightly longer screw to allow for it's being taken apart in the future, although it'd be easy enough to gunge the holes up with something if it ever became important.
 
Good point, the top is a fair chunk to move about any ways, I was planning on glueing the planks together too.

So I'll just get screws long enough to get a good 40-50mm into the frame.
 
Another trip to Wickes today, I bought 6.0x100mm screws for the top, by the time I drive them through the top 10-15mm that will leave a good 25-30mm in the frame.

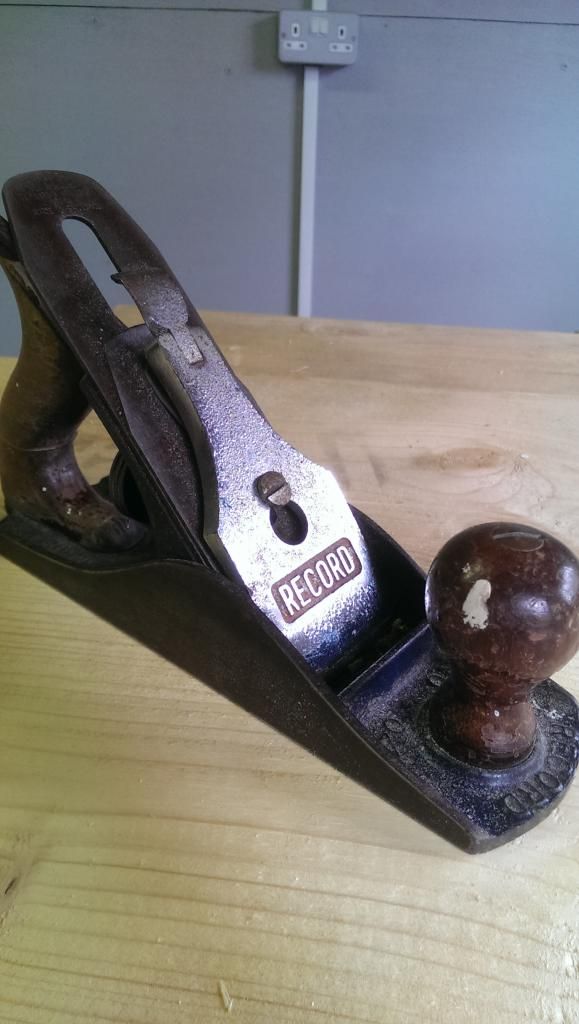
I have also bought my first plane! An old Record No.4, it needs cleaning up a little but it was in usable condition which was the idea for the time being to shave down the heights of my shims on the ends, which after a little sharpen up on the wet stone it worked very well, even with my limited knowledge on plane adjustment and use.


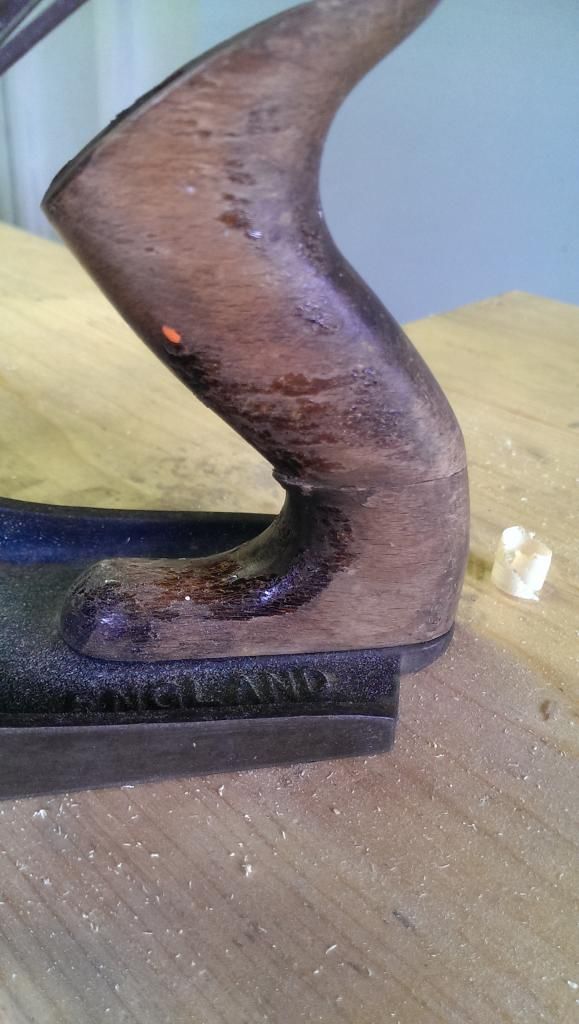
Dodgy crack in handle (toad?)


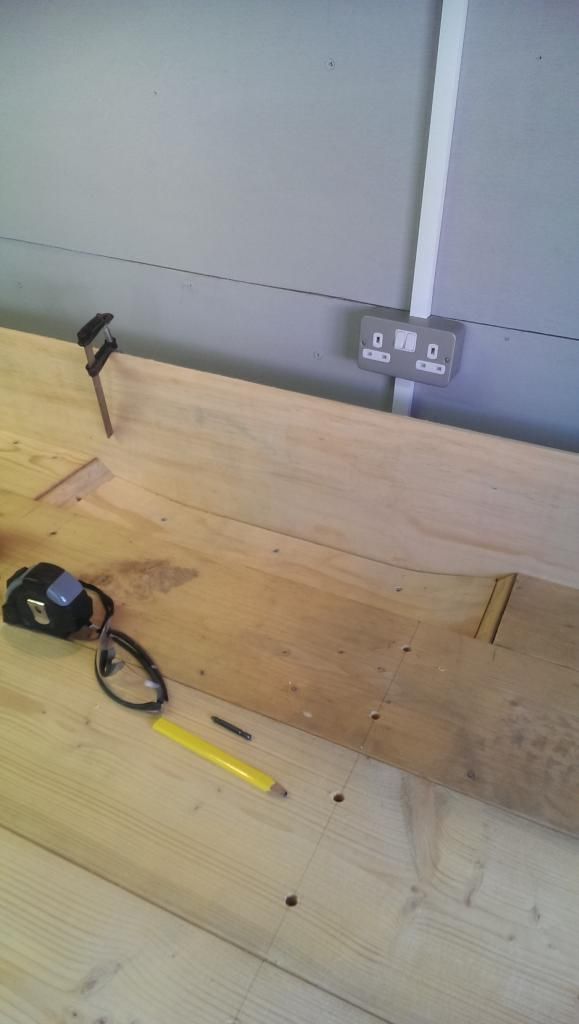
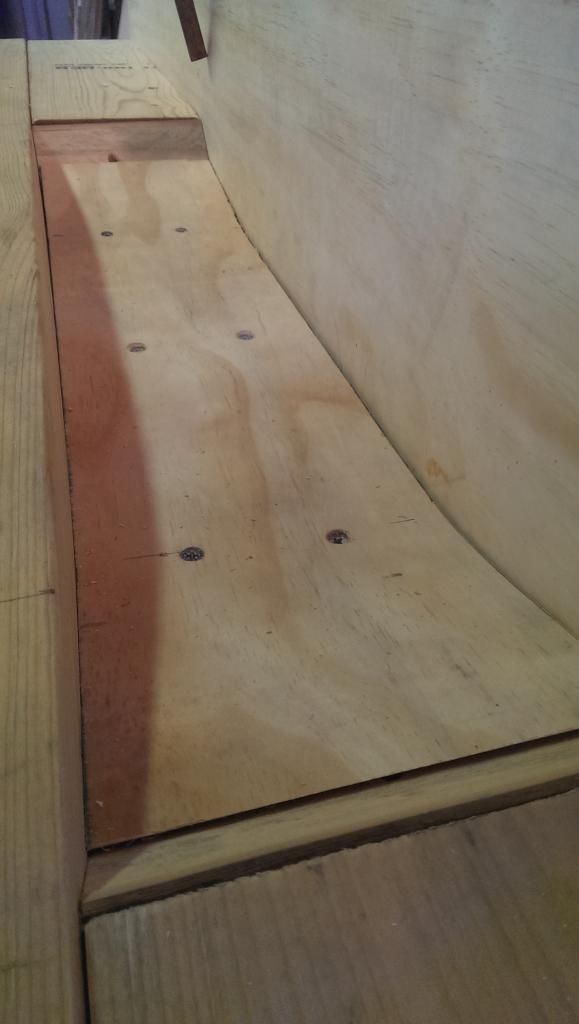
I've trimmed the 9x3" off cuts I had to buy to fill some of the space at the back which will leave me with a 24x4" tool well at the back, which I'm trying to build with slopped ends for easy brush out.

The pics...

Trimmed and glued a thin plank to the top of the side rails...


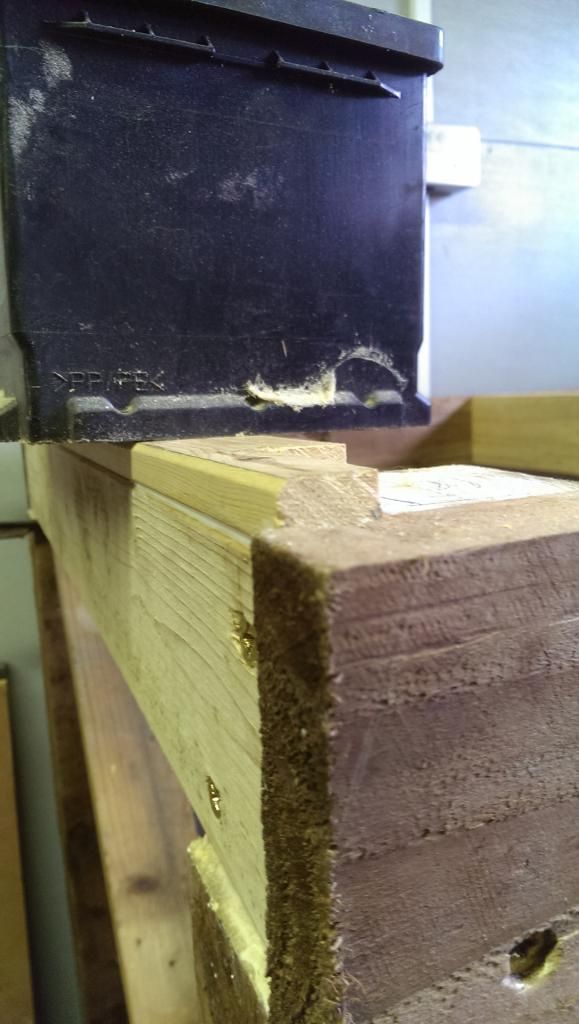
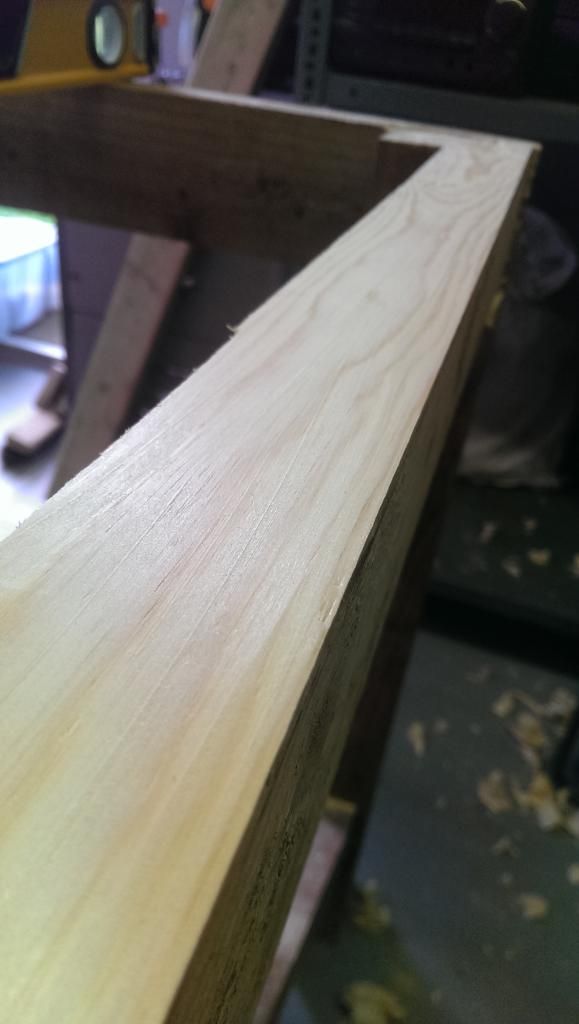
I used the circular saw to cut the excess off which turned out to be tall enough to glue straight onto the other end. I then used the plane to bring down the shims to the correct height so they were flush with front and back.


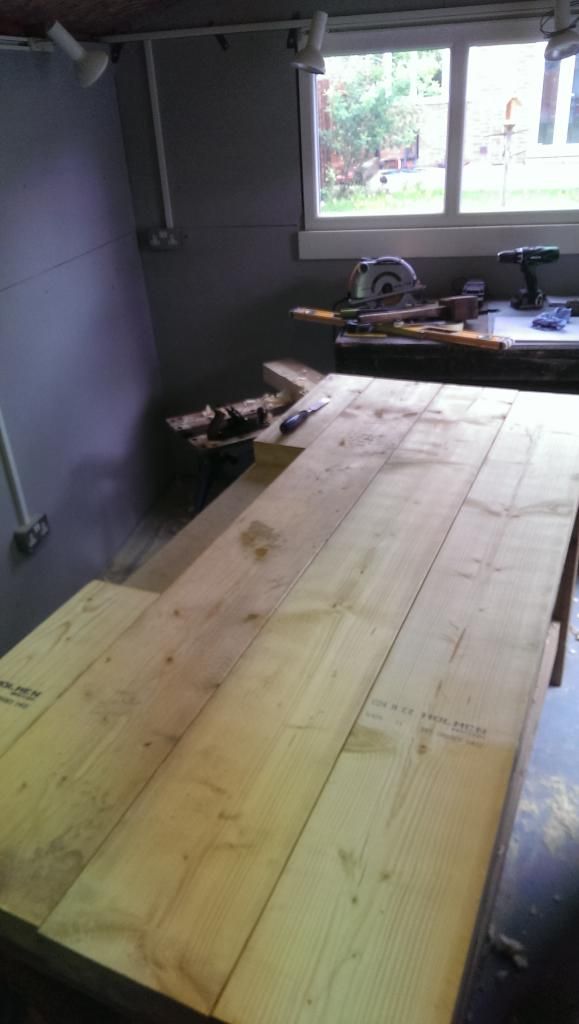
A little mock up of how the top will be...

 
I prefer toad - in fact I like that so much that from now on I'm going to go with reptile names for all plane parts. I don't care if no-one else knows what I'm on about.
 
Zeddedhed":3oe3dl7f said:
I prefer toad - in fact I like that so much that from now on I'm going to go with reptile names for all plane parts. I don't care if no-one else knows what I'm on about.

One of them is already an amphibian.

BugBear
 
Probably mixed up my reptile knowledge with plane restoration videos.

Frog is the central part most other components mount to.

Well apart from trimming the ends to length as the timber yard a) didn't cut to 6ft exactly and b) didn't cut them straight......

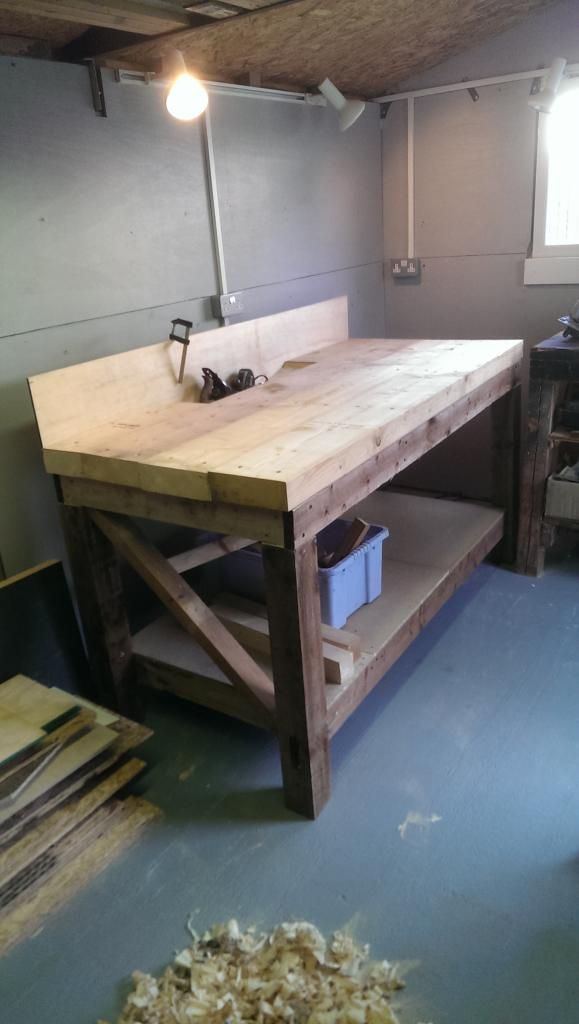
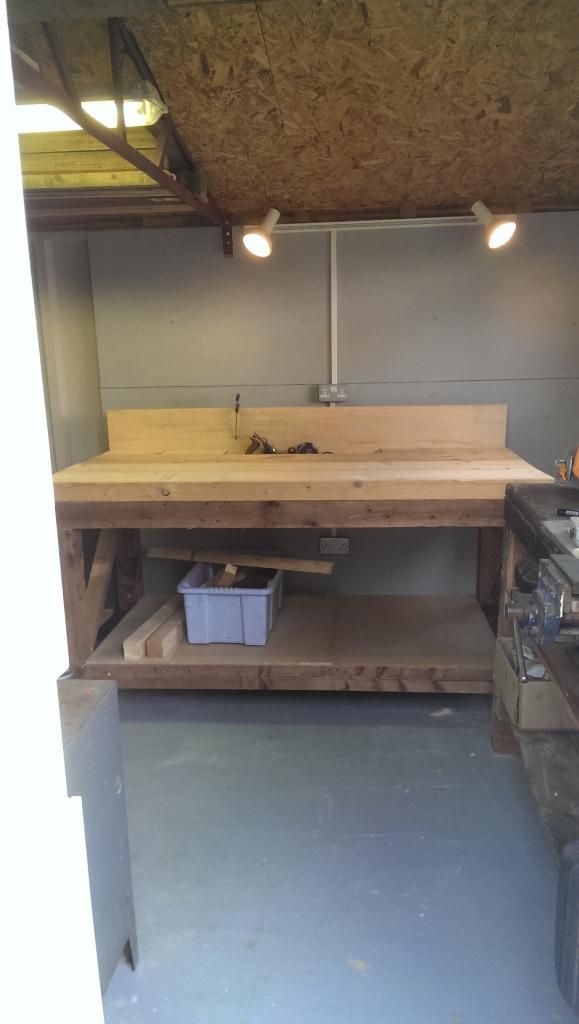
The bench is finished! (structurally anyways, may have the odd addition/tweak)
 
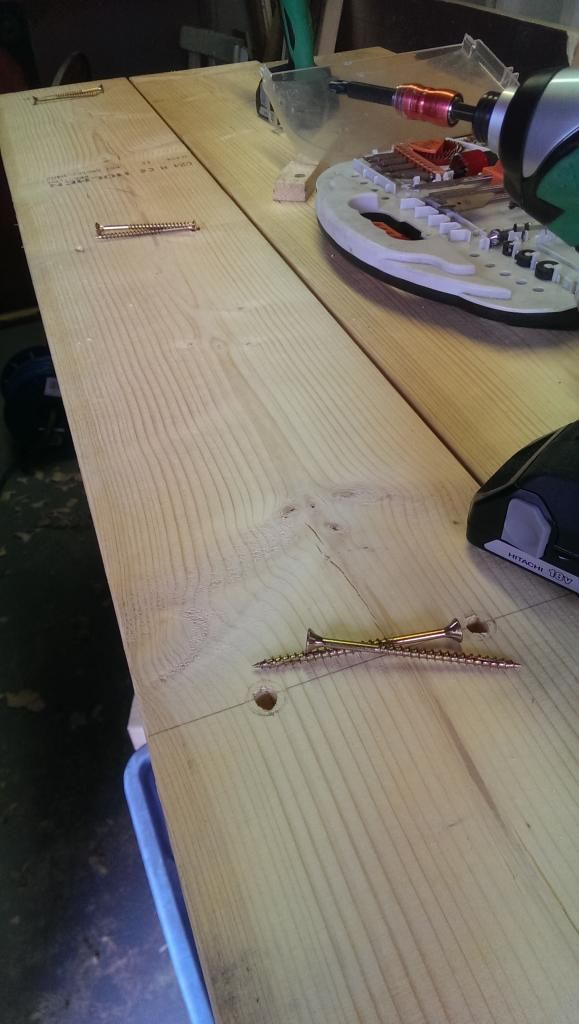
First plank glued and drilled readying to be screwed down...


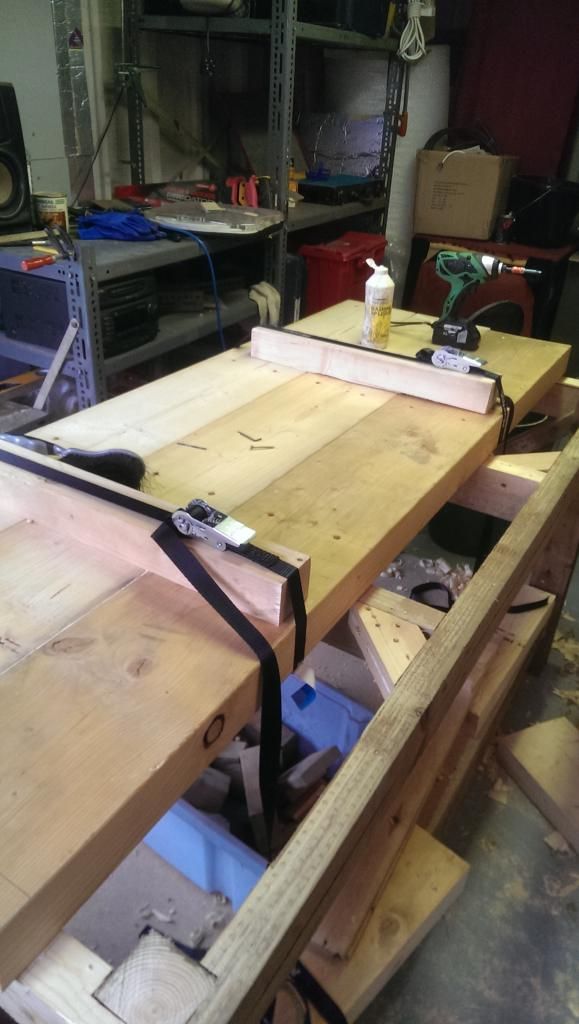
I don't have any long clamps so out came the ratchet straps to pull the planks into position before screwing


So the back part is made up on some 3x2 with a 45 degree cut as each end, some 12mm chipboard in the middle, merely to raise the bottom and then 9mm ply on top.


Voila....


Just need to the trim the ends, once thats done I'll mount the back board properly, Just has a couple of screws in at the moment for the pics.
 
Nah top is pretty darn good. Couple of mm out at the most in a couple of places.

Ends are now trimmed neatly and back board mounted securely.
 

Latest posts

Back
Top