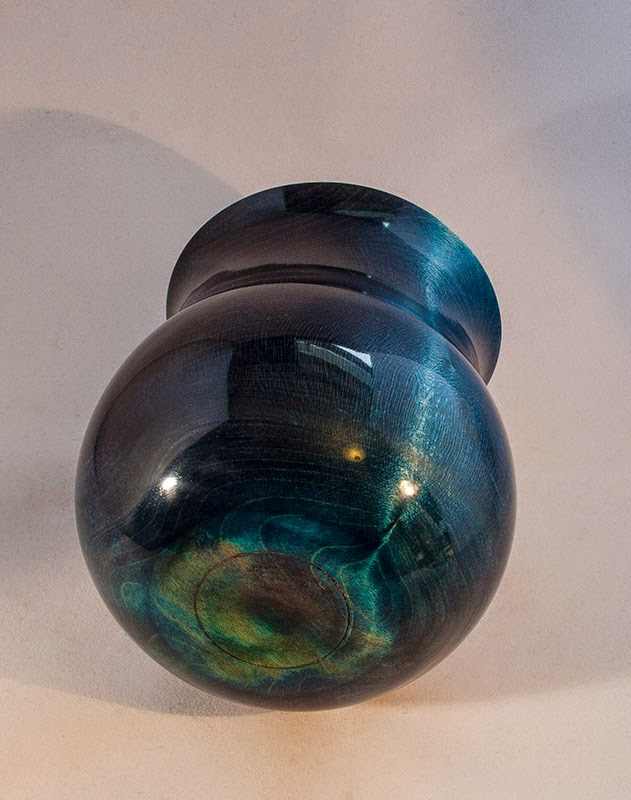
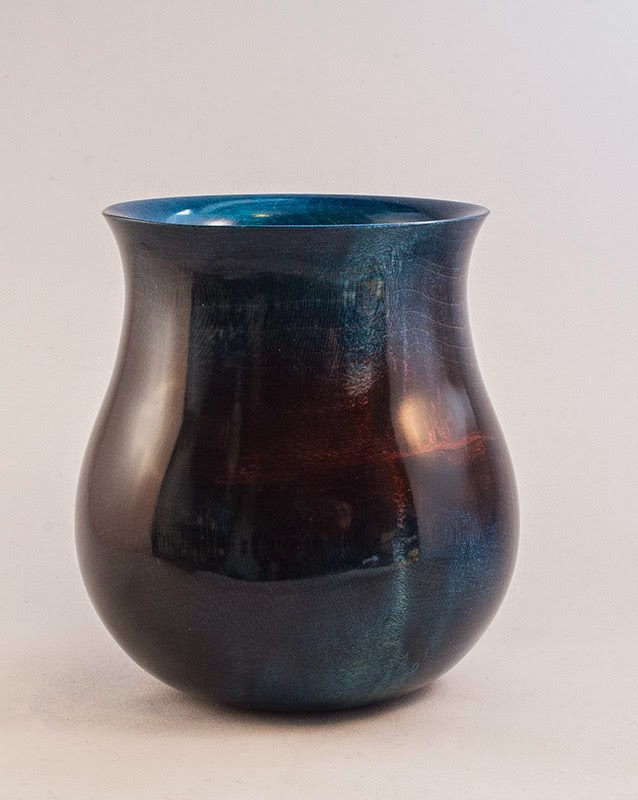
Success with shellac and colour. Blue Vase in Sycamore.

UKworkshop.co.uk

Help Support UKworkshop.co.uk:

This site may earn a commission from merchant affiliate links, including eBay, Amazon, and others.

KimG

Little Woodworm
Joined
2 Jul 2012
Messages
1,138
Reaction score
28
Location
Pembs
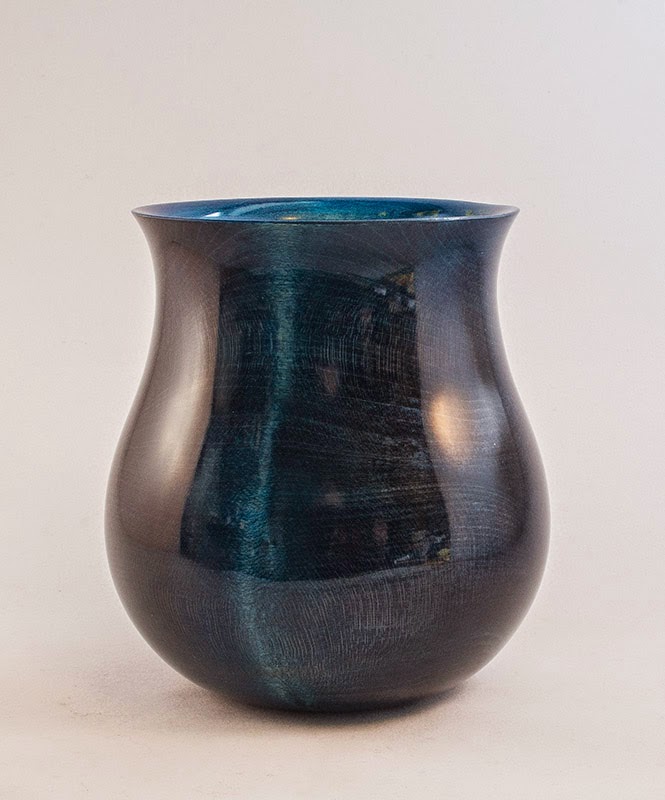
Pressing on with the goal of getting a shellac finish onto coloured pieces this is stage two, multi coloured, the main difficulty with this is that the shellac is a solvent (well the meths the shellac is in is a solvent!) to the colour, so applying the shellac with a rubber as per french polishing carries the risk of moving the colour about and even removing it, so not an easy task.

Why bother when I can use a rattle can lacquer? Well, I find the spray lacquers very good IF you get it right, but getting an even spray, avoiding bloom and the considerable amount of effort it takes to buff it up to a gloss, as opposed to the rather more straightforward process with shellac means that the shellac system offers a faster, more reliable and easier means of achieving the desired result.

On top of that the shellac is a bit easier to repair should you have a small accident.

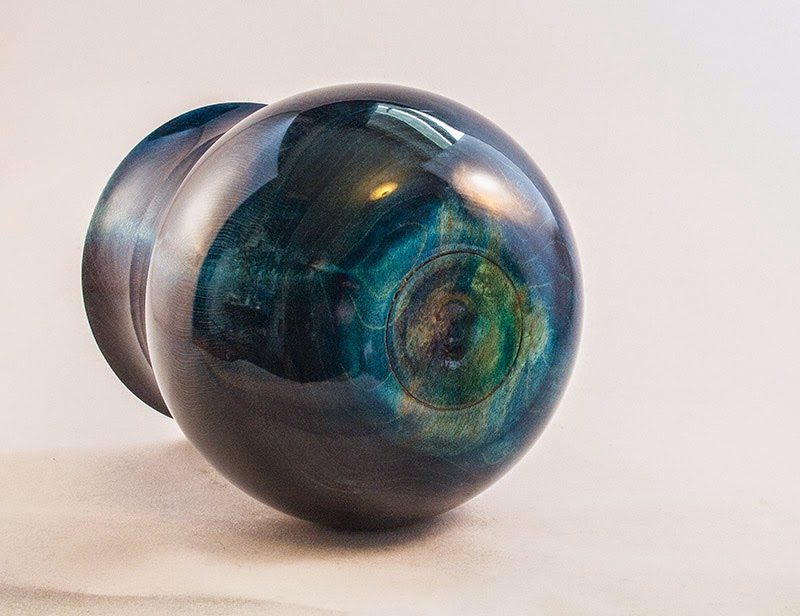
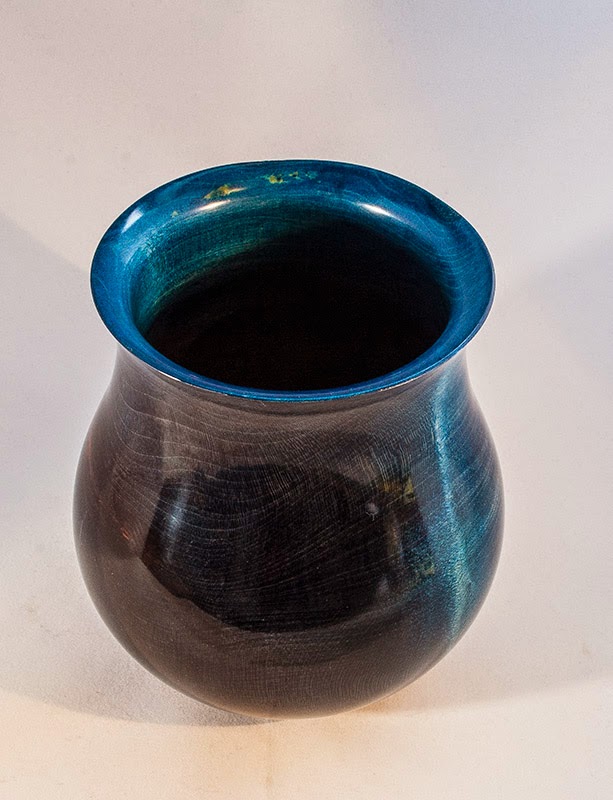
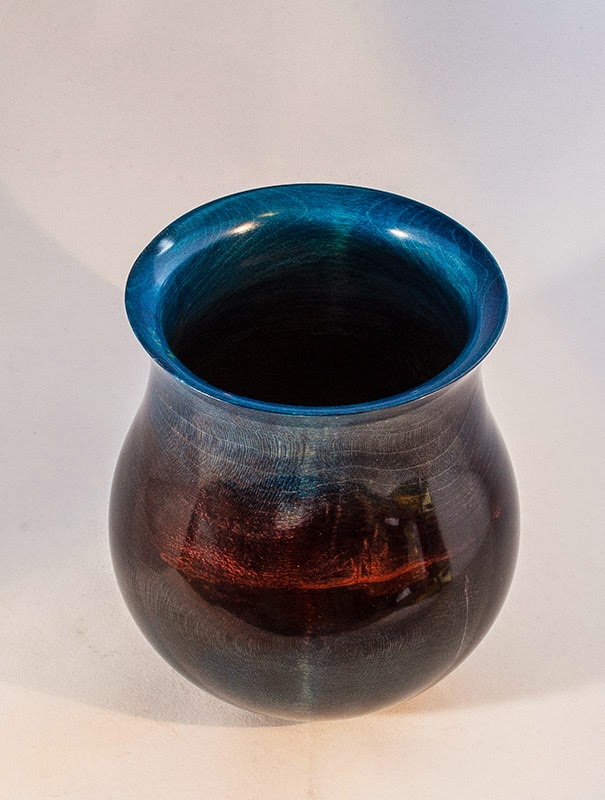
Finish wise, the shellac, if applied with care, needs a minimal amount of buffing to get it to a superfine gloss, this vase is as close to a perfect finish as I have been able to get so far, I am very pleased with the gloss, in the hand it is glass like, all over (the outside, the inside has shellac to about a third in and ebonizing lacquer for the rest).

Height is 115mm width 100mm Made from Sycamore, coloured with Chestnuts spirit stains and buffed with their wheel system for the finish.

As with previous posts, the glossy areas you can see are representative of the whole thing, the slight satin look is a consequence of the light diffuser I use for photography.

Feel free to C&C.
BV-1.jpg


BV-2.jpg


BV-3.jpg


BV-4.jpg


BV-5.jpg


BV-6.jpg
 
That's a beaut, you really are an expert at attaining that glass like finish. So what was the technique of applying the shellac without lifting off the colour?
 
Thanks peeps!

The technique. It really is a "so far" exercise right now, and no doubt I will find different methods and better ways, but this one was done like this:

A couple of things to bear in mind, using a single colour or even two or three colours but as single coats will be relatively easier as they soak into the wood more. These darker type of colourings are done by having several layers and by mixing colour too, this means that the finished colour is more of a result of layers of colour rather than a true stain, the spirit stains themselves dry to a very fine powder that is easily soluble in meths or cellulose, so touching these layer with such can quickly disturb the original finish.

So, having applied the colour I let it dry thoroughly to help it to sit still as it were, then I apply a coat of shellac sanding sealer with a brush, using light strokes, but having enough sealer on to avoid rubbing too hard, this does result in a little colour movement but with care it doesn't show, getting an even coat is the main priority.
Let that dry hard and then cut it back with a nyweb (yellow) to remove any lines or irregularities.

Using a rubber (French polish) and a 2lb cut of blond dewaxed shellac I make a smooth single pass over the whole thing (it is still in the chuck at this stage)using the rubber to apply the shellac but lightly so as not to rub the colour, this dries pretty quickly and colour comes off onto the rubber, but it doesn't spread about, after three or four passes enough shellac builds up to form a skin and the colour is pretty well sealed in, also as I progressively add layers, the colour on the rubber starts to thin out, I guess it is going back onto the piece, but in such thing amounts you can't see it.

After I have done enough coating to get a decent seal I let it dry for 24 hours, then cut it back with 600 grit to remove all gloss, this ensures any small pits are removed and the surface is as smooth as possible. The I apply several more coats building it up gradually till it looks right, then dry it and buff it.

It isn't particularly difficult to do and I am pretty sure, with a bit of practice anyone could get the hang of it, it is fiddly and time consuming, but the results are pretty good so I find it worth the effort.
 
that is superb
have never used stains

could the stain be added to shellac so it forms its own skin?
or is it a bit more technical than that?

Steve
 
SteveF":rk9xax30 said:
that is superb
have never used stains

could the stain be added to shellac so it forms its own skin?
or is it a bit more technical than that?

Steve

Thanks Steve, adding the colour to shellac wouldn't be practical, it might work for single colours, but mixing and blending take place on the workpiece and the rapid drying of the shellac would prohibit that and also cause issues with build up, runs and tears etc, it would be a bit of a nightmare really! :)
 
The thing that impresses me most about your finishes Kim is that you don't get that plastic looking finish that is so often seen with the American lacquers. Popular over there apparently. One day when I have time I must have a go myself. I have a few pieces that could well benefit from this sort of finish.

Pete
 
The finish is as always up to your top standards. I managed to get a gloss finish close to yours on one piece but not there yet and can appreciate all the work that goes into achieving that finish. Thank you for the run down on how you got to the finish Kim
 
I was never one for putting colors on anything I turned , but over the last few years I have slowly found my thinking being changed, and this piece has really kicked my views to touch .
It is the first piece that I truly think that the coloring enhances the piece and it looks as if it was always there and should be there.

Thank you for showing .
 
looks brilliant. How do you do the coloring? I'm making some Sycamore Vase's, would be nice to try and colour some.
 
Back
Top