Sofa Table

UKworkshop.co.uk

Help Support UKworkshop.co.uk:

This site may earn a commission from merchant affiliate links, including eBay, Amazon, and others.
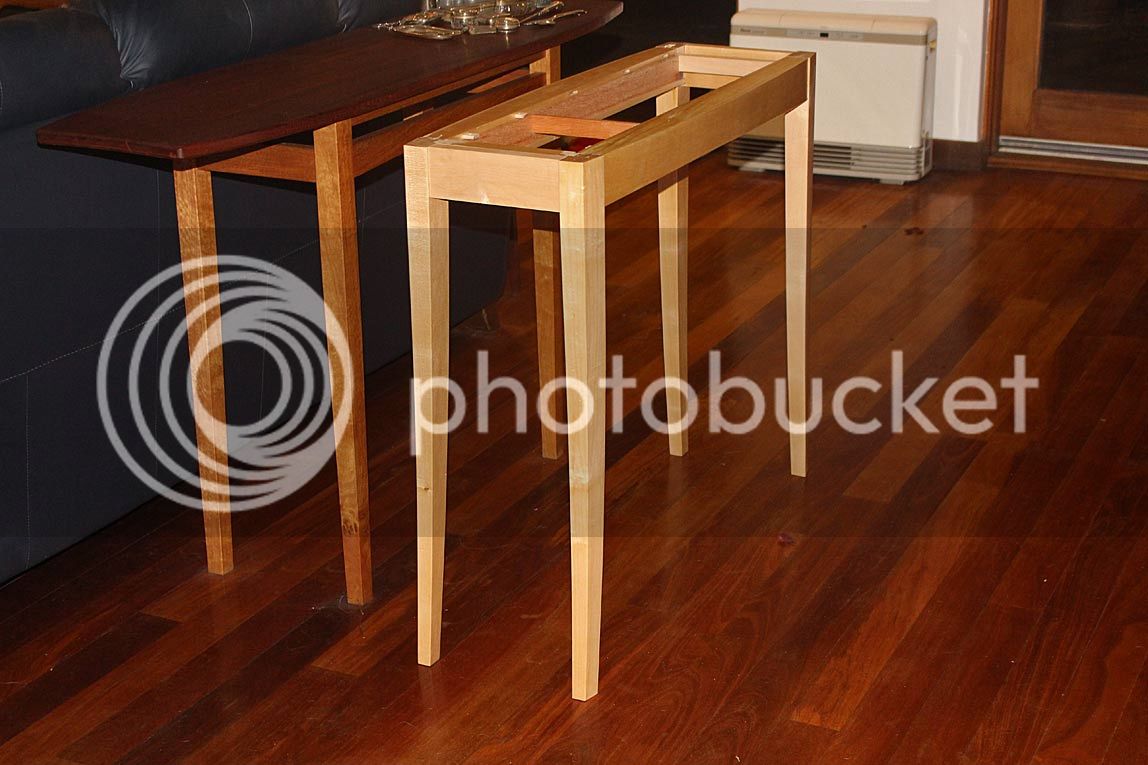
This is where we finished last time - the fitting of legs to the apron ...
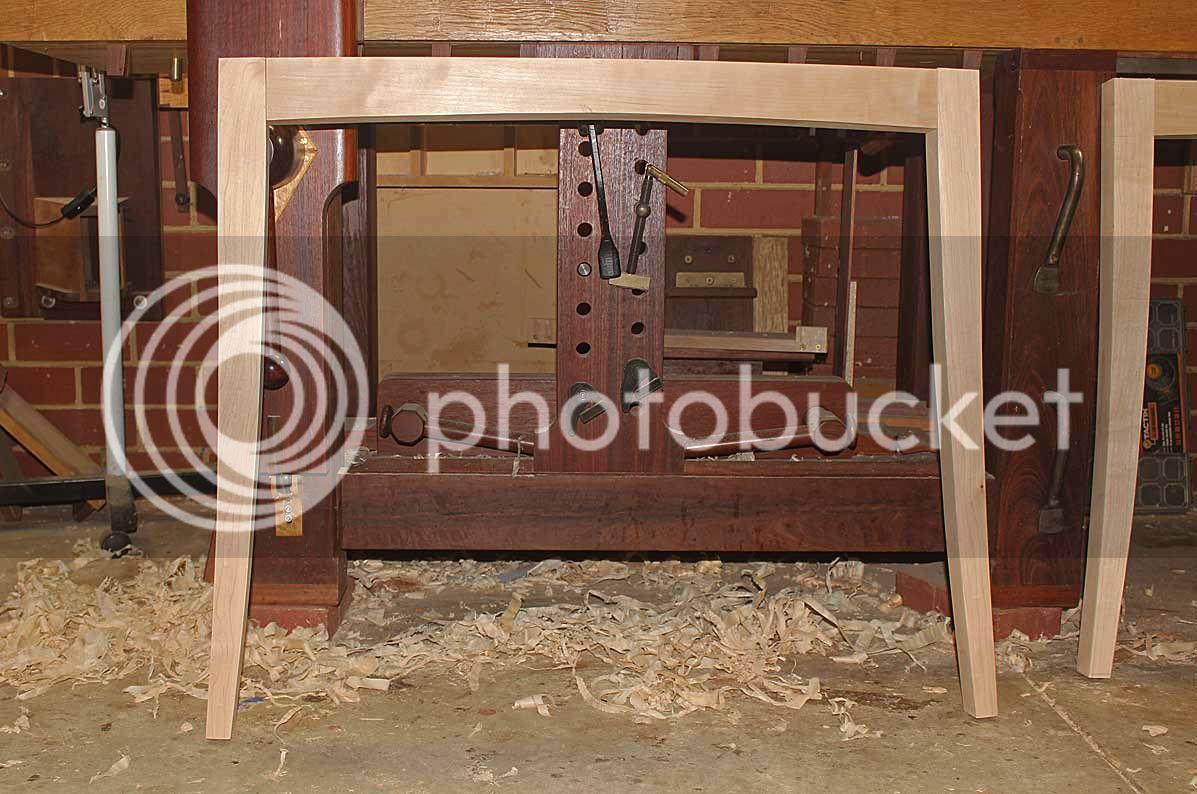
8a_zps5nkn1qee.jpg


I had a day in the workshop, and the following is a summary of the work completed today.

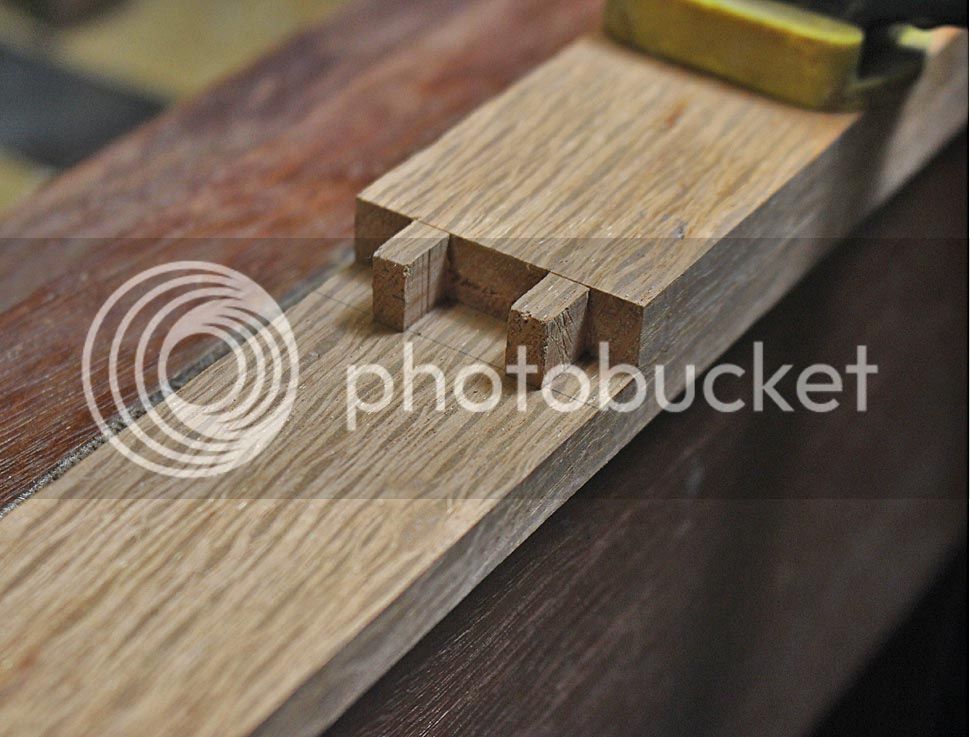
The aim was to make and fit the end rails for the table. I decided to use sliding dovetails rather than mortice-and-tenons: There was little room to add a tenon as much of the space in the legs was taken up with large tenons from the aprons (although working with the 1/3 Rule). A sliding dovetail would provide a compact joint.

A few hours were first spent aligning the aprons and legs. The legs had been cut from the centre of a board, to obtain the best grain arrangement. As a result, there were no registration sides. A degree here-or-there difference in the legs threw off their alignment. Tweaking them into parallel took some time.

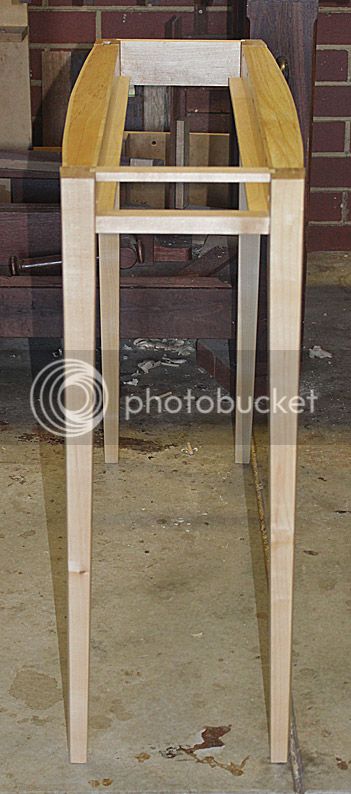
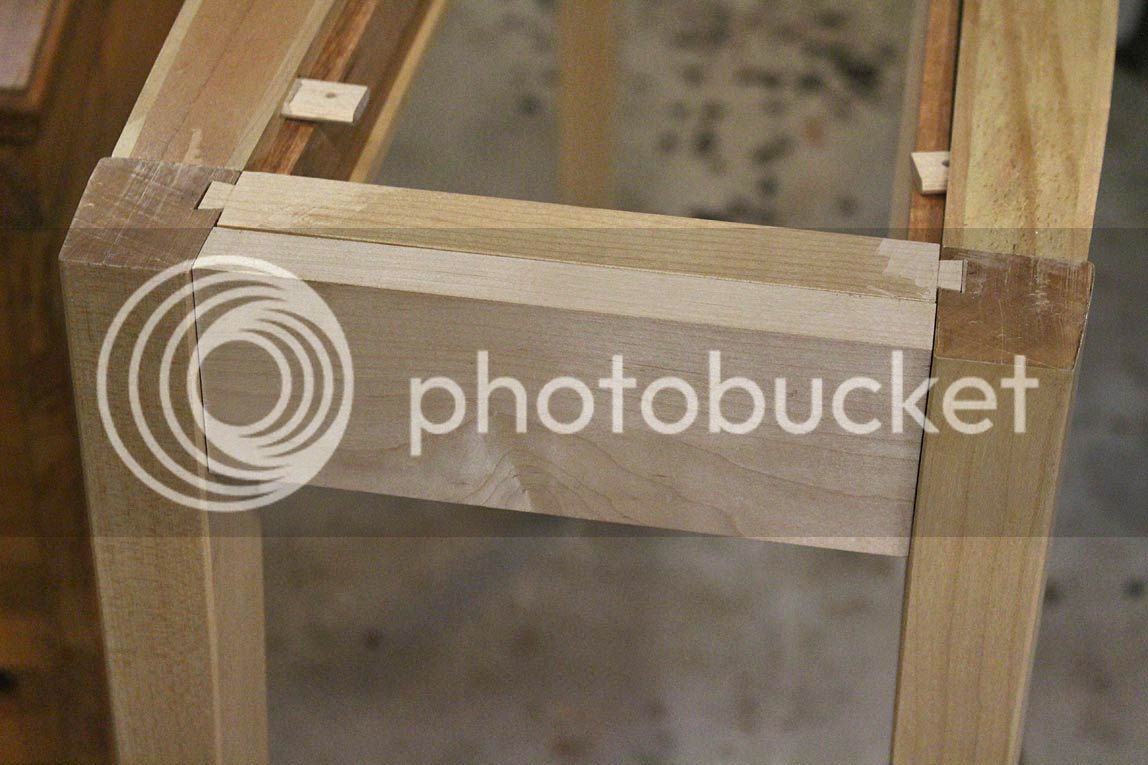
The ends of the table are different. On one side is a solid stretcher. At the other end are top- and lower rails for a drawer. These are below along with the drawer face, which will resemble a stretcher once completed (it is to be a hidden drawer, disguised as a stretcher) ...
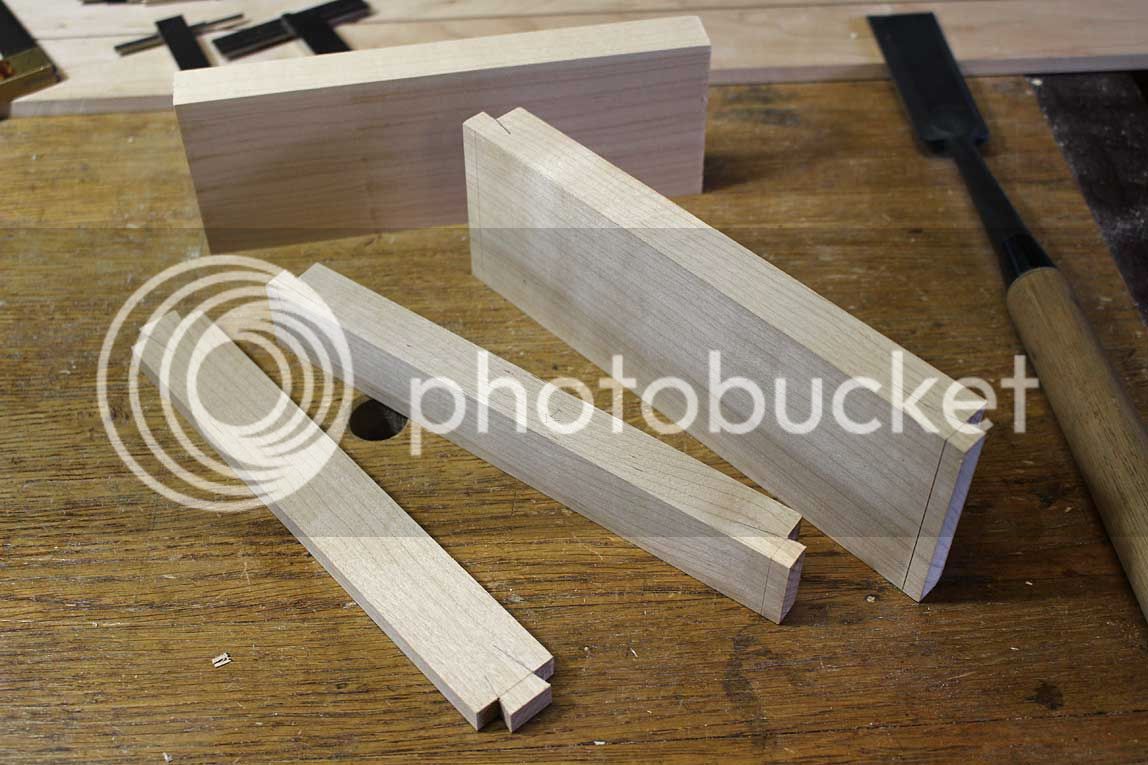
1a_zps3h3ulqtg.jpg


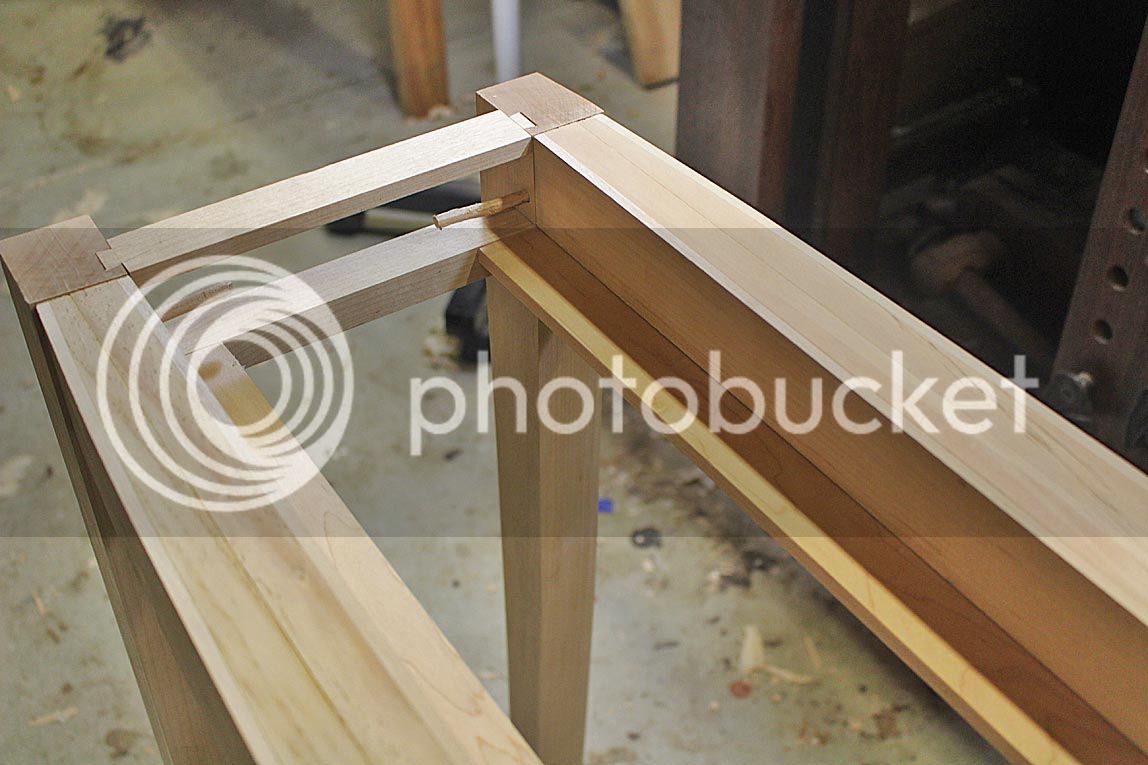
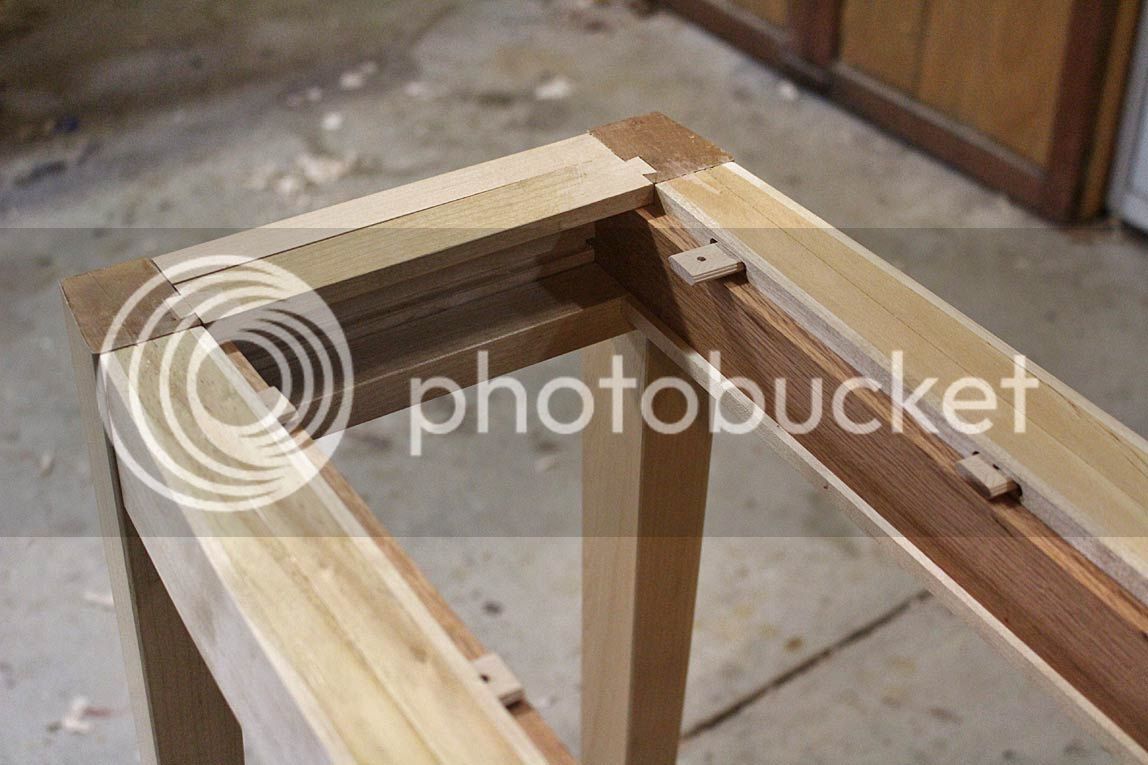
The rails went in this end ...

14a_zpsmlexfyws.jpg


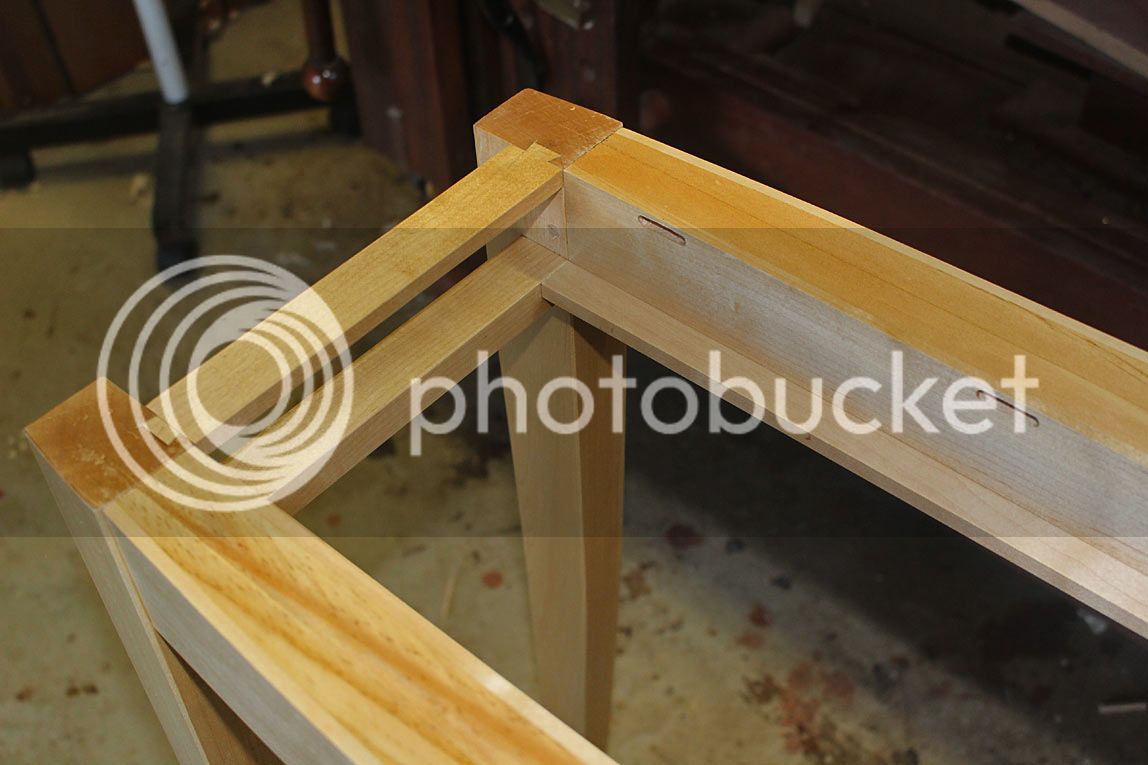
All is loosely fitted for these photos. Drawbore pegs lock the legs to the apron. The lower rail is actually locked by the apron ...
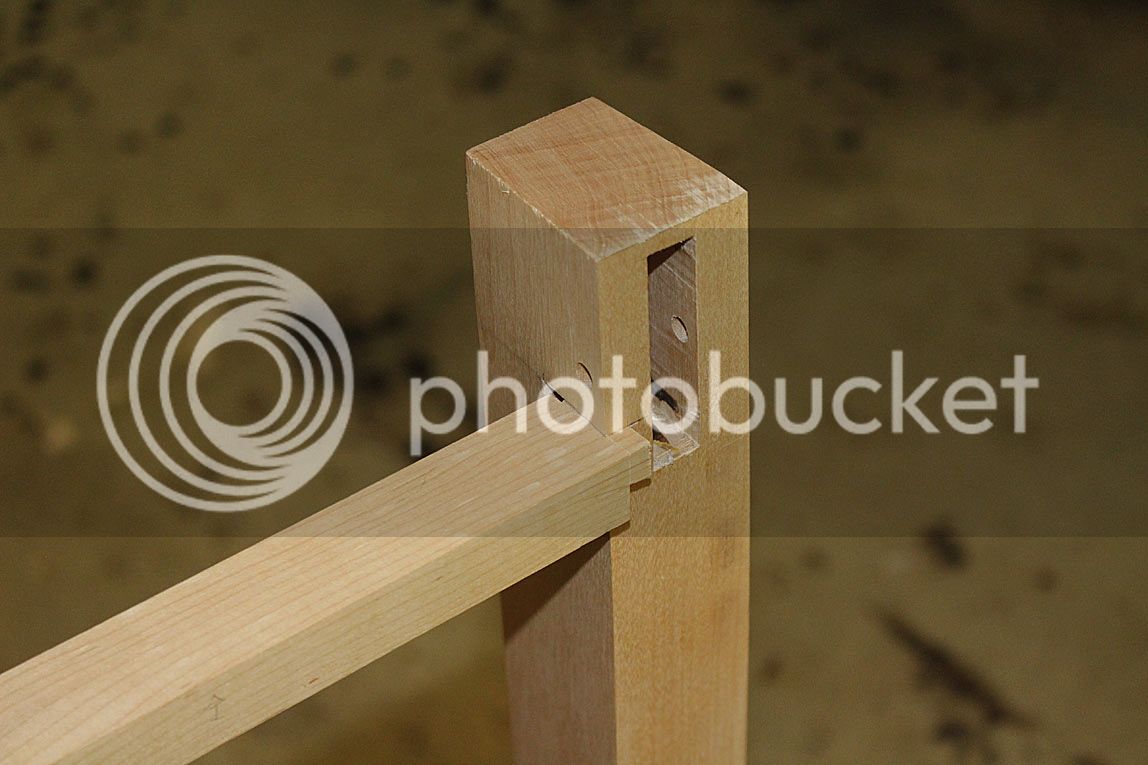
5-1a_zpsxueodzw0.jpg


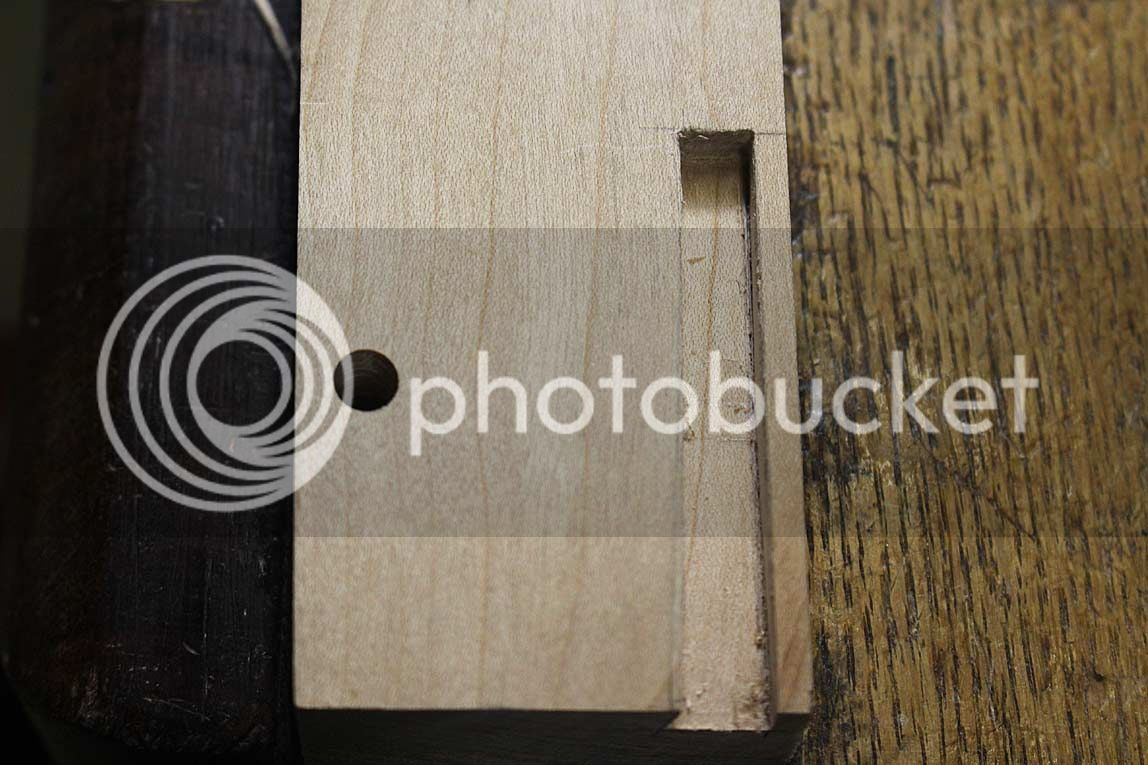
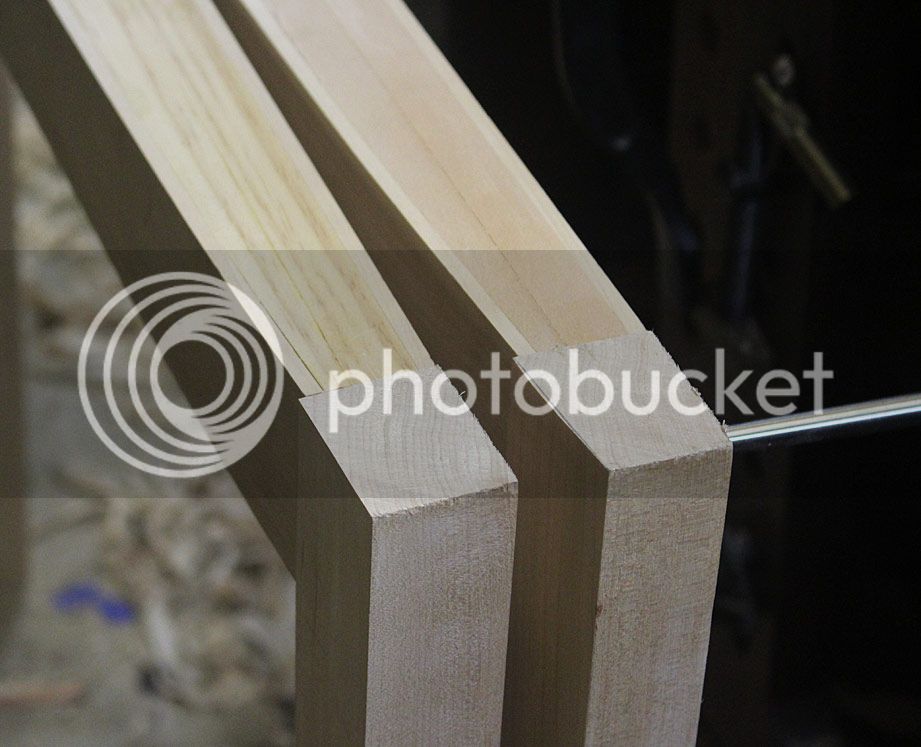
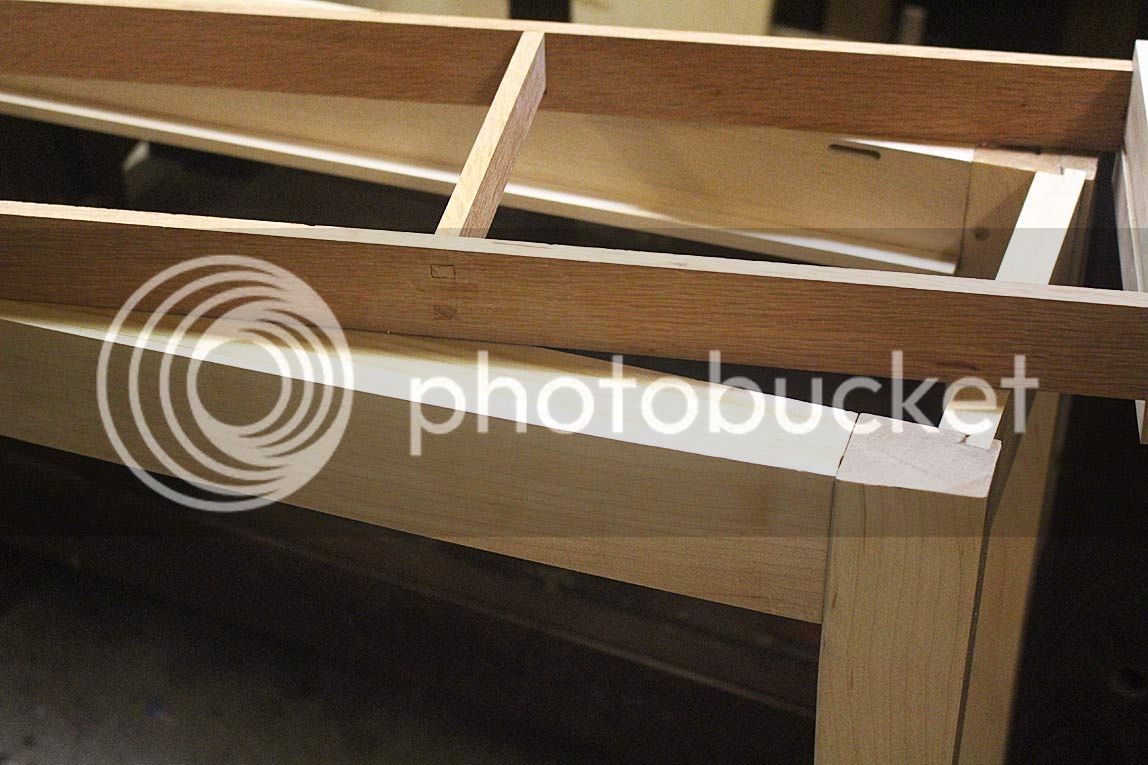
There is nothing special about the sliding dovetail on the lower rails. They are short and, therefore, were left parallel ..
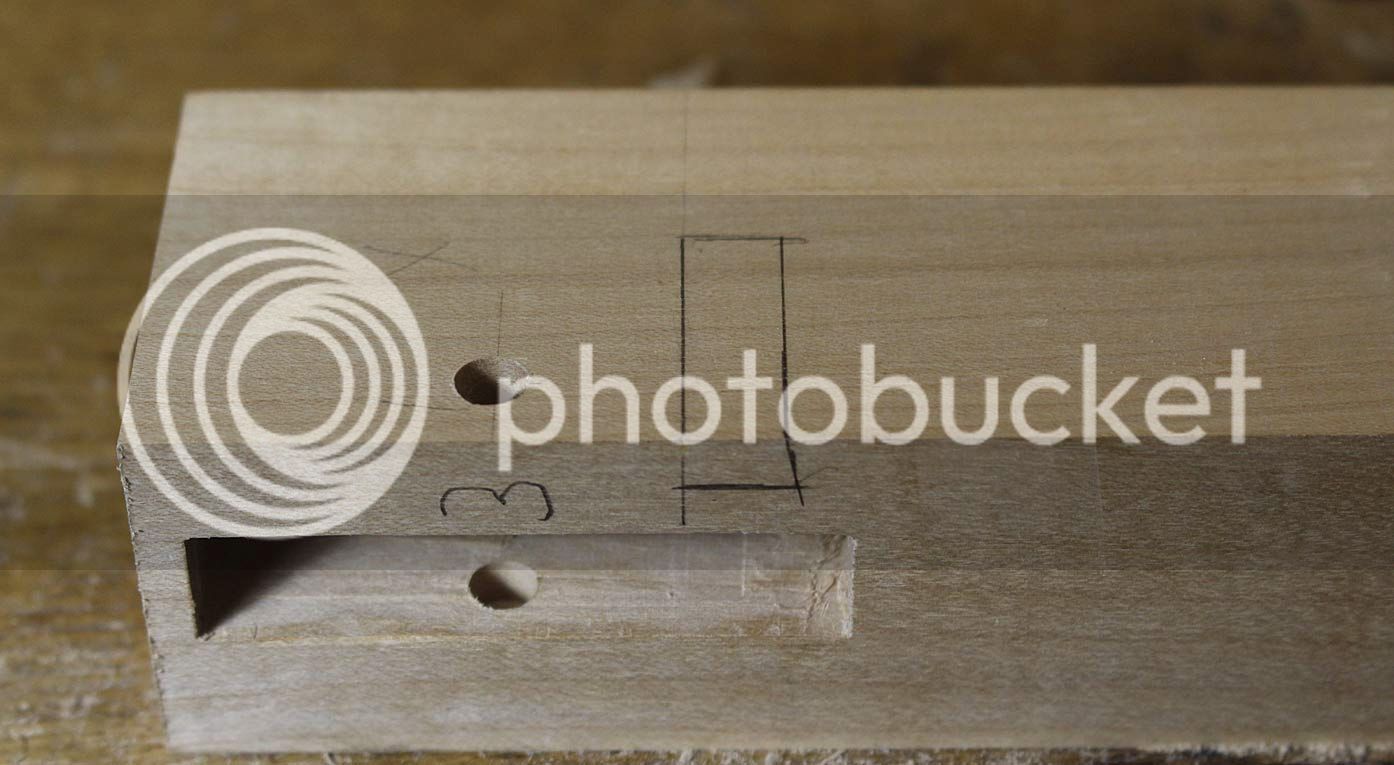
3a_zpsj9qemdt3.jpg


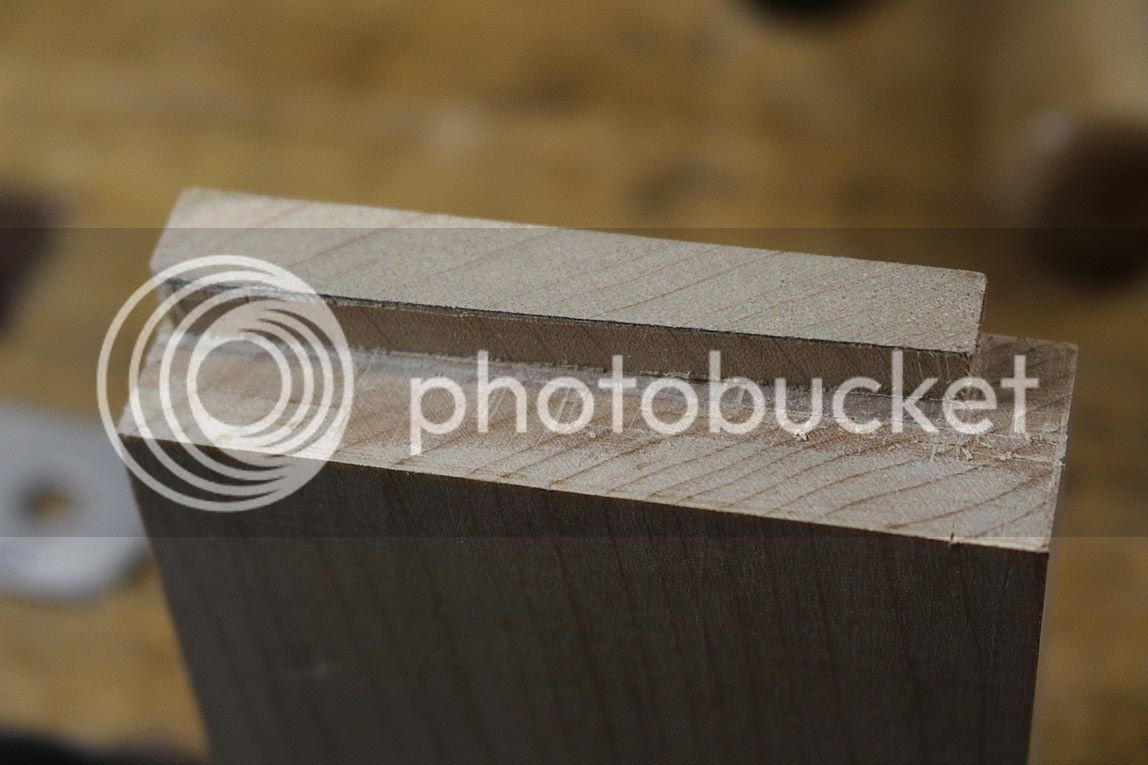
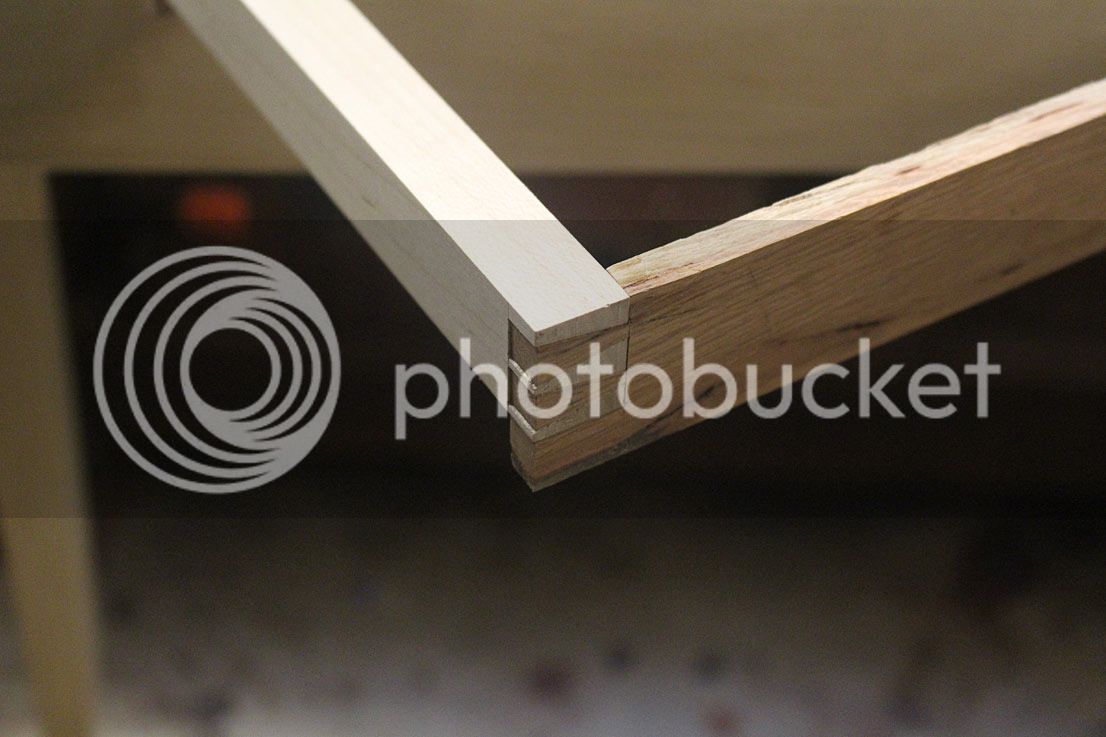
The top rail is simply dovetailed in ...
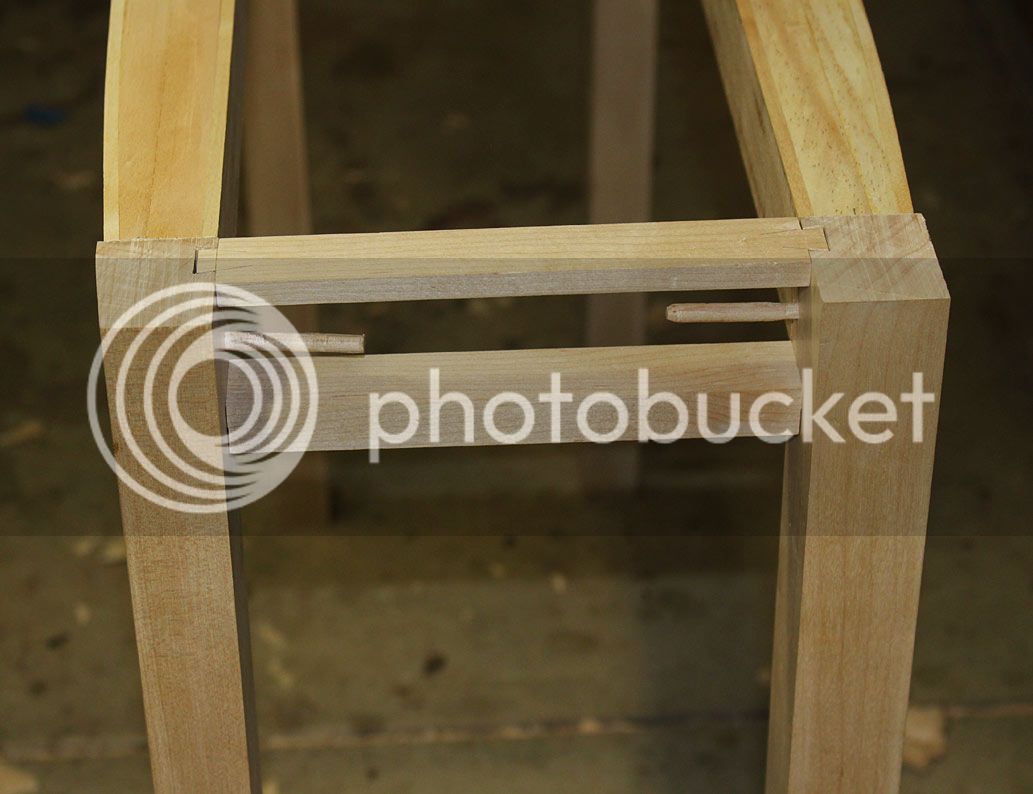
1-1a_zpscik9jmqf.jpg


The top rail is 10mm high and the lower rail is 20mm high. This leaves 39mm for a drawer. No, it is not going to be high! Still, it is part of the fun, and no doubt will be a interesting talking point and find a use.

At the other end of the table is a solid stretcher. If you look at the left side leg, you will notice that the top of the mortice has broken out. This was caused by attempts to unstick a peg - which I thought was tapped in lightly, but broke off when I tried to twist it out (damn!). After this, I kept it all loose.
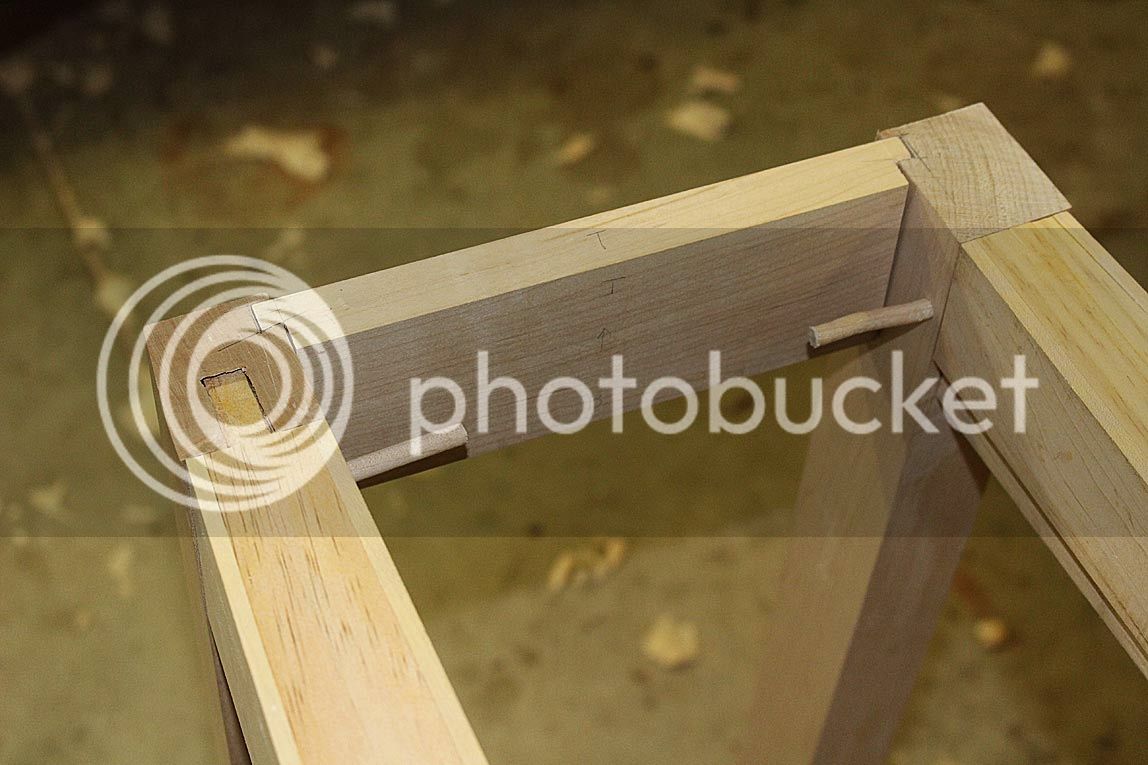
1-2a_zpsvfevejwn.jpg


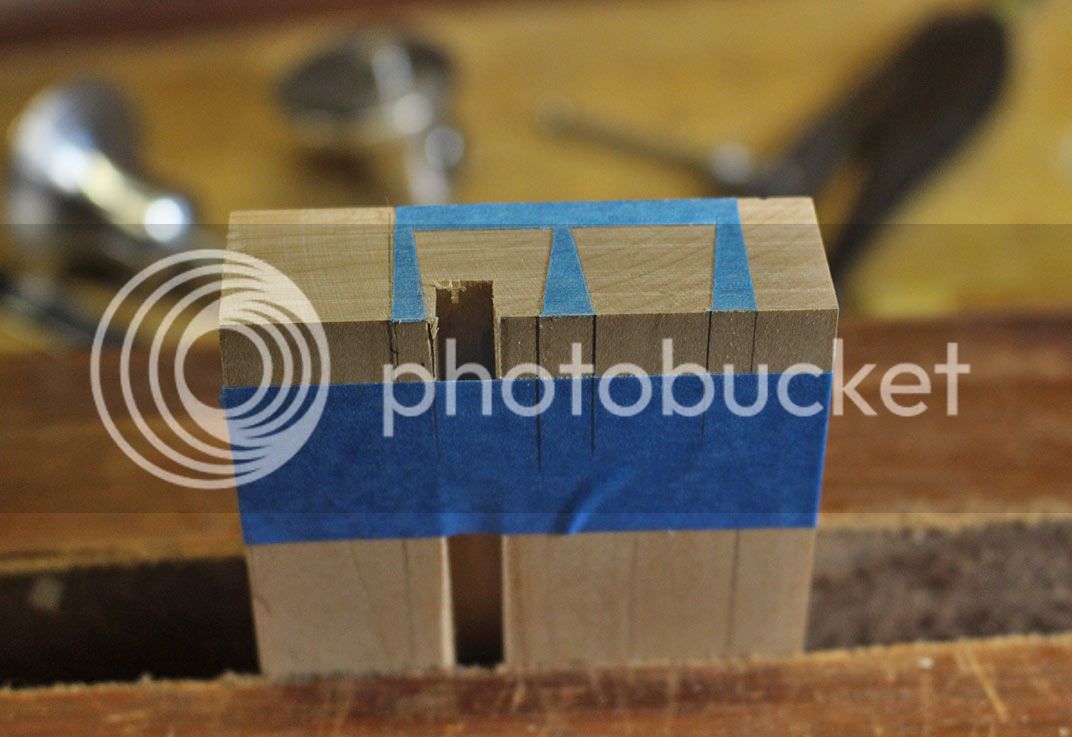
This stretcher has a tapered sliding dovetail at each side ...
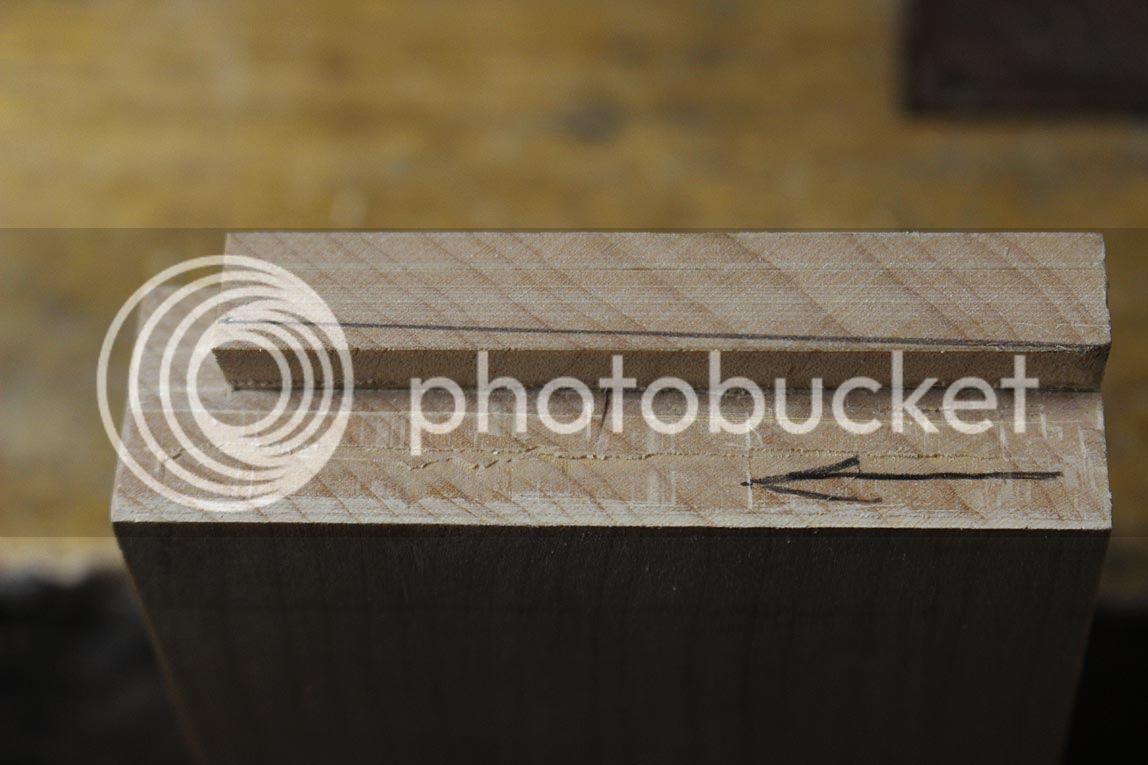
6a_zpsznxrexft.jpg


10a_zpso6xtc74z.jpg


11a_zpssdtmeonm.jpg


All of the sockets were marked, sawn and chiselled.

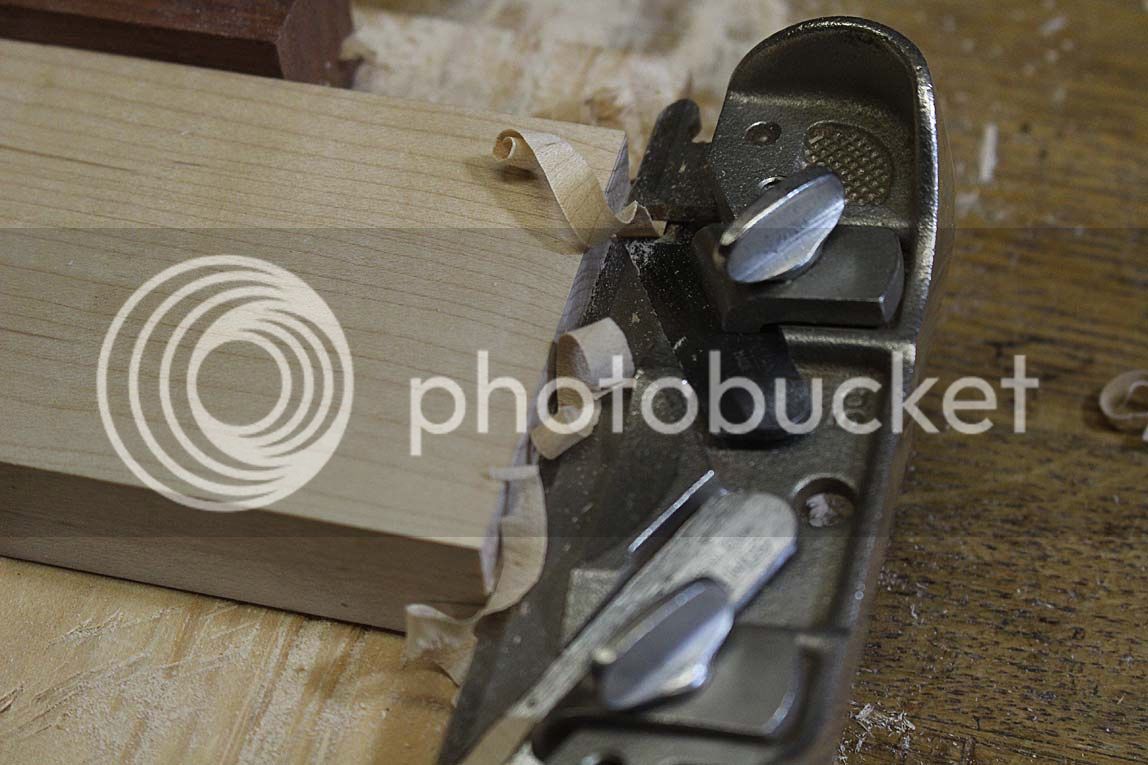
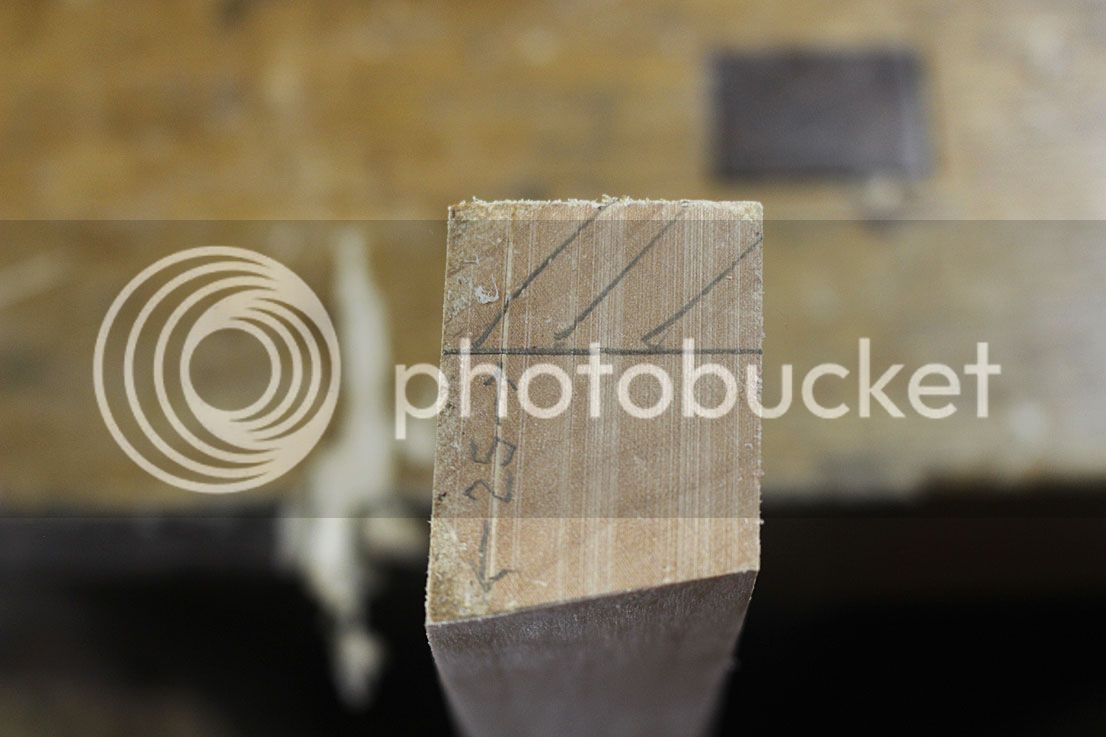
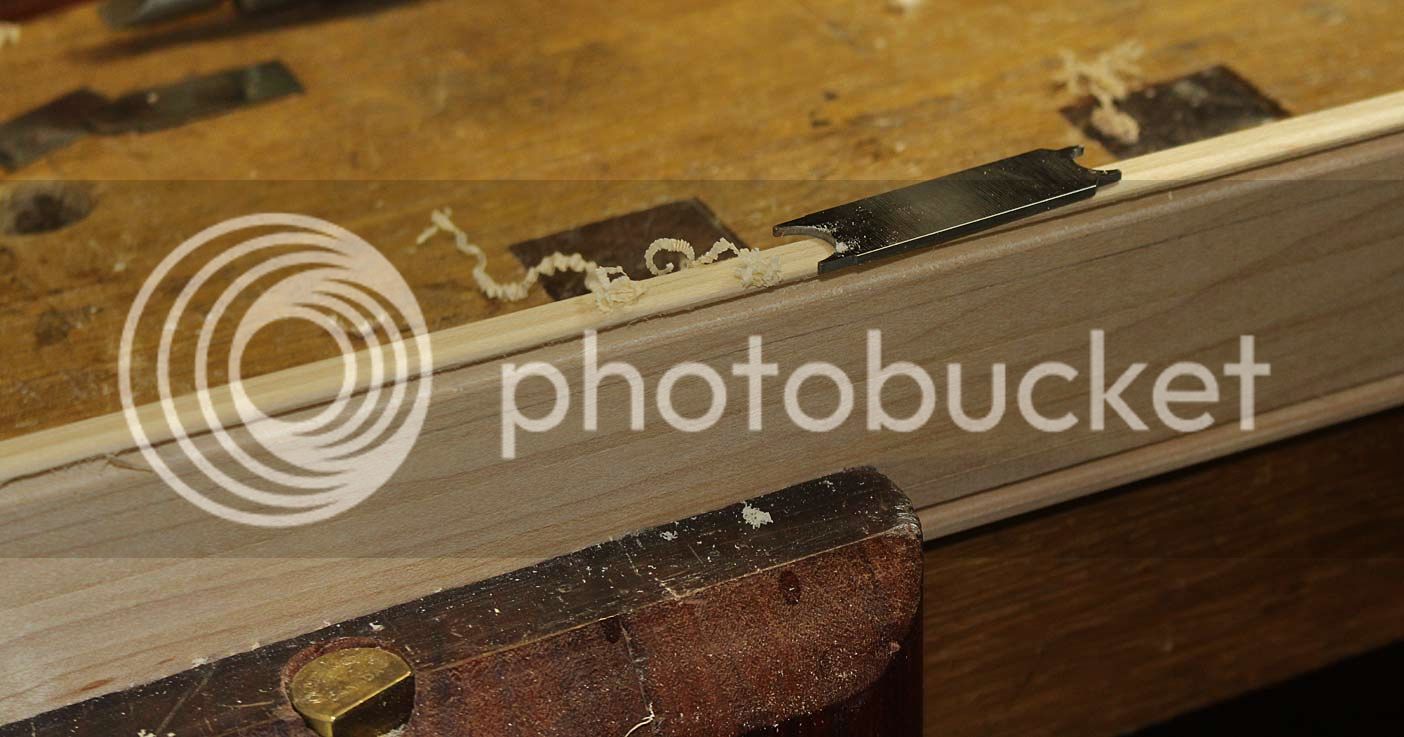
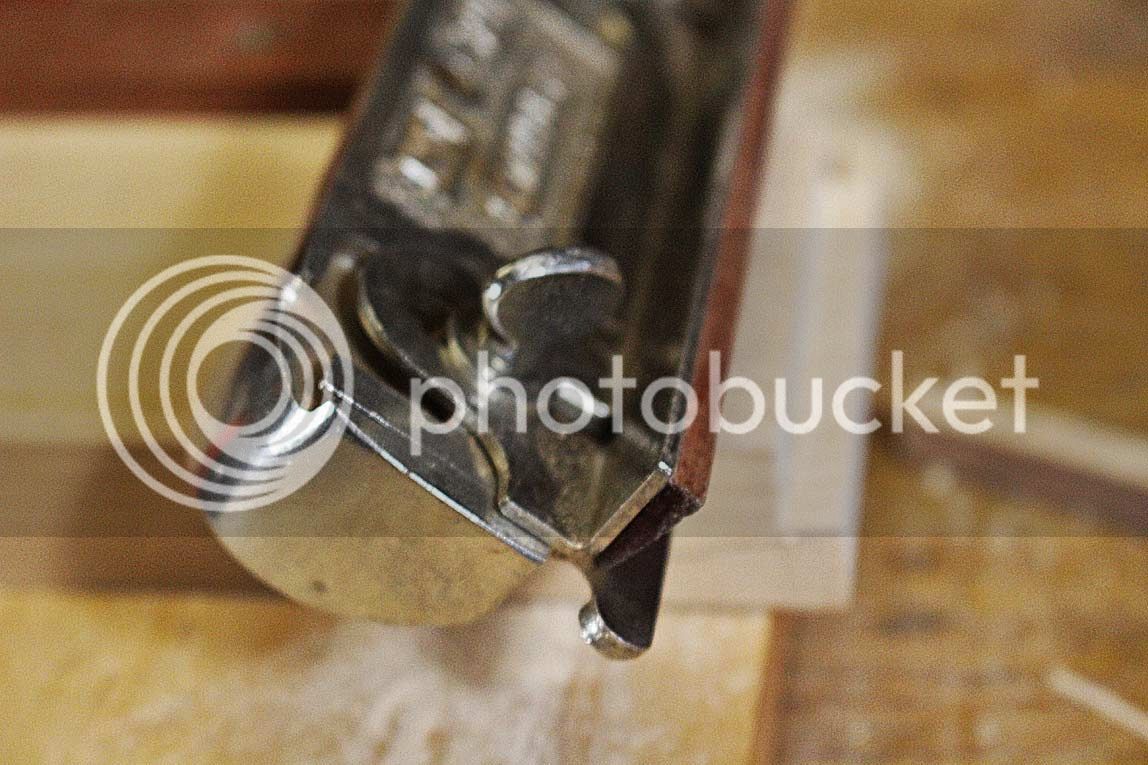
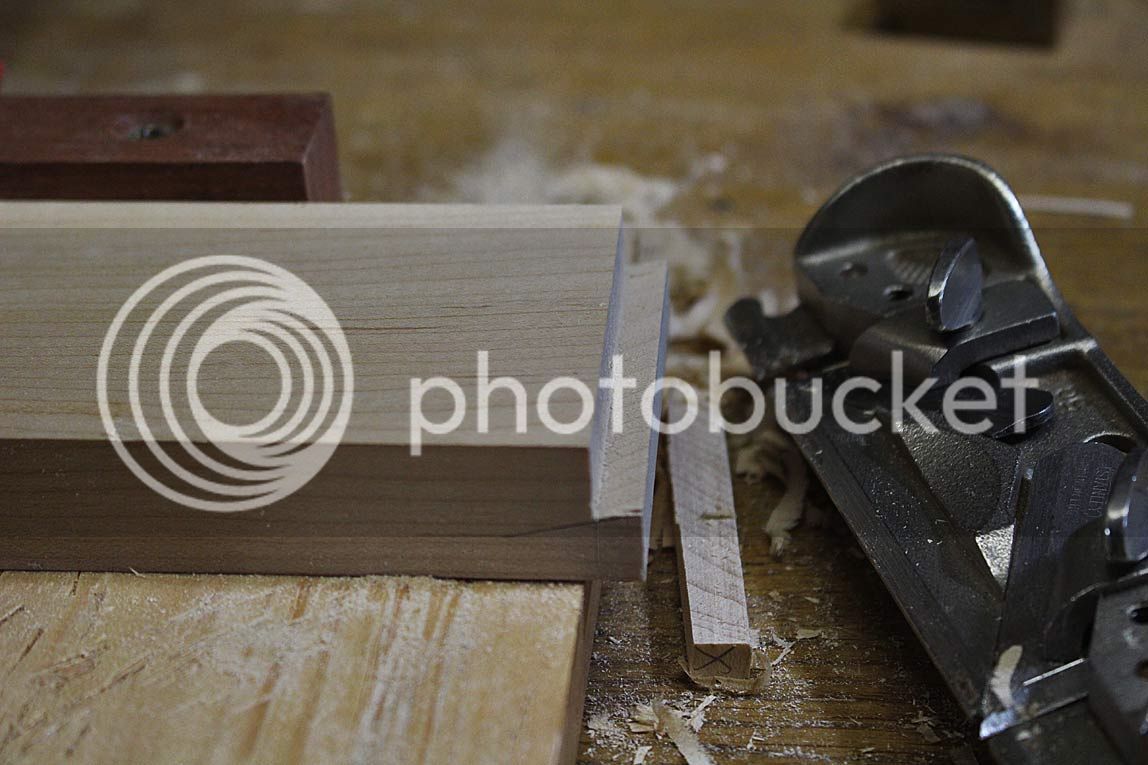
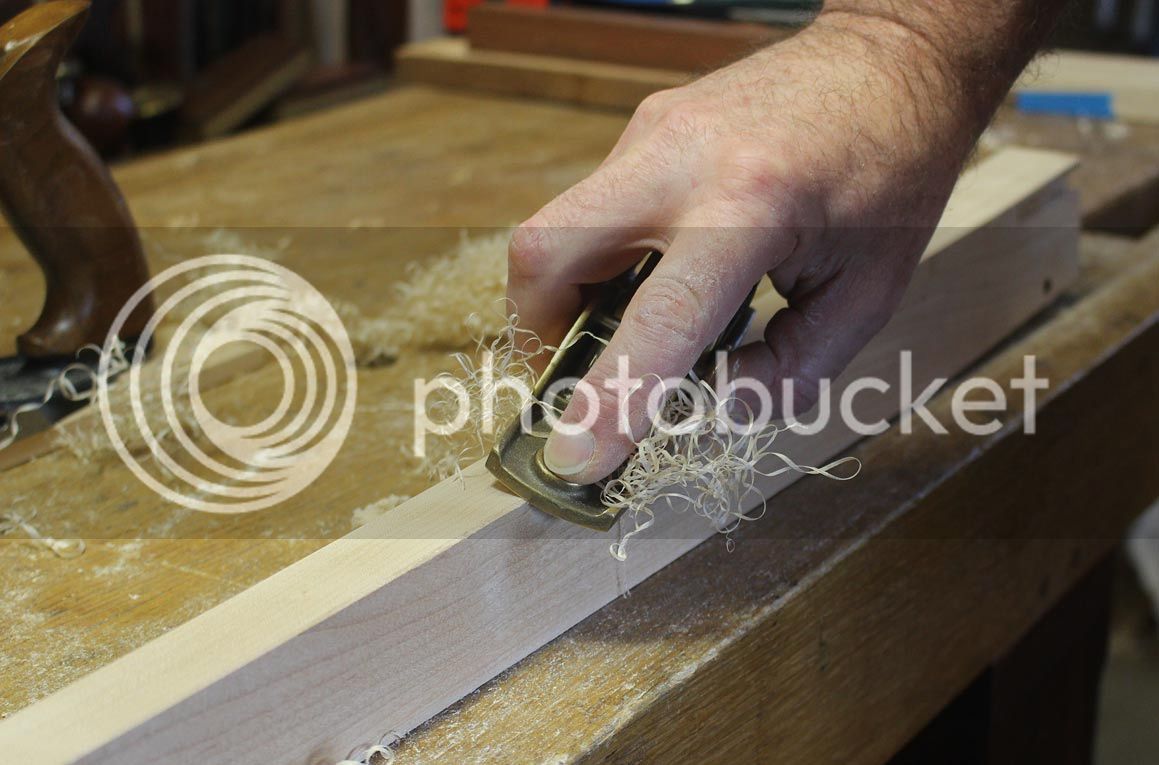
The dovetails were planed with a modified Stanley #79 side rabbet plane. The modification involved an angled fence ...
dovetail-plane3_zps8oxg5wta.jpg


dovetail-plane2_zps4lcpclvz.jpg


dovetail-plane1_zps8ft18eje.jpg


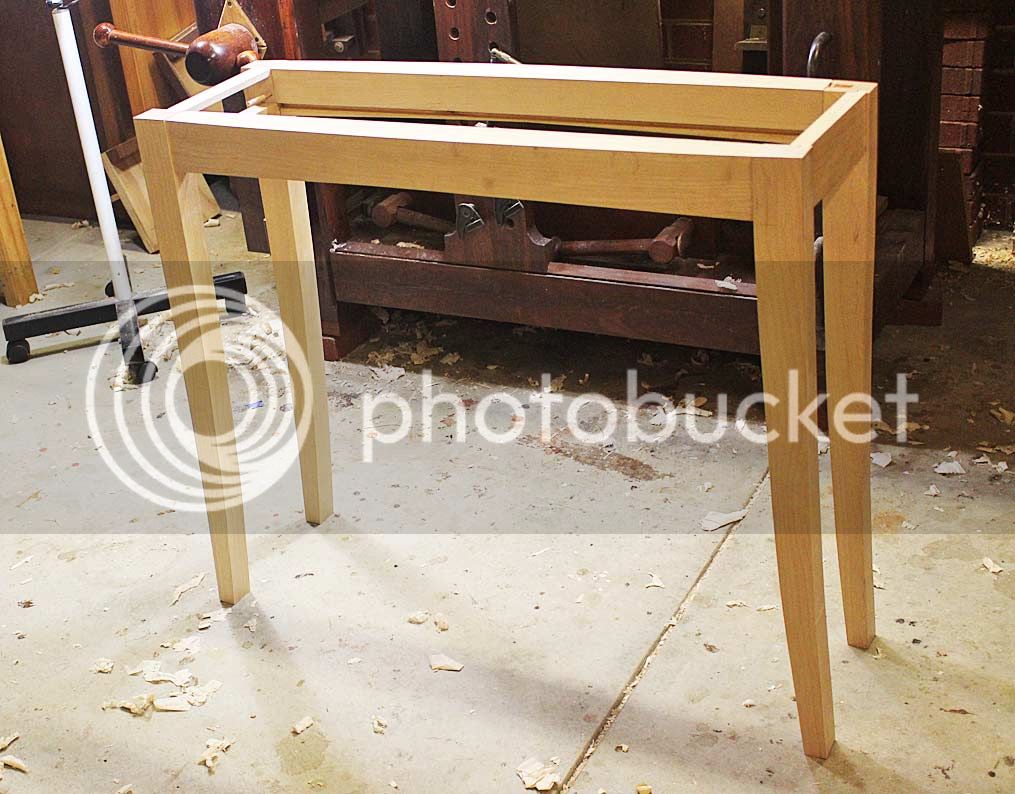
Finally, this is where I am up to with the sofa table. The front legs need to be rounded, and all the legs are yet to be tapered on the insides. There is clean up to do, a drawer to build, and the tabletop to resaw and shape.
16a_zps5qf9yfch.jpg


Regards from Perth

Derek
 
Earlier posts on the Sofa Table build may be found here:

http://www.inthewoodshop.com/Furniture/ ... prons.html
http://www.inthewoodshop.com/Furniture/ ... -Legs.html
http://www.inthewoodshop.com/Furniture/ ... Rails.html

We are at the stage where the legs are to be completed and the base will be glued up.

Now Bill will nag me to death if I do not provide more detail this time around, so blame him for the extra photos. :)

The first item on the agenda was to add a curve to the front of the legs that paralleled the table top bow, and continued that from the apron. Two legs had been completed near the beginning of the build. This was premature as I lost a parallel side when the legs were required to be planed on the bench or held in a vise. As a result, the other two legs were left until this stage.

Here is an unshaped leg (on the left) and a shaped leg (on the right) ..

7a_zpsvgnbnvxo.jpg


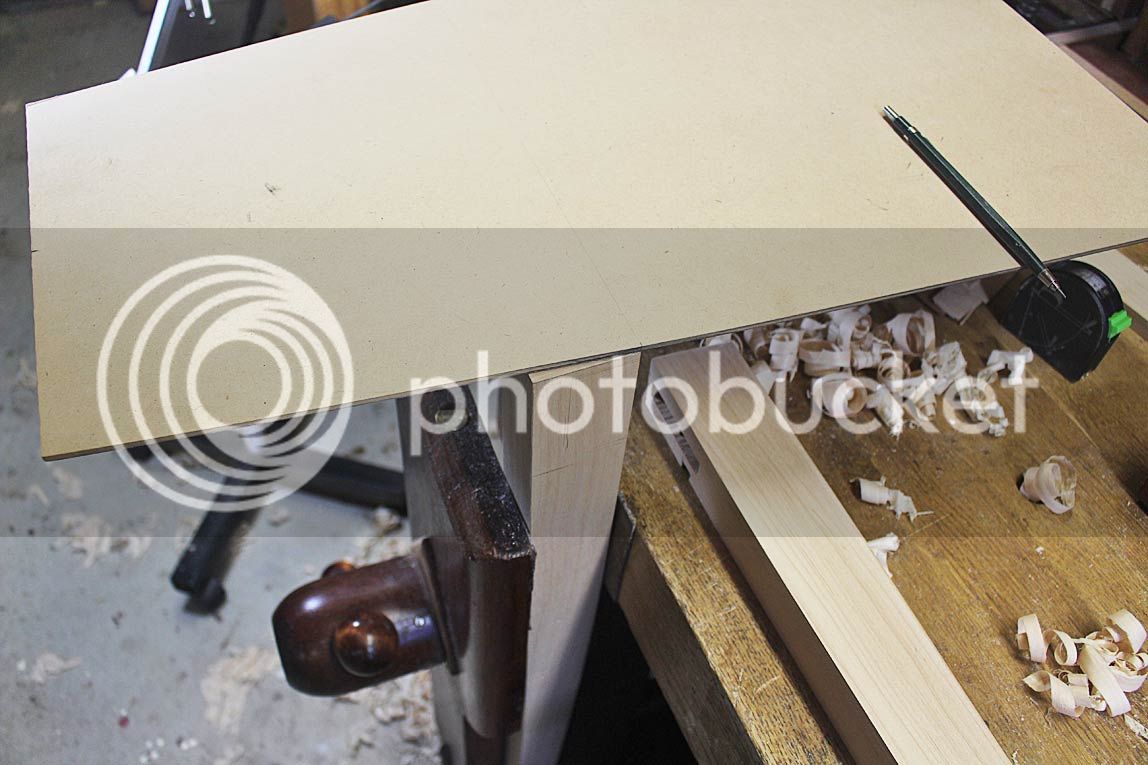
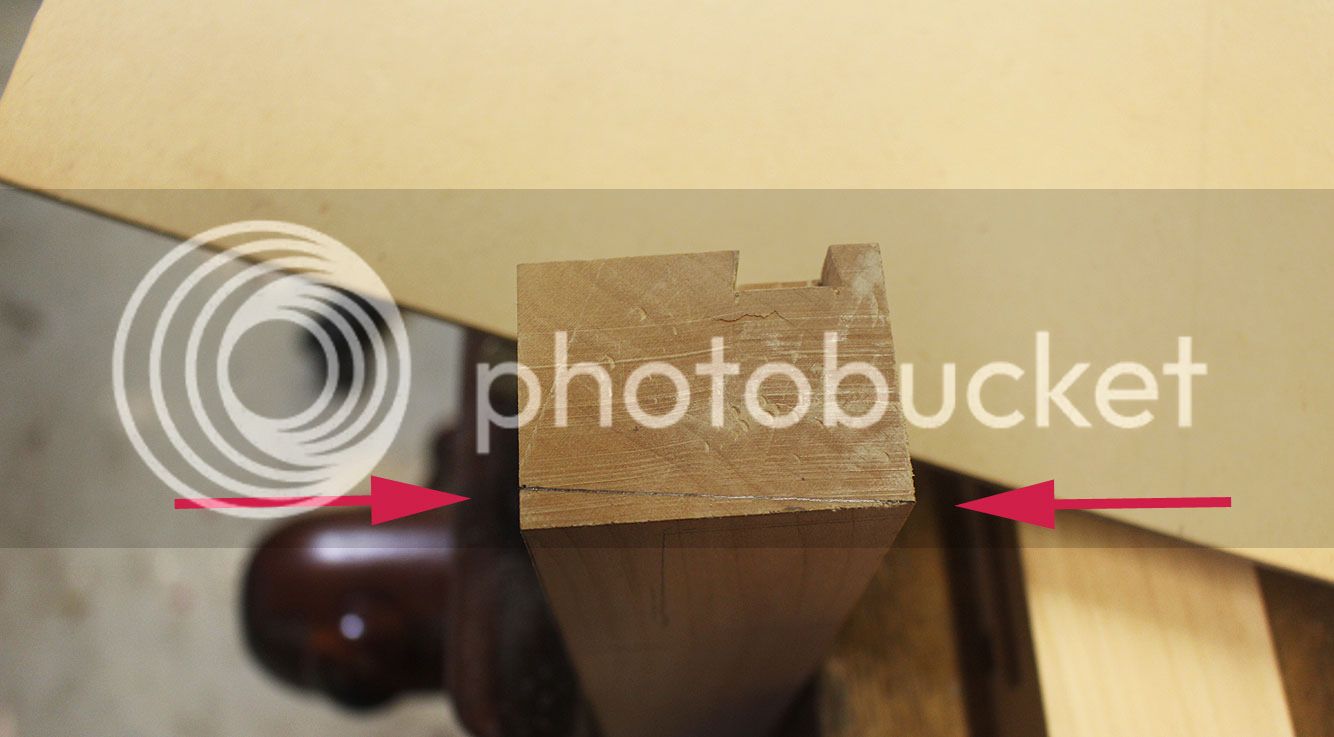
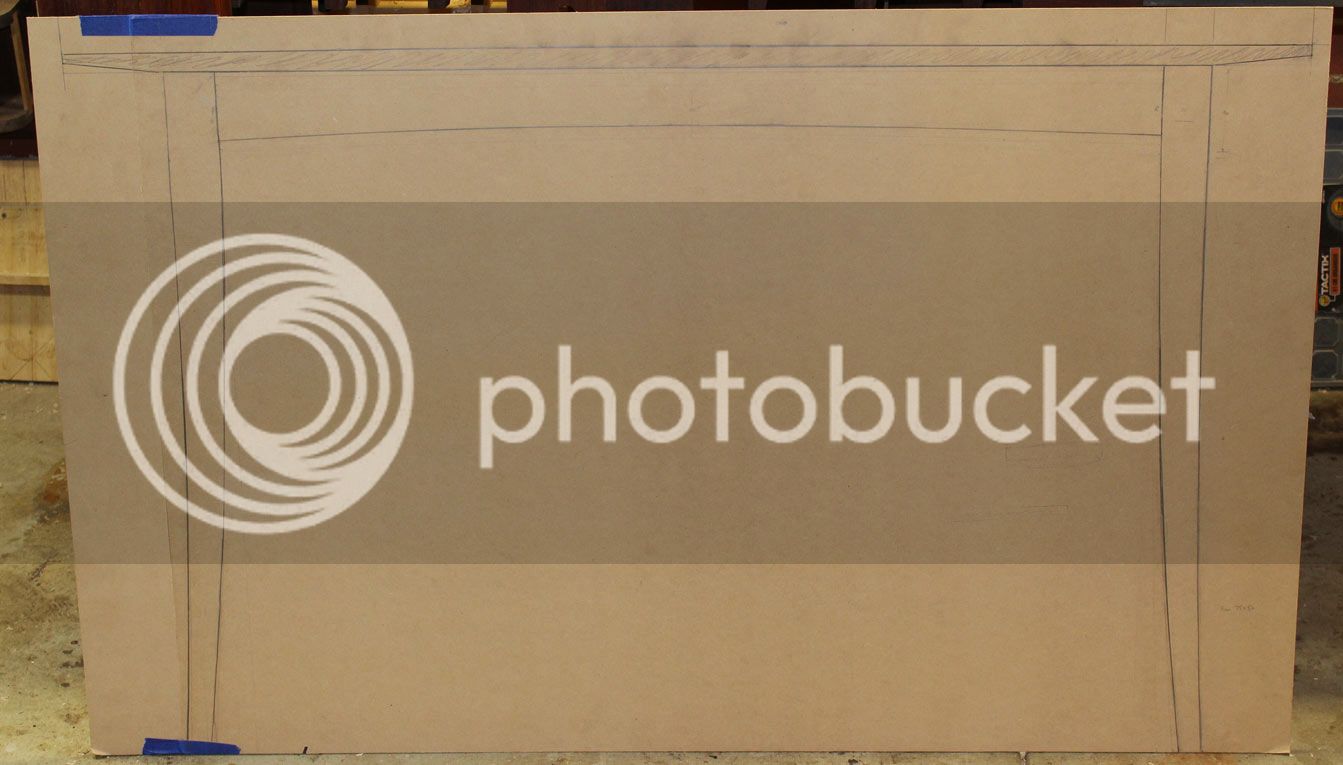
The curve was drawn in using a template of the top ...

1a_zpsclzwtfnr.jpg


2a_zpslpbqpt5p.jpg


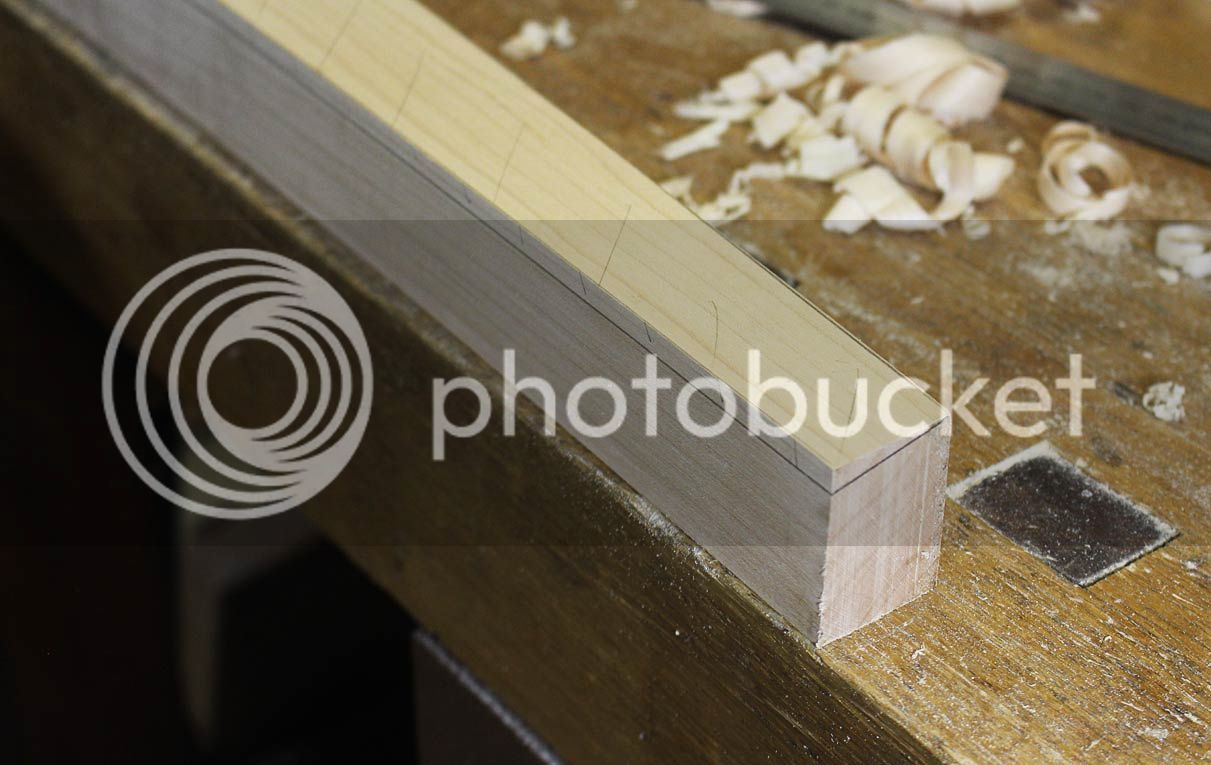
The curve was continued down the leg. In all, it removed 5mm.

3a_zpsqyctqz3n.jpg


The waste was removed with a handplane.

Once the curves were added, the legs needed to be tapered on the inside. The aim here was to create the illusion that the legs were slightly splayed. They are, in fact, 90 degrees on the outside, since the added curve is constant down the legs.

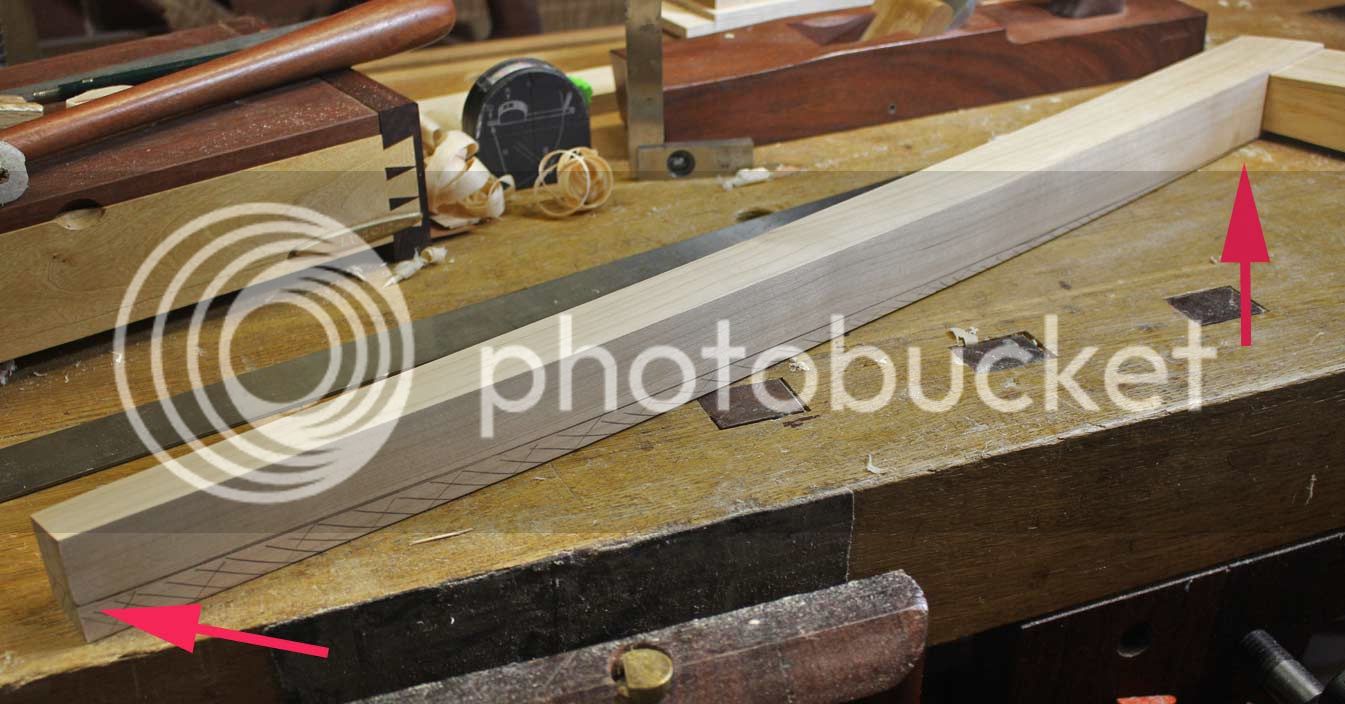
The width of the leg at this stage is 40mm. It will remain this width down to 5mm below the apron, and then taper to 25mm at the foot, thus ...

4a_zpsjlmpq9yg.jpg


Here the bevel is drawn in and the line may be seen where it ends below the apron ...

5a_zpsf7eurm7j.jpg


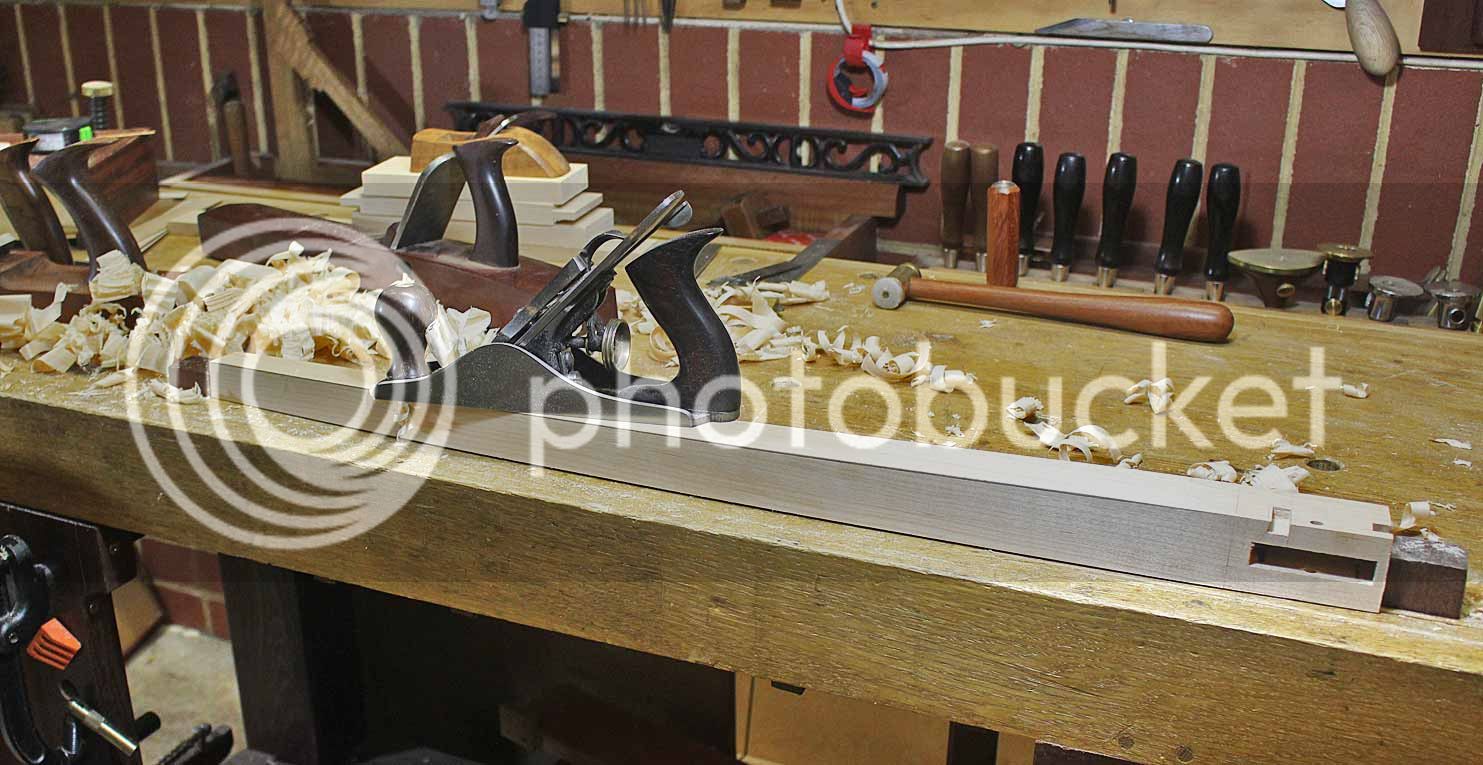
As with other waste removal, I found it easier to use shorter planes, first a jack and then a #3 than a long plane, such as a jointer ....

8a_zpsn5amhmus.jpg


Once this was completed, the legs were essentially shaped, and the next task was to, firstly, smooth everything perfectly ...

1a_zpstjigneta.jpg


... and, secondly, to freehand a 2mm bevel to all edges (all sides of the legs and the lower edge of the apron) ...

3a_zpsg8da4lh2.jpg


The reason for the 2mm bevel was that the shadow line juncture of the apron and legs is 2mm. The bevel on the legs will blend into the sides of the apron, thus ...

1a_zpsdqmqgjk0.jpg


All parts were dissembled and finished in 2 coats of Ubeaut White Shellac. This is an unwaxed concentrated shellac (diluted 50:50 in denatured alcohol/methylated spirits) which adds the very lightest touch of amber to the pale Hard Maple. It brings out detail and seals the wood. Then 3 coats of General Finishes Satin water-based poly were wiped on-and-off. The GF provides a finish that will retain the pale colour of the wood, and avoid the yellowing that occurs with oil-based finishes. This is the process I used when finishing the Hard Maple doors and drawers in the recent kitchen built, and the sofa table is intended to be an associated piece.

The finishing process for the kitchen is here: http://www.inthewoodshop.com/Furniture/ ... build.html

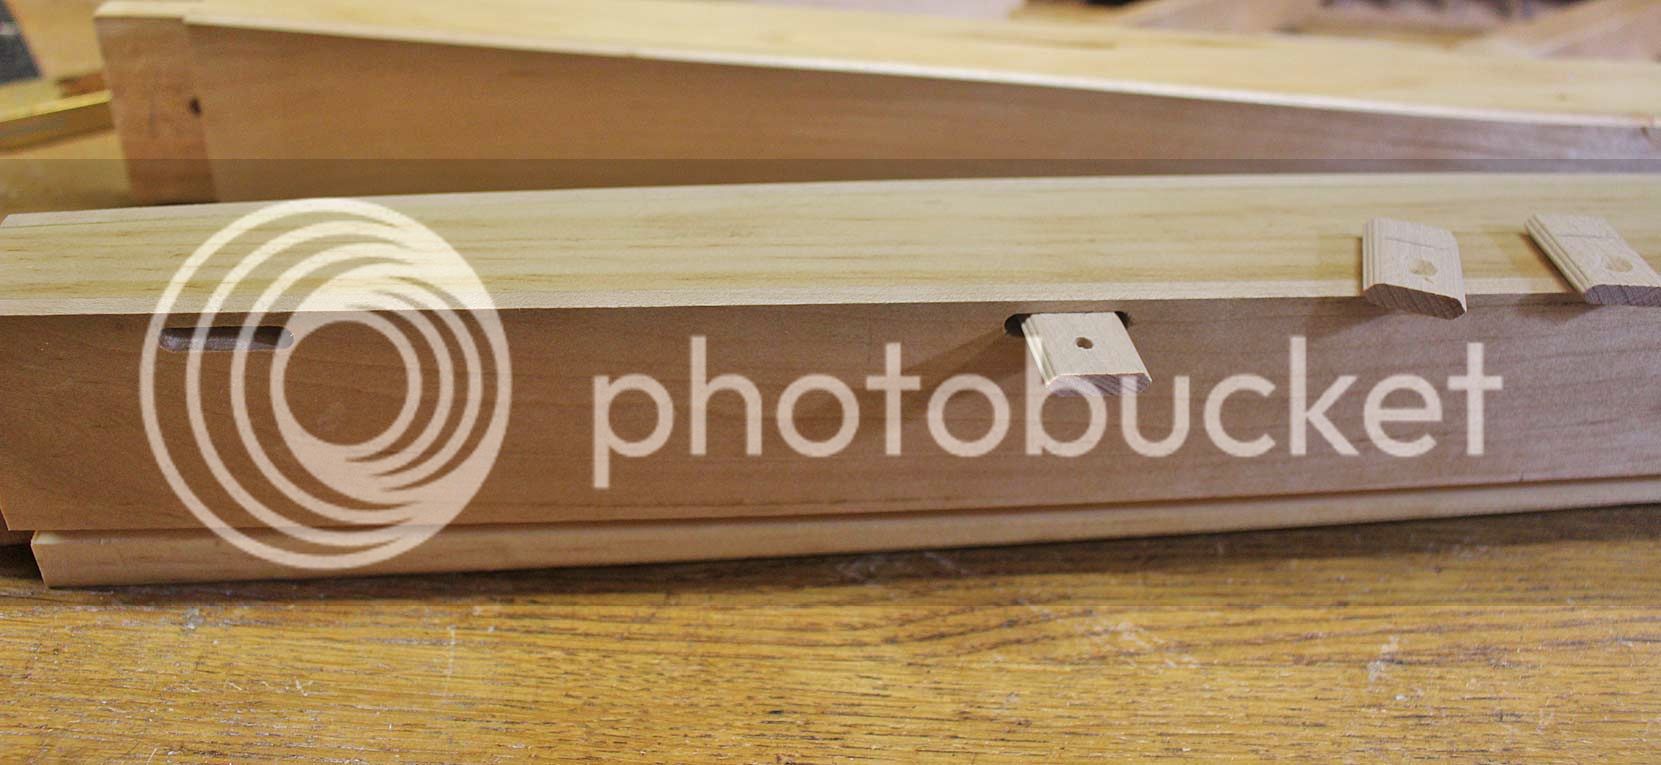
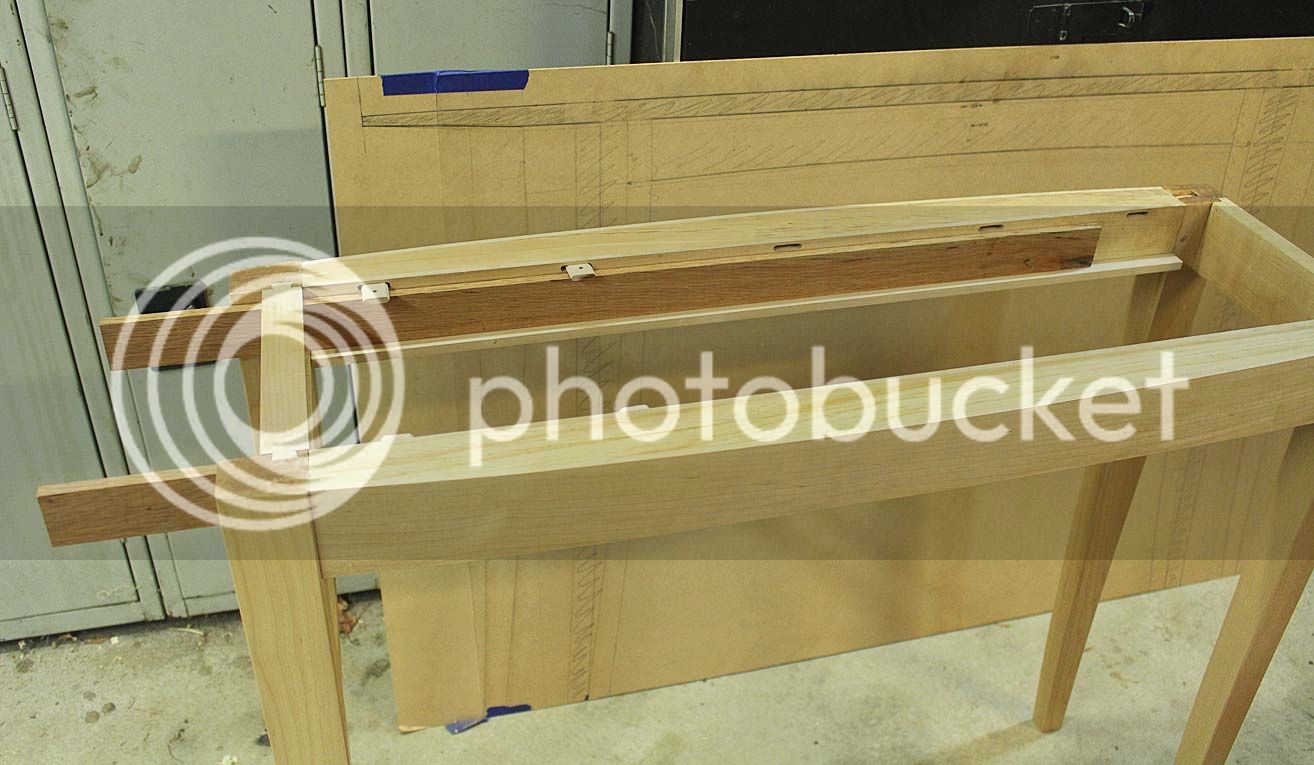
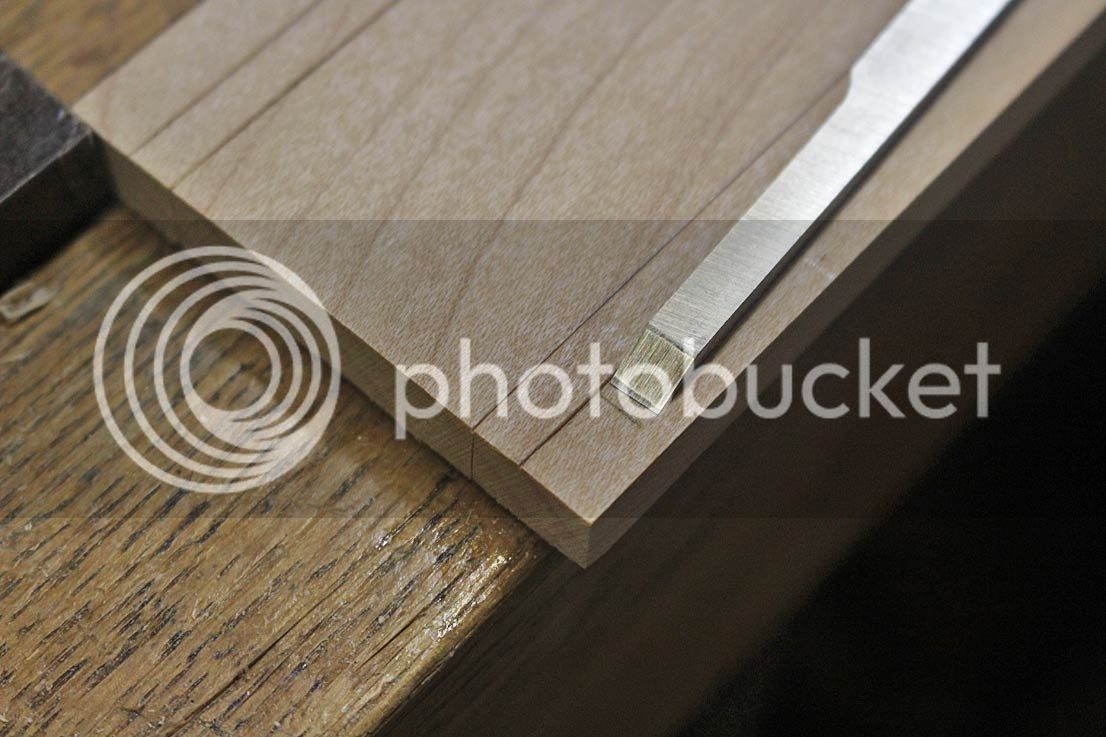
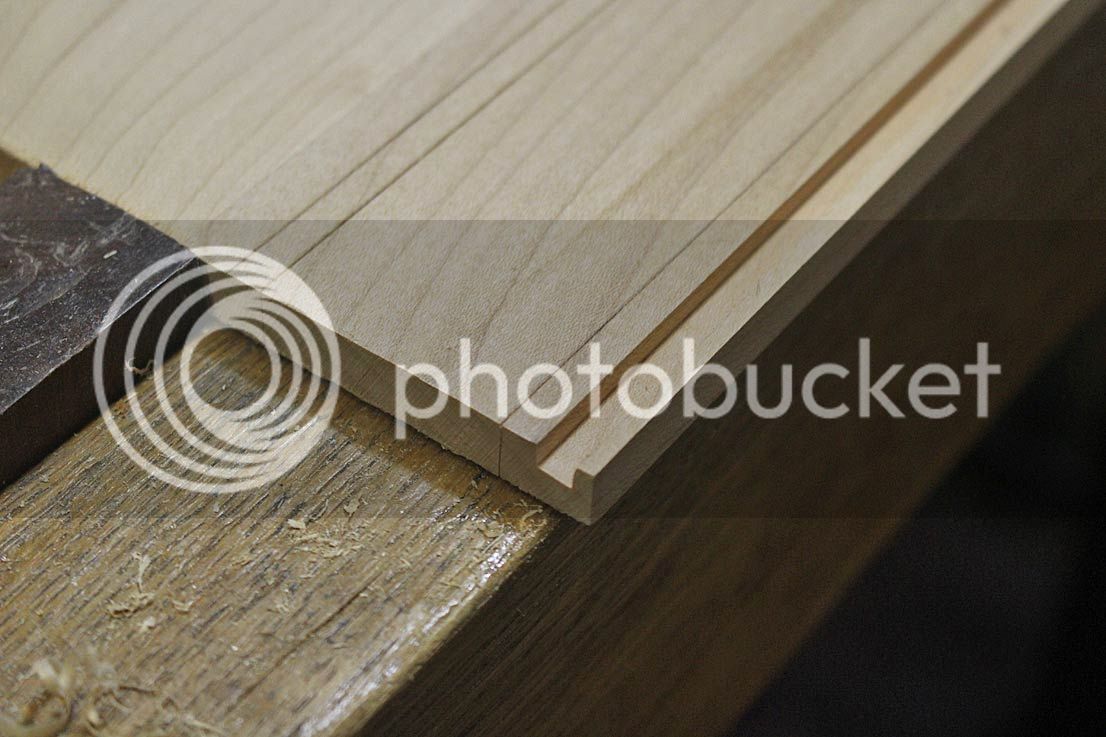
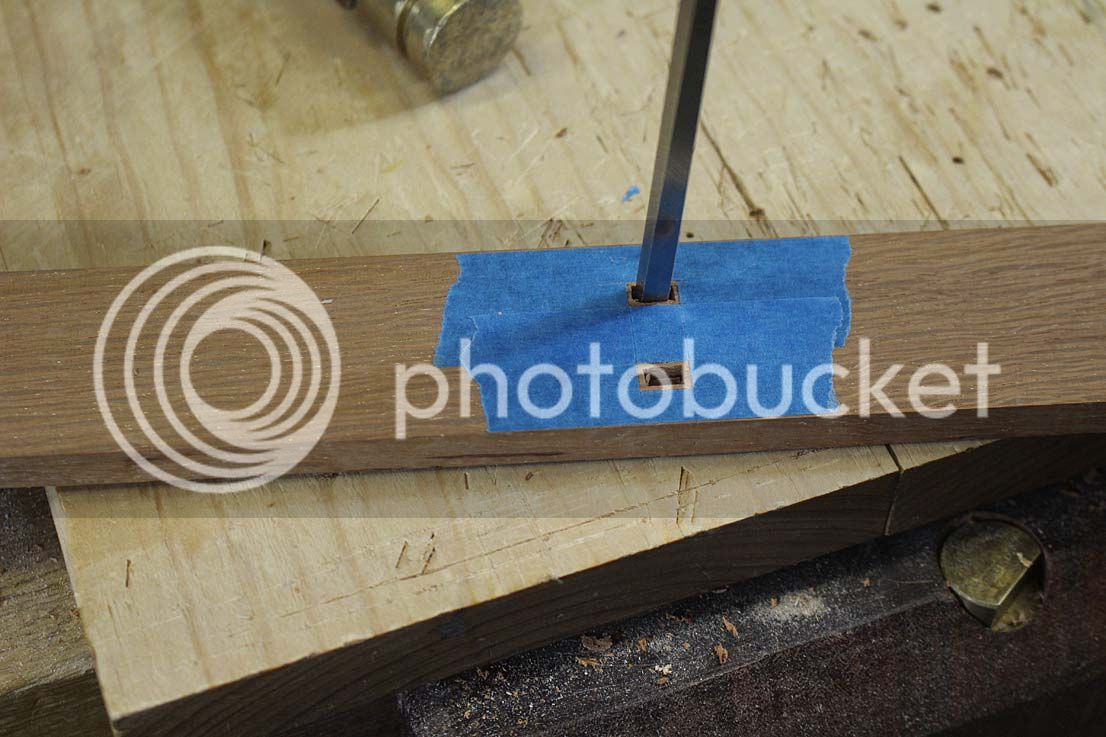
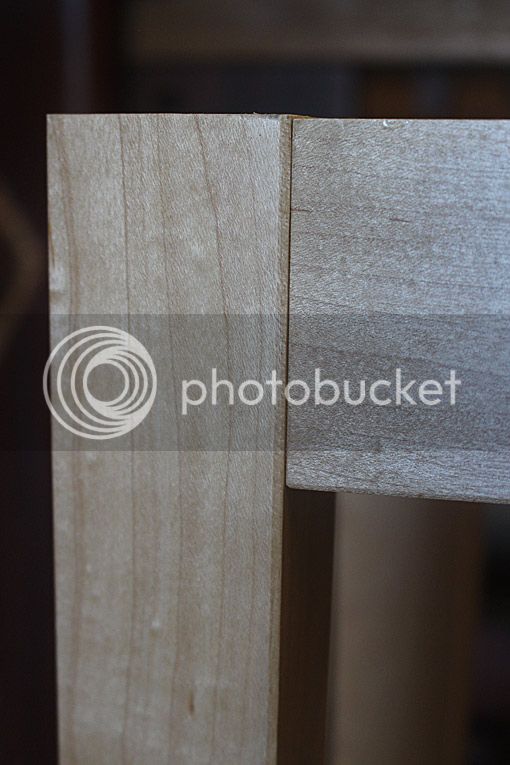
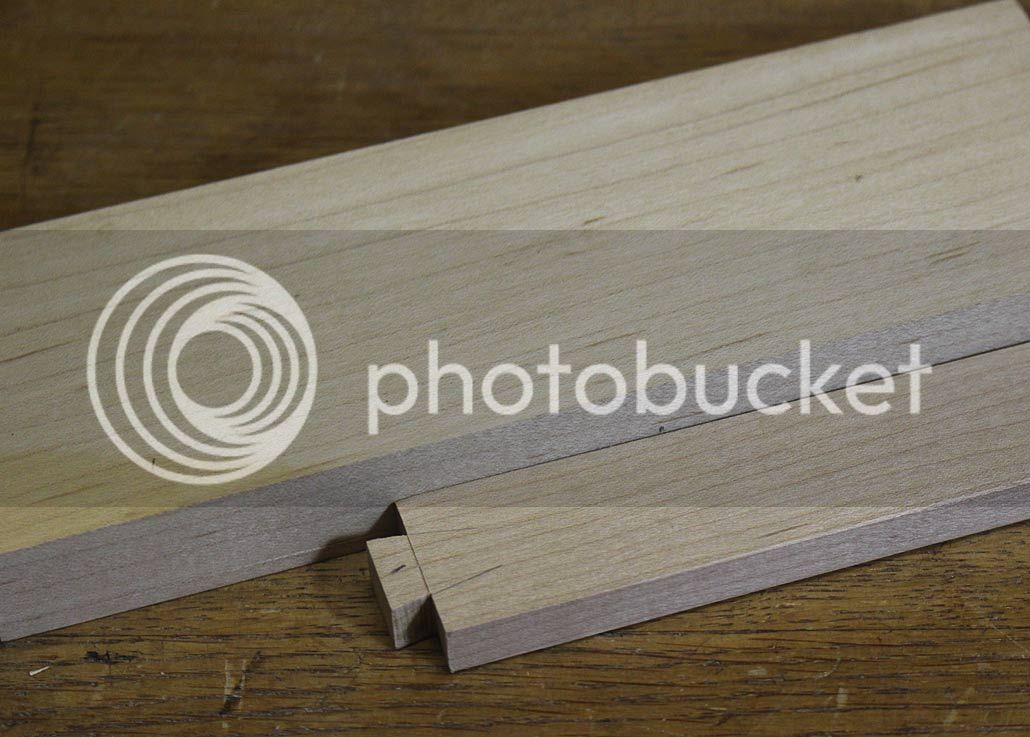
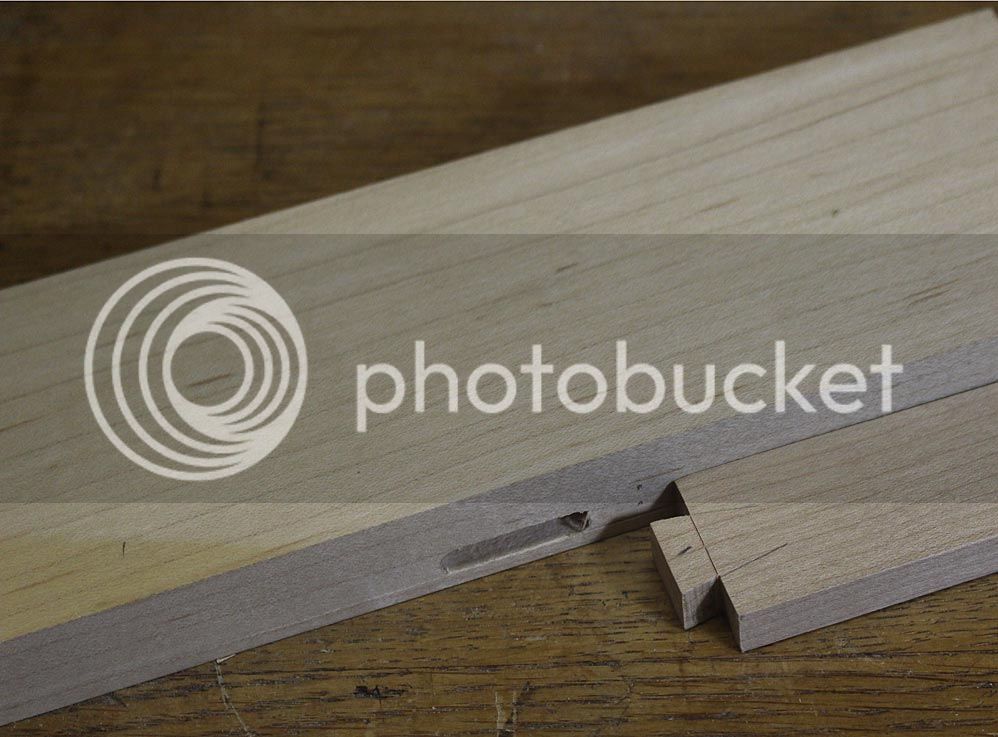
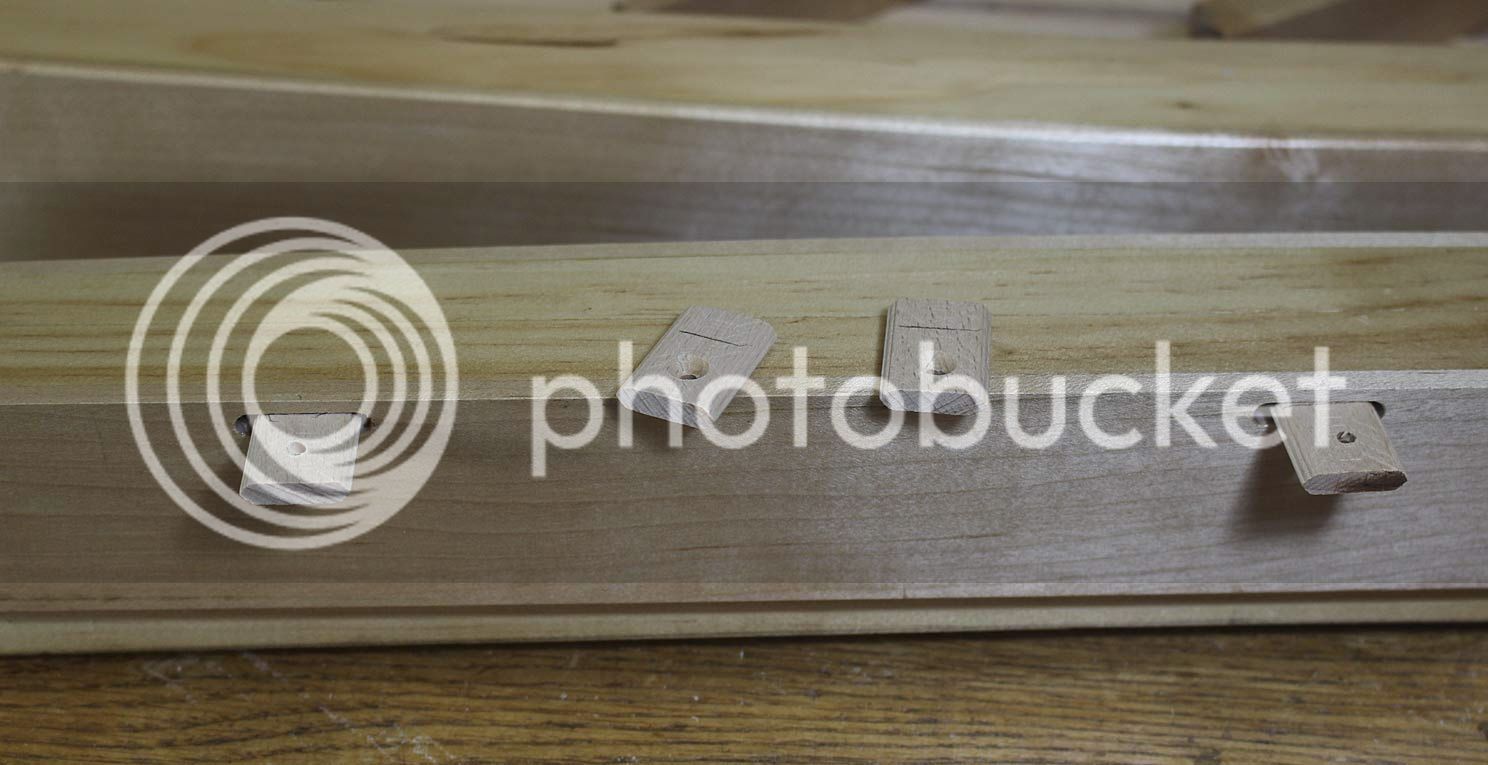
Before glueing up, it was necessary to add slots for buttons, to later fasten the top to the apron. The issue was this: the buttons needed to be less than 10mm in height, which was the thickness of the dovetailed rail for the drawer (the rail alongside a piece of scrap) ...

6a_zpsuiocu1xw.jpg


5a_zps7glv5vod.jpg


... otherwise the long drawer that was to run from the side of the table would catch on the buttons.

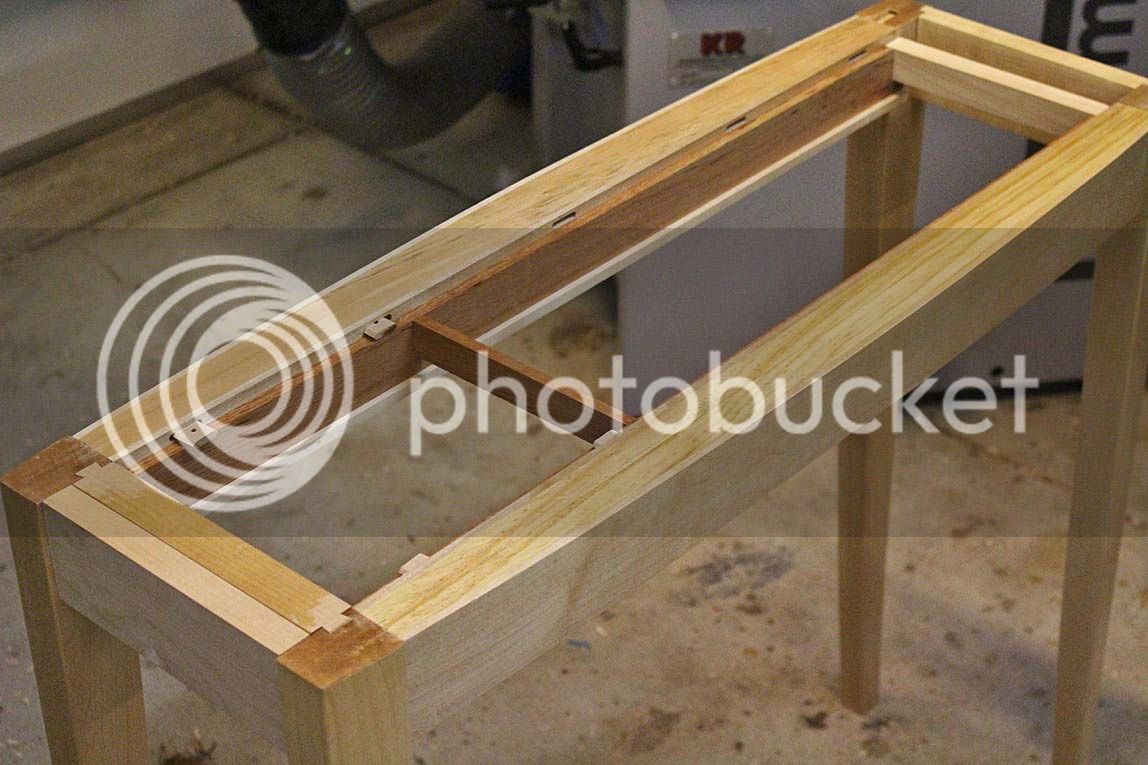
I decided to use my new Domino DF500 to cut 5mm slots that were placed 4mm below the surface, and then use 5mm dominos as buttons ...

7a_zpspngzalj6.jpg


8a_zpsyjo7cfmr.jpg


All done! Finally, to the glue up, and ...

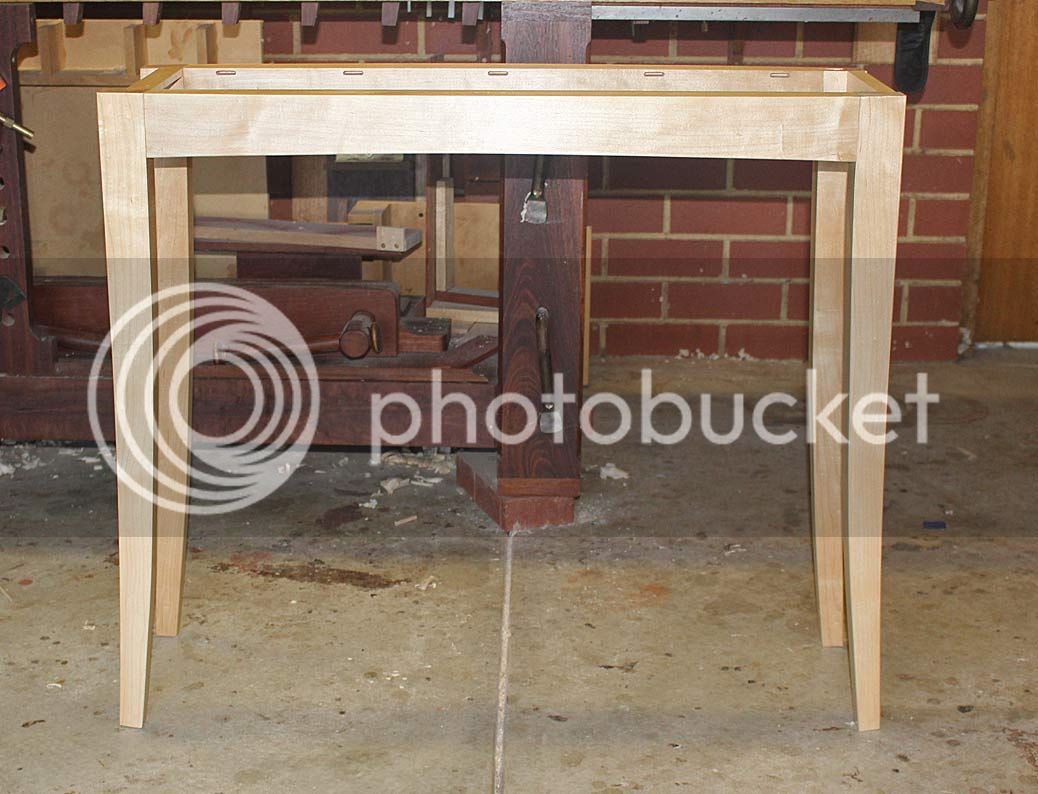
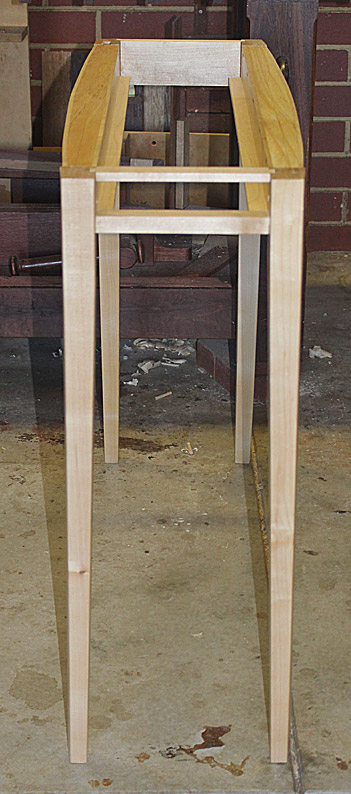
Here is a side view of the legs, showing the taper (and the continuous bow) ..

4a_zpsmekwespj.jpg


This is the inside of the table, with the drawer blades ...

3a_zpsjbxiazqd.jpg


And, lastly, a shot of the front elevation at this stage ...

2a_zpsskdlumdl.jpg


Next, building the drawer.

Regards from Perth

Derek
 
Loads to like with that table.

In particular the subtle curves on the aprons picked up with the "sabre" legs. It's detailing like that which really rewards the owner, keeping you engaged with more discoveries and fresh perspectives even after years of familiarity.

=D>
 
CStanford":7uipgtfe said:
Too much overhang I think, could be photographic distortion. Base unit needs to be longer/wider. Your workbench is wearing in beautifully I must say.

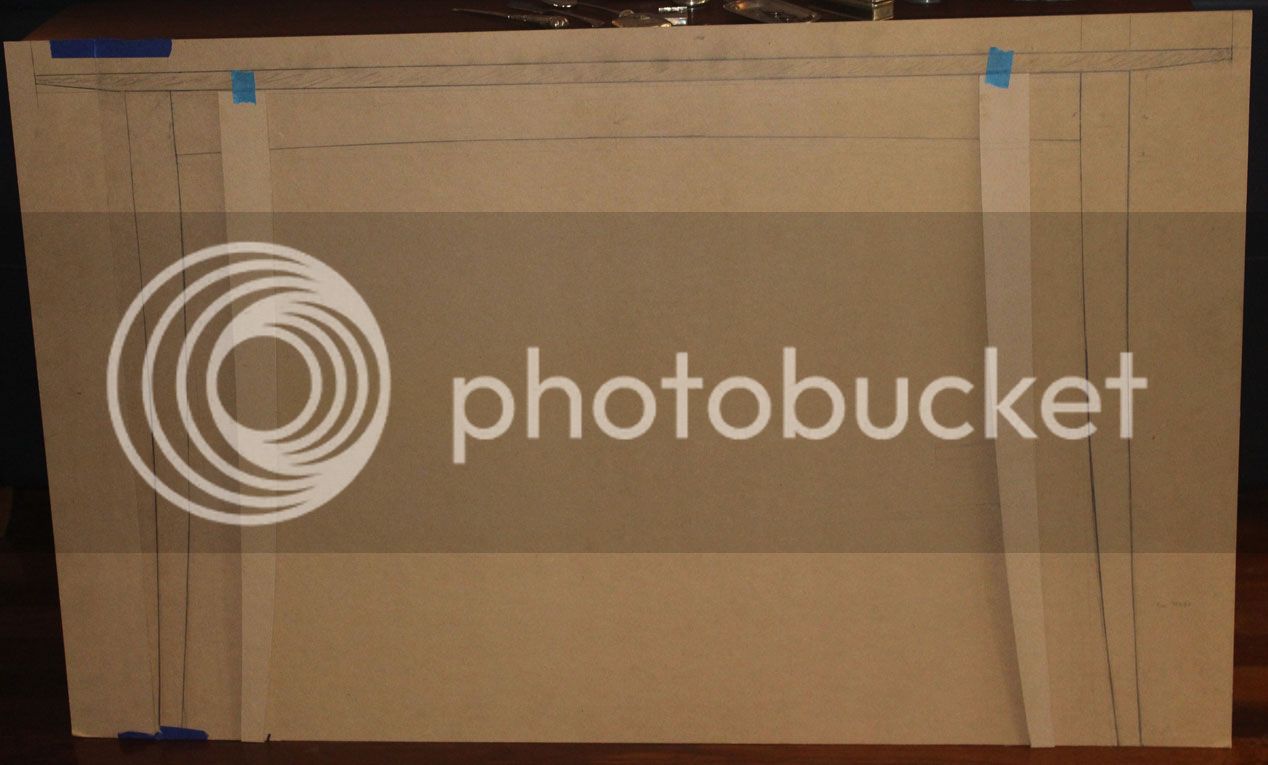
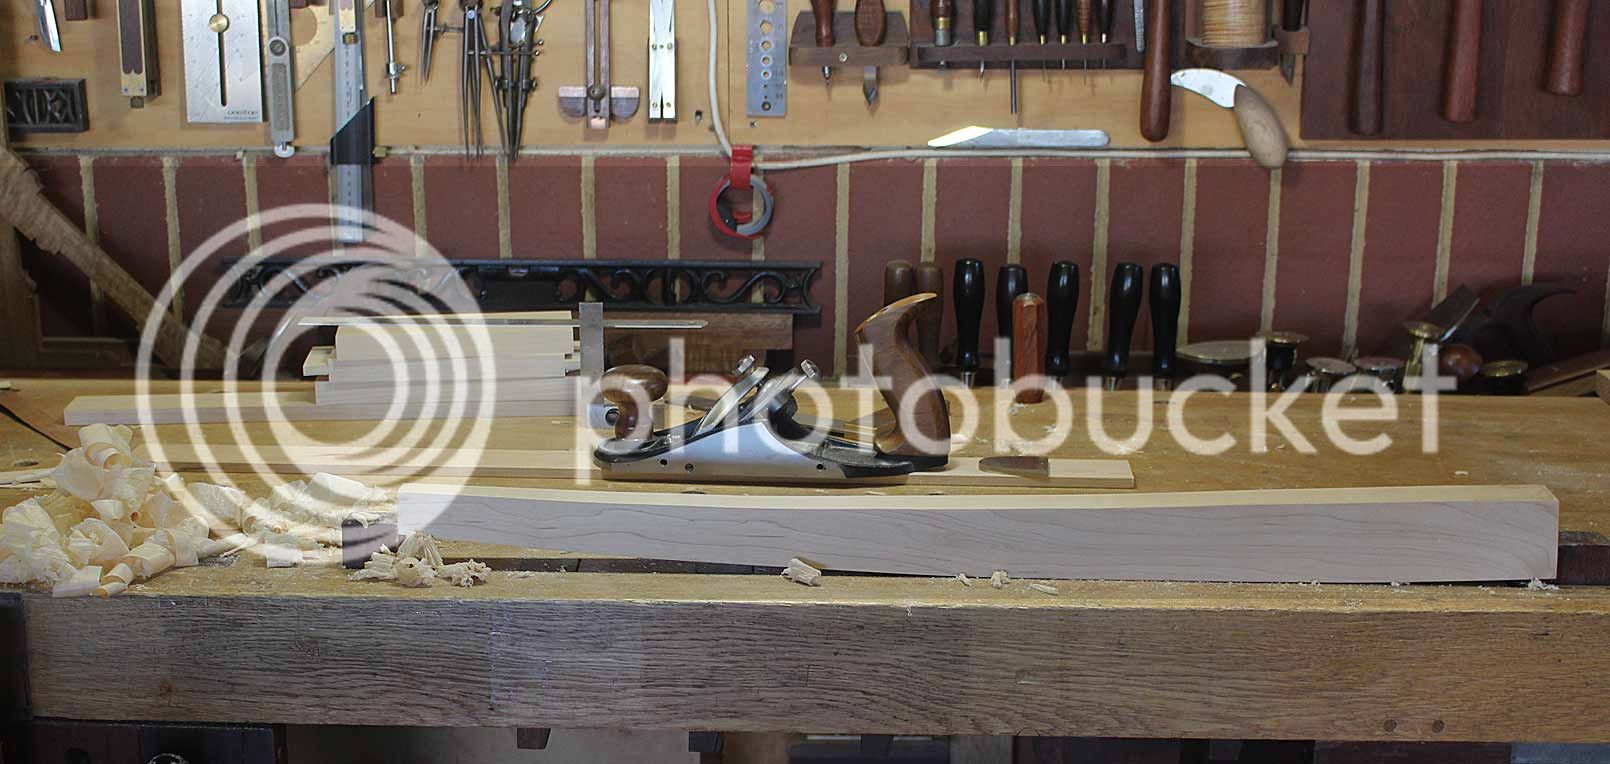
Charles, you have no idea how I went back and forth on the positioning of the legs. If you look at the mock up, you will see the outlines. Moving the legs further outward makes it appear more graceful, but it also makes it a little bland. Moving the legs in more, creates more style, but also less grace. The current position is the best balance, as I see it.

This was the first rendition ...

2a_zpsrqrnked2.jpg


.. and this is a little more than where it ended ...

12a_zpsto6srwe7.jpg


The workbench is well used. i built it about 4 years ago now and have yet to re-surface it. The oak top has been amazingly stable.

Regards from Perth

Derek
Been away hence the delay in commenting.
Those photos really hammer home the need to prototype before committing to design, well at least for morons like me.
The first positions would have resulted in a very so so product but the final ones are elegant and all it took was a few inches one way or the other
 
Nothing further to add, aside from looking forward to completion. Thank you for taking the time to document it.
 
It's time to begin building the drawer that will fit this table ...

TheBevelLiesInTheDetails_html_m2ae8de9d.jpg


I must say up front that this is the strangest drawer I have built to date. It is definitely the longest. In fact, I dare anyone to have built a longer drawer (it's about 1200mm long, or nearly 4 feet in the old money).

It is also the ugliest drawer I think I have built - however, that is partly to be expected as it is a hidden drawer, that is, it must blend in with the apron so that no one knows its there (no telling now).

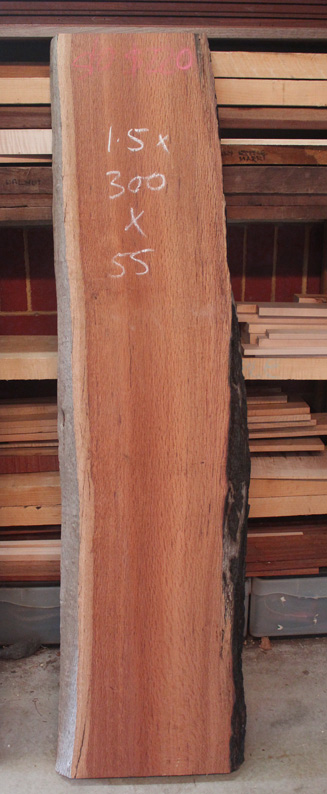
The drawer sides are made from the same timber that will be used for the table top, West Australian Sheoak. This is a pink-brown wood with a fine figure (similar to Lacewood). Here is the slab I started with ...

SofaTableAprons_html_m66b1e7ca.jpg


The drawer is slim - more like a tray. There is just 40mm for the drawer, and this will convert to 30mm of head room after the drawer bottom is added.

Below is a picture of the drawer sides fitted to the interior ...

1a_zpshmfudk8f.jpg


They run below the Domino-buttons, which double to ensure that the drawer will not tip when extended.

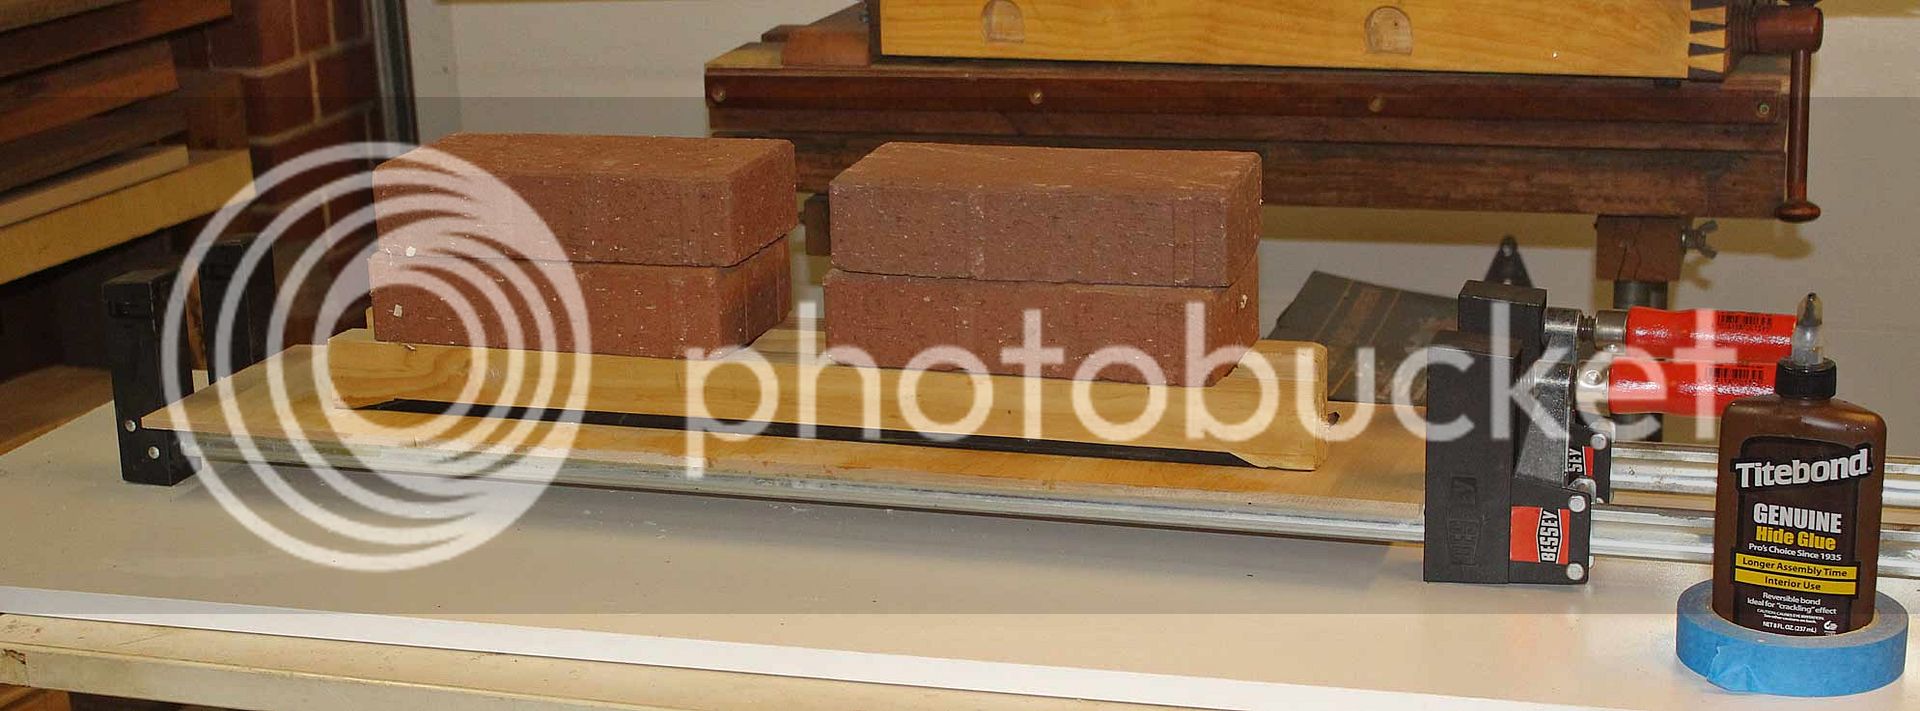
The next step was to glue up the drawer bottom ...

3a_zpsmk2wju0b.jpg


Since the drawer is fairly narrow (about 210mm/8 1/4"), it was tempting to simply use a single board and run it with the grain down the length of the drawer. However I know that this will create problems when the wood expands and contracts. Drawer bottoms need to run across its width. Consequently, boards were sawn and glued together for this purpose. The thickness of the drawer bottom is 1/4".

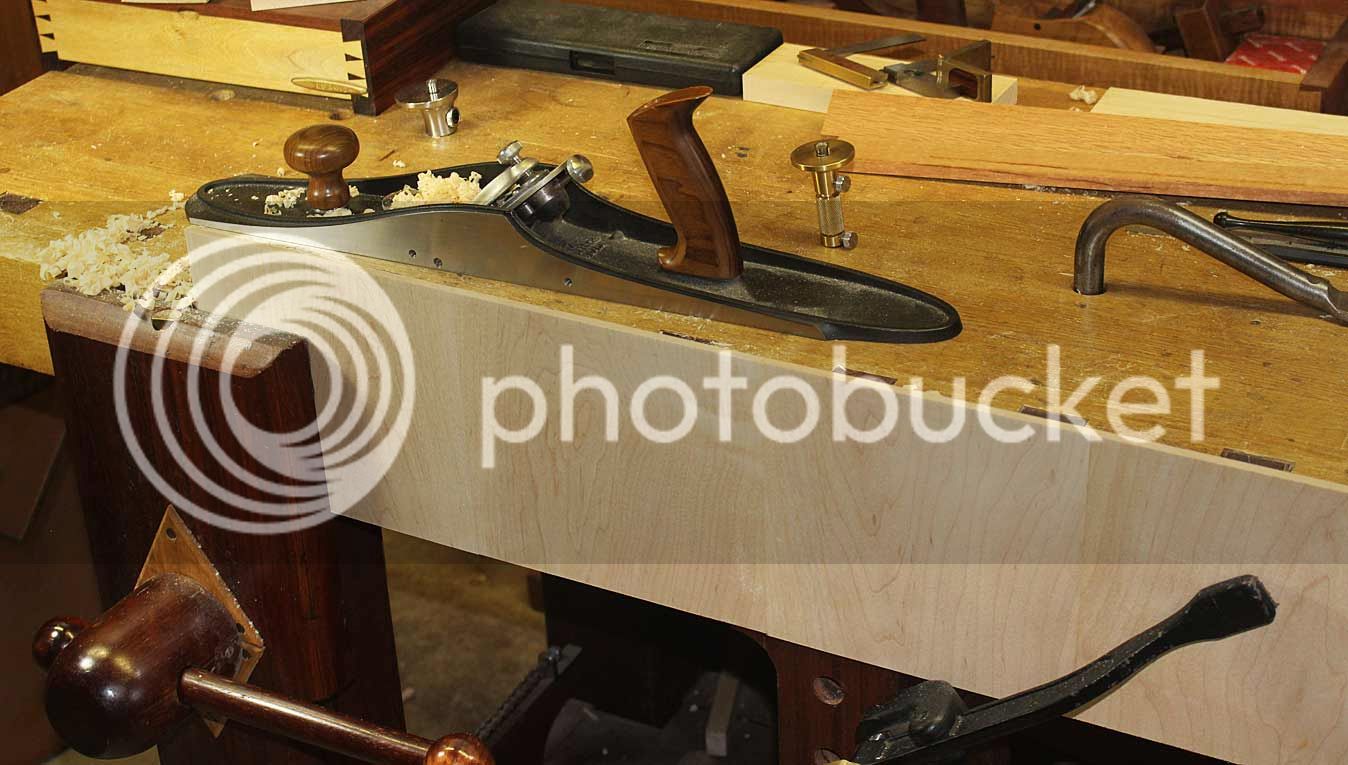
Below is the drawer bottom being trued on one length and one width. The remainder will be sized at the end.

4a_zps4osvnjnq.jpg


Drawer Slips

The drawer sides are 3/8" thick, which is too thin for grooves. Consequently, the drawer bottom will be attached with slips. This is how they were made ...

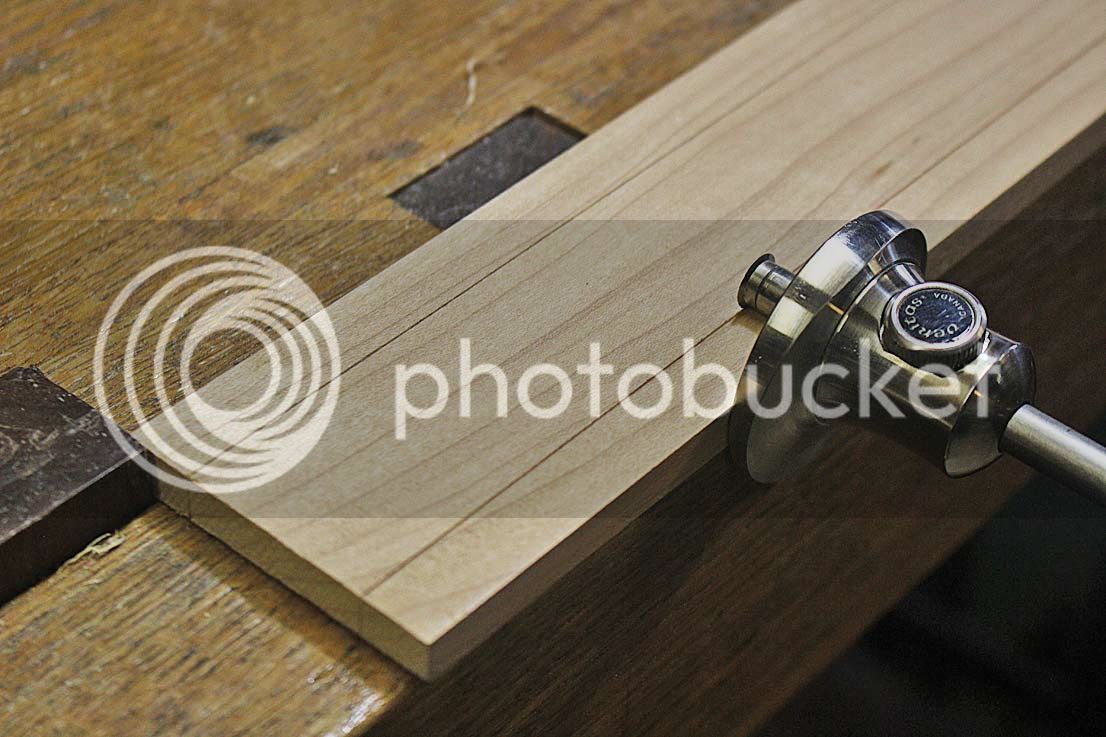
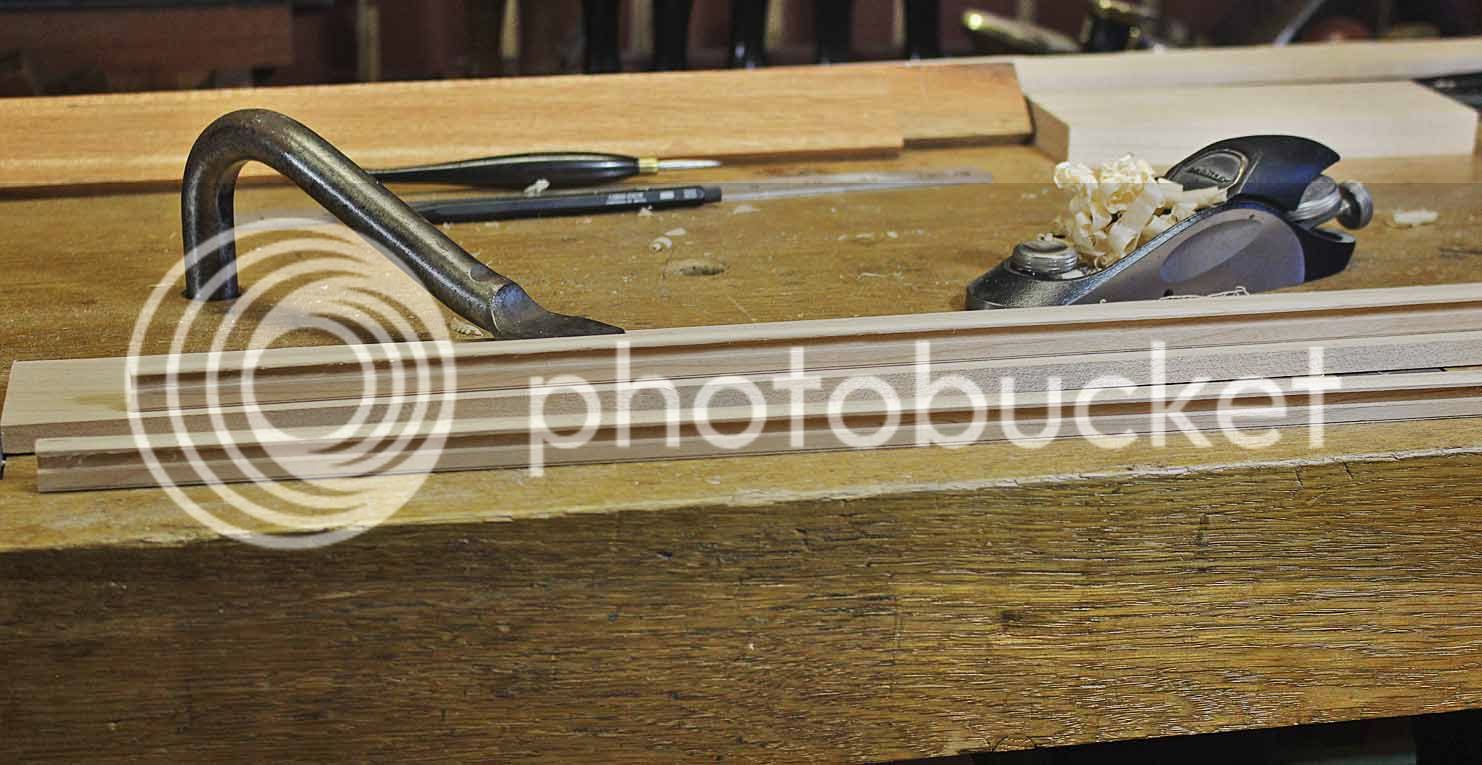
The first step was to score the bottom of the slip. They are being made from the top down, and reverse-engineered ...

5a_zpshrrrwjkv.jpg


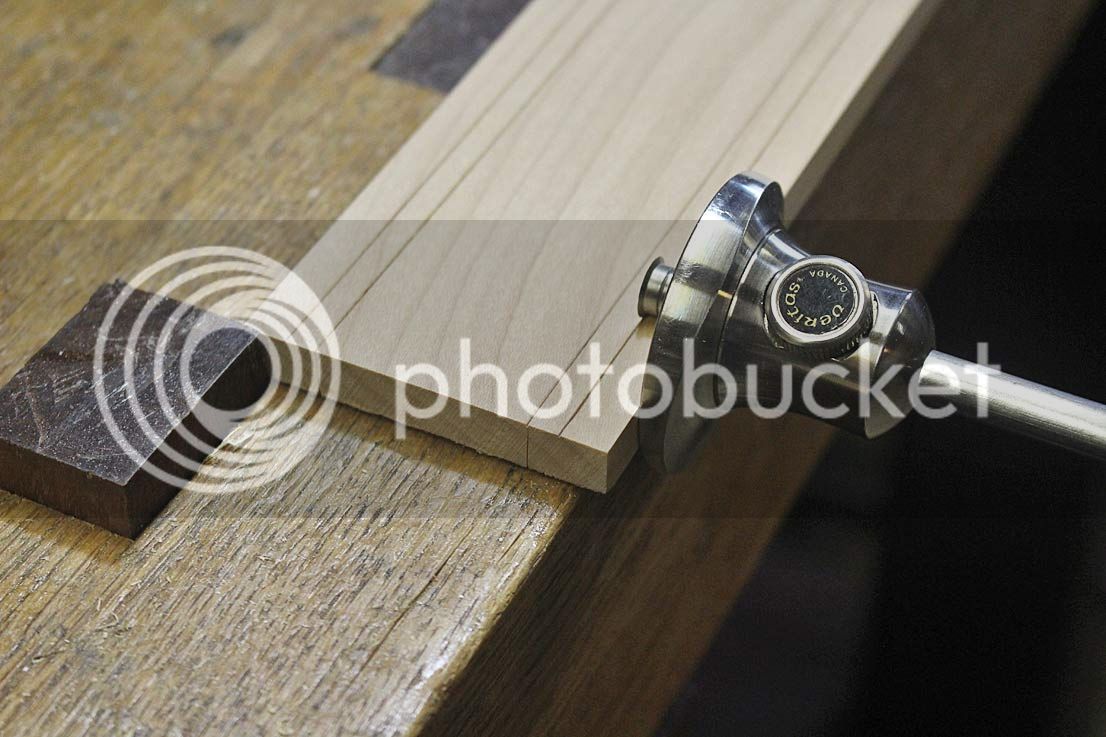
There is a 5mm space to the next line (the height above the drawer blade) ...

6a_zpsyyxmedvk.jpg


The groove is going to be 3/16". The drawer bottom will be rebated 1/16" along the sides to fit.

7a_zpsyd6iku86.jpg


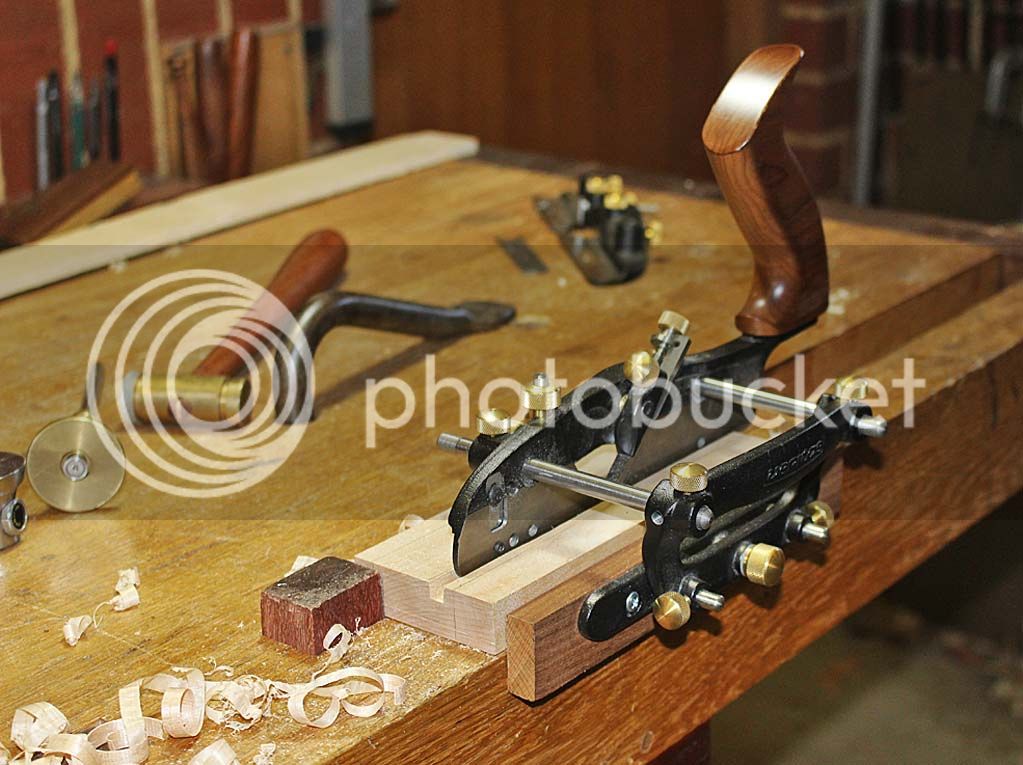
Plough the groove ...

8a_zpshgv9qgln.jpg


9a_zps48wb7j2e.jpg


Chamfer the edges ...

10a_zpskqogijss.jpg


I scraped a slight curve on the inside ...

11a_zpssylpgttn.jpg


... and then ripped them free on the table saw ...

13a_zpsmvfgscsx.jpg


Back to the drawer

I warned you that this was a weird looking drawer. Here is the drawer front - ploughing the front groove. This has to allow for the lower- and upper overlay to match the apron ...

I will not show you boring pictures of dovetailing, however this is a how the drawer front is constructed ...

14a_zpspxfsfgfm.jpg


15a_zpsw9fygbxa.jpg


With the sides joined, this is how the drawer front looks ...

16a_zpszvmvoxix.jpg


From this inside ...

17a_zpsksej4tdf.jpg


The through dovetails at the rear of the drawer look like this (all very rough at this stage) ...

6a_zpsmg4xq0xk.jpg


I planned that the drawer would have a working depth of 250mm (10"). The drawer back was attached with a though mortice-and tenon ...

2a_zpskqcpnm4j.jpg


3a_zpsxy2iia37.jpg


Of course, I did not think this through, and the lower tenon sits where the slip runs. I had to saw it off and fill the hole. Well, it looks like a double mortice-and-tenon. We are the only ones to know the truth ...

7a_zps2ro9tvme.jpg


Here is a picture of the drawer ...

4a_zpsgaspaojj.jpg


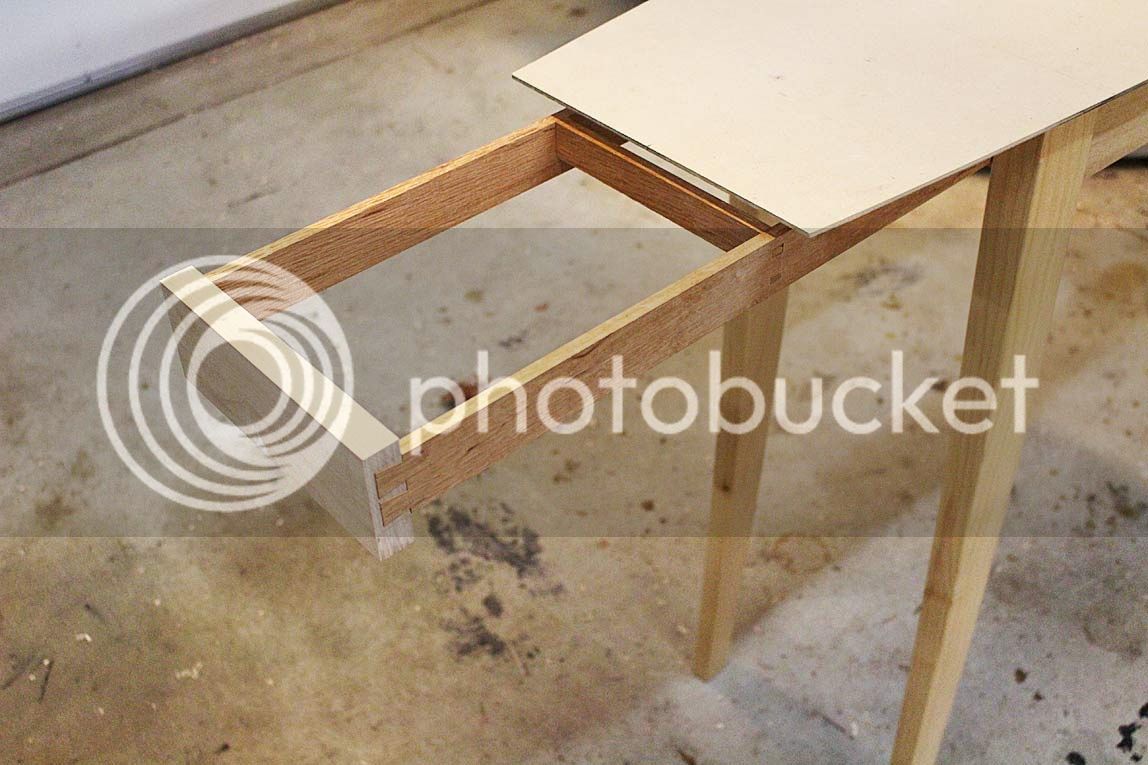
Below is the drawer extended, with a mock up of the top ...

5a_zpse4ufhfrk.jpg


The drawer can extend much further than this without any droop. I am considering another hidden drawer behind this drawer - by adding another divider. This would also add more rigidity (not sure if this is needed).

Finally, here is a picture of the drawer end of the table alongside the sofa table it will replace ...

8a_zpszkartrns.jpg


We'll complete the drawer next time.

Regards from Perth

Derek
 
Lovely WIP Derek, will be helpful for folks who have not made things in the traditional way, maybe should have been in the projects section? First thing I made for my qualification exam, end show was a hall table in London Plane with similar same shape top, one of my lecturers said it was like a skateboard :lol: Cheeky burger... not a coffin. Mine too, had the hidden drawer but from the front rather than side, why's yours so long? think one at each end would have been much better and more practical, just my opinion of course :wink:
 
At school, there was a chemistry lab with rows of raked seating looking down to the teacher's demonstration bench. Our O-level teacher always enjoyed the joke of opening the drawer built in to the end of his bench. He would open it a foot at a time, until it was fully extended - about five or six feet. He would then bring out one of the long, fragile glass tubes stored in it and set it up on his bench.
We all learned that a really good long laugh at a teacher's joke could shave several minutes off a boring lesson... :)

Nothing boring in your builds though Derek. I'm watching with interest, hoping to start on a little table of my own before the year is over.
 
AndyT":2pijywi8 said:
Nothing boring in your builds though Derek.

100% agree with that. Not only the thoughtfulness in the builds, but taking the time to communicate them clearly.
 
We begin the final session with the table top being glued up. The timber is West Australian Sheoak, and this promises to be something special. When finished, it is a rose gold in colour, darkening over time to a rose-gold-brown.

1a.jpg


While the panel is drying, I get on with finishing the drawer. So far it has been fitted to the table with an extra divider attached with a through mortice-and-tenon …

2a.jpg


We move on to attaching the slips …

3a.jpg


The drawer bottom is trimmed to fit, and then rebated for the slips …

4a.jpg


Here is the completed drawer. Note that the drawer bottom rests below the slips (rather than at the same height). This was to save a few mm of height …

5a.jpg


The rear of the drawer …

6a.jpg


The end of the drawer has a fitted section that serves to prevent the drawer bottom expanding to the rear. Instead, it will expand into a deeper groove at the front of the drawer. The reason for this less typical construction will be clearer later.

16a.jpg


The drawer sides require a little tuning to slide smoothly. The drawer front at the legs was very tight (so that the drawer front appears to be a solid join), and it was necessary to remove some thickness from the drawer sides. This was done with a scraper for control, to avoid planning into the drawer front …

7a.jpg


Here is the fitted drawer …

8a.jpg


…and here is the drawer front …

9a.jpg


The table top is ready for shaping. It has been book matched to create a pattern in the figure of a slight boat. This will enhance the outline of the top …

13a.jpg


14a.jpg


The top is marked out with the template I made early on, and then bandsawed to shape. Below the ends are planed …

17a.jpg


… and then the sides receive their final shaping with a Mujingfang double iron woodie. The advantage of this plane here is that it can take a thick shaving without tearout regardless of grain direction …

18a.jpg


The top is smoothed with my favourite Veritas Custom #4 …

19a.jpg


Time to shape the underside of the table ends. The plan is a long chamfer. This is roughed out by traversing with a Veritas LA Jack, using a low cutting angle ..

20a.jpg


When traversing, the far end is bevelled to avoid spelching. However, as on gets to the line, it is safer not to plane over the far end. As a result, a slight wedge is created. This is smoothed down with a skew block plane …

21a.jpg


Finally, the surface is finished with a cabinet scraper. At the same time the inside of the chamfer is fared into the underside of the table top.

22a.jpg


Having spent a little time with the table top on the base, I decided that the curved front could be a little deeper. This was done before proceeding further …

23a.jpg


Time to attach the top to the base. I had earlier cut slots for the buttons with a Festool Domino, and had planned to use the dominos as buttons. In practice the dominos were too short, and so I cut out sections in Maple to the desired length.

Note in the picture below that I have also attached cross pieces at the inside ends of the base. These were to ensure that the to does not move. They are cross grain to ensure what little movement runs to the inside …

24a.jpg


25a.jpg


The final construction is to add a Quaker Lock for the drawer. This is a simple stop that prevents the drawer being extended further than desired. It is attached using the same screw …

26a.jpg


But, since it is spring-loaded, it can also be pressed in and the drawer opened up fully (if you know to do this). This will reveal the hidden drawers behind the hidden drawer ☺

27a.jpg


Finally!!!! All is completed. The base has been finished in two coats of dewaxed white shellac (Ubeaut), and then received three coats of General Finishes water-based poly, which was hand rubbed. This is to retain the light colour. The top has been finished in Livos Universal Wood Oil. This is a green oil made largely from cold pressed flax seeds. It adds a slight amber sheen to the wood.

This is two coats. I plan on a few more.

30a.jpg


From the front …

28a.jpg


Here is a side elevation of the shaped ends …

29a.jpg


The drawer slides out this far …

31a.jpg


Thanks for the support along the way. Please ask any questions you like. All discussion welcomed.

Regards from Perth

Derek
 
The colour contrast is brilliant, it also enhances the design. Clearly any reservations I had were baseless! Thank you for sharing the project, great project.
 
Many thanks for the kind words Graham and Liam.

Can this build generate and discussion of design or construction? This is why I post builds.

Regards from Perth

Derek
 
Thanks for walking us through it!

A quick question...
I'm in the process of making a pair of side tables with bookmatched tops. Despite being careful when resawing, I've found that once planed flat the grain no longer matches perfectly.
Any tips?
 
Regarding bookmatching panels, sometimes the edges do not match, that is, the two sides are not symmetrical. I imagine that this can be due to the figure being inconsistent through the thickness of the board. Often it is a about making the more dominant figure match. Another issue is, one side being a reversal of the other, the figure on one side may be difficult to discern from some angles. I had a lot of that in my recent kitchen build, where I bookmatched many, many doors.

Regards from Perth

Derek
 
I'm no designer Derek, so hat's off to you. It goes to show that within simple designs, there are still many details to get right. You've made it difficult to widen the debate, as you've worked to a high standard and made great choices to make you're project come together.
 
Regarding bookmatching panels, sometimes the edges do not match, that is, the two sides are not symmetrical. I imagine that this can be due to the figure being inconsistent through the thickness of the board. Often it is a about making the more dominant figure match. Another issue is, one side being a reversal of the other, the figure on one side may be difficult to discern from some angles. I had a lot of that in my recent kitchen build, where I bookmatched many, many doors.

Regards from Perth

Derek

The main problem I find with book matched panels is the differential chatoyance you can get with some timbers, so even though they're symmetrical one side looks dark and the other side looks light. And when you view the piece from the opposite direction this effect reverses. I check to see if that's likely to be an issue, and if it is I generally abandon the book matching route as too jarring. It's usually more problematic with book matched panels for flat surfaces like table tops, than with vertical surfaces like cabinet sides or panelled doors.

By the way, I very much like the table, and in particular the drawer design and sabre leg arrangement are excellent!
 

Latest posts

Back
Top