OPJ
Established Member
I've been meaning to make at least one of these jigs for a long time now. So, after picking up the 9mm MDF last week, I managed to make a start and get two of them finished, all within the space of one-day! 
First job was to cut the MDF to size; one sheet was 800mm long x 300mm wide (to give over 610mm cutting capacity), the other was 1400mm x 300mm, which is suitable for cross-cutting a 1220mm wide sheet of ply. I have no need for anything larger right now as I get the first two cuts done when I pick the ply or MDF up - otherwise it won't fit in the car anyway! :wink:
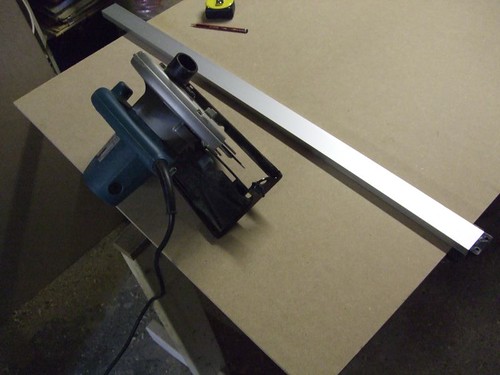
The components consist mainly of offcuts of oak and some softwood I've never used, all finish to 18mm thick. The softwood's width should be equal to the distance from the edge of the sole plate to the end of the motor housing on your saw, or so I find (100mm in this case). Quality isn't too important.
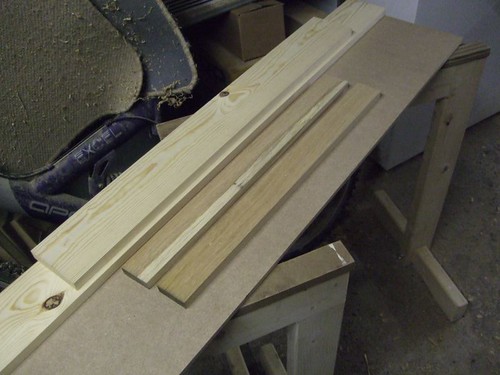
I didn't think it was necessary to glue it in place. Plenty of screws there, plus, any squeeze-out may foul the run of the saw if I don't clean it off.
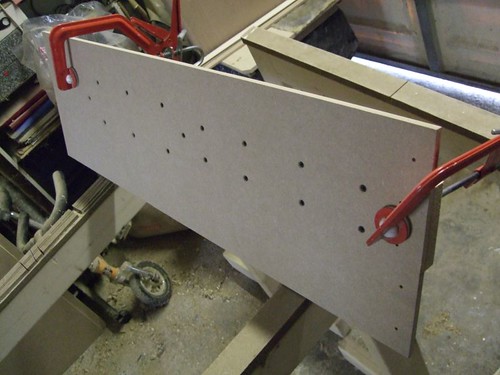
With the centre-piece in place, my next job was to rip the jig to size using a different side of the saw's base on either side of the softwood length - hopefully, you can now see how this is going to work! :wink:
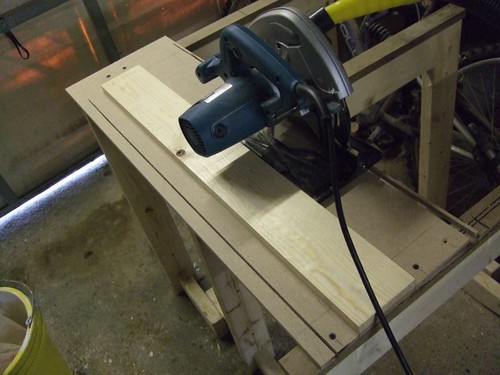
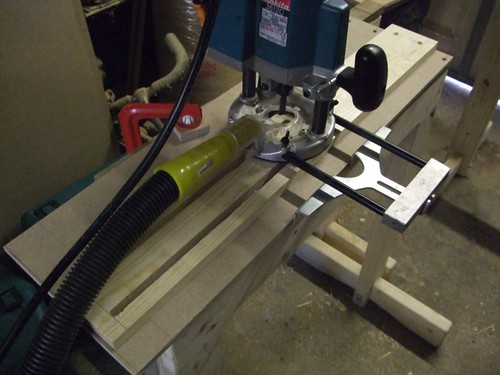
Before contemplating whether to add the oak pieces, I decided to rout the two grooves which will allow movement of the back stop, and hopefully help improve the jigs stability, instead of relying solely on the front stop and a clamp - which can often get in the way of a saw, depending on depth of cut.
There's probably an easier or more accurate way of doing this? You have to take very light cuts or the router will wander off on its own and you'll get a horrible screeching noise, for which you'll need ear plugs as well as ear defenders! :? A 3/8" cutter was used as it's the best fit I have for an M10 bolt.
Next, it was time to fix the front stops. Line one up roughly in to position and fix one screw in to position. Then, line it up with the square, clamp it and add the second screw. Check again and it should be spot-on. :wink:
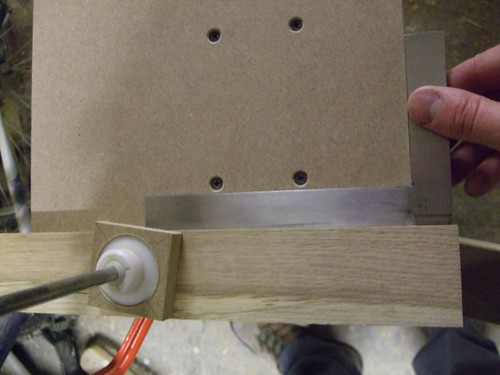
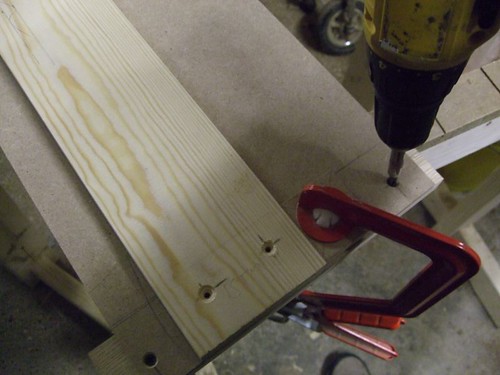
Now, it is time to consider the back stops. By lining them up with a square (as with the front ones), the centre points for the holes can be marked with a 10mm brad point bit. This'll allow clearance for the bolt.
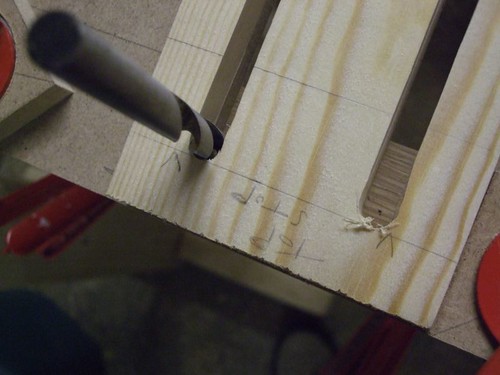
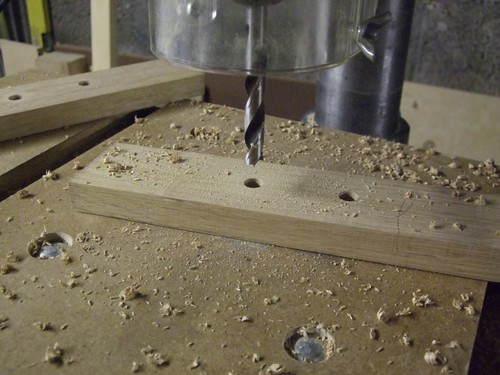
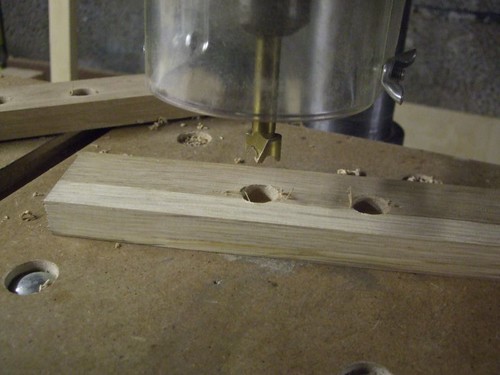
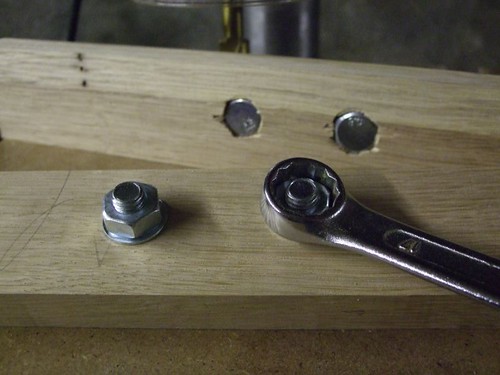
I then drilled some 16mm holes, 7mm deep, to house the bolt-heads. 17mm would have been ideal and, yes, it is always better idea to drill the larger holes first! :roll: These bolts will then be pulled tight into pre-drilled holes, using the "Steve Maskery Method"! :wink:
And finally, here are the two finished results.
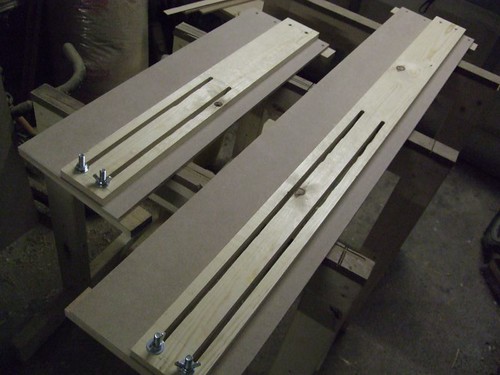
I've only used wing-nuts here to simulate how it will work but I do intend to replace them with some kind of knob. A Bristol lever would possibly foul the circular saw? I've also given it two coats of Rustins' MDF Sealer, which I find to be excellent as the MDF would otherwise soak up ordinary sanding sealer like a sponge.
9mm MDF worked fine for these sizes, but if you wanted to make one to cut a full-length 2440mm sheet, you might be better off with 12mm thickness, which still would not limit the depth severely.
I've had this idea in my head for some time now. After getting it down on paper, I'm glad to have something I can see and use in the physical form. Tomorrow morning then, it's time to take them for a test run!!
Thanks for looking. I hope this has given you some good ideas too. :wink:
First job was to cut the MDF to size; one sheet was 800mm long x 300mm wide (to give over 610mm cutting capacity), the other was 1400mm x 300mm, which is suitable for cross-cutting a 1220mm wide sheet of ply. I have no need for anything larger right now as I get the first two cuts done when I pick the ply or MDF up - otherwise it won't fit in the car anyway! :wink:

The components consist mainly of offcuts of oak and some softwood I've never used, all finish to 18mm thick. The softwood's width should be equal to the distance from the edge of the sole plate to the end of the motor housing on your saw, or so I find (100mm in this case). Quality isn't too important.

I didn't think it was necessary to glue it in place. Plenty of screws there, plus, any squeeze-out may foul the run of the saw if I don't clean it off.

With the centre-piece in place, my next job was to rip the jig to size using a different side of the saw's base on either side of the softwood length - hopefully, you can now see how this is going to work! :wink:

Before contemplating whether to add the oak pieces, I decided to rout the two grooves which will allow movement of the back stop, and hopefully help improve the jigs stability, instead of relying solely on the front stop and a clamp - which can often get in the way of a saw, depending on depth of cut.
There's probably an easier or more accurate way of doing this? You have to take very light cuts or the router will wander off on its own and you'll get a horrible screeching noise, for which you'll need ear plugs as well as ear defenders! :? A 3/8" cutter was used as it's the best fit I have for an M10 bolt.

Next, it was time to fix the front stops. Line one up roughly in to position and fix one screw in to position. Then, line it up with the square, clamp it and add the second screw. Check again and it should be spot-on. :wink:


Now, it is time to consider the back stops. By lining them up with a square (as with the front ones), the centre points for the holes can be marked with a 10mm brad point bit. This'll allow clearance for the bolt.


I then drilled some 16mm holes, 7mm deep, to house the bolt-heads. 17mm would have been ideal and, yes, it is always better idea to drill the larger holes first! :roll: These bolts will then be pulled tight into pre-drilled holes, using the "Steve Maskery Method"! :wink:


And finally, here are the two finished results.

I've only used wing-nuts here to simulate how it will work but I do intend to replace them with some kind of knob. A Bristol lever would possibly foul the circular saw? I've also given it two coats of Rustins' MDF Sealer, which I find to be excellent as the MDF would otherwise soak up ordinary sanding sealer like a sponge.
9mm MDF worked fine for these sizes, but if you wanted to make one to cut a full-length 2440mm sheet, you might be better off with 12mm thickness, which still would not limit the depth severely.
I've had this idea in my head for some time now. After getting it down on paper, I'm glad to have something I can see and use in the physical form. Tomorrow morning then, it's time to take them for a test run!!
Thanks for looking. I hope this has given you some good ideas too. :wink:


