Shed Build WIP

UKworkshop.co.uk

Help Support UKworkshop.co.uk:

This site may earn a commission from merchant affiliate links, including eBay, Amazon, and others.

The Bear

Established Member
Joined
10 Sep 2007
Messages
1,063
Reaction score
20
Location
Surrey
Hi
This thread is as much about me learning to post pictures as it is for you to see my shed build, so appologies if it's a bit slow.
After building the workshop, I needed to get as much of the none woody stuff out as possible, gardening tools, that sort of thing so a new shed was called for.
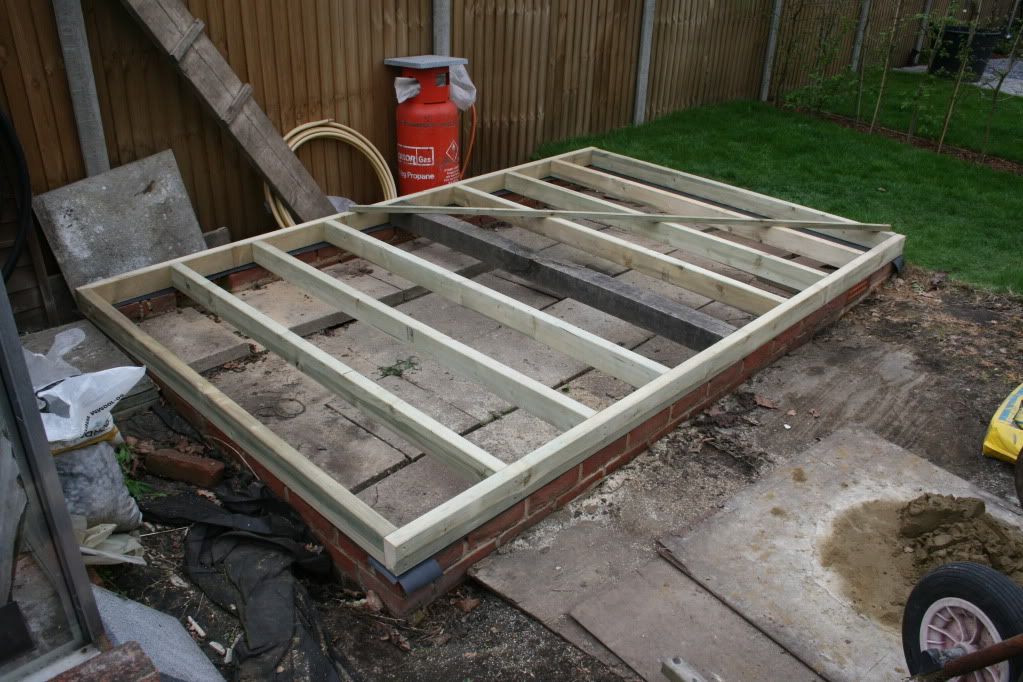
I didn't take any photos of the ground work stuff i'm afraid, but basically some small foundations and a few courses of bricks with airbricks for air circulation under the floor. I needed to get rid of a pile of horrible concrete paving slabs so I "lost" these in the base.
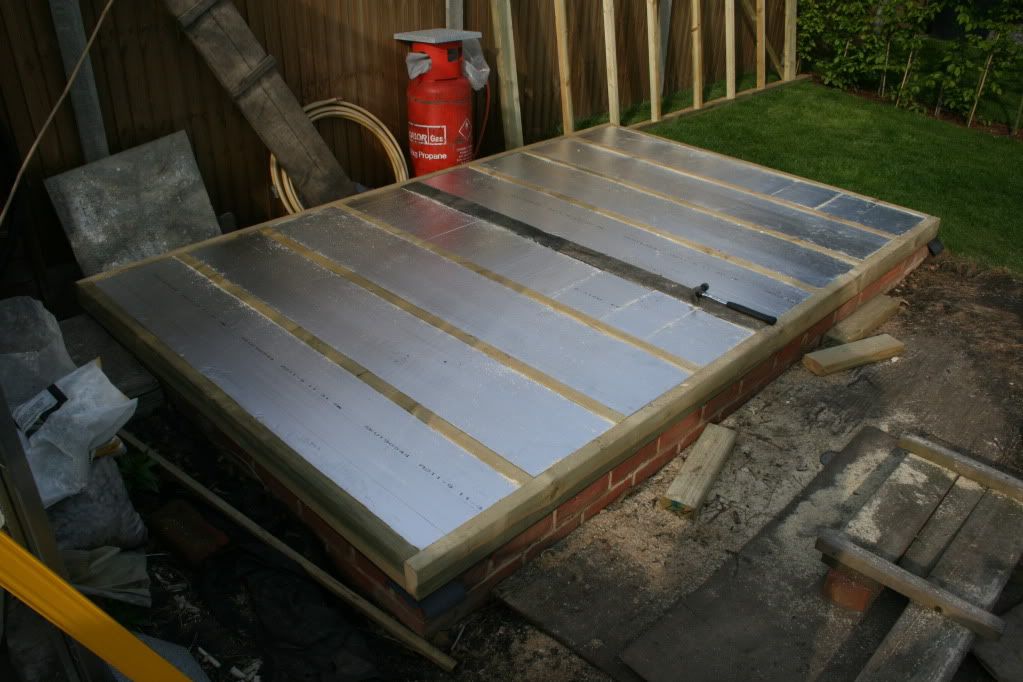
Then the frame for the floor made from 4 x 2 tanalised . The centre joist is 4 x 4 oak I had laying around. There is a damp proof course between the wood and the bricks.
IMG_1213.jpg
 
That seems to have worked so I shall carry on.

Between the joists filled with 50mm celotex supported on short pieces of batten.

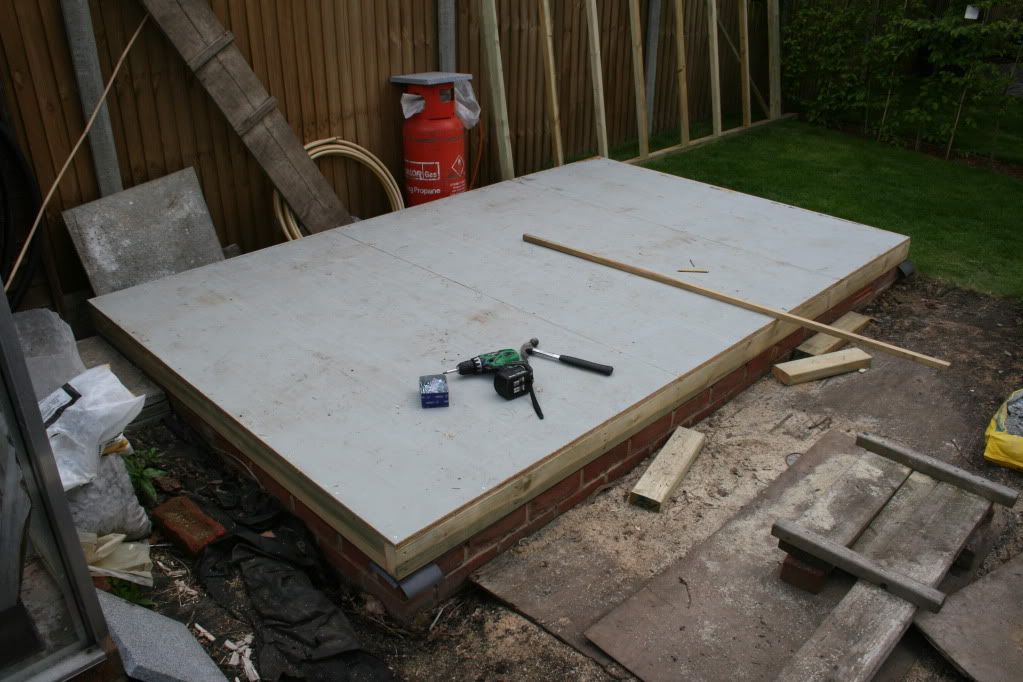
IMG_1215.jpg


Then overlayed with 18mm second hand ply

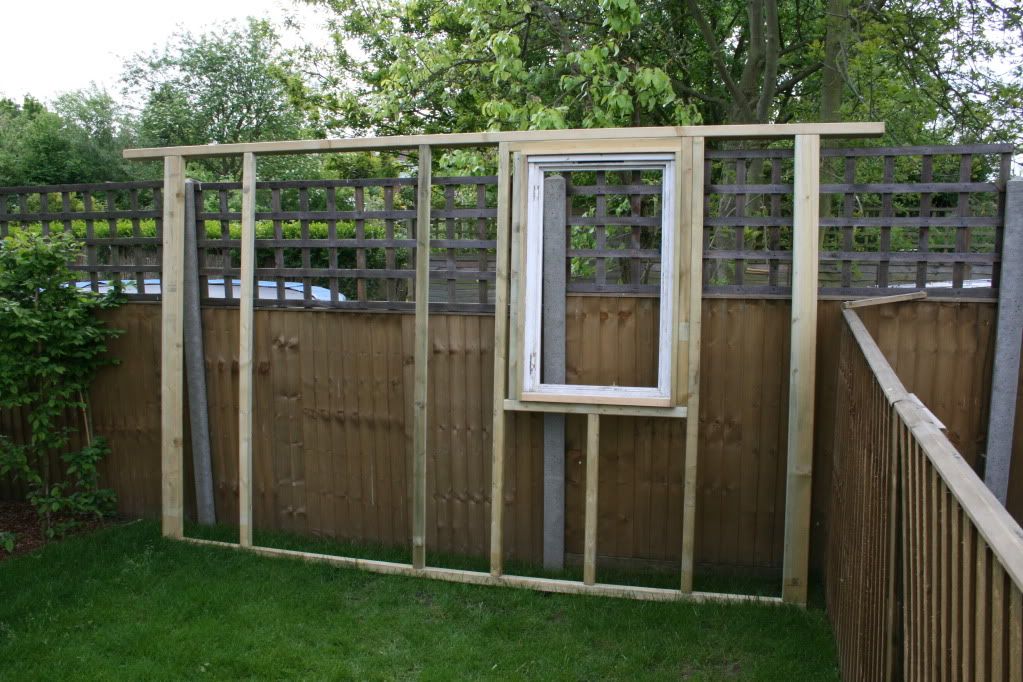
IMG_1216.jpg
 
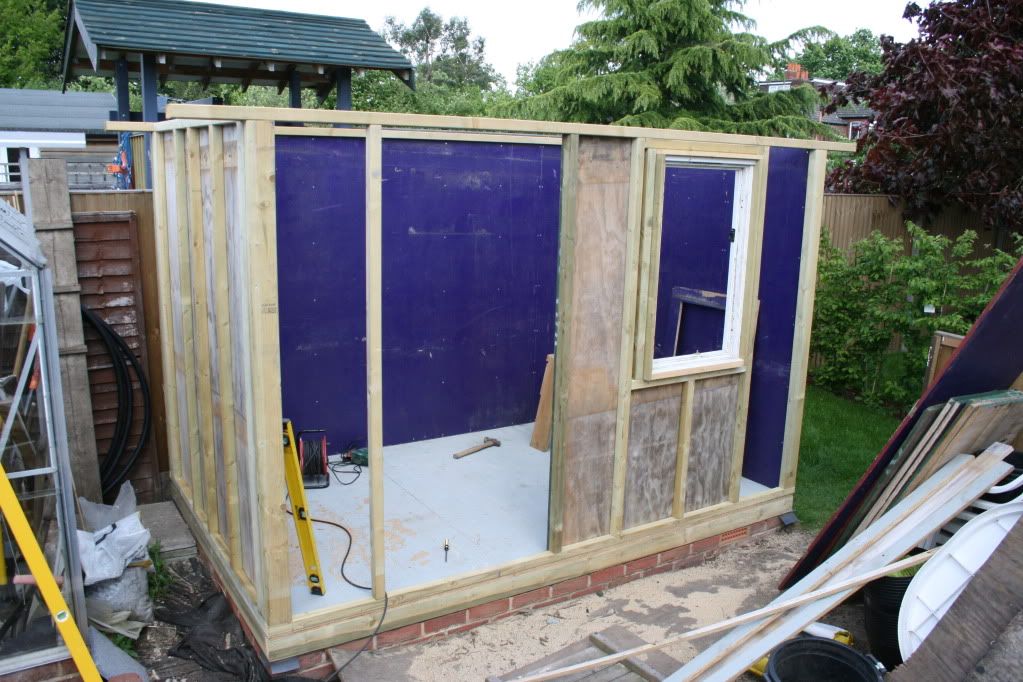
Then started to make the frames for the sides. Mainly 2 x 2 but a few strategically placed 2 x 4s as well. This is the front incorporating the door and window. Window was salvaged from the old extension in my house before we pulled it down. Note the wall plate left over sized to take the overhangs on the roof later.

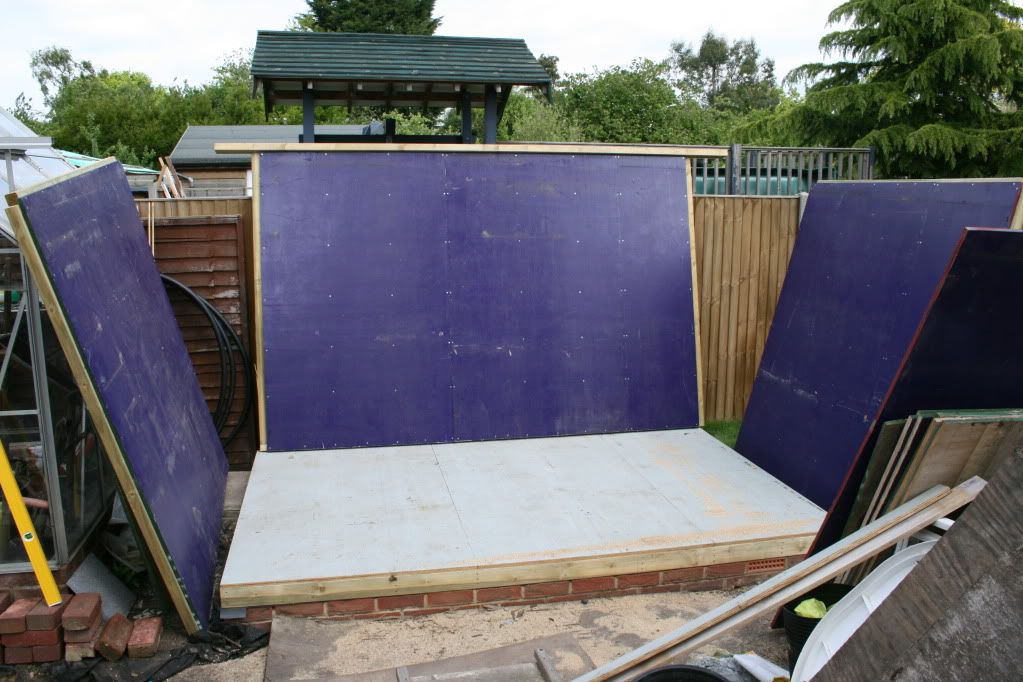
IMG_1220.jpg


I then lined each wall with more salvaged 18mm plyprior to putting them together. I just thought it would be easier this way, being able to line them while they were lying down. The ply is the stuff they put up around building sites. This came from Wimbledon tennis club, hence their purple corporate colour.

IMG_1219.jpg
 
Four sides screwed together, with the odd bit of ply lining still to go on.

IMG_1221.jpg


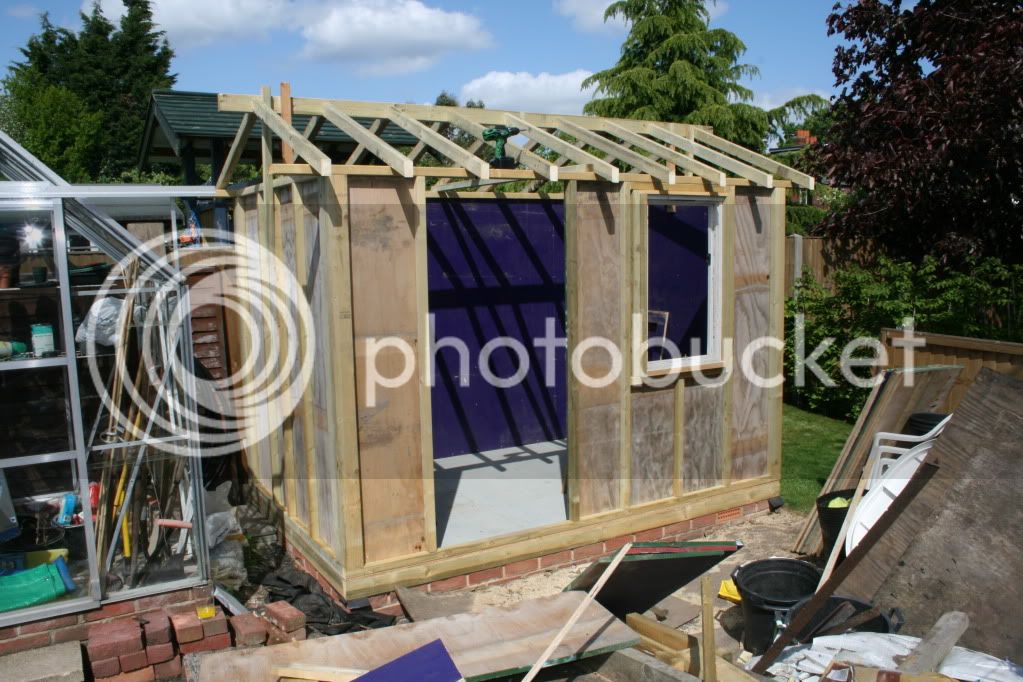
Starting the roof timbers. 3 x 2s if I remember correctly, which should be fine as it is a very small roof. Pitch is 22.5 degrees if I remember right.

IMG_1223.jpg
 
The photos seem slightly too wide and I am having to scroll left and right sligtly. How do I get them to fit the width?

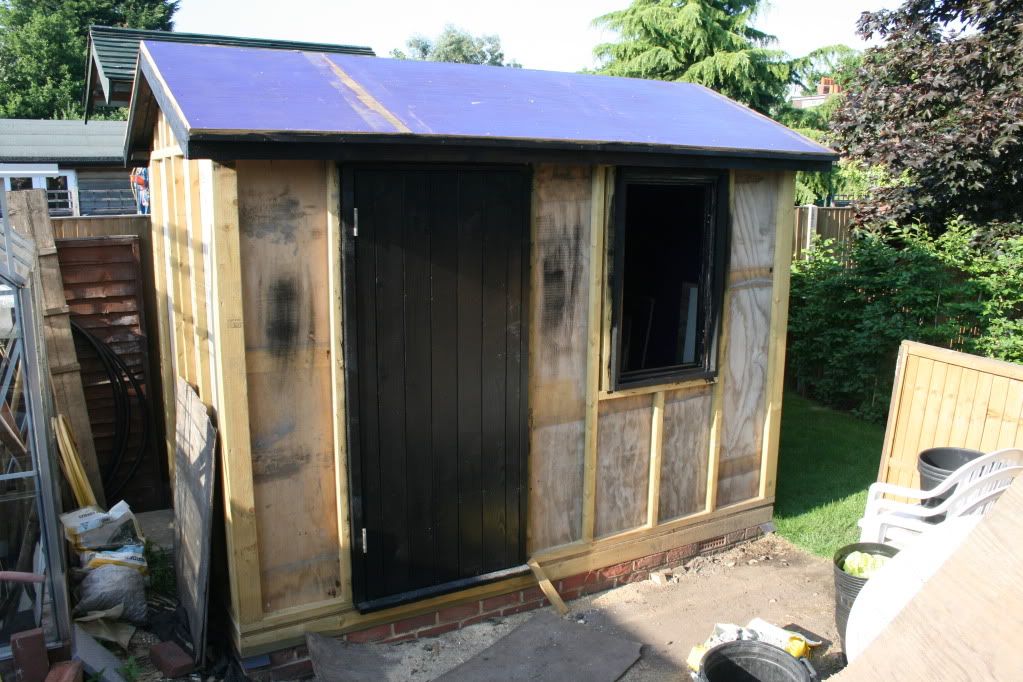
Carrying on, the roof was boarded, no surprises for guessing with second hand 18mm ply. My home made door was also hung.

IMG_1282.jpg


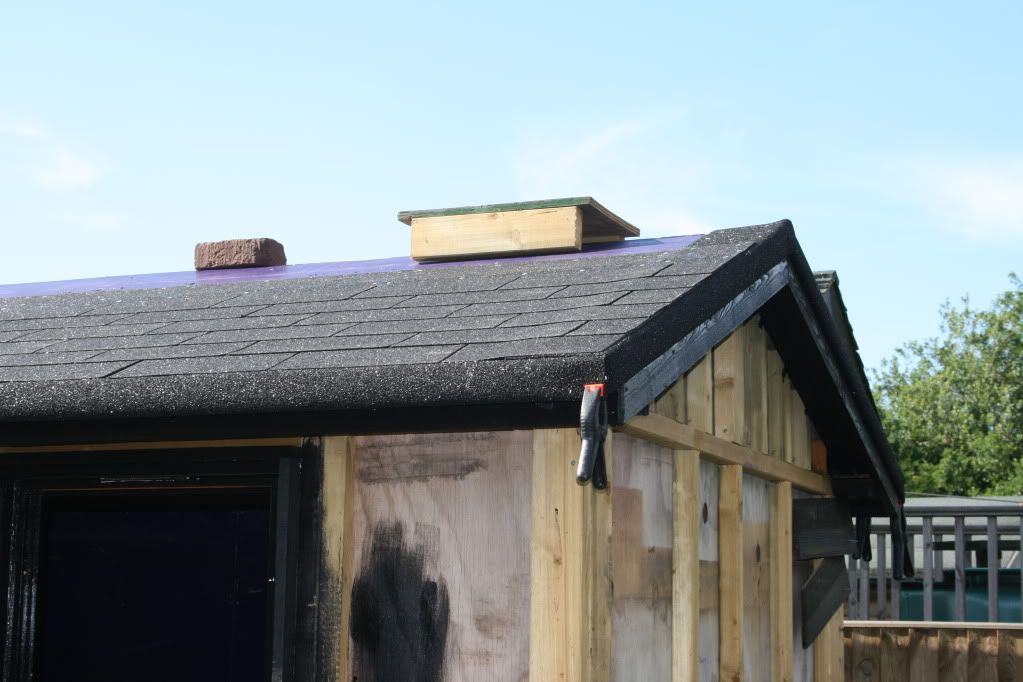
Then I started on the roof covering. I used Marley felt shingles from B and Poo, which were recomended to me. I have to say so far I am impressed with them. The edging goes on first and I did the fancy folding under itself for a neat look. The corners involve a bit of origami. I stuck it down and tacked it which was probably overkill.

IMG_1290.jpg
 
The inside got a coat of white paint.
Roof finished.
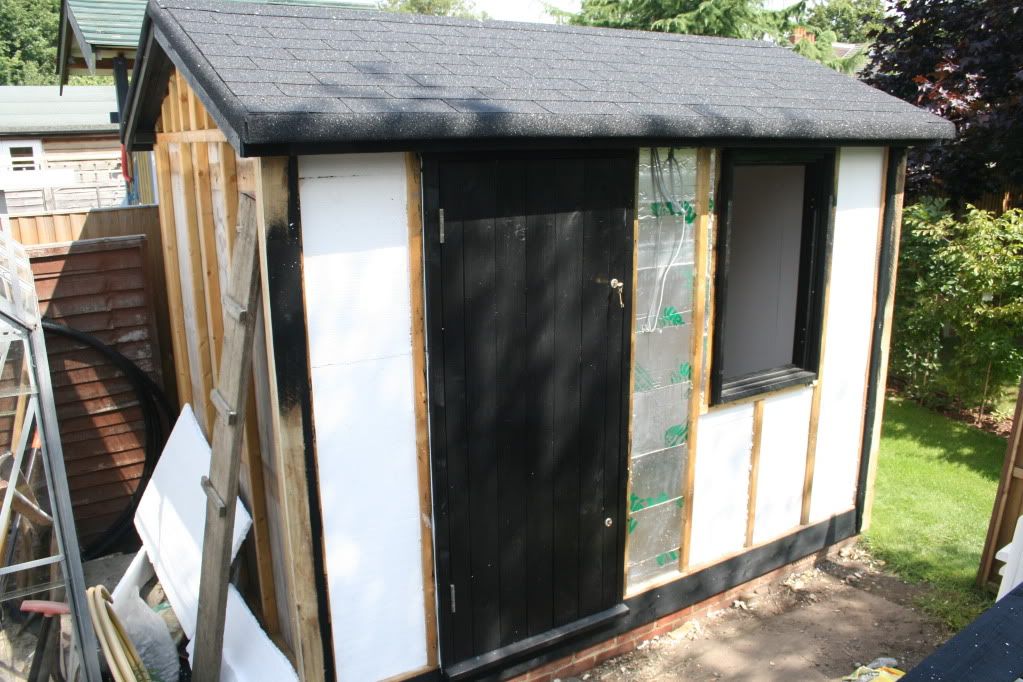
Started to get some insulation in the outside walls. Mixture of celotex and polystyrene. What ever I could find laying around really, wanting to spend as little as possible. I decided not to bother with a breather membrane or a vapour barrier. I just think its overkill for something like this, its a garden shed after all. (I'd put them in my workshop though if it was built like this)

IMG_1698.jpg


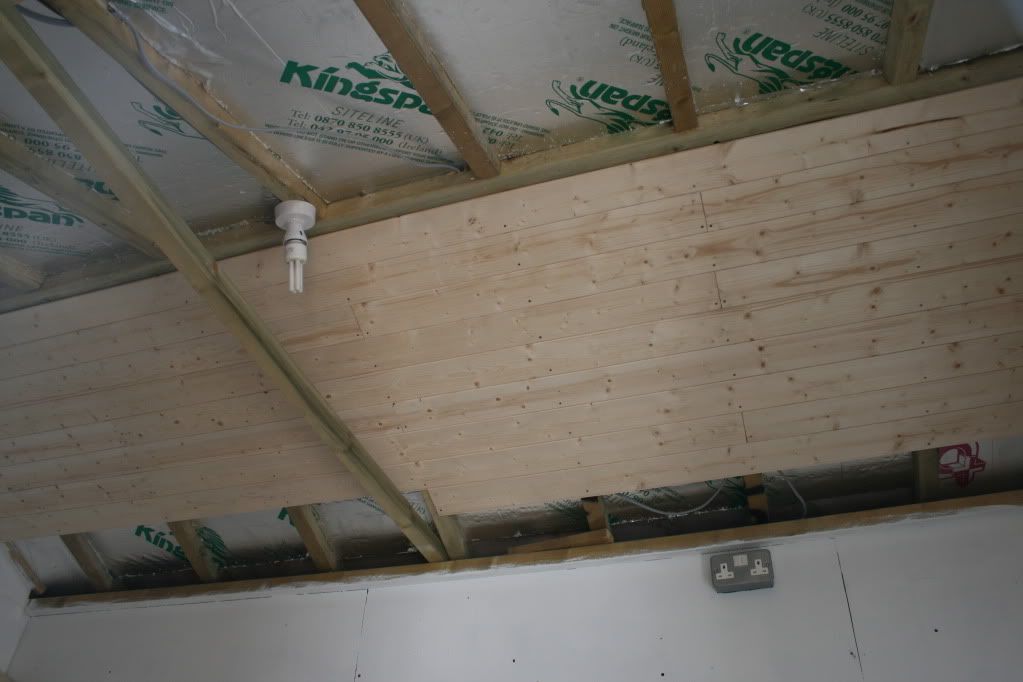
The inside was also insulated and the electrics went in. Then clad with Wickes cheapest, thinest tongue and groove (I bought all the damaged packs and got them for half price!

IMG_1695.jpg
 
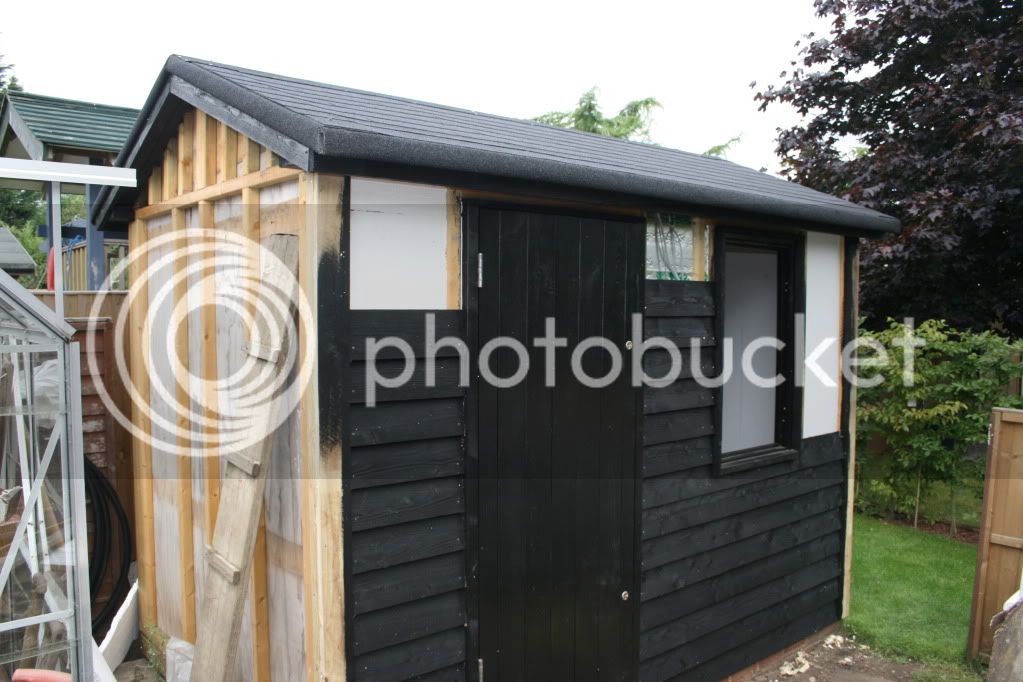
Next up, clad it with 6 inch featheredge, painted before putting up. One nail at the bottom, board above clamps the top down

IMG_1699.jpg
 
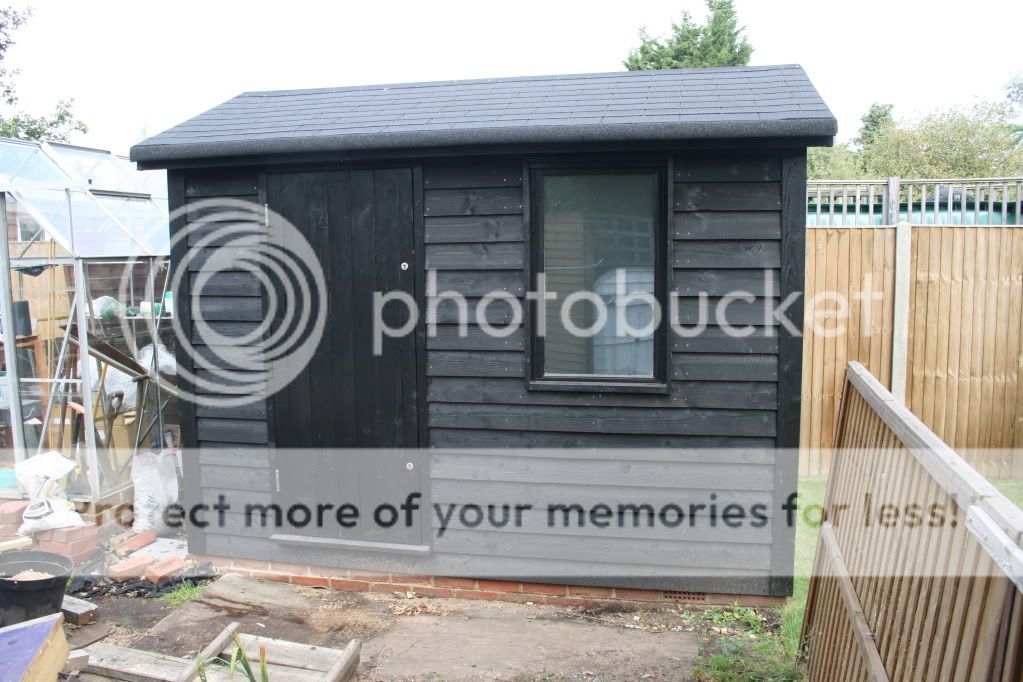
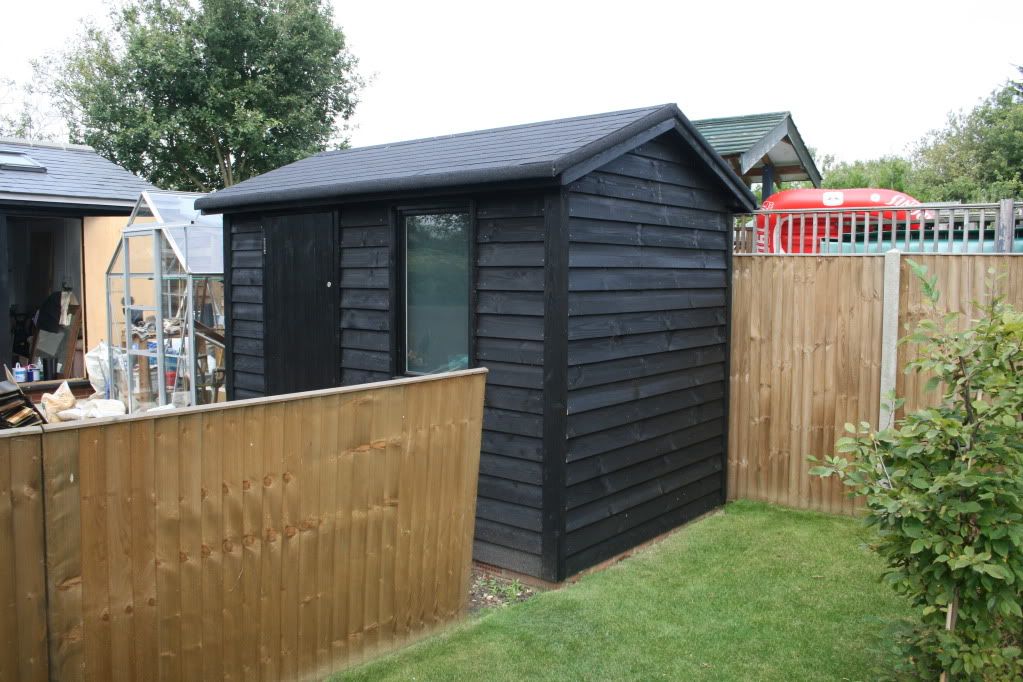
And thats it, all finished. Well more or less, just needs a bit of guttering and a water butt for watering the veg patch that is now in front of it.
Just need to transfer everything across from the workshop and sort that out. Oh and that ropey looking 4 foot fence in front is now down, it was only temporary to screen the mess. Hope you enjoyed.

Mark

IMG_1700.jpg


IMG_1701.jpg
 
Forgot to say, the window is a cheap double glazed panel with some of that frosting film on it so no one can see in. Bars across the inside as well.

Mark
 
Nice summer weather you have got around there. :)

I reckon your shed should last a lifetime. Got to be one of the top ten sheds on this forum for quality.
 
At last!

This is almost, almost, the model of how to do a workshop or shed. It really is simple, chaps, isn't it!! All the ingredients are there........ a brick plinth, inner lining of ply or OSB and properly fixed feather-edge boarding. My only criticism would be lack of spacing between the back of the boards and the framing, and a bit of building paper over the frame.

Well done The Bear.

Mike
 
Looks like you've done well.

Are you sure you don't want to use it as a secondary workshop??? :D
 
Passed Mike's scrutiny, more or less, blimey thats a relief (Mike I do think you should write a "sticky" for the forum - how to build a timber workshop)

Thanks for all the other complimentary remarks. I am hoping it will last a lifetime with a bit of TLC in the future.

Mark
 
Back
Top