River Table WIP

UKworkshop.co.uk

Help Support UKworkshop.co.uk:

This site may earn a commission from merchant affiliate links, including eBay, Amazon, and others.

tomthumbtom8

Established Member
Joined
6 Apr 2012
Messages
174
Reaction score
1
Location
Rugby
Hello all well I've started my River table this week.
Well not this week I started the top for the river table in September after finding a nice slab of ELM.

But when I got it home I realised how twisted and bent the slab was. So looking at it for a week or two I cut it in two hot glue melted it to a sheet of MDF as it was to wide to run through my jointer and then ran it through the thicknesser I did the worst one on both sides But only one side on the worst board.

I don't have a suitable wood working bench yet (the bench I have I have screwed it down to the floor ) BUT it still like wind surfing on one leg and eye's closed.

any way I've now poured my resin (picture 1)

20191031_072900.jpg


just waiting for it to cure

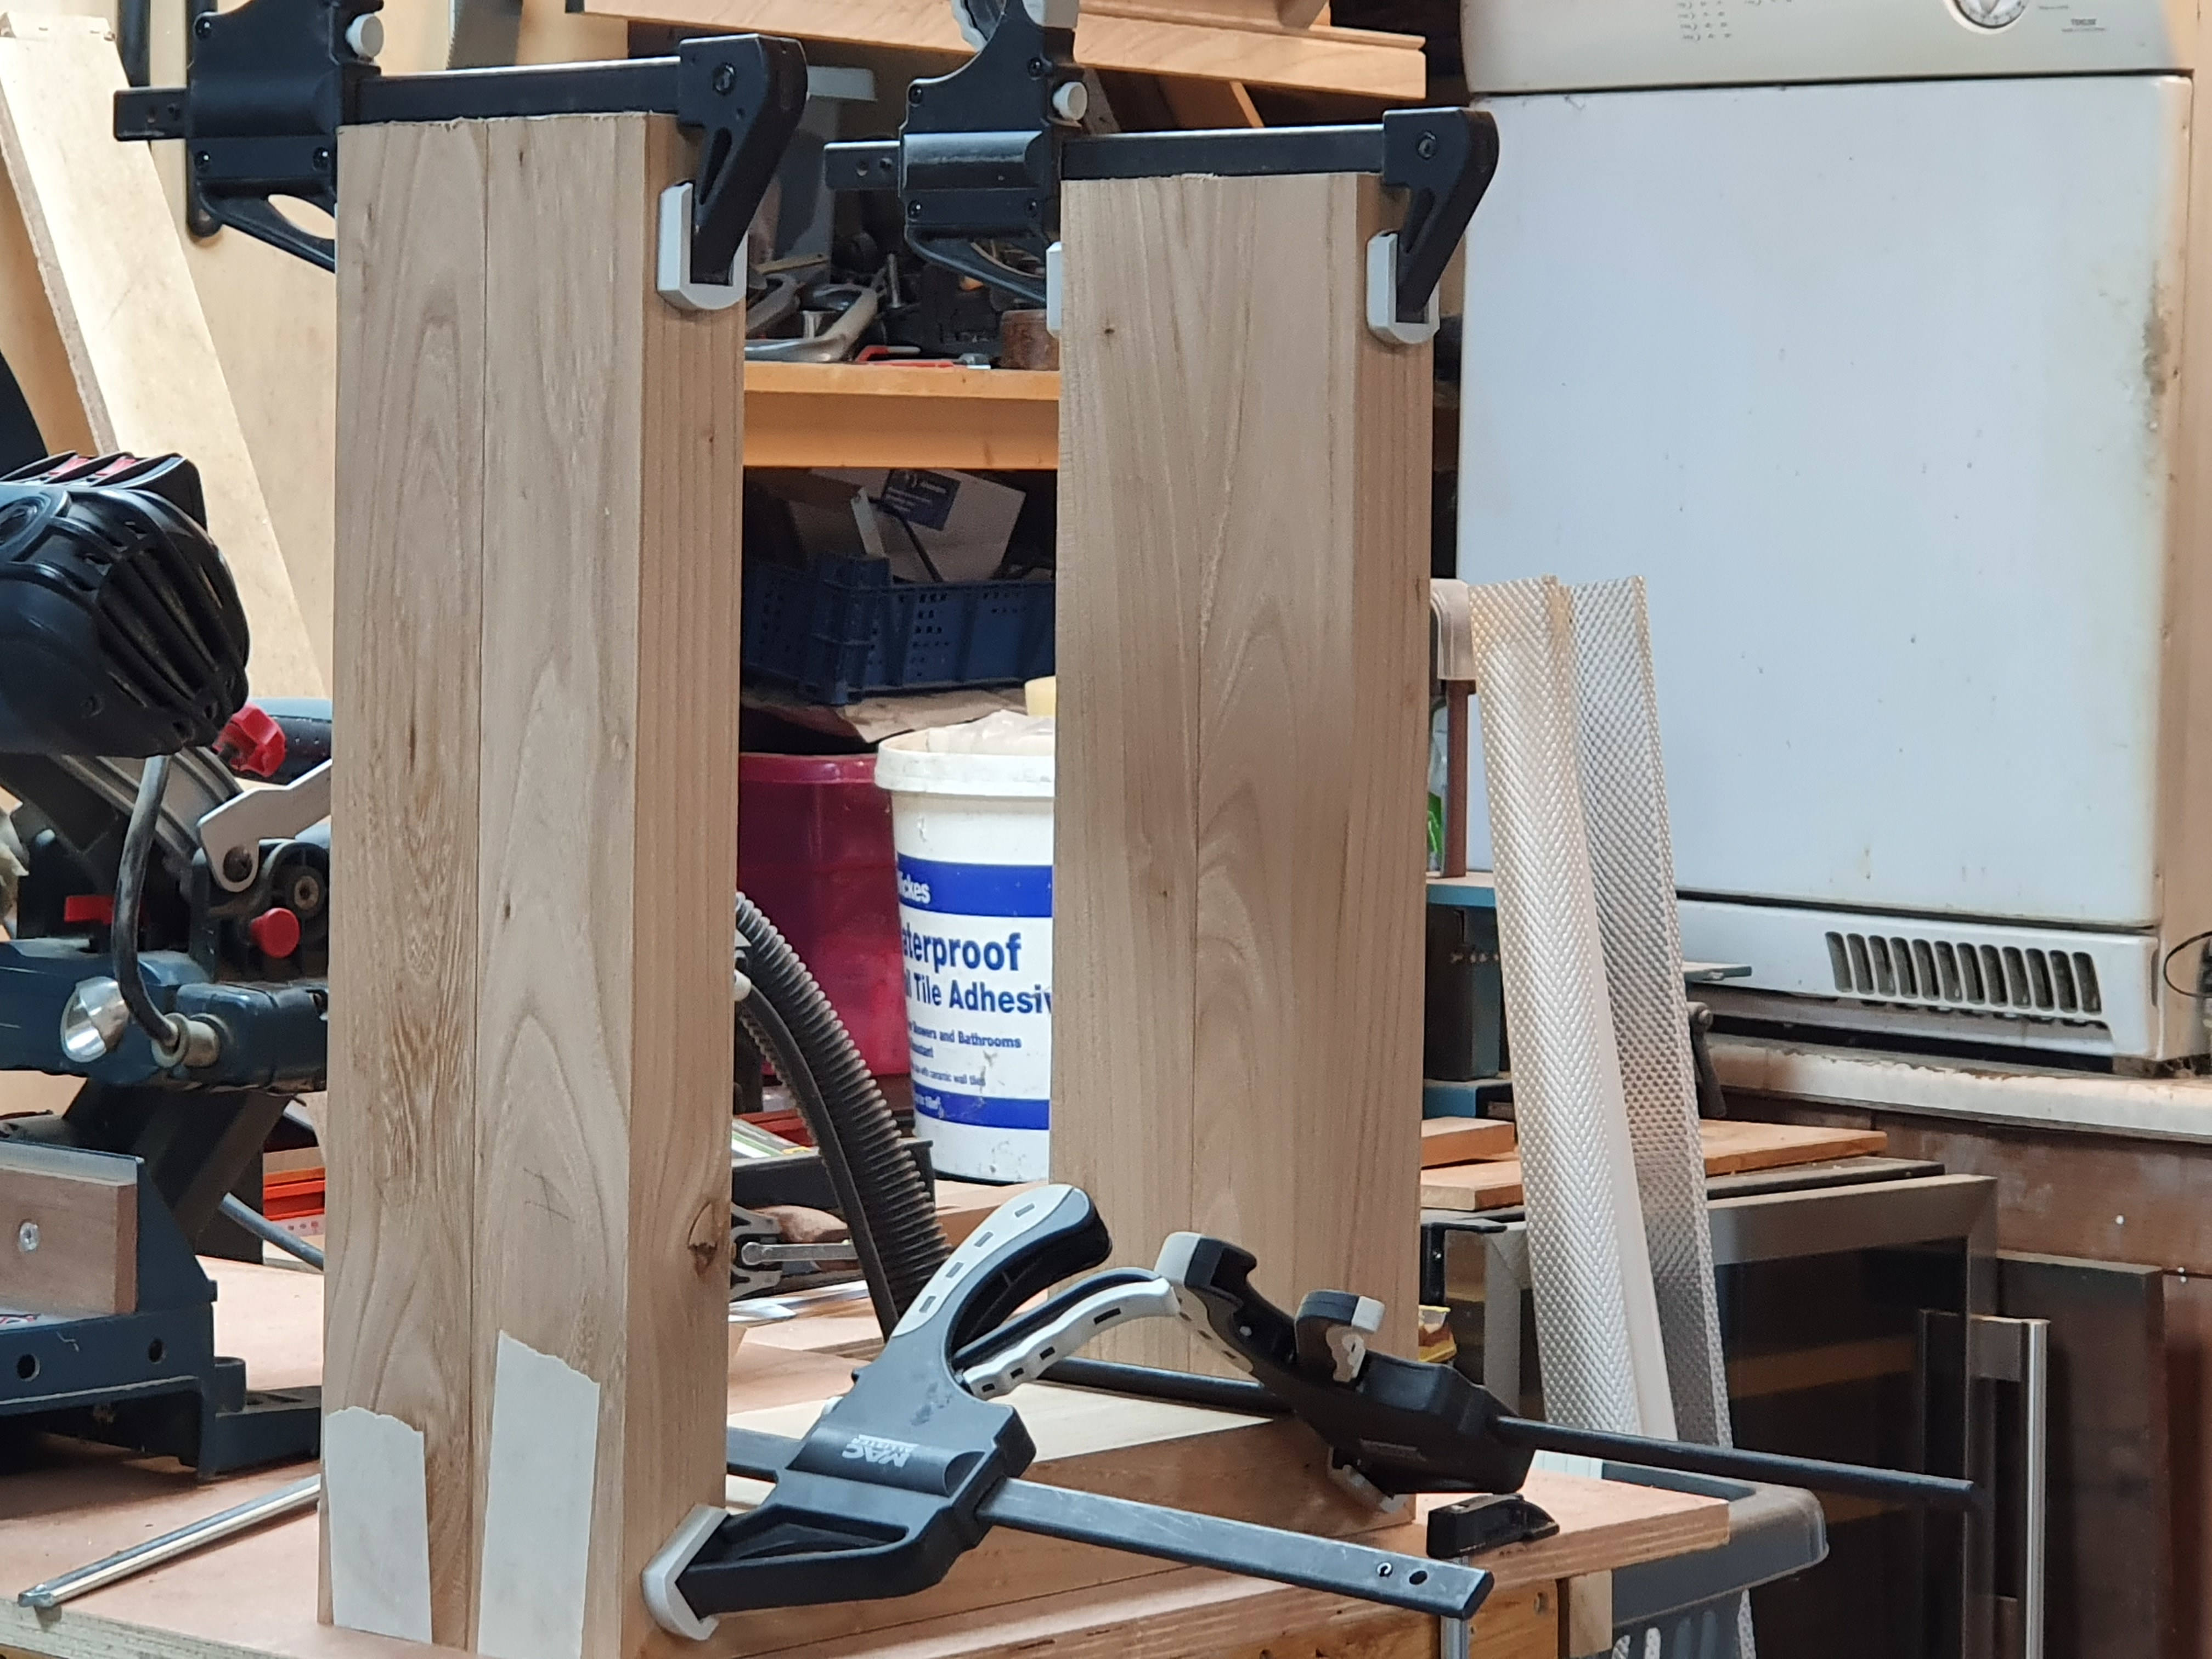
I've milled my elm 3 x 2 legs and cut miters. I in tend to add spines to the miters for strength.

Question
The legs are mitered at the bottom but should I M & T the top rail or even dove tail I could even cut the 3 x 2 legs into the side's of the table so the top of the leg are level with the top


20191029_233551.jpg


I was you going to mortice the legs into the table Top but as elm moves so much I have had second thought. but your views are very welcome
20191030_225903.jpg
 

Attachments

  • 20191031_072900.jpg
    20191031_072900.jpg
    961.3 KB
  • 20191029_233551.jpg
    20191029_233551.jpg
    950.5 KB
  • 20191030_225903.jpg
    20191030_225903.jpg
    944.5 KB
looks good. what resin have you used?

I fancied doing one of these, but we dont have space for another table. I plan to do a wall hanging piece though.
 
tomthumbtom8":1buzdq8h said:
.......... run through my jointer........

We've been through this. :lol:

-

Could you tell us a little about the epoxy? What did you buy? Where did you buy it? How much did it cost? How much did you use at a time? What mix did you use? What sort of temperature is your workshop, and is that important? I ask because I have to do one of these for my daughter, and I have no experience whatsoever to fall back on.
 
OK I no expert BUT one thing if you can afford it buy epoxy I used polyester and as you can see the resin top is "well like the sea" it has ripples all over it. I think it's a reaction to the hot air gun used to remove air bubbles from the resin.

Plus polyester resin will shrink as it cures as epoxy is more stable.

the table (coffee table for my son new flat) is 900 mm long and about 250 mm wide and 30/40 mm thick when I say the table I do mean the resin pour.

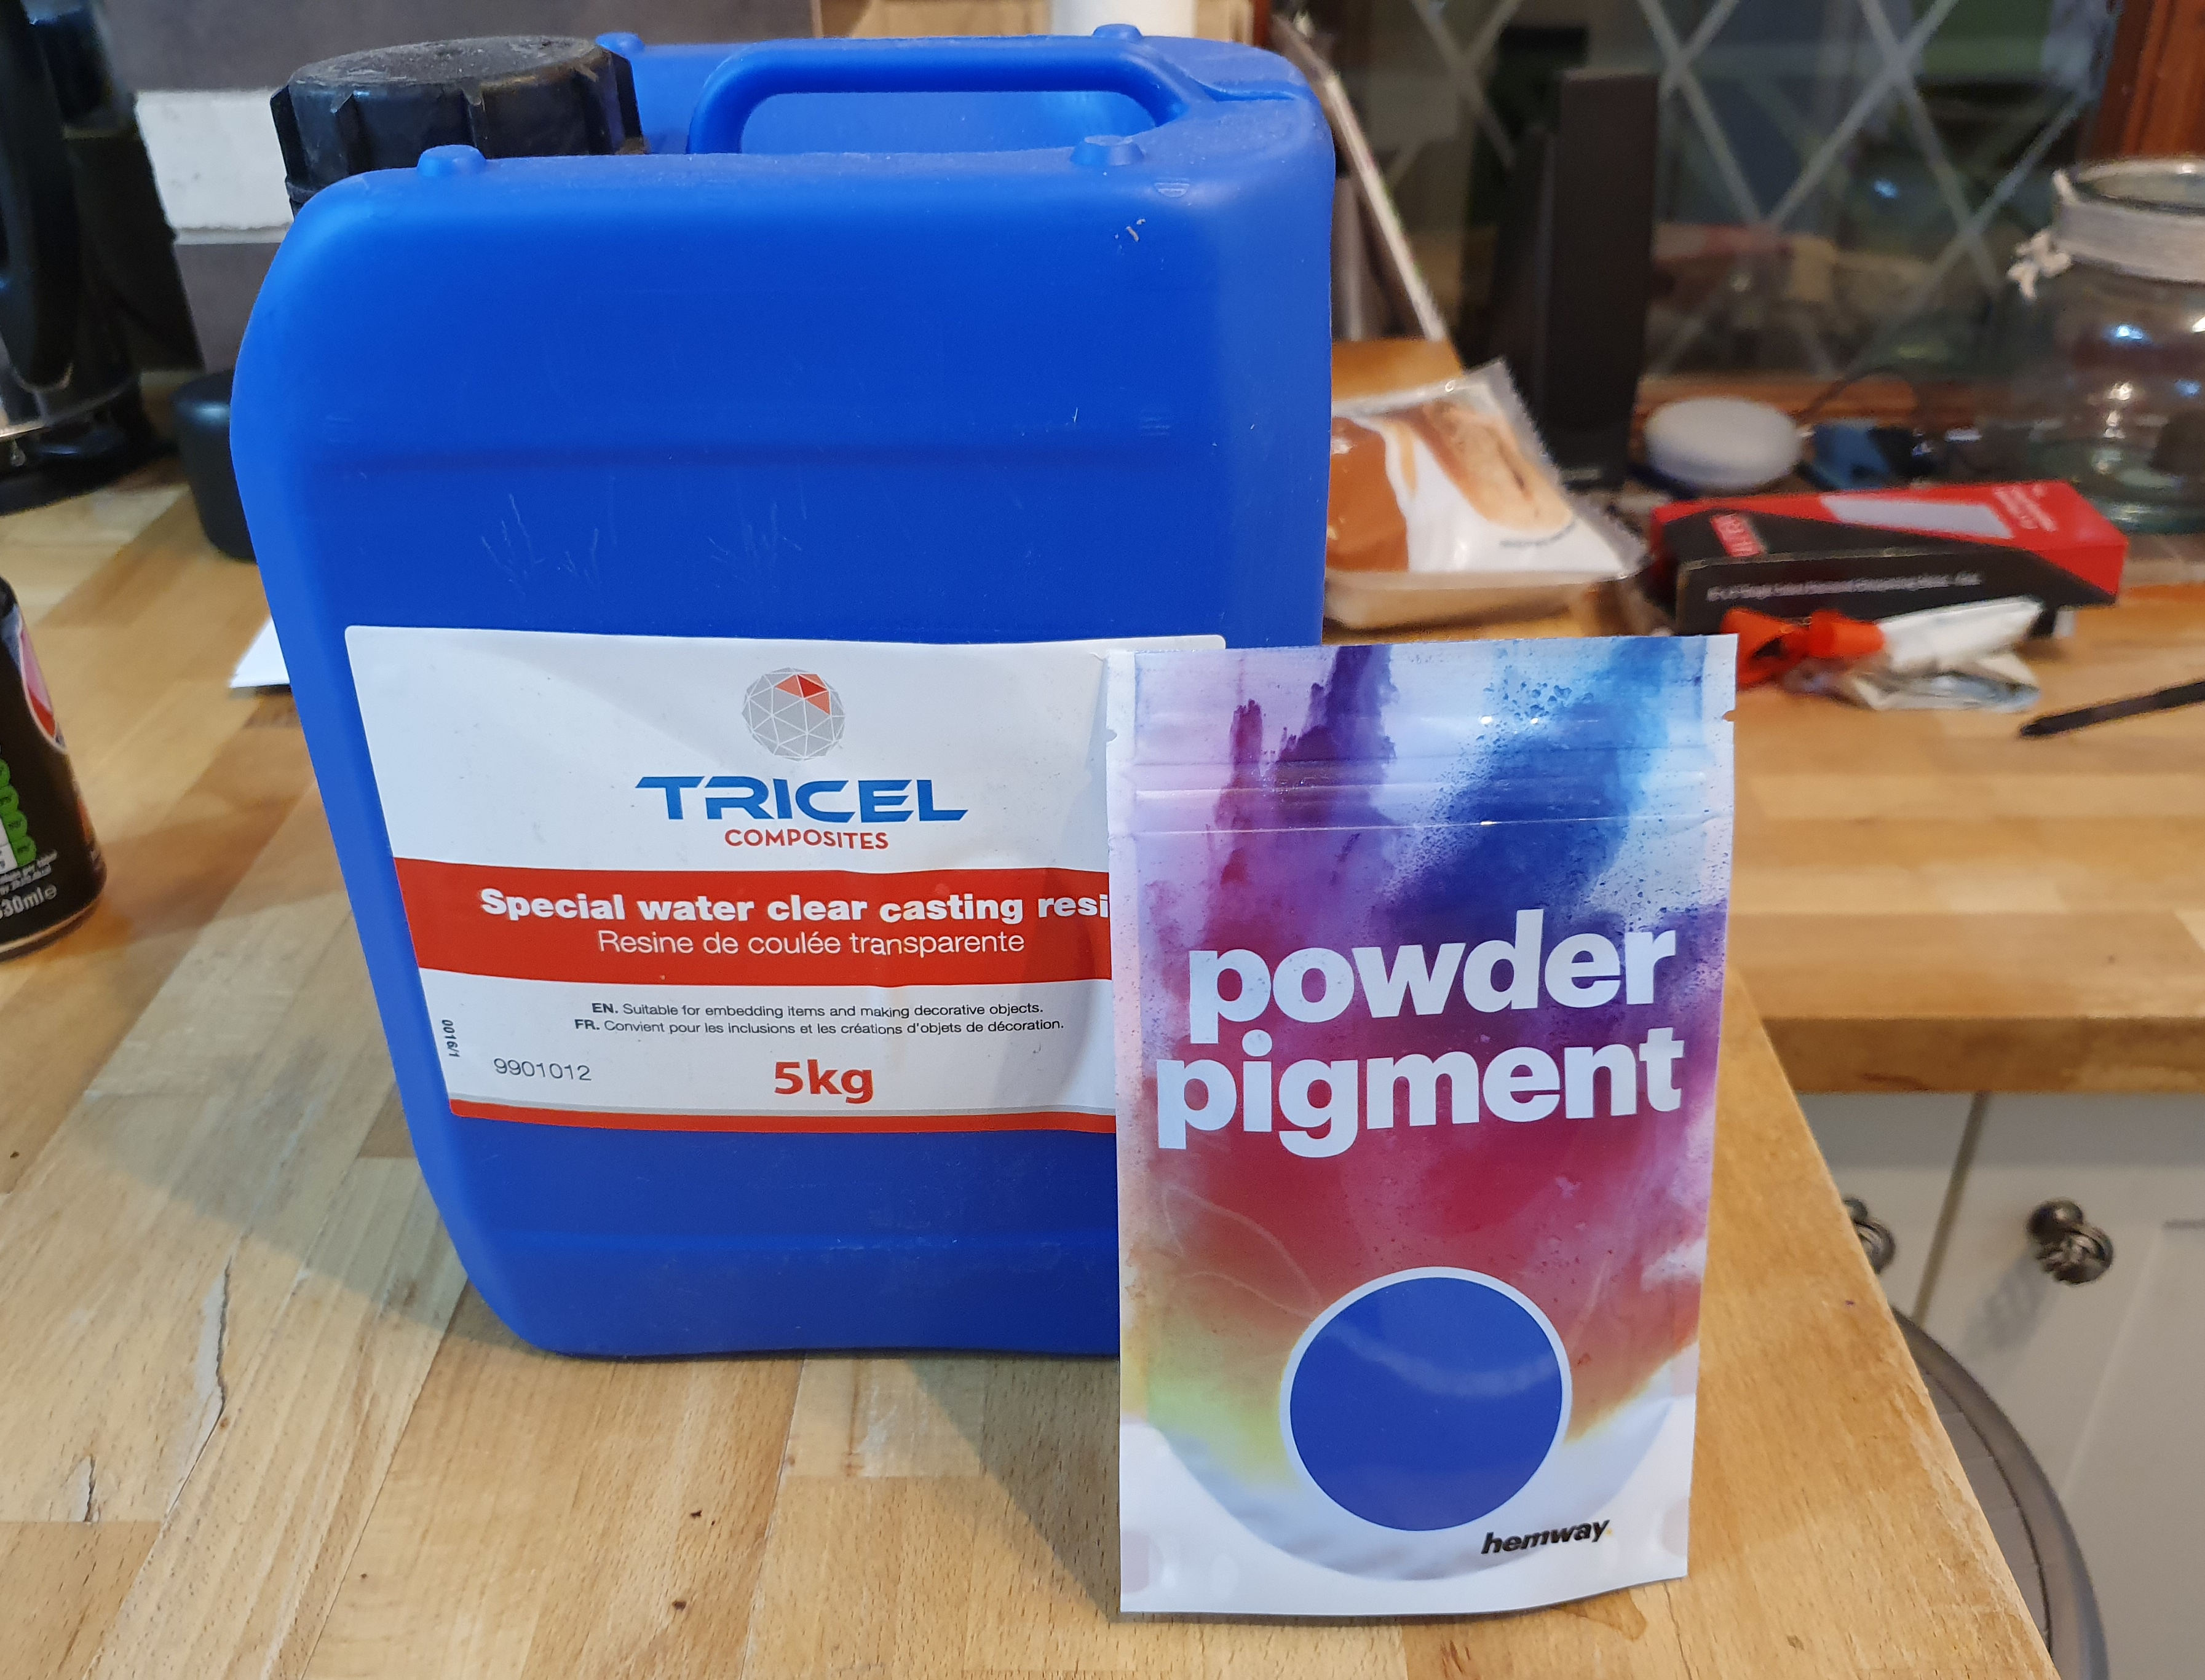
I used 10 k of resin and a soap micra dye used in soap ect (powder) I will post a photo of resin and powder later hardener was 1.5% as it said 1 to 2 % I tried a 2 % and it was to hot on curing and it really did shrink ( good job it was a lower pour ) Now this polyester does smell a lot

what ever resin you use prime your wood with 3 to 5 coats of resin before you start, this will help a lot with are bubbles also a word of warning on polyester DO NOT USE A GASS TOURCH on the resin to remove the air bubbles as it will catch fire only use gas on epoxy.

how can you tell if you have epoxy resin well epoxy will not smell and it's a 2 part resin to 1 part hardener

Back to my top rail should I M&T the rail or dovetail ( hidden dovetail) ??
 
tomthumbtom8":2uy6124d said:
.....Back to my top rail should I M&T the rail or dovetail ( hidden dovetail) ??

I'm not quite clear of the question. Do you mean the corners of the apron? Or do you mean the junction of the legs with the apron?
 
Not to worry I've just found my biscuit Jointer so I'm going to double biscuit the joint

top rail of the mitered legs is what I was talking about

I only have 2m left of the elm material left so it's getting tight for material

thank mike for the reply
 
MikeG.":28f4b2yj said:
tomthumbtom8":28f4b2yj said:
.......... run through my jointer........

We've been through this. :lol:

-

Could you tell us a little about the epoxy? What did you buy? Where did you buy it? How much did it cost? How much did you use at a time? What mix did you use? What sort of temperature is your workshop, and is that important? I ask because I have to do one of these for my daughter, and I have no experience whatsoever to fall back on.
I have done a bit of epoxy work with glass cast recently, this might be of help?

What did you buy?
Glass Cast 3 (they also sell 10 and 50 variants for thicker pours).
Where did you buy it?
I got it from Easy Composites.
How much did it cost?
Cost about £65 for 5 kilos.
How much did you use at a time?
I didn't do a deep pour as that wasn't my aim, I was mixing no more than about 500g at a time. It takes a long time to go off - I was painting it on and after 30 minutes it was still liquid enough to brush and flow smooth.
What mix did you use?
The mix stated on the package. You need to mix quite accurately with epoxy, I used digital scales to measure.
I also used some epoxy carried pigment which worked excellently (5% by weight gave a perfect pitch black).
For some surfaces I needed a thicker mix, so I used fumed silica (2% by weight) to thicken it. No effect on colour or hardness, but made it cling to vertical surfaces. It self levels rather less when thickened though.
What sort of temperature is your workshop, and is that important?
Around 20C (it's indoors). Yes, it's very important to have it warm enough or the epoxy reaction is too slow. You need 15C minimum, but 25C is recommended.

It came out very well, perfectly flat and smooth without any real effort on my part.

I did most of my mixing in litre sized plastic pots (the big yogurt tubs) using silicone kitchen utensils. They clean up perfectly with acetone. I also used a silicone pastry brush and an acetal spreader as these can be easily cleaned.

One other thing to note, it's corrosive until cured which means if you get it on your skin it will give you a chemical burn. Wear gloves and long sleeves (ask me how I know).
 
Lots of information here: https://sliverpaddleboards.com/paddlebo ... ddleboard/

It's specific to wooden paddleboards, but has lots of info on dos and don'ts. There are several pages that follow on one from the other.

Most important as I understand it is to have the temperature slowly drop during the cure, otherwise the wood offgasses, and you get tiny bubbles in your epoxy. Rising temperatures is a big no no. It can make the timing of when you do the pour tricky.
 
well all joints cut I'm just about to glue up my miter joints with epoxy (5 min) then tomorrow I will cut the spines in the miter and fill with blue epoxy and reinforce the under side of the table top sorry no photos of me cutting my joints but I will post the joints before I glue up.
 
well as I said all leg joints are cut just some last minute adjustments miters to hollow out and one tenon a bit tight

miter marked up for hollowing out so it doesn't interfere with the joint

20191111_172553.jpg


Tenon adjustment

20191111_173829.jpg


Ok I cut all the joints at 16 mm then found out I didn't have a 16 mm chisel so I cut the mortice's on my mortice press with a 13 mm chisel then finish the rest by hand and trimmed the tenons on my bench saw 1.5 mm thicker and finished off by hand. I really enjoyed cutting these joints


20191103_113708.jpg


20191111_172553.jpg


So now it's time to glue the miter and then cut the spines
 

Attachments

  • 20191111_172553.jpg
    20191111_172553.jpg
    949.7 KB
  • 20191111_173829.jpg
    20191111_173829.jpg
    962.4 KB
  • 20191103_113708.jpg
    20191103_113708.jpg
    942.9 KB
  • 20191111_172540.jpg
    20191111_172540.jpg
    746.2 KB
well this morning I've sanded the inside of the mitered legs and taped up and glued but I think one joint has slipped.

I will live with it for now but in the future I may use a bit of salt (see people use this method) but does it have a effect on the glue ?? just out of interest.

yep I've been up since 2.30 AM excited to glue up.

I'm going to make a quick jig to cut the external splines for the miters pic's to follow
 
Just a quick update
20191112_195804.jpg


20191112_195804.jpg


20191112_031343.jpg


20191112_031343.jpg


20191112_195752.jpg


I'm really pleased with the miter joints
 

Attachments

  • 20191112_195804.jpg
    20191112_195804.jpg
    1,003.7 KB
  • 20191112_061118.jpg
    20191112_061118.jpg
    947.9 KB
  • 20191112_031343.jpg
    20191112_031343.jpg
    973.4 KB
  • 20191112_195752.jpg
    20191112_195752.jpg
    951.7 KB
Right, your structure is getting me a bit worried. Normally the aprons M&T into the legs. You have a continuous apron, and some tenons on the ends of your legs. Is that right? If you are planning on just sitting the table top and apron straight onto the tops of the legs with a M&T, what is going to prevent the whole thing collapsing if bumped hard from the side, or if dragged along the floor?

Are you American, tomthumbtom8? You use a lot of American spellings (miter instead of mitre, for instance) and American terms (jointer instead of planer, amongst others).
 
Hello Mike no no I'm English I spell a lot in American because I don't know how many English people are on this site. I been to a lot of router web sites where I thought was English when in fact they are all USA based.

Anyway not to worry Mike this a bottom rail going in on the base in fact it's a double side by side with a 30 mm gap in between with a dovetailed lapping joint

20191115_025104.jpg


I'm just waiting for more Elm as I under ordered. It's was designed originally to be laminated 3 legged coffee table but the wife got involved and made me change to design as my son is so clumsy

I'm up early as my wife is going into hospital this morning for a operation and I can sleep
 

Attachments

  • 20191115_025104.jpg
    20191115_025104.jpg
    846.7 KB
  • 20191115_025112.jpg
    20191115_025112.jpg
    927.9 KB
tomthumbtom8":3lvmj3am said:
Hello Mike no no I'm English I spell a lot in American because I don't know how many English people are on this site...

Probably 95% plus. You can revert to English :) In fact, it's good to spell properly for Americans to help them understand where they're going wrong. :lol:

Anyway not to worry Mike this a bottom rail going in on the base in fact it's a double side by side with a 30 mm gap in between with a dovetailed lapping joint.......

I'm not sure I follow. This is the first time we've seen the frame in the above photo, isn't it? So is the mitred frame sitting above that, outside it, (or even inside it) and where do the half-lap dovetails occur between the two? Or is the mitred frame actually the legs, with the rail lying on the floor? In which case, where is this half-lap dovetail you talk about?
 
Mike the legs are the right way up.

So the dovetail lap joints will come of the centre leg that's on the floor

I would like to thank you for your excellent guidance
 

Latest posts

Back
Top