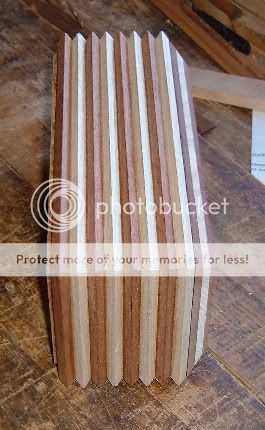
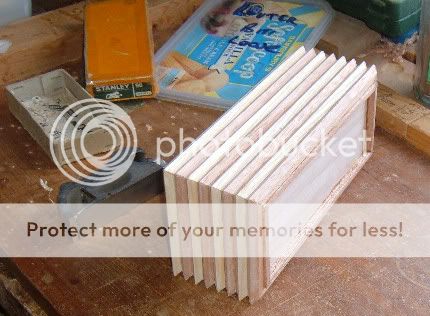
ribbed Box

UKworkshop.co.uk

Help Support UKworkshop.co.uk:

This site may earn a commission from merchant affiliate links, including eBay, Amazon, and others.

devonwoody

Established Member
Joined
11 Apr 2004
Messages
13,493
Reaction score
25
Location
Paignton Devon
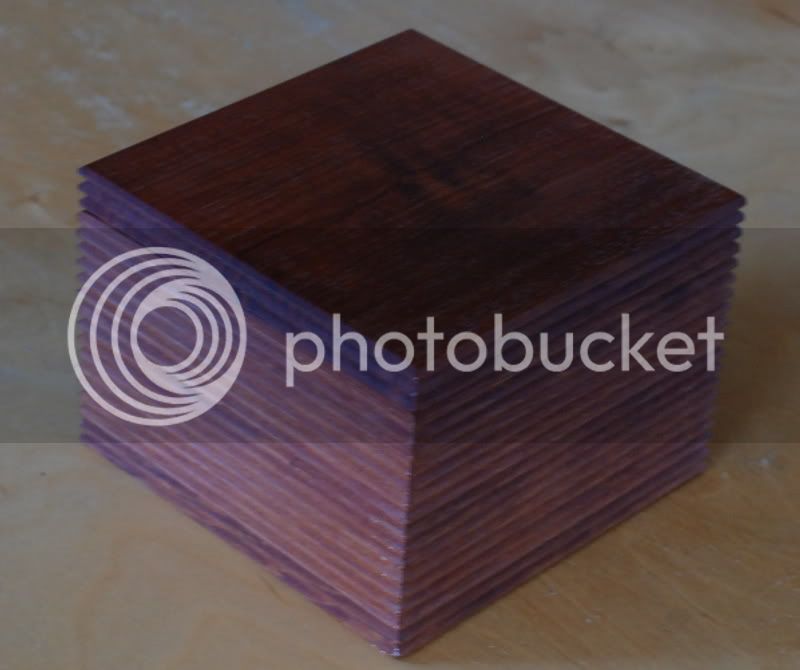
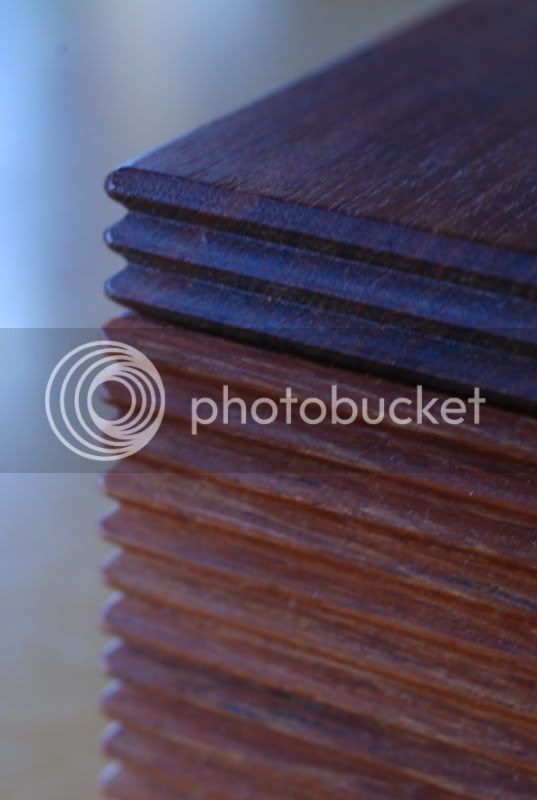
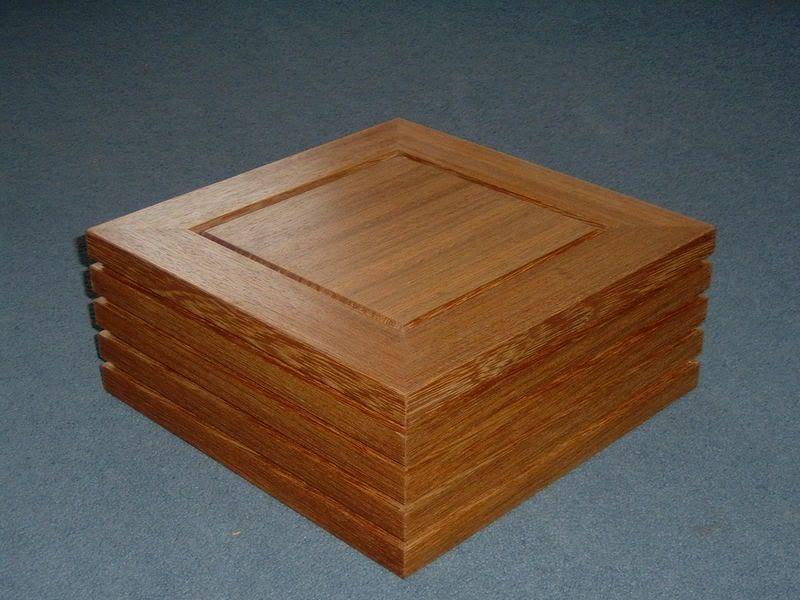
Started a new box yesterday and to me it is a new concept, I suppose somewhere there is a similar effect that has been created, they say there is nothing new under the sun.

Haven't got a plan or photograph I can show you of the design so it is a suck it and see for us all.

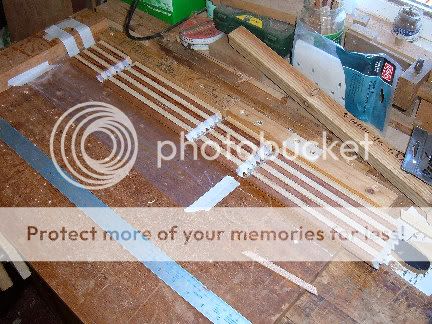
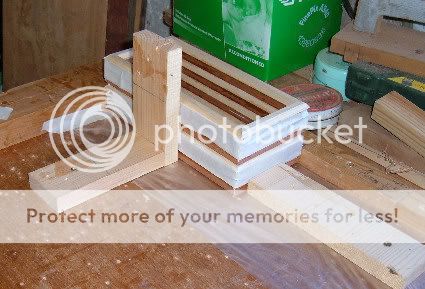
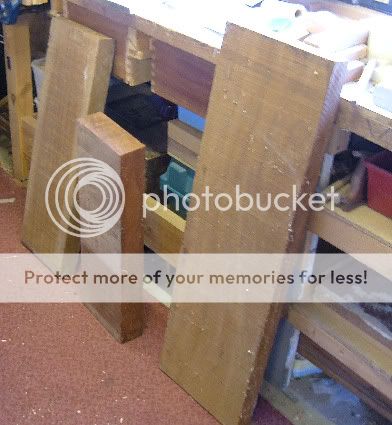
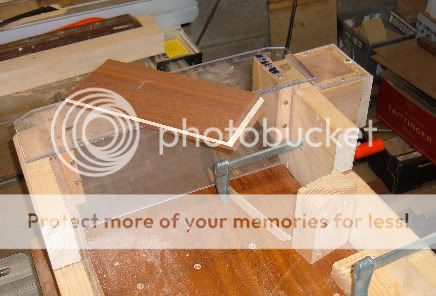
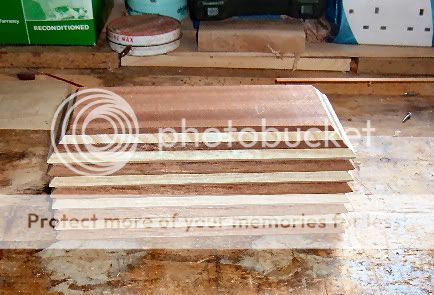
This first picture shows timber prepared from meranti and american ash, this was machined down to 12mmx10mm and one piece (short one) has been put on the router table and a triangular moulding put on one face. This trial moulding was a success so the remaining timber was also machined to the same dimensions.
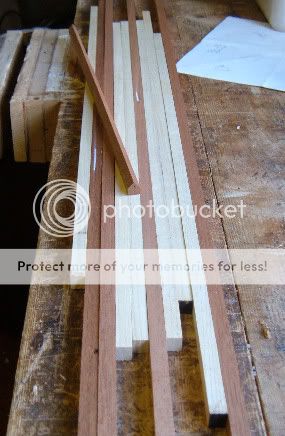
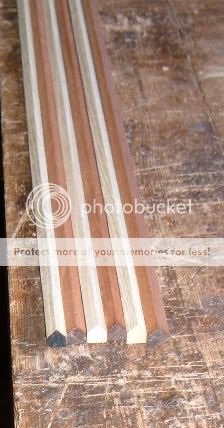
1w-12.jpg


2w-13.jpg


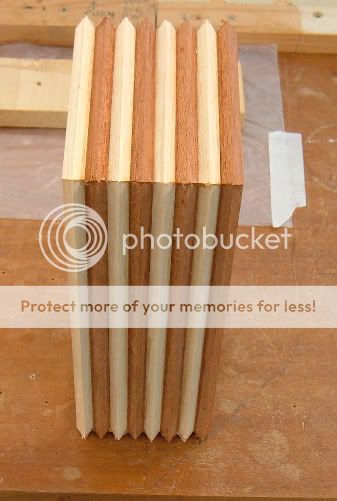
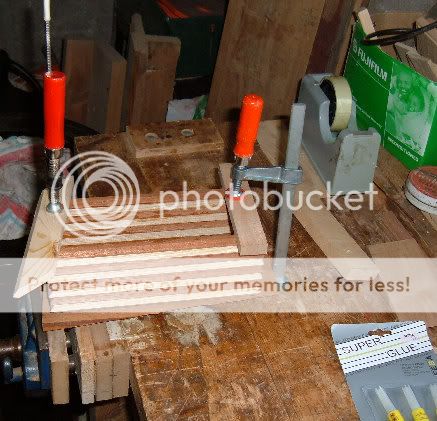
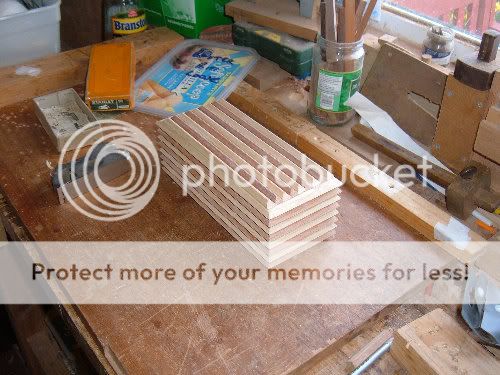
All the strips were then reduced to finished sizes, and then are mounted on my flat board ready for gluing.
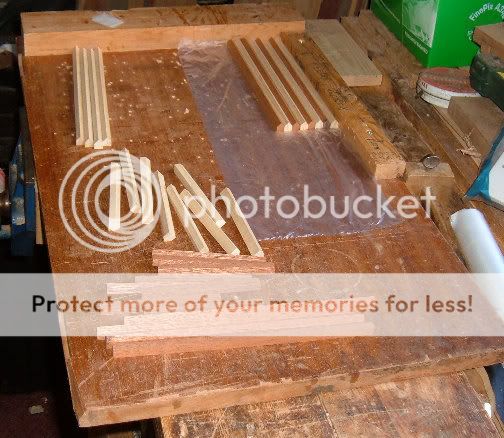
3w-11.jpg


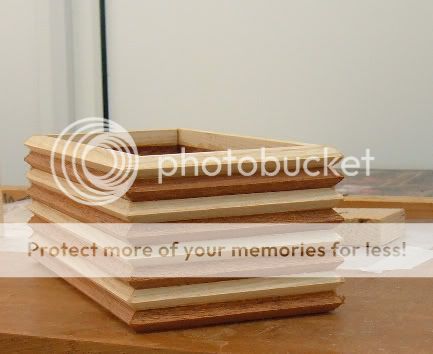
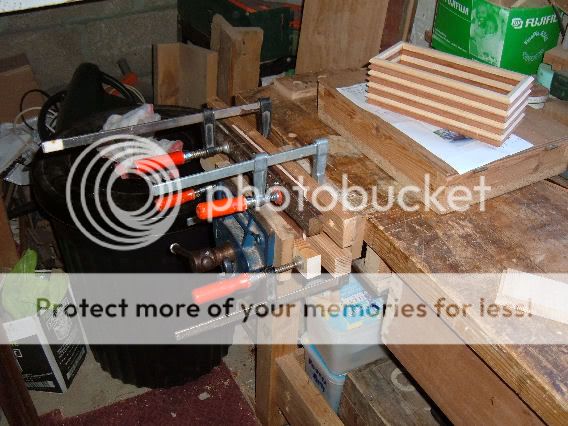
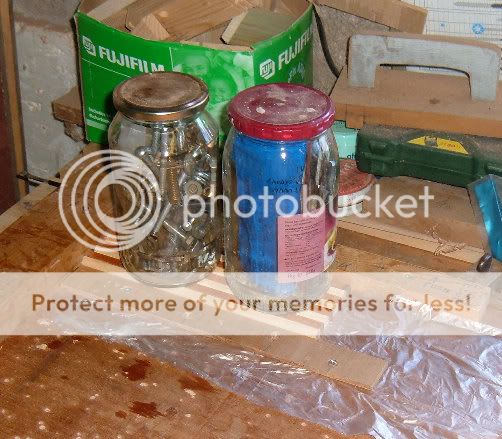
The first section has now been glued and weighted and held in position for glue to set.
4w-10.jpg


The remaining carcass sections were brought inside for gluing owing to frosty weather conditions expected overnight.
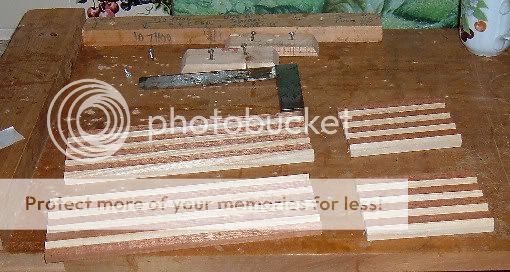
5w-10.jpg


Today Sunday I intend going back out to the workshop and putting a mitre joint to each end section. I am anticipating trouble at this point and might have to do some fiddling because I cannot expect mitres to meet exactly at their edges, but we will see!
 
Great stuff!! really like the idea of this. Much more tactile than a regular flat sided box.

How are you cutting the mitres? On the router table? Or by hand?

Do you use a shooting board to finish them off?

Looking forward to more shots!

Paul
 
Sunday, good weather and a very good session in the shed.

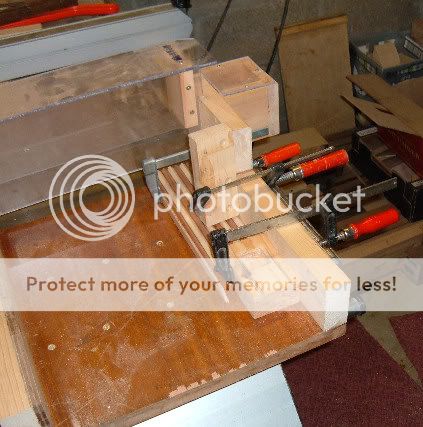
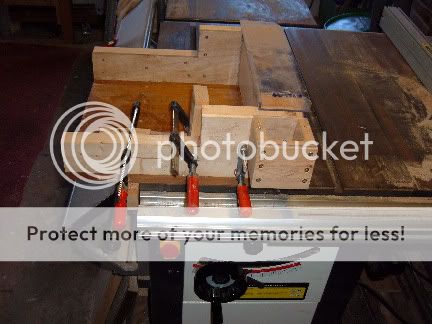
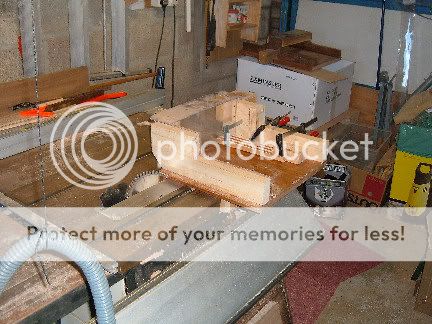
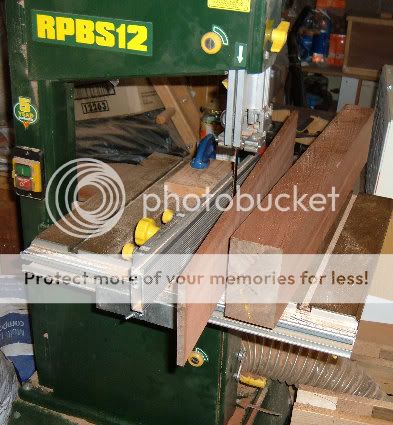
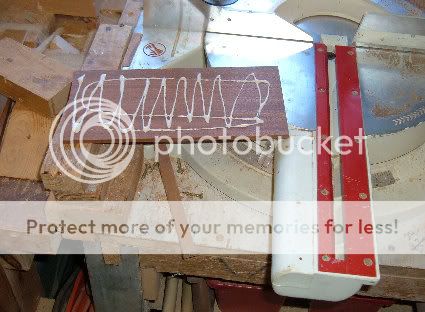
Sized up all faces ready to mitre corners and the following three pictures hopefully describe my mitre jig in full action, I use three sets of clamps to ensure there is no movement of timber passing the blade.


6w-8.jpg


7w-8.jpg


8w-7.jpg


The four sides have cut reasonably well, the Ash does have some chipping on its after cut side, fortunately the will be under mouldings and will not be seen when box finished, like the top angular faces.

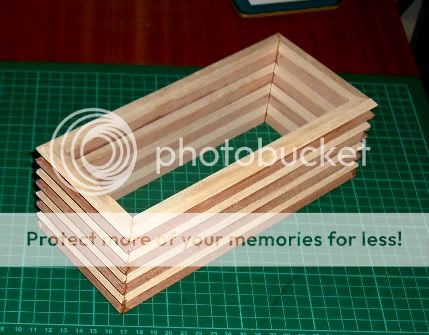
Glued the four pieces and set up on my board using an old dovetail practice piece from the scrapbox, (been there a few years).

9w-8.jpg


10w-7.jpg


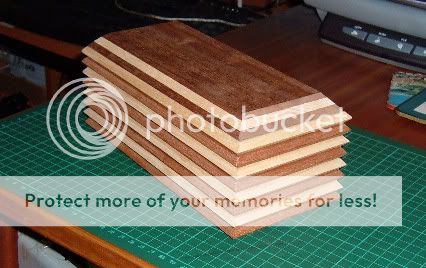
I was in a hurry to see the glued up carcass and pleased to say I am very satisfied with the outcome.

11w-7.jpg


12w-8.jpg


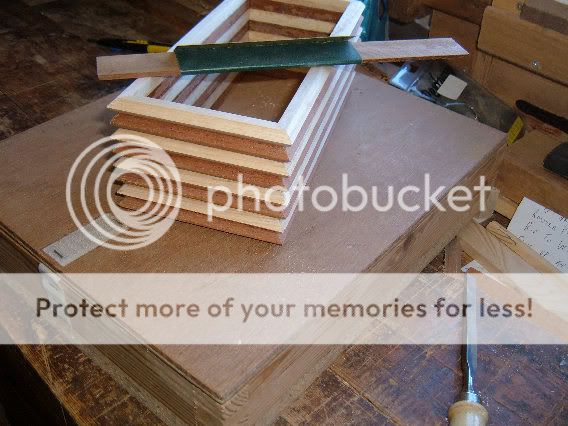
The faces have cleaned up nicely using a sanding stick, 240 grit wrapped round a thin batten, even the chipping out mentioned earlier has vanished.

13w-6.jpg


Even had time today to think about the lid and base, and decided something is also going to be different from my usual practice.
So I sorted out some more scrap offcuts :)

Chose the Sapele

14w-7.jpg


And finished up with a thin piece 14mm thick and 110mm wide.

15w-6.jpg


Making a 3 layer lamination with a scrap piece of ash in the centre, glued together and clamped up in the vice, ready for Monday to start on the lid.

16w-6.jpg


17w-6.jpg


.
 
Wow, I think that looks really good! :)

Did you have a trouble with breakout when you cut the mitres after routing the chamfers? I reckon that, with the right cutter, you could've glued each panel up, cut the mitres and then routed out the V-grooves.

I look forward to seeing what you do with the lid. :wink:
 
Hi,

I made one years ago using the glue joint cutter from my spindle moulder.
I had to glue a couple of lenghts side by side to get the height I needed.
I put the joins at the peak of the serations which hides them well, its made from reclaimed teak, 150mm square and 110mm high.
DSC_0148.jpg

DSC_0149.jpg

DSC_0151.jpg


Pete
 
Ah well Pete, I did start the thread by saying there is nothing new under the sun :)

Going to consider this box as Mark 1, because I can see quite a few variations to the design if I make more using this tecnique.

Started the day putting a 45% angle across the grain using my mitre jig,

18w-4.jpg


(I find that cutting across the grain with a router blade is not as clean a cut) I then went to my router table to do a long side and I had a panic attack, the Triton router would not start.
I then thought of spares and how difficult they might be to get knowing the present state of the manufacturer in Australia.
So got the router out of the table and thought dust might be the problem, I have heard previously of this snag, so removed the switch casing from the machine and gave it the kiss of life, I haven't got a compressor, then got out the WD40 and washed it out, then clamped the router in my bench vice and switched on, and it started to sing again.
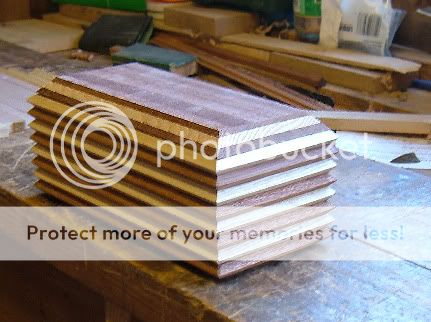
So lost an hour, and then finished machiningg the 45% angle on edge all around the lid and placed on top of the carcass.

19w-4.jpg


An unexpected domestic duty then arose and play was off for the rest of the day, so I have got another two days before my services are again taken up.
 
Hi,

It was spooky seeing your box!

How about carring in the serations up to the lid instead of the chamfer so the box will open at a join between the laminations, do a couple of strips and a solid top, I did a groved box like that.
DSCF0028.jpg

DSCF0034.jpg


Pete
 
Tuesday was a day of success and also not so good, this ribbed box went well, but trying at the same time to complete a chevron box that has been lying around for over a year now.

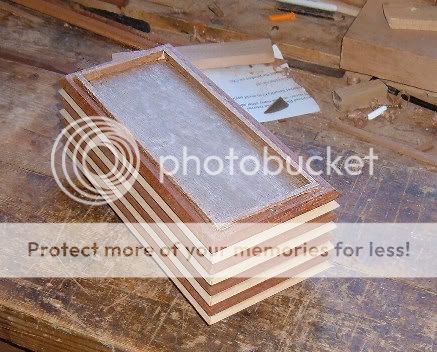
I sealed the carcass orifice with sellotape to prevent any creeping
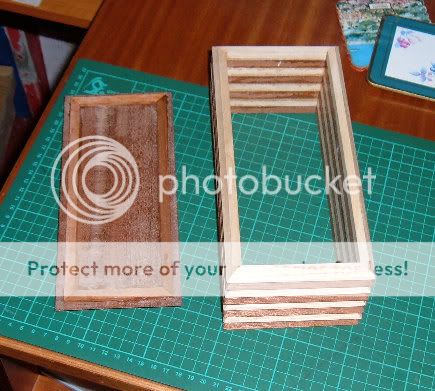
glue from sticking up the box lid. The photo shows the lid cramped in position ( the lid is at the bottom ).

20w-4.jpg


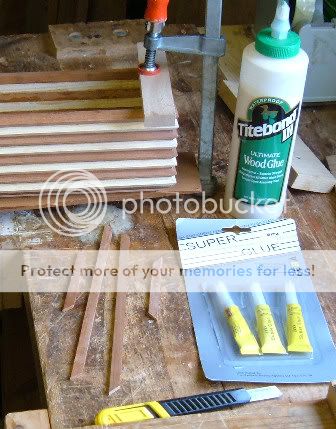
The lid bearers were glued into position using titebond but also a dab of superglue so that I got a quick impact glue effect. This hopefully means that the bearers will be tight and not slide off their holding ability.

21w-4.jpg


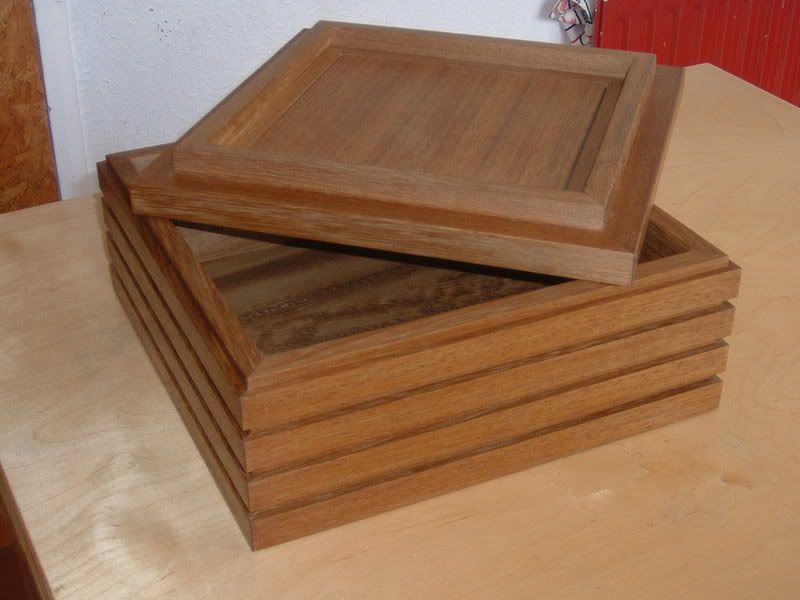
The result was good, the lid bearers make a nice sound effect when lid is dropped on box, there is a nice click when the lid is pushed on.

23w-4.jpg


OK the lid is on.

22w-4.jpg


Today I hope to complete construction, make a base insert and most probably fit some feet .
 
the end is nigh.

Base fitted with a scrap piece of oak 4mm ply, the strips sit nicely so no additional feet are going to be added.

24w-3.jpg


I don't think feet are needed?

25w-4.jpg


A side on view again.

26w-4.jpg


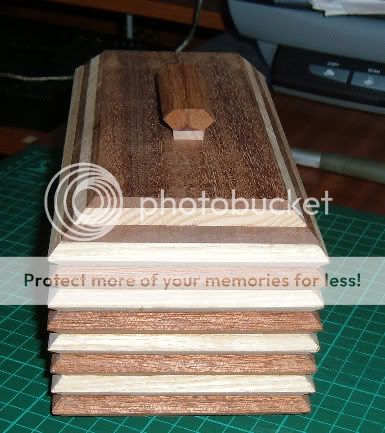
I am going to have to make a lifting knob for the lid and will try to bring in the angular effect together with contrasting timber colours.

BTW. I cut and prepared another batch of strips whilst awaiting glues to set.
 
Simple lifting knob made with three pieces of scrap, which will be cleaned up and fitted later.

27w-4.jpg


Started a new box using Br.Mahogany and Ash, pictures will be posted here when completed.
 
joiner_sim":tnjfe3u0 said:
Great looking box finished there, whats the box going to be used for?

I have a very acquisitive daughter visiting Easter weekend, so I most probably will never know. :)
 
Whilst awaiting for glues to set on the chevronbox work, I prepared another ribbed box (carcass), this box I intend to make the lid continuing the theme of the ribbed effect.

1w-13.jpg


Timber this time American Ash/ Br. Mahogany.
 

Latest posts

Back
Top