Derek Cohen (Perth Oz)
Established Member
I'd like to throw this one out for discussion.
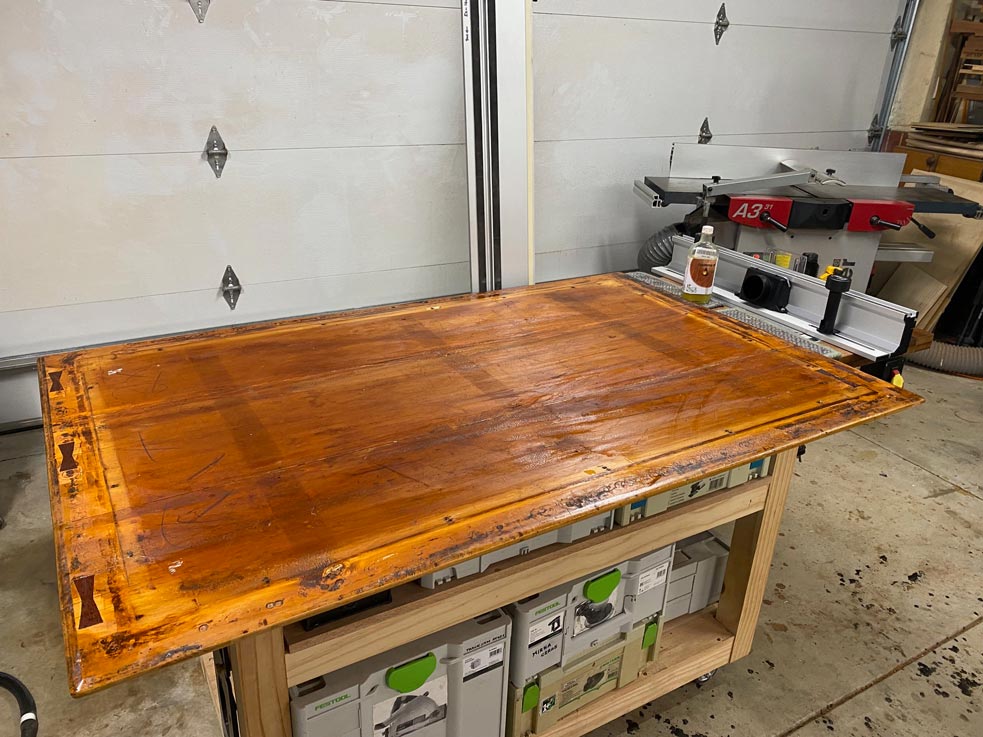
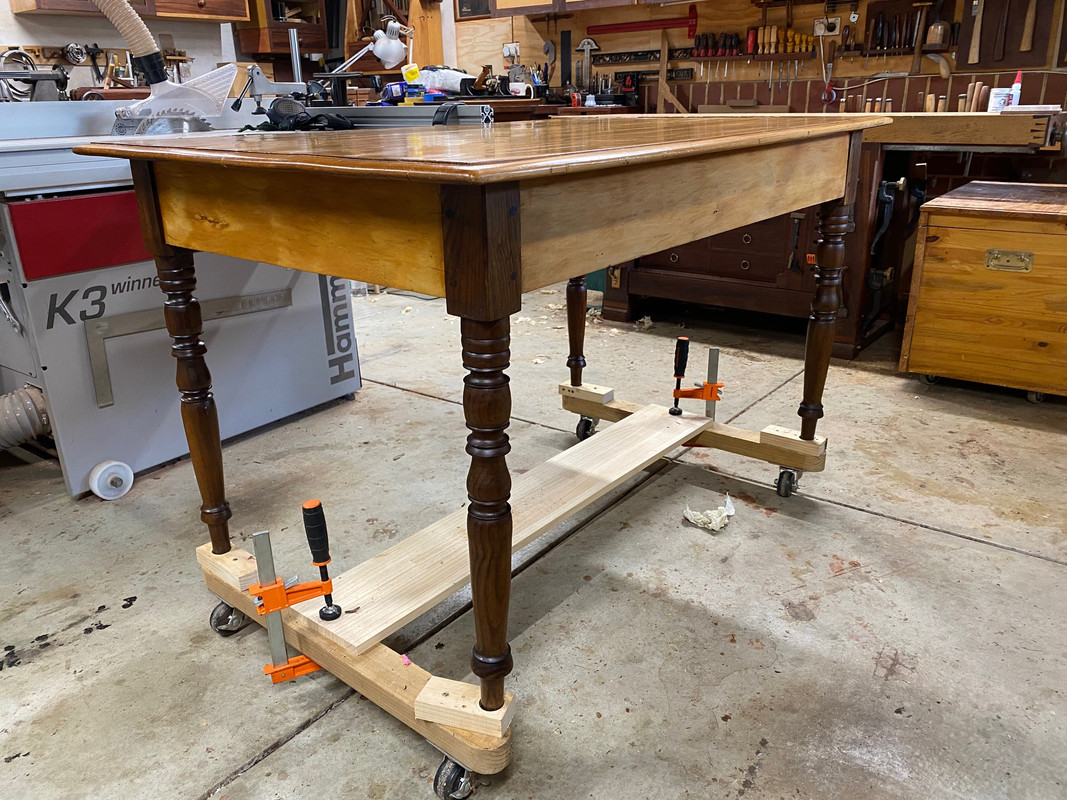
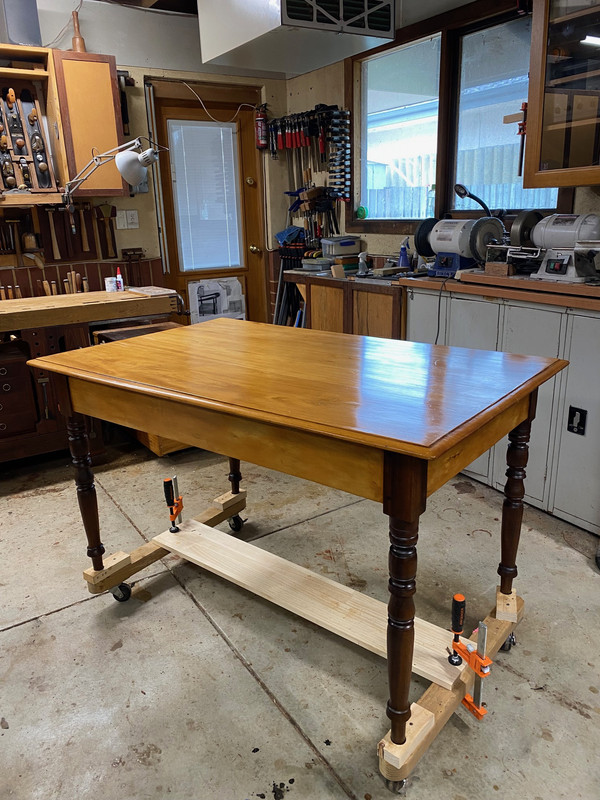
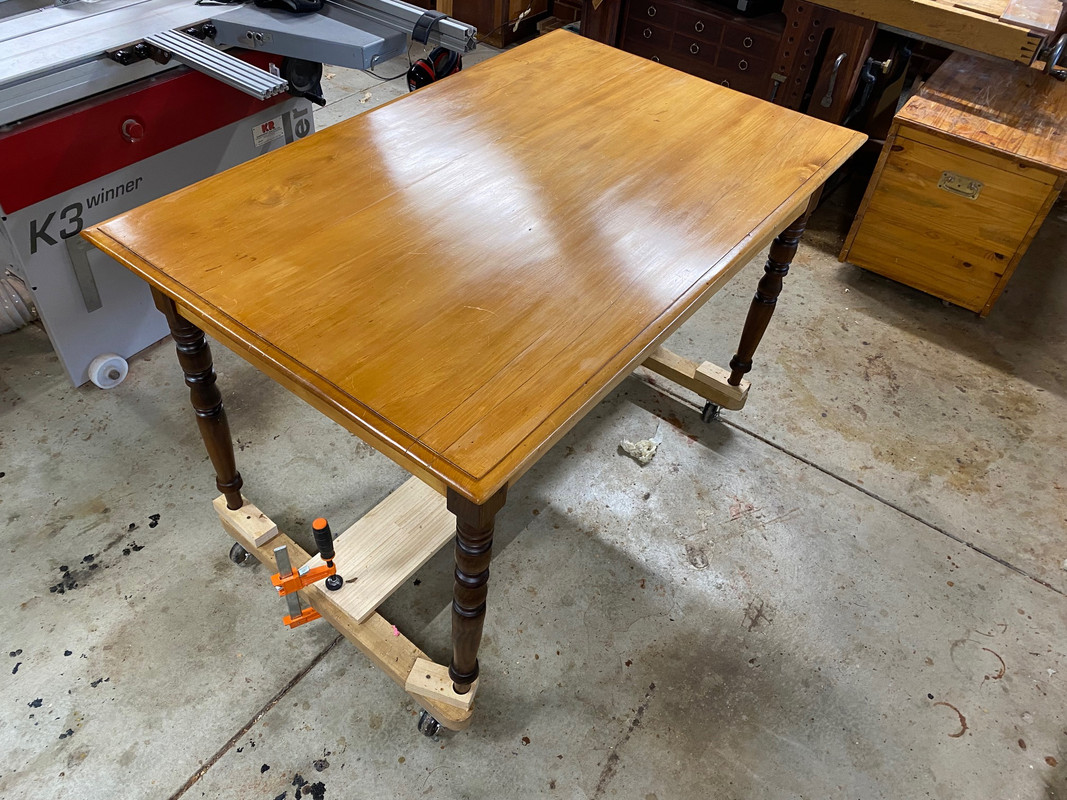
This is table I have just replaced ...
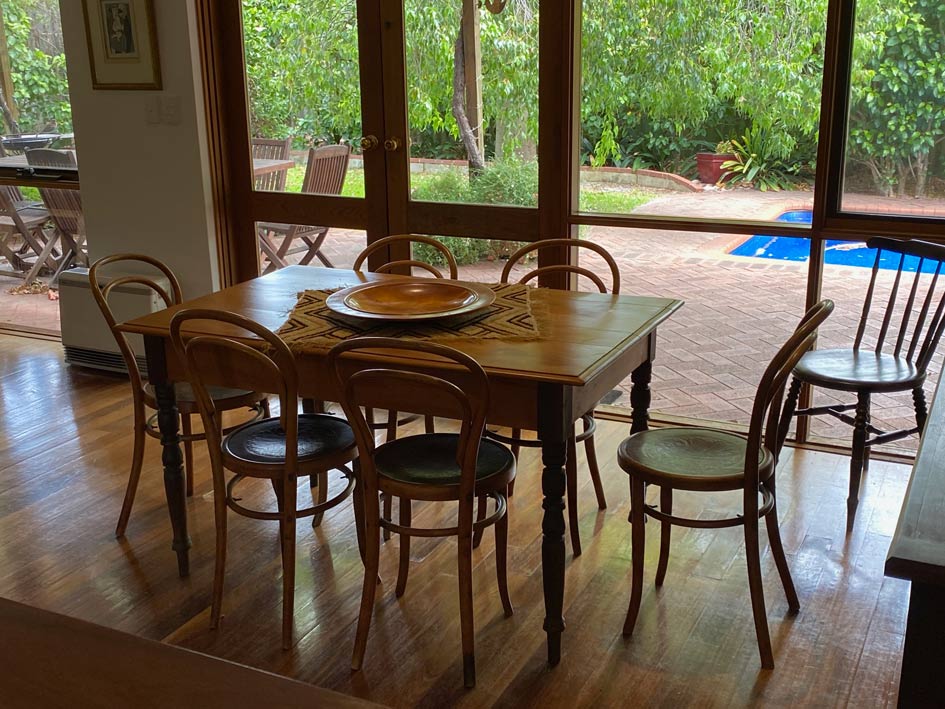
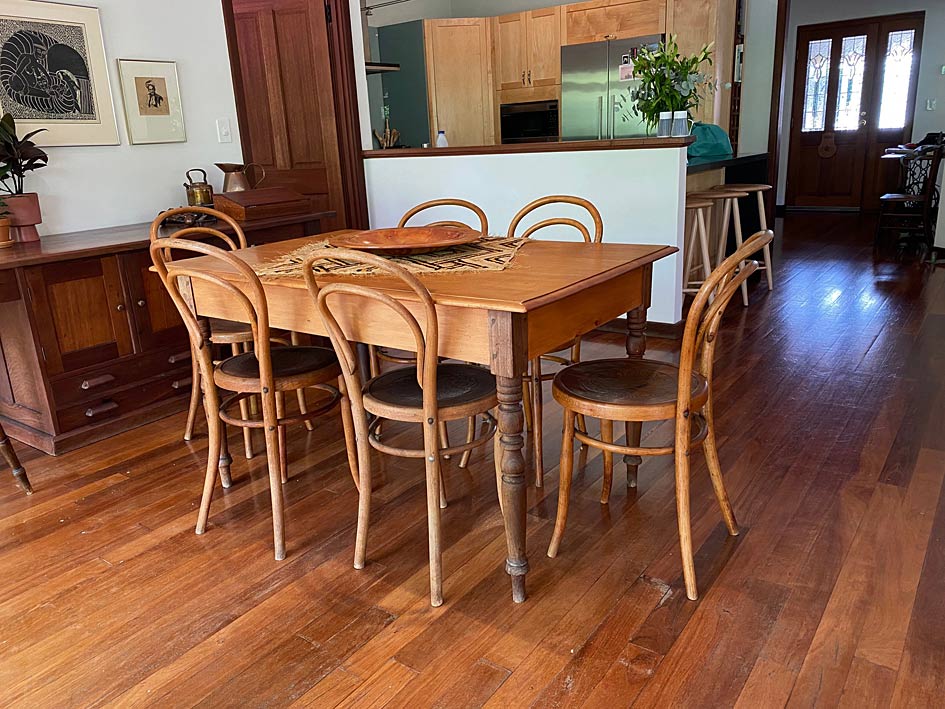
The plan is to restore it and give it to my son and daughter-in-law.
My wife and I purchased it shortly after we married, some 42 years ago now. At that time it was said to be 150 years old. The table is a kitchen table typical of those built in farming communities in the Eastern Cape area of South Africa. The timber is Yellow Wood, a much prized and now rare light softwood, found only in Southern Africa and South America, and Stinkwood, which is a hardwood similar to Teak.
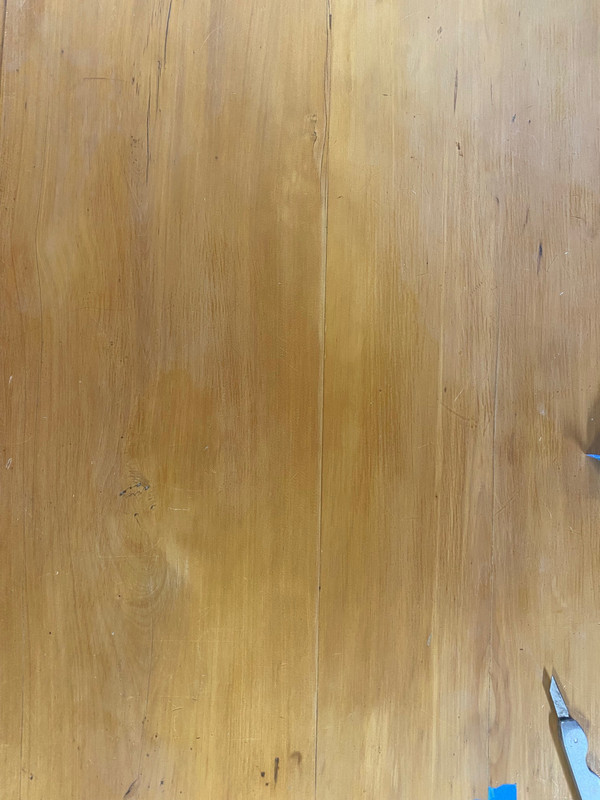
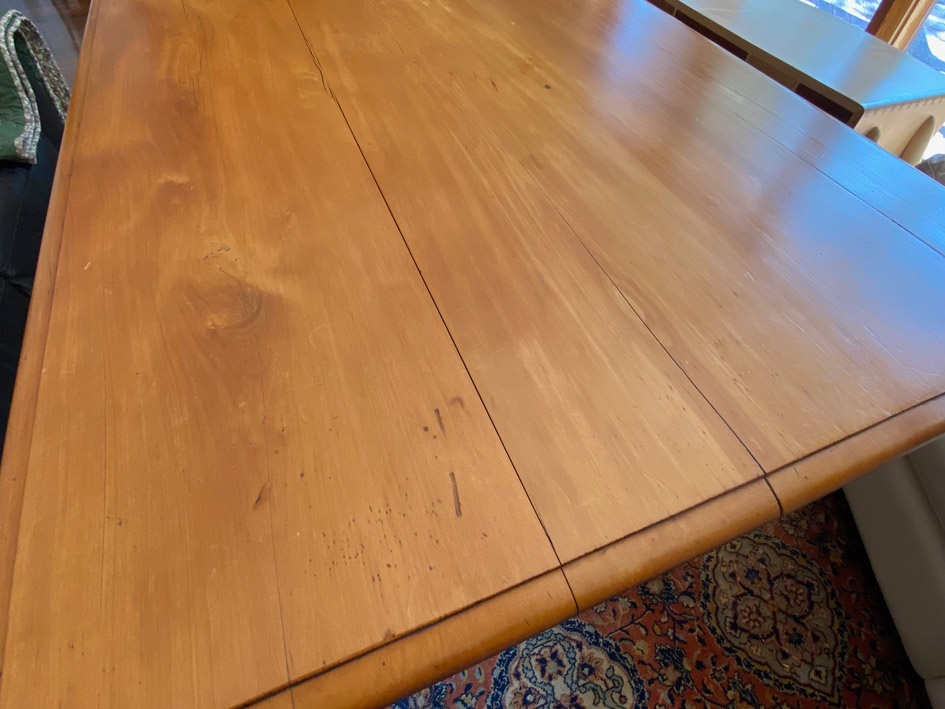
When we purchased the table, it had undergone a "restoration" by a local furniture maker, amateur I suspect. It held up well, but over the past five years began to develop cracks and splits. I aim to repair these. So for discussion is the extent of the finishing, the repair of the splits, and modifying the way the table top is attached. Glue(s) to use? Photos below ...
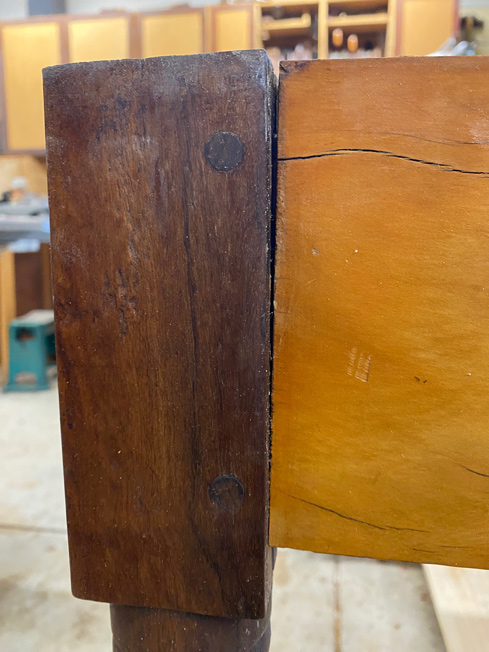
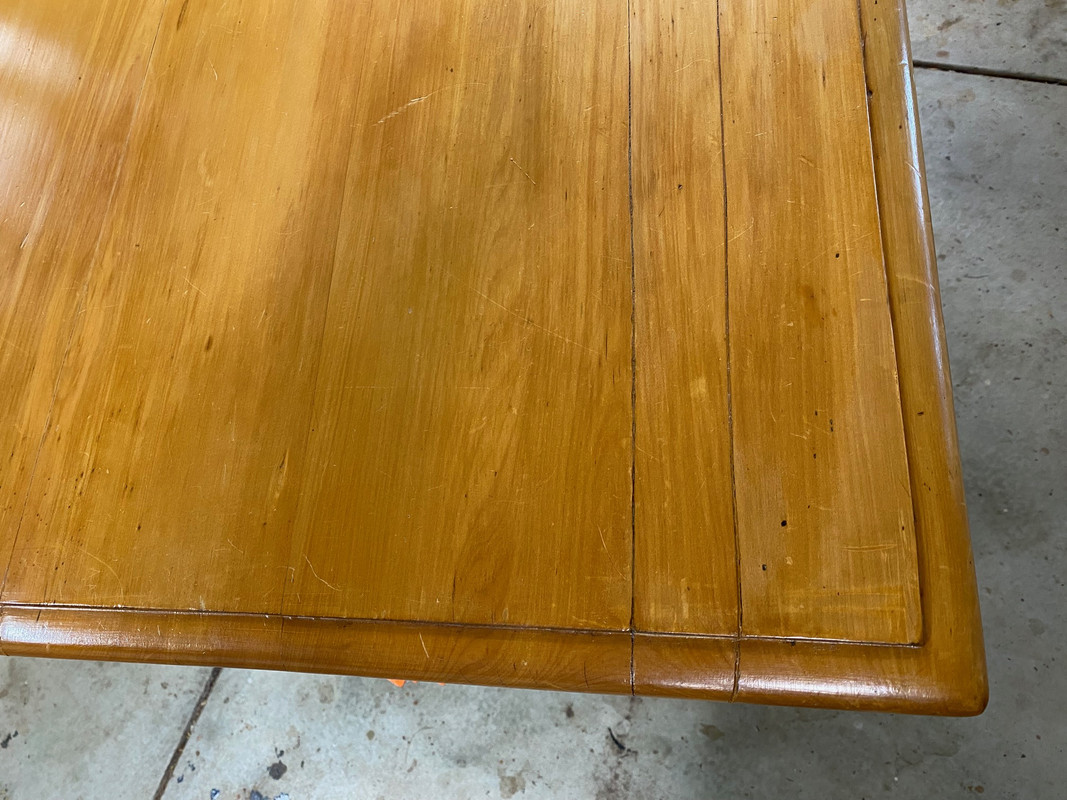
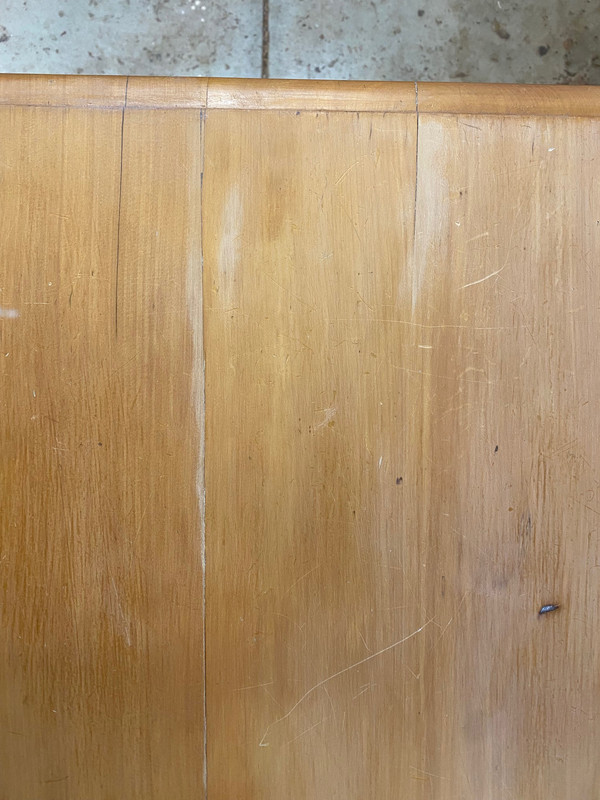
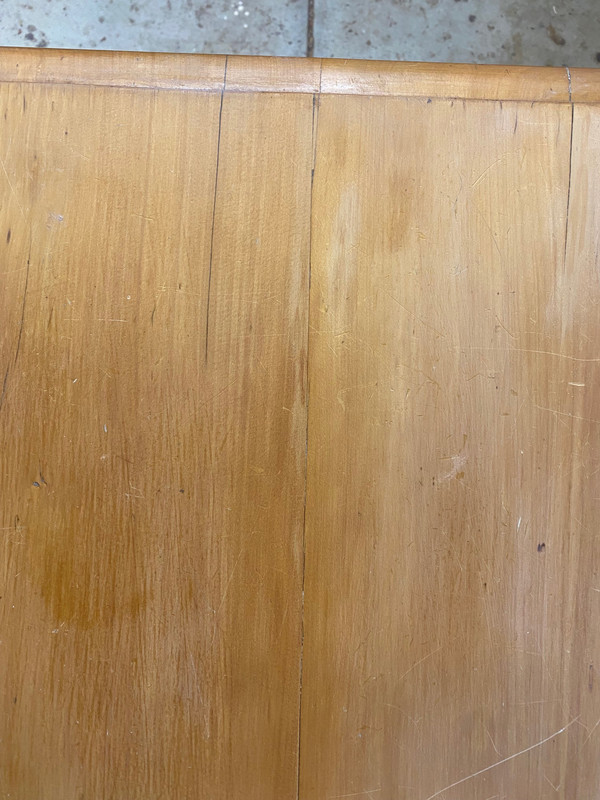
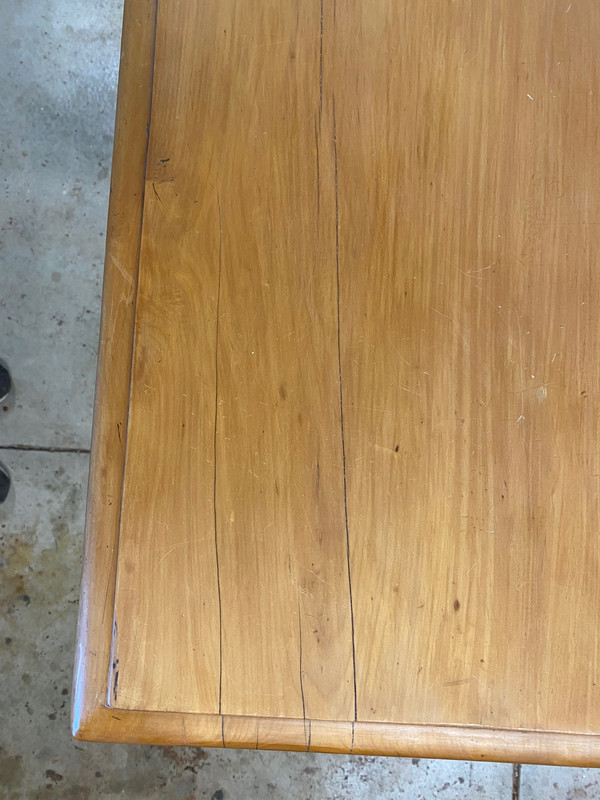
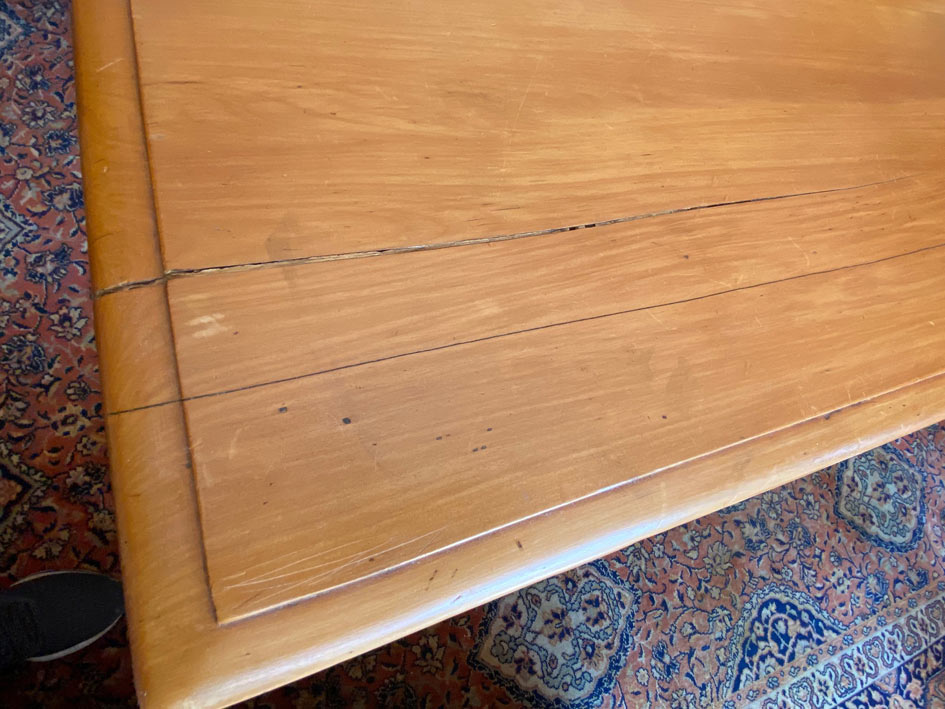
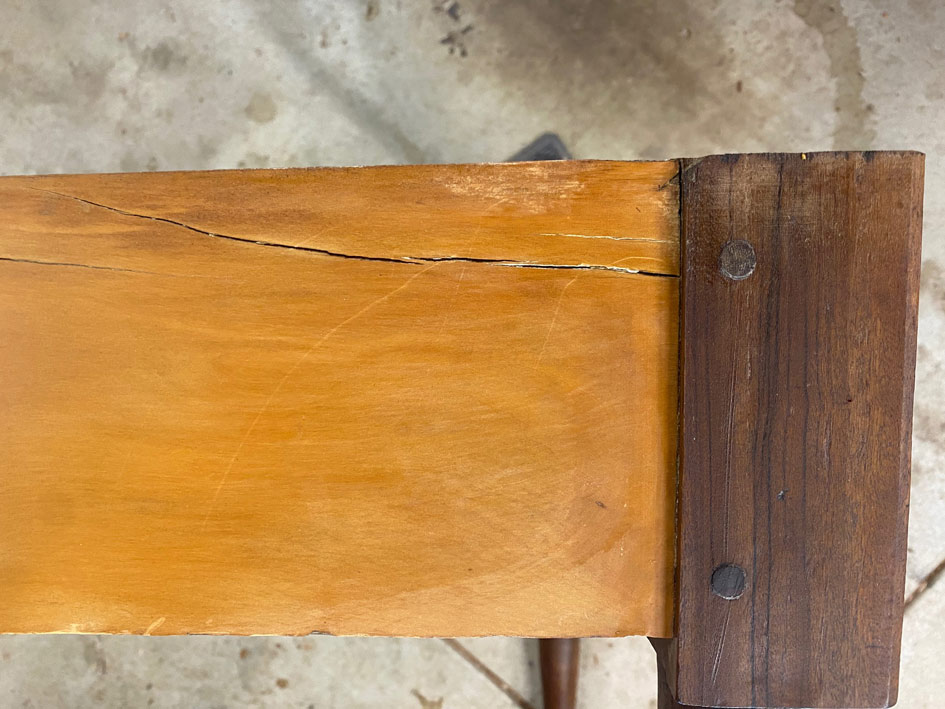
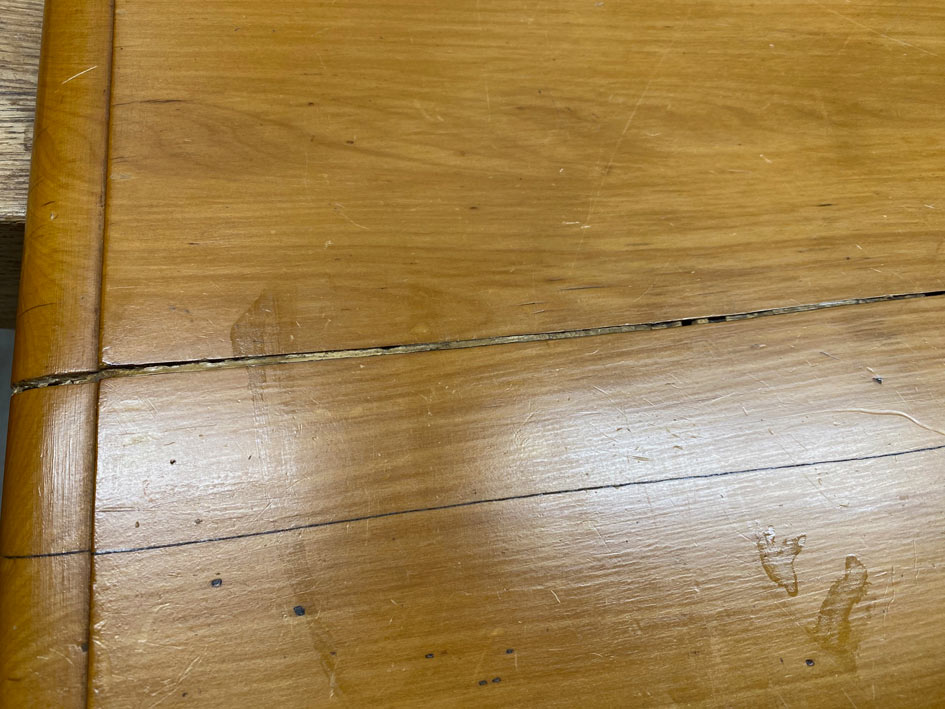
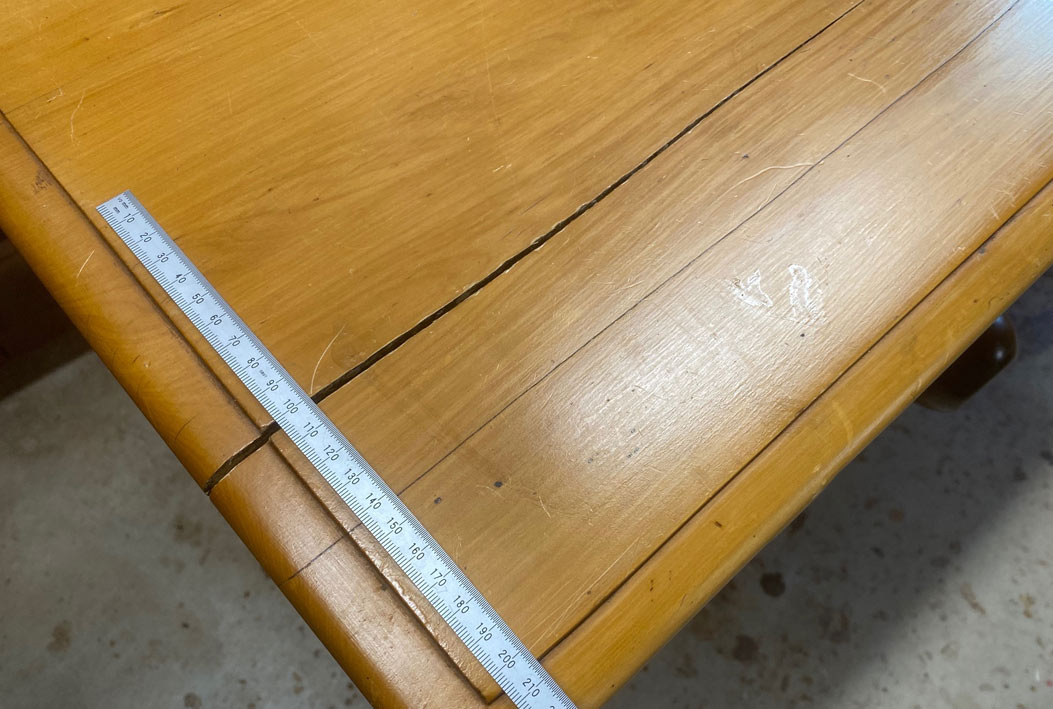
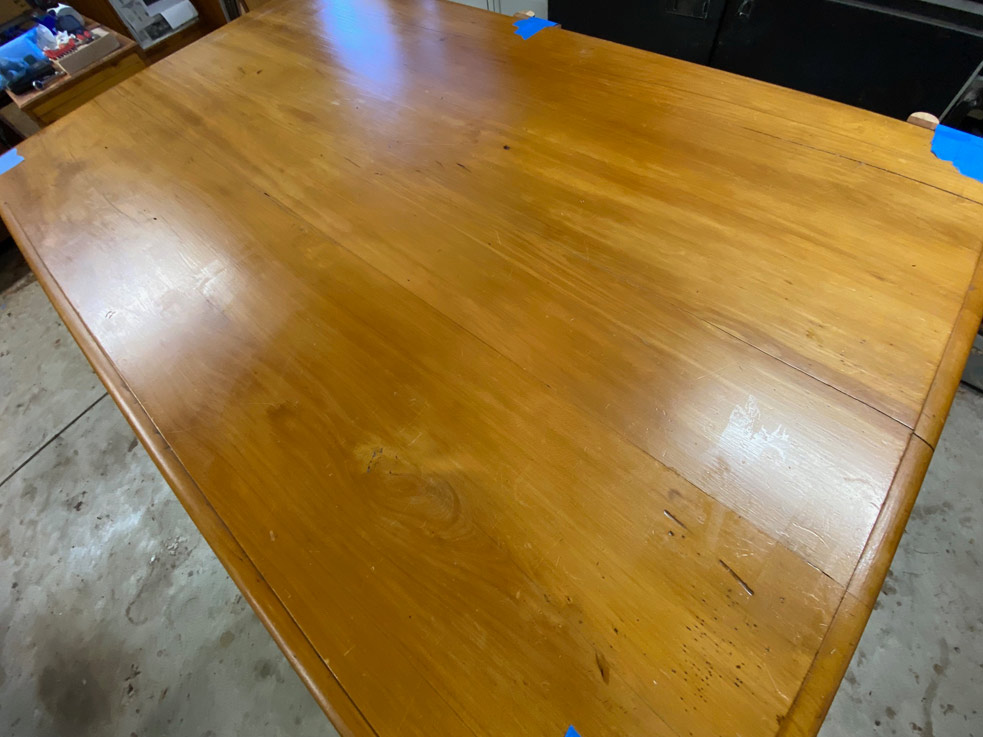
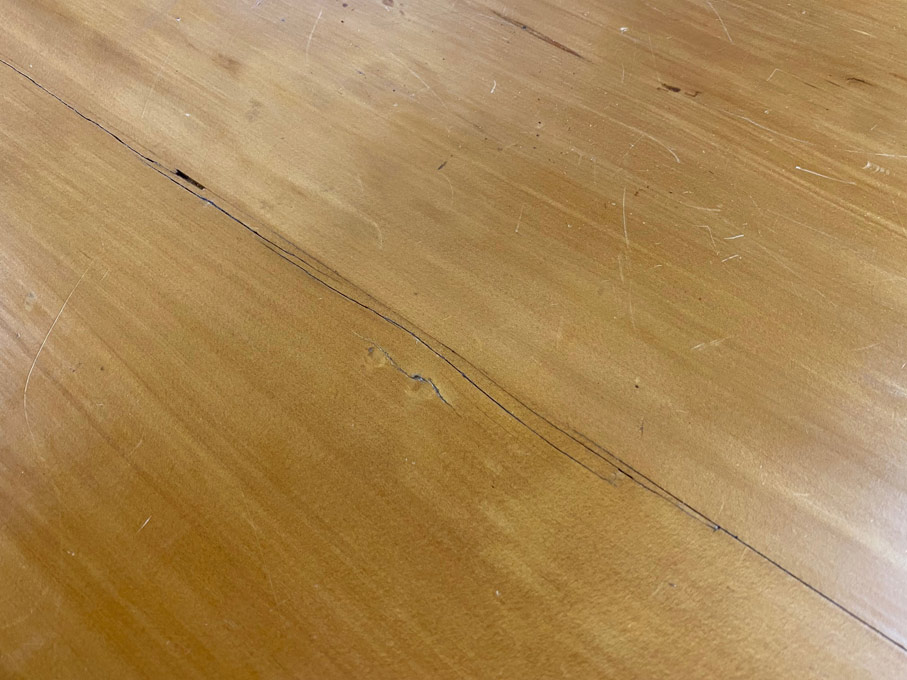
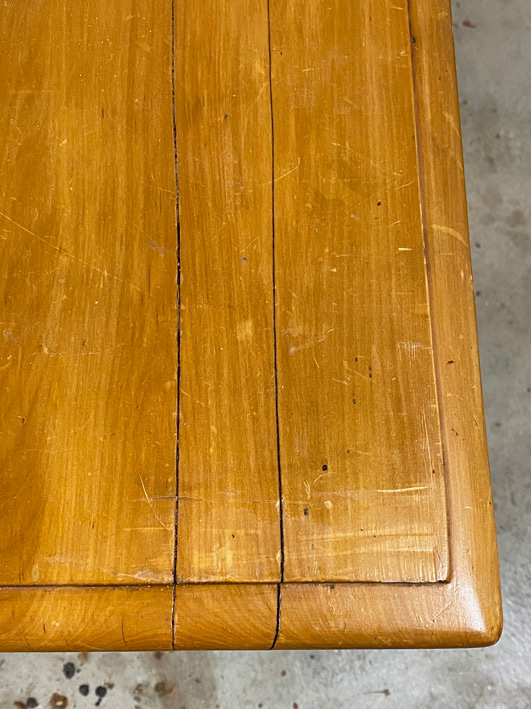
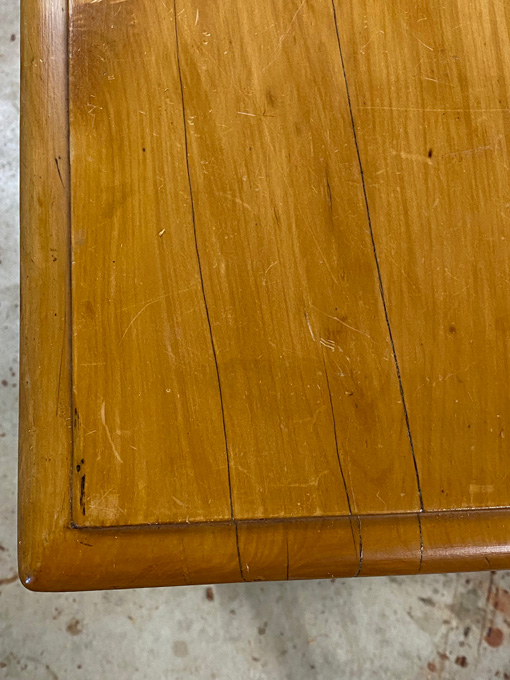
Splits in the table top ...

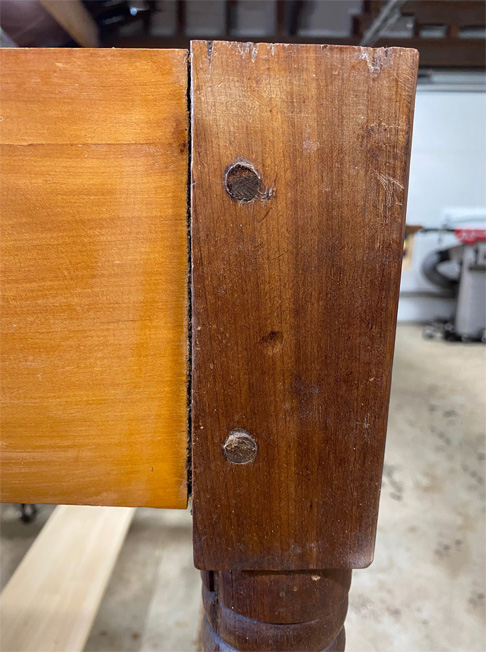
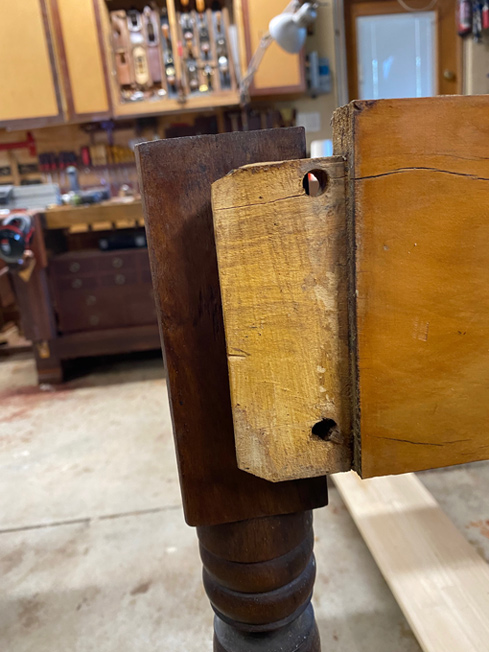
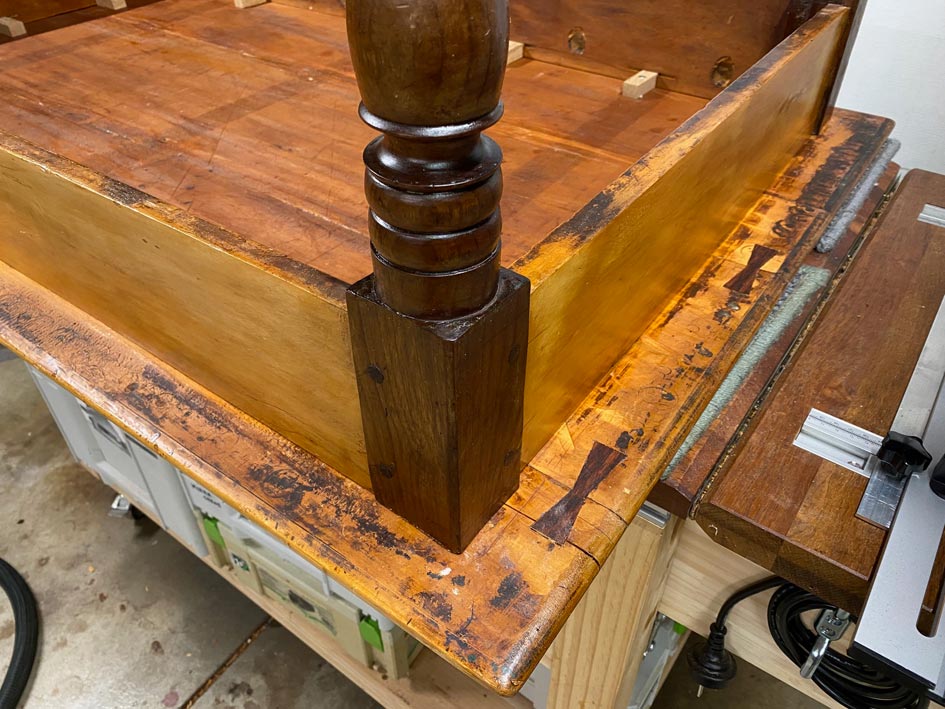
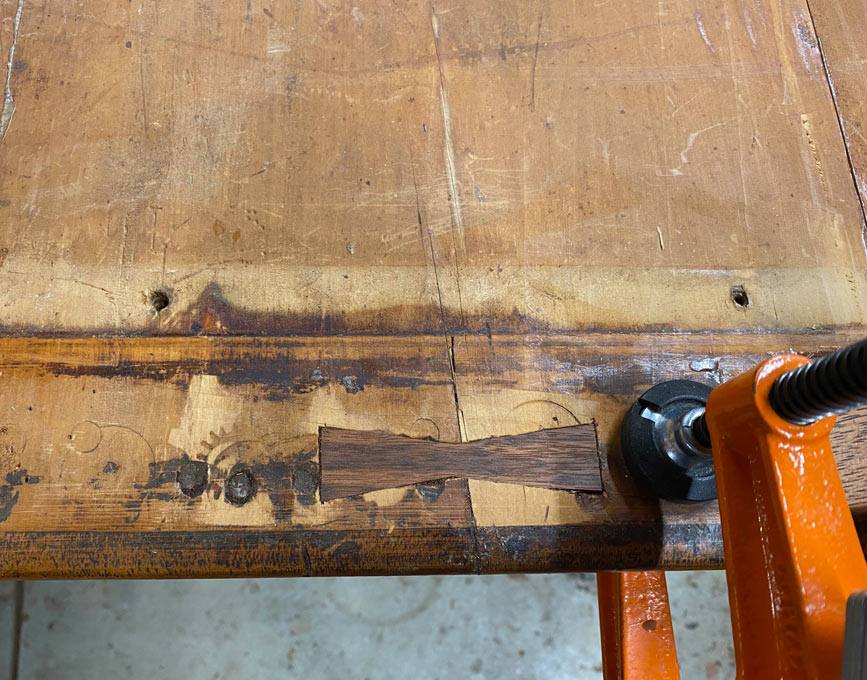
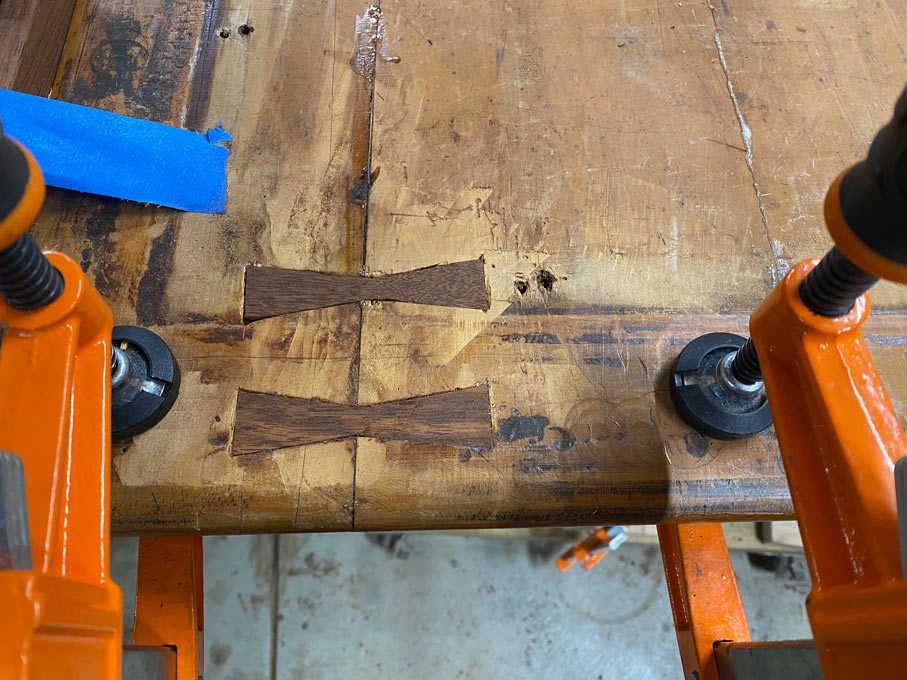
Slip at one leg joint ...
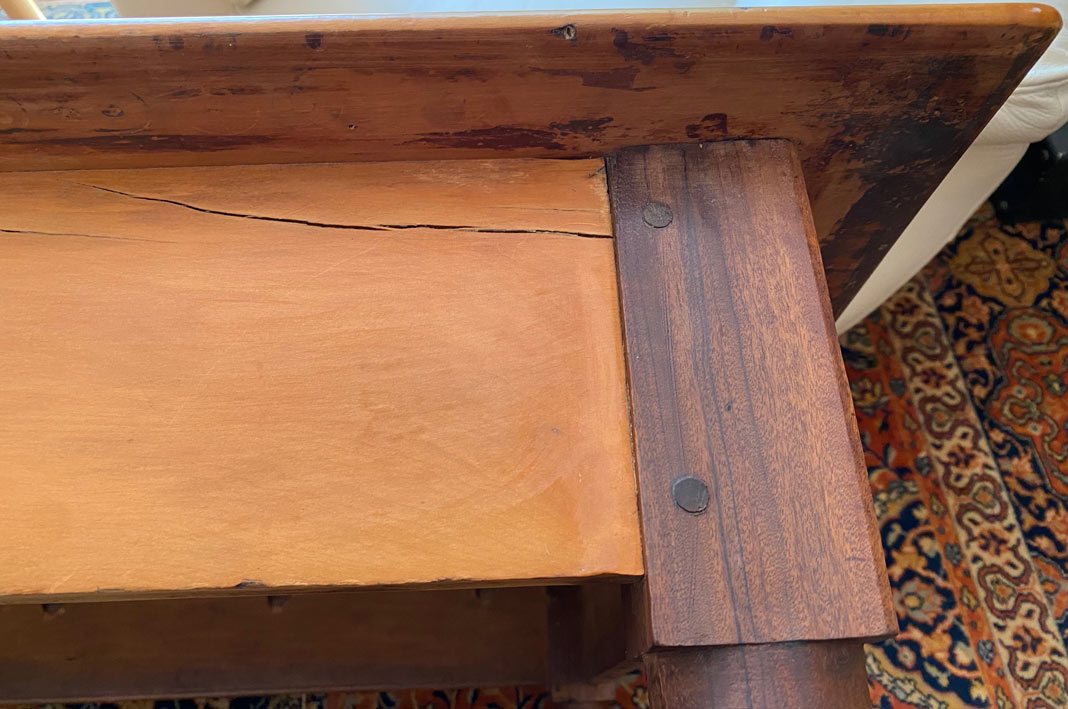
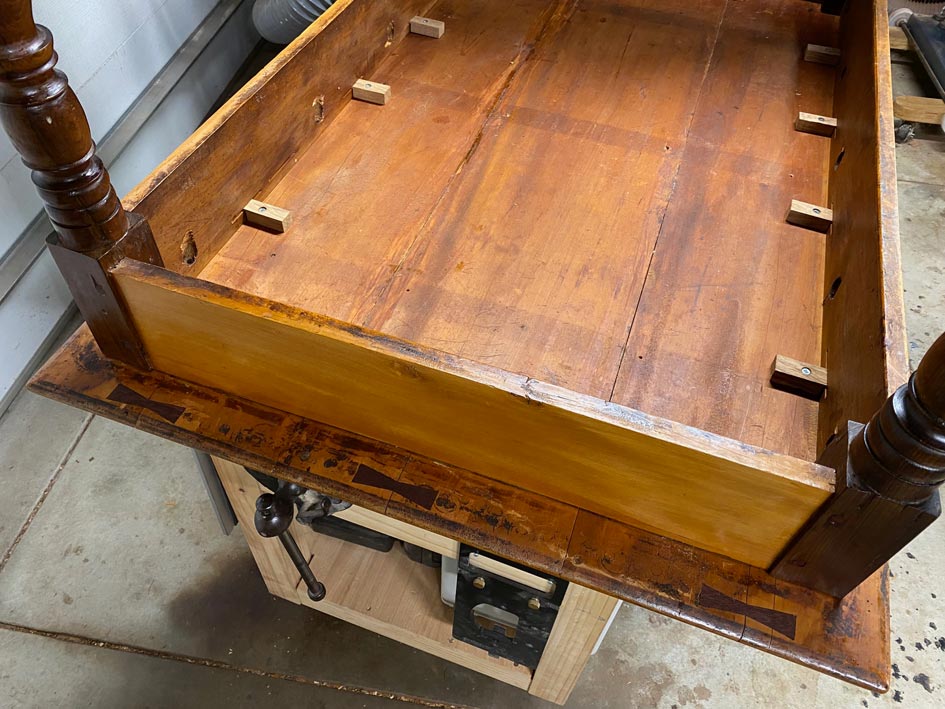
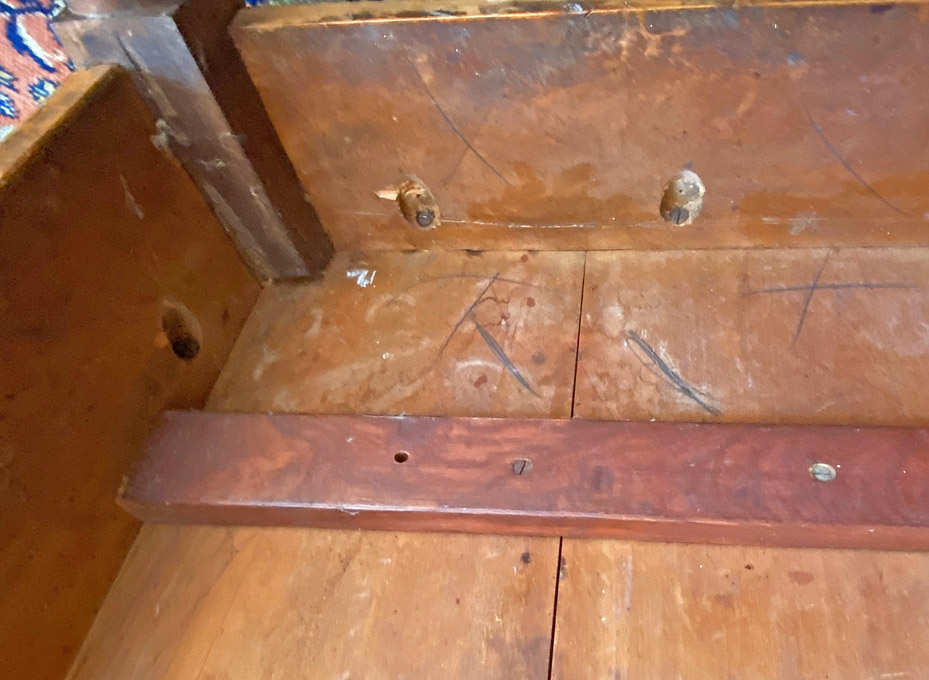
The top is attached with pocket screws (not the Kreg type!) made with a brace and bit. These do not build with wood movement in mind!
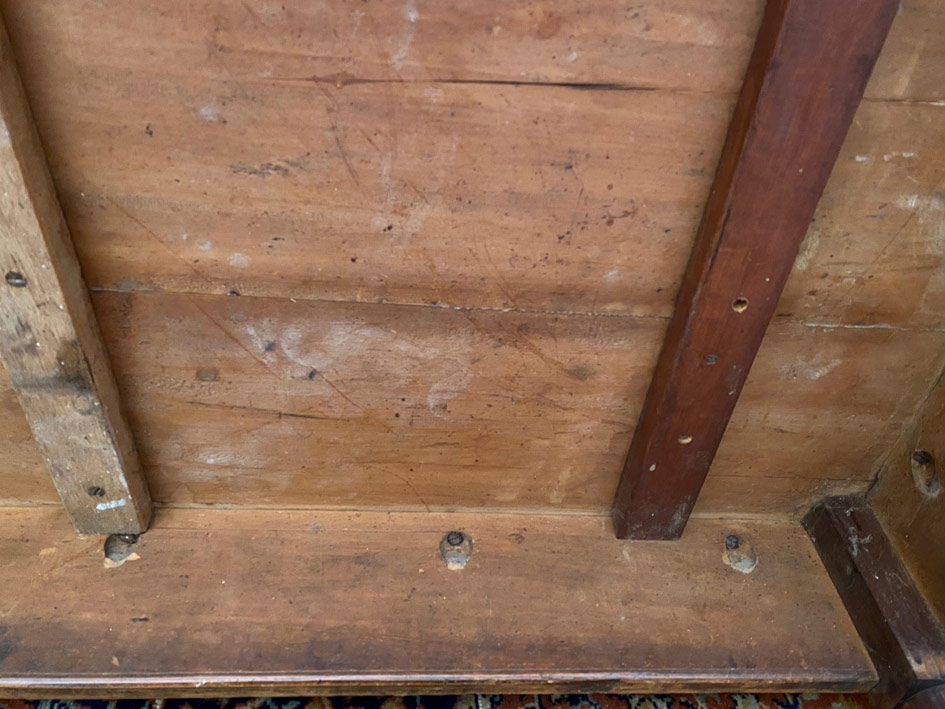
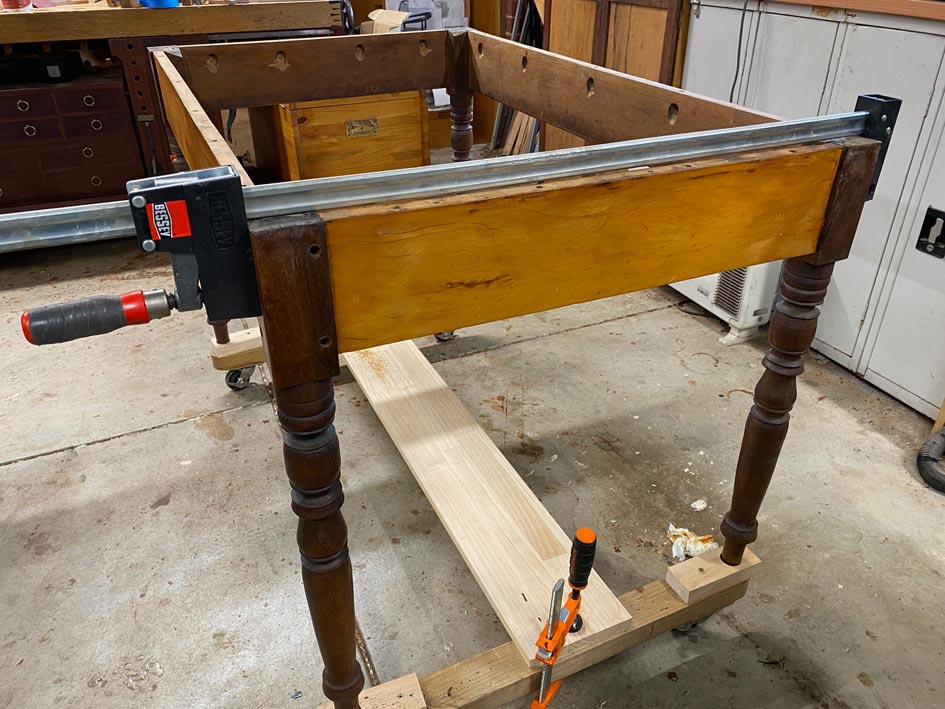
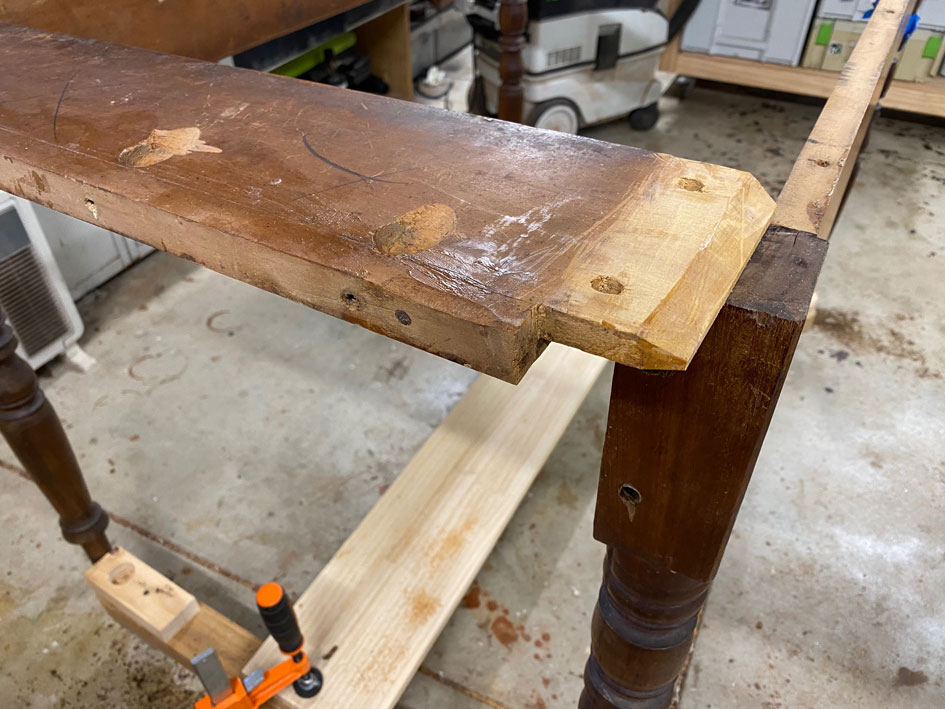
Further, the bracing of the top looks like a modern add-on and, again, prevents movement ...
The tops of the legs are all chamfered to avoid contact with the table top ...
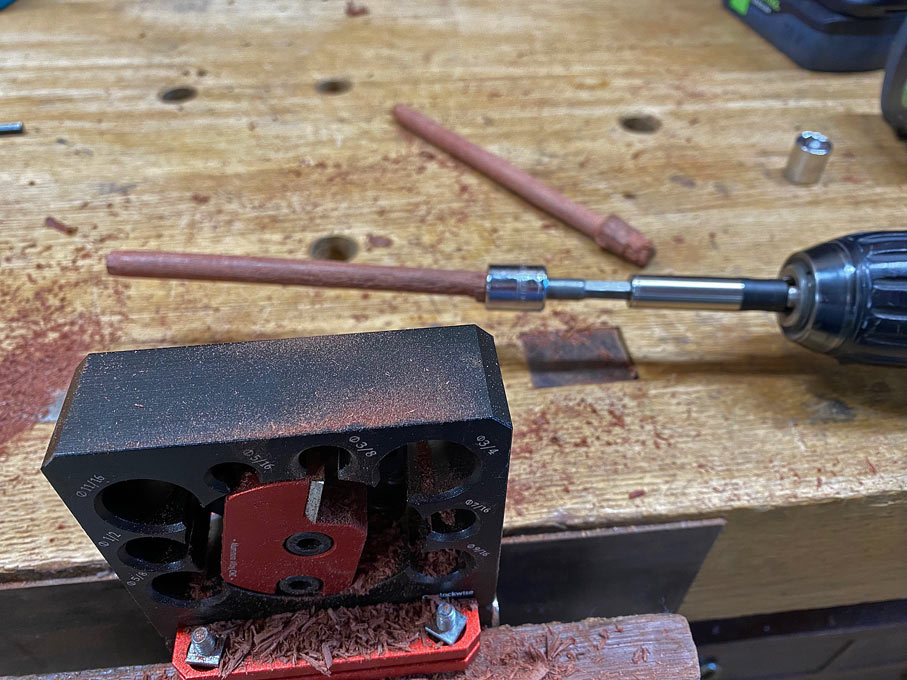
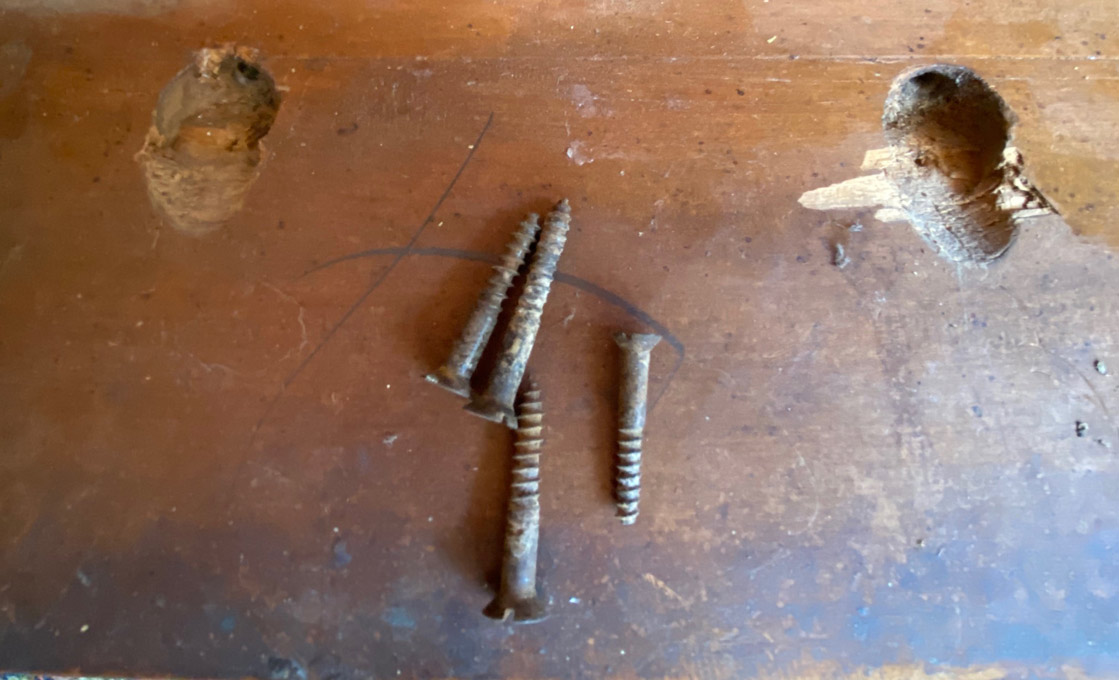
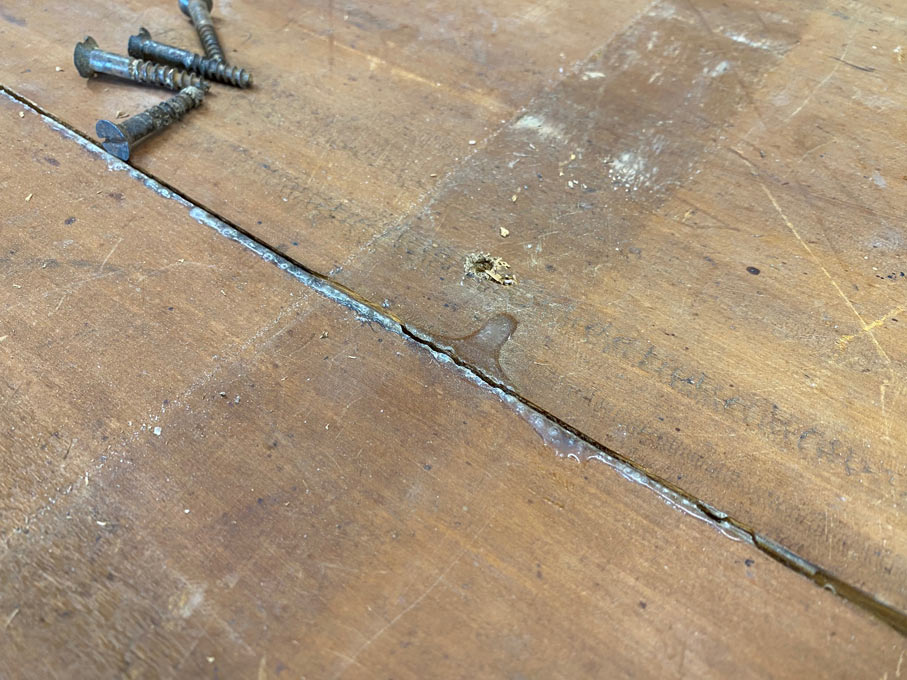
These are the screws that came out ..
Day Two
I spoke with my son today about the table. Interesting.
My son and his wife live in Canberra, which is the capital of Oz, and the seat of government, where he works. Think Washington. He is 31 and married 2 years. His wife is the daughter I always wanted ... a woodworker-in-the-making! She will inherit my tools. My son is a wonderful person, and I love him dearly, but he has not a whit of interest in woodwork. Economics and strategy is where his interest lies. Something of a perfectionist, would be an understatement. Minimalist to the nth degree - hates the idea of having unnecessary possessions.
So I was expecting "make it look new, dad". "Sand it and paint it white". Or something like that
![[sad]](https://proxy.imagearchive.com/140/140992e9c3ac40ec4118ccdaf135928f.gif "[sad]")
He said to me he wants to keep it as it is, warts and all. "It is old and has history". Who is this person?
Now the restoration is more along the lines of choosing what should be repaired and what should be left untouched.
Day Three
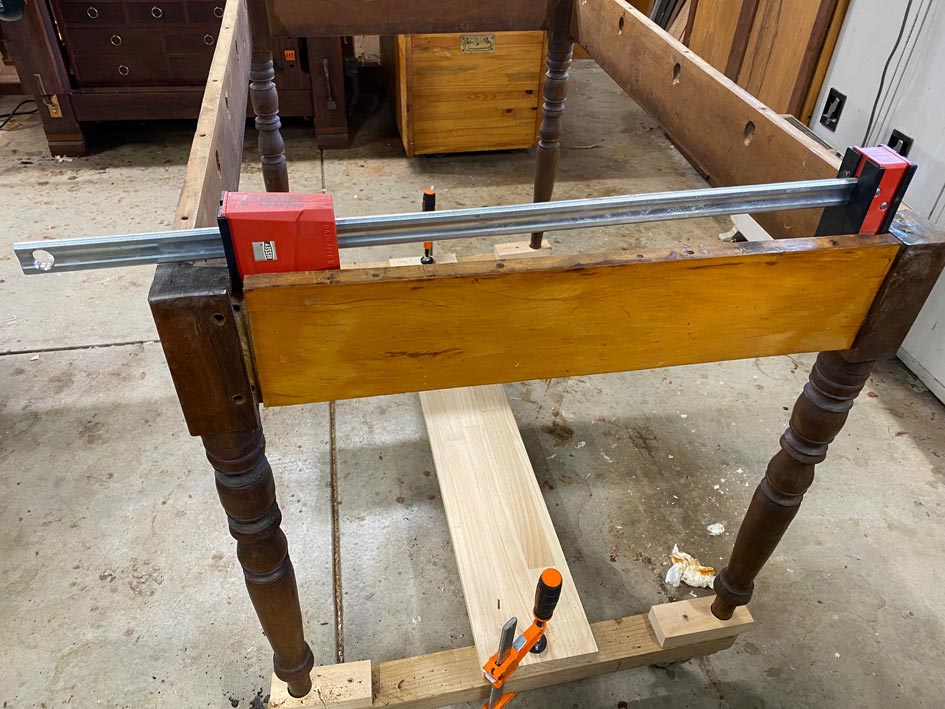
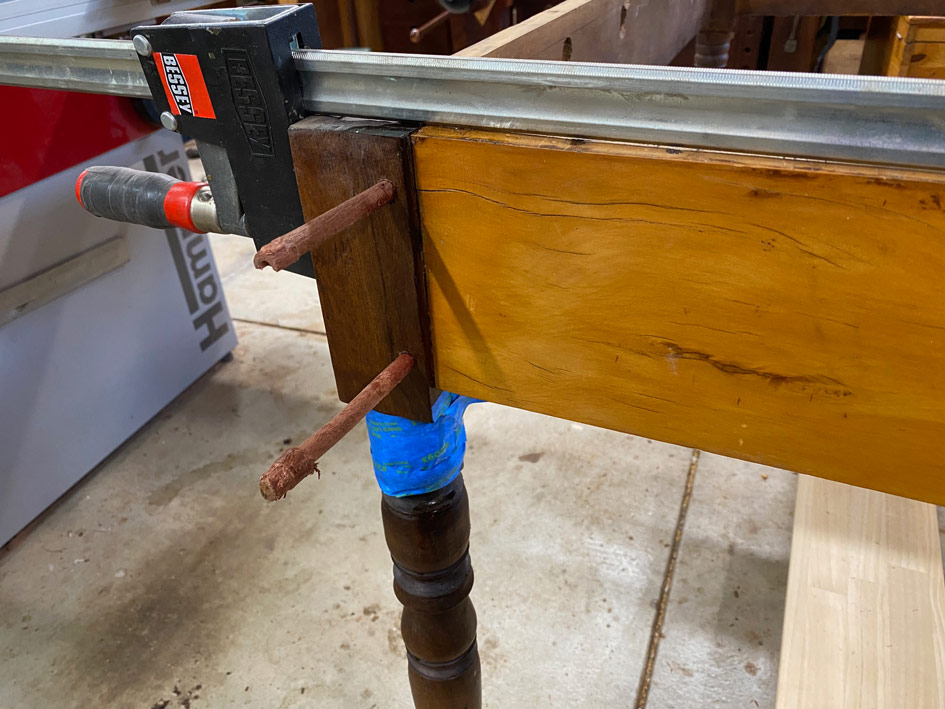
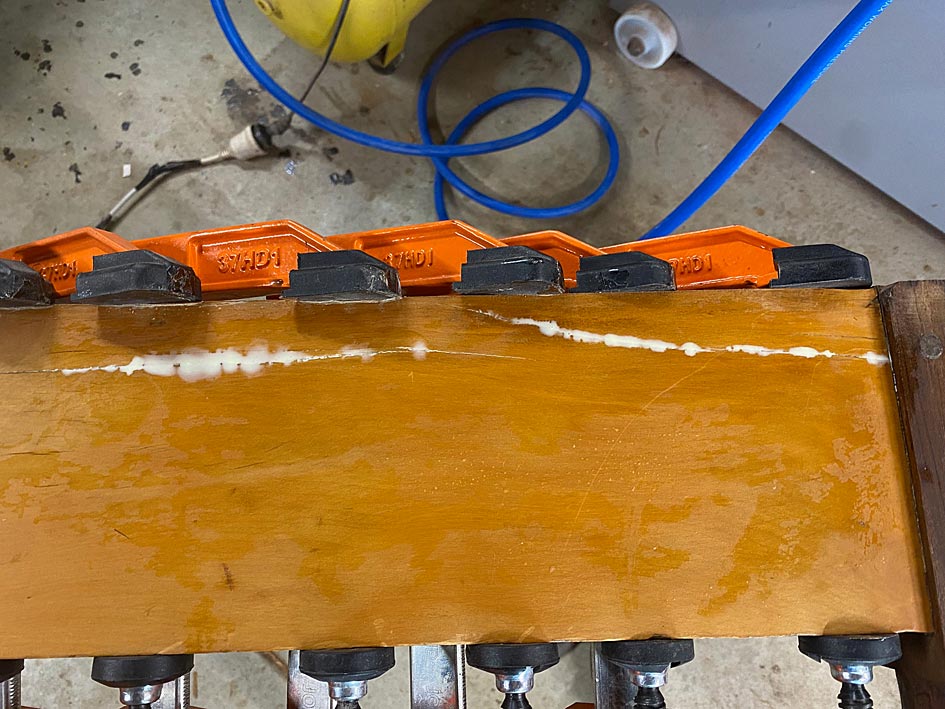
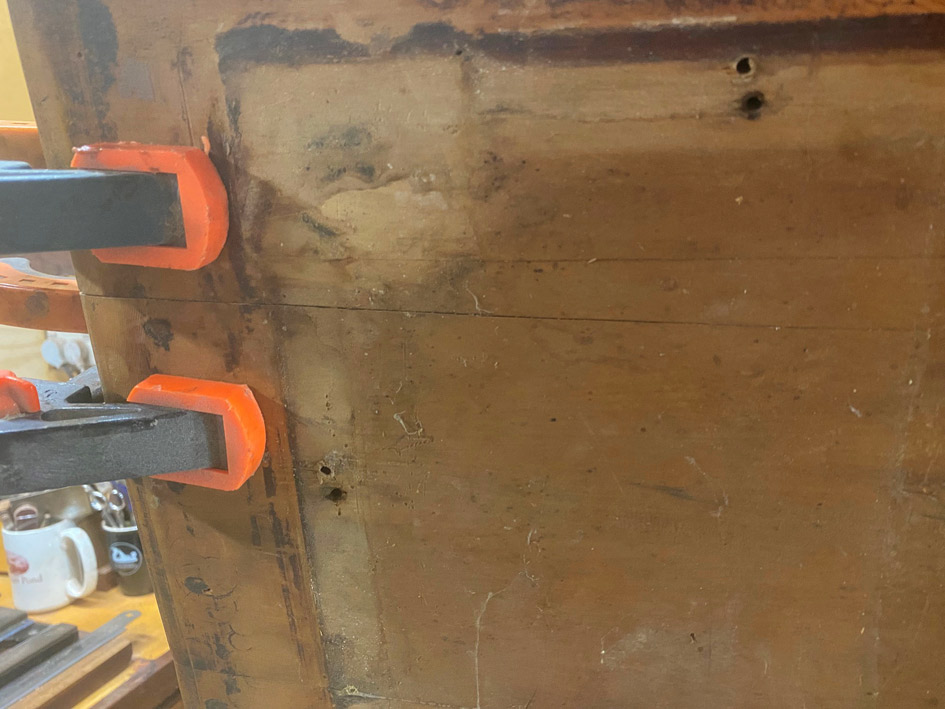
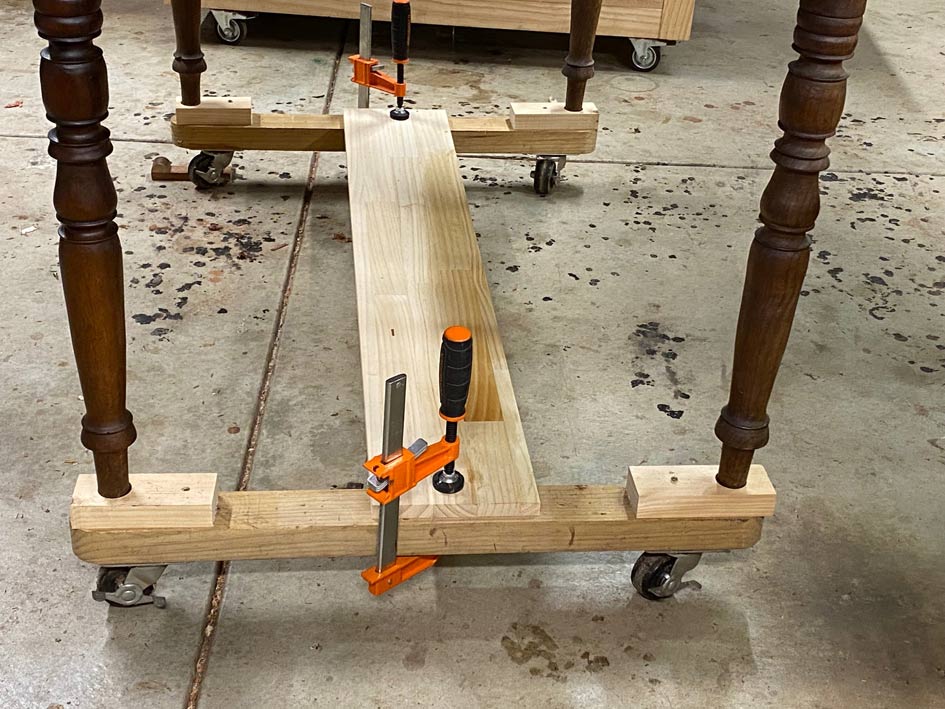
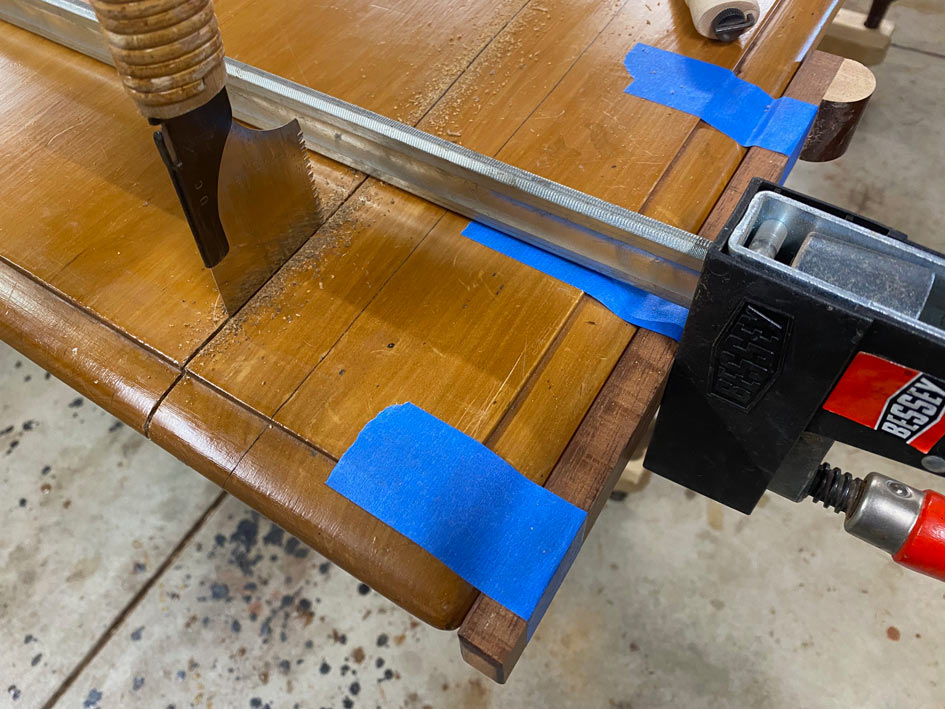
I decided to close up the split in the one apron.
The plan was to blow and lift out any debris in the split, and then use the air gun to blow glue inside it.
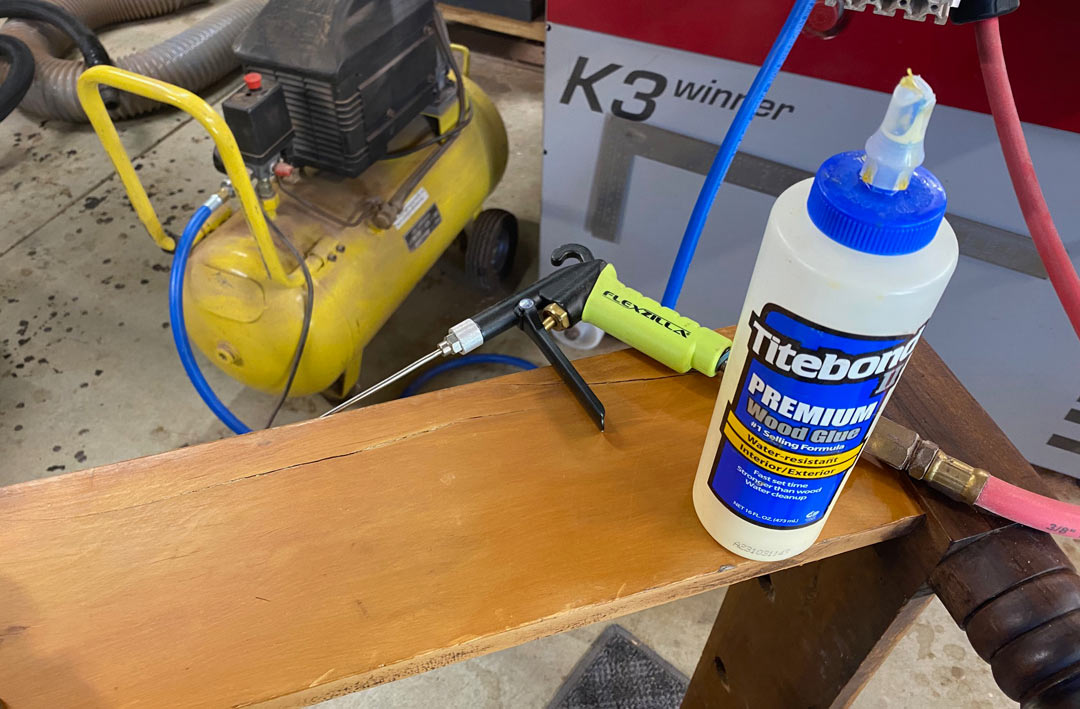
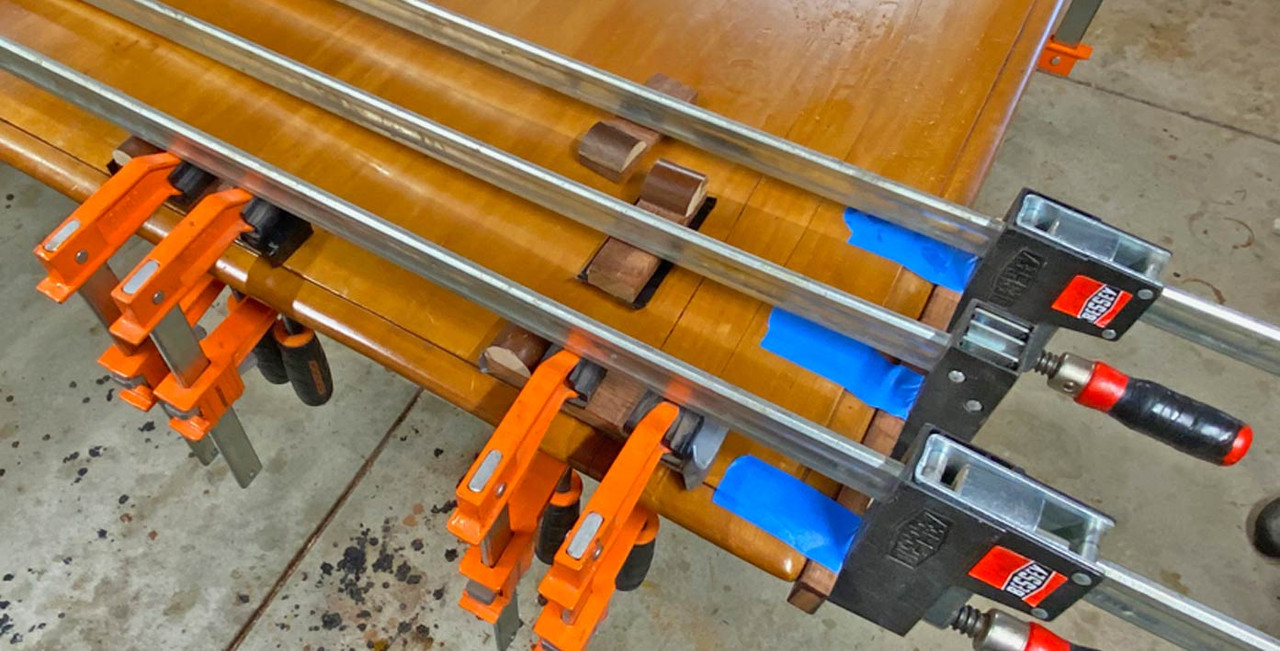
However, as the split did not run through the wood, air driven at it simply pushed the glue out, not in. In the end I thinned it a little, dribbled it in, and pushed it down. Wiped down the surface with a wet rag, and then clamped all securely ...
I discovered two factors about the table top.
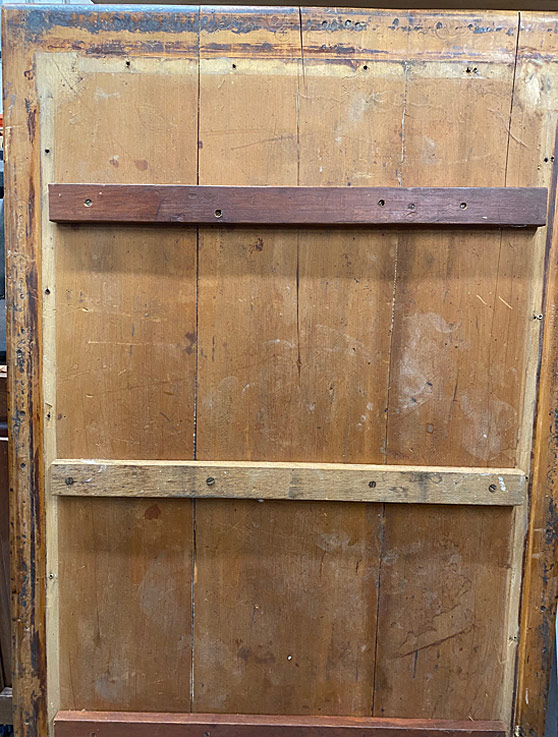
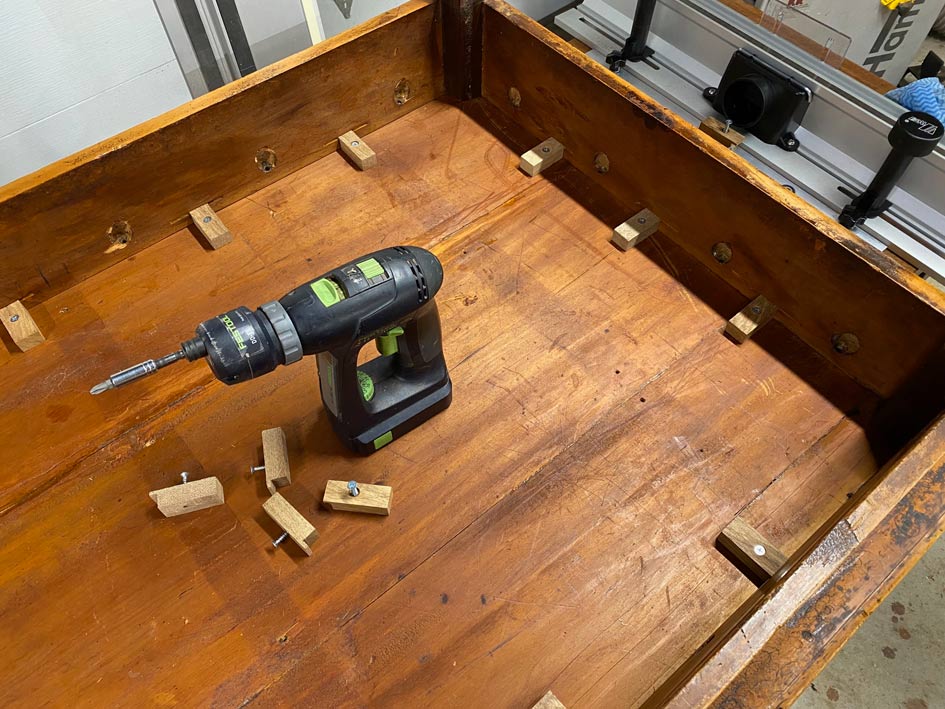
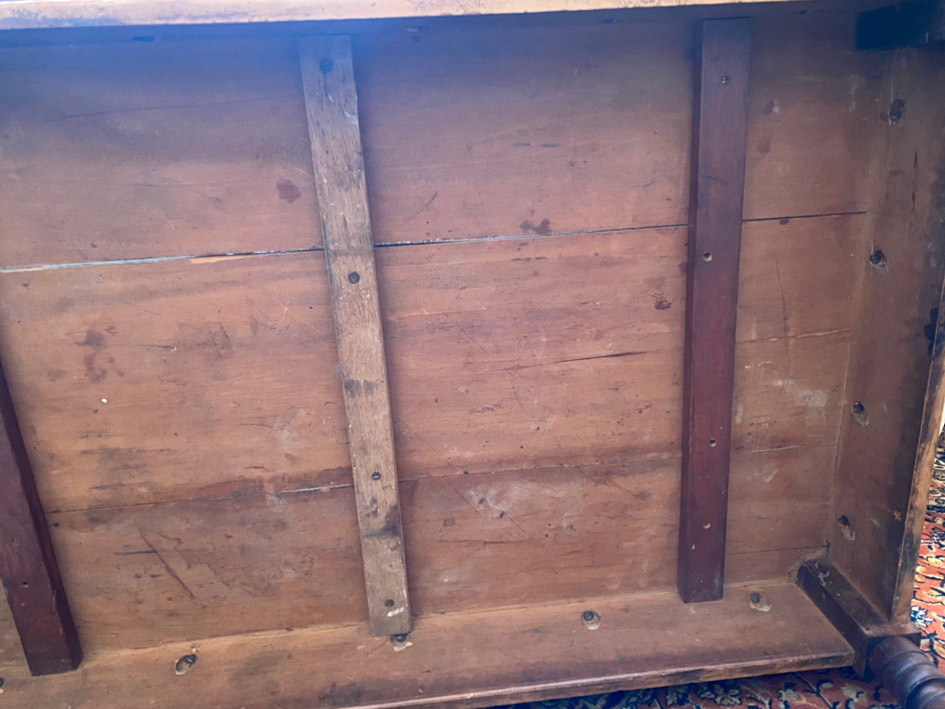
When I loosened the battens, the boards were revealed to be loose, that is, only held together by the battens ...
Further, the battens looked like they were added by the "farmer-restorer" 45 years ago. The ends of the battens were sawn as if with a panel saw, and no attempt made to finish the ends. The screws looked modern ...
Loose boards.
The plan is now to remove all the battens, clean the edges, and reglue the boards together.
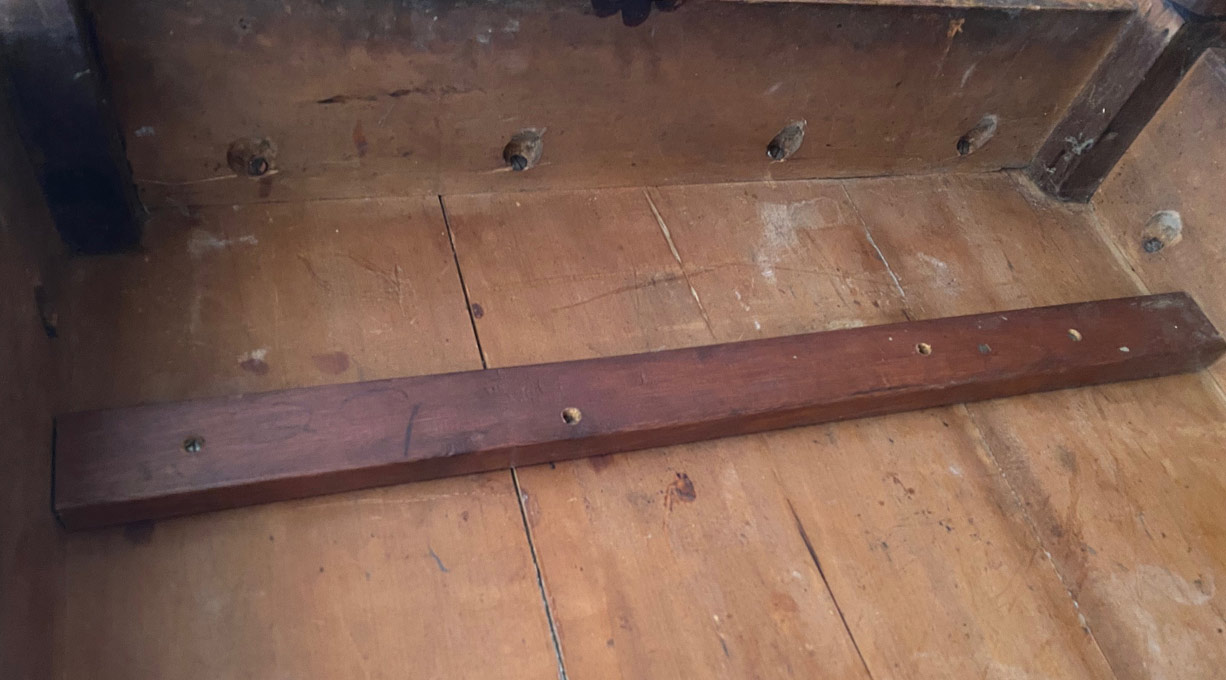
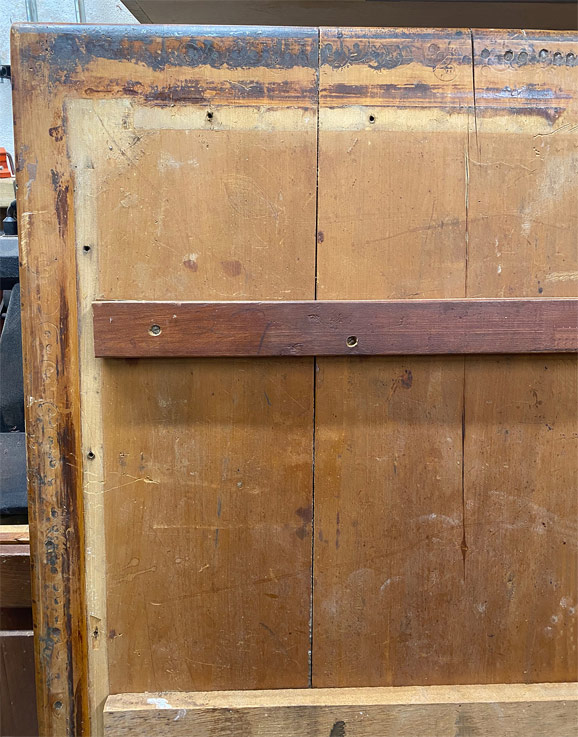
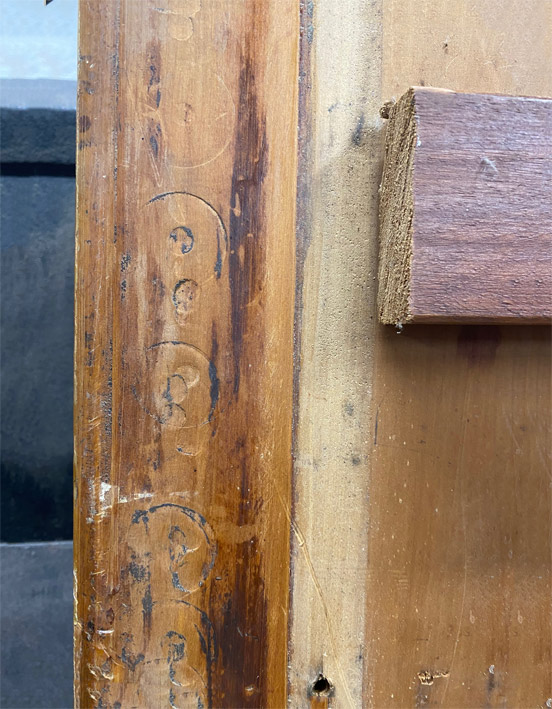
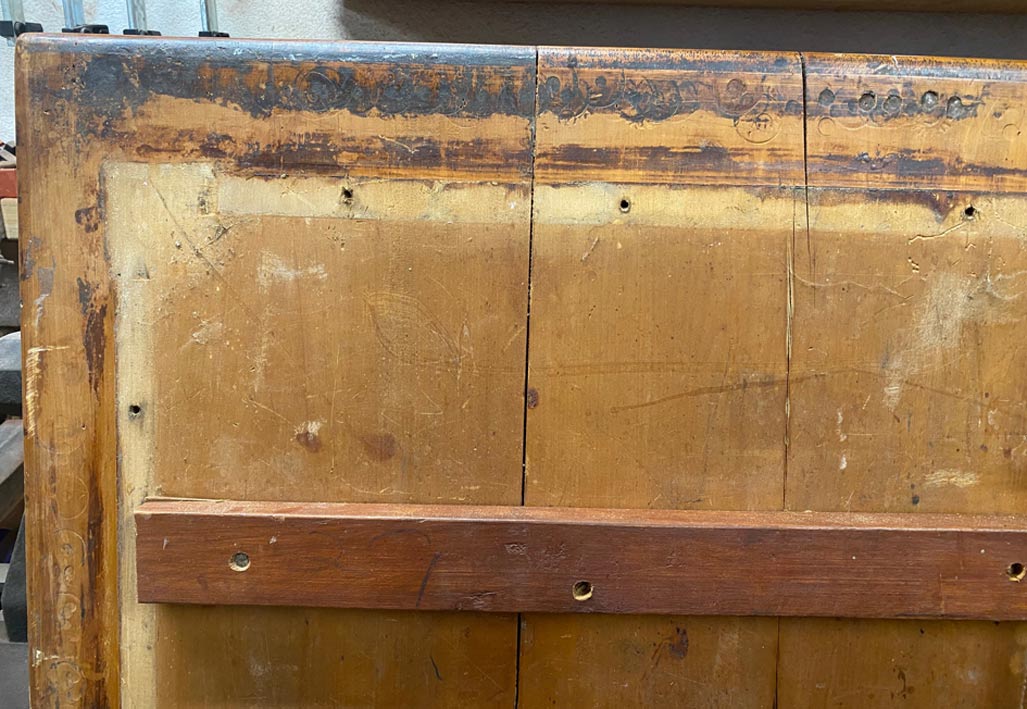
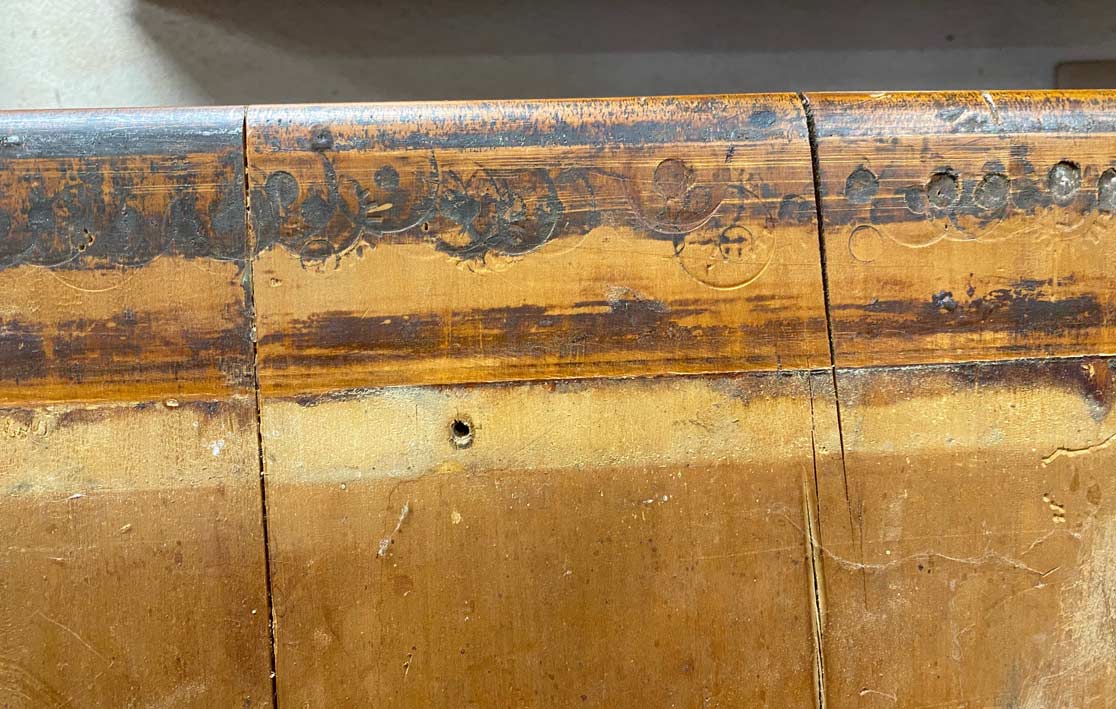
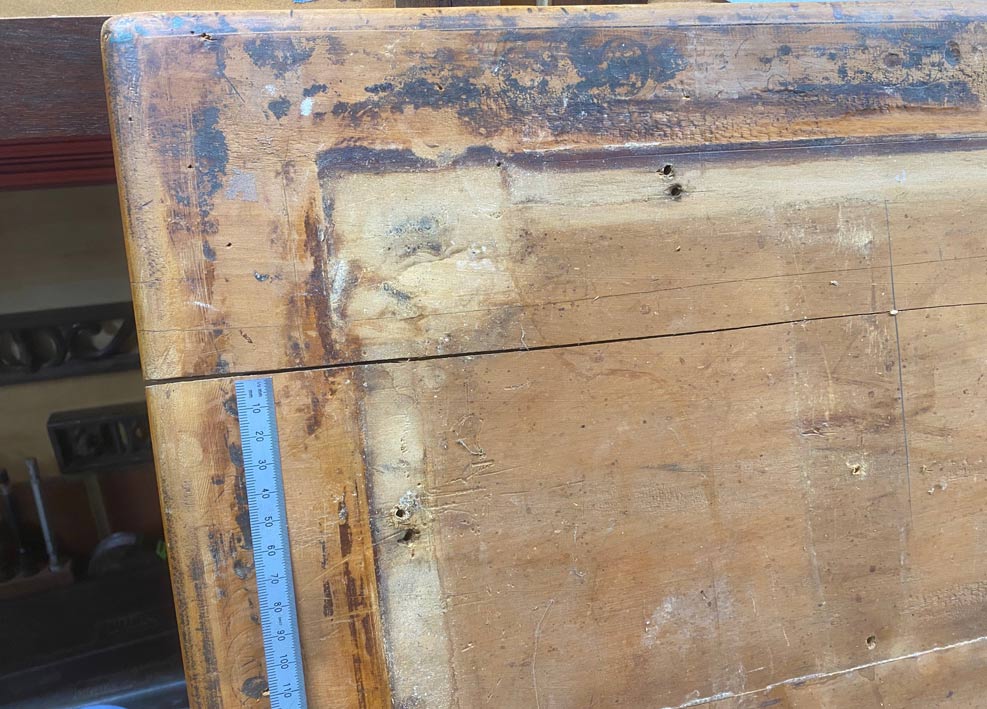
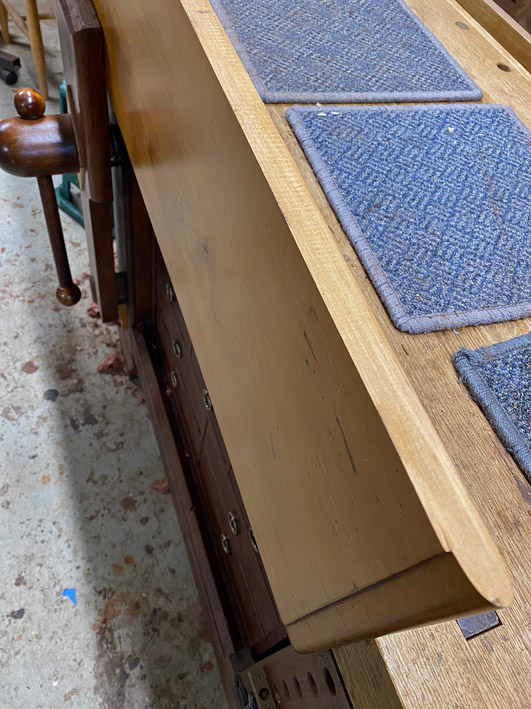
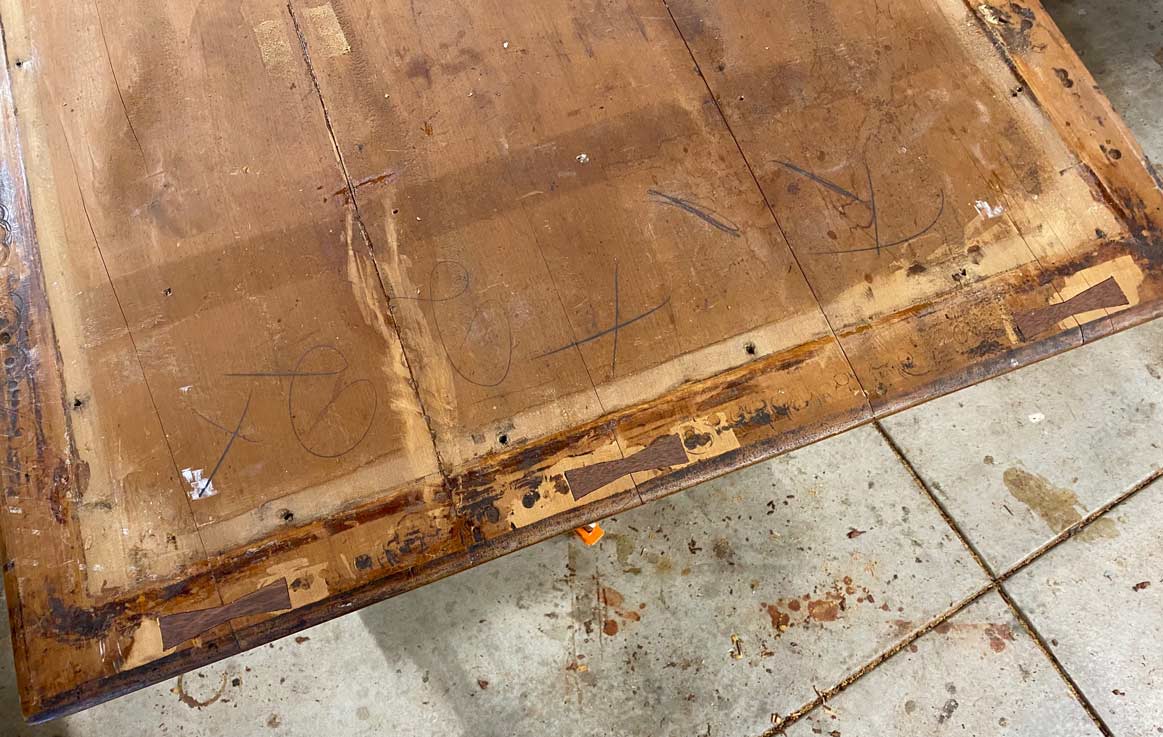
The second feature is one I am puzzled about and wonder what you believe this is about: along the underside of the table top, along the edges, are these round marks ...
Day Four
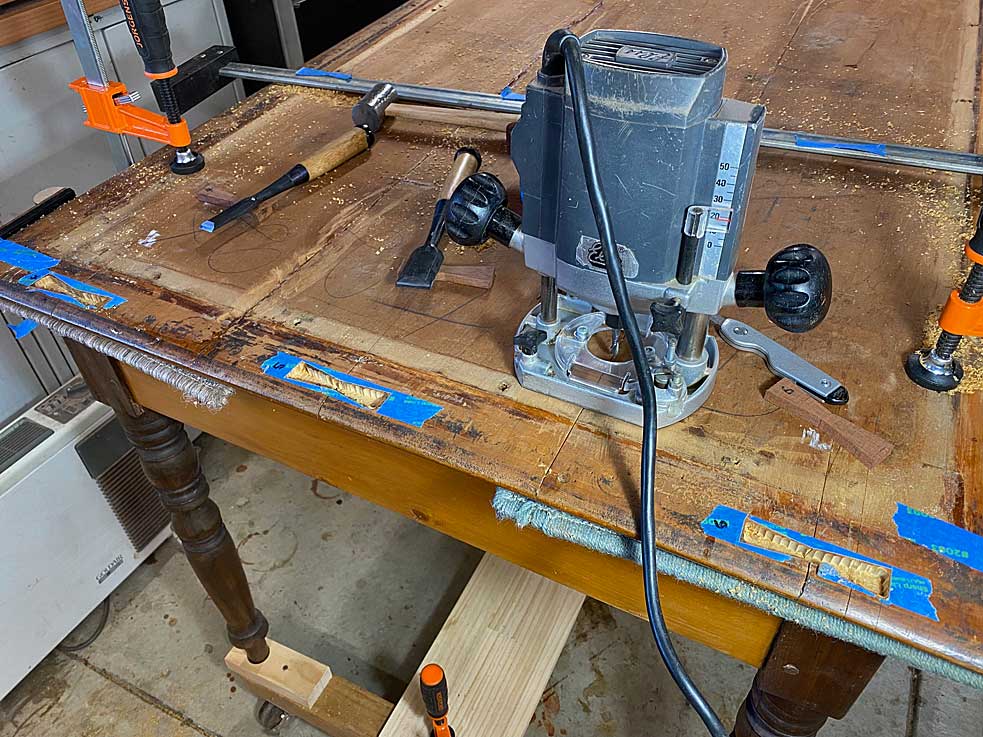
Time to begin working on the table top.
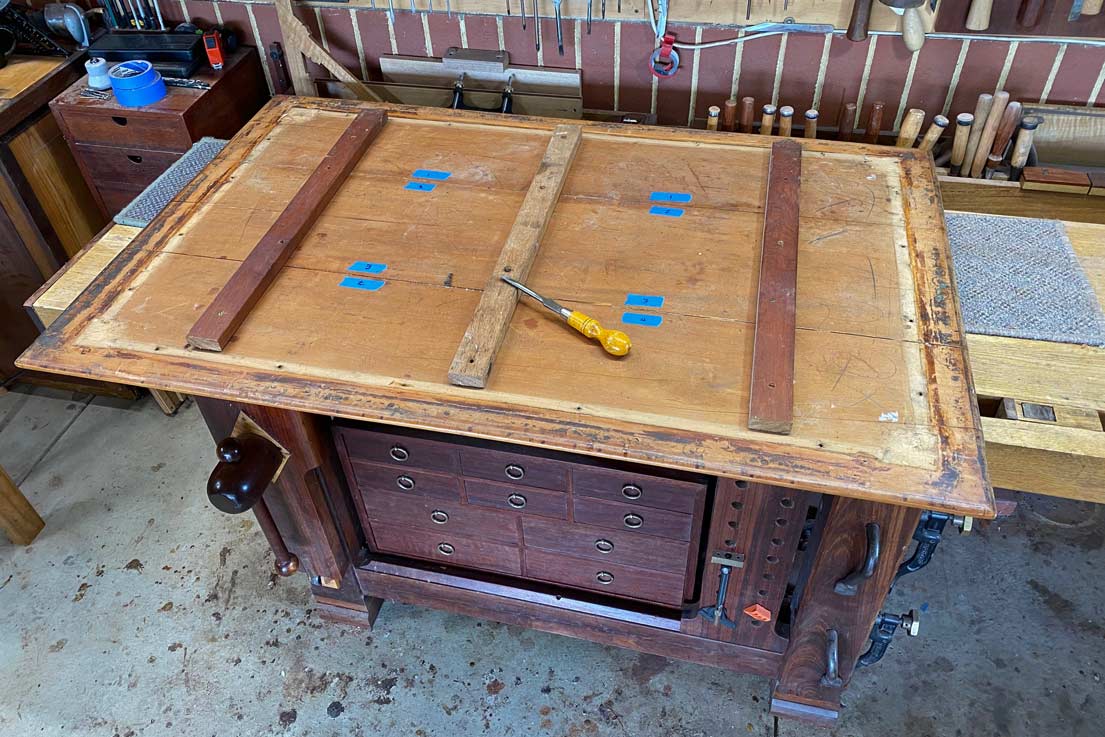
First to come off are these horrible, not-original battens (which are likely the cause of the top splitting as they would have restricted movement) ...
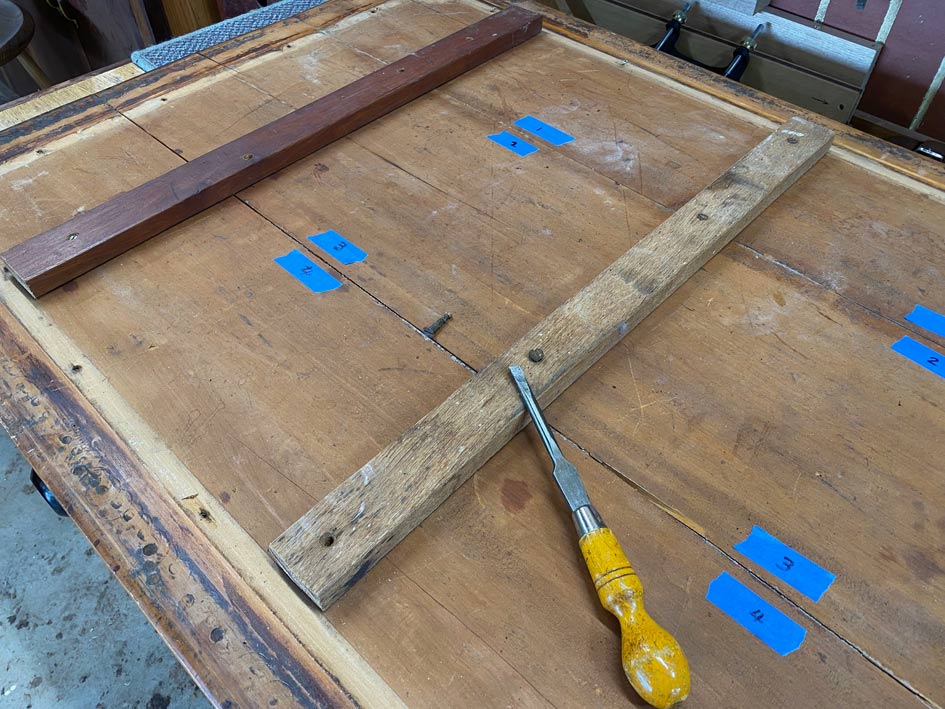
Removing the battens releases one board (of this three-board top). It just comes away. We will deal with this a little later.
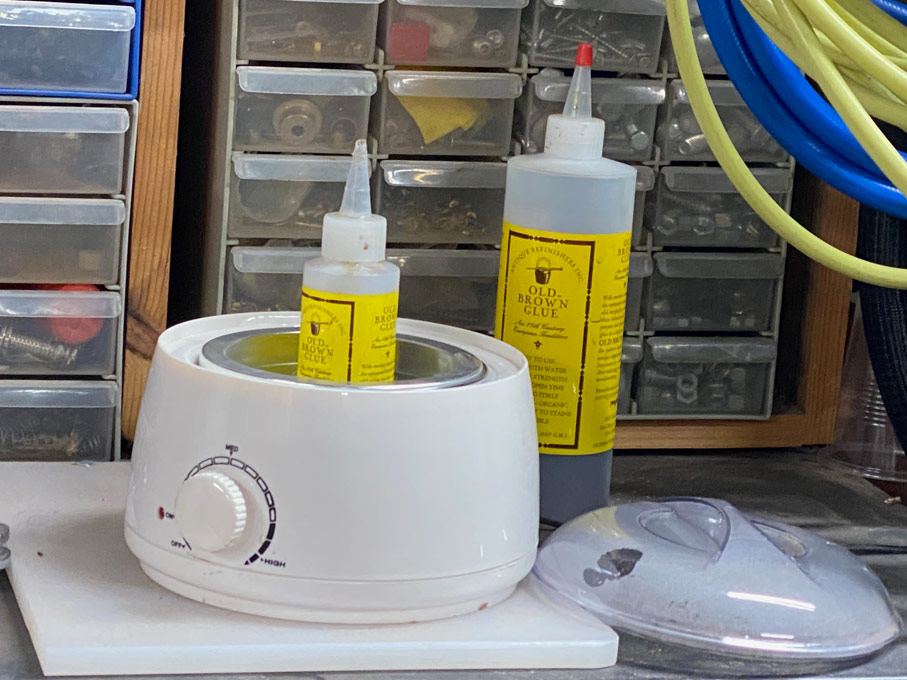
The immediate need is to determine what glue was used. What is left is brittle, which suggests hide glue to me. The wood is so dry that it scrapes off without much of a fight.
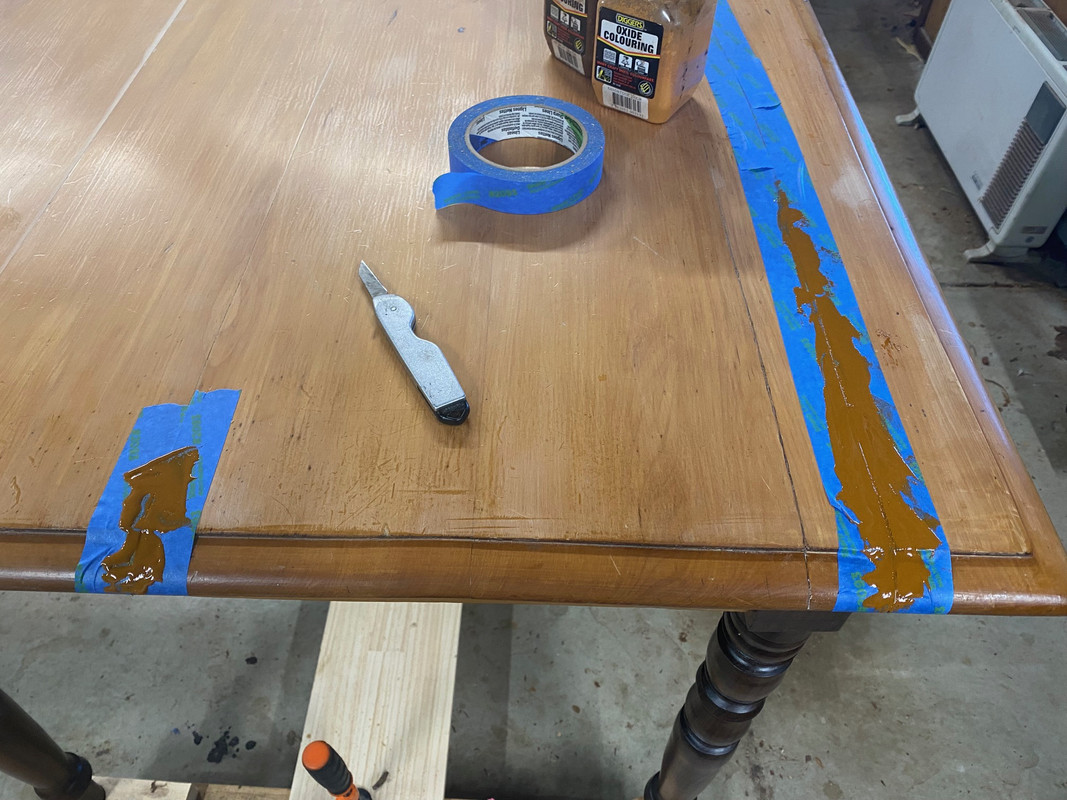
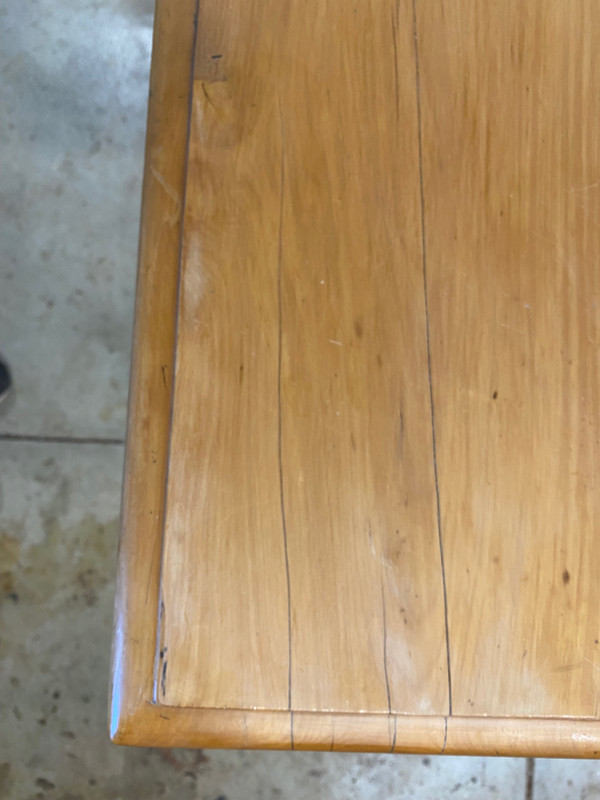
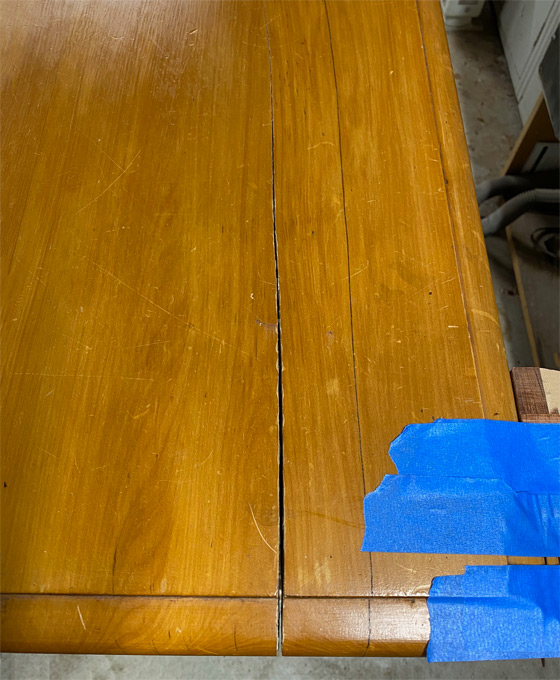
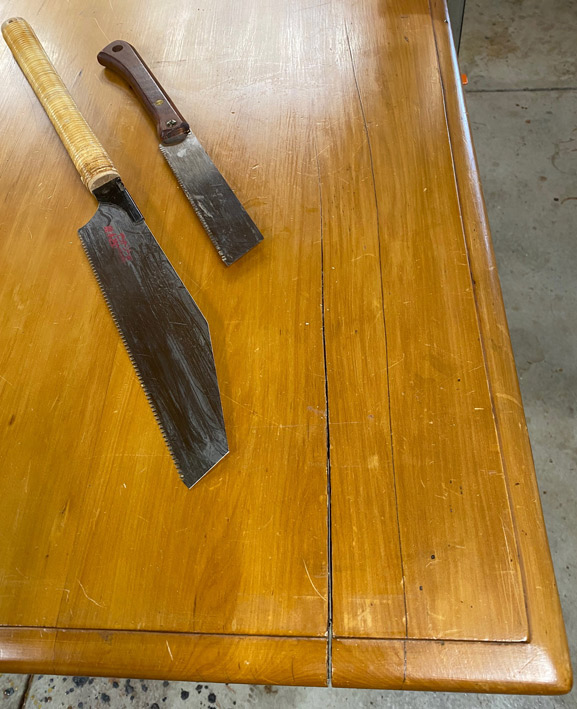
I want to deal with this split. It looks like it will be a challenge, and I could use some insights ...
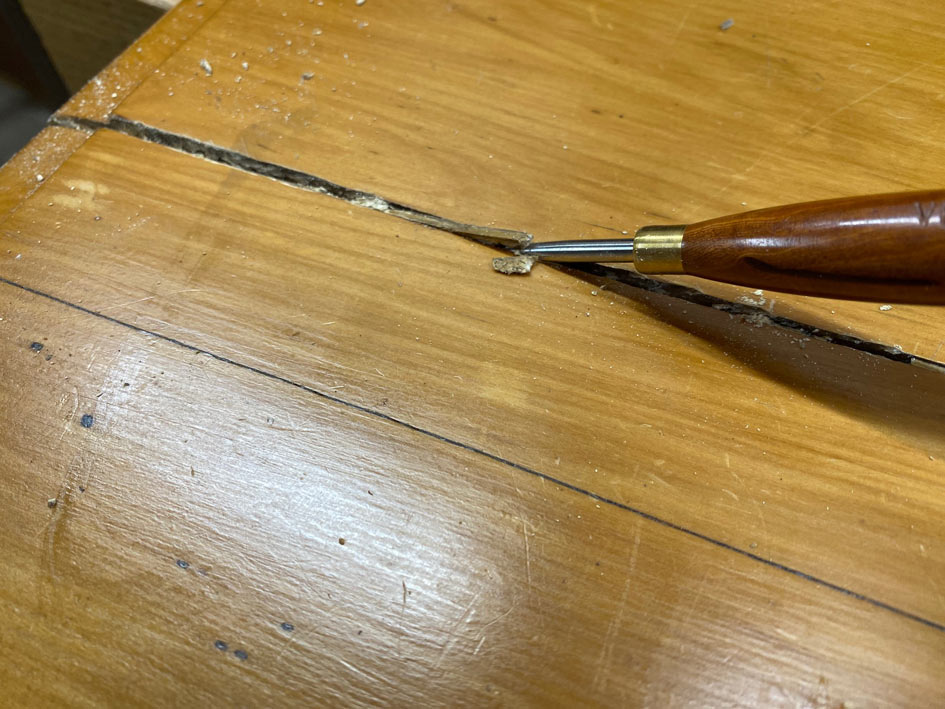
It is possible to remove some of the old glue and filler with a awl ...
... and then dig deeper with a blade ...
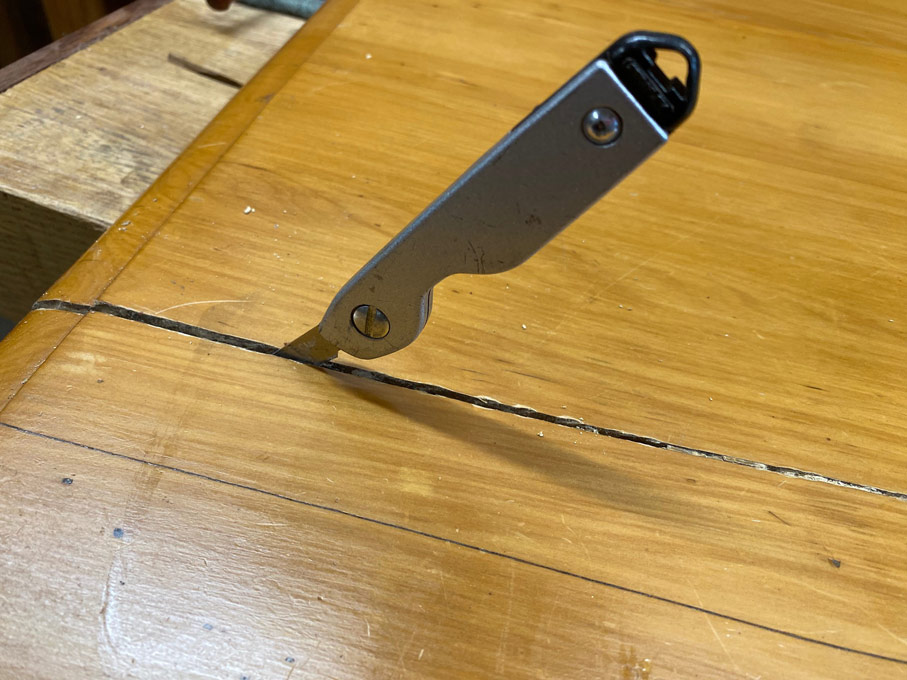
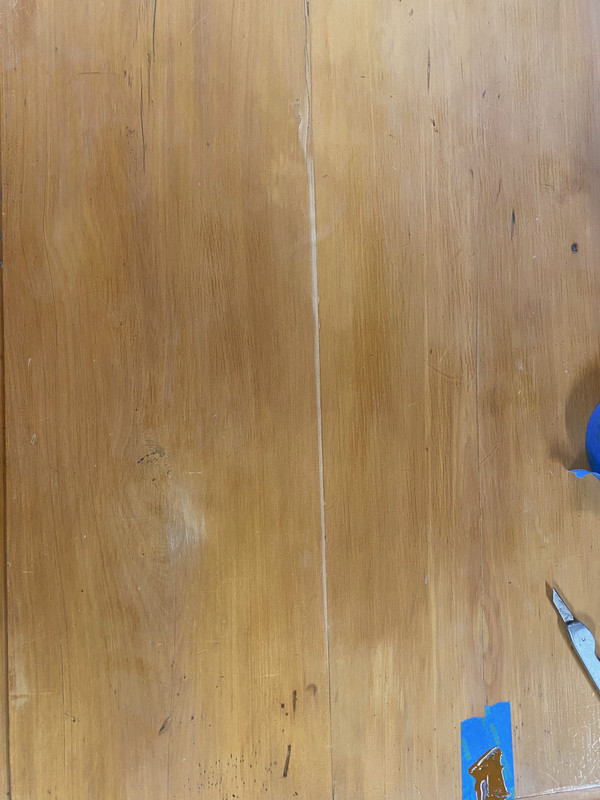
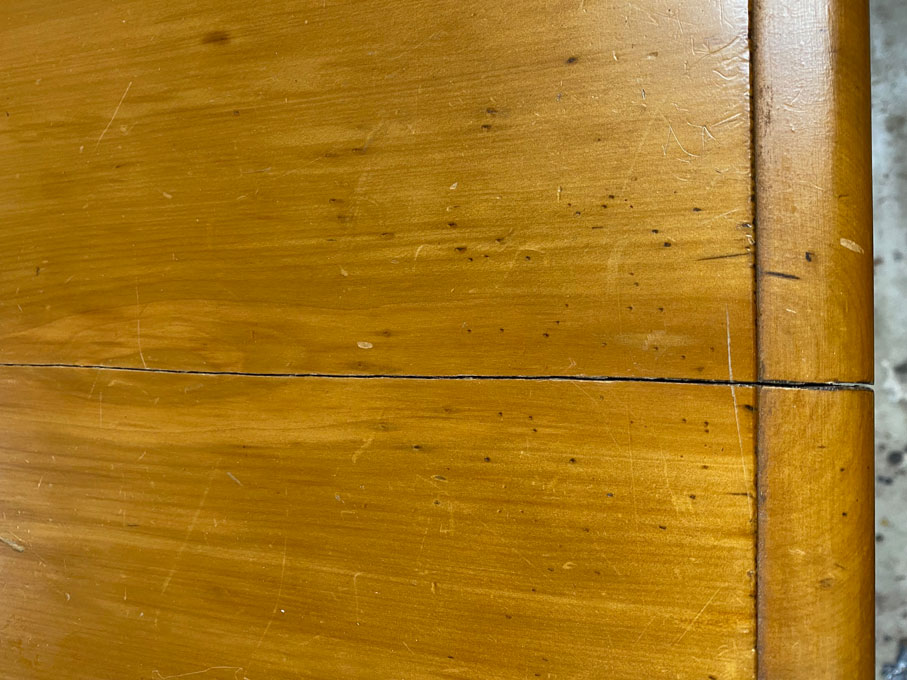
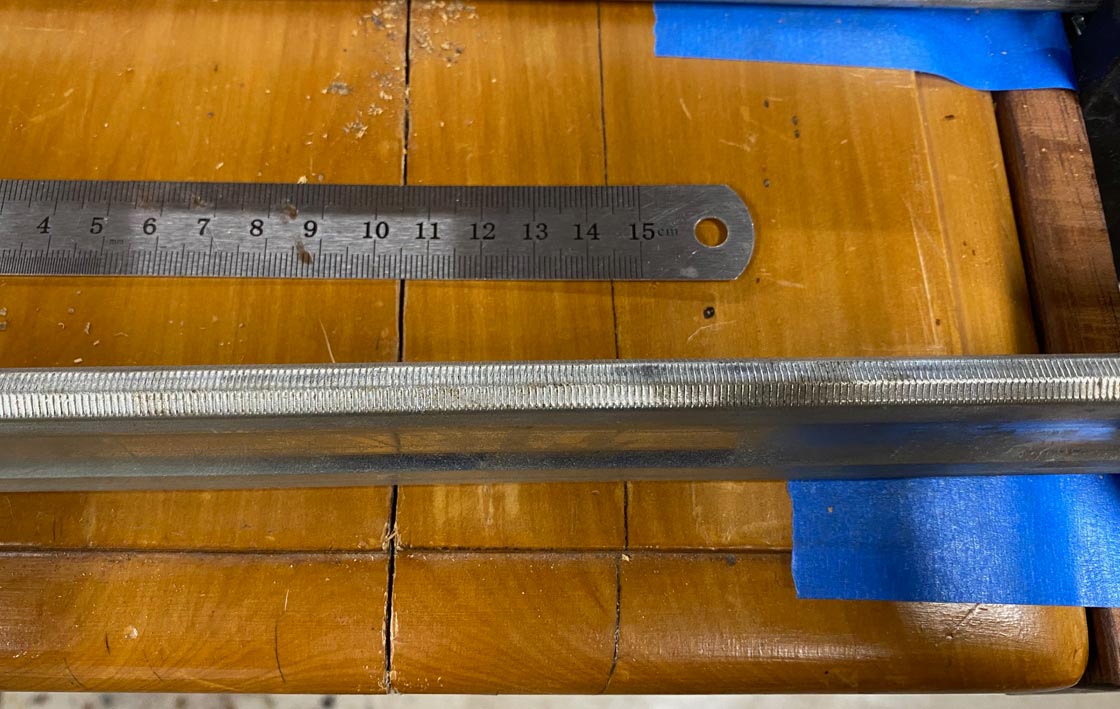
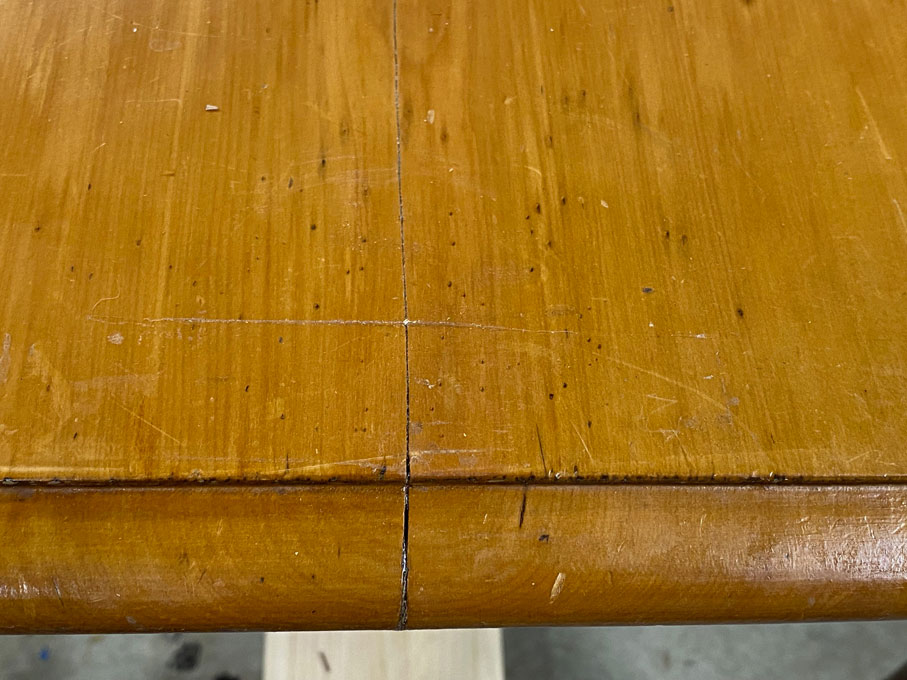
We are left with a 3-4mm wide slit at the edge ...
The underside is narrower, about 2mm ...
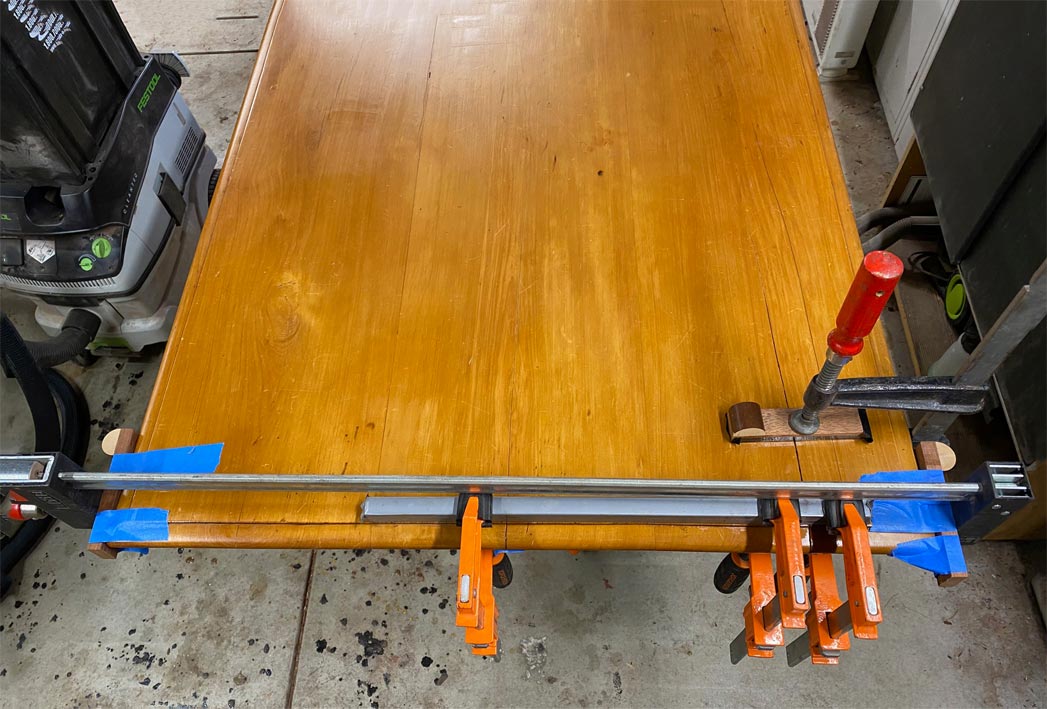
I use a clamp to see if if can be pulled together ...
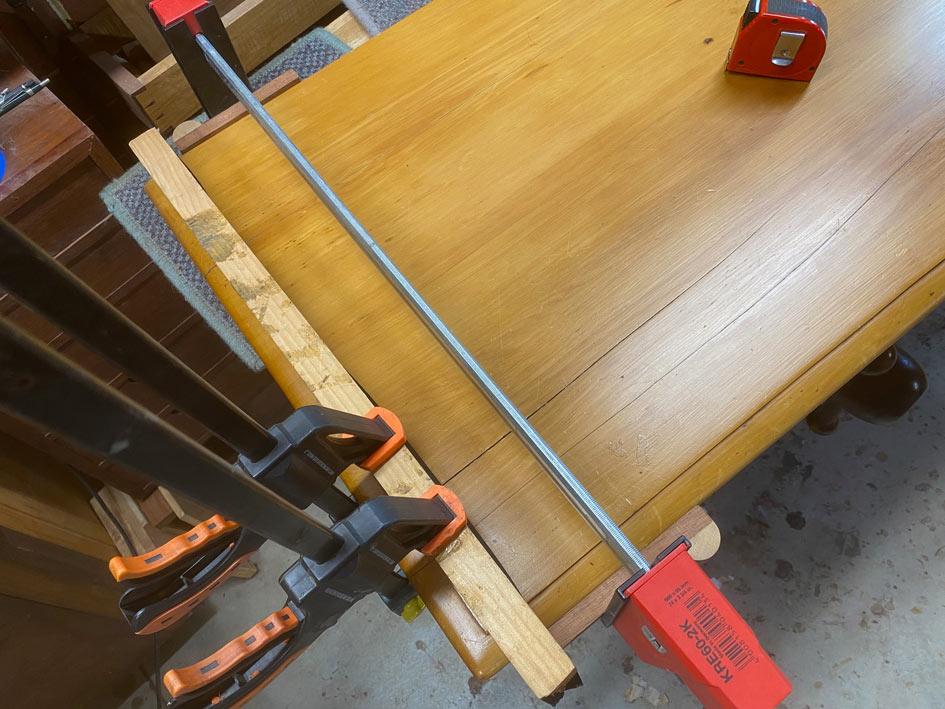
About a 2mm gap remains ...
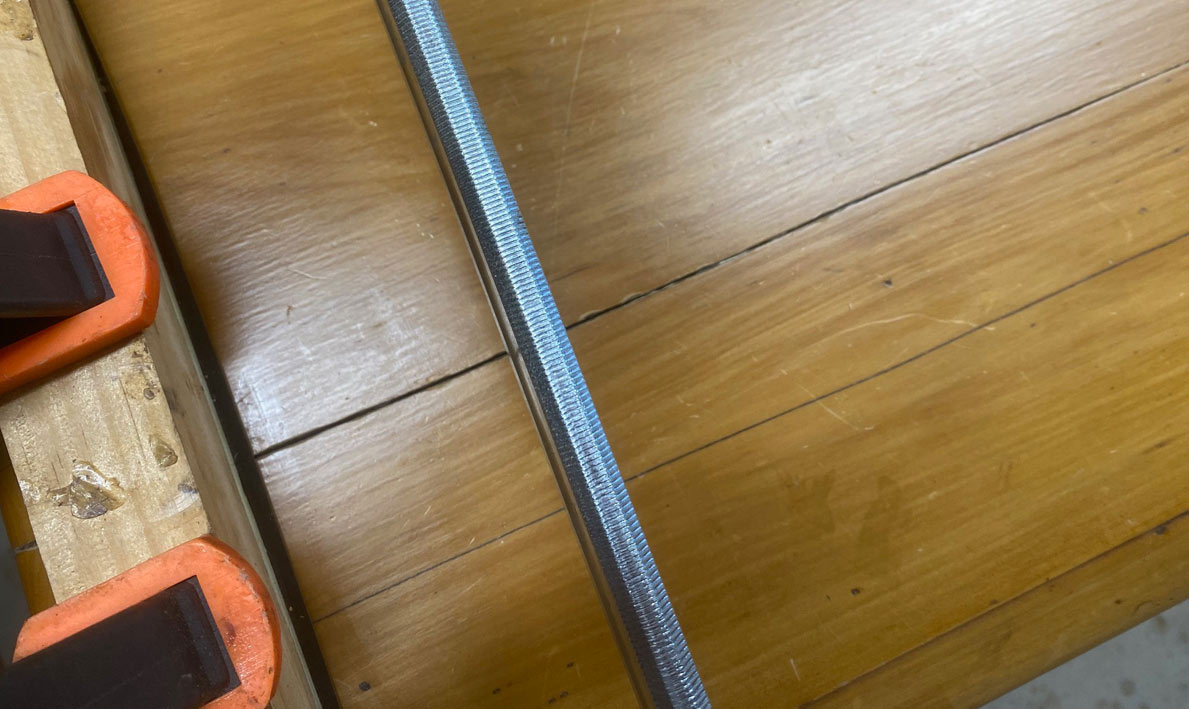
But underneath it is tight - which means that the top is not going to close up any more than it is right now ...
What this suggests is that the split has lost some wood along the way and is now triangular internally, but more likely this is the result of inner tensions. The top is coplanar - I added a flat guide along the top when clamping - so it is not cause by a cup.
The question is how to (1) glue this, and (2) whether to fill the gap (whether it should be filled?), and if so, with what - tinted epoxy with a layer of tinted shellac stick on top, or stick to hide glue with shellack stick? Overall, I do not want this large a split to remain as food, etc will accumulate in it ivervtime.
The better repair, in my opinion, is to recognise that the split reflects tension, and it cannot be forced together with a clamp. it will split again. It looks like I may have to saw the board off (using a tracksaw), joint the edges, and then re-glue. This will lose about 4mm from the width, which would not be noticed. The main concern is damaging the finish.
Regards from Perth
Derek
This is table I have just replaced ...
The plan is to restore it and give it to my son and daughter-in-law.
My wife and I purchased it shortly after we married, some 42 years ago now. At that time it was said to be 150 years old. The table is a kitchen table typical of those built in farming communities in the Eastern Cape area of South Africa. The timber is Yellow Wood, a much prized and now rare light softwood, found only in Southern Africa and South America, and Stinkwood, which is a hardwood similar to Teak.
When we purchased the table, it had undergone a "restoration" by a local furniture maker, amateur I suspect. It held up well, but over the past five years began to develop cracks and splits. I aim to repair these. So for discussion is the extent of the finishing, the repair of the splits, and modifying the way the table top is attached. Glue(s) to use? Photos below ...
Splits in the table top ...
Slip at one leg joint ...
The top is attached with pocket screws (not the Kreg type!) made with a brace and bit. These do not build with wood movement in mind!
Further, the bracing of the top looks like a modern add-on and, again, prevents movement ...
The tops of the legs are all chamfered to avoid contact with the table top ...
These are the screws that came out ..
Day Two
I spoke with my son today about the table. Interesting.
My son and his wife live in Canberra, which is the capital of Oz, and the seat of government, where he works. Think Washington. He is 31 and married 2 years. His wife is the daughter I always wanted ... a woodworker-in-the-making! She will inherit my tools. My son is a wonderful person, and I love him dearly, but he has not a whit of interest in woodwork. Economics and strategy is where his interest lies. Something of a perfectionist, would be an understatement. Minimalist to the nth degree - hates the idea of having unnecessary possessions.
So I was expecting "make it look new, dad". "Sand it and paint it white". Or something like that
He said to me he wants to keep it as it is, warts and all. "It is old and has history". Who is this person?
Now the restoration is more along the lines of choosing what should be repaired and what should be left untouched.
Day Three
I decided to close up the split in the one apron.
The plan was to blow and lift out any debris in the split, and then use the air gun to blow glue inside it.
However, as the split did not run through the wood, air driven at it simply pushed the glue out, not in. In the end I thinned it a little, dribbled it in, and pushed it down. Wiped down the surface with a wet rag, and then clamped all securely ...
I discovered two factors about the table top.
When I loosened the battens, the boards were revealed to be loose, that is, only held together by the battens ...
Further, the battens looked like they were added by the "farmer-restorer" 45 years ago. The ends of the battens were sawn as if with a panel saw, and no attempt made to finish the ends. The screws looked modern ...
Loose boards.
The plan is now to remove all the battens, clean the edges, and reglue the boards together.
The second feature is one I am puzzled about and wonder what you believe this is about: along the underside of the table top, along the edges, are these round marks ...
Day Four
Time to begin working on the table top.
First to come off are these horrible, not-original battens (which are likely the cause of the top splitting as they would have restricted movement) ...
Removing the battens releases one board (of this three-board top). It just comes away. We will deal with this a little later.
The immediate need is to determine what glue was used. What is left is brittle, which suggests hide glue to me. The wood is so dry that it scrapes off without much of a fight.
I want to deal with this split. It looks like it will be a challenge, and I could use some insights ...
It is possible to remove some of the old glue and filler with a awl ...
... and then dig deeper with a blade ...
We are left with a 3-4mm wide slit at the edge ...
The underside is narrower, about 2mm ...
I use a clamp to see if if can be pulled together ...
About a 2mm gap remains ...
But underneath it is tight - which means that the top is not going to close up any more than it is right now ...
What this suggests is that the split has lost some wood along the way and is now triangular internally, but more likely this is the result of inner tensions. The top is coplanar - I added a flat guide along the top when clamping - so it is not cause by a cup.
The question is how to (1) glue this, and (2) whether to fill the gap (whether it should be filled?), and if so, with what - tinted epoxy with a layer of tinted shellac stick on top, or stick to hide glue with shellack stick? Overall, I do not want this large a split to remain as food, etc will accumulate in it ivervtime.
The better repair, in my opinion, is to recognise that the split reflects tension, and it cannot be forced together with a clamp. it will split again. It looks like I may have to saw the board off (using a tracksaw), joint the edges, and then re-glue. This will lose about 4mm from the width, which would not be noticed. The main concern is damaging the finish.
Regards from Perth
Derek
Last edited:


")