I made several modifications to my Record Power BS350S bandsaw over the past few weeks and decided to post them here in case anyone with a similar bandsaw was interested.
Here are the modifications I made and will be documenting here. I’ll update the list below with links to the other threads as I add them:
1. Upgrade upper and lower blade guides with the Rikon tool-less kit made for the Rikon 10-324 and 10-325 bandsaws.
2. Add an electrical outlet to the upper frame so I can power the magnetic base LED lamp.
3. Add blade shroud to improve dust collection.
4. Rip Fence Upgrade
5. Replace the stock wheeled base with a sturdy cabinet with drawers, locking casters, and push handle[url].
=====
I wanted to add a lamp so my aging eyes can see what I’m cutting. I bought a couple of [URL='https://www.amazon.de/gp/product/B082SL4CBJ']these LED magnetic base lamps from an Amazon vendor. The lamp will attach to the top side of the bandsaw frame and angle down to the cutting area. Rather than run an extension cord for the lamp, I decided to add a duplex outlet to the upper frame and connect it to the existing 230V input to the bandsaw.
Note: If you are concerned about the warranty for the saw, or are not comfortable modifying the electrical wiring, then this modification is not for you. This installation requires making permanent modifications to the bandsaw frame and electrical wiring. This is not a detailed description of how to modify your saw, but only a brief description of how I modified my saw.
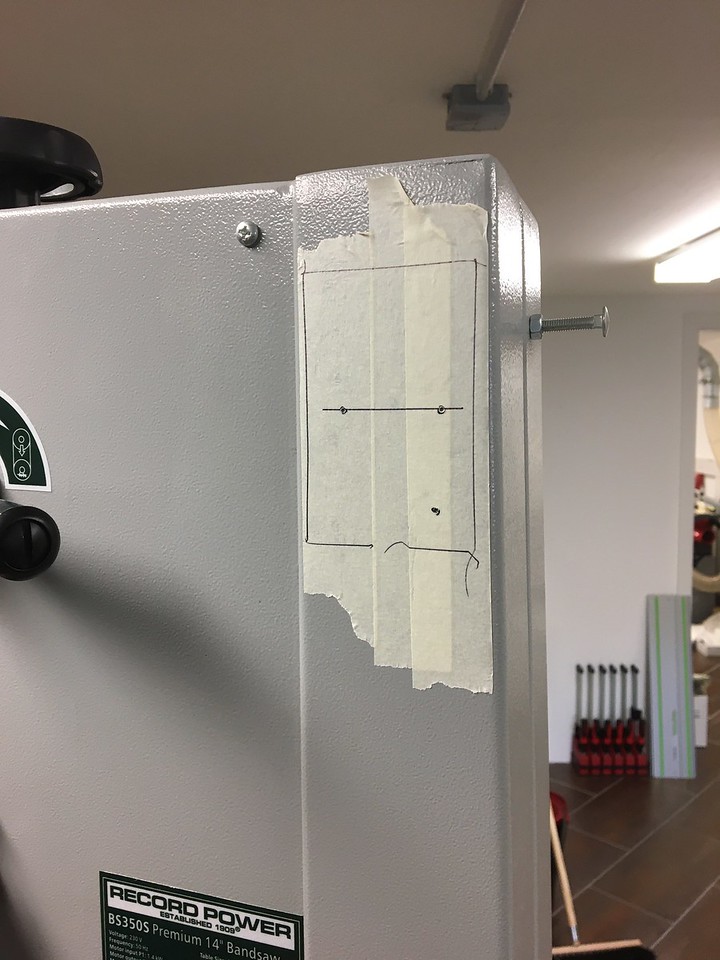
I identified the location for the duplex outlet and marked the outer perimeter in the upper frame riser. Then I marked the location for the two holes for the receptacle mount and the 16mm hole for the cable grommet.
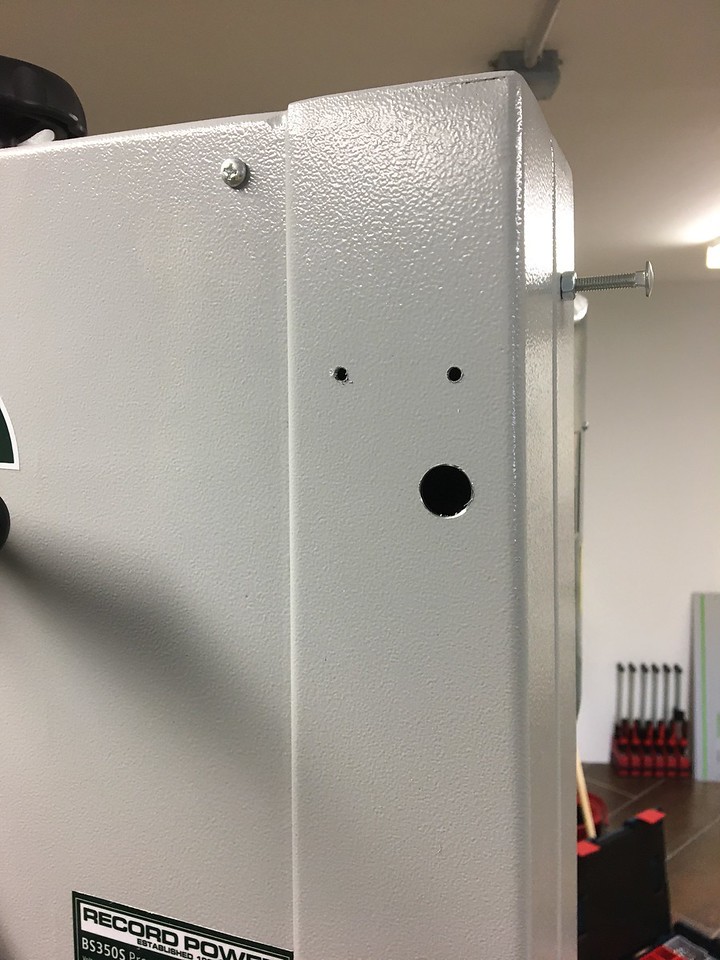
I drilled the two mounting holes with a 4.2mm drill and tapped them for an M5 screw.
I mounted the receptacle, and then ran the 3-conductor cable down the riser to the NVR switch. I intentionally don’t show the wiring of the receptacle, since regulations vary between countries and what is valid in Germany might not be valid elsewhere.
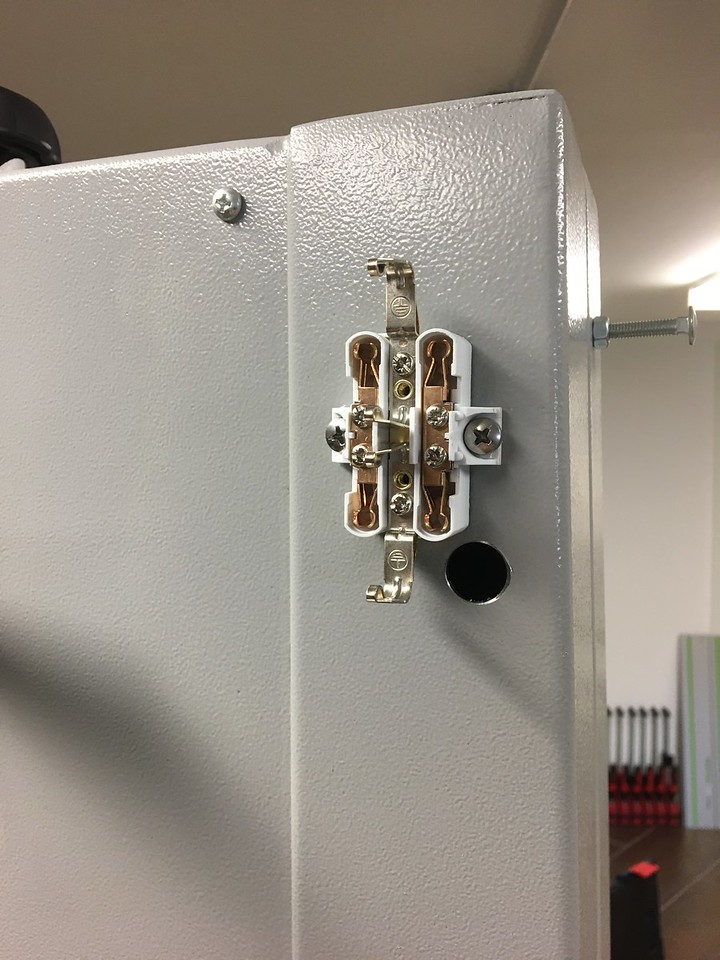
The duplex outlet is wired, checked, and sealed up.
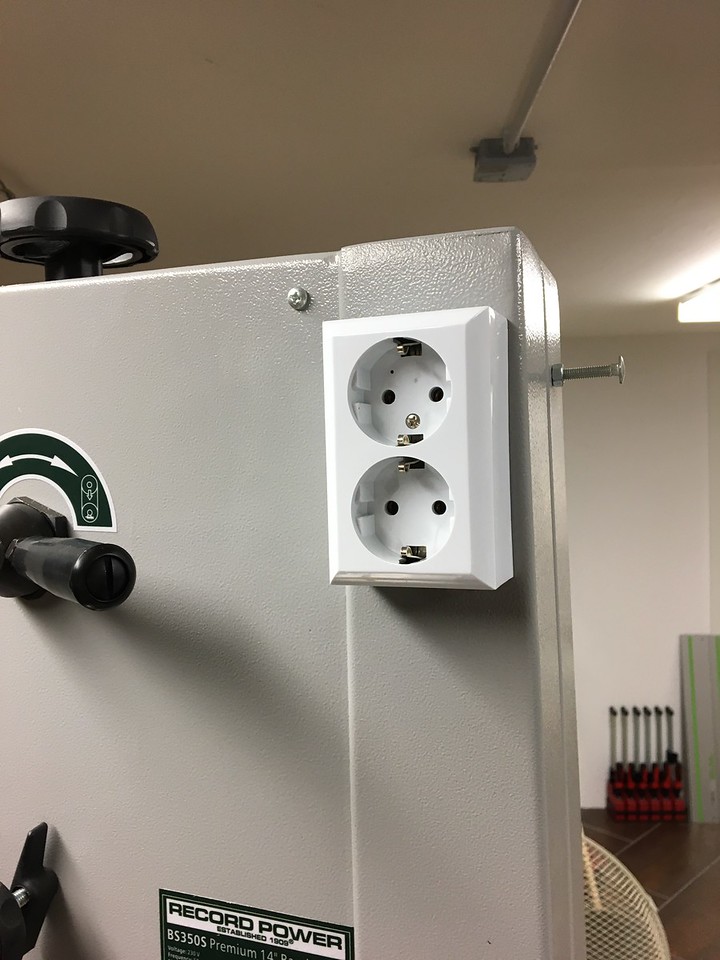
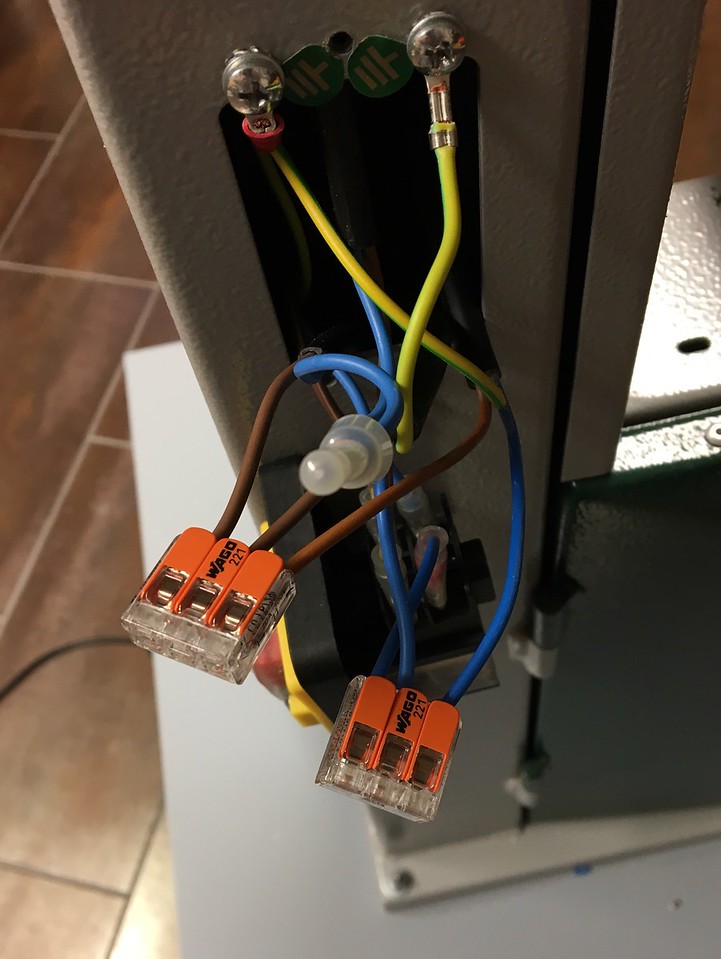
The duplex outlet cable is spliced into the incoming power cable using low-profile Wago connectors. Although not required for these connectors, I crimped ferrules on the ends of the stripped wires.
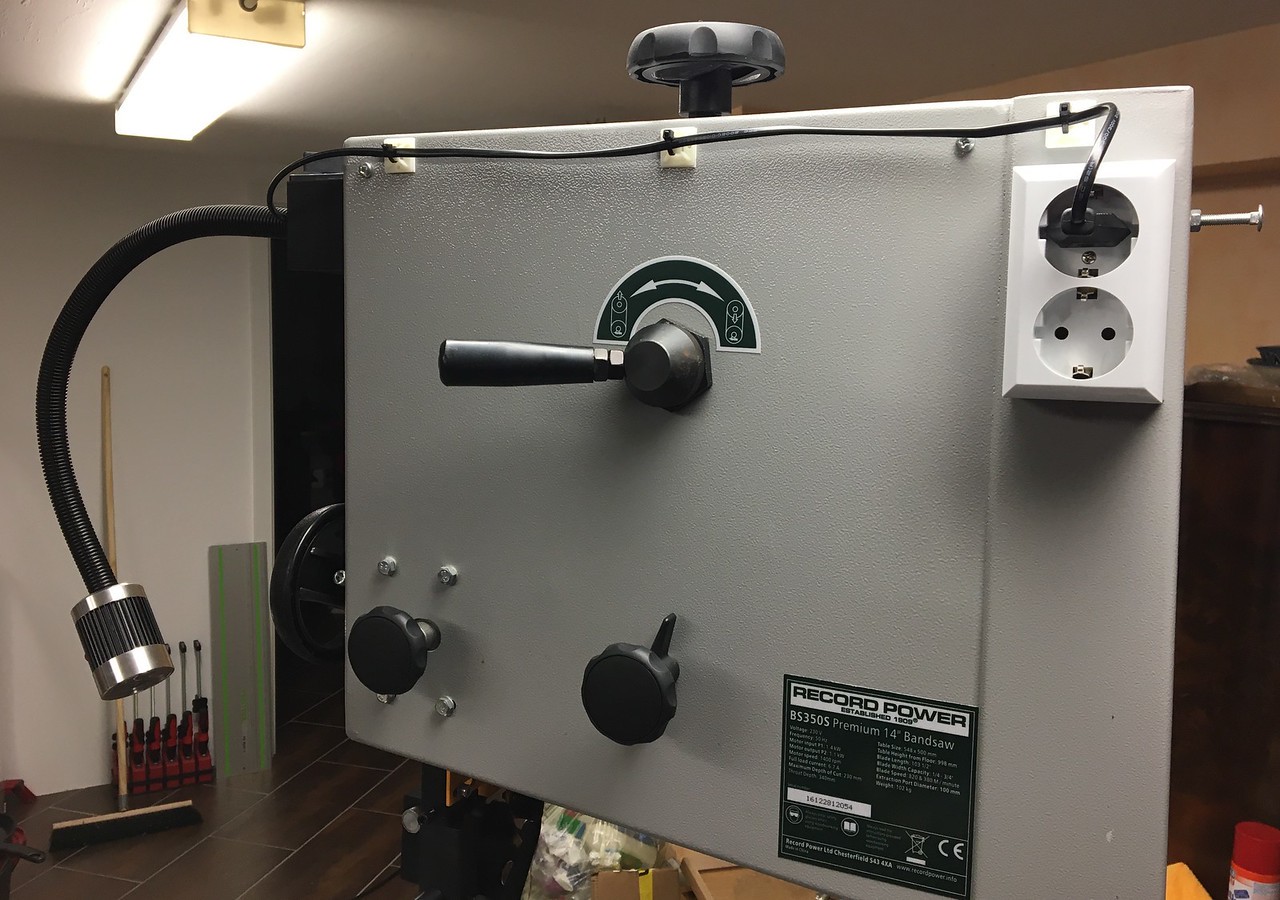
The finished product. I shortened the cord on the lamp by pulling the excess through the flexible gooseneck, cutting it off, and resoldering it inside the lamp housing.
Here are the modifications I made and will be documenting here. I’ll update the list below with links to the other threads as I add them:
1. Upgrade upper and lower blade guides with the Rikon tool-less kit made for the Rikon 10-324 and 10-325 bandsaws.
2. Add an electrical outlet to the upper frame so I can power the magnetic base LED lamp.
3. Add blade shroud to improve dust collection.
4. Rip Fence Upgrade
5. Replace the stock wheeled base with a sturdy cabinet with drawers, locking casters, and push handle[url].
=====
I wanted to add a lamp so my aging eyes can see what I’m cutting. I bought a couple of [URL='https://www.amazon.de/gp/product/B082SL4CBJ']these LED magnetic base lamps from an Amazon vendor. The lamp will attach to the top side of the bandsaw frame and angle down to the cutting area. Rather than run an extension cord for the lamp, I decided to add a duplex outlet to the upper frame and connect it to the existing 230V input to the bandsaw.
Note: If you are concerned about the warranty for the saw, or are not comfortable modifying the electrical wiring, then this modification is not for you. This installation requires making permanent modifications to the bandsaw frame and electrical wiring. This is not a detailed description of how to modify your saw, but only a brief description of how I modified my saw.
I identified the location for the duplex outlet and marked the outer perimeter in the upper frame riser. Then I marked the location for the two holes for the receptacle mount and the 16mm hole for the cable grommet.

I drilled the two mounting holes with a 4.2mm drill and tapped them for an M5 screw.

I mounted the receptacle, and then ran the 3-conductor cable down the riser to the NVR switch. I intentionally don’t show the wiring of the receptacle, since regulations vary between countries and what is valid in Germany might not be valid elsewhere.

The duplex outlet is wired, checked, and sealed up.

The duplex outlet cable is spliced into the incoming power cable using low-profile Wago connectors. Although not required for these connectors, I crimped ferrules on the ends of the stripped wires.

The finished product. I shortened the cord on the lamp by pulling the excess through the flexible gooseneck, cutting it off, and resoldering it inside the lamp housing.


