Really annoyed myself believing **** online

UKworkshop.co.uk

Help Support UKworkshop.co.uk:

This site may earn a commission from merchant affiliate links, including eBay, Amazon, and others.

Oraclebhoy

Established Member
Joined
2 Jan 2021
Messages
80
Reaction score
132
Location
North Yorkshire
Sorry, bit of a rant at myself.

So I needed some cheap chairs for the garden, spent a while searching google and came across a lot of “2x4 make great cheap chairs/benches)
Thought great, 2x4 are cheap cough, and jumped in with both feet, only got a small car so ordered it from Wickes,
Wood didn’t look too bad when it arrived, let it sit for a few weeks in the garage.
Cut the wood using my mitre saw, made sure of angles and length.
Spent days trying to plane it smooth as it’s cheap 2x4, they are rough.
Where I could, I clamped up blocks to make jigs for holding wood while I glued/screwed/lined up the bits.
I knew things were as straight as I can get this.
Put it all together and I am gutted by the final build. Looks exactly like the build document except mine looks thicker. I double check for the fifth time that the plan is for 2x4 and and I haven’t messed up.
Really wish I never bothered with this now.
For a first time piece it’s rubbish, for a chair that will never be stolen it’s brilliant. Now while I am unhappy with how it came out, there are some little wins, like the fact I was able to do this in a space that was maybe 3ft larger than the finished chair (spent a lot of time squeezing past things and standing on lengths of wood)
I finally got a sharp blade on my plane and chisels.
My plan to fill all screw holes with dowels worked (need to practise cutting them smooth as my flat cutting saw would occasionally catch the surrounding wood)
I still need to work out wood grain...
And get my measuring tape checked as it’s not flat.

Does anyone have any simple plans for garden chairs? Say 2x1 wood.
Cheers
 

Attachments

  • 90481C96-C810-4452-8E0E-97348D2DC87A.jpeg
    90481C96-C810-4452-8E0E-97348D2DC87A.jpeg
    173.8 KB
  • 58CEA9A4-EABF-4429-9582-021C62618004.jpeg
    58CEA9A4-EABF-4429-9582-021C62618004.jpeg
    90.3 KB
Looks OK for what it is - why not just paint it?
Or you wanted to do the same again and your planing isn't any better you could just buy PAR which stands for "planed all round". Big job planing that lot by hand!
Similar thing posh version here made from standard pallet boards (of the era) Gerrit Rietveld Cassina crate chair Friso Kramer Alvar | Etsy
 
Last edited:
So sorry to hear that you’re disappointed with the first thing you’ve made. If it’s any consolation it doesn’t look too badly made at all! It’s not your fault it was a rubbish design. If you wanted to improve the look, the rails which you can see the end of when looking at the front of the chair could be reduced in visible size by cutting having joints on their ends so that only half an inch is left to be seen, and the arms could have a chamfer on the underside and perhaps rounded a bit? Put a rounded end on the front corners of the seat and round off the top front where the backs of your knees rest as well and I think you may have something that isn’t quite so lumpy. Ian
 
Ps I have yet to see any published designs for making things in wood that are any good at all, they mostly look chunky cheap and nasty, perhaps it’s time to design for yourself, you’ve started by thinking and knowing that you need a smaller section wood, maybe 2x1 is a little small ( in pine) but then again it’s about the size of most of the timber on a deckchair. Best of luck. Ian
 
What the others said but it's a solid functional seat which will do what you want it to do and you've learned some big lessons, as said, don't beat yourself up.
 
I wouldn't be too dissapointed with that as an end result, from your starting point. Not meaning to sound rude but what were you expecting, by the sounds of it you built it as designed, did your designs not show an end picture? With the one you've already built I'd look over carefully and see where you can make it look less boxy, for instance by thinning out the backs of the armrests with a diagonal cut, a roundover bit on a router might help too, obviuosly taking into account where your screws have gone.

a few ideas here Search for Garden chair - Instructables

I'd have a look at some of the aderondak style builds, relatively simple with a fairly stylish end result.
 
OK it is rough as a badgers bum and has looks only a mother could love o_O But you made it and you owned it by posting here, wonder how many would have been willing to do that :unsure:. So along the way you have learned some valuable lessons and they will all be usefull for any and all future woodworking projects you might do:). imho there is little you can do to improve on what you have that will be anything other than a minor cosmetic makeover and could well make it look even worse:( .Give it a couple of coats of your choice of treatment and it could well outlast some of the more refined pieces that i am sure you are capable of producing given the correct tools and timber choice .
Be glad that apart from your time and a little dent to your pride this build has cost you very little ;) just imagine if you had spent a small fortune on Oak or Walnut etc :censored::censored::censored::cry::cry::cry:
 
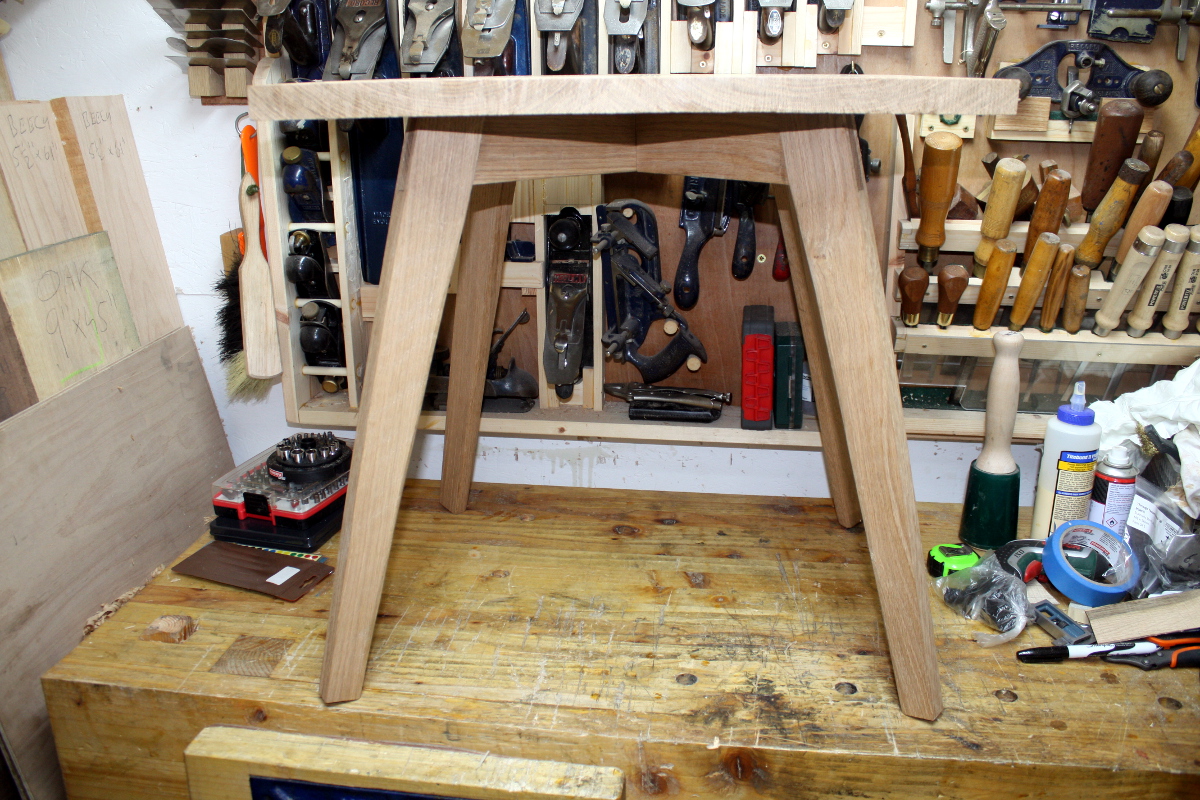
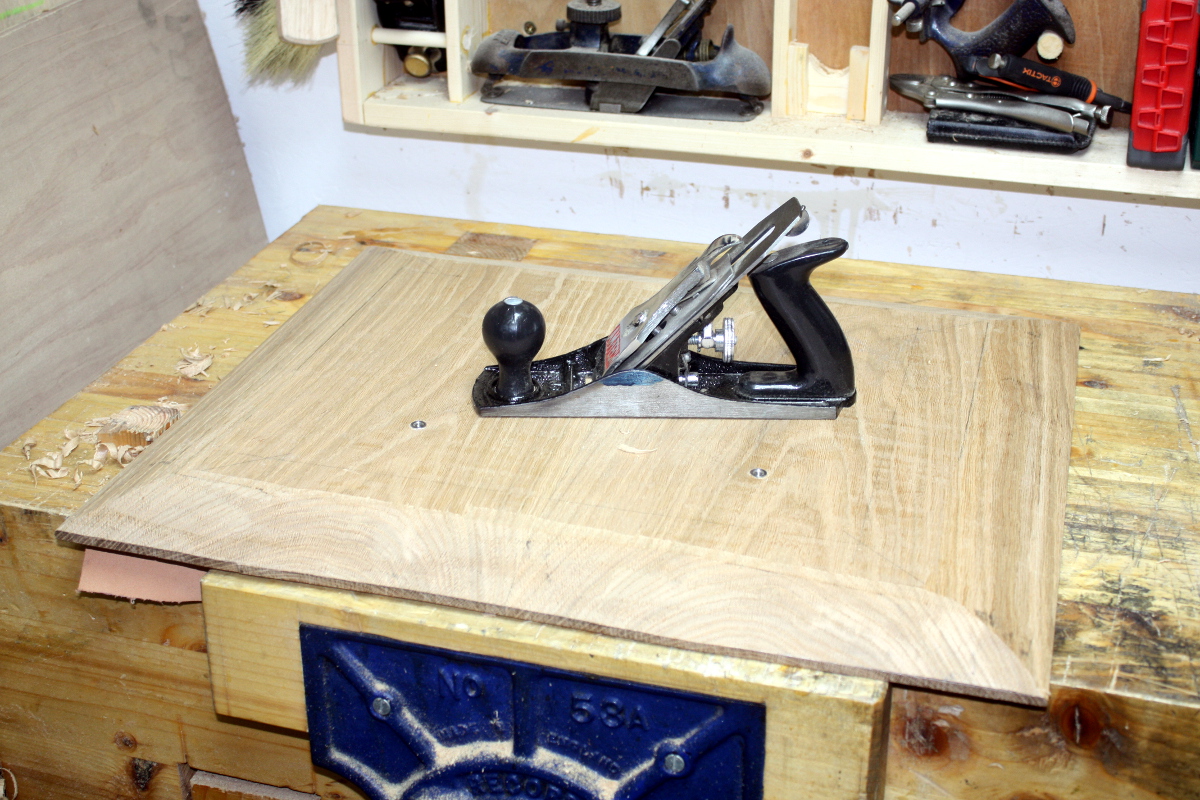
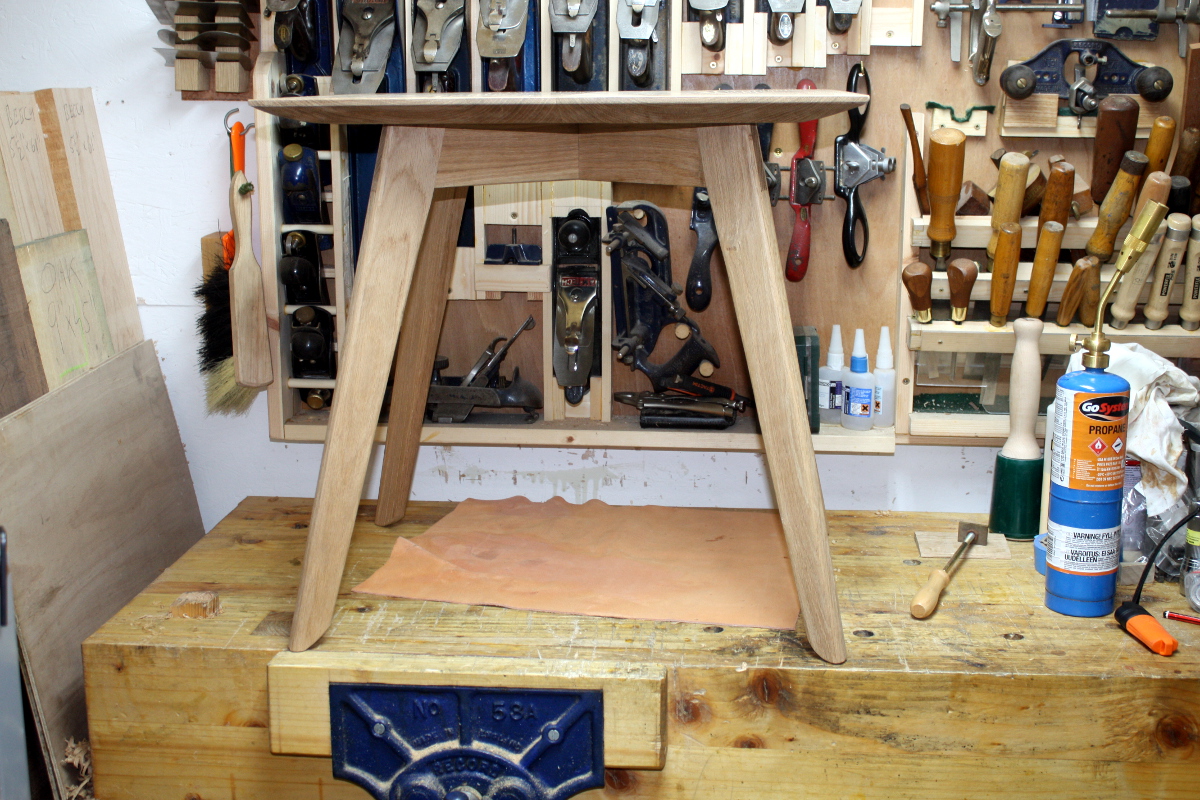
The only thing that's making you think it's rough is that all the edges that you can see are at the full thickness of the wood. If it's possible to unscrew things even at this stage and take them apart (which it won't be if stuff was glued) then you could just plane a heavy bevel into the visible edges. In fact, you could do it with some edges even if you can't disassemble the chair at this point, it'll just be more awkward for workholding and you might have an easier time of the job with a spokeshave or even a chisel (though a chisel needs a bit of practice compared to a handplane for a job like that) Makes the whole thing look a bit lighter to the eye even though it's still just as solid. It doesn't sound like much, but none of these things do till you do them. For example, some of my own cack-handedness.
Before:
IMG_1818a.jpg

That's inch-thick oak and it looks very chunky.
Plane in some bevels...
IMG_1836a.jpg


And now it looks a bit lighter.
IMG_1840a.jpg


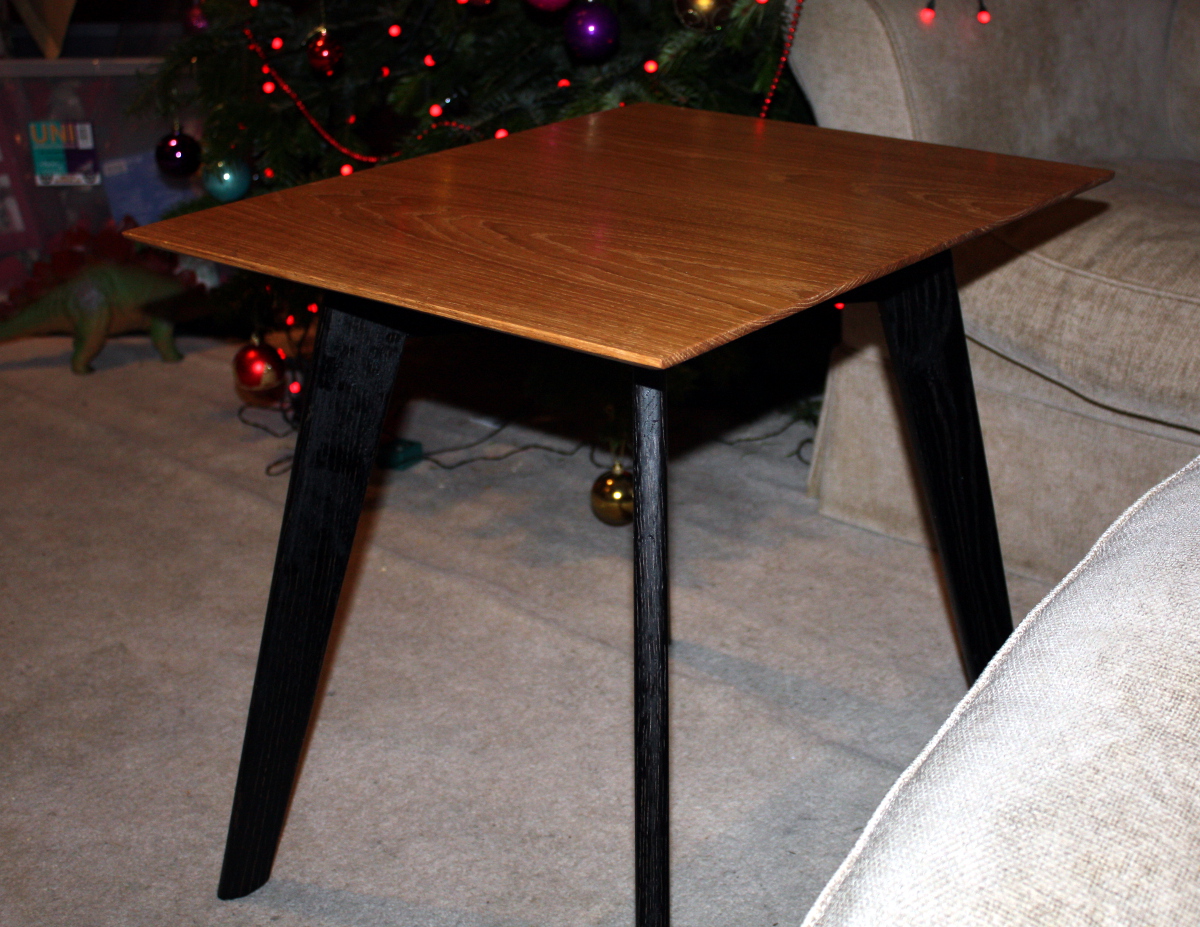
And on top of that, don't dismiss how much of an effect a simple colour change from a lick of paint can have (or in this case, ebonising, but it's the same overall effect to the eye). Just remember that if you paint some parts darker to de-emphasise them to the eye, you must have a lighter element for the eye to latch onto (so in your case, you'd paint the surfaces you sit on a lighter colour and the undercarriage a darker one).

IMG_1913a.jpg


Remember, that's still inch-thick oak in the middle, very little wood got removed overall and it wasn't a huge amount of work, but the overall effect on the look of the thing can be significant.
 
What you need is a Japanese dowel saw, they have no teeth set and are flexable so you can cut nice and flush, it is what I use for exactly the same purpose.

https://www.workshopheaven.com/shogun-170mm-kugihiki-flush-cut-trim-saw.html
You still have to finish it off so you might as well use any old saw with fine teeth, keep it just off the finished surface, which you have to do anyway with 'flush' cutting, saw and finish with a block plane in the highly efficient traditional manner.
 
A good chair is not a simple thing to make. The balance to achieve comfort, style and strength is a subtle one that can take lifetimes of study. You have made a strong structure from simple materials and techniques - and one that fulfills its main criteria of keeping buttocks from floor... So a success.

Ooh. Forum filter. That wasn't the word I used for the bodily part that contacts a chair seat😅
 
I think if you had used thinner stock for the arm rests and rounded the ends that would help. Then take off those leg stretchers and put something back half the thickness, the rest overall effect wouldn't look quite as boxey.

Then I'd go for a full white gloss all over.
Then you can fill any issues after the primer coat.

Every Woodworker here does what you are doing. That being over harsh on themselves after a build. Followed by the knowledge of knowing what they would do differently next time.

Your working space sounds a challenge.
Thank you for sharing, now crack on with the othe 5 😉👍
 
Enjoy it for what it is, also, write your name and date on the underside.

The first 'proper' thing I ever made was a step stool, it was reclaimed wood and I even added some token dovetails. I had no space and no tools and no real idea. Once finished I realised it was not quite as I had expected it, however it is still in use to this day as somewhere to sit, something to stand on and a low saw bench when performing DiY within the house. My wife would fight with her life to keep it and still thinks it is wonderful. Yes, it is slightly out of square and yes, the proportions are dreadful and yes, I might have got a tad close to the top when I was sawing wood on it.
 

Attachments

  • 20210411_135253.jpg
    20210411_135253.jpg
    273.4 KB
I don't think it's too bad, it would have been far more enjoyable using higher quality wood, nobody makes their first piece and it's a masterpiece, chair making is particularly challenging so don't beat yourself up.
 
You’ve made a functional chair at first attempt nice one. Every make is a learning experience which is what makes woodwork interesting. You could cut a gentle arch on the top plank of the back (jigsaw or spokeshave) and the same on the front of the seat, round over the front of the arms. That would improve the look no end.
 
The easiest way to keep saw teeth from marking surrounding wood, when trimming dowels, is to use a washer. A piece of cut down plastic milk bottle works well. Me? I trim with a well sharpened chisel, non bevelled side down, side to side cuts, in the manner of a knife edge at right angle to the handle.
xy
 
The important question to ask is "Is it comfortable to sit on?". If it is then you can decide if you want to do anything to address the looks. If it isn't can the uncomfortable bits be corrected. The edges can be eased, rounded over with a plane and/or sandpaper. Since you have a lot of meat the seat, back and inside top of the arms can be scooped a little to fit ones body. You can use hand tools like inshaves, spokeshaves, or angle grinder with coarse sanding discs followed by hand sanding. The looks can be sweetened as mentioned by bevels on the ends of the 2x4s and paint it. Even turn your kid loose on it with a bunch of colours. Then use it until you have found nicer chairs Adirondack/Muskoka for instance, to build. Then if you live in the right area, put it in a fire pit if it hasn't grown on you. Sit around it in your new chairs and roast marshmallows as you send it off to the heavens. Or you can put a for sale sign on it, with a few plants in pots, labeled garden plant stand. It'll be sold in a day.

Pete
 
The easiest way to keep saw teeth from marking surrounding wood, when trimming dowels, is to use a washer. A piece of cut down plastic milk bottle works well. Me? I trim with a well sharpened chisel, non bevelled side down, side to side cuts, in the manner of a knife edge at right angle to the handle.
xy
Chisel can be difficult - if you press too hard you can get a break out.
I just use DT saw held clear of the surface by as little as possible, then a couple of strokes with a sharp fine set block plane. Dowels and tenons the same.
 

Latest posts

Back
Top