Derek Cohen (Perth Oz)
Established Member
Some of you may recall the razee jointer I built and posted here about a month ago. I was very pleased with the way it came out – it performed as well as I could ever have wished – but it was the longest plane I had built at that time and the placement of the tote was a toss up. I went for balance, with the result that the tote was placed further back on the body than vintage razee jointers. I noted that this was similar to Steve Knight’s razee.
However, Mike Wenzloff disagreed with the placement, saying it was too far back. I decided that I would try out the arrangement for a month, then report. So, to Mike I say ‘Damn your eyes! You were right!!”. With the tote far back the plane was balanced - but it lacked control.
There is nothing I dislike more than redoing perfectly good work. How often do you accept that a part is just not good enough, and pull it apart? How much of a perfectionist are you? Well, I did not change the tote once - I changed it twice. Sort of.
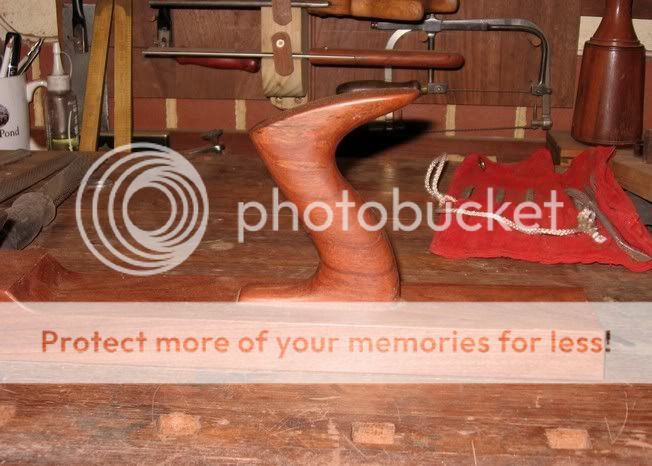
Here is the original tote and placement on the body.
Ok, those who are squeamish avert your eyes.
The unkindest cut of all ..

The old tote came off cleanly.
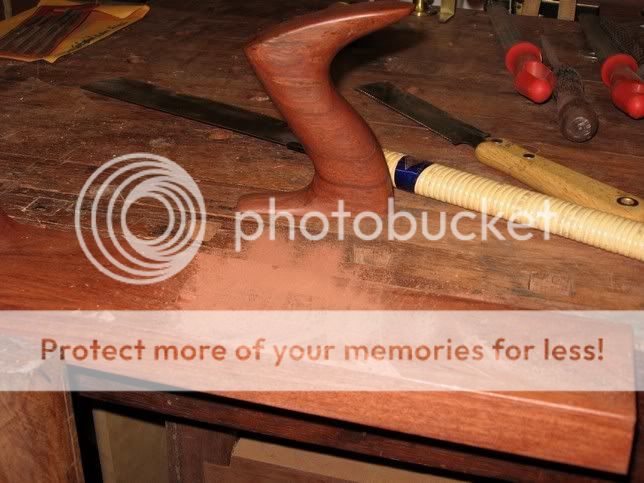
It must be said that I did not like the original tote (and neither did Philly). Somehow it came out differently to my plans. It lacked the curvy look I prefer. The top was too straight and just looked pointy rather than extended. So I decided that I would rebuild this otherwise perfectly sound tote.
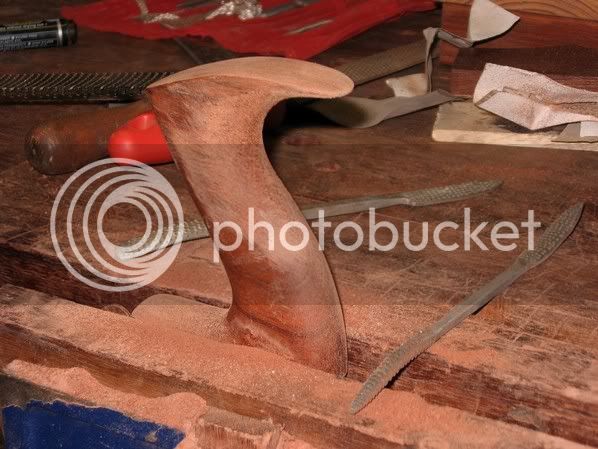
Out came the files and rifflers. I really must buy some decent rasps. I do not own a Nicholson #49 or #50. I do not own an Auriou (I think I need a birthday present like Alf received). All I have is a rather coarse Nicholson rasp, several Nicholson files and this set of no-name rifflers. Why do rifflers hardly rate a mention. They are great!
No turning back now …

Done …
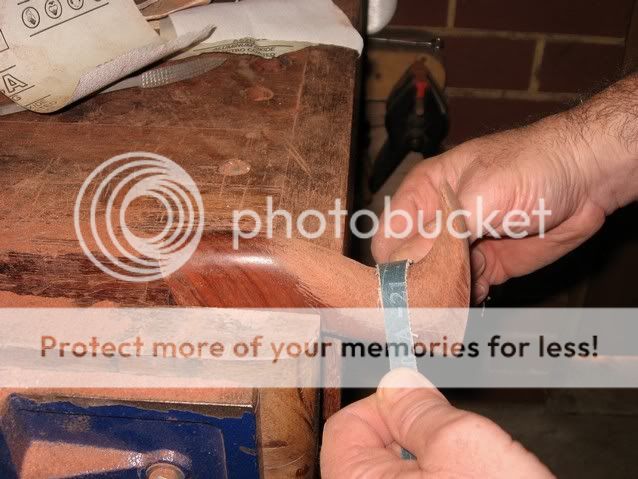
A tip for sanding – old sanding belts are great. Slice them up and pretend you are shining shoes.
Up to this point I had planned to glue-and-screw the tote to a tenon and glue it into the body of the plane. But I got to thinking about the strength would probably be fine but, all the same, I would make another from scratch. Which I did. Cut out the shape, including tenon, on the bandsaw, and out came the rifflers and files once again.
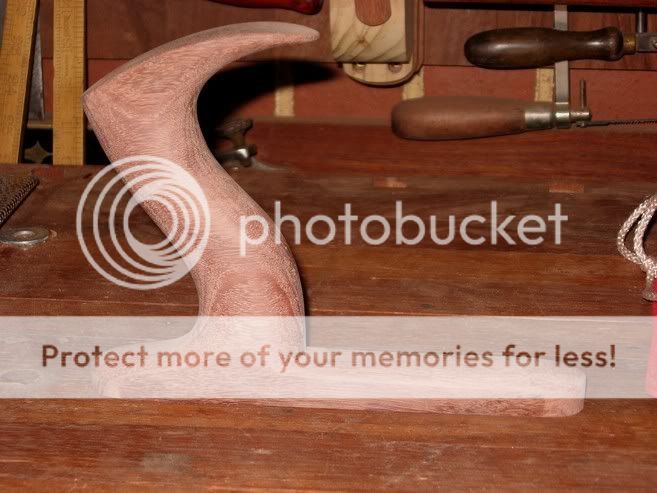
And here it is – pre finish:
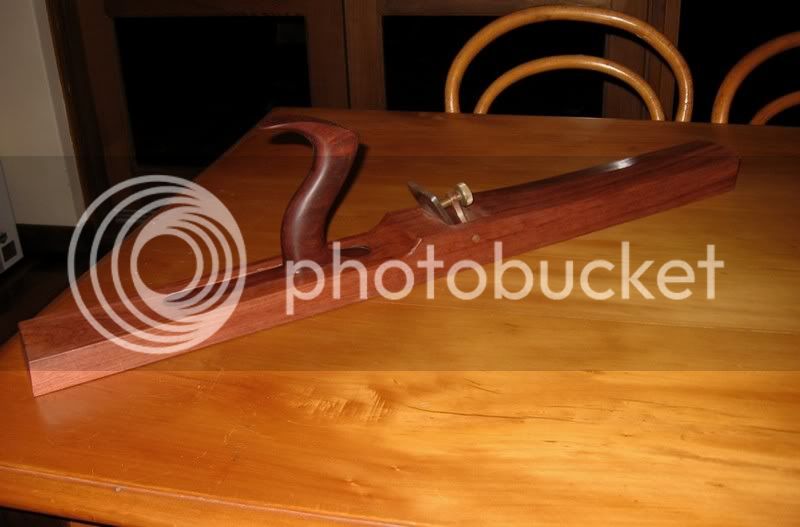
And finished ..
And a close up of the tote:
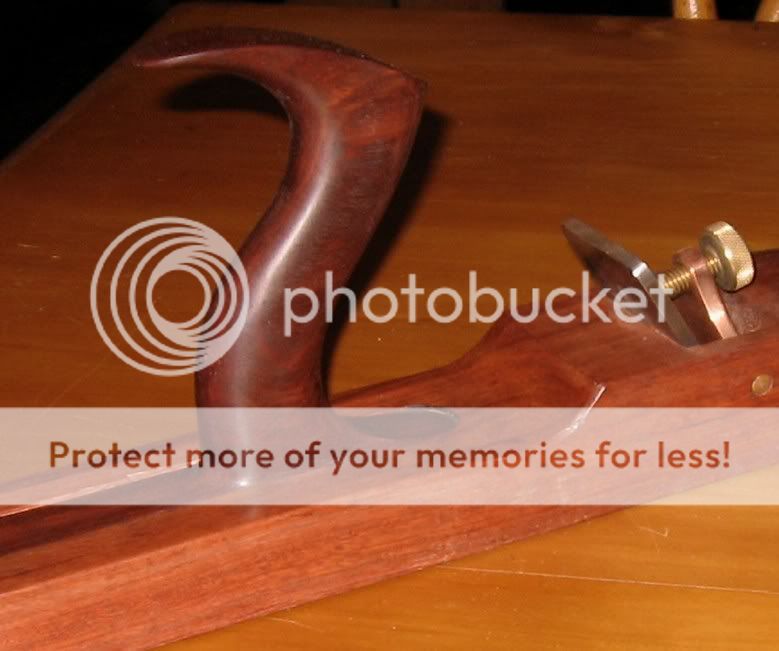
Jarrah was again used here, but the finish was altered to include a wash in black dye to create a contrast between tote and plane body. There is no way of disguising that a repair has been made. Under such circumstances I prefer to exaggerate the differences and turn it into a feature.
Some days I think that woodworking is more about correcting something old than building something new.
Regards from Perth
Derek
However, Mike Wenzloff disagreed with the placement, saying it was too far back. I decided that I would try out the arrangement for a month, then report. So, to Mike I say ‘Damn your eyes! You were right!!”. With the tote far back the plane was balanced - but it lacked control.
There is nothing I dislike more than redoing perfectly good work. How often do you accept that a part is just not good enough, and pull it apart? How much of a perfectionist are you? Well, I did not change the tote once - I changed it twice. Sort of.
Here is the original tote and placement on the body.

Ok, those who are squeamish avert your eyes.
The unkindest cut of all ..

The old tote came off cleanly.

It must be said that I did not like the original tote (and neither did Philly). Somehow it came out differently to my plans. It lacked the curvy look I prefer. The top was too straight and just looked pointy rather than extended. So I decided that I would rebuild this otherwise perfectly sound tote.
Out came the files and rifflers. I really must buy some decent rasps. I do not own a Nicholson #49 or #50. I do not own an Auriou (I think I need a birthday present like Alf received). All I have is a rather coarse Nicholson rasp, several Nicholson files and this set of no-name rifflers. Why do rifflers hardly rate a mention. They are great!
No turning back now …

Done …

A tip for sanding – old sanding belts are great. Slice them up and pretend you are shining shoes.

Up to this point I had planned to glue-and-screw the tote to a tenon and glue it into the body of the plane. But I got to thinking about the strength would probably be fine but, all the same, I would make another from scratch. Which I did. Cut out the shape, including tenon, on the bandsaw, and out came the rifflers and files once again.
And here it is – pre finish:

And finished ..

And a close up of the tote:

Jarrah was again used here, but the finish was altered to include a wash in black dye to create a contrast between tote and plane body. There is no way of disguising that a repair has been made. Under such circumstances I prefer to exaggerate the differences and turn it into a feature.
Some days I think that woodworking is more about correcting something old than building something new.
Regards from Perth
Derek


