billw
The Tattooed One
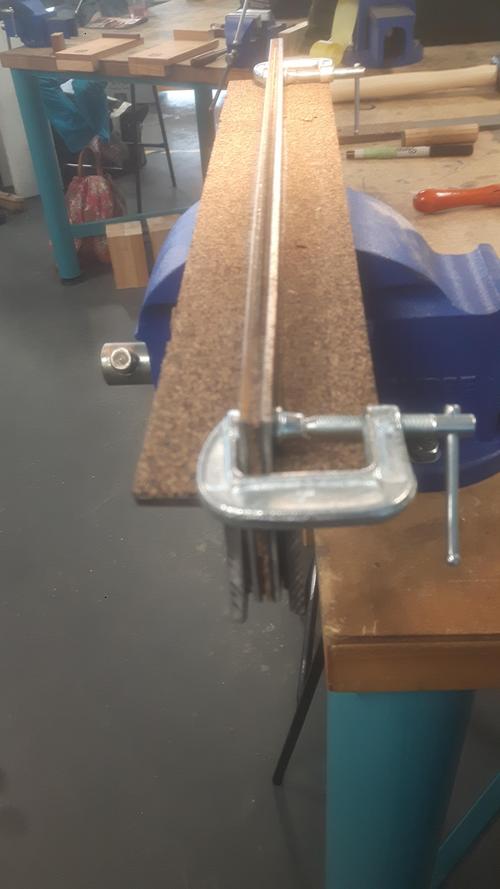
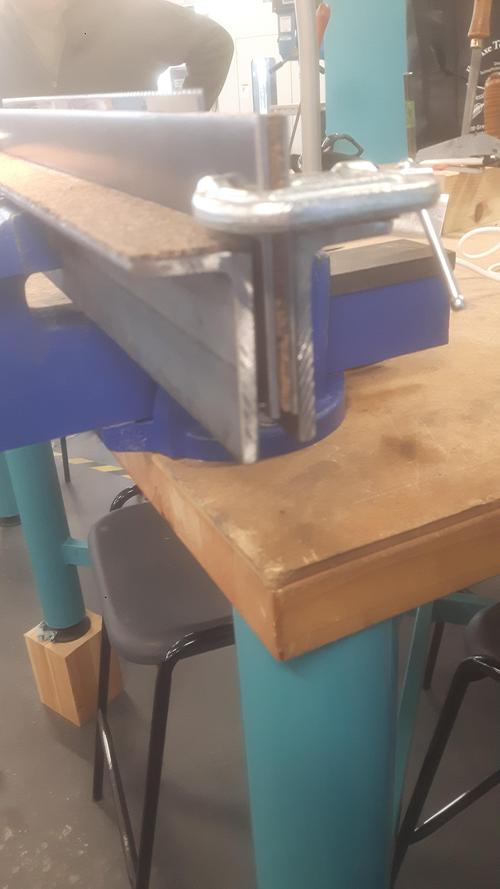
So, whilst preparing the timber I needed for this particular project I discovered that one of the boards was twisted and therefore I commenced Project 3 to help me identify this particular problem. When getting back into woodworking I found that a lot of the tools in the garage were somewhat rusty and unloved, having been used for nothing more than the occasional DIY task many years in the past. I will point out these aren't my tools but my mothers' and she refuses to throw anything out which has been a godsend on this occasion.
Anyhow, I started off with this lot....

They've all been lovingly, meaning cosmetically, restored (pics to follow, I don't think I have one of them all finished). but obviously are no use until they can cut stuff. So a saw vice was added to my project list because as a beginner I am concentrating on practising skills and figuring out techniques rather than making something that requires absolute precision.
I'm using my stock of walnut as usual, as well as an offcut block of Italian sycamore to make the grips for the vice.

I opted for a fairly simple design, similar to the one on the right below, but without the rebate on the outside holder. I adjusted some of the dimensions too so that i could clamp it into the vice on my bench.

Some very quick WIP photos....
1. The main boards for the vice cut out and planed

2. The top rails cut out and shaped. Number 2 was done first, so as you can see I was slightly more patient with the other one and the result was far more clean - but still a long way from perfect!

3. The boards were then fitted together and some chamfers added to remove the hard edges. Clearly my marking out was terrible given the gaps all over the place, I think this was due to rushing things a bit - impatience is something I have to learn to temper.
Somehow I have managed to not centre the uprights, so back to back the beams don't line up. I'll tidy this up later on as it's not the end of the world - I love about half an inch total length across the top.

4. The good news is that for a vice at least the parts meet along the length - although the maple jaws have to be added yet.

5. One of the outer stops fitted.

And that's where we're at for the moment.
Next job is to cut, plane, and affix the maple jaws. Finally join both sides together with a block at the bottom. I'll do a full post-mortem once they're finished but I have certainly learned a fair bit so far!
Anyhow, I started off with this lot....

They've all been lovingly, meaning cosmetically, restored (pics to follow, I don't think I have one of them all finished). but obviously are no use until they can cut stuff. So a saw vice was added to my project list because as a beginner I am concentrating on practising skills and figuring out techniques rather than making something that requires absolute precision.
I'm using my stock of walnut as usual, as well as an offcut block of Italian sycamore to make the grips for the vice.

I opted for a fairly simple design, similar to the one on the right below, but without the rebate on the outside holder. I adjusted some of the dimensions too so that i could clamp it into the vice on my bench.

Some very quick WIP photos....
1. The main boards for the vice cut out and planed

2. The top rails cut out and shaped. Number 2 was done first, so as you can see I was slightly more patient with the other one and the result was far more clean - but still a long way from perfect!

3. The boards were then fitted together and some chamfers added to remove the hard edges. Clearly my marking out was terrible given the gaps all over the place, I think this was due to rushing things a bit - impatience is something I have to learn to temper.
Somehow I have managed to not centre the uprights, so back to back the beams don't line up. I'll tidy this up later on as it's not the end of the world - I love about half an inch total length across the top.

4. The good news is that for a vice at least the parts meet along the length - although the maple jaws have to be added yet.

5. One of the outer stops fitted.

And that's where we're at for the moment.
Next job is to cut, plane, and affix the maple jaws. Finally join both sides together with a block at the bottom. I'll do a full post-mortem once they're finished but I have certainly learned a fair bit so far!


