Post a photo of the last thing you made

UKworkshop.co.uk

Help Support UKworkshop.co.uk:

This site may earn a commission from merchant affiliate links, including eBay, Amazon, and others.
Thanks chaps.

The bowl is sycamore and the spoon is cherry, finished with a sharp gouge, there is a weeks worth of roughage in a pinecone ;-)

Pete
 
Racers":xqtsycb8 said:
Thanks chaps.

The bowl is sycamore and the spoon is cherry, finished with a sharp gouge, there is a weeks worth of roughage in a pinecone ;-)

Pete
So that's why squirrels are so 'regular'! :mrgreen:

I have some Jelutong lying about the shop; somewhere. I ought to try one of these 'homespun' nut-bowls, as I eat my share of nuts!

Cheers
john
 
I cut the sycamore tree down and carved the bowl while it was green slowly letting it dry as I carved it out.
I put it in a thick paper bag with the chips to slow the drying out.

Pete
 
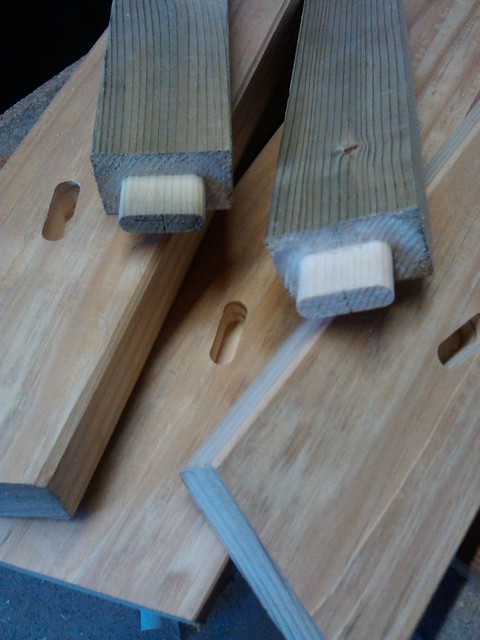
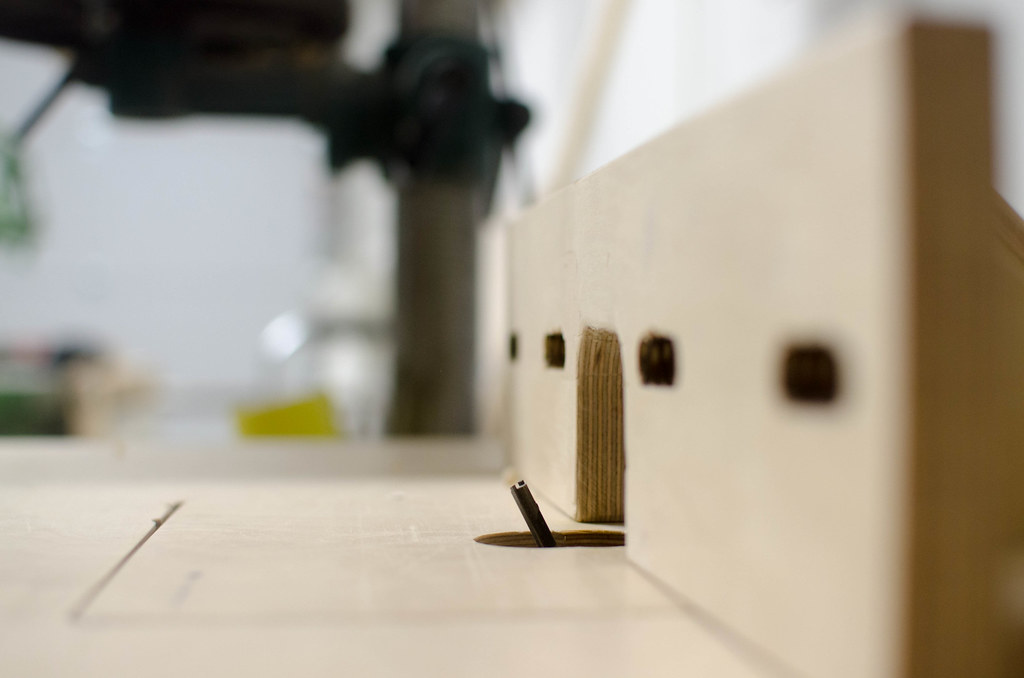
I made these, only mortices and tenons right ? They are part of a small stand I am making for my drill press.


I am pleased with it for a couple of reasons, the main legs are from a plank I found while my house was being completed 20 years ago, it's been in the rafters of my garage ever since. It was rough sawn and filthy, it didn't look like much. I retrieved it, brushed off 20 years of dust, pulled out some nails. I cut it into four pieces each about 4" x 2". It planed up quite nicely, I don't have much time to spend on this, and for a workshop table I wasn't too precious with things. I just needed it to be clean and workable. The tenoned parts are scrap left over from one of the gates I made las year.


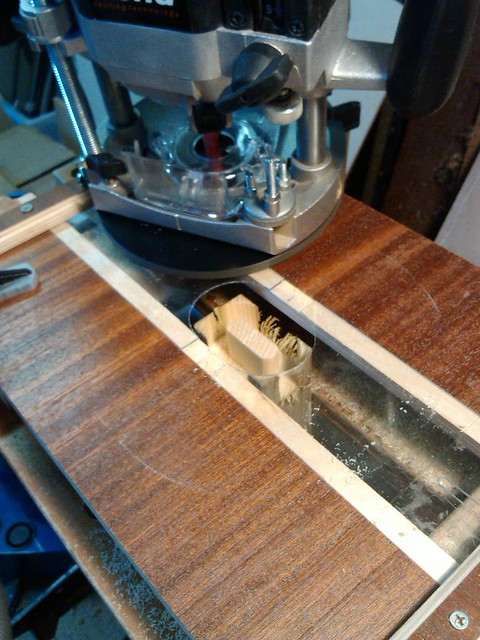
The M&Ts are pleasing because they are the first I've done with the M&T router template/jig I am building


Results are encouraging so I am happy enough to proceed with the M&T jig
 
Racers":rnuvovee said:
Not the last thing I made but a couple of things I made a while ago, taken as part of my photo a day for a year project.

7th February by maddpete, on Flickr

Pete

That's real nice, I like that a lot =D>

mseries":rnuvovee said:
I made these, only mortices and tenons right ? They are part of a small stand I am making for my drill press.

The M&Ts are pleasing because they are the first I've done with the M&T router template/jig I am building

Looking good =D>
Is the jig variable like the 'dnerT' one ?
 
Windsor barstool. Distressed milk paint finish.
 

Attachments

  • IMG_8907_01.JPG
    IMG_8907_01.JPG
    54.3 KB
  • IMG_8910_01.JPG
    IMG_8910_01.JPG
    48.5 KB
  • IMG_8914_01.JPG
    IMG_8914_01.JPG
    58.3 KB
n0legs":1x3b2oan said:
Looking good =D>
Is the jig variable like the 'dnerT' one ?
Yes it is, it works pretty much the same way. The crescent shaped transparent 'ends' slide in and out. Width is static but cutter/guide bush combinations allow different thickness tenons. it works, not perfectly, I'll need to tweak it a bit but sufficiently to keep me thinking about it.
 
mouppe":52kbcrmt said:
Windsor barstool. Distressed milk paint finish.
I rather like the shape of that. As above, monkeybiter, the colour is not to my taste but I could see it working in some locations.
How did you shape the seat?
xy
 
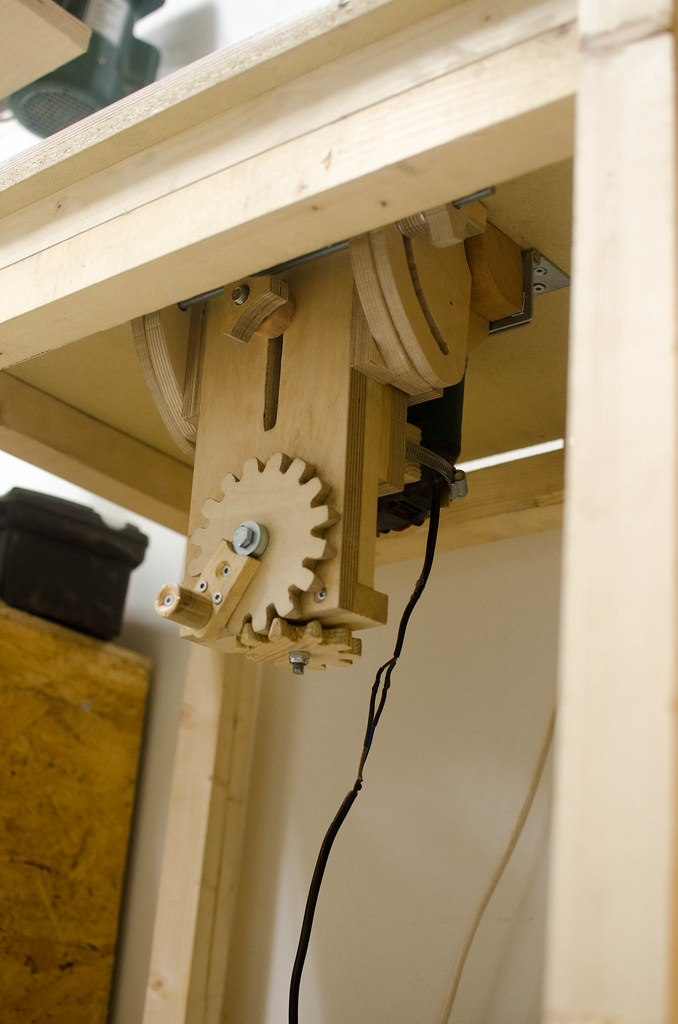
Finally assembled my tilting router lift:

16483915122_89df32bd19_b.jpg


16484885215_627199f7dd_b.jpg


Next step is a timber support frame now that I know where the router lift goes, to beef up the top. Then drawers and compartments and a built in switch.

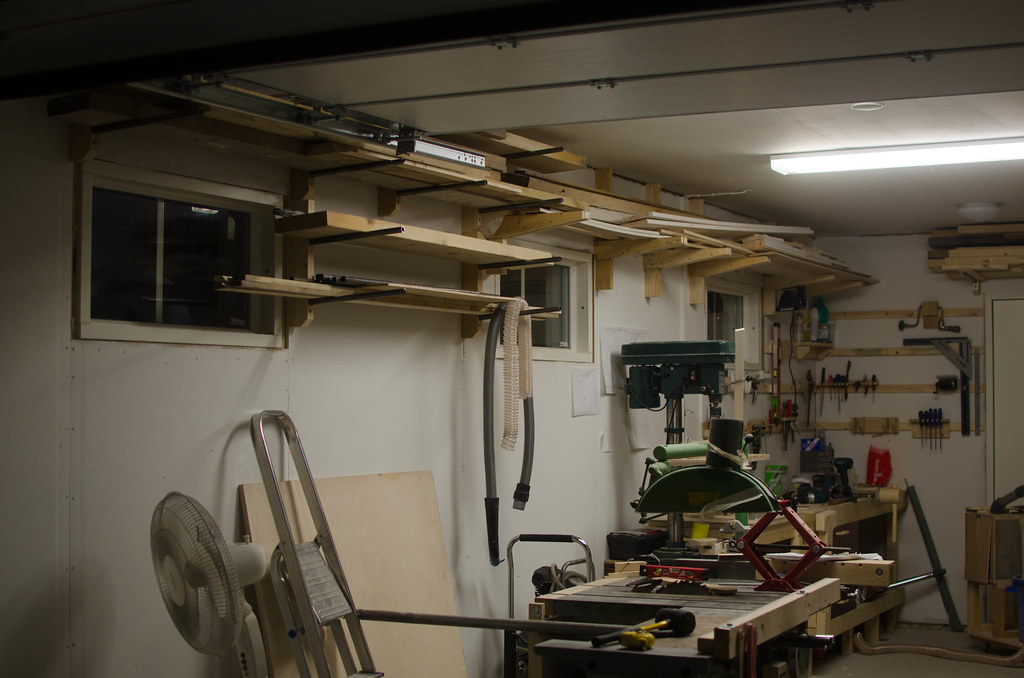
Even more lumber storage shelving in my garage, it continues off picture to the right even, I've now managed to put all lumber up from the roof. I think I'll make two more rows behind the table saw, it's a dead space that is mostly wasted as is. You can also see where my newer pipe rack design (courtesy of jay bates) meets the wooden design (by matthias wandel).
16297171308_4e8447b390_b.jpg
 
Uh-oh looks like unanimous thumbs-down to the finish so far! I can always sand the seat down and re-paint it, and may do so. I wanted to go for a distressed look because the chair will probably get a lot of wear and tear in the workshop. Over time, the two colours should blend better.

I have some work-in-progress photos to show how I carved the seat. First, I drew a contour map on the seat and routed out various depths using a router sled. Then, I used a #7 gouge to do most of the work, and finally sanded it smooth (not a lot of sanding was necessary). The front edges were shaped with a drawknife and spokeshave. The seat carving went very quickly although I would have used an adze if I had had one. I've done it that way before and it's a lot of fun.
 

Attachments

  • IMG_6904_01.JPG
    IMG_6904_01.JPG
    117.4 KB
  • IMG_6858_01.JPG
    IMG_6858_01.JPG
    110.1 KB
  • IMG_6857_01.JPG
    IMG_6857_01.JPG
    111.4 KB
  • IMG_6856_01.JPG
    IMG_6856_01.JPG
    83.4 KB
mouppe":bsrwzzfc said:
Uh-oh looks like unanimous thumbs-down to the finish so far! I can always sand the seat down and re-paint it, and may do so. I wanted to go for a distressed look because the chair will probably get a lot of wear and tear in the workshop. Over time, the two colours should blend better.

I have some work-in-progress photos to show how I carved the seat. First, I drew a contour map on the seat and routed out various depths using a router sled. Then, I used a #7 gouge to do most of the work, and finally sanded it smooth (not a lot of sanding was necessary). The front edges were shaped with a drawknife and spokeshave. The seat carving went very quickly although I would have used an adze if I had had one. I've done it that way before and it's a lot of fun.
Thanks for posting that mouppe. It is interesting to see different working methods.
xy
p.s. Don't sand down the chair, live with it. In use, as wear patterns develop, it will look very different.
xy
 
I sorta like it for a workshop chair. With some wear and splashes of paint it'll look much nicer
 
Dimmaz88":1lzegdwi said:
I love that milk paint finish. Not everyone want plain wood!

Is it a couple of different colours used?


Thanks. Yes, a base colour of sky Blue and a top coat of a dark blue, a wash coat of shellac in between to keep the colours separate, and then hand sanded.

I had to paint it because the chair is made from two different woods, and the legs in particular- being from ash- just ended up looking dirty when shoes were resting on the stretchers. The paint hides the dirt and unifies the different woods.
 
As XY said earlier, don't sand it back. I think it looks great, really like the colour.
The proportions look good, is it comfortable ?
 
Thanks! Yes it's really comfortable. I wanted to make a stool with a high arm rail that would support me when sharpening saws etc.
 
Back
Top