Planing knots

UKworkshop.co.uk

Help Support UKworkshop.co.uk:

This site may earn a commission from merchant affiliate links, including eBay, Amazon, and others.

thomashenry

Established Member
Joined
19 Nov 2015
Messages
258
Reaction score
13
Location
Oxford, UK
I've got a load of old reclaimed pine, formlerly rafters, purlins, etc. Probably 150 or so years old. I'm ripping and planing it for use in making a dresser. By far the biggest issue I've been having is planing when knots are present. My planes are regulary sharpened to 1000 grit, then stropped. However, they more often than not, they just skip over any knot that isn't really small. When trying to plane things flat, I end up with high spots wherever there are knots.

It's driving my mad, and I'm not really sure what I'm meant to be doing. Is it that my planes are just not sharp enough?
 
Old knots in pine can be really hard. And naturally, they are surrounded by grain going the wrong way.

It's difficult to advise without seeing the wood, but some things I have found useful include:

Use a smaller plane to attack a knot from all directions.
Or a chisel, or gouge or a scraper.
Or sand it, by hand or with a little disc on a Dremel or equivalent.
Cut the knots out and insert patches instead.
 
I've found planning from different directions useful. I use a shallow cut and am very mindful of tear out as you come off the knot.

Nigel.
 
Whatever I say will be wrong for some people, but here goes anyway. I presume you are working only with hand tools.

For a start, 1000 grit means different things to different people, depending on the type of abrasive you are sharpening on. If that was diamond plates I'd say you'd want to go a little finer than that. I go to 1200 before stropping.

What sort of planing are you doing? If you are just smoothing, then I go straight to a scraper for pine knots. Your cabinet scraper needs to be absolutely sharp, though. Some knots are perfectly OK with any plane. Some are OK with a finely set finishing plane, but watch out for break-out around the back edge. If however you are flattening boards by scrubbing, then some hard knots can be a big problem. I have seen people reach for a toothing plane in those circumstances. I have sometimes pared a bad knot with a chisel before scrubbing the board, and then dealing with the final smoothing of the board with a tightly set cap iron, or, more usually, a scraper. A nice tip is that some knots soften quite nicely with white spirit, so if you have a really problematic example sit some cotton wool over it and pour on some white spirit. Leave for half an hour, then try your plane again.

Finally, knots can destroy the edge on your iron. Don't be tempted to grind to a finer angle because the edge won't be strong enough. If you have the luxury of a spare blade or two, you could put a small back bevel on one of them, which is the equivalent of raising the bed angle......which other than scraping is probably the best overall answer.
 
Hello
If you set your cap iron to 1/32" away from the edge and you will have no issues anymore with inconsistencies.

Have you got something reliable or do you have the material to make a a pair of straight edges the same length as what your trying to plane?
Two beams paired to show no gap, one can be flipped over to make sure both aren't spooning /matching in the same bowed direction.
A plane won't work well if you don't have reference.
I'd safety guess what you think might be a high spot isn't quite so in the scheme of things,
and your taking too deep of a cut.
A high spot should started on .
Advance the cutter to get the shaving if you have no reference.
If you can see a good amount of blade protrusion and your not getting shavings then your attempting to plane into a hollow.
Good luck
Tom
Tom
 
thomashenry":e54t7256 said:
I've got a load of old reclaimed pine, formlerly rafters, purlins, etc. Probably 150 or so years old. I'm ripping and planing it for use in making a dresser. By far the biggest issue I've been having is planing when knots are present. My planes are regulary sharpened to 1000 grit, then stropped. However, they more often than not, they just skip over any knot that isn't really small. When trying to plane things flat, I end up with high spots wherever there are knots.

It's driving my mad, and I'm not really sure what I'm meant to be doing. Is it that my planes are just not sharp enough?

I think here you're really onto a hiding to nothing. Knots are hard even in newish pine and with stuff thats 150 years old, they're going to be like iron rivets! I'd skip a plane and go straight to a belt sander with a 60g belt! :lol:
Seriously, this is a difficult task you've set yourself. Decent, knot free pine is a pleasure to work with but as soon you come across knots where the grain is going in alternate directions each side it becomes a different matter altogether.
When I first started out making stuff, I made my parents a 'knotty pine' (it was all the rage in the 70's) refectory table and I can still remember trying to plane planks of truly awful, knotty pine. In the end I gave up and sanded the stuff! Suffice to say, I've never used that sort of pine again for furniture - Rob
 
Certainly the plane needs to be very sharp. Its worth trying to use the heaviest plane that you have to go over the knots. Sometimes the extra momentum that they create can help.
 
The best thing is to cut out the knotty bits and work with the clear wood (o rwood having only smaller knots). That, of course, might not be possible, depending on how much stock you have, and how knotty it is. If it's old rafters and purlins, chances are it wasn't the best grade even when new.

There may even come a point when pragmatism dictates setting the reclaimed stuff aside for other jobs, and buying some nice, new unsorted redwood.

However, if neither of those are possible, I reckon Andy and Mike have just about covered your options, but I would add doing as much work as you can with a jackplane having a pretty aggressive camber, or even a scrub plane. Work across the grain, and from all directions inwards on big knots. You'll probably end up sharpening up a lot more often. If the jackplane knocks out large chunks from the knots, which can happen sometimes, then it's either finer cuts, patch, fill with sawdust/glue mix, or ignore if it's somewhere out of sight.

Reclaimed timber can sometimes be utterly wonderful, and sometimes far more bother than it's worth.

Good luck.
 
Some good advice here. The approach I've been taking is to avoid knots as much as possible on any surface that will be visible in the final piece, thus allowing me to chisel down knots to a lower level before flattening and straightening the stock.
 
This material was used for joists and rafters because it was, and still is, of poor quality. The hard glassy knots are an inescapable part of carcassing timber, you can't produce quality joinery or furniture with rubbish!
You might get away with recycling it as joist or rafters or even firewood , if you are capable of producing decent work don't waste time and effort on this, the resulting job will be worthless. To enjoy the work you must spend on unsorted grade pine, that's the best available at a decent timber merchants and not at the sheds. It's easier to work and the results are infinitely better.
 
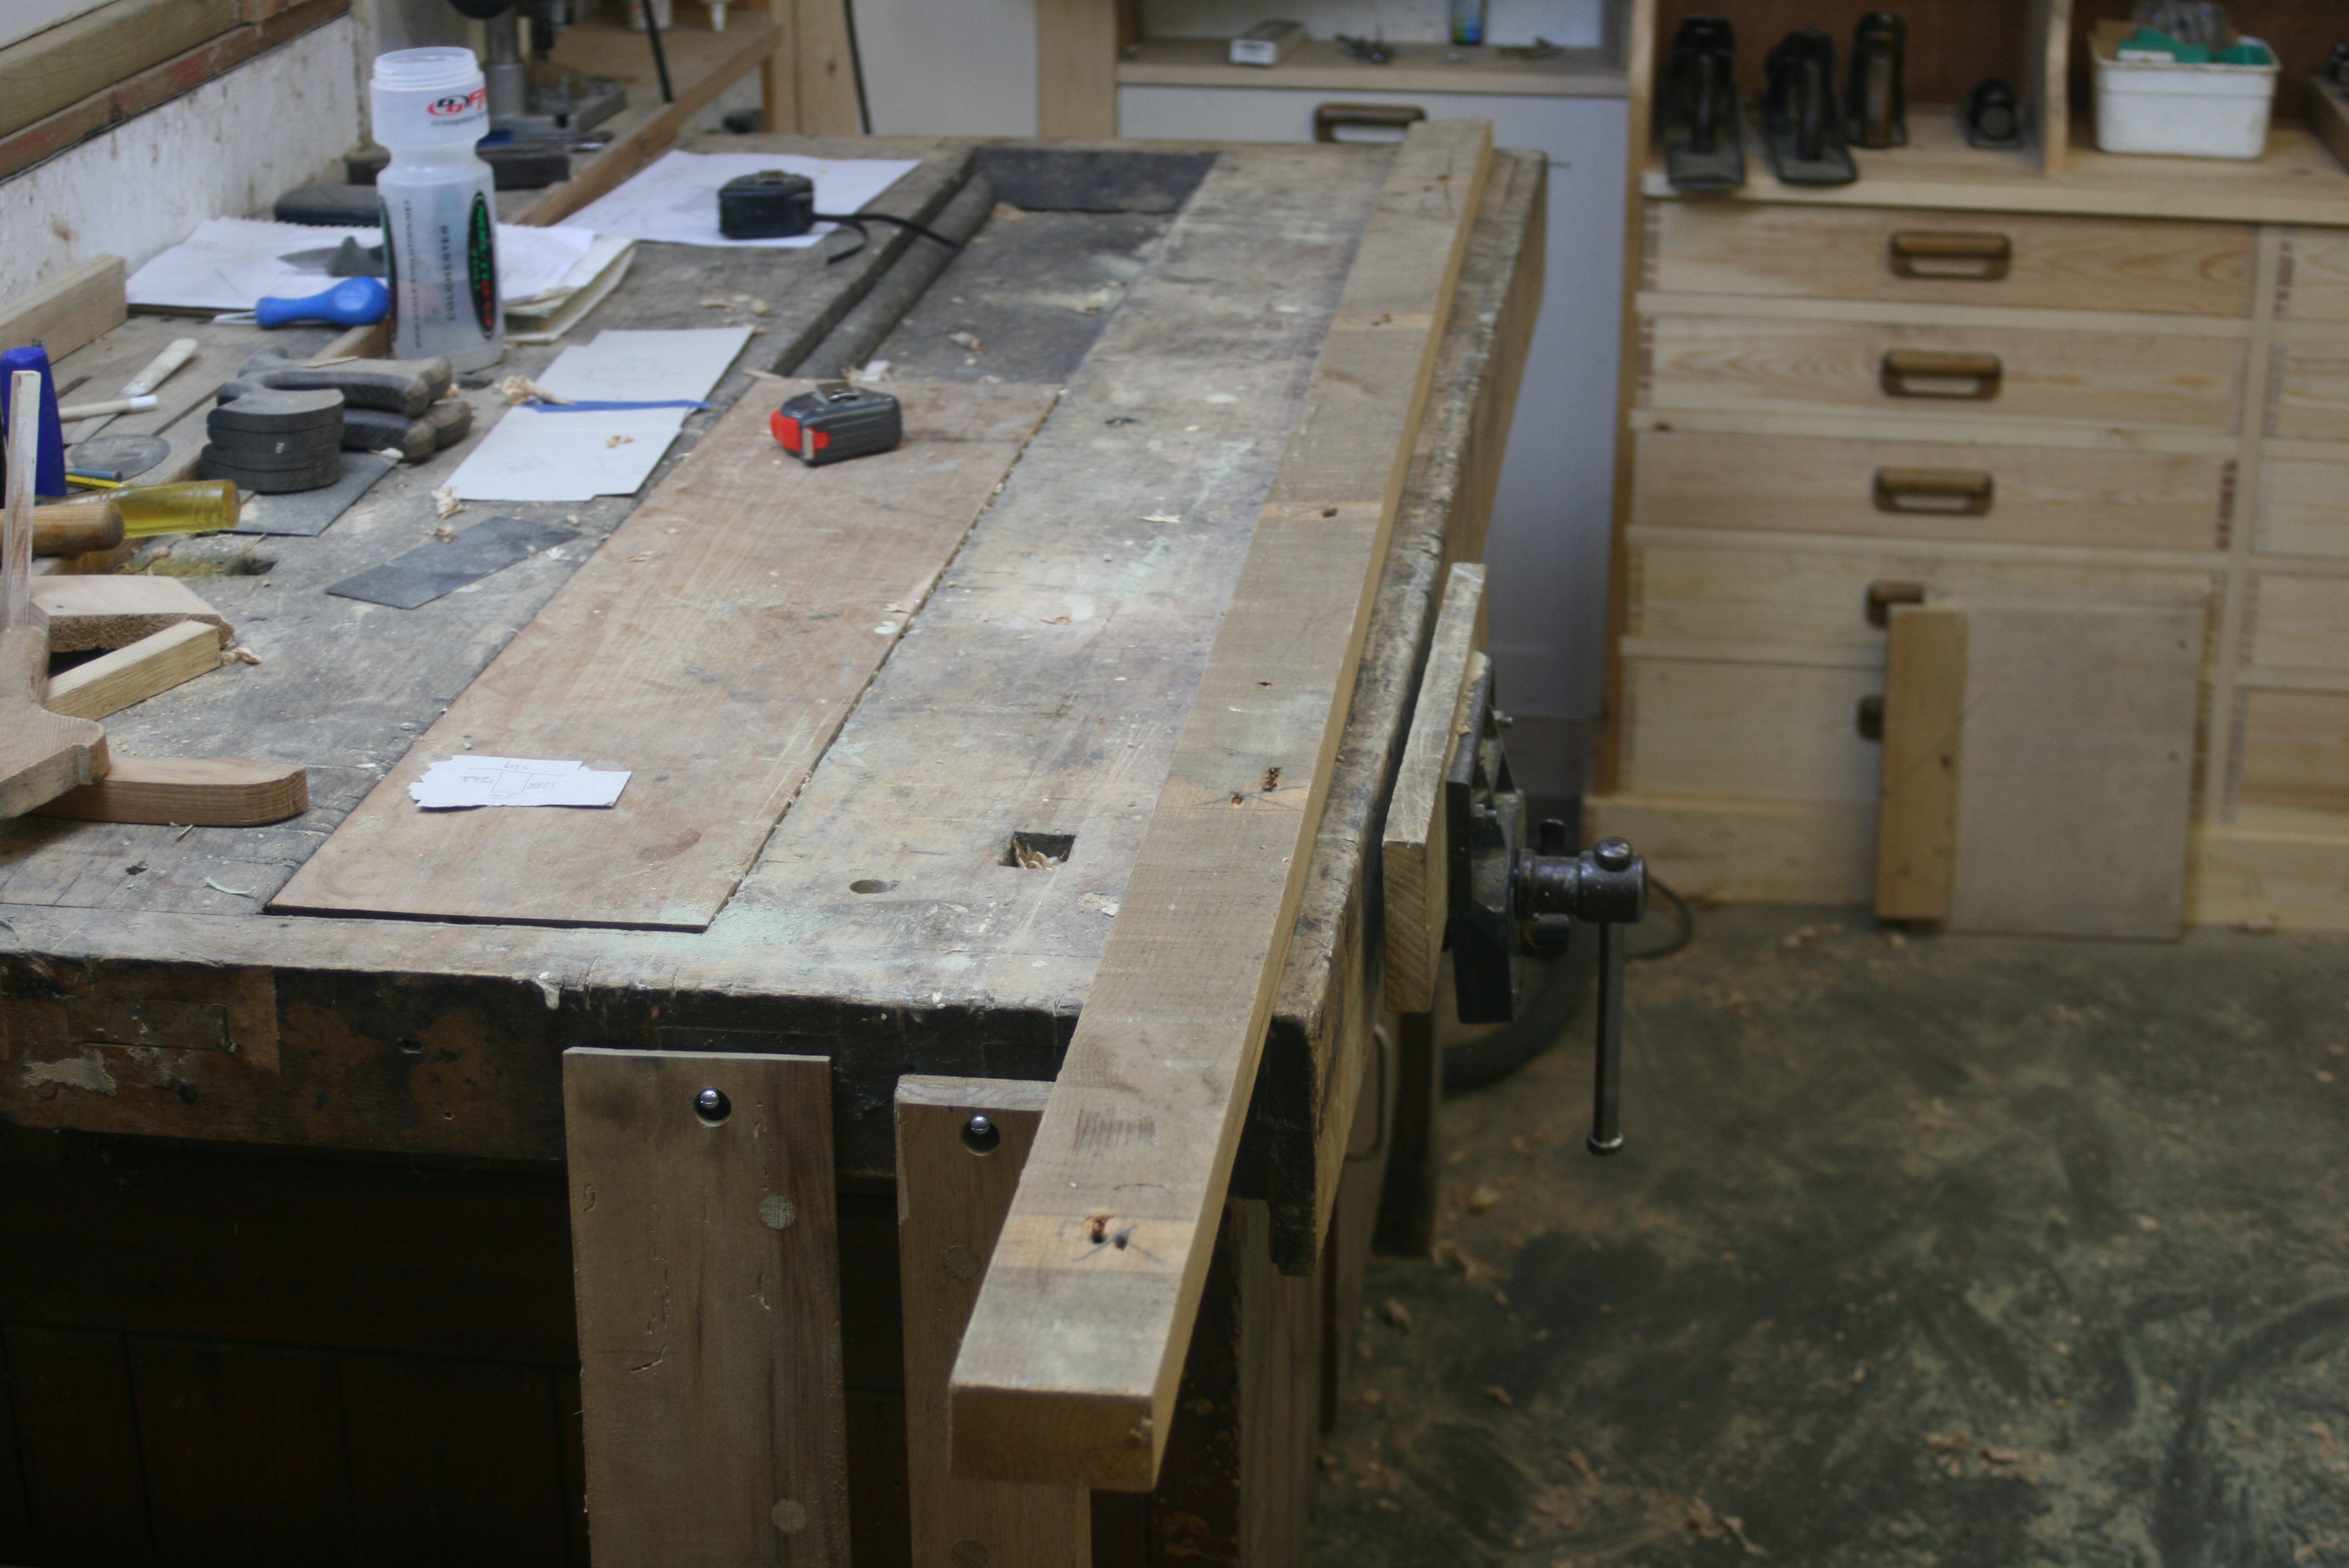
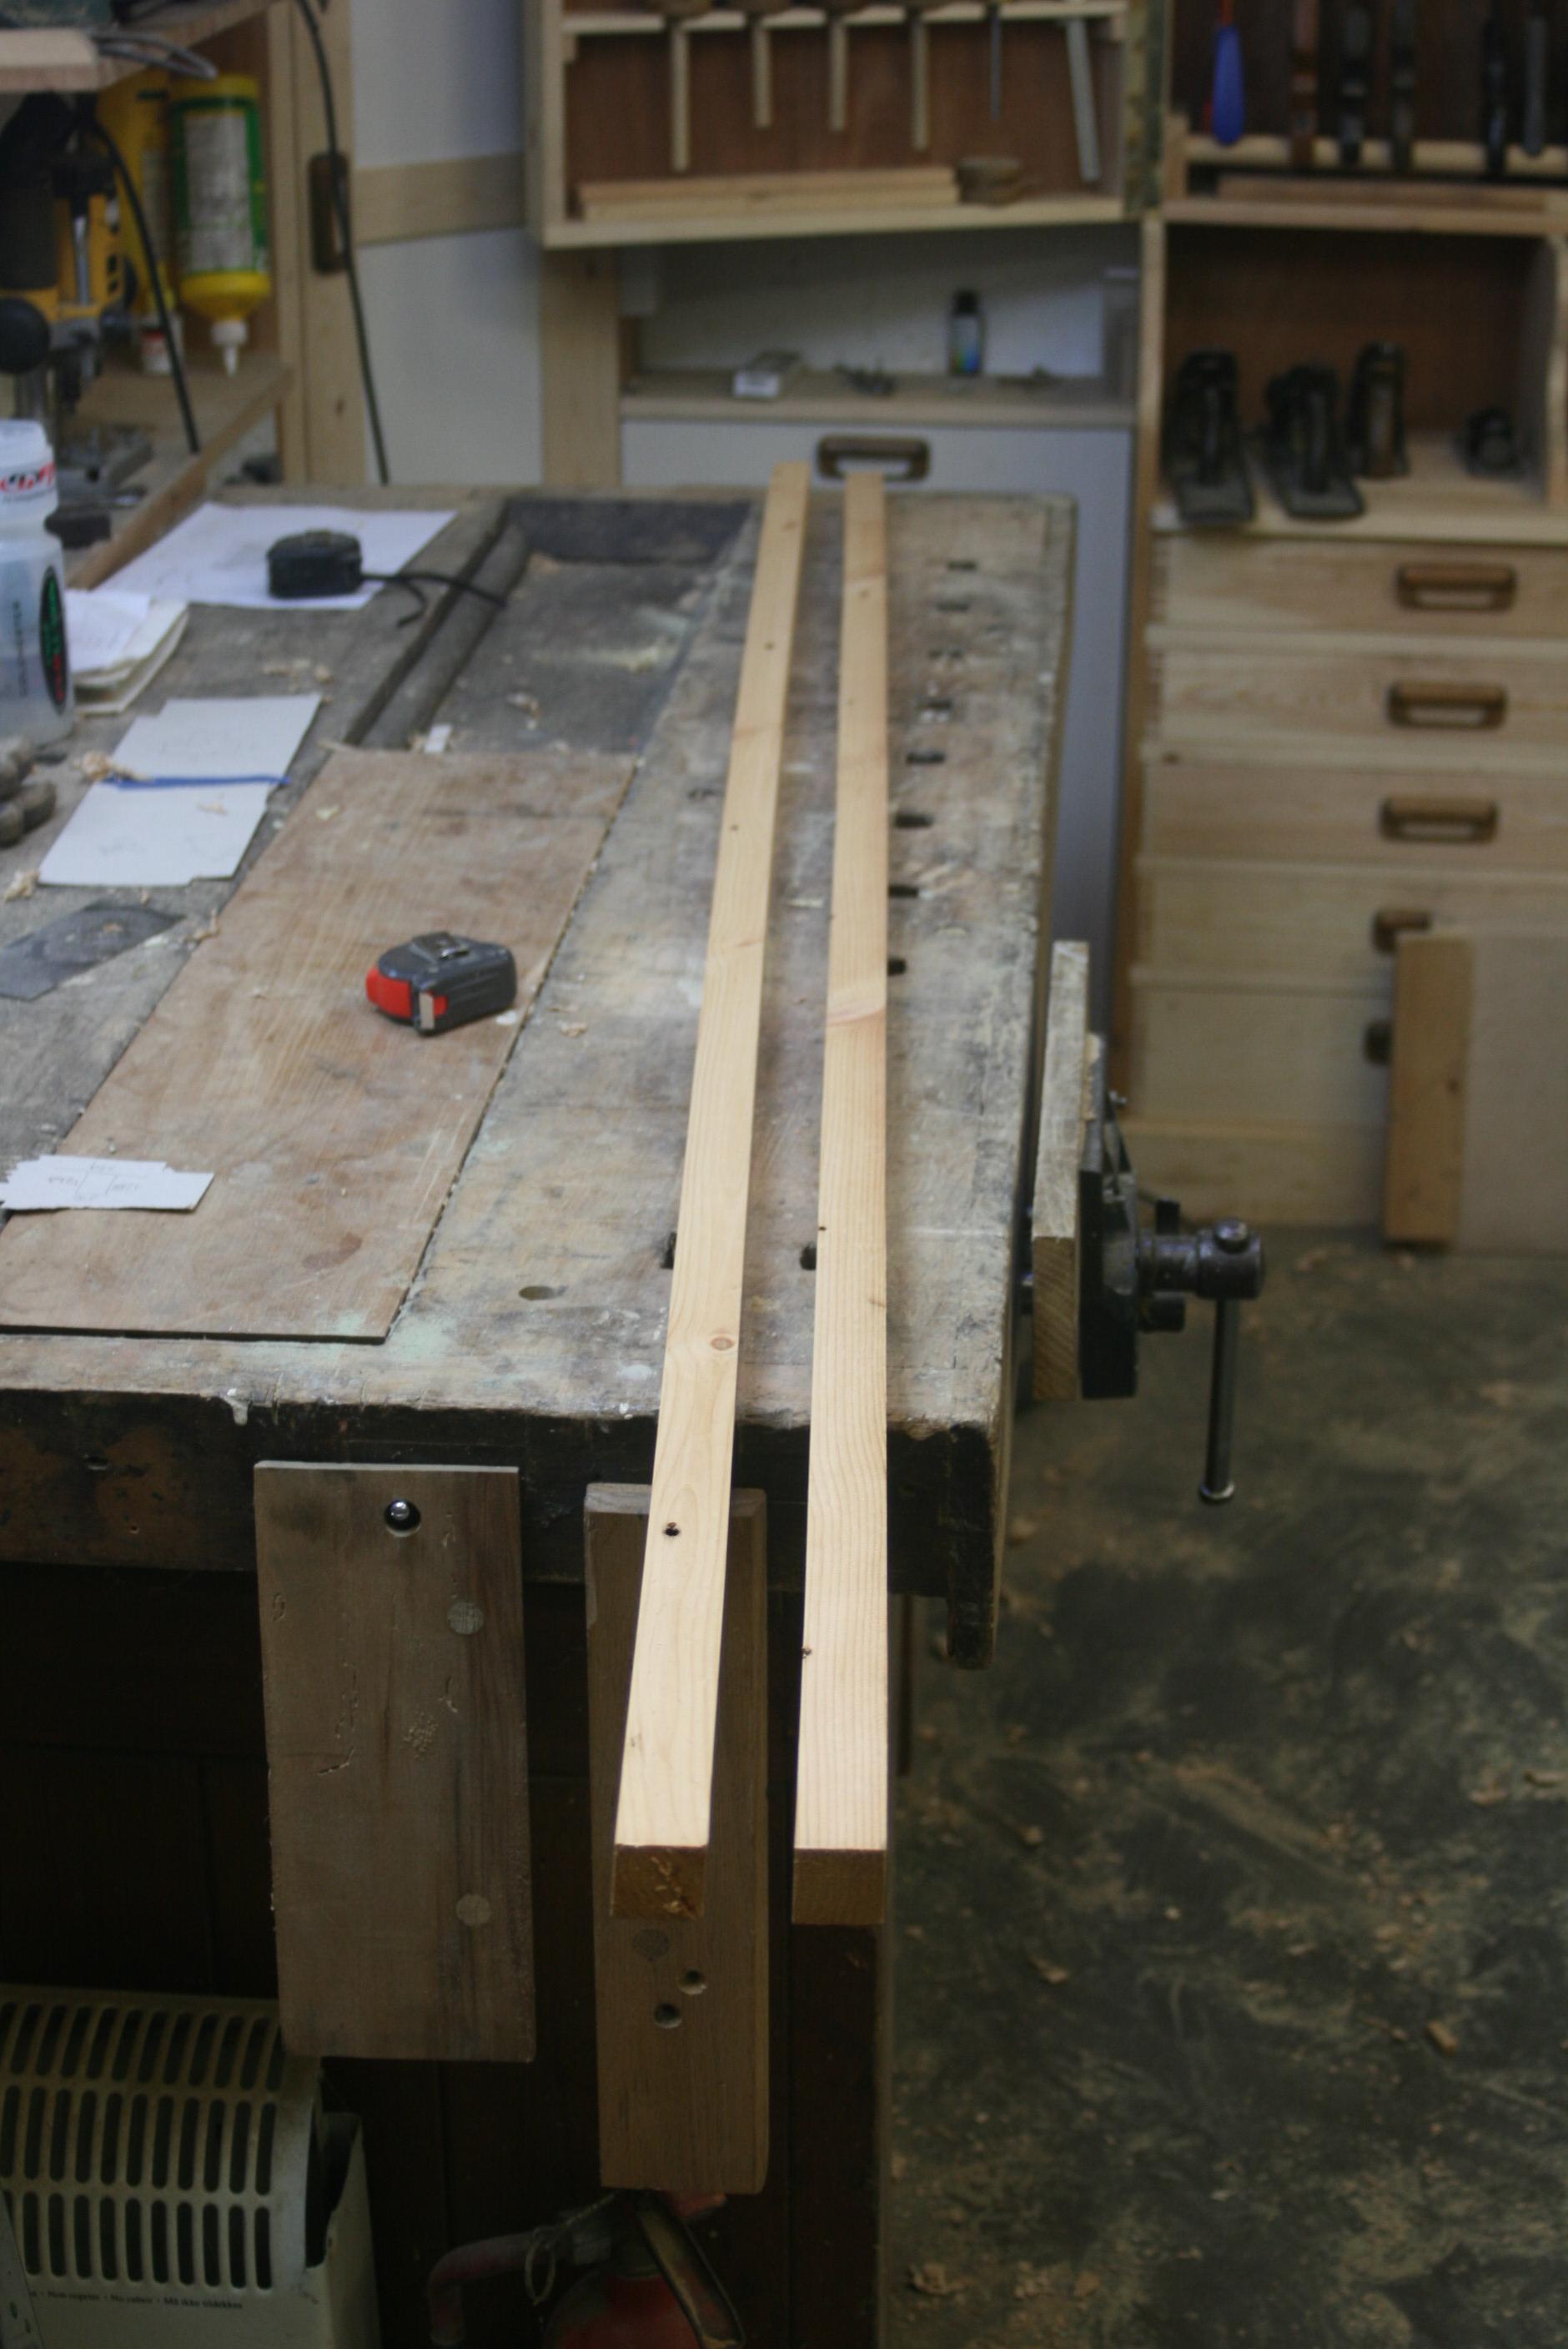
Hang on a sec. 19th century and early 20th century pine was slow grown high quality stuff, especially compared with the crap we're sold today. Some of it was knotty...much wasn't. If we still had access to pine of that quality there would be a lot more woodworking done, and a lot more pine furniture being made. I've worked quite a lot with reclaimed pine from old joists and although there are some occasional big knots, much of the timber was superb. Here's a piece I used only a few days ago:

3NEgUNe.jpg


11UOJoK.jpg
 
are you certain it's pine and not spruce? I ask because spruce has brutally hard knots that can blunt blades very fast, usually pine knots are much easier to deal with and they won't ruin the blade, especially with redwood pine, the knots are softer, I also always strop the blade after 1200 grit on the diamond stones, it makes a big difference and is an important step.
 
Sharpen your plane well, but use the cap iron properly more importantly, and then just plane them.

plane them with a heavy shaving until you've gotten most of the filth out of them and then plane them with a light shaving to clean up the area. Presumably you will be finish sanding - your planing will aid you in doing a lot less sanding to remove issues.

Disregard any advice from anyone who tells you that learning to use the cap iron isn't important (if you're going to try to do something like this regularly - and it applies to ribboned grain, anything).

The process once you learn to set the cap is simple. Through strokes, one end to the other until you get a reasonable surface, and then fine strokes to refine it followed up (if the surface will be finished directly off of the plane, sharpen just before the fine strokes so that you don't have any edge defects leaving lines on the work).

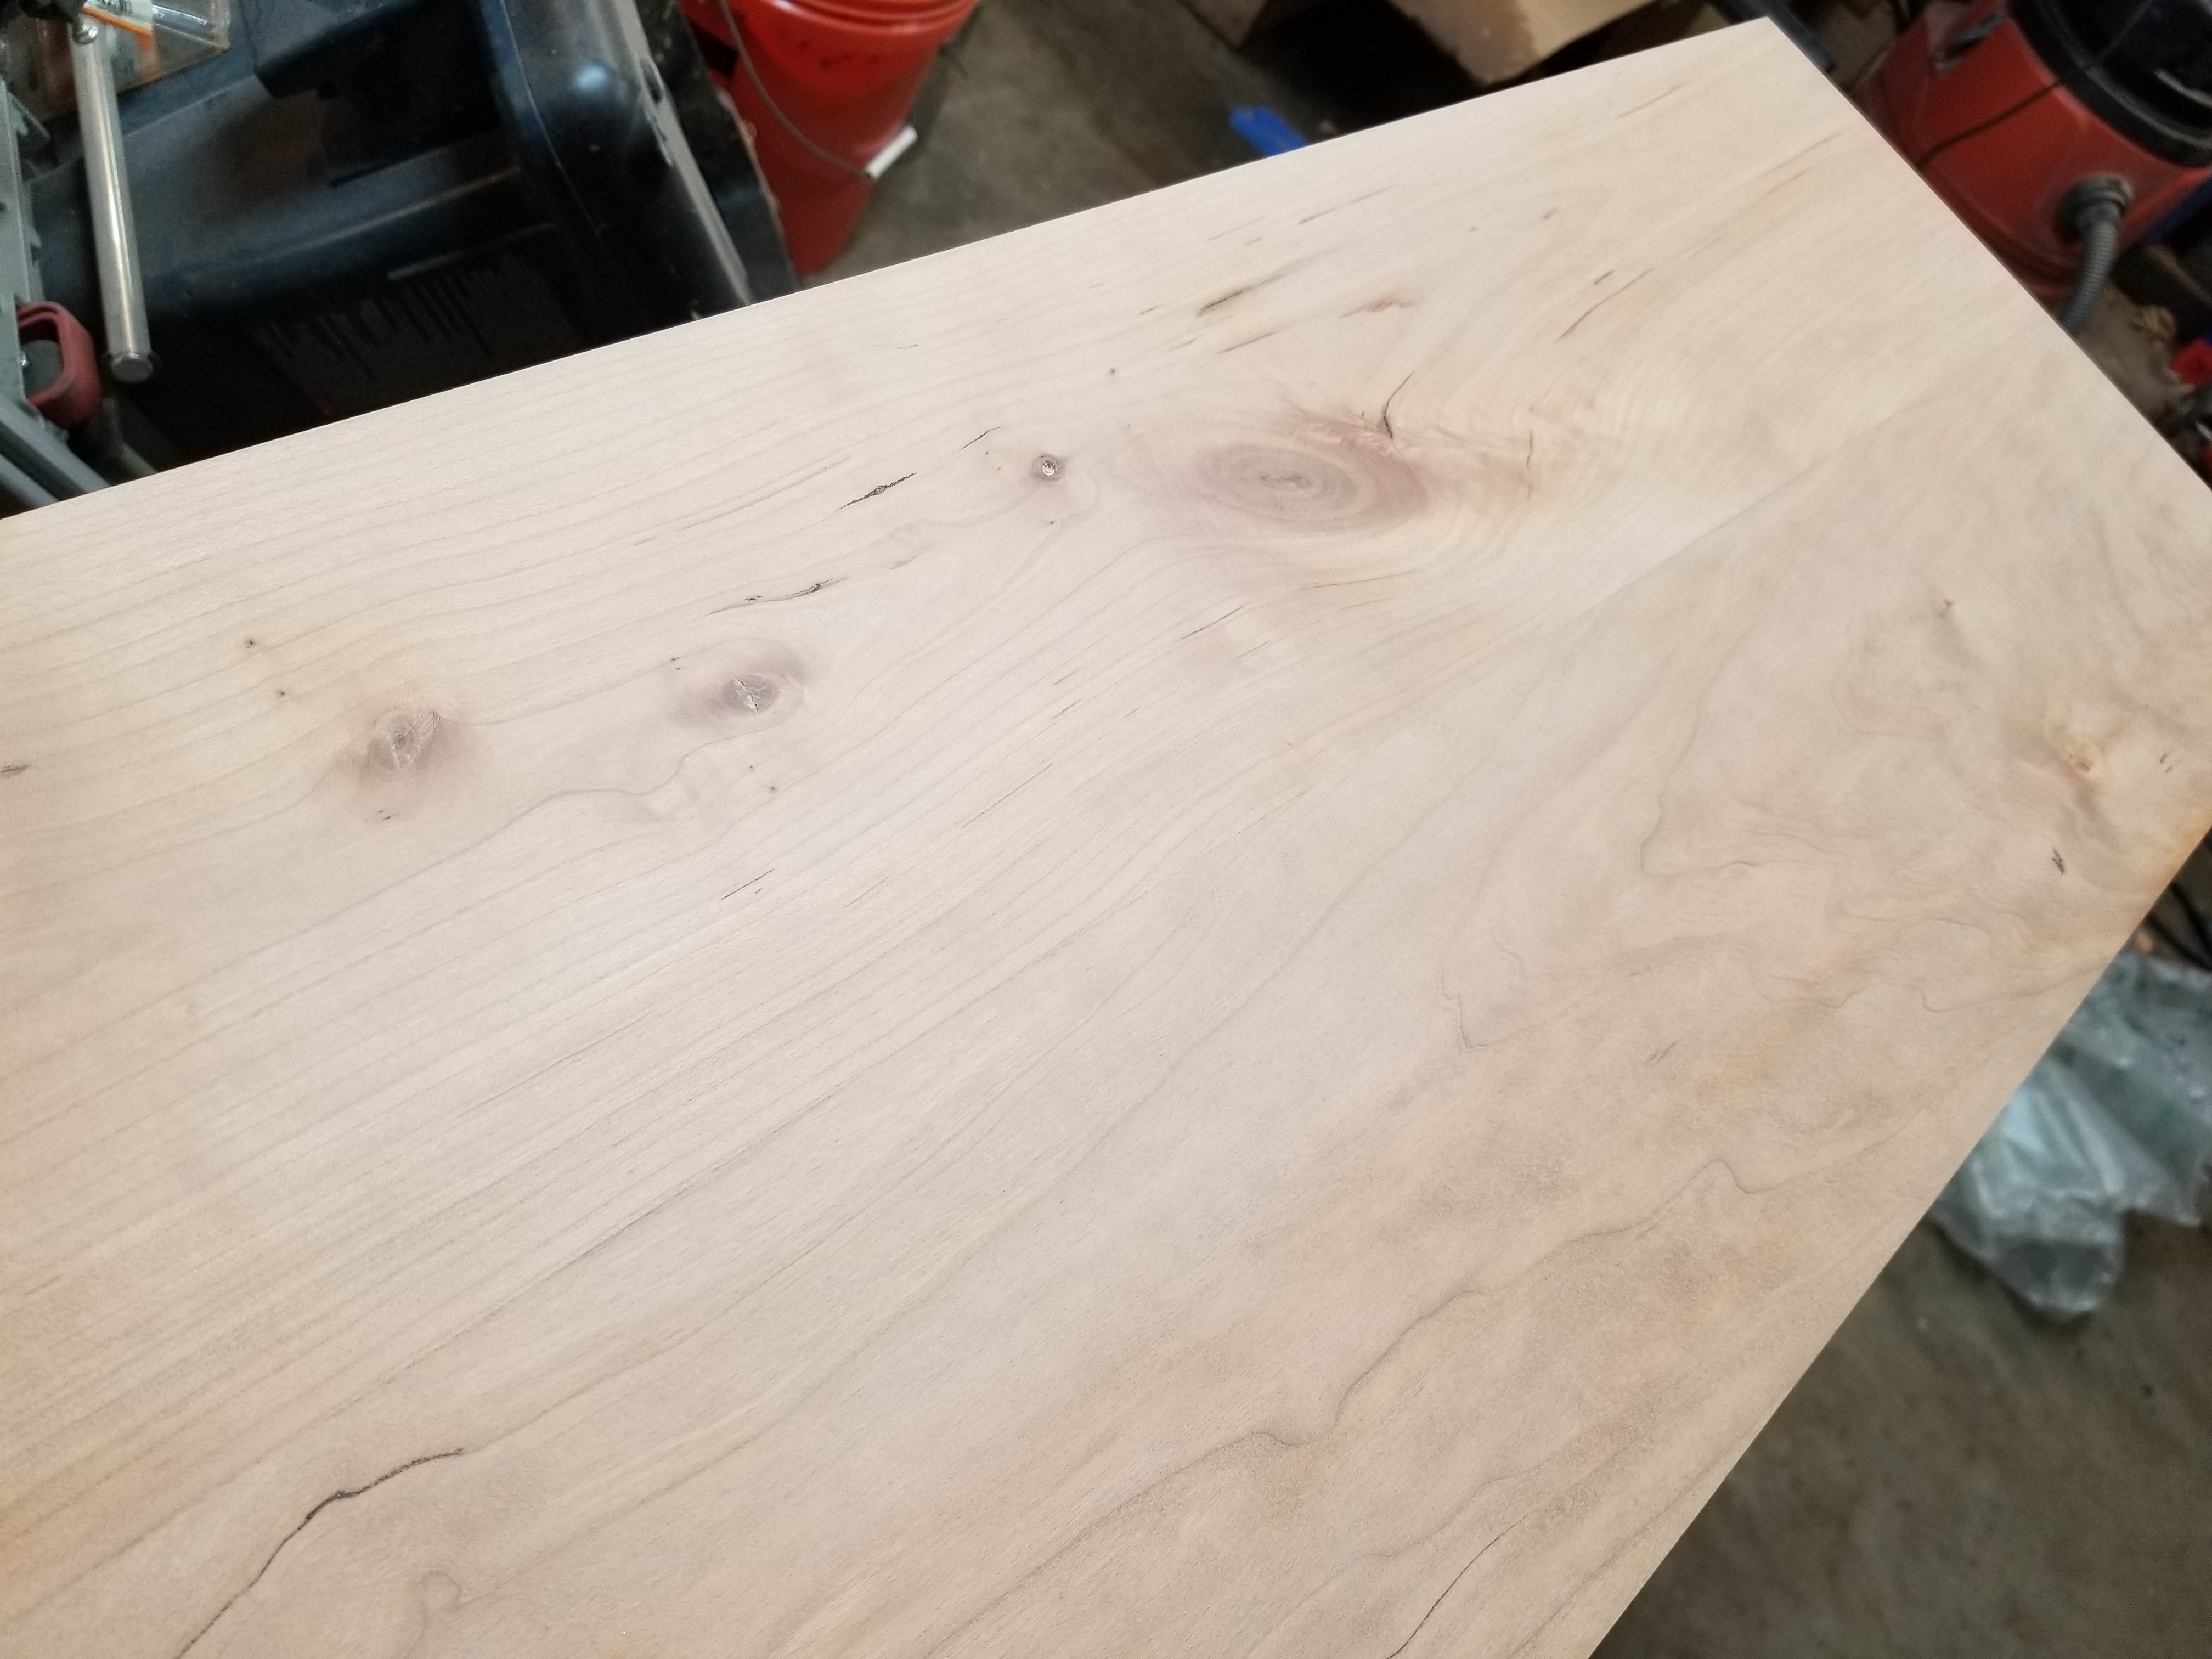
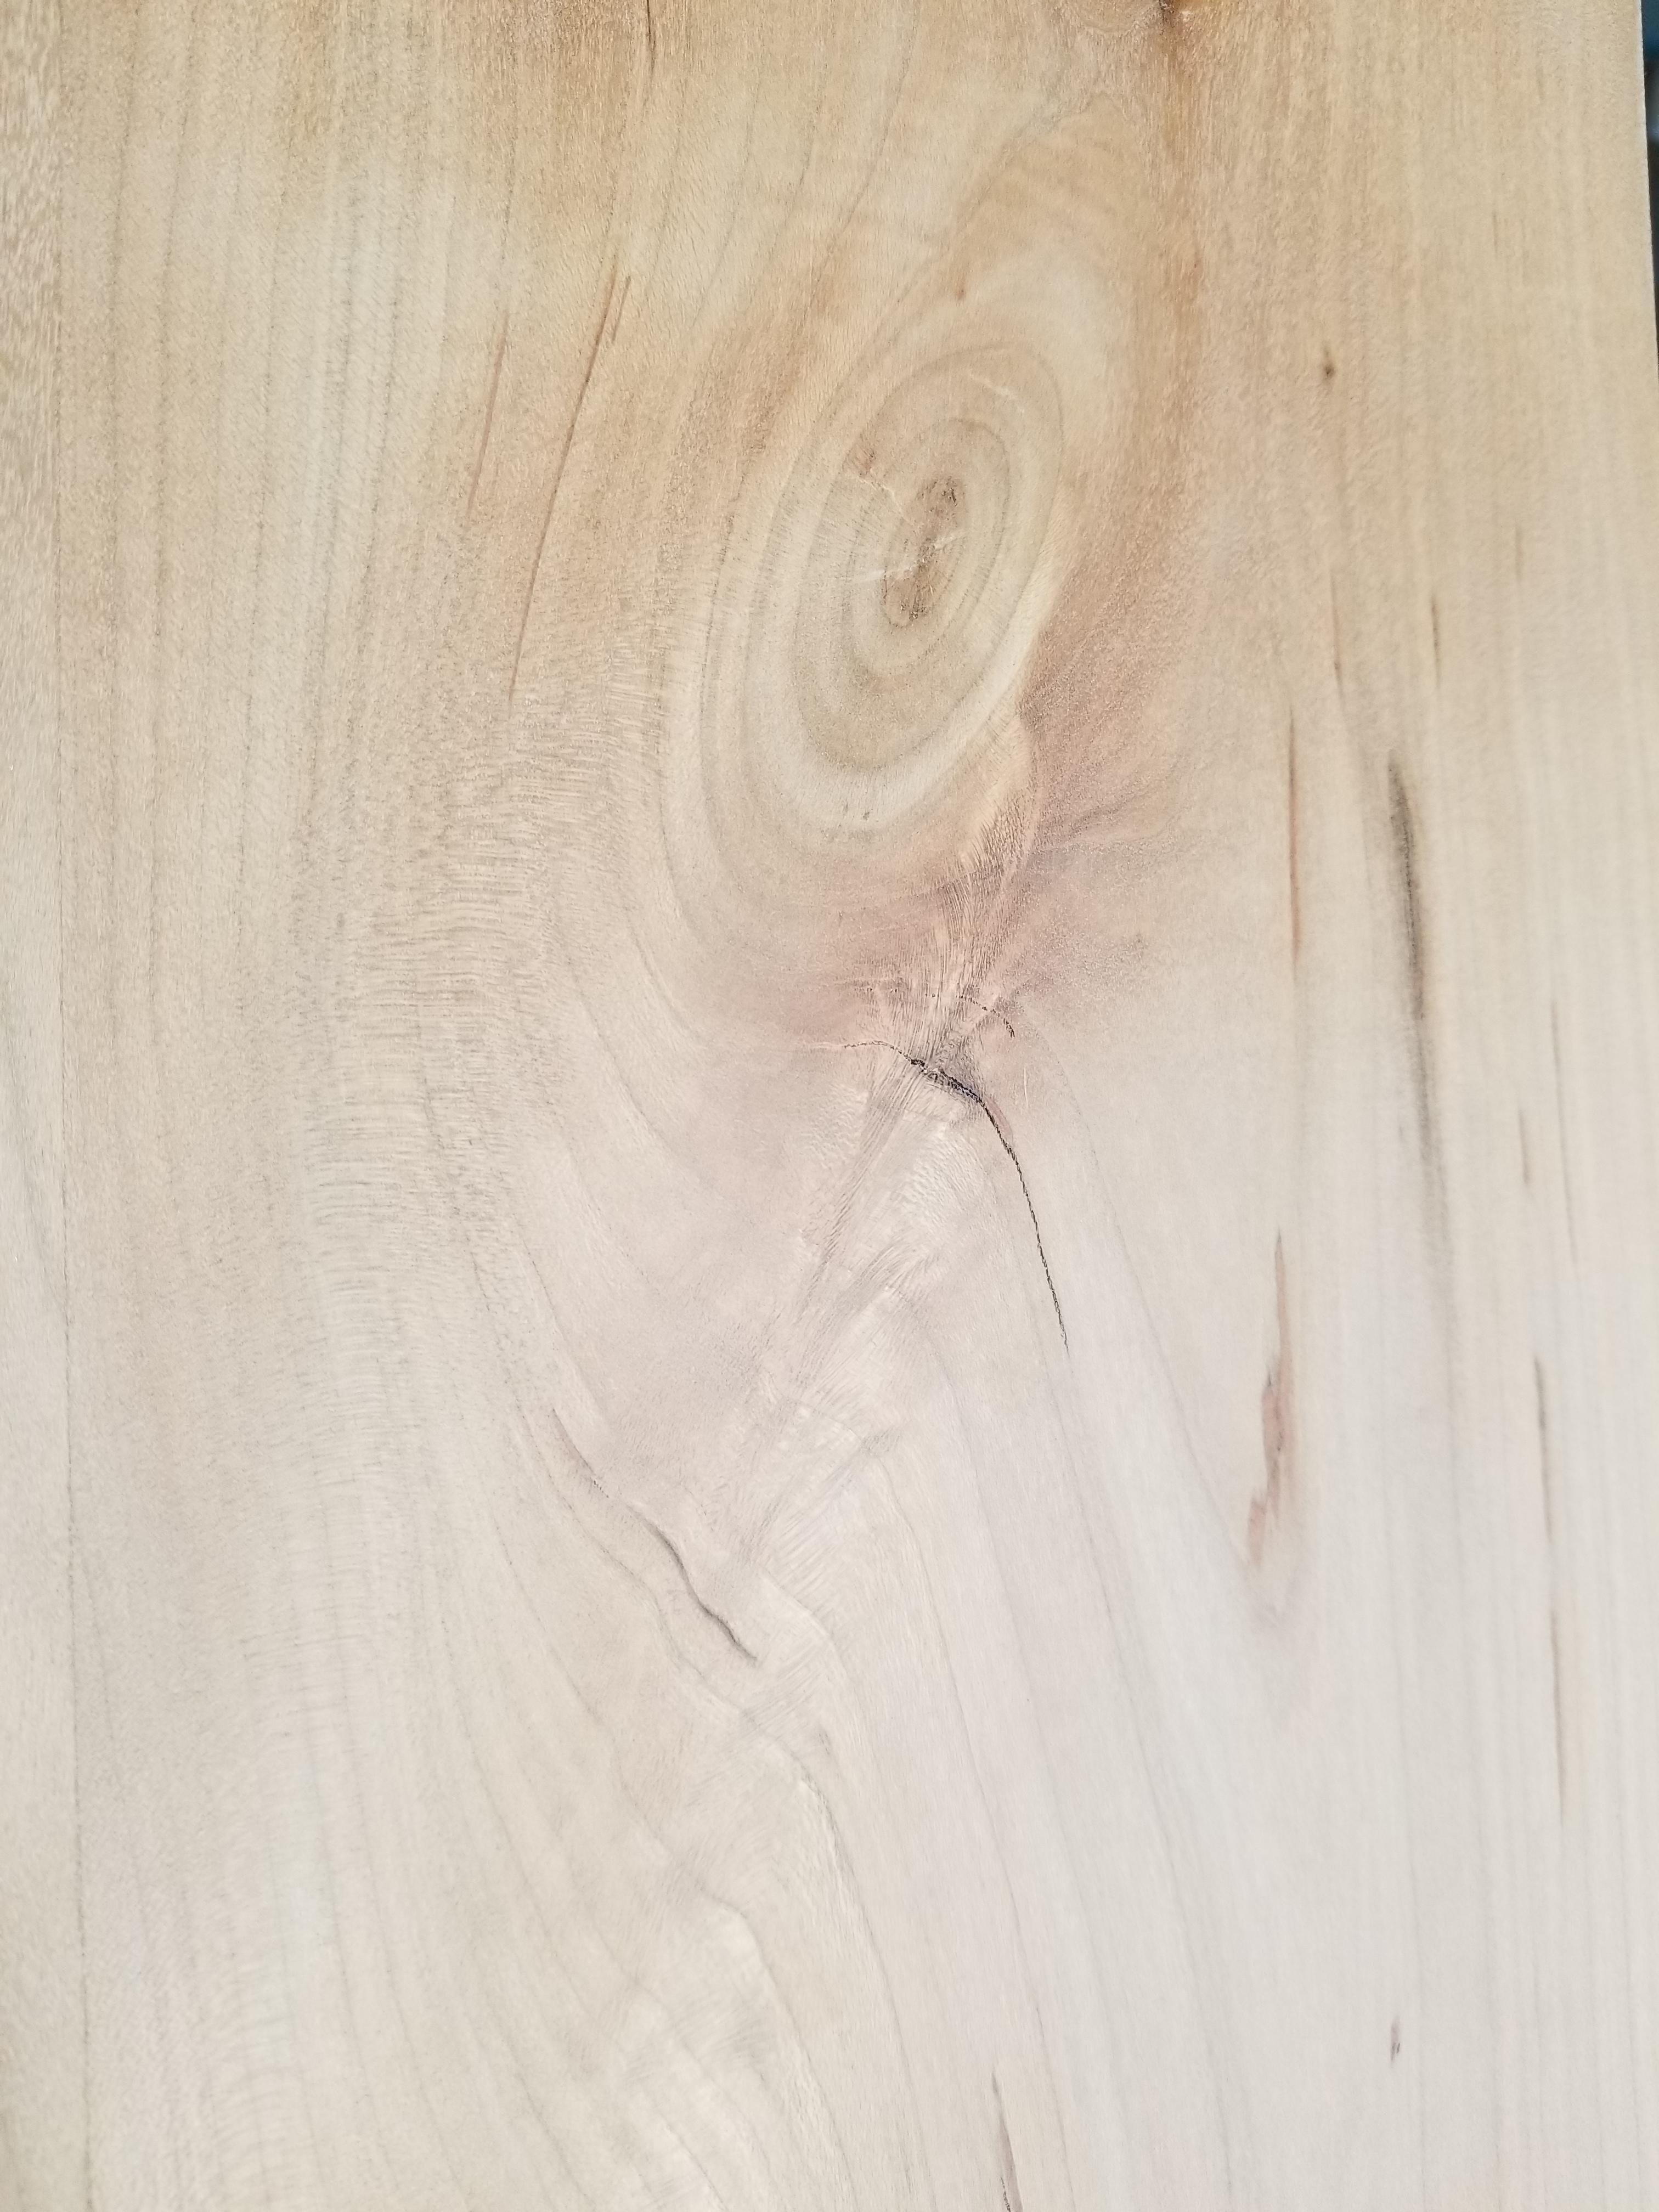
Here is a surface that I planed a couple of days ago. This is not great quality wood, but the top of this case would only be viewable by a 7 footer, so the stock goes to the top. It will be stained. I don't wish to deal with tearout or scraping or any other faffing - heavy hand work (like jack planing) is where knots should punish you, but not in smoothing.

There is no planing various directions or anything here, just the simple process i mentioned - through strokes, overlapping, cap iron set, heavier shaving then final thin shaving. The smoothing process for this particular case top was probably about 2 minutes. This is something you want to learn, because it will work on woods hard or soft, etc, and your ability to avoid tearout won't be dependent on sharpness.

this was done with a common stanley 4. One made in the 1960s - nothing expensive is needed.

uPxOCHV.jpg


clp7CIa.jpg
 
thomashenry":g69v5bzv said:
I've got a load of old reclaimed pine, formlerly rafters, purlins, etc. Probably 150 or so years old. I'm ripping and planing it for use in making a dresser. By far the biggest issue I've been having is planing when knots are present. My planes are regulary sharpened to 1000 grit, then stropped. However, they more often than not, they just skip over any knot that isn't really small. When trying to plane things flat, I end up with high spots wherever there are knots.
It's driving my mad, and I'm not really sure what I'm meant to be doing. Is it that my planes are just not sharp enough?

By the way, 150 year old knots are likely to be much harder and drier than anything you'd encounter on new wood - the process I suggested doesn't change, but you will need to "power through" the knots and tolerate some edge defect before you get to finish planing. When you're planing a lighter cut, unless the knots have dirt in them, the edge won't sustain the defects that it does in a heavier cut.

I wrote an article years ago about setting the cap properly. If you're doing heavier work, you'll need to set the cap iron further off of the edge.

A decent rule of thumb is (estimating to start) eyeballing the cap iron away from the edge about twice as far as the shaving thickness you're considering.

http://www.woodcentral.com/cgi-bin/read ... _935.shtml

(i'm not compensated in any way by woodworking, and don't submit articles to magazines, etc, for pay. Note that the pictures in this article were taken by other people - the planing can be done to the standard in my picture above, and the minor tearout that is present in the picture in the article isn't necessary to tolerate. The article editor took that and wanted to suggest that less tearout is still much better than more. I guess that's true. The editor was unpaid and he's a professional editor, so I didn't want to push him - he was trying out this technique as he was editing the article).
 
Ttrees":1xv0go9g said:
.....If you set your cap iron to 1/32" away from the edge and you will have no issues anymore with inconsistencies.........

It would be good if you and DW would say the same thing, otherwise you'll cause confusion. Here, you are advocating the cap iron being 0.8mm away from the edge of the blade, whereas DW advocates a distance of between 0.05 and 0.3 of a mm from the edge........up to 1/16th of the distance you mention.
 
You are right Mike but only joinery was made from the decent pine. Carcassing timber has always featured those glass hard knots that we are talking about. I have recycled some superb pitch pine taken from the roof of a mill building about two hundred years old. There is a world of difference between that and the posts I see on here from someone who is about to try and make furniture from some lovely old scaffold boards!
The trick is being able to spot gems amongst the firewood.
 
MikeG.":19dzm7cw said:
Ttrees":19dzm7cw said:
.....If you set your cap iron to 1/32" away from the edge and you will have no issues anymore with inconsistencies.........

It would be good if you and DW would say the same thing, otherwise you'll cause confusion. Here, you are advocating the cap iron being 0.8mm away from the edge of the blade, whereas DW advocates a distance of between 0.05 and 0.3 of a mm from the edge........up to 1/16th of the distance you mention.

There is something more important than measuring distance - it's setting the cap iron on a given plane so that the shaving straightens up on the thickest shaving one will take.

That may be (on a jointer) something like a hundredth thick on pine and it may be 1/3rd or 40% of that on a smoother.

Measuring isn't really involved in learning this skill. I tested plane irons months ago, and with the cap iron set. setting a smoother by eye yielded a difference between various test iterations of 2 thousandths - I don't know if it could be measured more accurately and set. It would be a terrible thing.

I didn't think it was that important to measure the cap iron set as I have a pretty good eye with it by now, but some of the other participants insisted, so I measured the distance several times with a microscope.

None of that is that important except the notion that what happens with the shaving is more important than what the distance is. It's not practical (or desirable) to have to measure something every time you sharpen a plane.

It takes about one to two weeks to master setting by eye if someone is already working on a project and can learn to set their plane just as a regular part of the work.
 
I've posted a link to that before, Nigel, but TTrees poo-poohed it and said refer to DW. To be fair to DW, like Richard Macguire he advocates relating the distance from the edge to the thickness of the shaving, but TTrees doesn't seem to have read that memo yet. He's still sticking to 1/32nd of an inch, up to 16 times greater a distance than DW is talking about and not relating in any way to the thickness of the shaving. When I do it, I judge it on the quality of the shaving. It's all too easy to get a tightly concertina'd shaving bunching up in the mouth of the plane. This is more of a faff than it sounds, because it means taking the plane apart again, moving the cap iron back a hint, then re-assembling, re-setting the plane, and trying again. All a bit hit and miss, when with a scraper you just sharpen it and use it.
 

Latest posts

Back
Top