TobyB
Established Member
This is a first for me ... both recording a WIP, and making something like this ... done more things with a lathe than on a bench. Learned a lot doing this though ...
Bought some beech planks - would have liked to have used walnut, but thought I could learn (ie make mistakes) with something cheapish.
Found some pictures of a design I liked. Bought some 2" thick and cut (hand and bandsaw) out 4 legs. The thinner 1 1/4" planks got cut into 4 rails and 3 planks to join for the top.
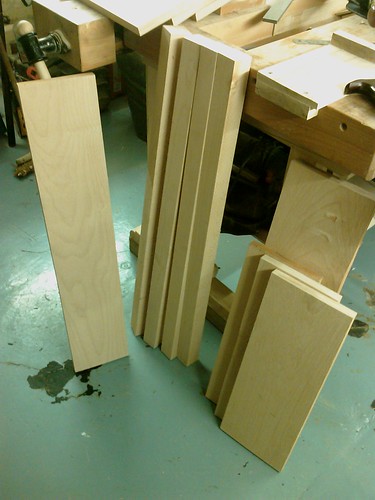
Hand planed the 4 rails smooth, square and equal thickness
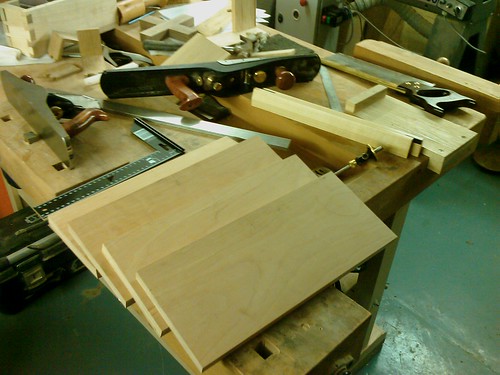
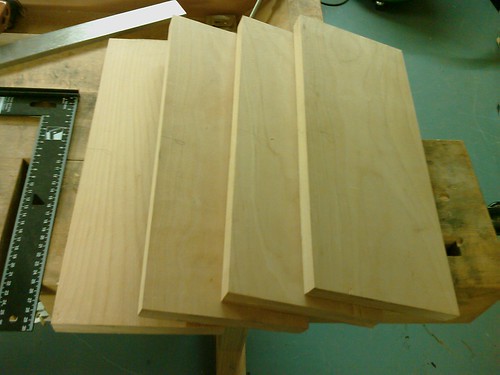
Similarly hand planed/widthed/thicknessed the legs, having cut tapers in 2 planes with the bandsaw ...
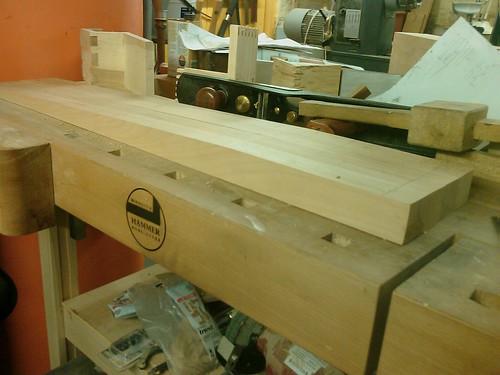
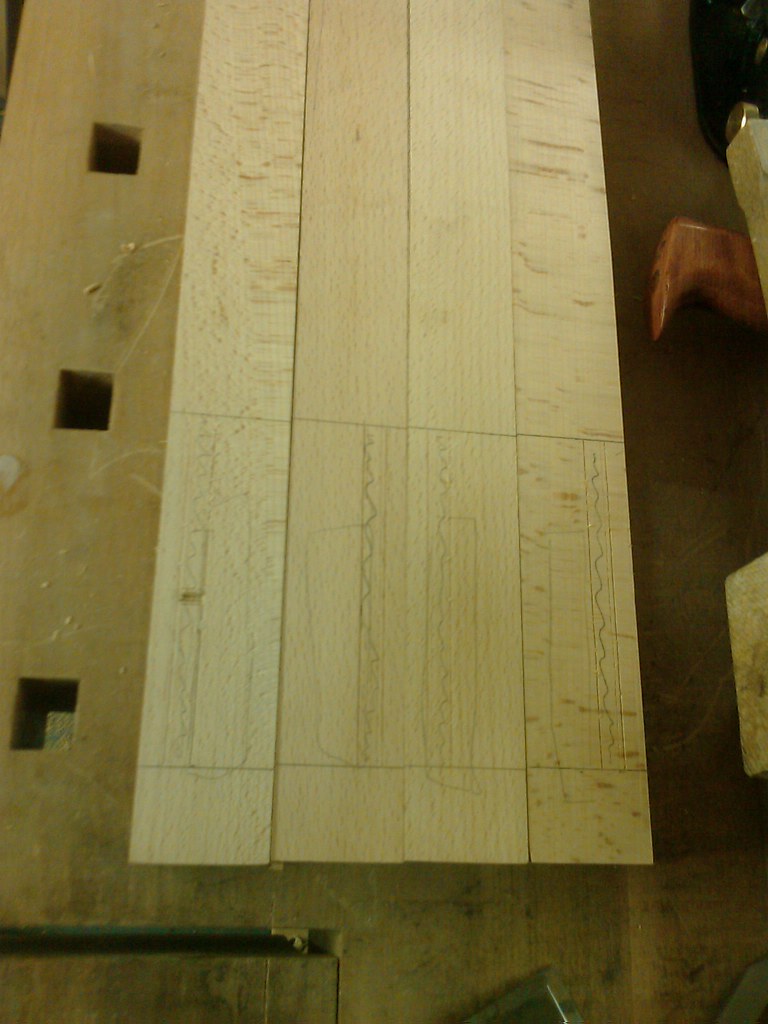
... and then marked them up for the mortices.
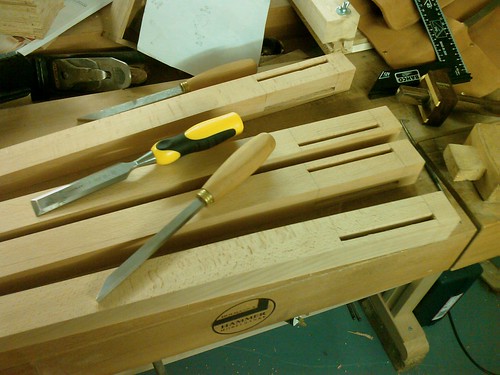
Which I then chopped out using my new mortice chisels (good value items from WH - thanks Matthew!) although the normal chisels helped tidy up inside too.
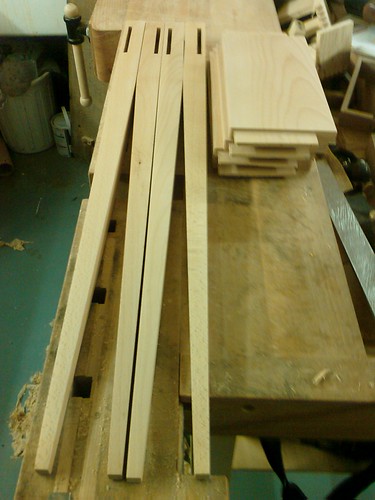
Cut the tenons (forgot pictures!) with saw, "tuned" with chisel and shoulder plane ...
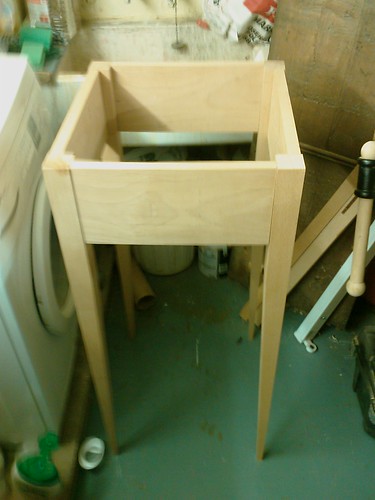
... and then press-fitted it all together ...
Prepared the boards for the top by hand as well ...
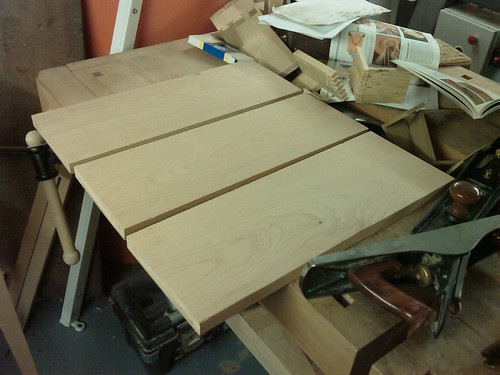
... and them glued (titebond) and clamped them together - here's after cleaning up.
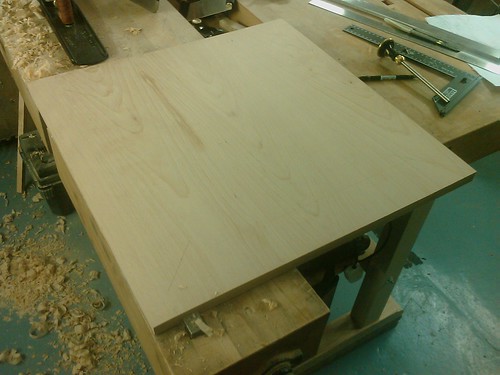
I thin planed a chamfer around the underside edge, and sanded it all smooth
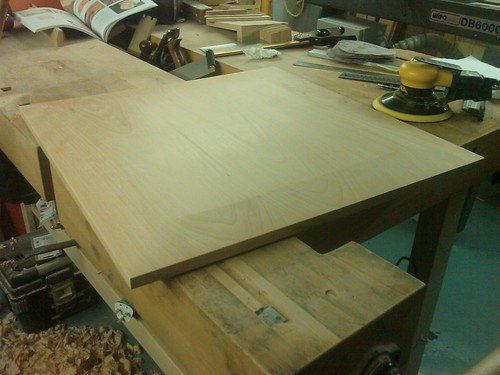
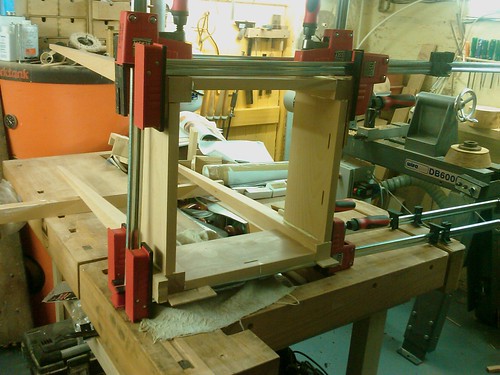
After a bit of faffing about, I took a deep breath and glued and clamped the whole base together ... including finding out how easy it is to put too much glue on then hurrying and there's glue in adjacent mortices!
Tabletop attached with block into grooves done with a biscuit-joint router bit. Finished it with 3 coats of Danish Oil and a lot of buffing.
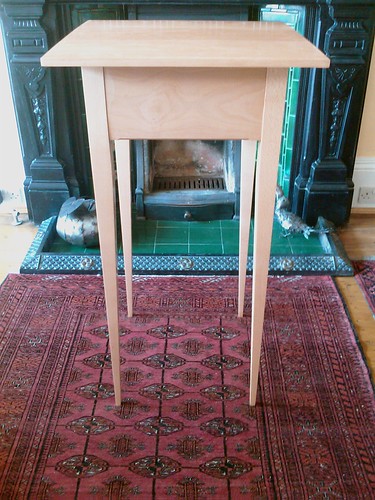
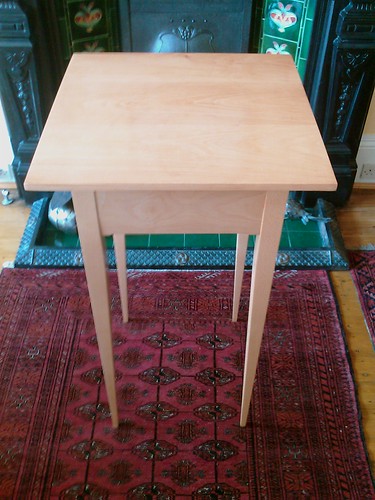
It's no masterpiece - but I'm reasonably happy with it as a "first go". I think I could have put a more pronounced shamfer on the table underside, and should have made the one on the bottom of the rails more obvious as you can hardly see it in these photos. Might take what I've learned and build a smaller "side table" version in walnut ... perhaps with a shelf or even a drawer ... didn't do either on my first go, thought it'd be too much room for error ...
Any ideas/advice on what to do next time ... better, different, or whatever?
Bought some beech planks - would have liked to have used walnut, but thought I could learn (ie make mistakes) with something cheapish.
Found some pictures of a design I liked. Bought some 2" thick and cut (hand and bandsaw) out 4 legs. The thinner 1 1/4" planks got cut into 4 rails and 3 planks to join for the top.

Hand planed the 4 rails smooth, square and equal thickness


Similarly hand planed/widthed/thicknessed the legs, having cut tapers in 2 planes with the bandsaw ...

... and then marked them up for the mortices.

Which I then chopped out using my new mortice chisels (good value items from WH - thanks Matthew!) although the normal chisels helped tidy up inside too.

Cut the tenons (forgot pictures!) with saw, "tuned" with chisel and shoulder plane ...

... and then press-fitted it all together ...

Prepared the boards for the top by hand as well ...

... and them glued (titebond) and clamped them together - here's after cleaning up.

I thin planed a chamfer around the underside edge, and sanded it all smooth

After a bit of faffing about, I took a deep breath and glued and clamped the whole base together ... including finding out how easy it is to put too much glue on then hurrying and there's glue in adjacent mortices!

Tabletop attached with block into grooves done with a biscuit-joint router bit. Finished it with 3 coats of Danish Oil and a lot of buffing.


It's no masterpiece - but I'm reasonably happy with it as a "first go". I think I could have put a more pronounced shamfer on the table underside, and should have made the one on the bottom of the rails more obvious as you can hardly see it in these photos. Might take what I've learned and build a smaller "side table" version in walnut ... perhaps with a shelf or even a drawer ... didn't do either on my first go, thought it'd be too much room for error ...
Any ideas/advice on what to do next time ... better, different, or whatever?


