Oak kitchen makeover

UKworkshop.co.uk

Help Support UKworkshop.co.uk:

This site may earn a commission from merchant affiliate links, including eBay, Amazon, and others.

Karl

Established Member
Joined
2 Jul 2007
Messages
3,481
Reaction score
1
Location
Workshop
Hi all

I've had to drop work on my own house to get back to earning some pennies :wink: So I thought i'd run through this job with you from start to finish.

I did a job last year for a customer (replacement worktops) and got this referral from that job. Basically the customer has a Magnet kitchen which was installed 18 years ago. The units are in surprisingly good nick, but the doors are looking (seriously) dated. So they wanted some new doors making, replacement cornice, worktops etc.

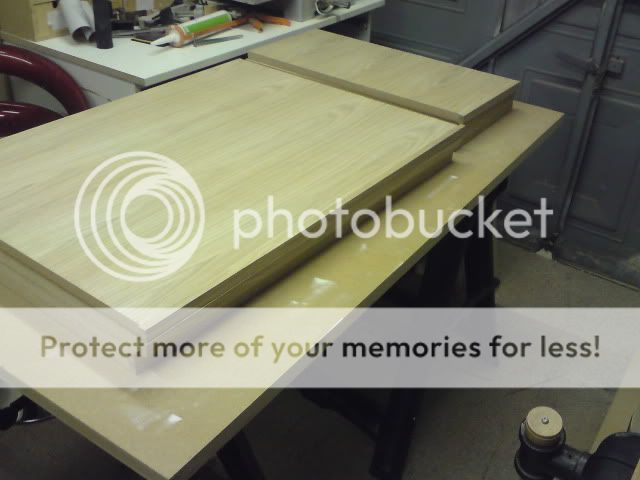
I will be replacing 7 of the units with Oak veneered jobbies, so got to work today in making a start on the cutting, lipping and joining
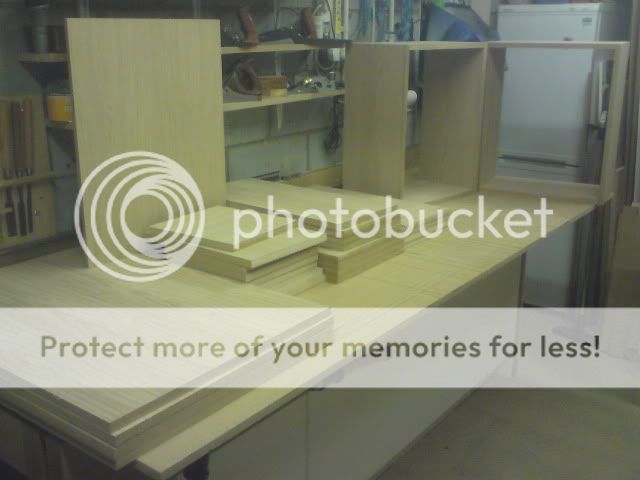
DSC00013-2.jpg


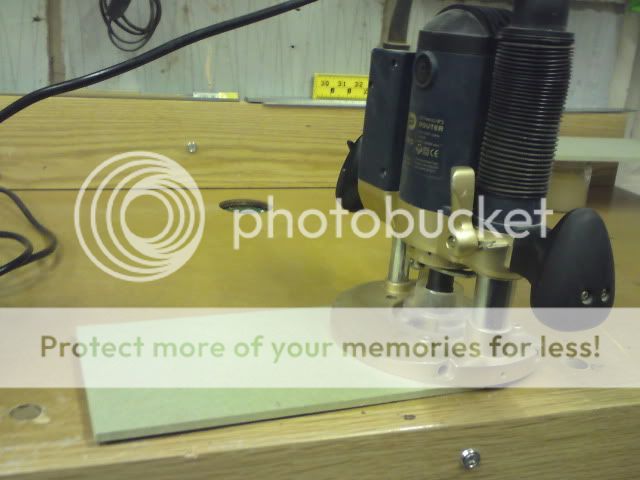
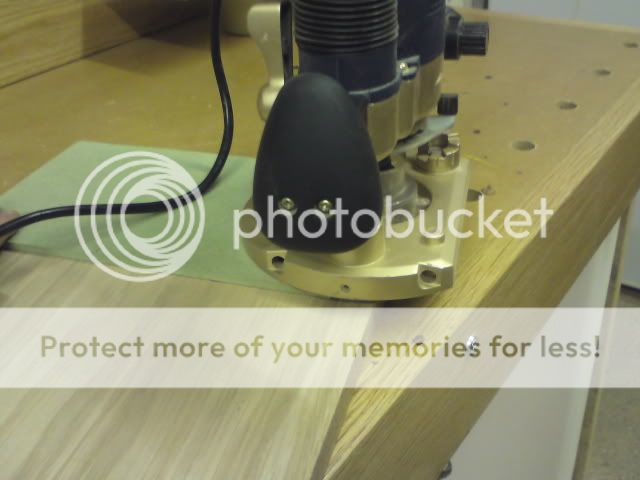
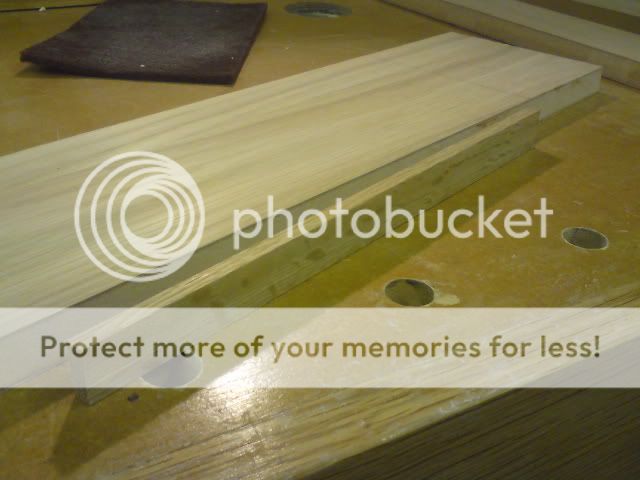
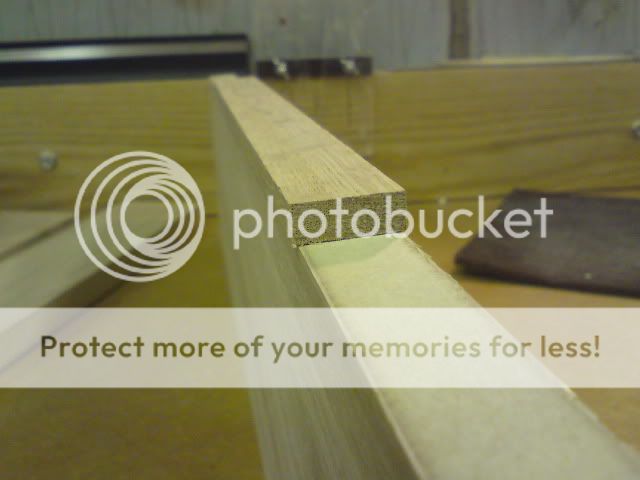
The lipping was trimmed using a router - a tip I picked up from working at Brad's place in January. Gives excellent results:

DSC00010-2.jpg


So tomorrow is a day of more sizing, lipping and joining. I've got a 6mm cutterblock coming which I will use to cut the rebates for the back panels. I'm hoping to get all the units built, ready for lacquering over the weekend (i've got another job Thursday/Friday).

Cheers

Karl
 
Hi, I'm going to be following this one closely as I'm due to be making a kitchen from oak veneerd MDF in the near future.

Can I ask where you got the 1/4 cut veneer sheets from? I've only been able to find crown cut near me for £36 per 8x4, 18mm sheet and the client has specified 1/4 cut.

Also, what Laquer are you intending to use?
 
Bryn - I am using the Chestnut range of cellulose sealer and melamime lacquer. It dries in about 5 mins, so is great for this type of project. You need to work fast though! But with a bit of practise you can get great results.

Here is the kit I use. 1 coat of sealer and 2 of lacquer. The webrax sanding pad is 320g and used for de-nibbing after each coat.

DSC00014-2.jpg


Here's side by side of a lacquered and non-lacquered panel

DSC00018.jpg


The panels are crown cut 18mm, and are from a local supplier. About £40 per sheet, IIRC.

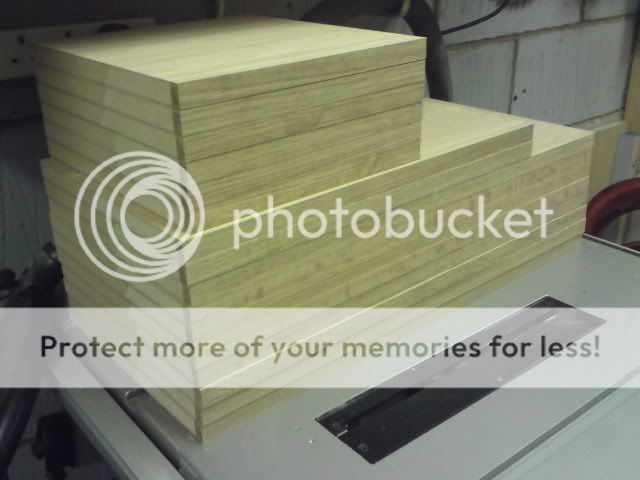
Little bit of progress today (had to do the school run, so didn't get as many hours in as I would have liked). Managed to get the panels for the 2 base units lipped

DSC00020-1.jpg


And the panels for another 3 wall units lipped and sized

DSC00022.jpg


My job scheduled for tomorrow and Friday has been moved to next week, so i'll be carrying on with this over the next few days.

Cheers

Karl
 
Karl,

How thick is the lipping you use ?

And when you say you use a router to trip I'm assuming you mean by using a bearing guided flush cut bit ?

Got a mate who wants something similar building so will be watching all this very closely !
 
Hi Paul

I hope the pics speak for themselves - if not, just ask

DSC00023.jpg


DSC00024-1.jpg


DSC00026-1.jpg


DSC00027-1.jpg


Cheers

Karl
 
sorry Karl, don't quite get it, are you trimming the lipping using the bottom of the router bit ? or the side

and how thick is the lipping you're using
 
Use the bottom of the router bit to trim the lipping flush with the MDF.

The lipping is 12mm thick, and oversized at 22mm.

Cheers

Karl
 
thanks karl, so you mean you are using the temprary mdf base to form a flat surface that can run on the veneered wood.

Then the router bit is set to run at the depth of the mdf so when you push the router to the edge the mdf / bit alignment ensures that the bit then trims the lipping.

I'm assuming you don't trim the lipping right down to the bone for fear of going through the veneer so leave the lip a bit proud and then sand to completion ?
 
That's it Paul. So the cutting is being done by both the side and bottom of the cutter (not just the bottom as I said earlier).

I have been taking it "right to the bone". As long as you've got a good plung-lock on the router, and do a test cut first, you shouldn't have any problems. On all the pieces i've lipped today/yesterday (32) I haven't left the slightest router mark on the veneer, and the lipping has only needed a light rub over with a piece of 180g sandpaper to smooth it off.

Cheers

Karl
 
brilliant karl, thanks for all the info will help me out when I get round to starting the project
 
Karl":3igizing said:
The webrax sanding pad is 320g

What colour is it? I can't work out if it's grey or red. The grey is 1200g
 
Maroon. I'm going to get some of the Grey ones for polishing in wax.

Cheers

Karl
 
Correct ;) I always forget what grit the other colours are. When I bought them I thought they were all very fine.
 
Karl,
Did you just glue the lipping on or use biscuits as well? I've got a similar project on the go (corner unit etc in another thread)around 18mm lipped MDF. I planed the lipping to 19.5mm (the MDF with veneer is 19mm in my case) and 20mm deep, used the BJ to accurately align one edge then planed the other one to remove the final 0.5mm (it only takes a few seconds and with a sharp plane is easy).

I have finished mine with 3 coats of Ronseal diamond hard satin floor varnish - brushed on with good purdey brush and touch dry in 30 mins. This has given an excellent finish.


.....Mind you it took me three weekends to get all my lipping done - not the few days it took you, but that was mainly due to lack of clamps and gluing time.

Dave
 
Hi Dave

No biscuits on the lippings - the glue joint is strong enough on its own.

Do you mean 30 mins (rather than 3) dry time for the Ronseal stuff? I had a look at that a while back, and thought that 30 mins open time was too long to allow "stuff" to settle on the finish.

Cheers

Karl
 
Karl":1zujox2g said:
The lipping is 12mm thick, and oversized at 22mm.

Sorry, I'm confuzzled. What thickness is the veneered board? and how much thicker is the lipping? and how do you clamp it? Do you use a spacer so you have excess on both sides of the lip?

I tried the Tovey Trimmer and it didn't go well. It might have been the bit I was using wasn't suitable.
 
Tom - the lipping is 12mm thick and 21mm high/deep/whatever. The board is 18mm. It looks like this

DSC00028-1.jpg


DSC00029-1.jpg


I don't use any spacers, just sash clamps, f clamps or whatever other clamps I have knocking around. Just make sure that there is excess stock either side of the board before applying final clamping pressure. I was going to order some of these from Screwfix, but they were out of stock.

p4396947_l.jpg


What problems did you have with the trimming when you tried it? It's the first time i've tried it out (in my own 'shop at any rate) and it has been easy peasy.

No further progress on the project today - been busy sorting out another little "toy" which I pick up tomorrow :wink:

I'm going to add a running total at the end of each post so that peeps can see how long this has taken. This may help out others planning to do similair jobs (although i'm not the fastest worker, as Brad will attest!!).

Tuesdays post - 7 hours
Wednesdays post - 6 hours
Total to date - 13 hours.

HTH

Cheers

Karl
 
I was probably just rushing as usual Karl ;) Makes sense now, thanks mate.
 
Thanks for answering my questions re: boards and finishes earlier, Karl. I though crown cut would have looked more ..... wiggly than the boards you're using. An 'uncluttered look' is whats needed, so crown cut MDF might be ok.

Just wondering; would an iron-on edging tape be a suitable alternative to the oak lipping? Obviously the oak will be more hardwearing but is the iron on stuff a total nono for applications such as kitchen cabinets? I'd imagine it would be cheaper and quicker?
 

Latest posts

Back
Top