Oak bedroom suite

UKworkshop.co.uk

Help Support UKworkshop.co.uk:

This site may earn a commission from merchant affiliate links, including eBay, Amazon, and others.
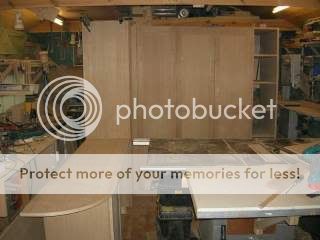
Just about finished building the computer desk. I need to add the back to it and apply the finish. Here are a couple of pictures of the finished item.
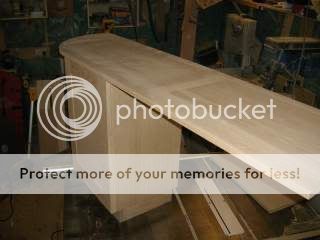
Tcomputerdesk.jpg

Ucomputercabinet.jpg

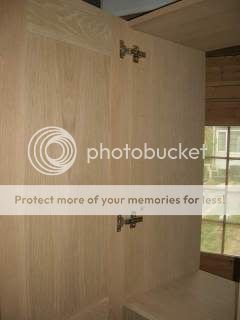
I found the Blum hinges really good although I did hit a slight problem with them. I found that the hinge jig I have is slightly out for the Blum hinges. It is only a matter of 2mm but I had to make a new jig to fit them in the right spot. Anyway it worked out right in the end.
VBlumhingesinstalled.jpg
 
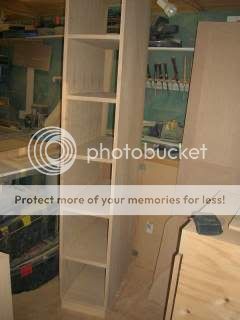
Thanks Sim. I really got stuck in today and added the back to the computer cupboard and then got on with the next piece, the open shelf unit. It's not easy stumbling around in my small shop with large panels but I managed and got all the edgings lipped. I cut the dado's for the shelves and by the end of the evening had a dry fit.
Wshelfunitdryfit.jpg

I found that I need to cut the rebates a little wider for the top and bottom panels, no real problem but will have to wait until tomorrow now. I am using a new cutter in the router with my dado jig and I think there is a discrepency in the diameter of the cutter to the old one? I also had to add a slip of laminate in between the jig and the shelf to make the cut wide enough. It is amazing how much difference there can be in the diameter of cutters from different sources. My old cutter was a Freud and the new one is a De Walt both should be 1/2", oh well we live and learn. :roll: It is a good job I checked the cut first before cutting the panels. Will keep you posted tomorrow again. :wink:
 
Today I got the shelf unit finished.
Yshelfunitcomplete.jpg

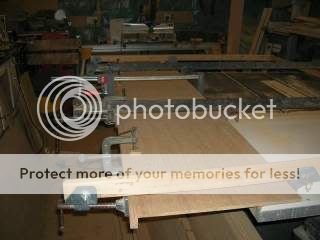
I then started work on the closed shelf unit which will have adjustable shelves. After cutting the dados I lipped the edges of both sides.
Zmorelipping.jpg

Once this is dry I can cut the top and bottom panels and the centre shelf which will be glued in place to give the unit strength and stop the centre bowing. I need to use the saw table for this but space is tight in my shop at the moment.
Z1Gettingcluttered.jpg

At least each piece I build means there are less panels on the floor so I can clear some space. :lol: Will keep you all posted as usual.
 
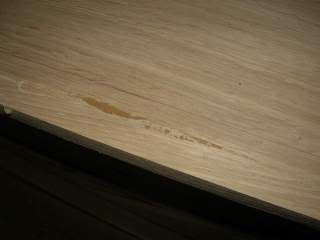
Today started with a Disaster! After leaving the lipping in glue up last night I started to rout them flush to the panels. I have done a few now so it came as a big surprise to see the cutter going into the veneer revealing the MDF!
Z2Disaster.jpg

It appears that I hadn't noticed that the veneer had blown away from the edge, I can only assume it was a manufacturers error but all the same it was a devastating blow at this stage.
You can imagine how I felt. It is a wonder the neighbours didn't hear me turning the air blue! :evil: After I calmed down I pondered over the situation and decided the best course of action was to insert a new piece of veneer into the damaged area. I had some offcuts of thin Oak from the curved edge lipping off the desk so decided to use this as the replacement veneer. With a straight edge I routed out the damged area and lengthened it up to the shelf dado. I then carefully sanded the replacement piece to size and glued it into place with some clamps on. After it had dried I routed it flush with the surface to complete the repair. Even if I say so myself it didn't look bad and had avoided oredering another AWO panel.
Z3sorted.jpg


Happy that I had surmounted this challenge I then drilled the holes for the adjustable shelves and got the whole unit in glue up.
Z5holesdrilled.jpg


Next is the plinth that it will sit on. Will keep you posted as usual. :wink:
 
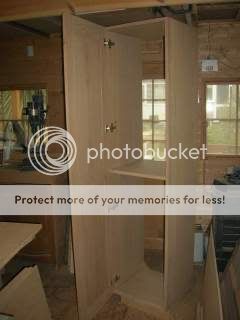
I got on much better today after my mishap with the veneer. I have just about finished the cupboard shelf unit and have just the removeable shelves to make. I got the door fitted to test it for squareness.
Z7finishedwithdoor.jpg

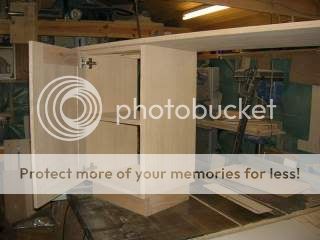
I used four of the Blum hinges as advised by forum members. Good job I did as they weigh a ton!
Z8Dooropen.jpg

I drilled holes into the inside of the cabinet so I can place chrome pegs in to support the shelves.
Z9Shelfholes.jpg

I have made a start on the wardrobe sides and the top and bottom but these will have to be assembled on site and so screwed together with a coat of glue. Will keep you all posted as usual. :wink:
 
Looks fantastic Maliee!


That little bit of veneering work, flushing it down with the router is a stroke of brilliance. I did something similar the other week and flushed it down with the plane but it was careful work to make sure I didn't start gouging out the surrounding material, your way is much more ingenious!
 
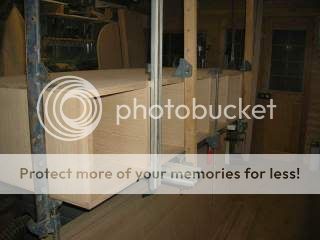
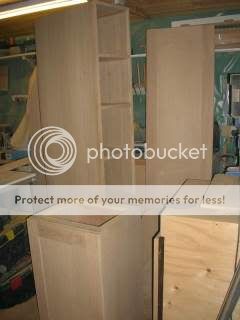
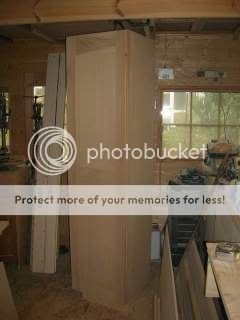
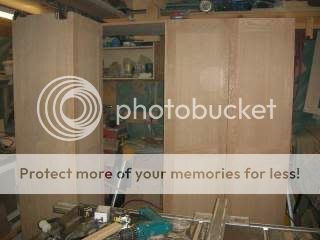
Had a good day in the shop today. I started work on the wardrobe section and managed to set it up at one end of the workshop. All of this must be screwed together so I can take it apart for moving it.
Z9Acomingtogether.jpg

I got two of the doors hung and trimmed to size. Please take no notice of the state of the workshop....I will clean it....later.
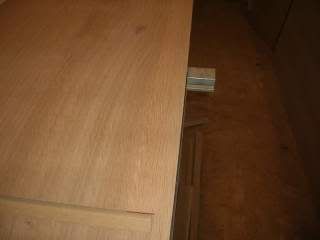
I found that I needed a spacing piece between the corner unit to allow the door to swing back far enough.
Z9Ccornerunit-1.jpg

I have just left the corner spacer in glue up for the night and can then hinge the final door.
Z9BTakingshape.jpg

So far everything seems to be going well, I wonder if it will fit as well once it is in the bedroom. I will make sure I have some scribing pieces with me for that, just in case. Will keep you posted as and when as usual. :wink:
 
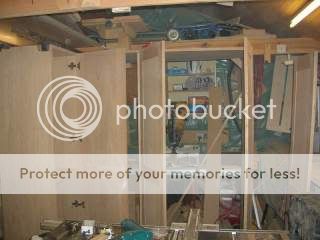
I got everything in a trial run today after hanging the last door. I wanted to make sure everything lines up before I take it apart to finish it.
Z9DTrialrun.jpg

I am happy with the fit of everything and now I can make the cornice for the top and finish off the doors now they are trimmed to size. Will keep you posted as usual. :wink:
 
No pics today but I did realise I had forgotten all about the keyboard slide out tray and built that. I have just finished sanding down the doors and will start on the sanding of the main units tomorrow. I still have the cornice to make and will start that once the trial run is taken down again. Will keep you posted as usual. :wink:
 
Tomorrow is the big day when I will be fitting it! I took most of the parts down today in preparation for it which took two trips in the Volvo. All I have to transport tomorrow are the tools and fittings. So far the lady customer likes the finish and colour so I may be on to a winner. Fingers crossed and pics to follow of course. :wink:
 
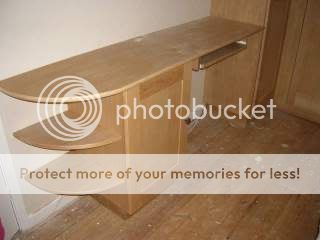
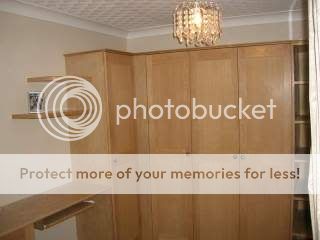
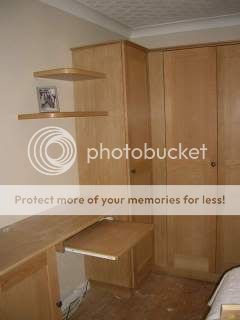
I managed to get the bedroom suite fitted today although it took longer than I had expected as nothing was square as you might guess. Here are a few pics of it.
Z9Gfinished.jpg

Z9Ifinished.jpg

Z9Jfinished.jpg

Z9Hfinished.jpg


Unfortunately the cable outlet for the desk hadn't arrived yet and I ran out of time to fit the finishing pieces to the bottom of the desk but will return to fit these once I have the cable outlet point.
Glad to say the customer was very happy with the set. :D
 
Now that does look nice Mailee! Well done that man!!

Did you tell your customer that part of the payment is that they must recommend you to at least three other people?

I haven't followed the thread.......is this veneered mdf with lippings, or solid lumps of oak?

Mike
 
Mailee,

that does look excellent, I've never tried the veneered MDF but this project has inspired me to have a go


paul
 
Very nice Mailee, I'd say you've been in the wrong job situatuion for years, good luck mate, although with you're skills, luck won't come into it, word of mouth will be your employer by the looks of it.

Rich.
 
It is made from veneered MDF and solid wood lippings Mike.
Well James it was that floor that gave me so much trouble. It took an age to level up all the plinth before I could start on fitting the cabinets on top. I think in future I should use the adjustable feet with a clip on plinth, it would have made life much easier. Nothing in the room was square from the floor to the walls everything was out of wack. I even had to scribe in the computer desktop as there was a bulge in the middle. Not to mention having to scribe both ends of the run of cabinets. Still got there in the end and ths customer was pleased as she is a fussy bu**er, or so I had been told. :wink:
 
Sounds like a nightmare, but bet many places aren't very square so at least your getting practice!

Do you have any bigger pictures?
 
Back
Top