BradNaylor
Established Member
- Joined
- 17 Oct 2007
- Messages
- 2,311
- Reaction score
- 2
This is a job I've been on for the last couple of weeks. No photos of the workshop phase I'm afraid, but I thought I'd take some piccies of the fitting process so you can see how I go about things.
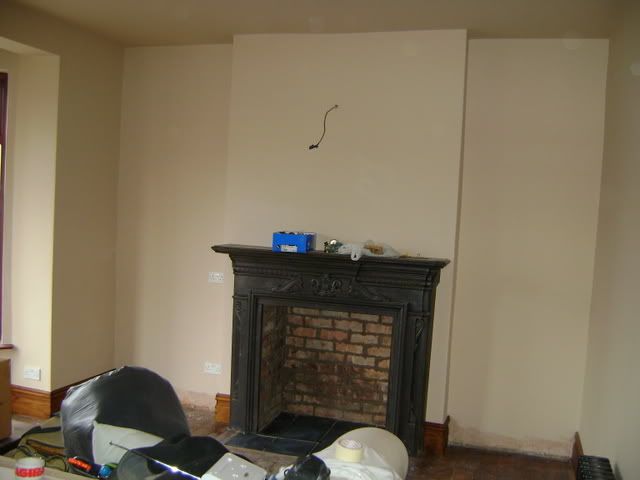
I started with two empty alcoves...
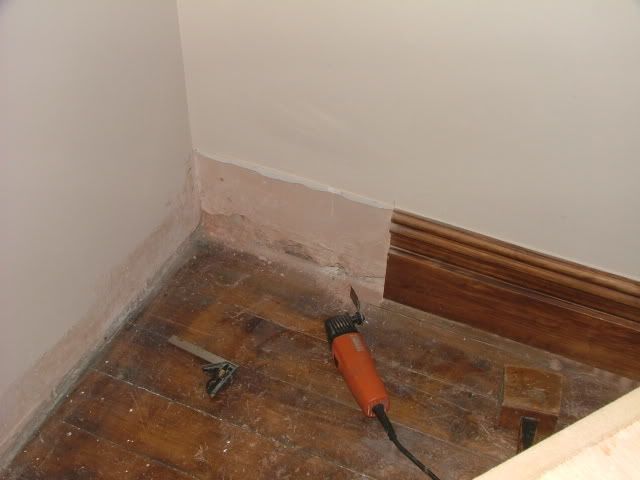
First step is to remove the skirting boards with the trusty Multimaster.
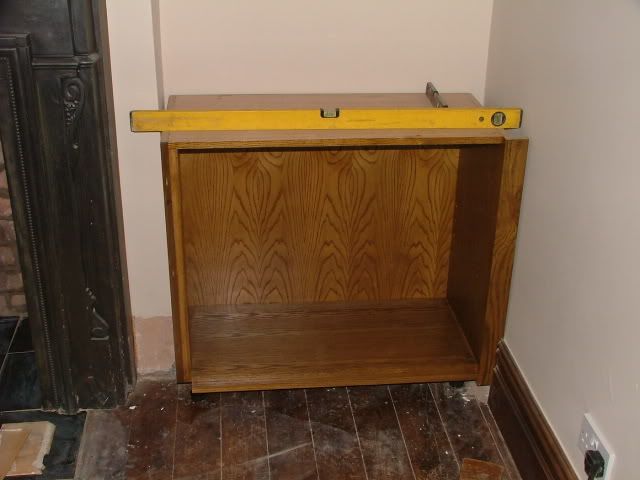
Then level up the right hand base unit using adjustable kitchen legs
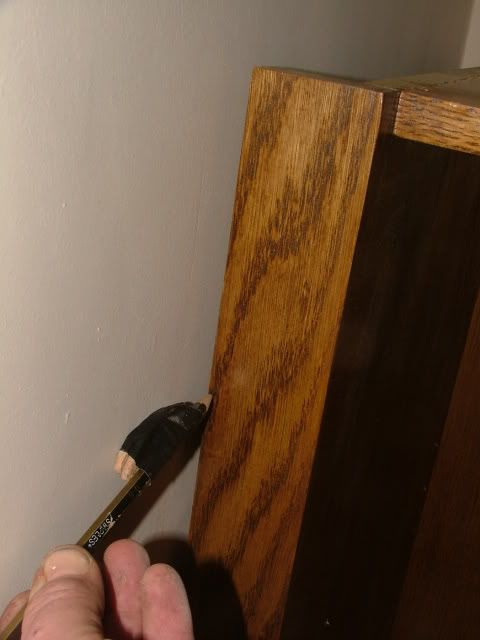
Scribing the left hand base unit to the wall using my patented 'two biscuits and a bit of gaffer tape' system.
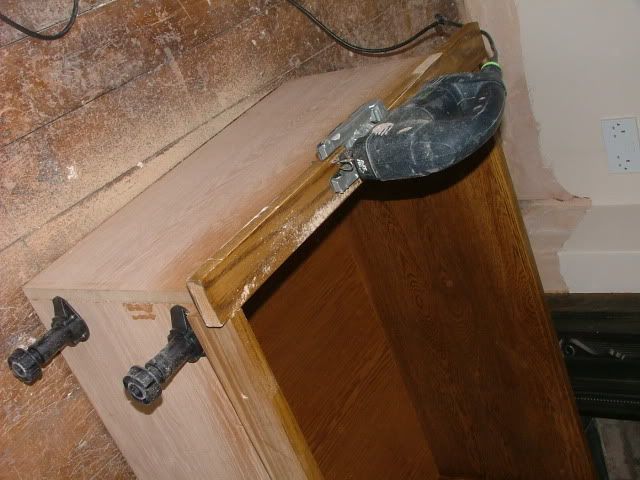
Jigsaw along the scribe line
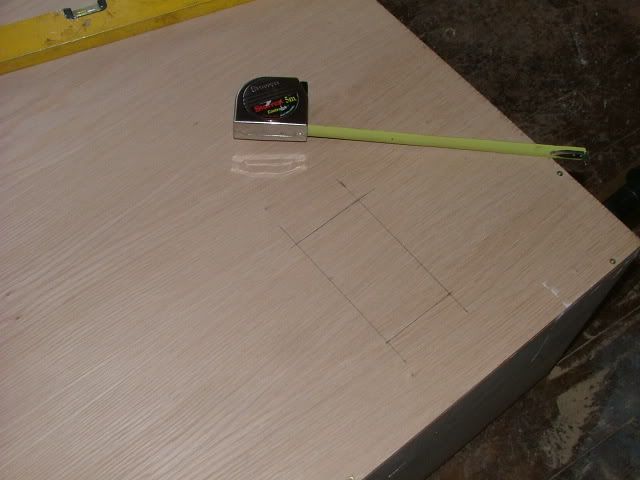
There is always an electric socket to deal with. I cut a hole in the cabinet back a bit smaller than the socket cover
Then offer up the cabinet to the wall
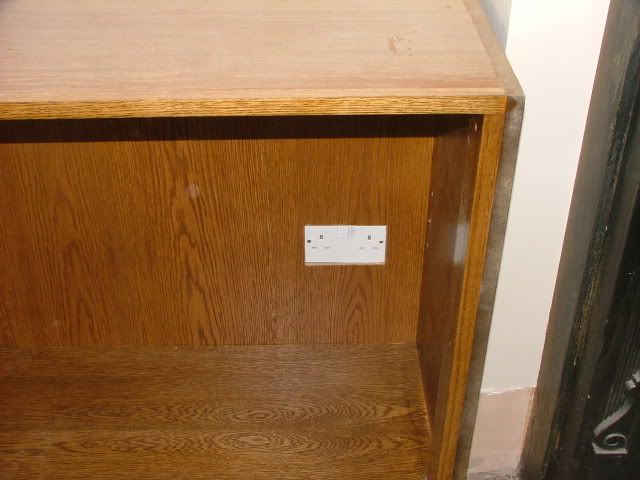
Then unscrew the cover, flip it through the hole you've made, and re-attach it to the back box using longer screws. How neat is that?
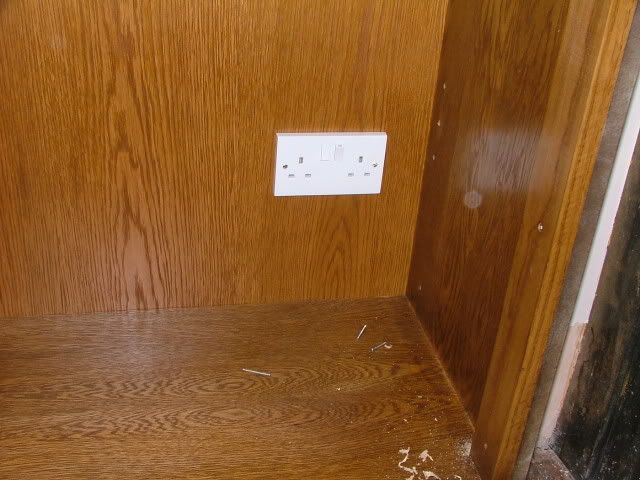
I always use an end panel on the chimney breast side of an alcove
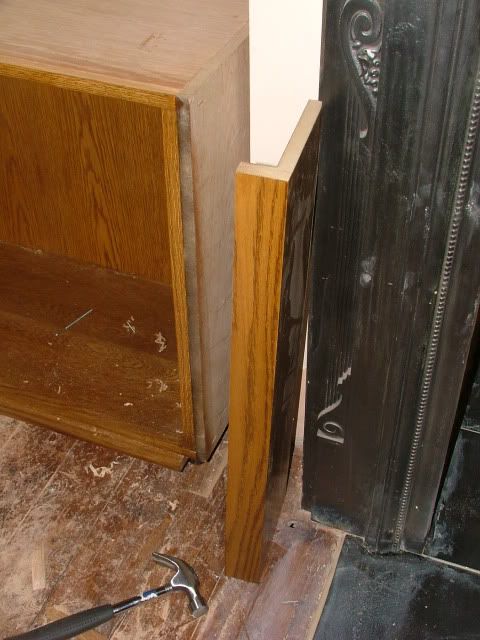
It makes for a neat finish and is really quick and simple.
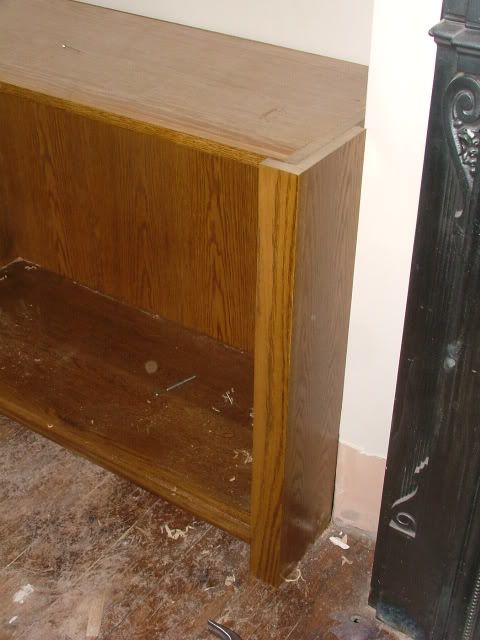
The base units are then screwed to the wall with long screws and rawlplugs.
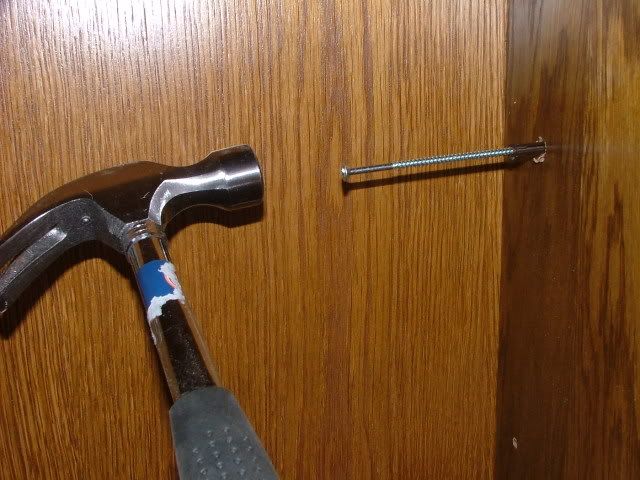
When fitting a top to an alcove unit, ALWAYS make a template. The best way is to use two pieces of hardboard or MDF and then screw them together where they overlap.
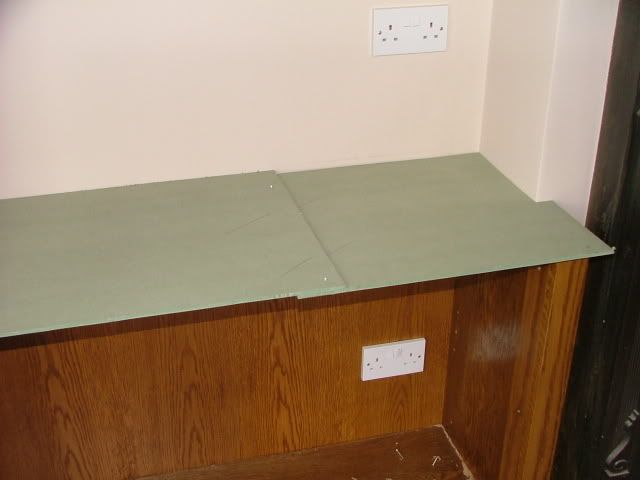
The top then simply slips into place. A few screws from underneath secures it.
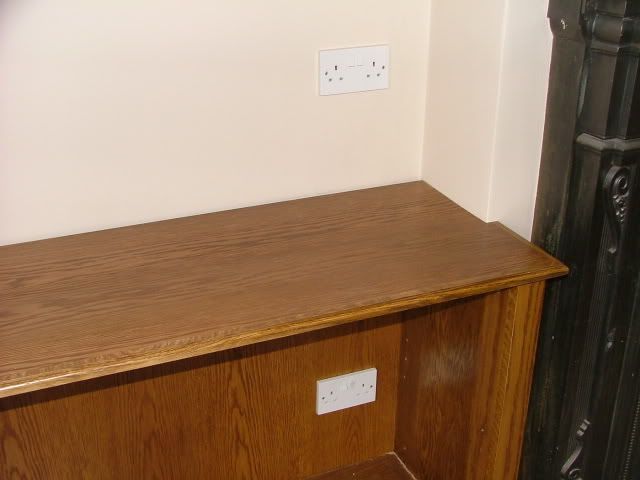
Not a bad first day's work.
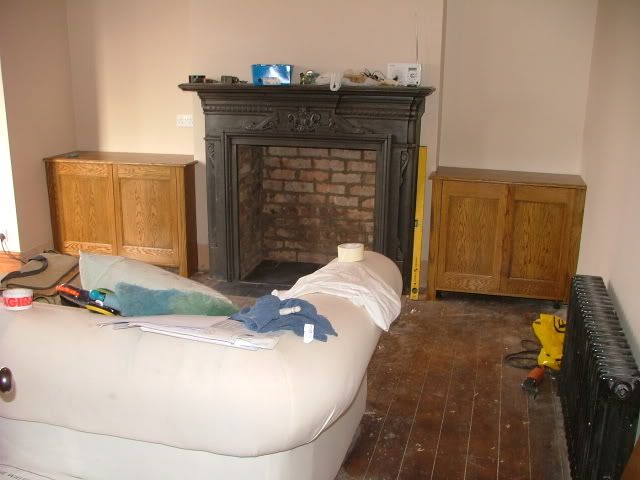
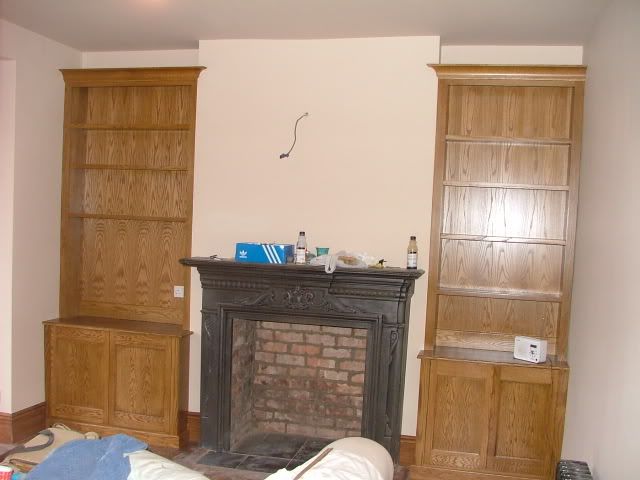
Day 2 starts with re-fixing skirting boards, installing plinths, and scribing the face frames of the shelf units into the alcoves
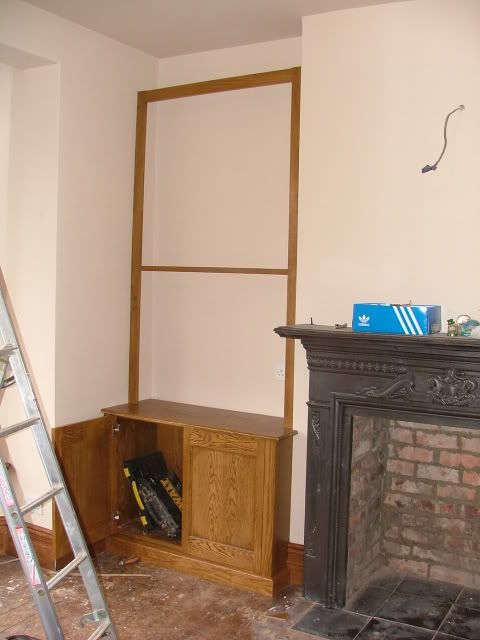
Domino slots were cut in the workshop for perfect location so all that is now needed is a line of adhesive, some Dominos and a rubber mallet. I really love my Domino!
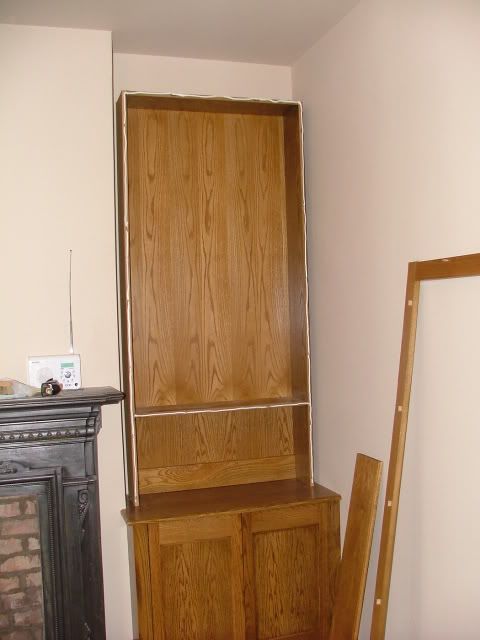
Then bung in the adjustable shelves and fix the cornice...
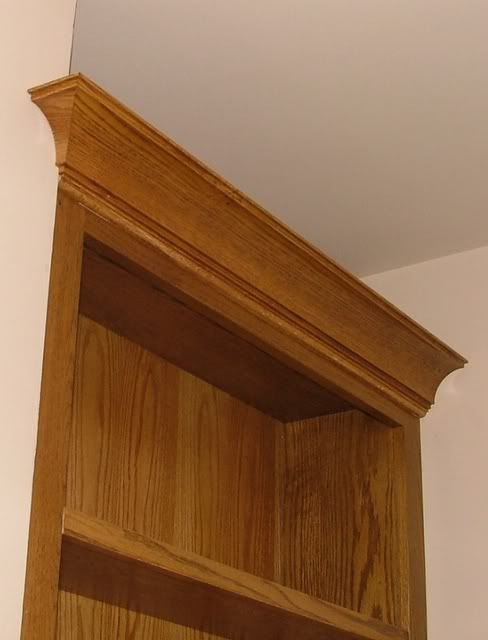
Et Voila!
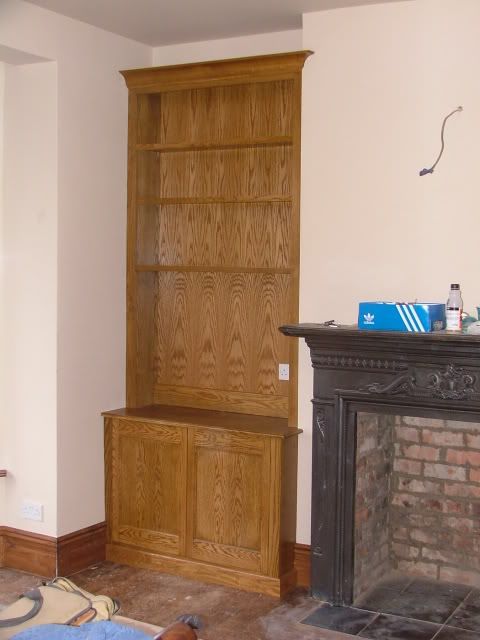
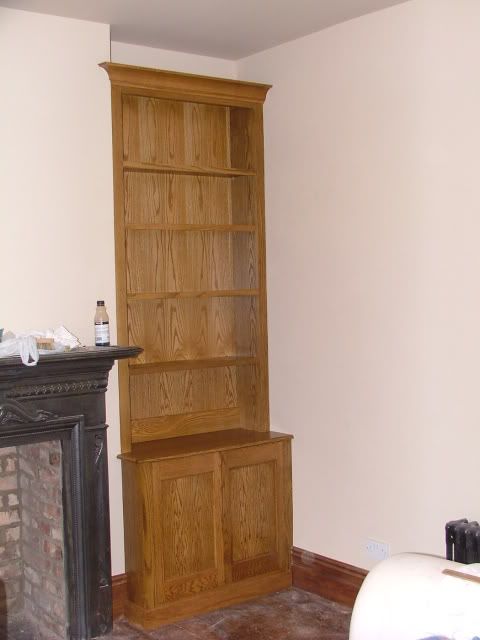
Thanks for looking.
Cheers
Dan
I started with two empty alcoves...

First step is to remove the skirting boards with the trusty Multimaster.

Then level up the right hand base unit using adjustable kitchen legs

Scribing the left hand base unit to the wall using my patented 'two biscuits and a bit of gaffer tape' system.

Jigsaw along the scribe line

There is always an electric socket to deal with. I cut a hole in the cabinet back a bit smaller than the socket cover

Then offer up the cabinet to the wall

Then unscrew the cover, flip it through the hole you've made, and re-attach it to the back box using longer screws. How neat is that?

I always use an end panel on the chimney breast side of an alcove

It makes for a neat finish and is really quick and simple.

The base units are then screwed to the wall with long screws and rawlplugs.

When fitting a top to an alcove unit, ALWAYS make a template. The best way is to use two pieces of hardboard or MDF and then screw them together where they overlap.

The top then simply slips into place. A few screws from underneath secures it.

Not a bad first day's work.

Day 2 starts with re-fixing skirting boards, installing plinths, and scribing the face frames of the shelf units into the alcoves

Domino slots were cut in the workshop for perfect location so all that is now needed is a line of adhesive, some Dominos and a rubber mallet. I really love my Domino!

Then bung in the adjustable shelves and fix the cornice...

Et Voila!


Thanks for looking.
Cheers
Dan


