My Workbench - Almost Complete!

UKworkshop.co.uk

Help Support UKworkshop.co.uk:

This site may earn a commission from merchant affiliate links, including eBay, Amazon, and others.
woodbloke":26eetffp said:
Dude - in addition to the mdf which will give a thicker and heavier top (and I agree with Paul's comments) I'd suggest that you include as well a piece of 'sacrificial' hardboard which can be replaced when too damaged...it's also a more resilient surface to work on. Just a thought - Rob

Hi Rob

I have used hardboard in that way before, for the top of a desk I built my daughter. The multitude of pen, pencil and paint marks made it a good reveal to have been a wise choice.

Thanks

D
 
TheDudester":1on7rvu4 said:
I will glue the two boards of MDF together and then screw the MDF to the maple top. Do you need to allow for movement by elongating the holes?

Yes, it would be best to elongate them a little. When you glue the two pieces of MDF together, try to get even pressure over the boards. When I did mine, I used lots of G-cramps and curved cauls. The curved cauls are just pieces of wood planed into a slight curve (doesn't have to be much). When you cramp them together, the cauls straighten out and provide pressure in the centre of the boards. Hope that's clear :? :)

Cheers :wink:

Paul
 
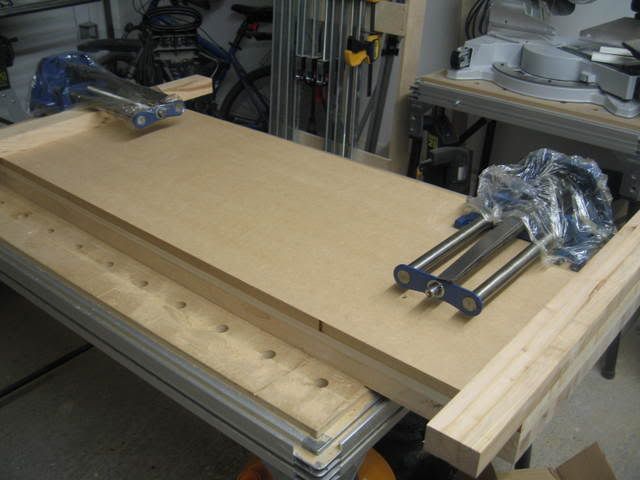
I was able to finally glue the MDF boards together and screw them to the top.

I want to have as much space underneath the workbench as possible. The two pics at the bottom show two different layouts. Would it be better to keep the leg, inside the front vice or would it be ok outside.

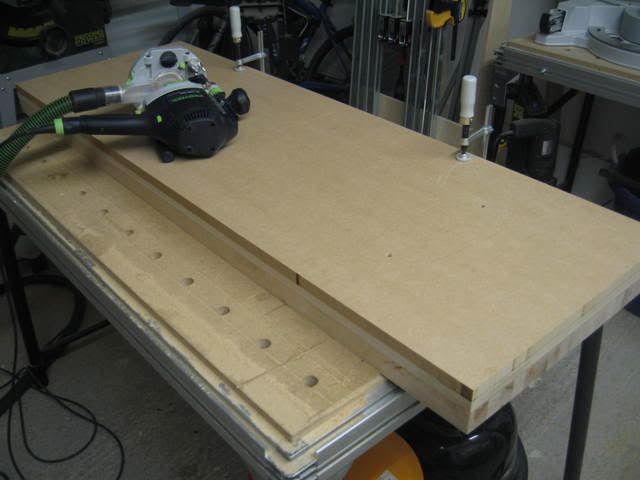
I didn't use Paul's suggestion for clamping, I had these lying around....

IMG_2318.jpg


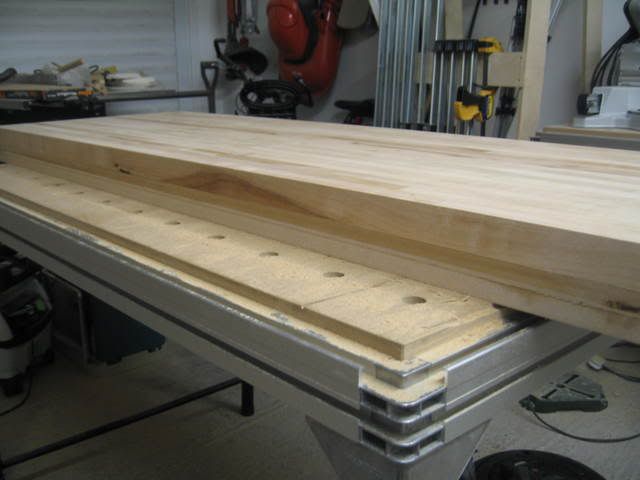
Trimming the MDF boards flush....

IMG_2321.jpg


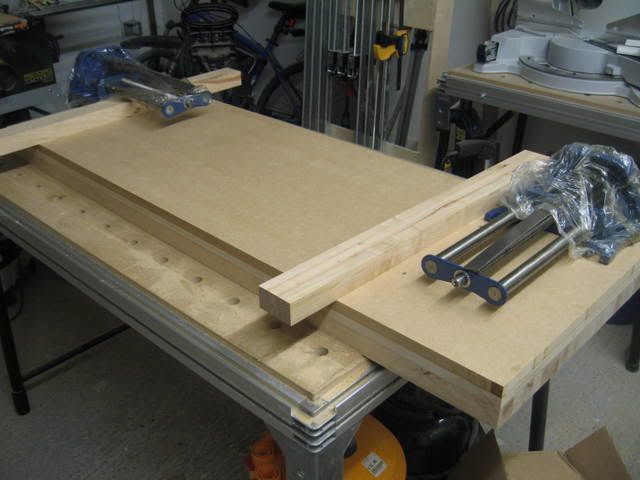
The two different pieces of the top temporarily screwed together....

IMG_2325.jpg


This is the first position for the legs....

IMG_2327.jpg


and this is the second (preferred)....

IMG_2328.jpg


Regards

D
 
TheDudester":17whmfyt said:
I didn't use Paul's suggestion for clamping

That's OK - I really don't mind :)

I'd go with the second option because I think it would provide better stability and a more rigid structure. Then I would extend the wooden vice jaw facings so that they come to the end of the bench.

Cheers :wink:

Paul
 
Paul Chapman":195cd1ui said:
TheDudester":195cd1ui said:
I didn't use Paul's suggestion for clamping

That's OK - I really don't mind :)

I'd go with the second option because I think it would provide better stability and a more rigid structure. Then I would extend the wooden vice jaw facings so that they come to the end of the bench.

Cheers :wink:

Paul

Thanks Paul.... and it gives an extra 10 inches if I want to use the space underneath :)

D
 
Well I was able to make significant progress over last few days, on and off.

Here are some recent pictures....

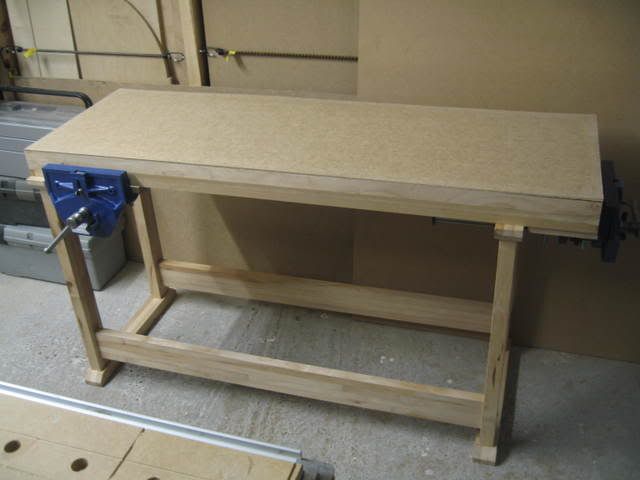
The first shows the workbench as it is at the moment with the hardboard cover in place....

IMG_2330.jpg


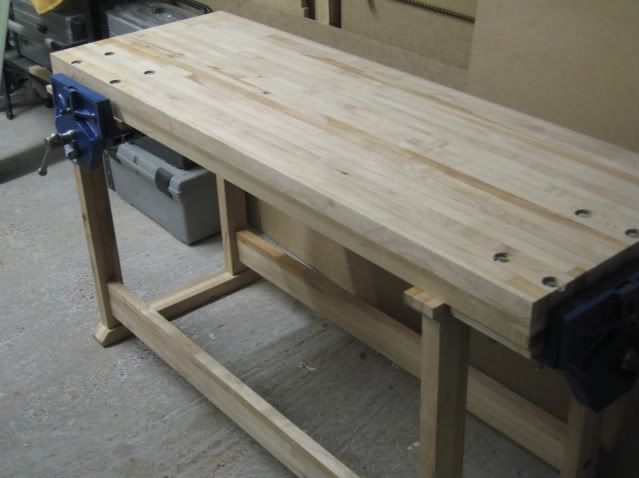
and this is the bench without it....

IMG_2333.jpg


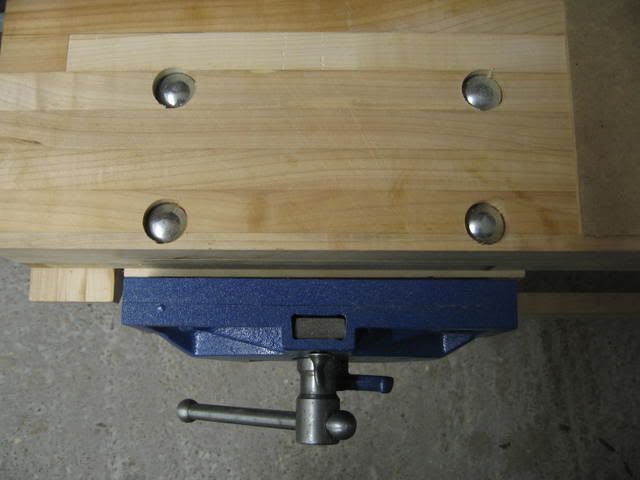
and this ones shows the vice detail....

IMG_2331.jpg


I have installed the vice without the apron in place, primarliy because I don't have any maple.

I intend to have an inch thick apron, so the front edge of the back jaw is at 1 inch depth. It can be tweaked of course. I will need to fill the gap between the back of the rear jaw and the face of top with a wedge of some kind.

If I can't source any maple for the apron, I am just going to use red pine or something. Is the best way to attach the apron to use a spline all the way round?

Oh and I still need to drill dogholes.

Getting there...

D
 
That's looking really good, D :) To fit the apron I would use either biscuits or, if you don't have a biscuit jointer, a loose tongue/spline. The loose tongue can either be continuous or a few short pieces.

Are you fitting the apron just to the front?

Cheers :wink:

Paul
 
Dude - only my 2 euros worth. Nice solid looking bench now, but I would have used coach screws rather than bolts to fix on the vices. This would have meant attaching the vices with the bench top upside down and then turning the whole thing over...very heavy :shock: if you're on your own though. The advantage of coach screws is that there would be no bolt heads showing on the bench surface - Rob
 
woodbloke":18vbx8ey said:
I would have used coach screws rather than bolts to fix on the vices.

In this case I think that bolts were the better option because 2/3 of the top's sandwich is MDF and coach screws would not have held well (although I think that bolts are a better option anyway :wink: ).

Cheers :wink:

Paul
 
Paul Chapman":qxm5rwqv said:
That's looking really good, D :) To fit the apron I would use either biscuits or, if you don't have a biscuit jointer, a loose tongue/spline. The loose tongue can either be continuous or a few short pieces.

Are you fitting the apron just to the front?

Cheers :wink:

Paul

The apron will be fitted all the way round. I will cut some slots to hold tools in the back apron, that way I wont need cut them again if I replace the top.

I do have a biscuit jointer and will attach it that way as I don't have slot cutter. Thanks Paul. Is there any problem with just using nails to fix the apron so that it can be replaced if it gets damaged?

Thanks Paul

woodbloke":qxm5rwqv said:
Dude - only my 2 euros worth. Nice solid looking bench now, but I would have used coach screws rather than bolts to fix on the vices. This would have meant attaching the vices with the bench top upside down and then turning the whole thing over...very heavy :shock: if you're on your own though. The advantage of coach screws is that there would be no bolt heads showing on the bench surface - Rob

Well I didn't quite work out that the open fixings at the back of the vice could be used to support it on the bolts before tightening, So I did turn the whole thing over, myself. I would rather not do that again.

I agree coach screws would have been neater although you sold me on the hardboard top idea (along with using it before). After using ithe bench to store some stuff on whilst I cleaned up, I was happy I wasn't worrying about the surface.

The whole bench is solid and very heavy and I have a friend coming over today to help move it into place.

D
 
TheDudester":qnwazl0l said:
Is there any problem with just using nails to fix the apron so that it can be replaced if it gets damaged?

Nails would be fine, although screws would be better if you think you might want to remove it at some time. I thought you might glue it which is why I suggested biscuits but you need not worry if you are going to nail or screw it. If you were going to glue it, I would have advised against that for the end pieces as you will have grain going in different directions.

Cheers :wink:

Paul
 
Back
Top