ManowarDave
Fighting the World
Hello everyone,
I'm relatively new to posting here but have been reading for a while. My thanks to all who's articles and discussions have been of value to myself and others over the years.
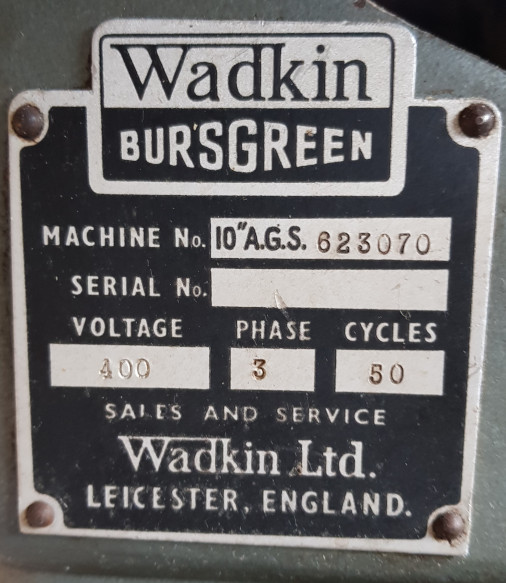
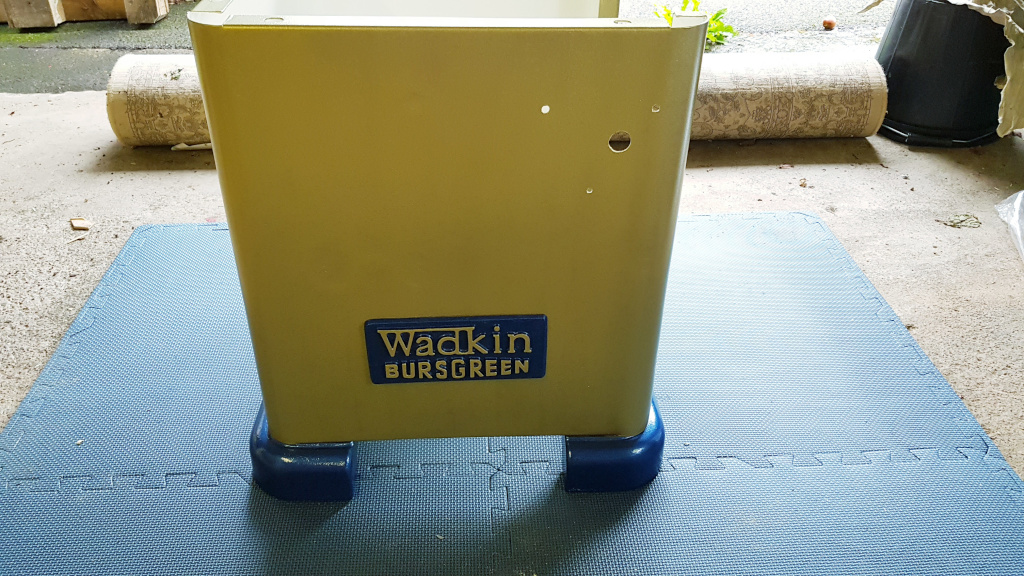
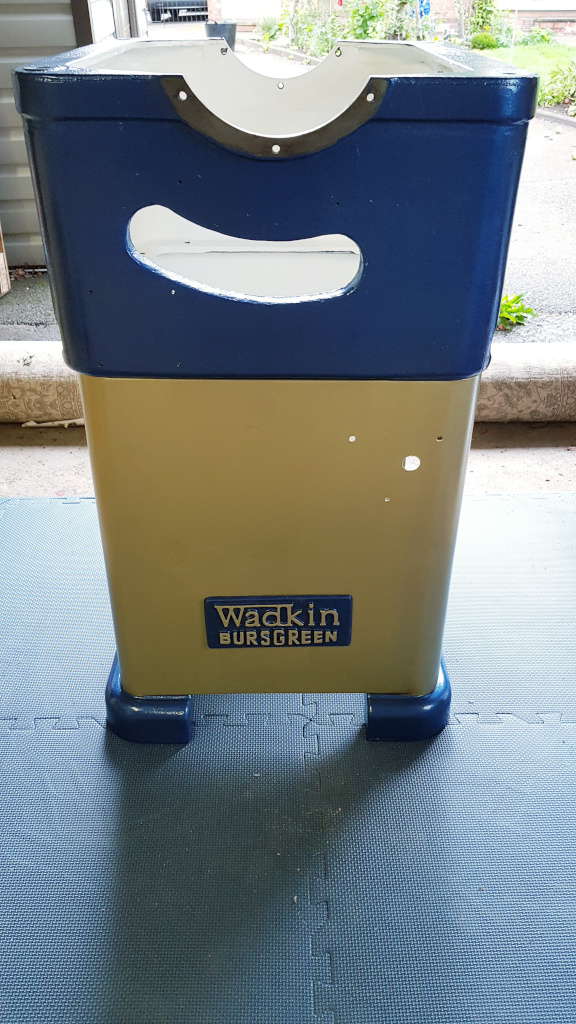
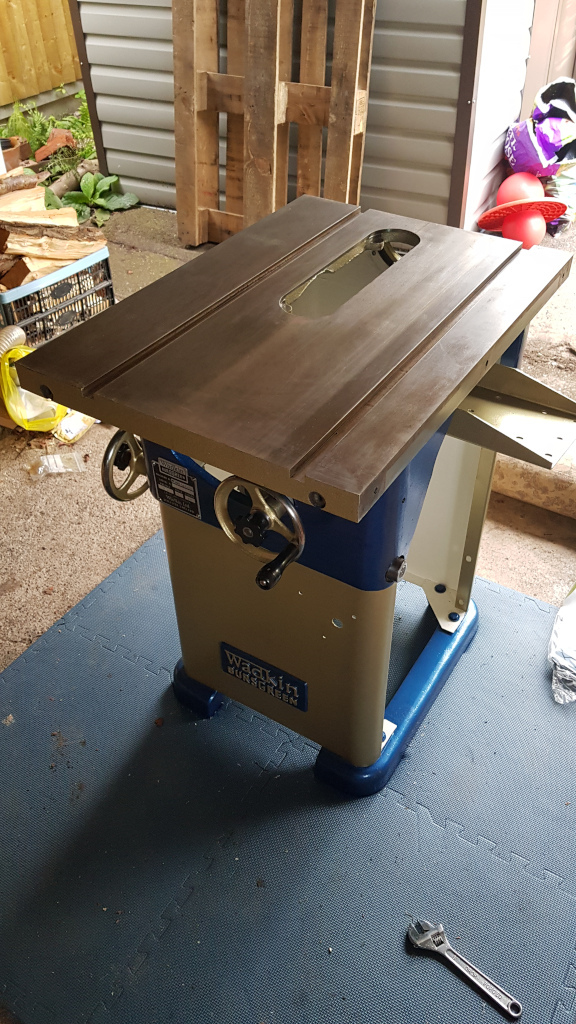
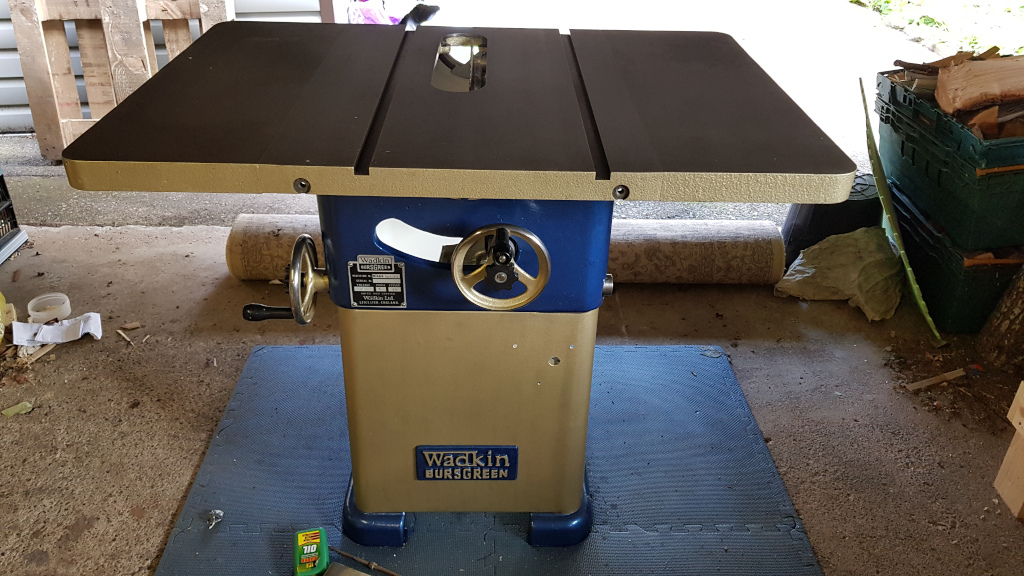
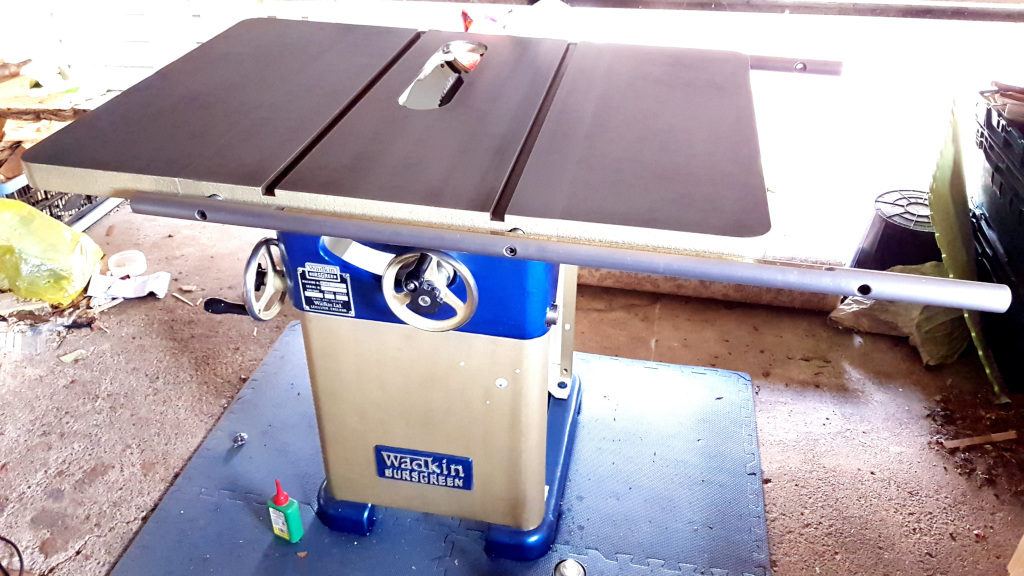
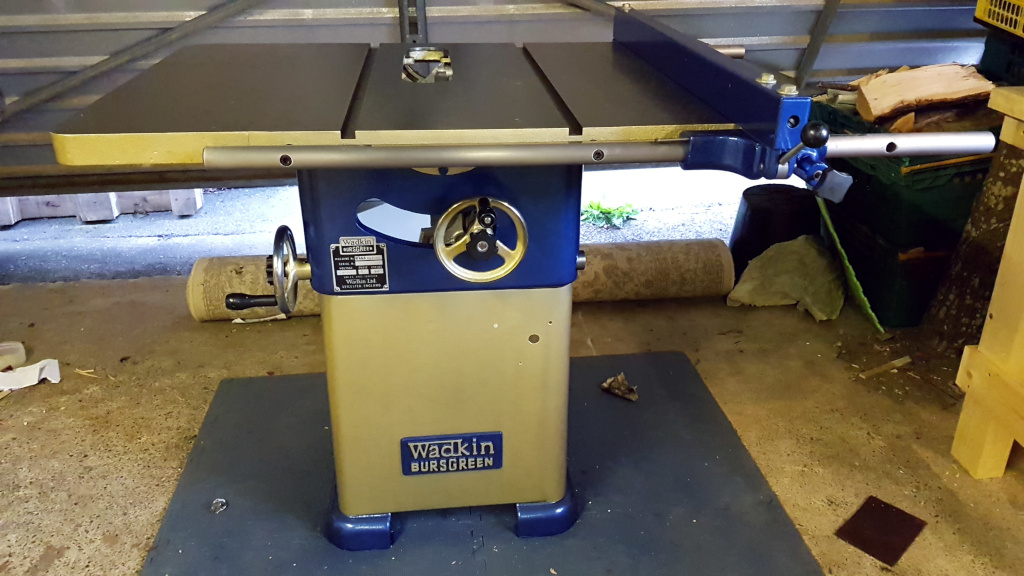
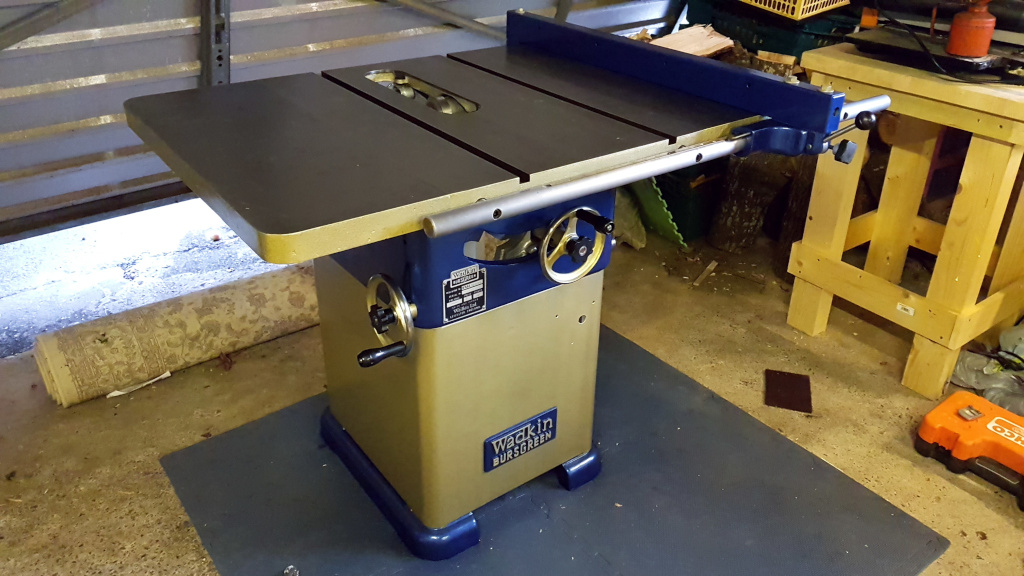
A couple of weeks ago I acquired what I consider to be my first "proper" bit of kit. As the title says, a Wadkin 10 AGS. From the test number and this fine link www.wadkinrestorations.co.uk/machine-date.html she appears to have been made in 1960.
I had been bidding on various saws on ebay over the last months but was never lucky enough to win an auction. My trigger finger is not as quick as it used to be!
Anyway, I bit the bullet and made a best offer on a "Buy it Now". The saw looked to be in relatively good nick and the seller was really helpful, although the splitter and crown guard were missing but I can sort this. I paid a little more than I wanted to but this one could be delivered on a pallet. Once I'd factored in the cost of hiring a van and driving the length of the country, (these things never seem to come up locally) it actually worked out pretty well. All in delivered I was down £610 at the end of the day.
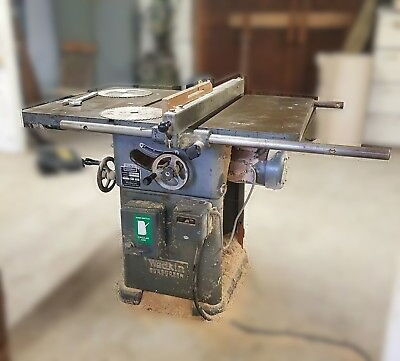
Here she is in the auction listing.
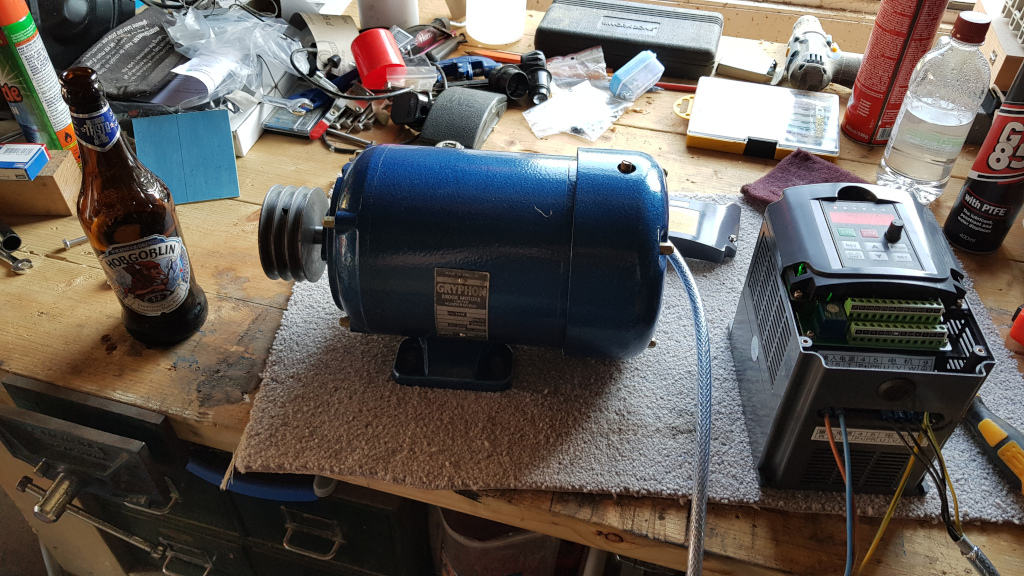
There was a minor cock up in delivery. The lorry blew it's clutch about 20 miles from me and had to be towed back to base. This was on a Thursday and they couldn't re-deliver until the Monday. A whole weekend of pacing. I was itching to start playing. As the machine was fitted with a three phase motor, I'd ordered a cheap Chinesium VFD from ebay in advance (HuanYang if anyone is interested). This had turned up on the Friday so I got it all hard wired in to the CU in the garage over the weekend to try and cure that itch.
Finally, Monday morning came. The driver was late (not his fault). They'd loaded the truck arse about face and I was supposed to be at the back, first drop, but they'd stuck another large machine behind and he'd had to deliver that first. The driver was great and dragged it down the drive and into the garage on a pallet truck for me.
And now in my posession.
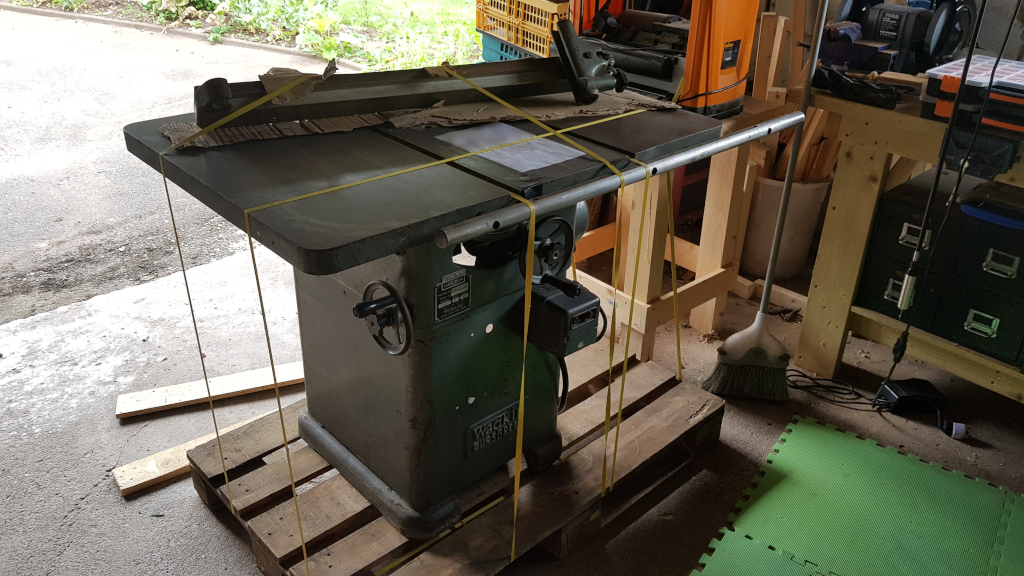
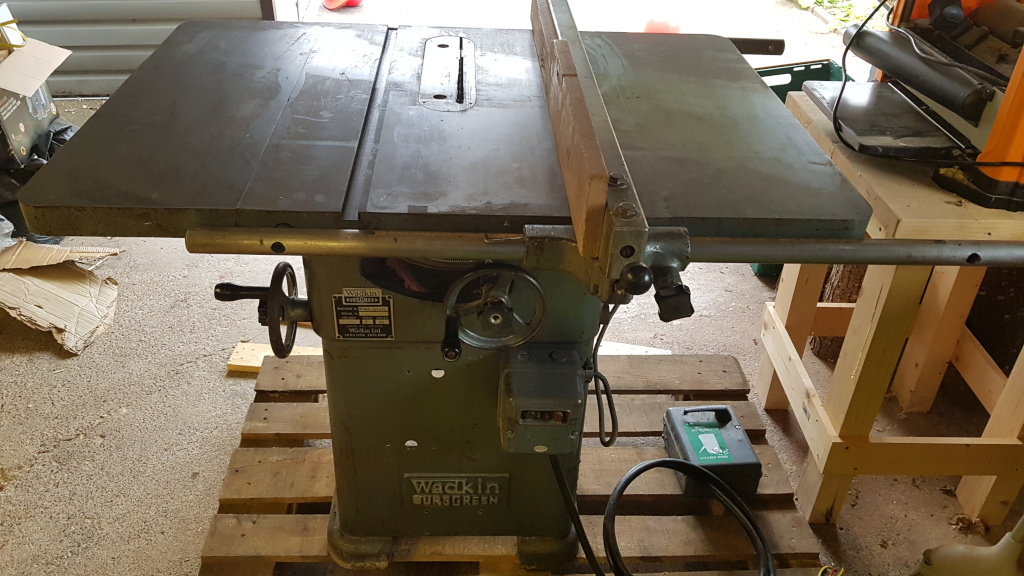
So now I'm late for work and had to dash before having a play. Arrggg.
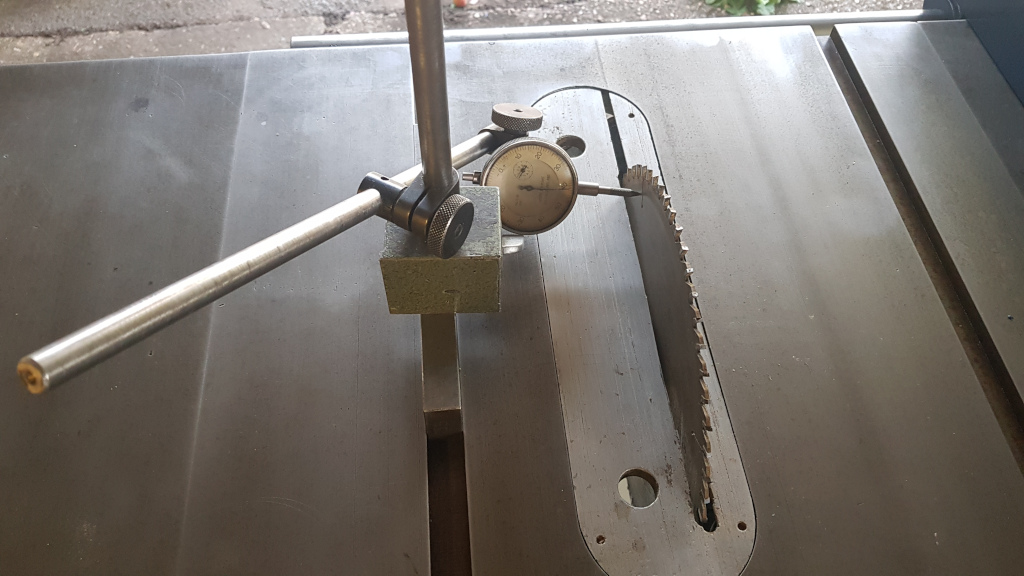
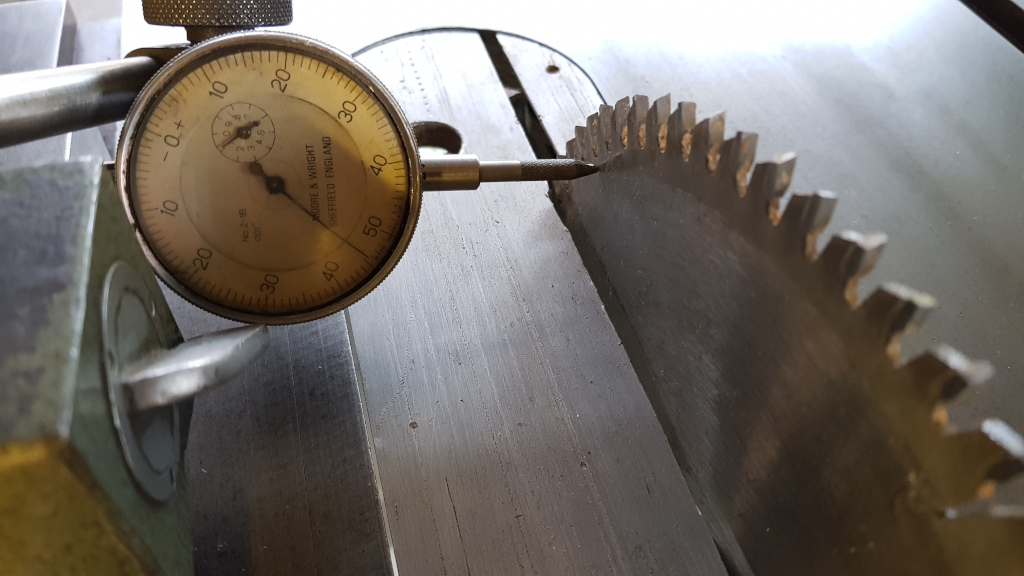
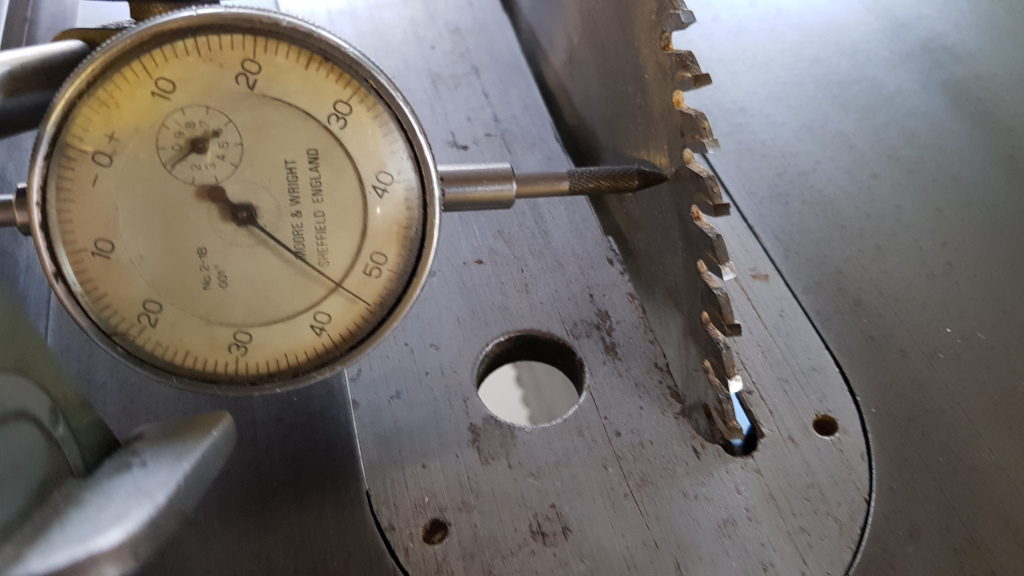
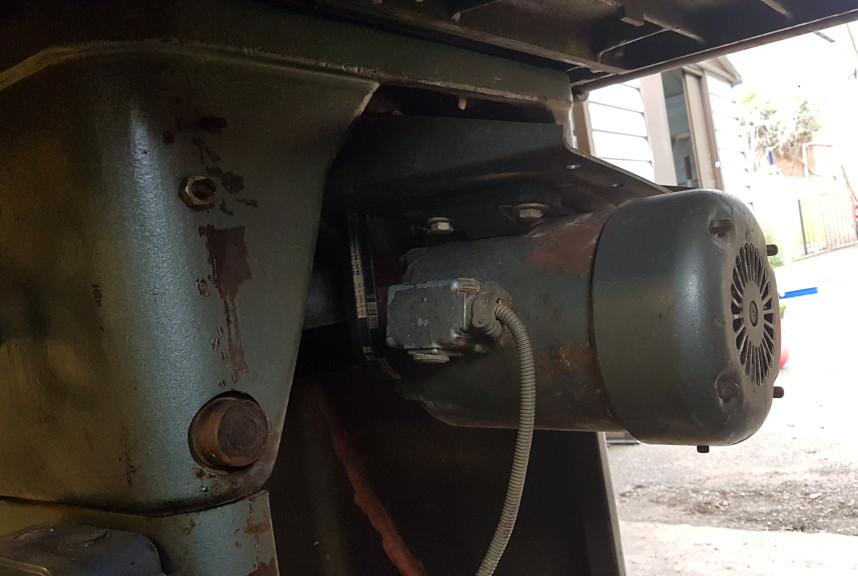
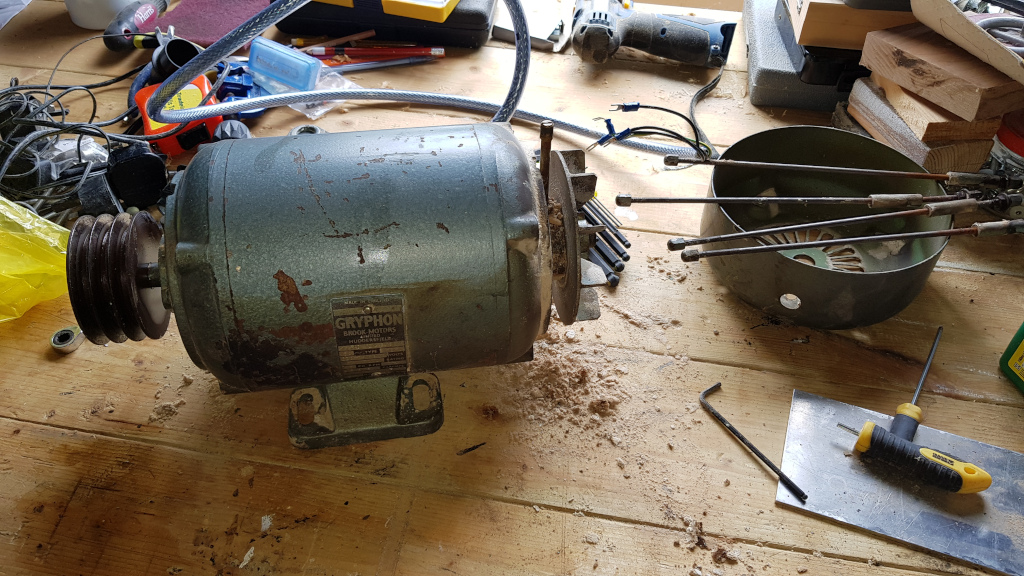
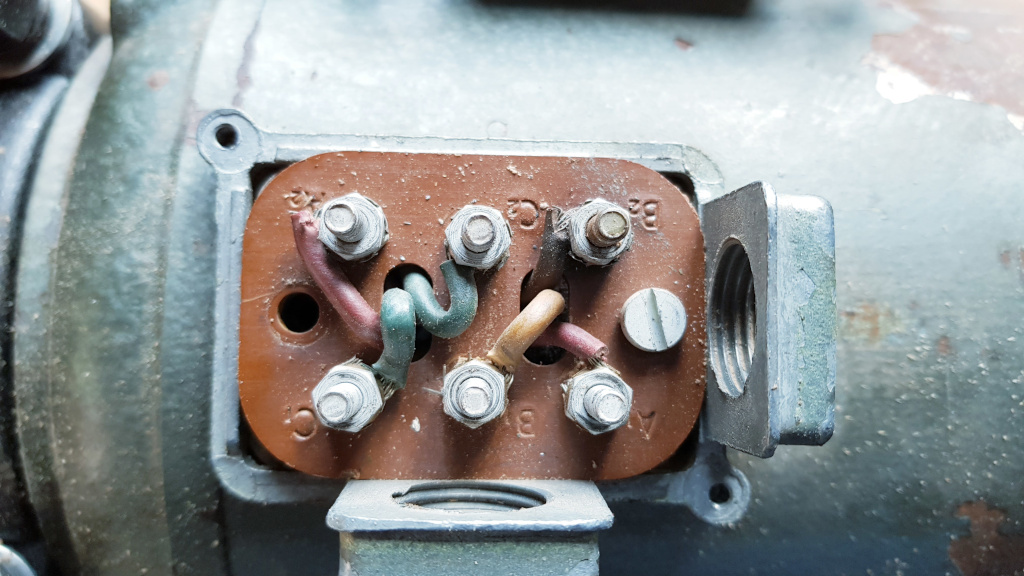
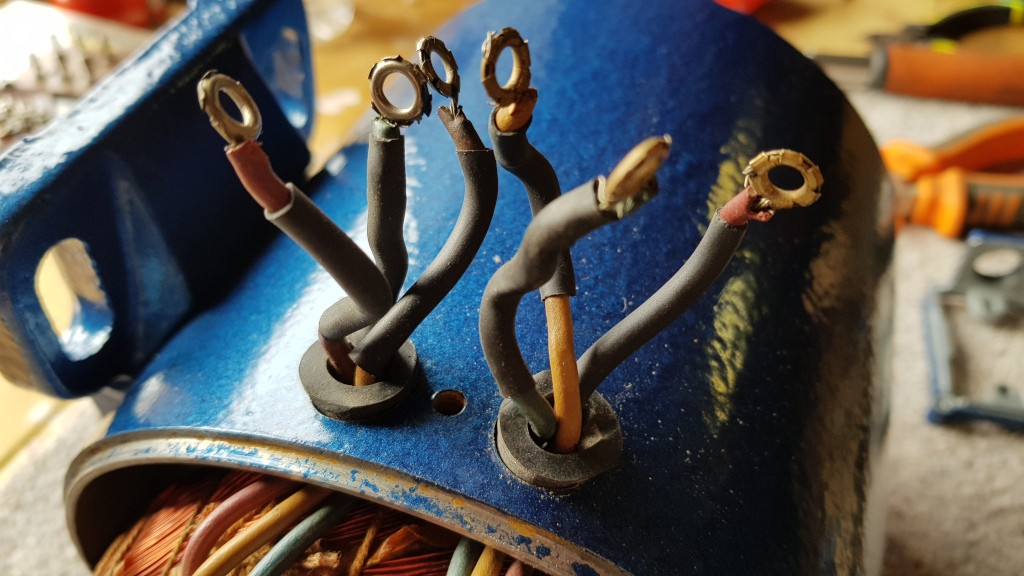
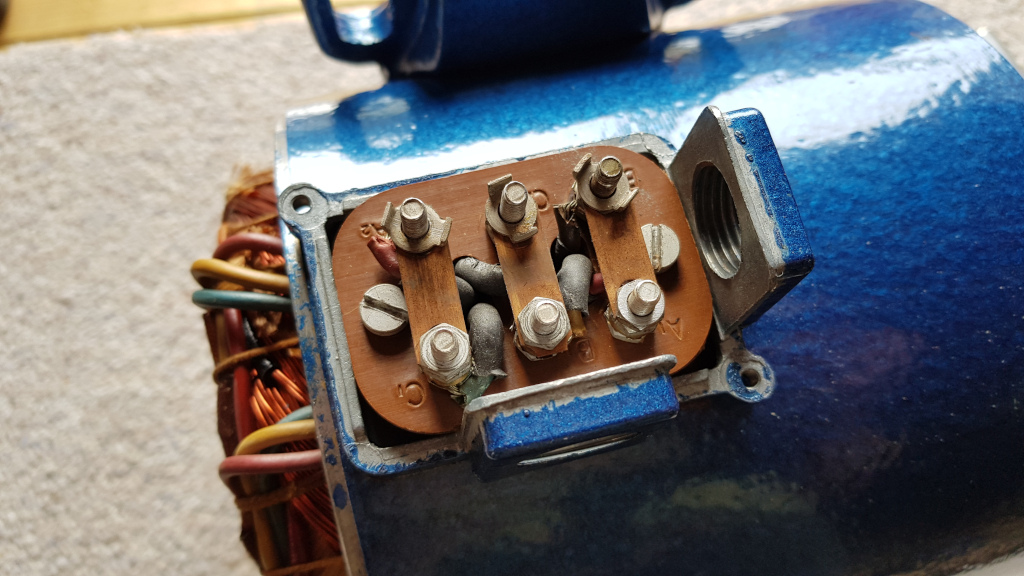
Home from work at last and straight out to the "shop". Now, even though this saw was sold as working I thought it best to give her the once over before spinning up a wheel of death to 3000+ RPM. The spindle rotated freely, and although there was some play and sticking in the tilt and rise and fall mechanisms, all seemed sound enough. I'd pre configured the VFD so started stripping off the the old 3 phase DOL and wiring into the motor. The original DOL to motor wiring was a little charred from over heating on one phase at the motor end from a corroded terminal. Cleaned up the terminal and installed some new SY cable to go from the VFD to the motor (including an earth to chassis which was not present in the original wiring!).
Now the moment of truth. She ran! For about 30 seconds. A rather nasty rumble from the spindle bearings so I shut her down.
Oh well! I like a project.
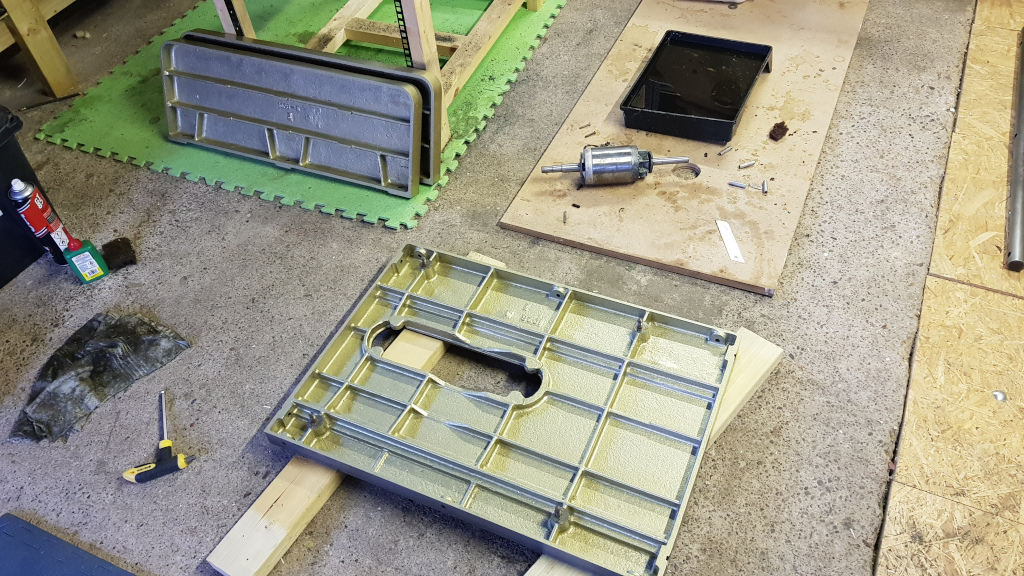
Now at this point you'll start to realise that I don't do things by halves. I could have just taken the spindle housing out and changed the bearings. But where is the fun in that! So out came the old whitworth socket set I'd inherited when my grandad passed away and two hours later the saw had "thrown up" all over the garage.
These pics are a couple of days later with work under way.
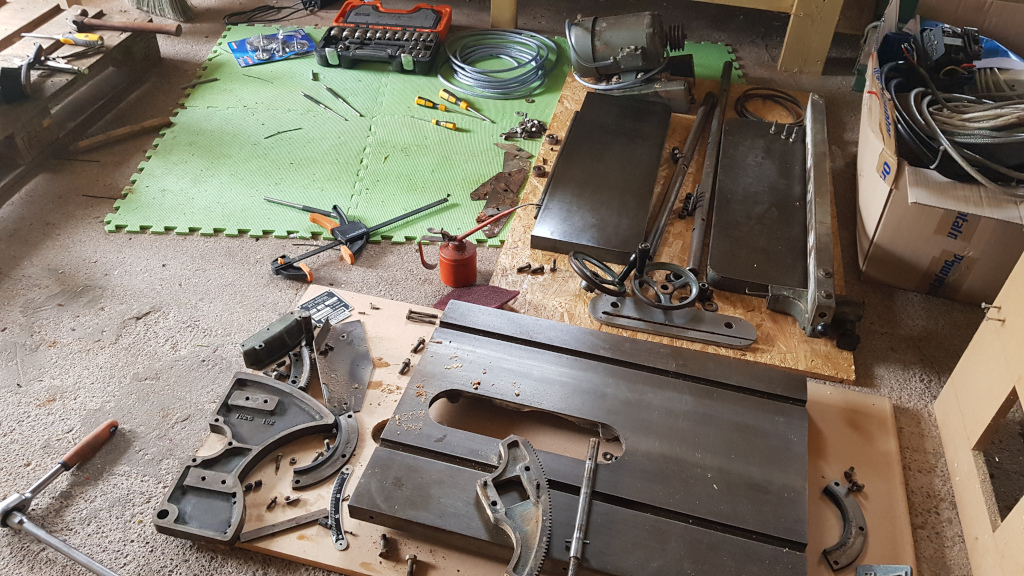
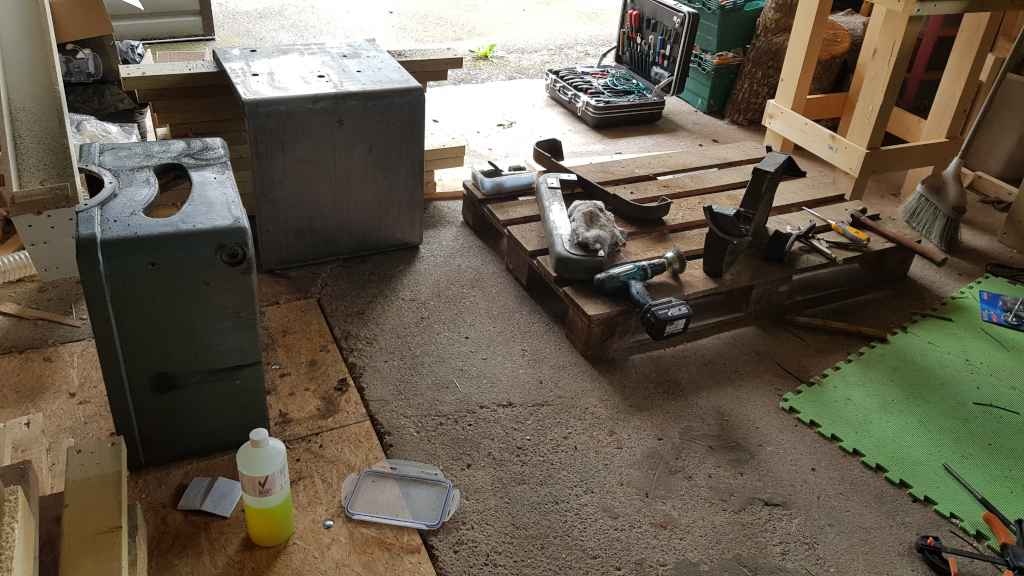
Please don't judge the mess!
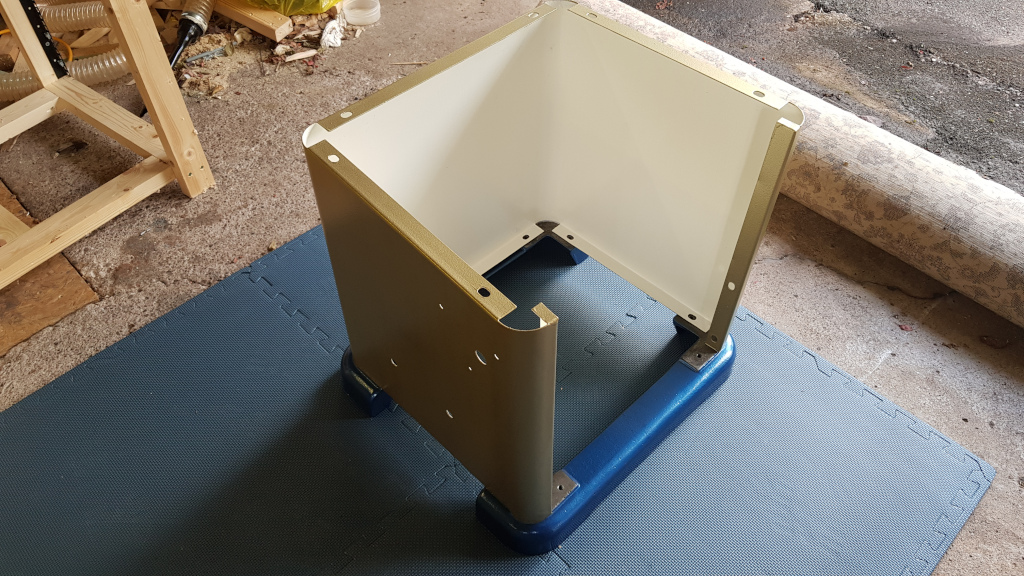
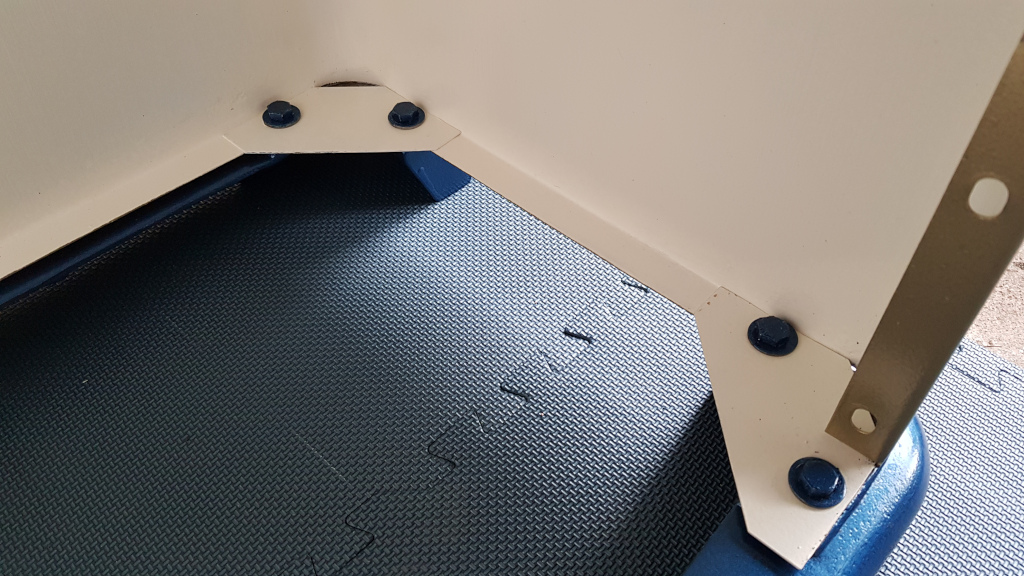
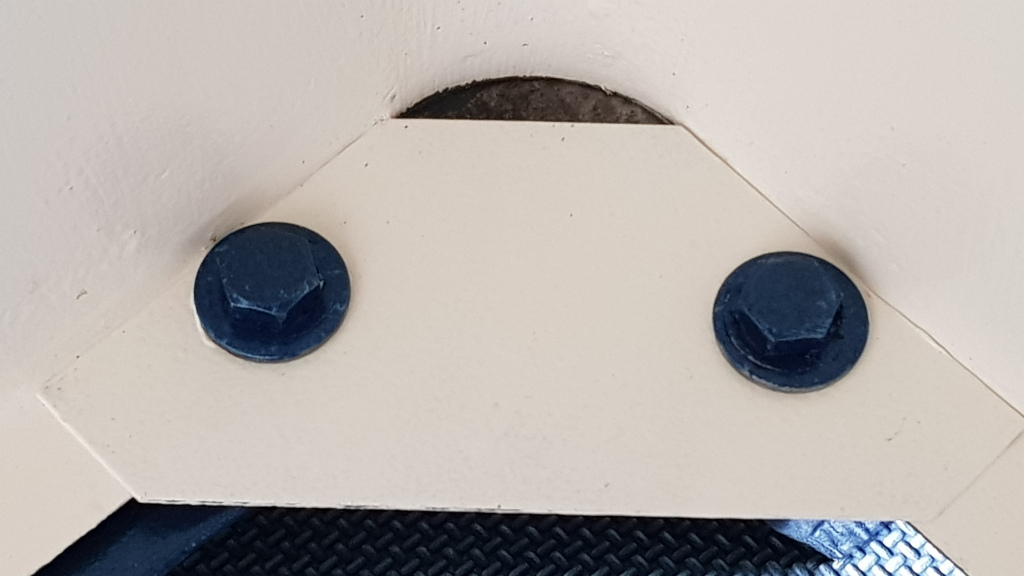
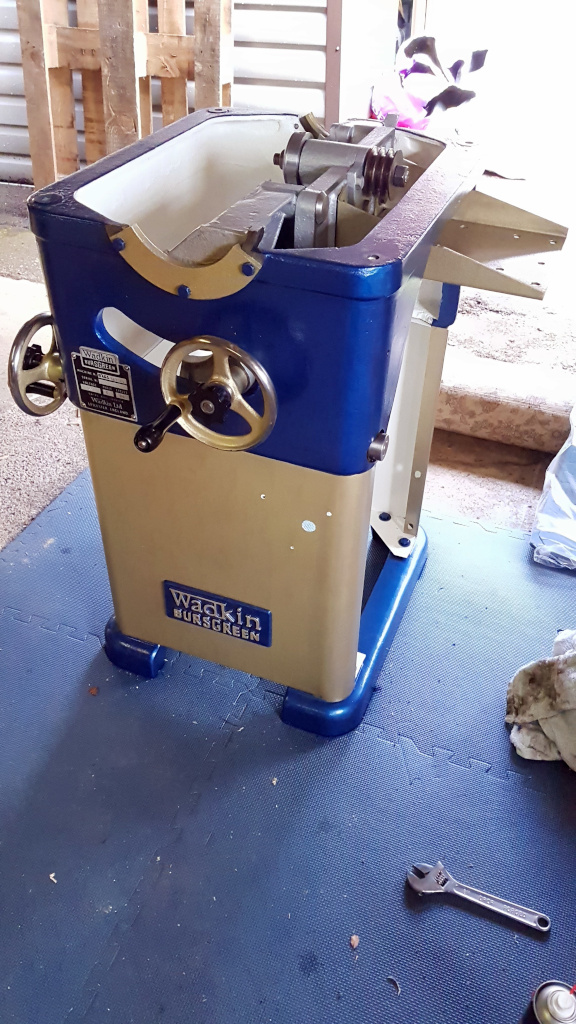
I'd decided somewhere along the way that this would become a full overhaul with a re-paint.
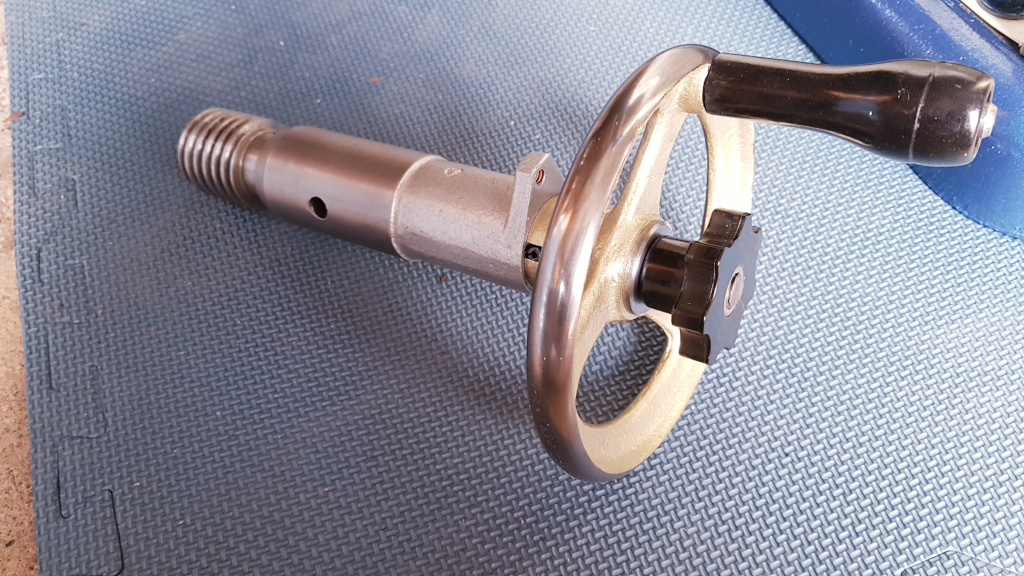
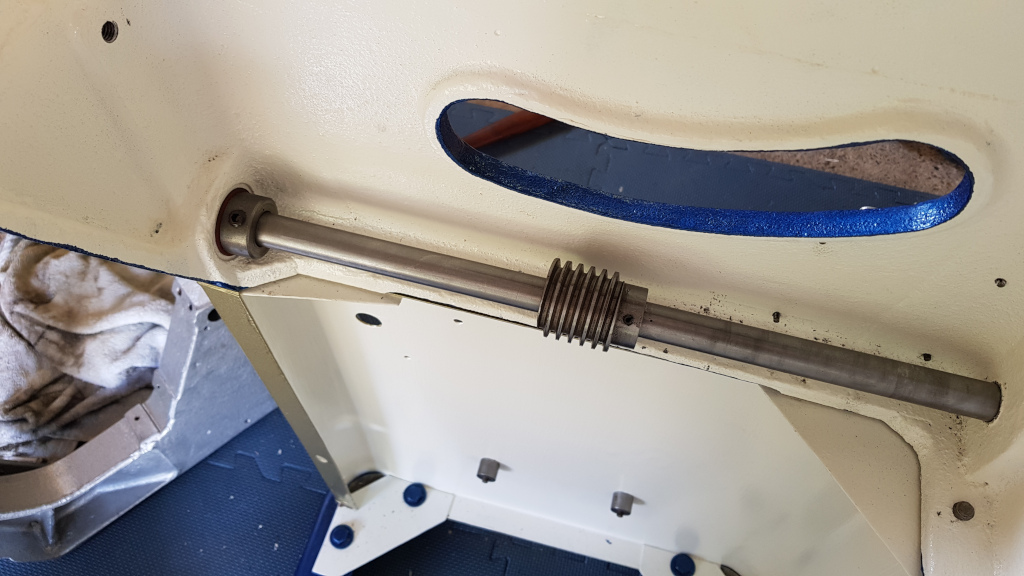
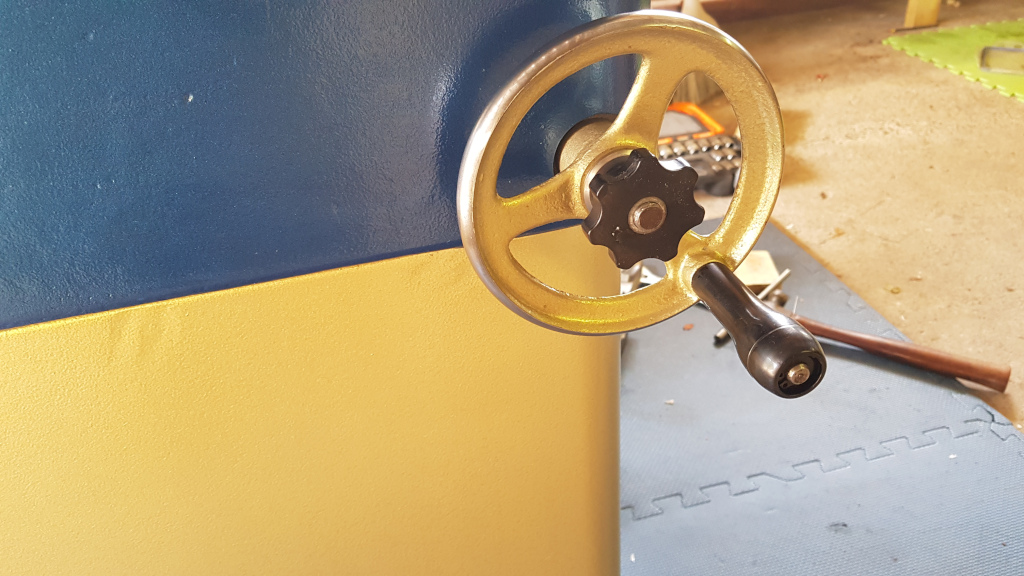
Unfortunately, in my exctitement I haven't photographed much of the dissassembly. Mostly just some "remember where this was attached" pictures for my own reference to accompany the original manual I found thanks to links on this site. However, as this is progressing I am trying my best to photograph more and more so that I can post my progress here. I hope to be able to document the assembly in as much detail as possible.
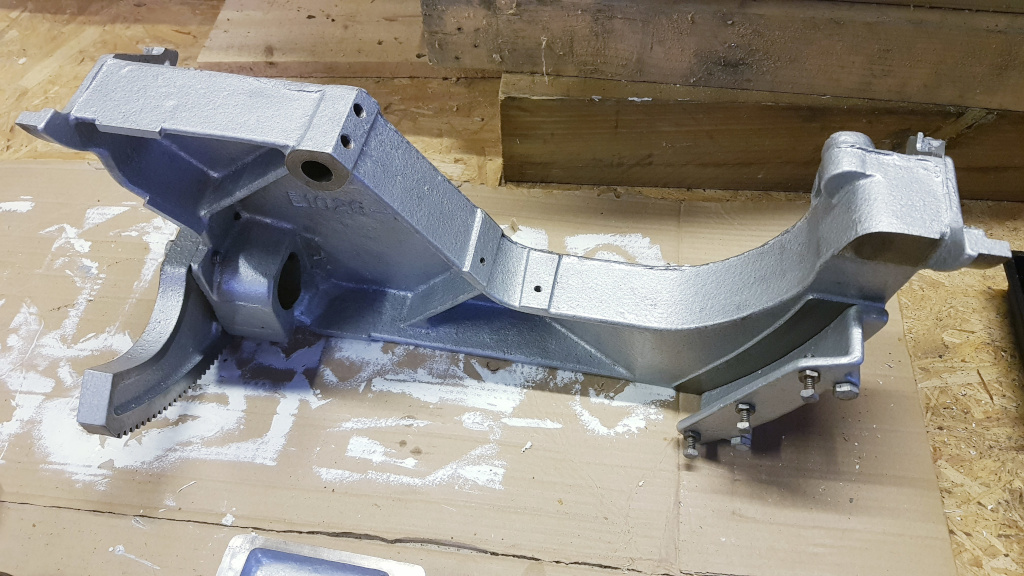
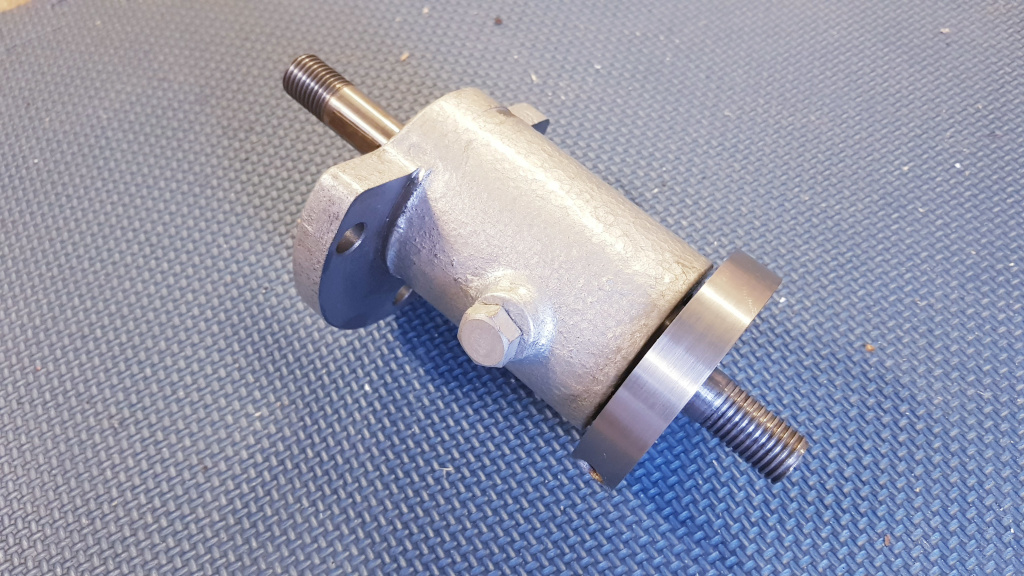
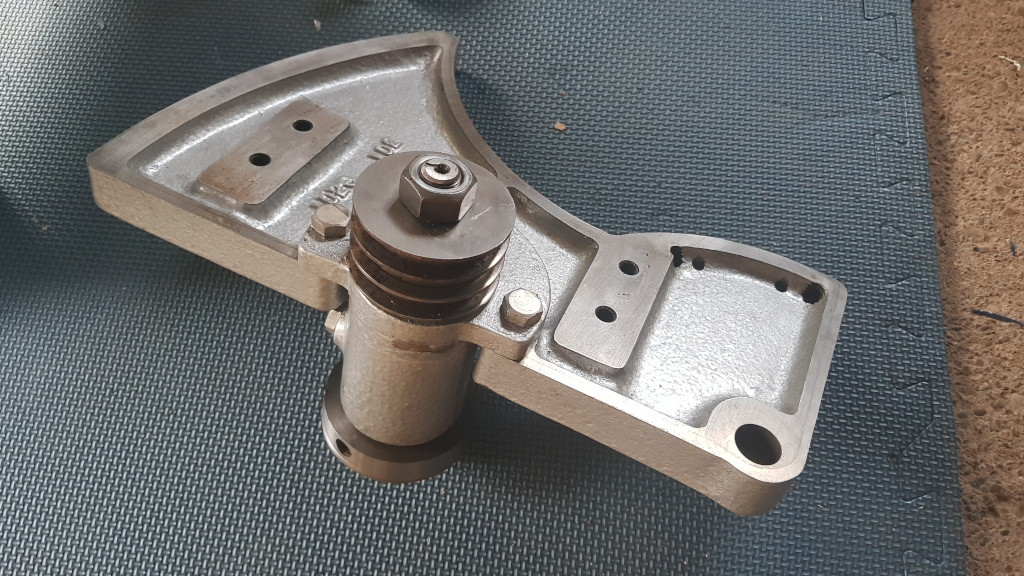
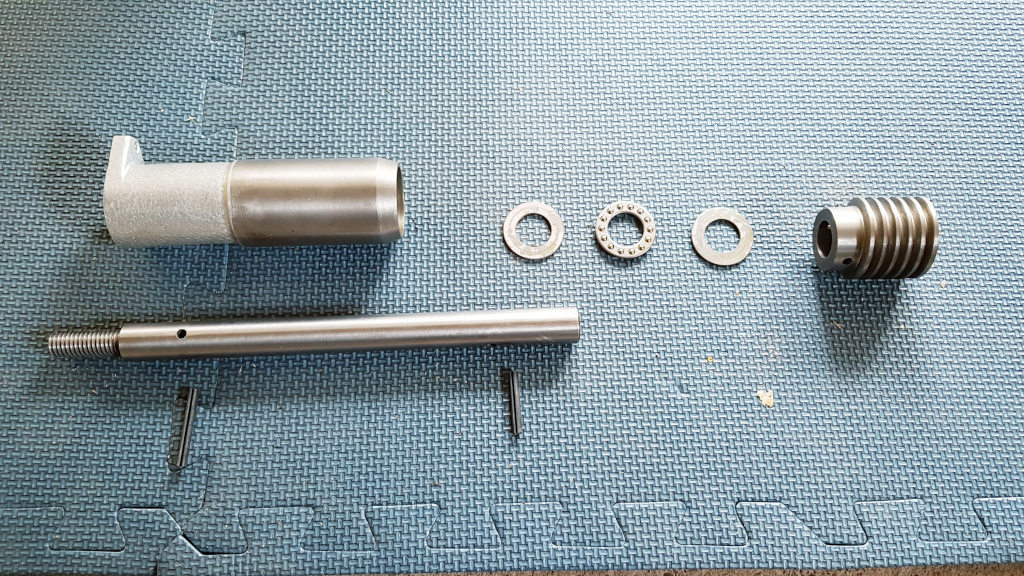
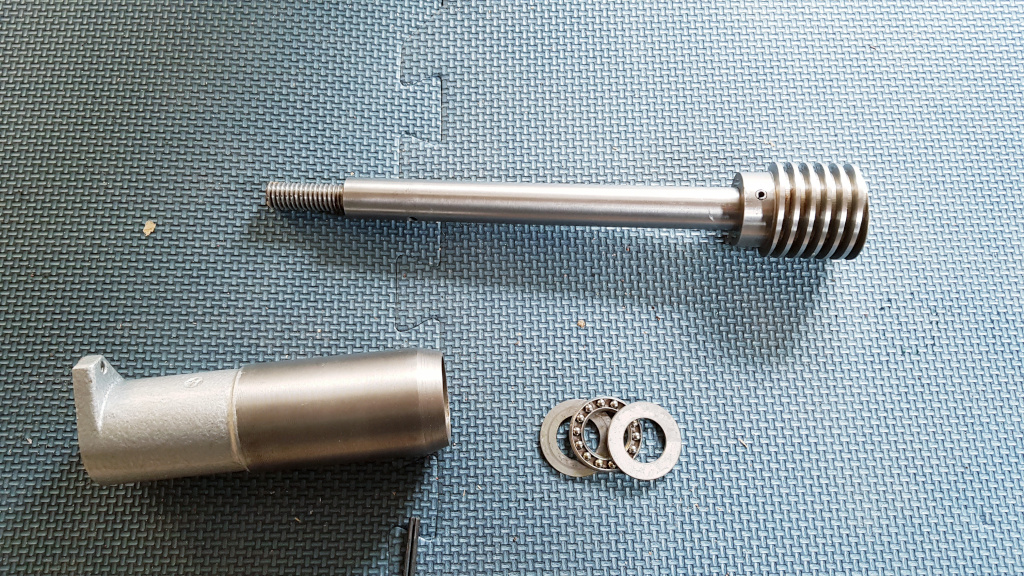
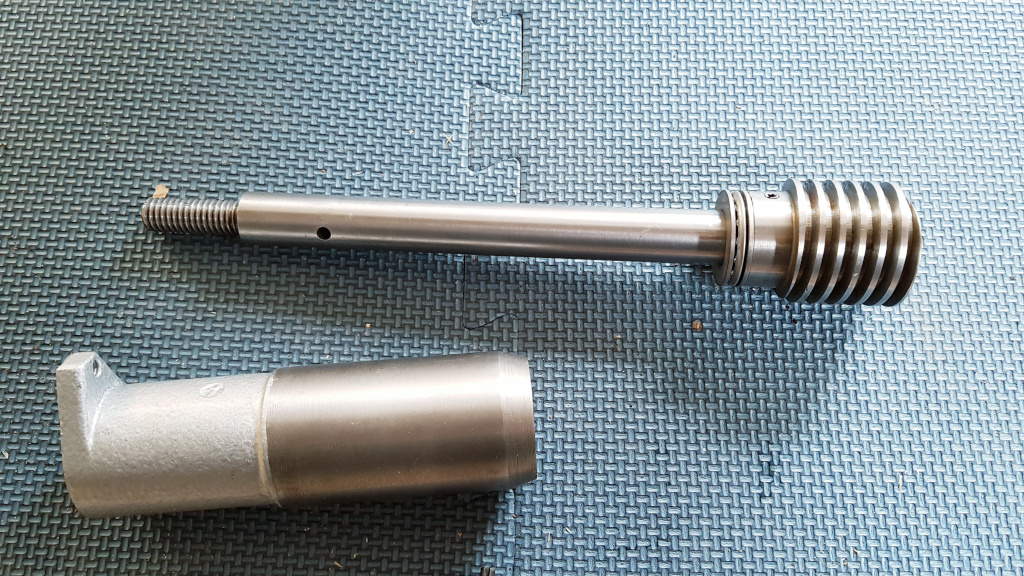
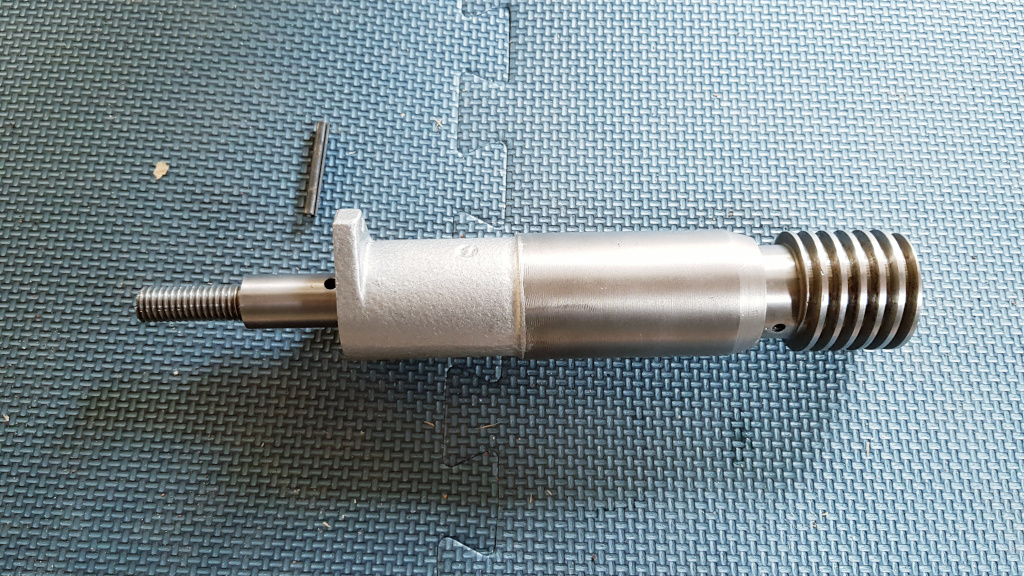
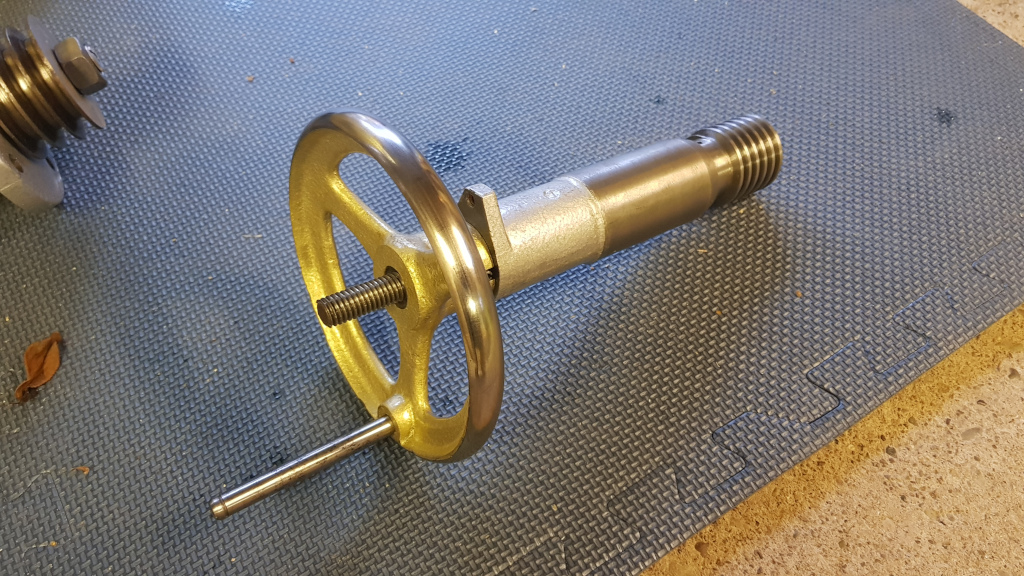
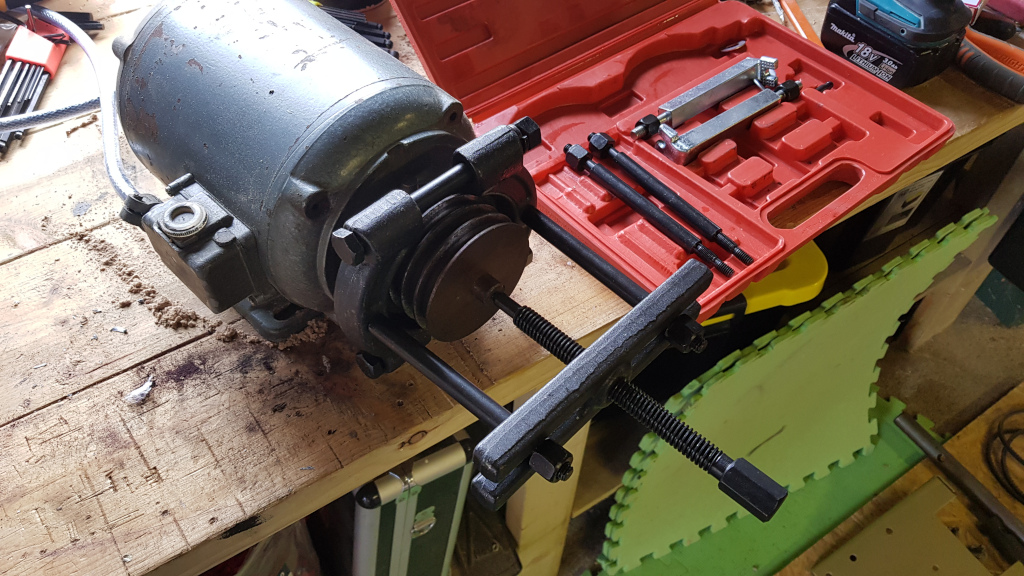
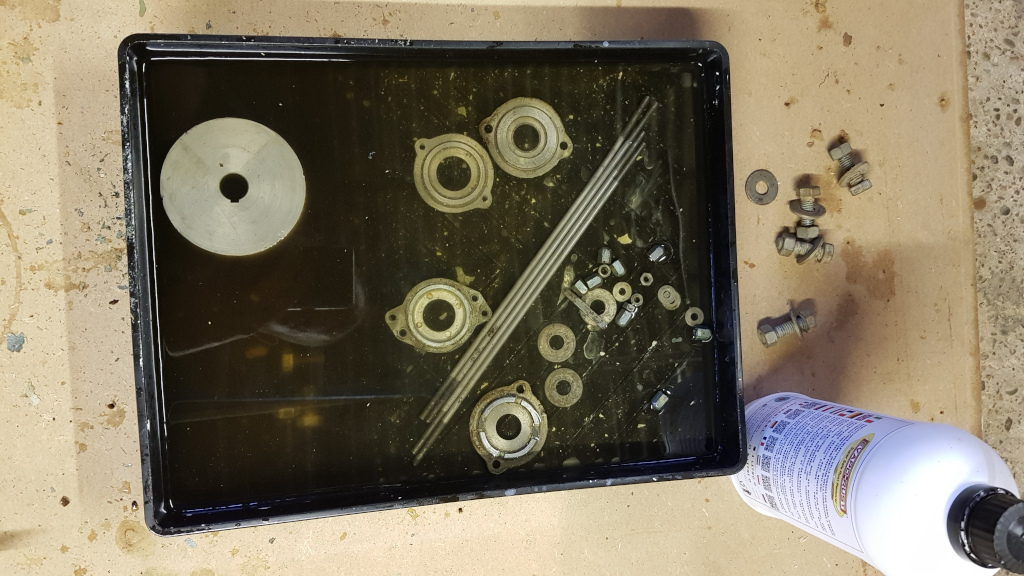
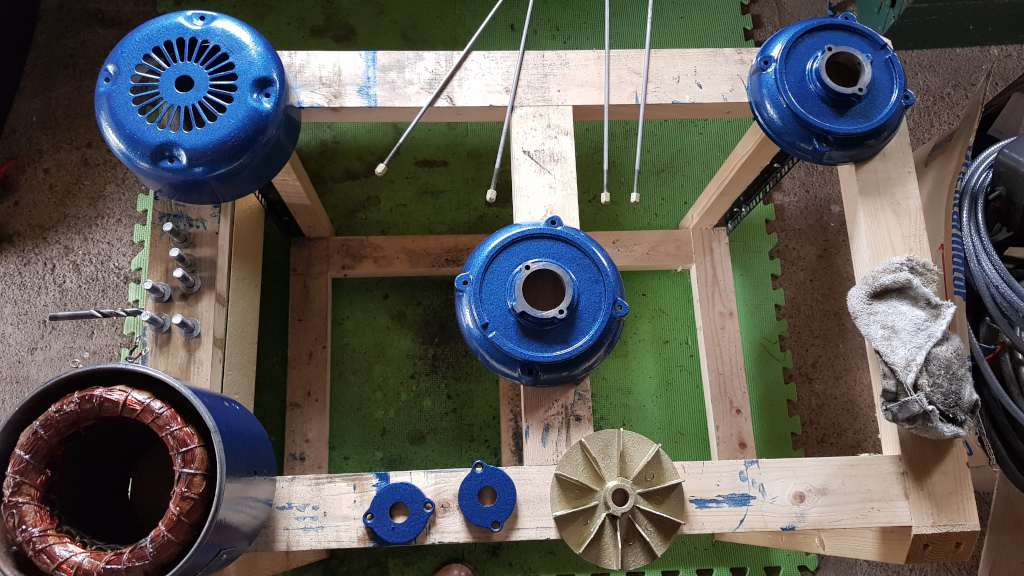
The last couple of weeks have been spent rebuilding the spindle, de-greasing and paint stripping and of course buying a few essential tools (bearing separator, imperial drift punches, BSW taps and dies etc.) to get the job done.
I'm having a great time, like the proverbial pig in s***.
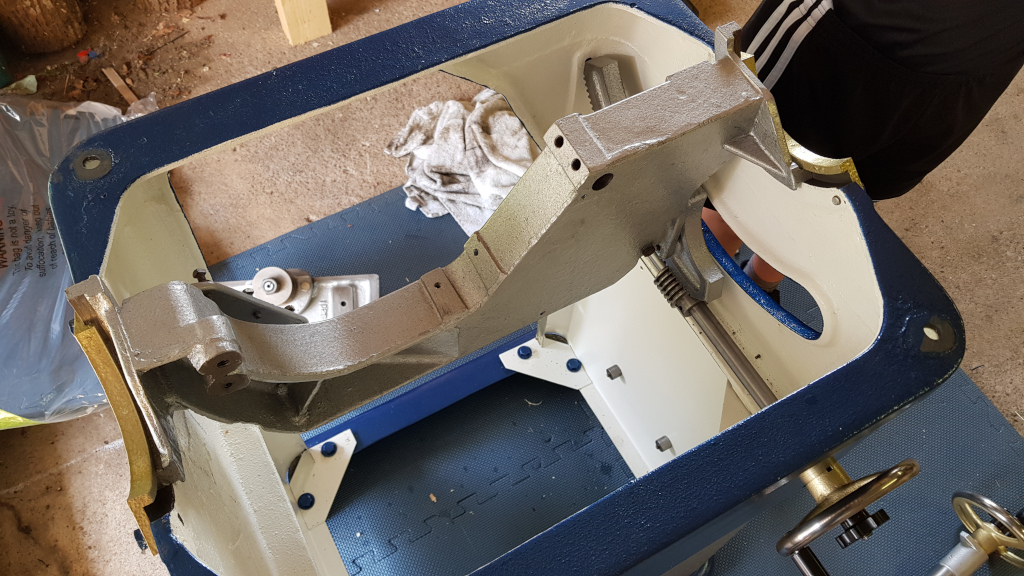
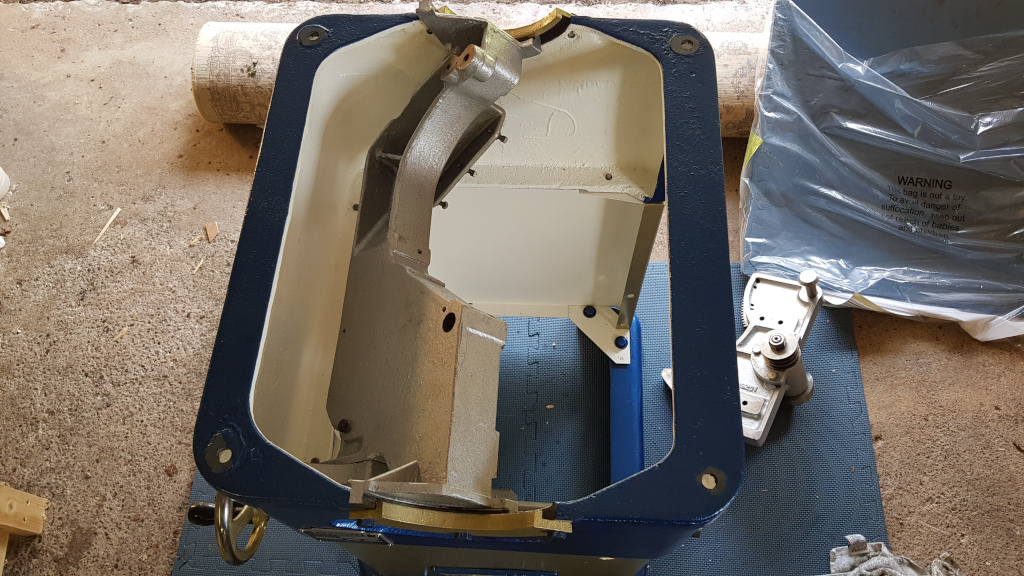
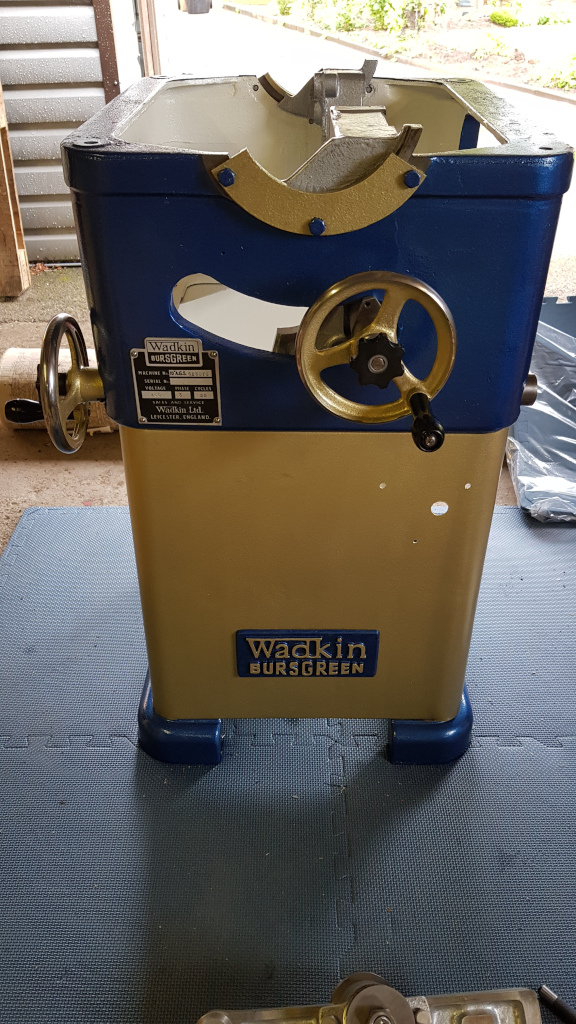
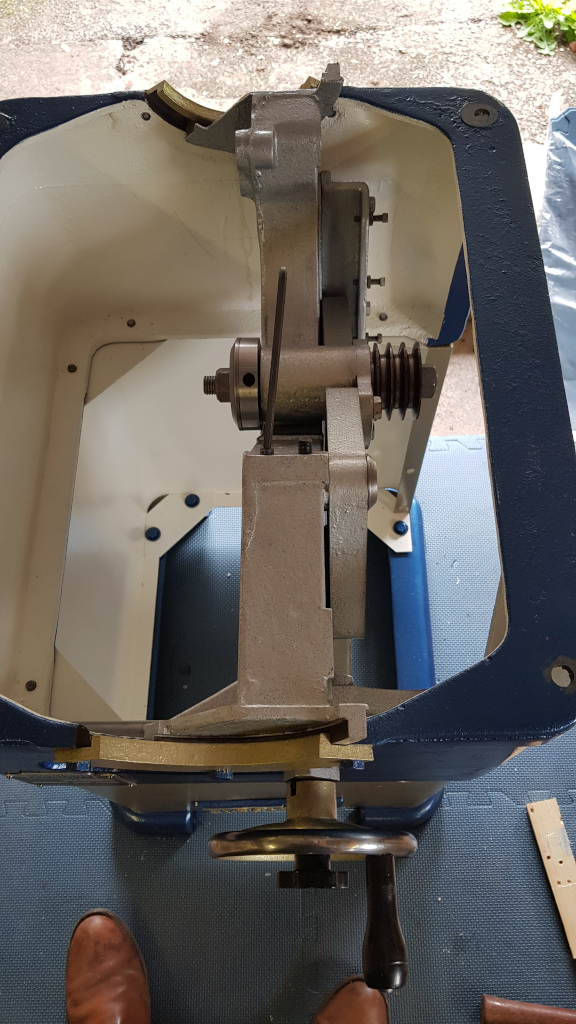
Here are some of the progress pictures I have managed to take along the way.
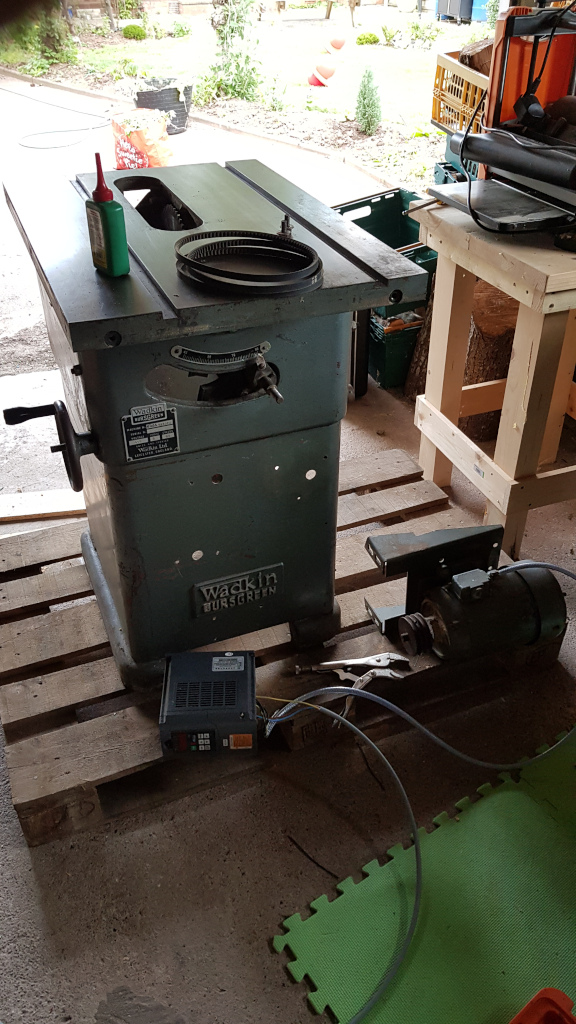
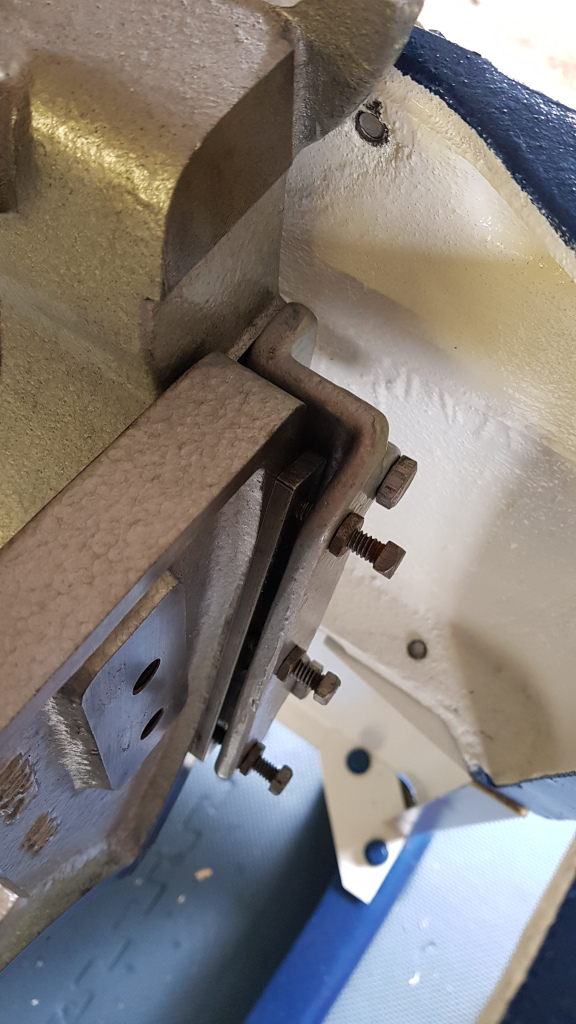
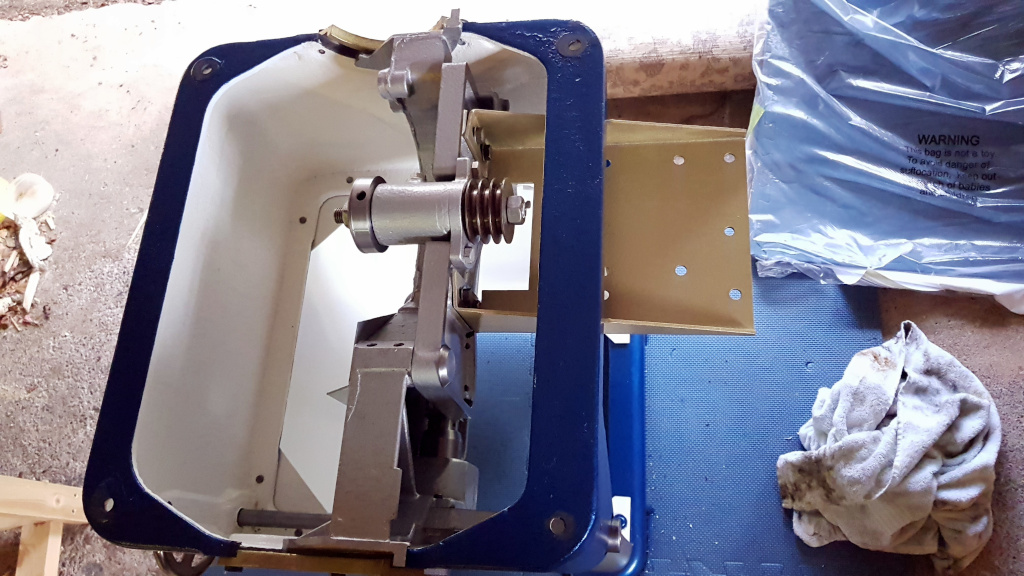
Disassembly underway.
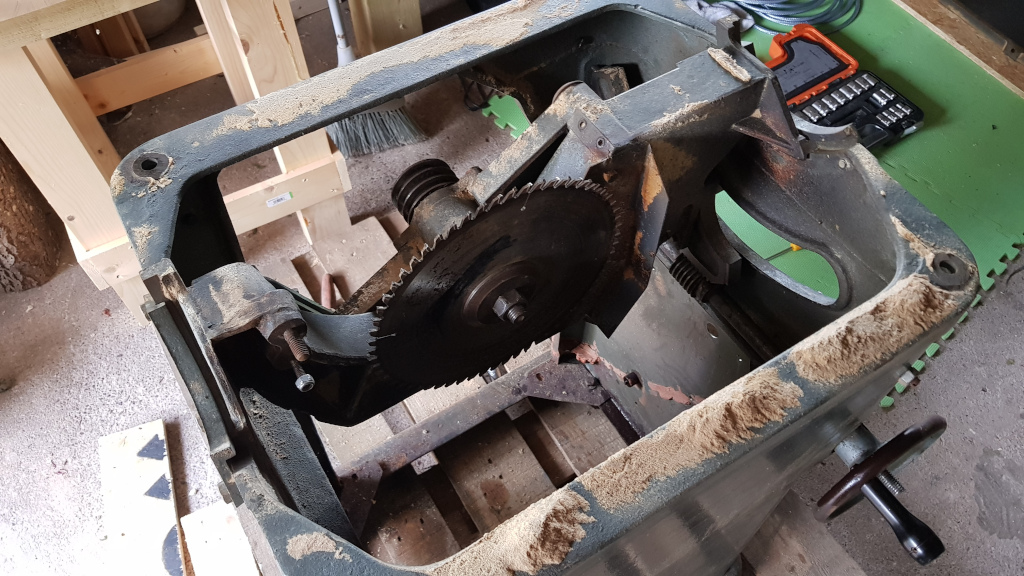
Dirty insides!
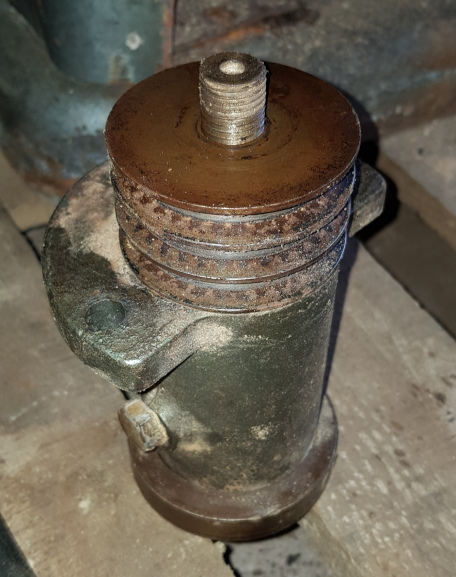
Spindle off.
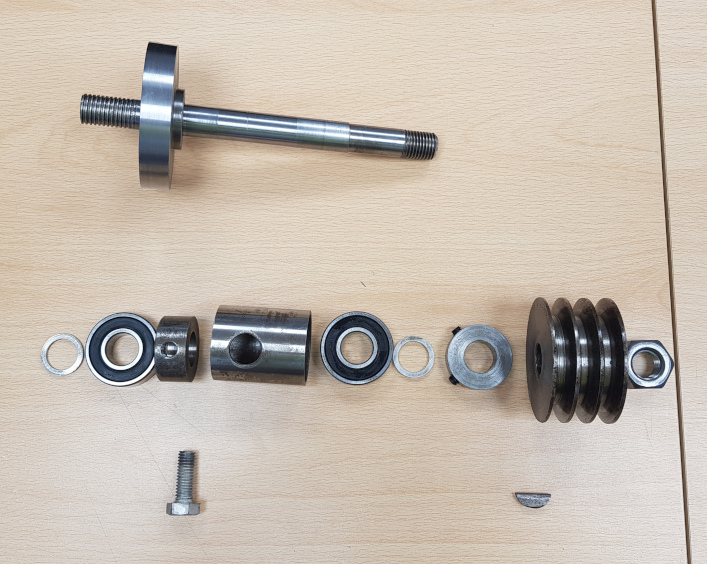
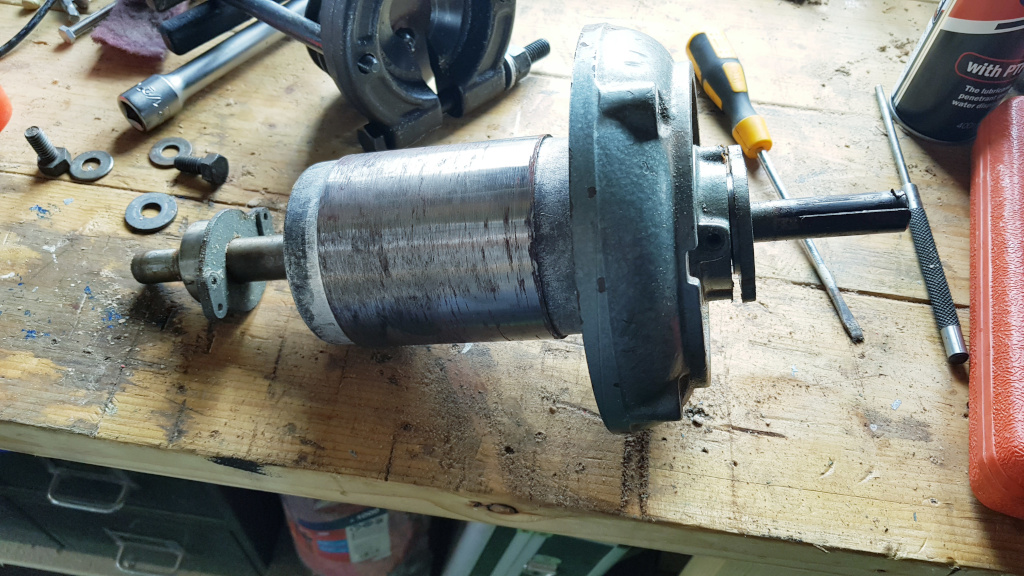
Spindle all cleaned up with new bearings for re-assembly.
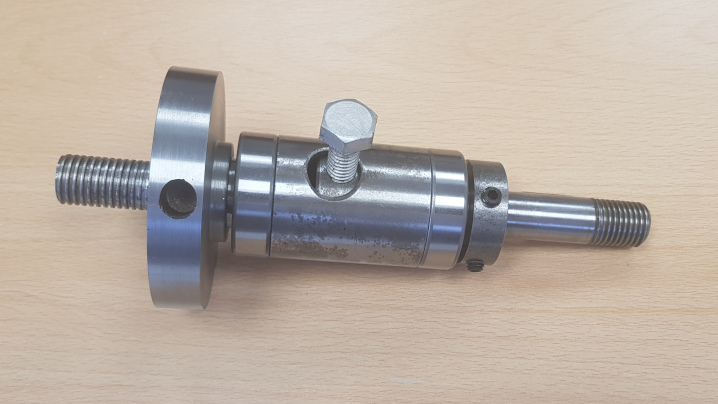
Spindle pressed back together. Will press into housing when painted.
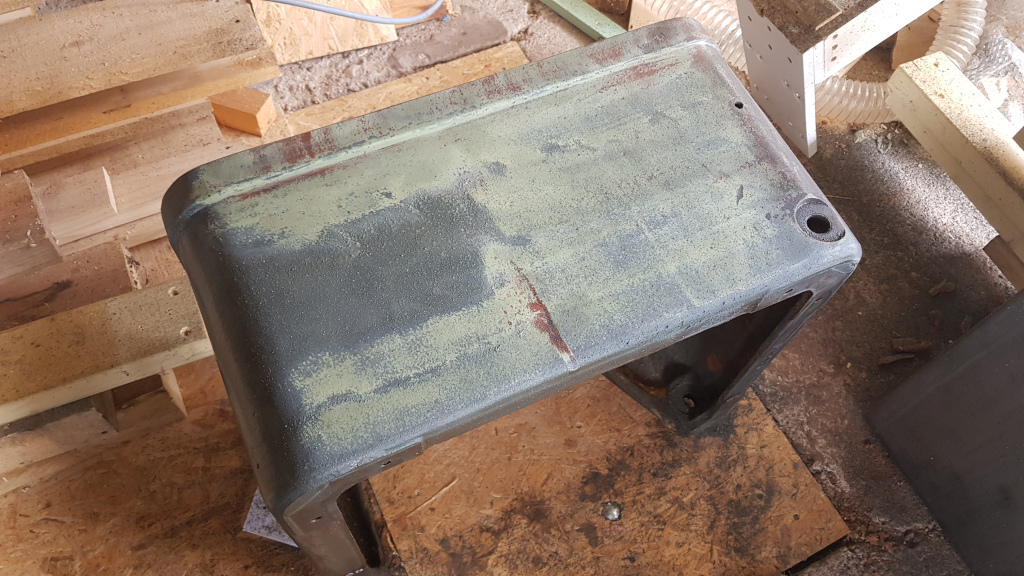
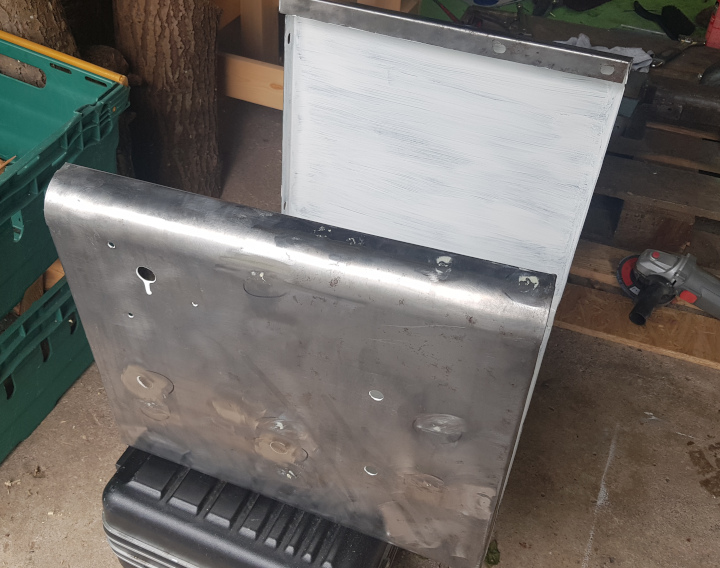
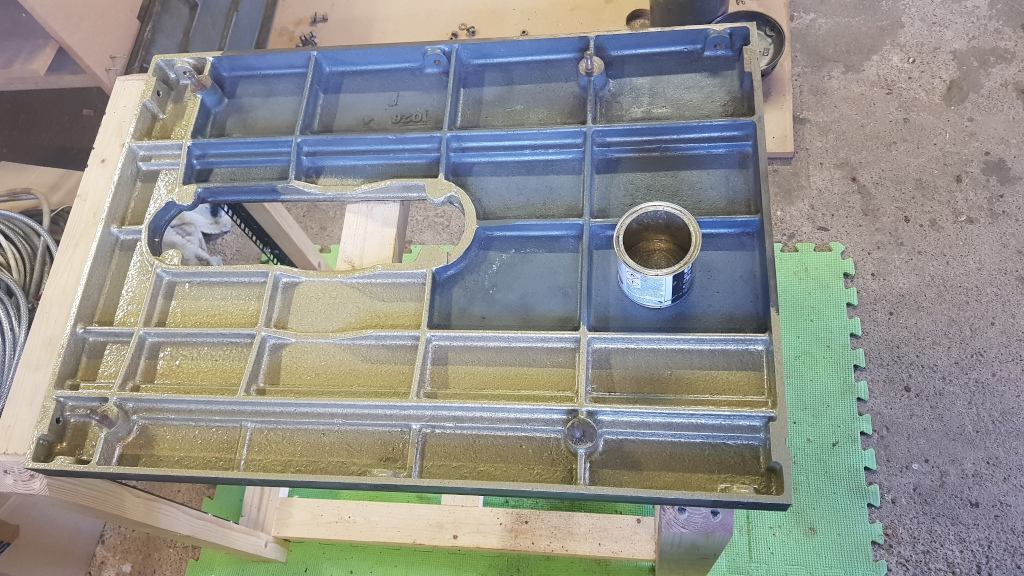
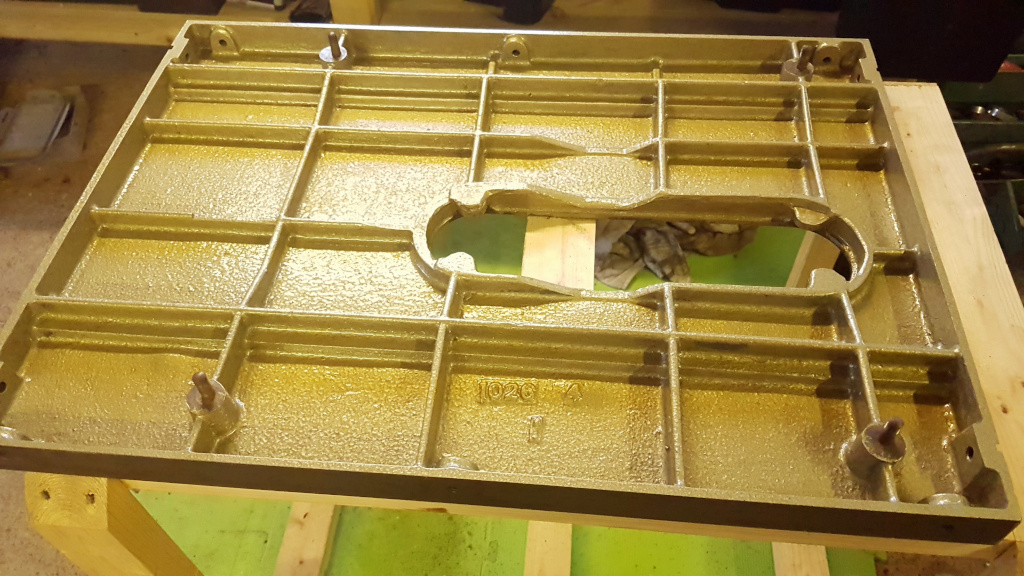
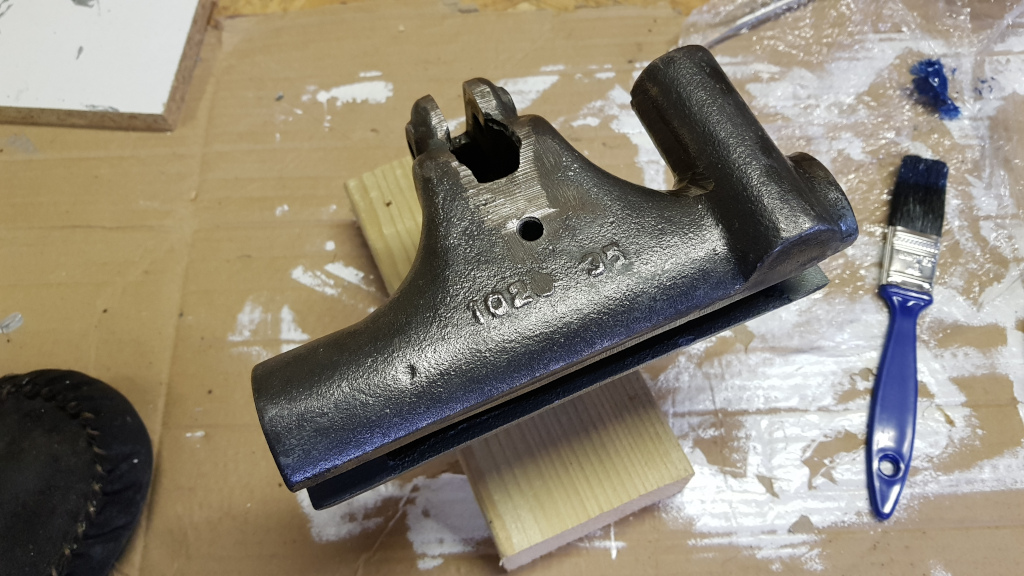
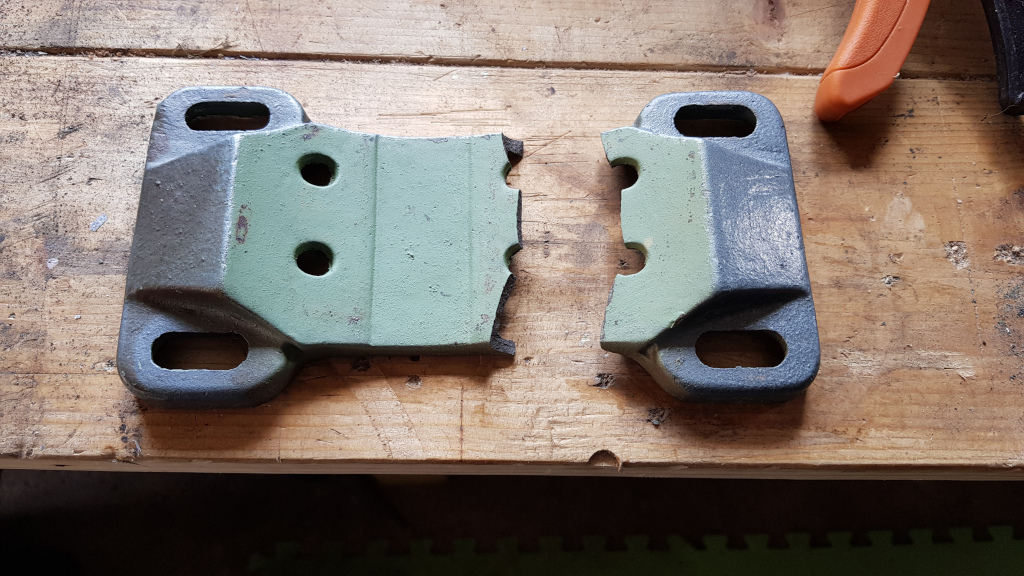
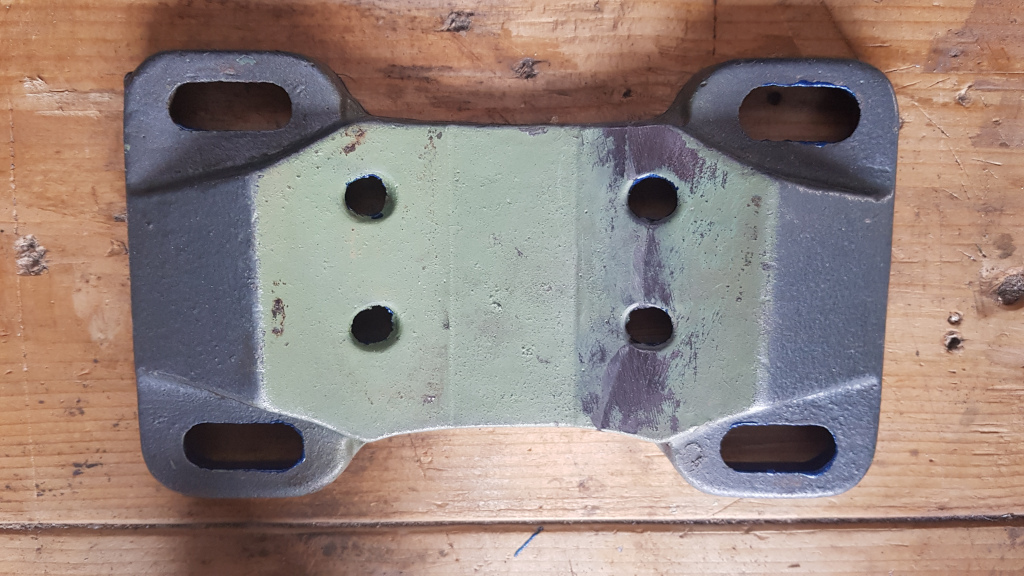
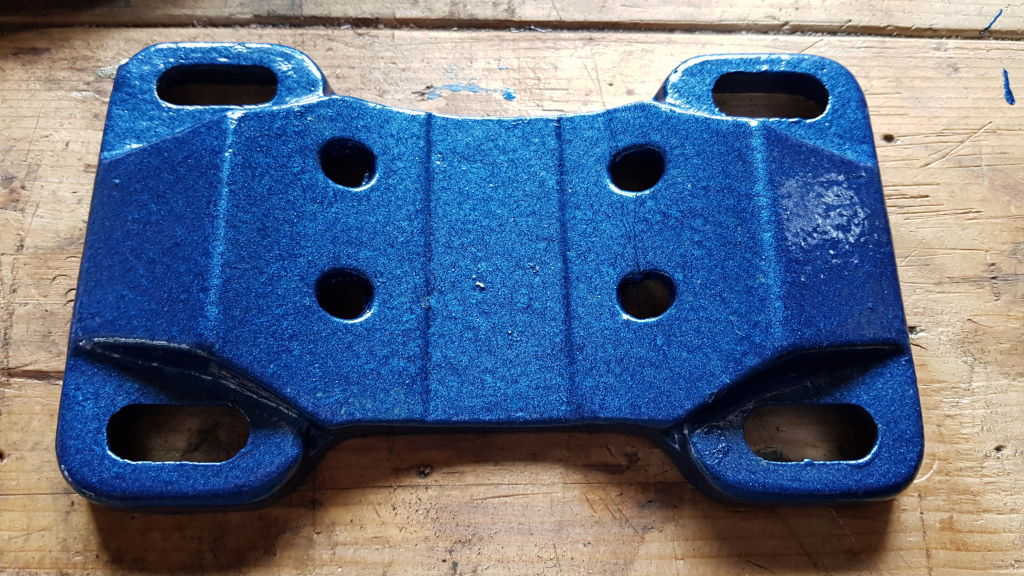
Hours of back-breaking paint stripping.
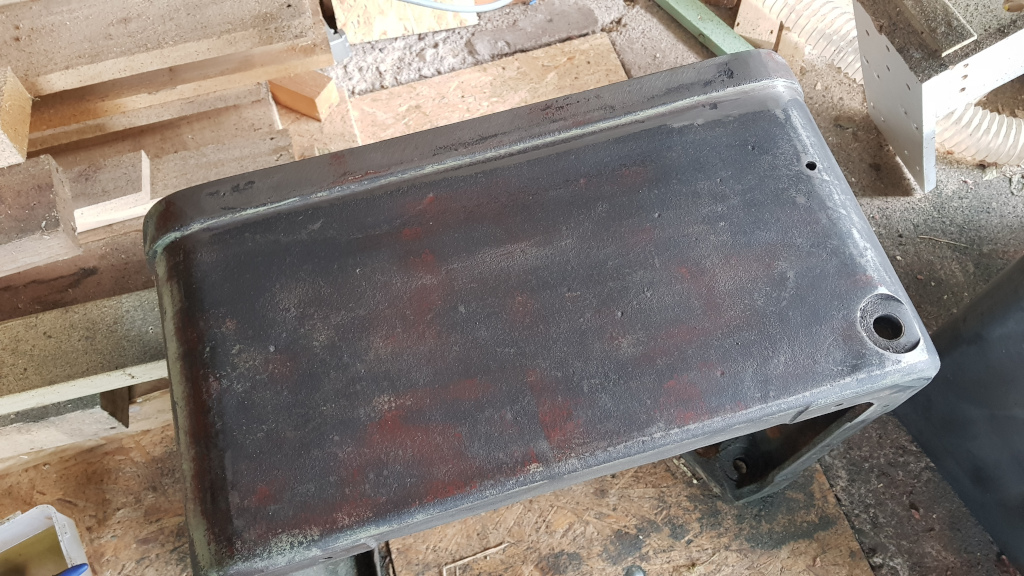
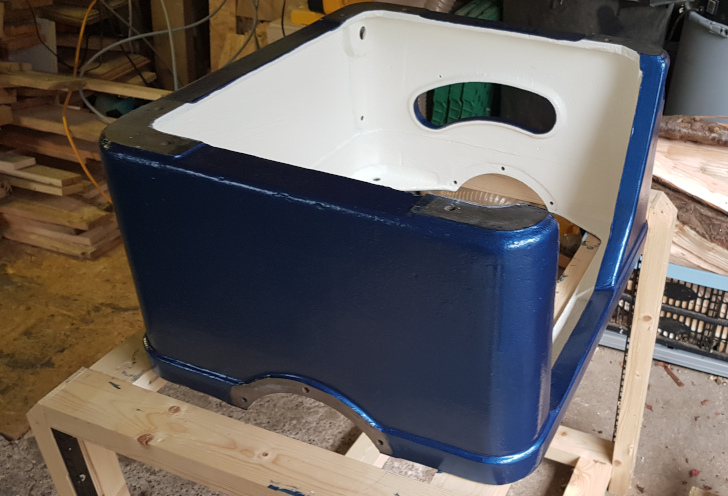
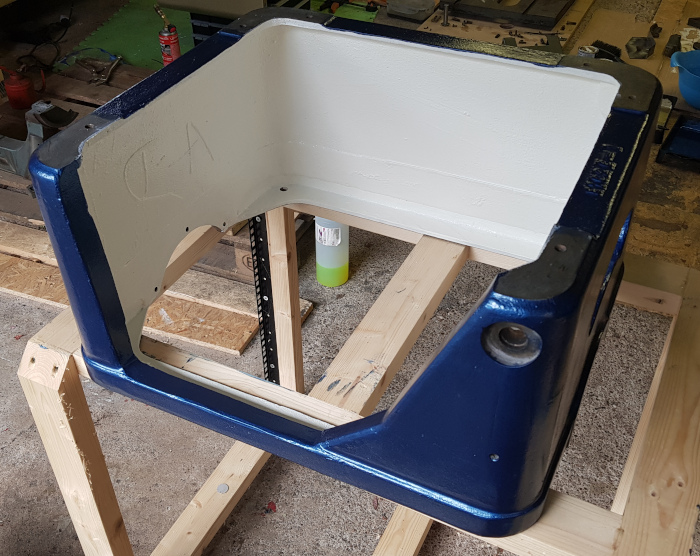
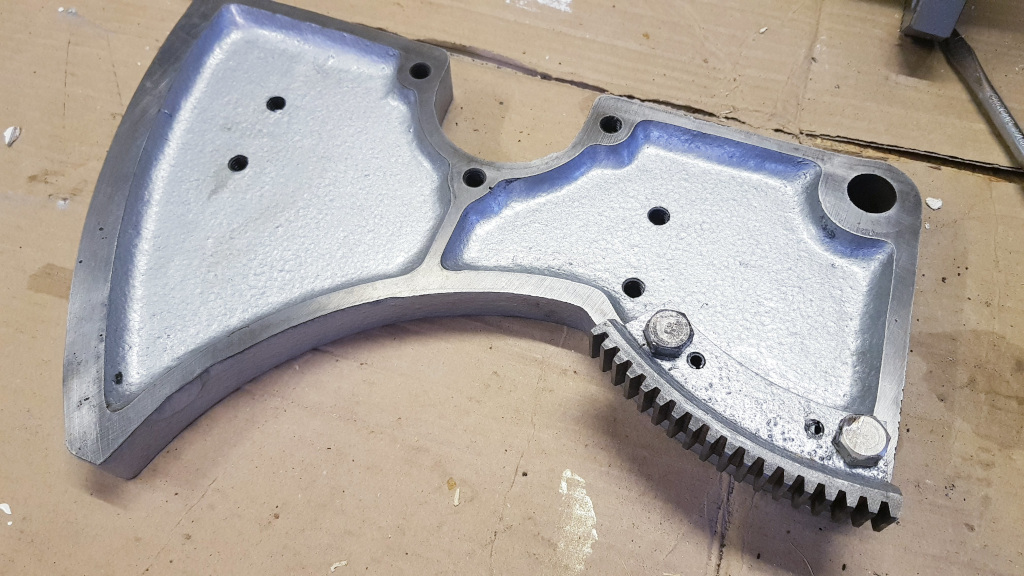
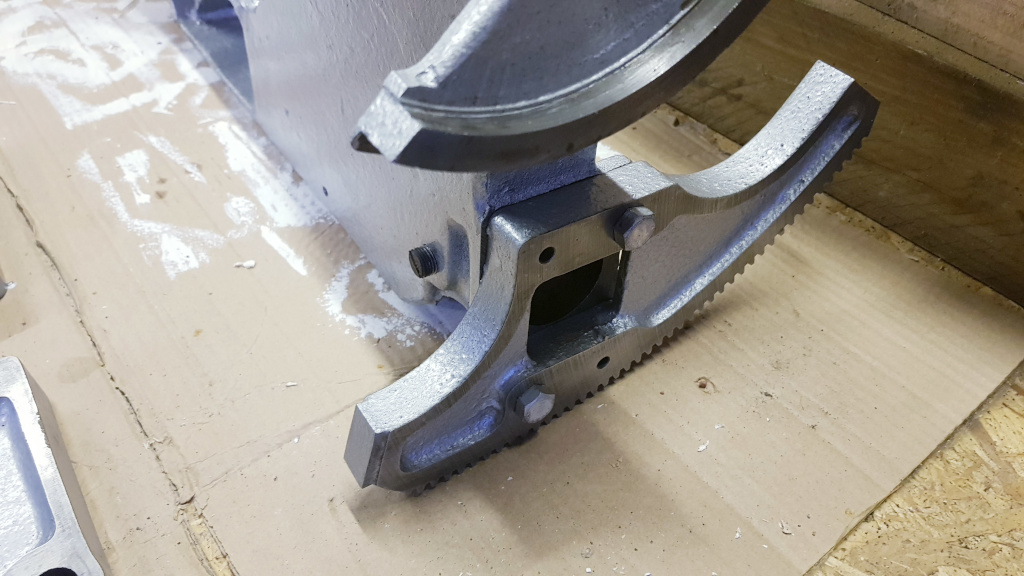
Down to the iron.
Thanks for taking the time to read. More to come.
Dave
I'm relatively new to posting here but have been reading for a while. My thanks to all who's articles and discussions have been of value to myself and others over the years.
A couple of weeks ago I acquired what I consider to be my first "proper" bit of kit. As the title says, a Wadkin 10 AGS. From the test number and this fine link www.wadkinrestorations.co.uk/machine-date.html she appears to have been made in 1960.
I had been bidding on various saws on ebay over the last months but was never lucky enough to win an auction. My trigger finger is not as quick as it used to be!
Anyway, I bit the bullet and made a best offer on a "Buy it Now". The saw looked to be in relatively good nick and the seller was really helpful, although the splitter and crown guard were missing but I can sort this. I paid a little more than I wanted to but this one could be delivered on a pallet. Once I'd factored in the cost of hiring a van and driving the length of the country, (these things never seem to come up locally) it actually worked out pretty well. All in delivered I was down £610 at the end of the day.
Here she is in the auction listing.

There was a minor cock up in delivery. The lorry blew it's clutch about 20 miles from me and had to be towed back to base. This was on a Thursday and they couldn't re-deliver until the Monday. A whole weekend of pacing. I was itching to start playing. As the machine was fitted with a three phase motor, I'd ordered a cheap Chinesium VFD from ebay in advance (HuanYang if anyone is interested). This had turned up on the Friday so I got it all hard wired in to the CU in the garage over the weekend to try and cure that itch.
Finally, Monday morning came. The driver was late (not his fault). They'd loaded the truck arse about face and I was supposed to be at the back, first drop, but they'd stuck another large machine behind and he'd had to deliver that first. The driver was great and dragged it down the drive and into the garage on a pallet truck for me.
And now in my posession.


So now I'm late for work and had to dash before having a play. Arrggg.
Home from work at last and straight out to the "shop". Now, even though this saw was sold as working I thought it best to give her the once over before spinning up a wheel of death to 3000+ RPM. The spindle rotated freely, and although there was some play and sticking in the tilt and rise and fall mechanisms, all seemed sound enough. I'd pre configured the VFD so started stripping off the the old 3 phase DOL and wiring into the motor. The original DOL to motor wiring was a little charred from over heating on one phase at the motor end from a corroded terminal. Cleaned up the terminal and installed some new SY cable to go from the VFD to the motor (including an earth to chassis which was not present in the original wiring!).
Now the moment of truth. She ran! For about 30 seconds. A rather nasty rumble from the spindle bearings so I shut her down.
Oh well! I like a project.
Now at this point you'll start to realise that I don't do things by halves. I could have just taken the spindle housing out and changed the bearings. But where is the fun in that! So out came the old whitworth socket set I'd inherited when my grandad passed away and two hours later the saw had "thrown up" all over the garage.
These pics are a couple of days later with work under way.


Please don't judge the mess!
I'd decided somewhere along the way that this would become a full overhaul with a re-paint.
Unfortunately, in my exctitement I haven't photographed much of the dissassembly. Mostly just some "remember where this was attached" pictures for my own reference to accompany the original manual I found thanks to links on this site. However, as this is progressing I am trying my best to photograph more and more so that I can post my progress here. I hope to be able to document the assembly in as much detail as possible.
The last couple of weeks have been spent rebuilding the spindle, de-greasing and paint stripping and of course buying a few essential tools (bearing separator, imperial drift punches, BSW taps and dies etc.) to get the job done.
I'm having a great time, like the proverbial pig in s***.
Here are some of the progress pictures I have managed to take along the way.

Disassembly underway.

Dirty insides!

Spindle off.

Spindle all cleaned up with new bearings for re-assembly.

Spindle pressed back together. Will press into housing when painted.

Hours of back-breaking paint stripping.

Down to the iron.
Thanks for taking the time to read. More to come.
Dave


