TheTiddles
Established Member
I said I'd put up my neighbors shed, once she'd got one, to save her the hassle, seing as she tried to bang a washing line in with a wooden spoon and a whitworth spanner it was probably best for her and the shed.
Problem was she couldn't find anything that was any good, 6'x4' are plentiful but if you want anything smaller they're the same naff quality and often a lot more expensive. So the design brief was not too expensive and nothing "that resembled a public toilet". Rest assured, I have never made one of those.
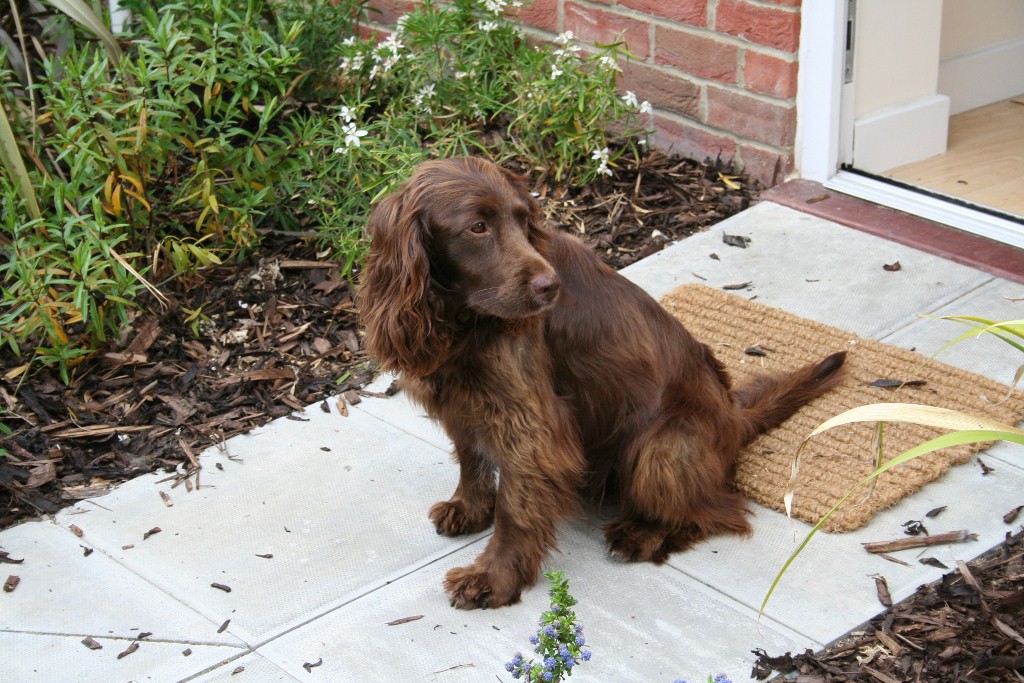
For one week only, this commission is bought to you in conjunction with... workshop dog!
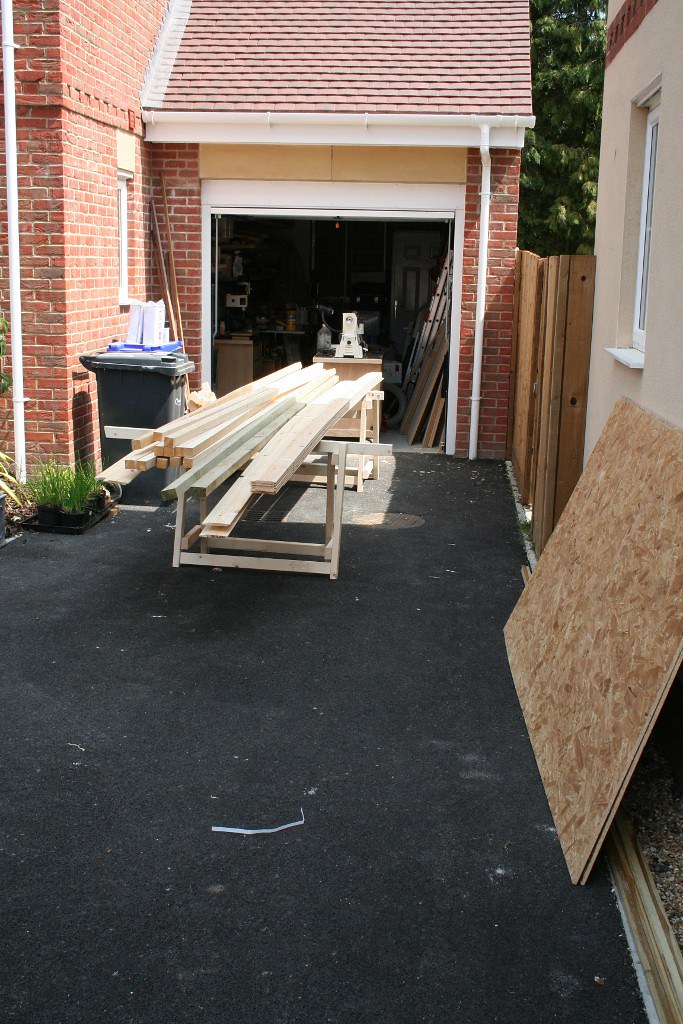
So, in the usual way we start with getting some wood. I calculated it out and added a bit of slack, with the exception of the shiplap, no reason, I just wanted to leave a mistake in to compensate for later. Chandler's Ford Timber delivered free withing 24 hours and undercut everyone else by about £40 on a job costing about £200, which is quite a bit, I shall be using them again and they're open on Saturday mornings too.
Here it is all piled up
Some treated, most plain and two sheets of OSB, first time I've used the stuff. I should mention the largest outside building I've ever built is a rabbit hutch, but the principle's the same...
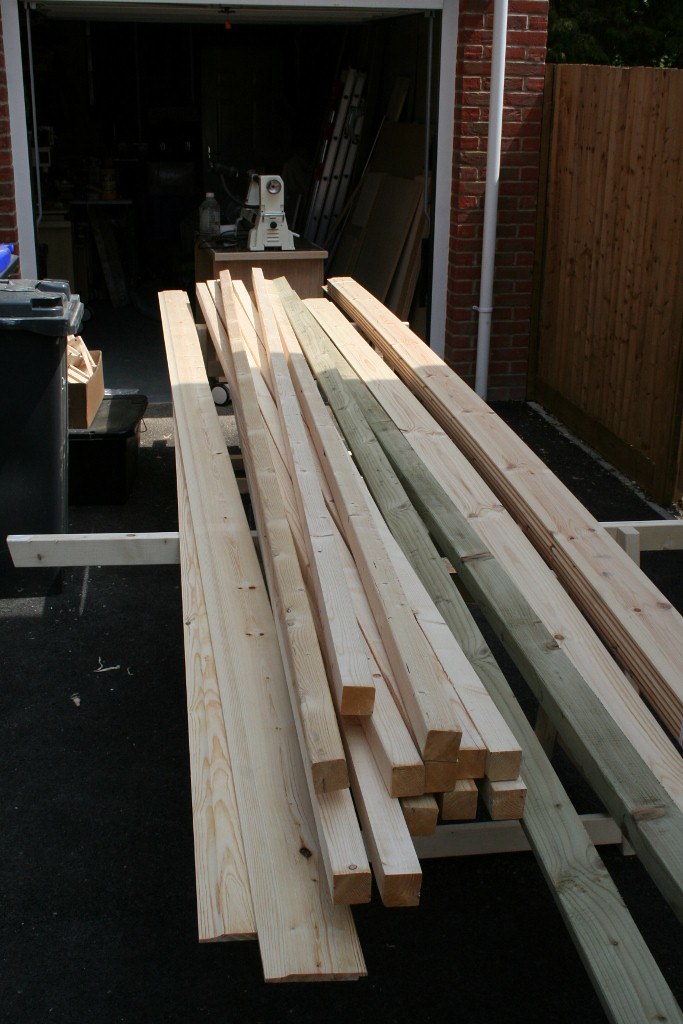
Interestingly, the 2"x2" was ripped down CLS, at first that put me off however having three planed sides and two eased corners meant that with a little careful planning I could leave a nice smooth surface on the inside
As the treatment needed doing first I went and had a coffee and left the creative director to do the messy bit
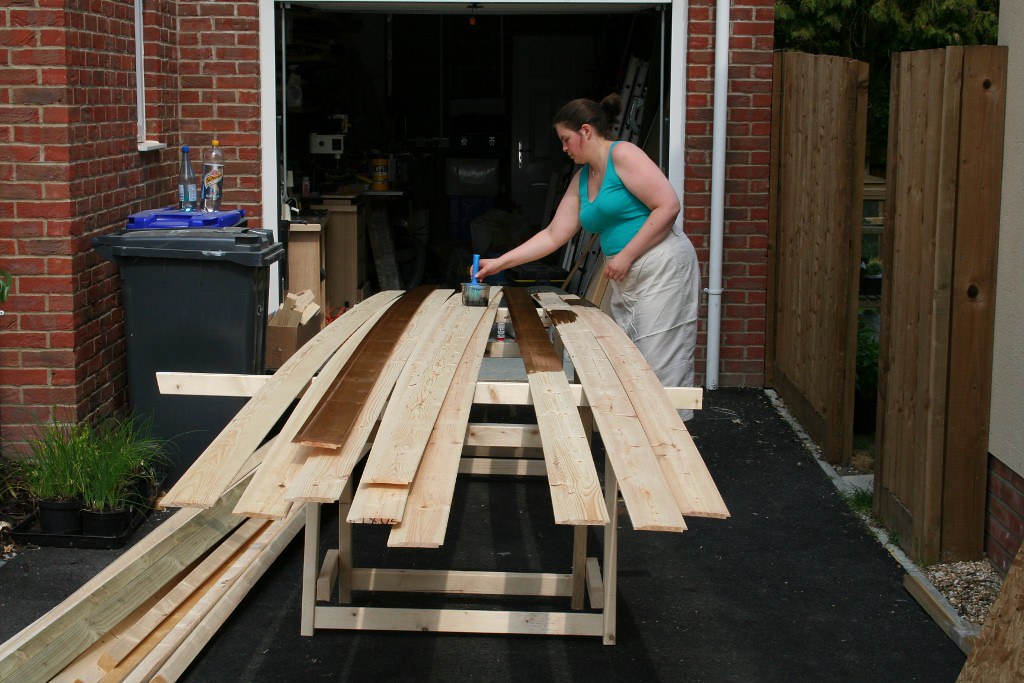
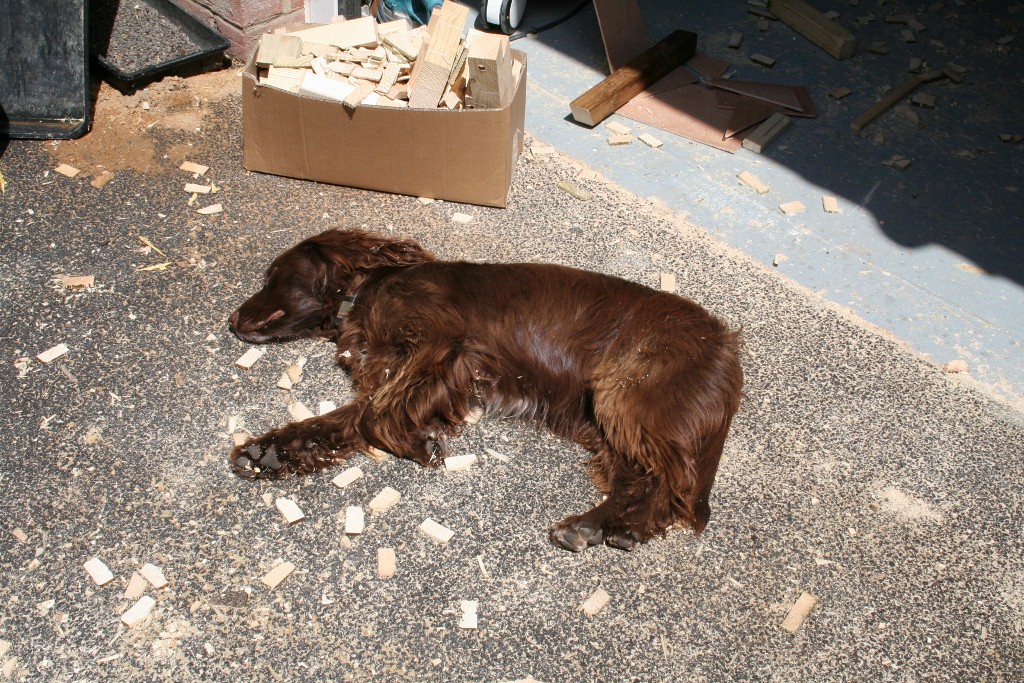
After a few hours, both she and workshop dog succumbed to the fumes and I had to finish them off
All the construction is lap joints which I cut roughly on the table saw then bashed out the loose bits with a hammer and chisel. Any fine tuning is done with a rabbet block plane
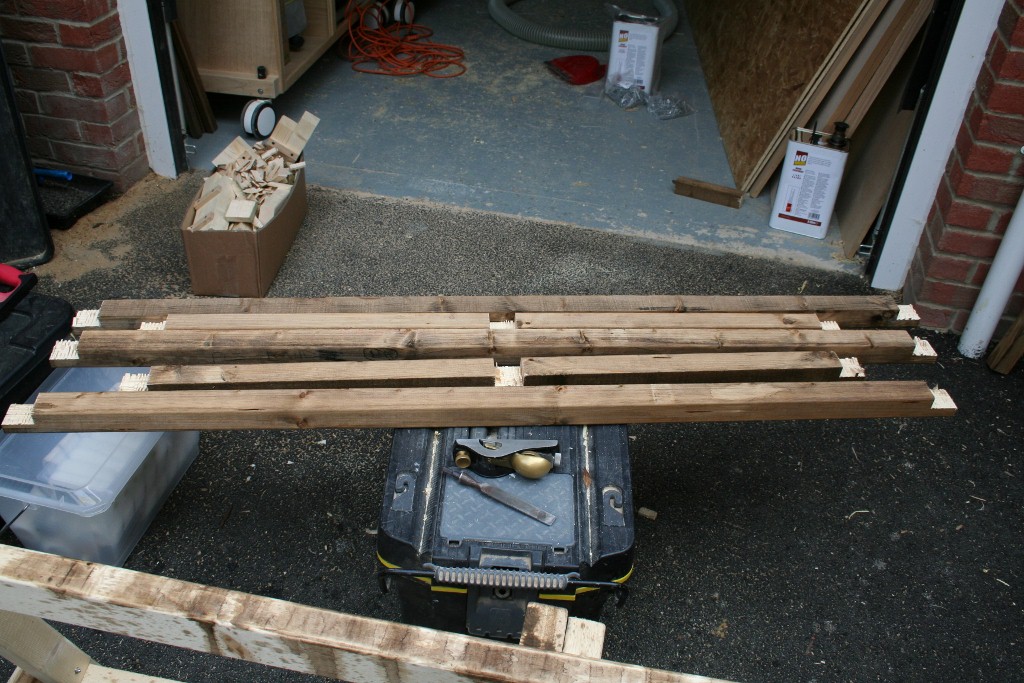
Usefully, the wall the shed is against is my garage wall so I don't have to work too far from the site. Here's the back panel done.

It took about a total of one day to make the three main panels and treat them and the floor, it takes a bit longer when you have to keep retrieving the workpieces
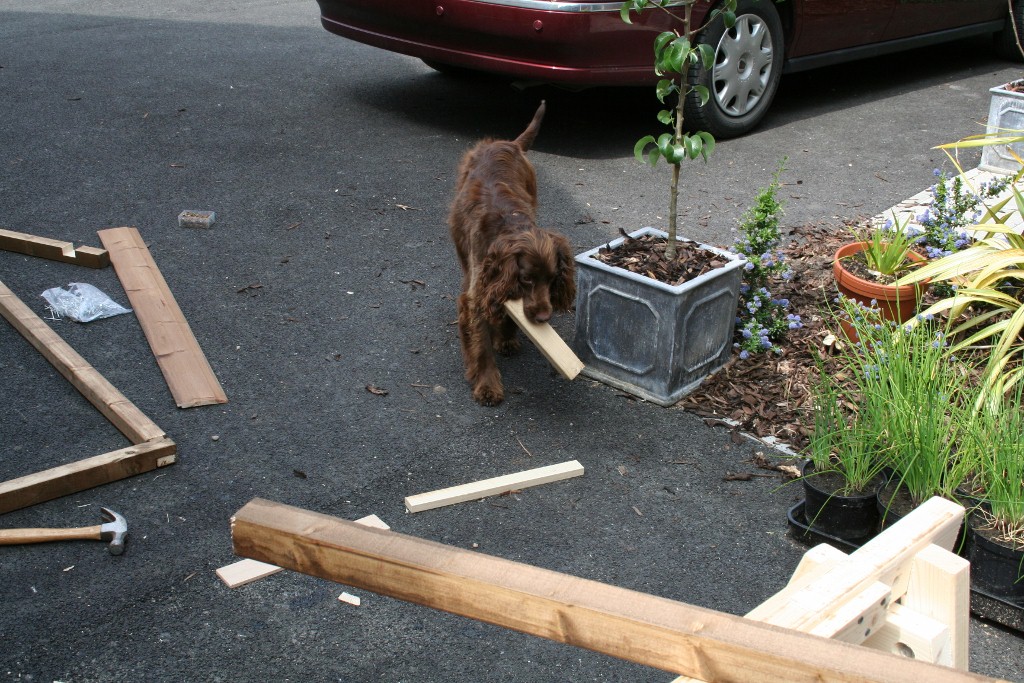
Something I skilfully managed to do was not realise that 5" shiplap actually covers about 4" when you compensate for the overlap. Not a problem if you've allowed a cutting allowance, see earlier. No local suppliers had the exact same profile so it was off to Chandler's Ford with the dog navigating.
With more timber we finished off the panels for the front
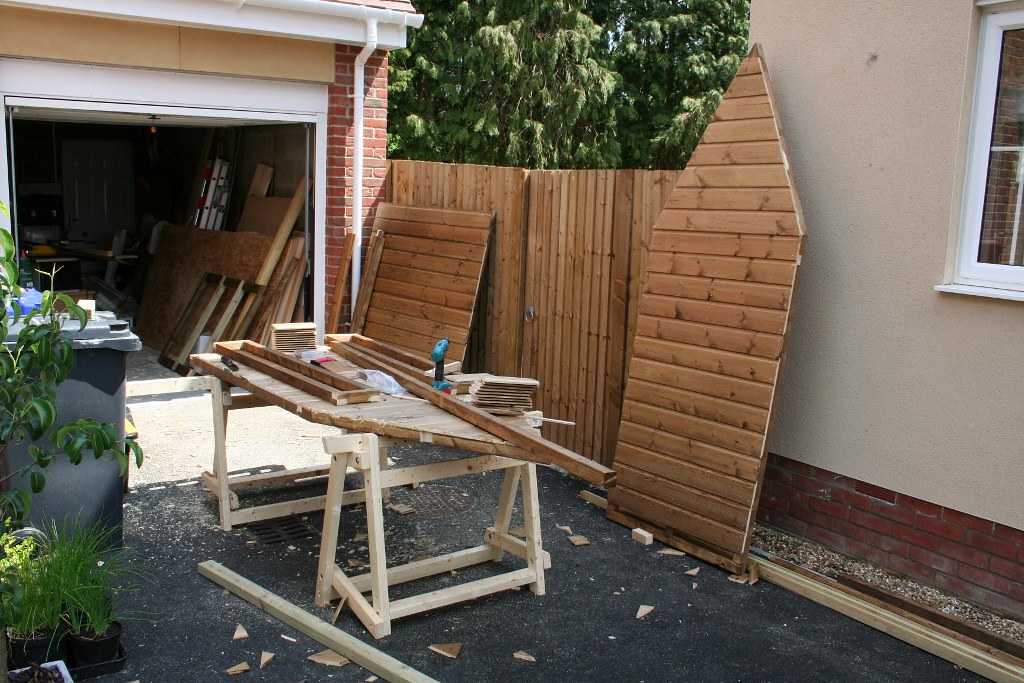
To make all the nails line up I made a simple jig with some stops and screws to make dimples where the nails needed to go, once pre-cut I could quickly assemble and nail them on.
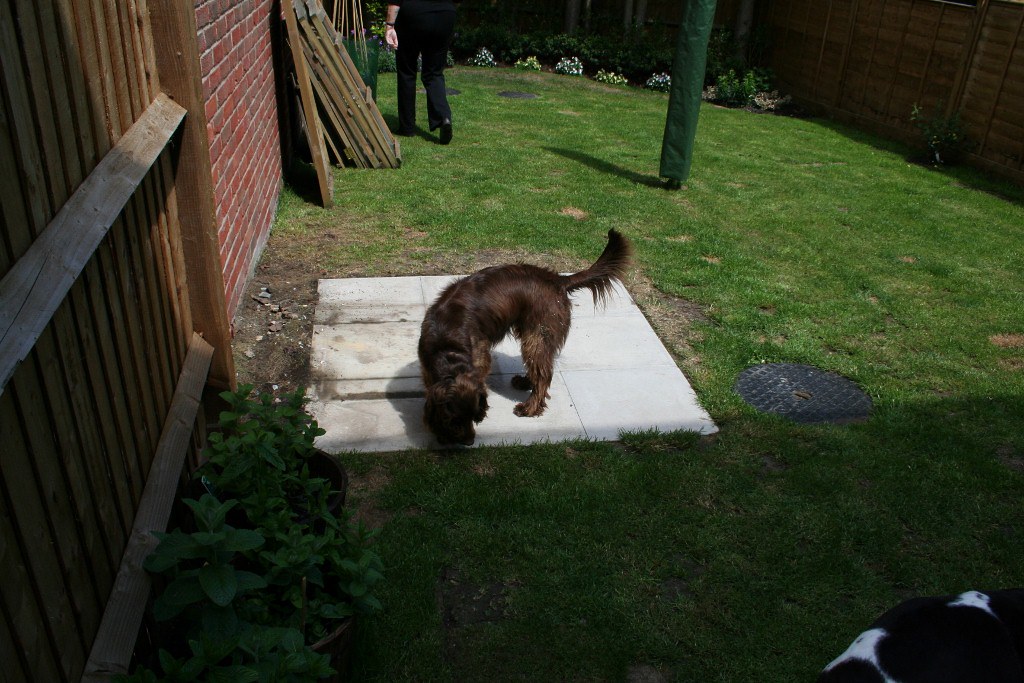
This is where it's going to go, you can see how small this is, the tricky bit is making it not look like a dog kennel so the size of the roof helps
Following the advice given here to make the panels first was key, the structure went up very quickly and easily, most satisfying.
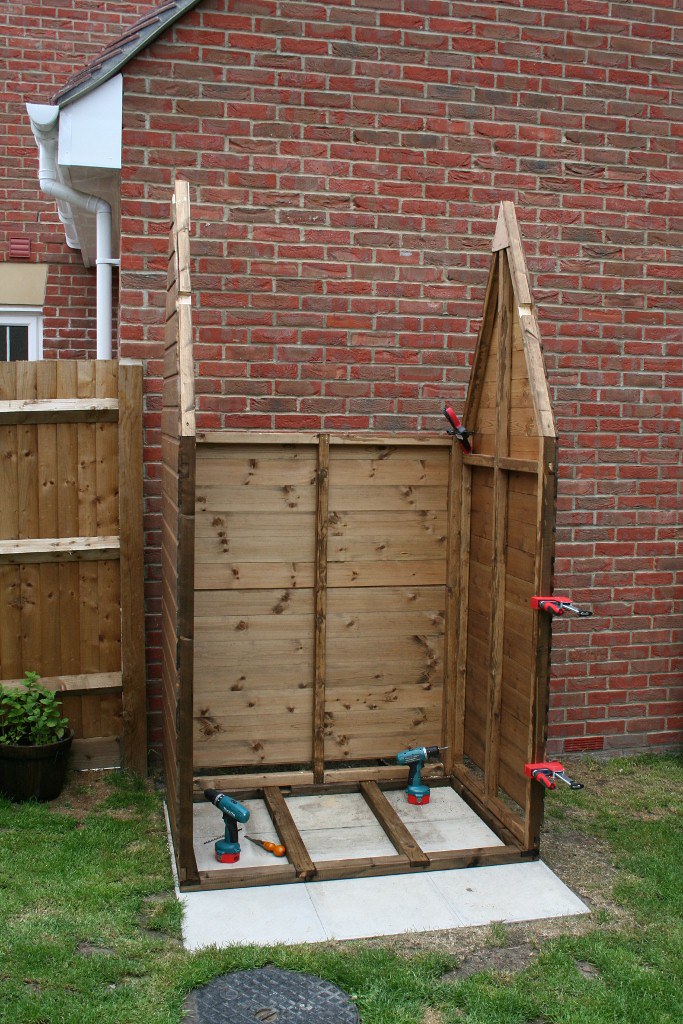
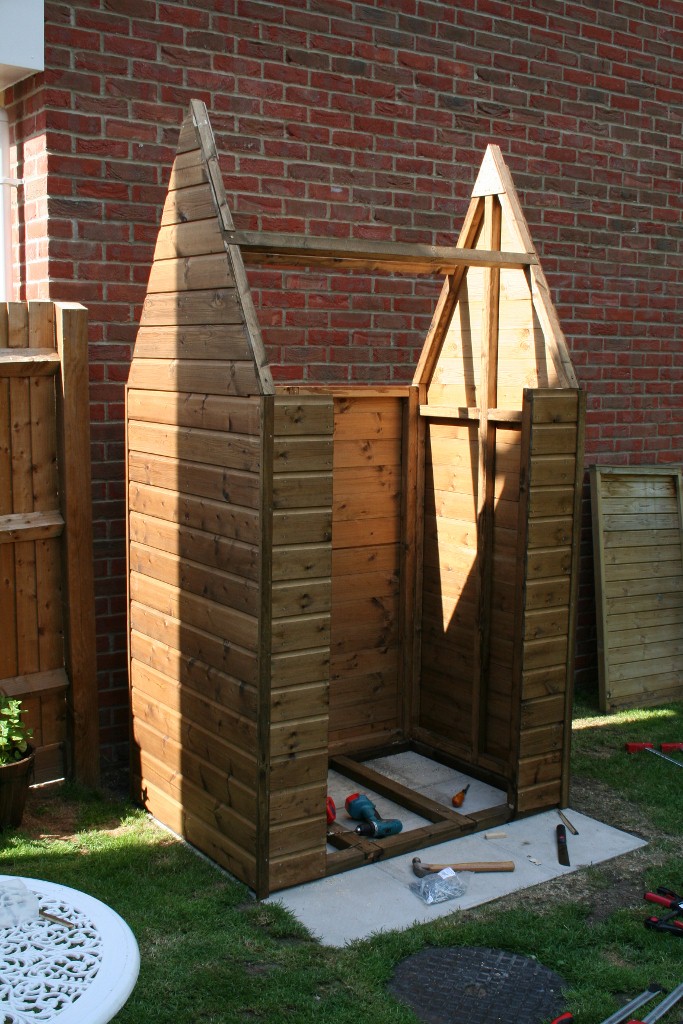
This is as far as the flat assembly went.
The roof was initially easy, all it took was one engineer, one mathematician, several pieces of paper and a load of forgotten geometry to get this far
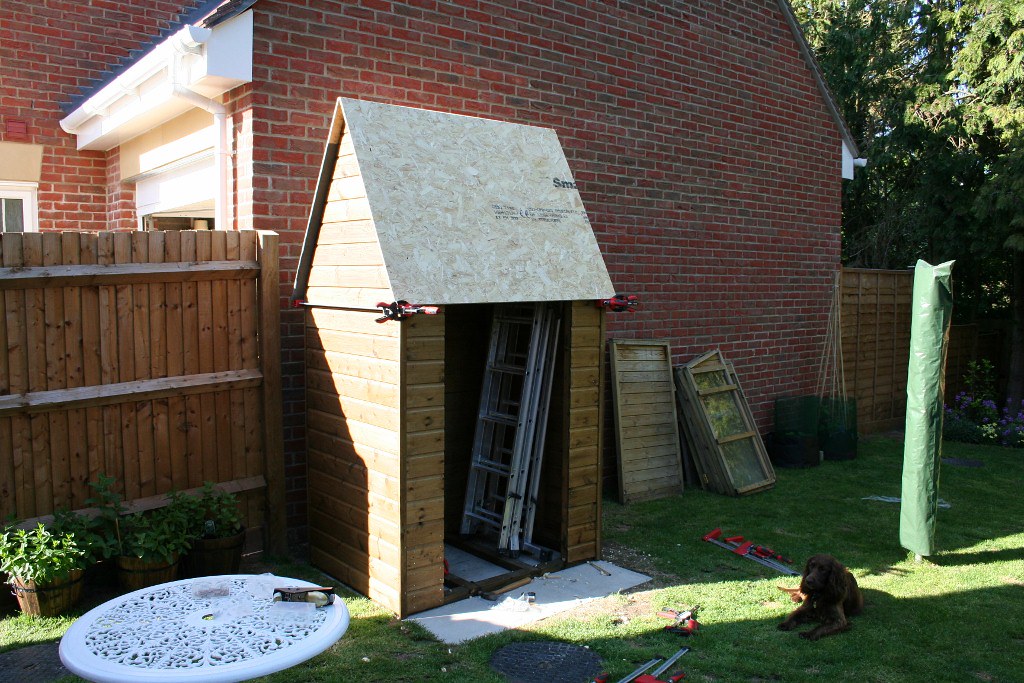
Now for the fun bit. It appears that the angles in gable roofs are not as obvious as first thought, this is attempt three
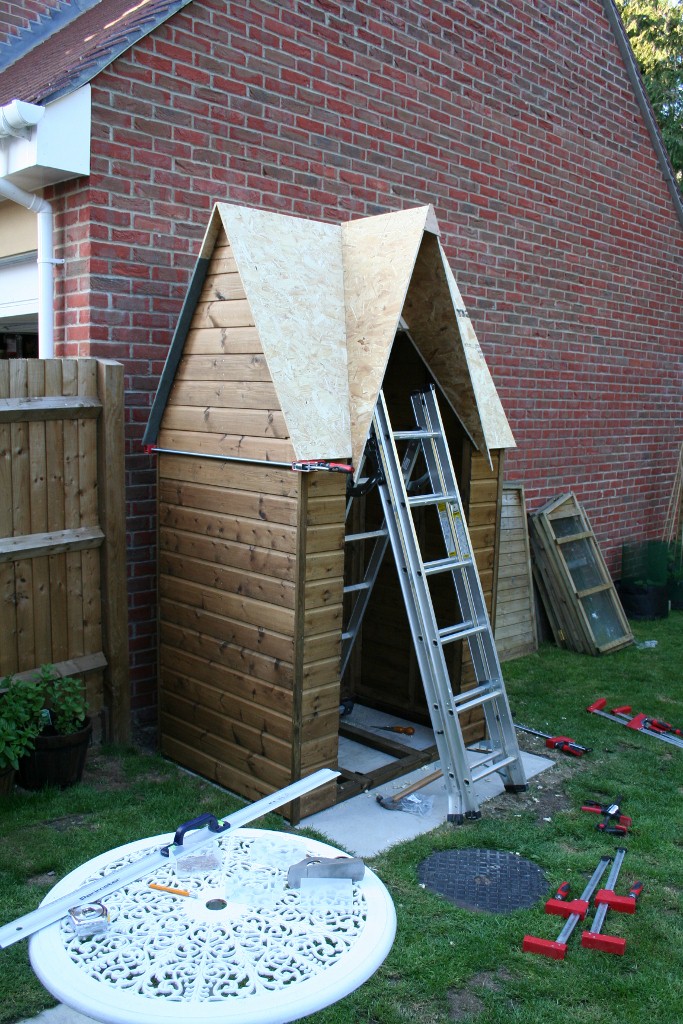
There are no pictures of attempts 1 and 2 as I was laughing so hard. Suffice to say it looked like some kind of modernist reverse gull-wing effect.
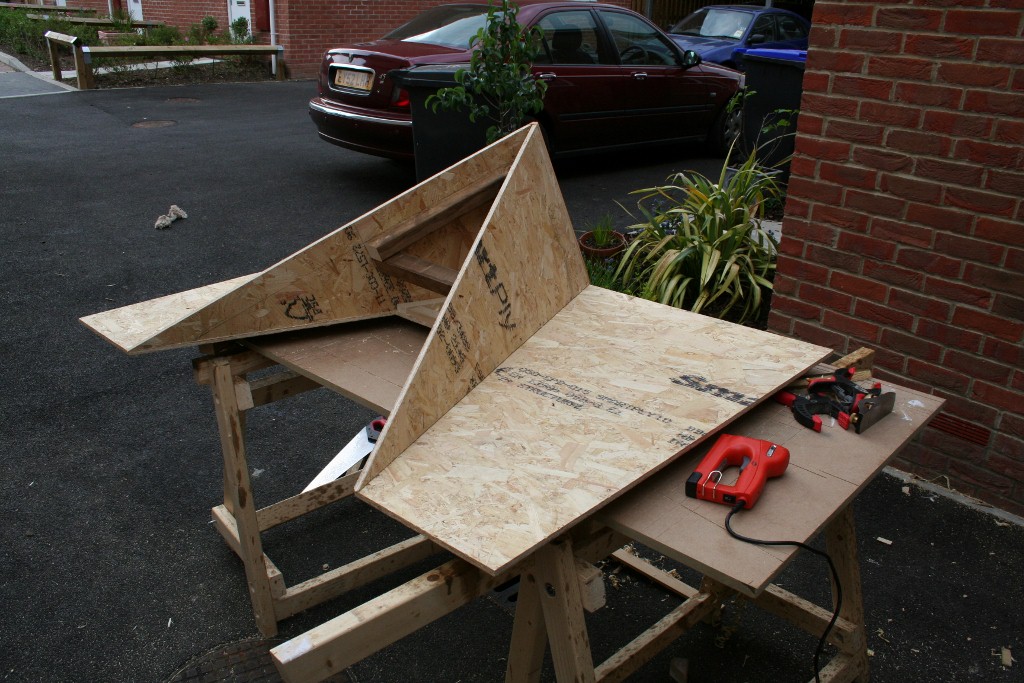
The roof was sat on some angle brackets so it could be lifted off and felted on a table. I hate roofing felt with a passion, it's messy, awkward and in my case takes several attempts to get it right
After about a total of 3 days work we are here, the door frame going in and the door was made by the end of the day
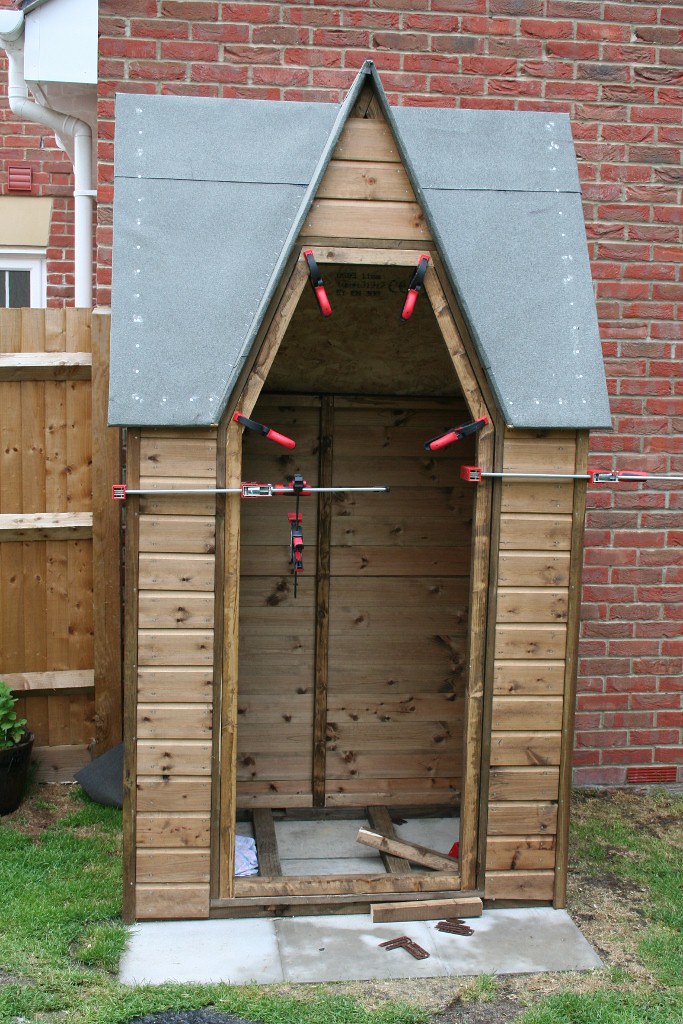
Then work came along and got in the way, so it took till today to finish it with some turning and yet more felt, in some places it's 4 layers thick. Still, the "client" is very happy with it so it's job done, total cost was about £220 as I had some of the felt already and the screws and hinges were already kicking around the garage.
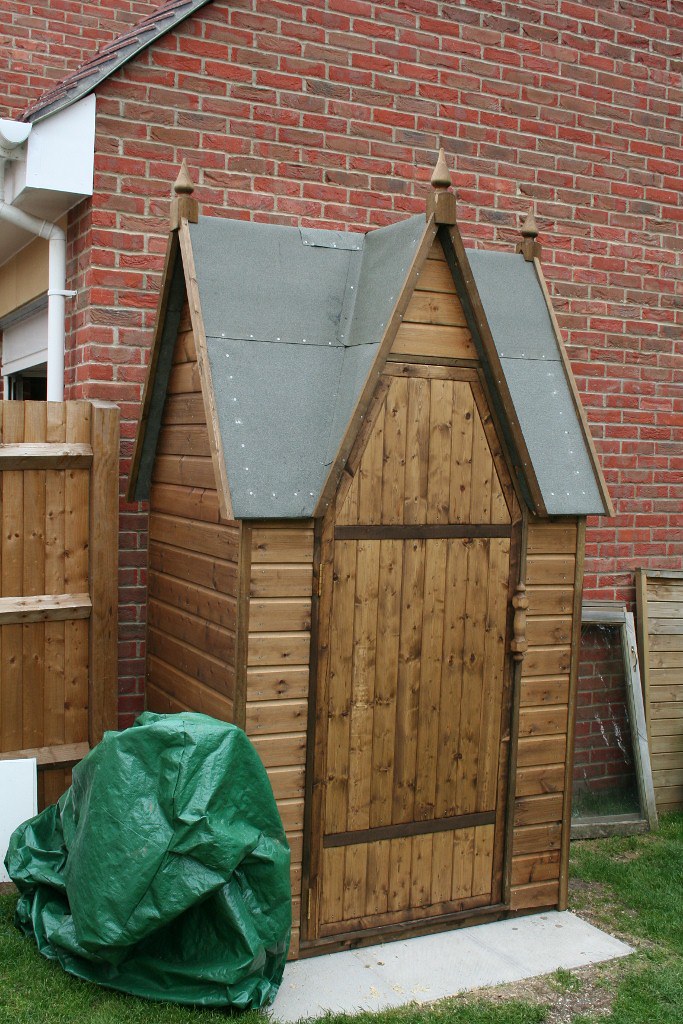
Things I have learned from this...
Make everything flat, totally, the front of the building could have been made entirely with the door in it and that would have saved a lot of time.
Make the roof free-standing, it would have used a lot more wood but then I could have felted it and just lifted into place.
Problem was she couldn't find anything that was any good, 6'x4' are plentiful but if you want anything smaller they're the same naff quality and often a lot more expensive. So the design brief was not too expensive and nothing "that resembled a public toilet". Rest assured, I have never made one of those.
For one week only, this commission is bought to you in conjunction with... workshop dog!

So, in the usual way we start with getting some wood. I calculated it out and added a bit of slack, with the exception of the shiplap, no reason, I just wanted to leave a mistake in to compensate for later. Chandler's Ford Timber delivered free withing 24 hours and undercut everyone else by about £40 on a job costing about £200, which is quite a bit, I shall be using them again and they're open on Saturday mornings too.
Here it is all piled up

Some treated, most plain and two sheets of OSB, first time I've used the stuff. I should mention the largest outside building I've ever built is a rabbit hutch, but the principle's the same...

Interestingly, the 2"x2" was ripped down CLS, at first that put me off however having three planed sides and two eased corners meant that with a little careful planning I could leave a nice smooth surface on the inside
As the treatment needed doing first I went and had a coffee and left the creative director to do the messy bit

After a few hours, both she and workshop dog succumbed to the fumes and I had to finish them off

All the construction is lap joints which I cut roughly on the table saw then bashed out the loose bits with a hammer and chisel. Any fine tuning is done with a rabbet block plane

Usefully, the wall the shed is against is my garage wall so I don't have to work too far from the site. Here's the back panel done.

It took about a total of one day to make the three main panels and treat them and the floor, it takes a bit longer when you have to keep retrieving the workpieces

Something I skilfully managed to do was not realise that 5" shiplap actually covers about 4" when you compensate for the overlap. Not a problem if you've allowed a cutting allowance, see earlier. No local suppliers had the exact same profile so it was off to Chandler's Ford with the dog navigating.
With more timber we finished off the panels for the front

To make all the nails line up I made a simple jig with some stops and screws to make dimples where the nails needed to go, once pre-cut I could quickly assemble and nail them on.

This is where it's going to go, you can see how small this is, the tricky bit is making it not look like a dog kennel so the size of the roof helps
Following the advice given here to make the panels first was key, the structure went up very quickly and easily, most satisfying.


This is as far as the flat assembly went.
The roof was initially easy, all it took was one engineer, one mathematician, several pieces of paper and a load of forgotten geometry to get this far

Now for the fun bit. It appears that the angles in gable roofs are not as obvious as first thought, this is attempt three

There are no pictures of attempts 1 and 2 as I was laughing so hard. Suffice to say it looked like some kind of modernist reverse gull-wing effect.
The roof was sat on some angle brackets so it could be lifted off and felted on a table. I hate roofing felt with a passion, it's messy, awkward and in my case takes several attempts to get it right

After about a total of 3 days work we are here, the door frame going in and the door was made by the end of the day

Then work came along and got in the way, so it took till today to finish it with some turning and yet more felt, in some places it's 4 layers thick. Still, the "client" is very happy with it so it's job done, total cost was about £220 as I had some of the felt already and the screws and hinges were already kicking around the garage.

Things I have learned from this...
Make everything flat, totally, the front of the building could have been made entirely with the door in it and that would have saved a lot of time.
Make the roof free-standing, it would have used a lot more wood but then I could have felted it and just lifted into place.


