TrimTheKing
Established Member
Evening all
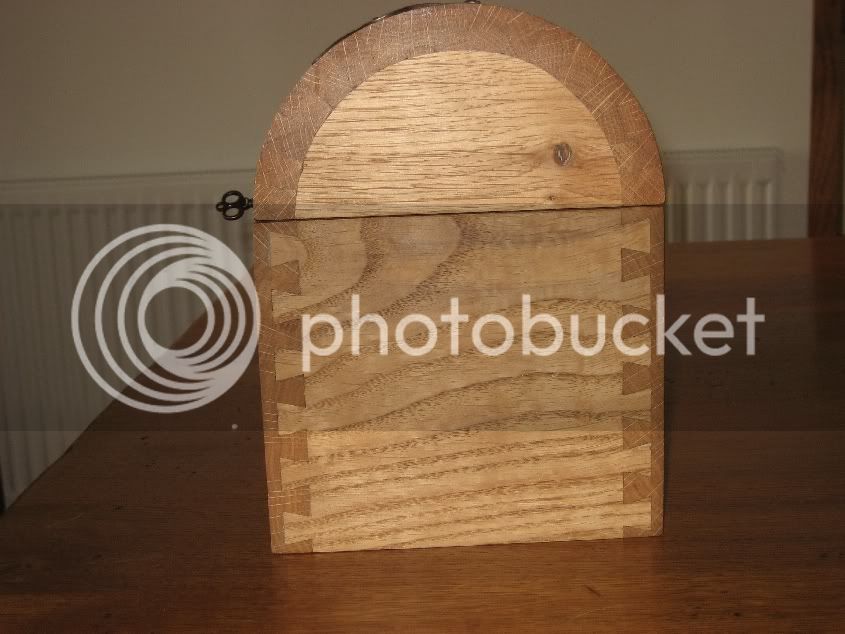
Well, after months of taking all the advice and info that UKW has to offer I thought it was about time I gave something back. I have finally managed to complete my first ever project, a Treasure/Pirates chest for my friends daughter who is mad on Cap'n Jack Sparrow.
So here it goes, all critique and comments welcomed.
Unfortunately I have lost the pics that I took as I was making the actual box base, so only have the pics of making the coopered lid, hinging and
lock fitting.
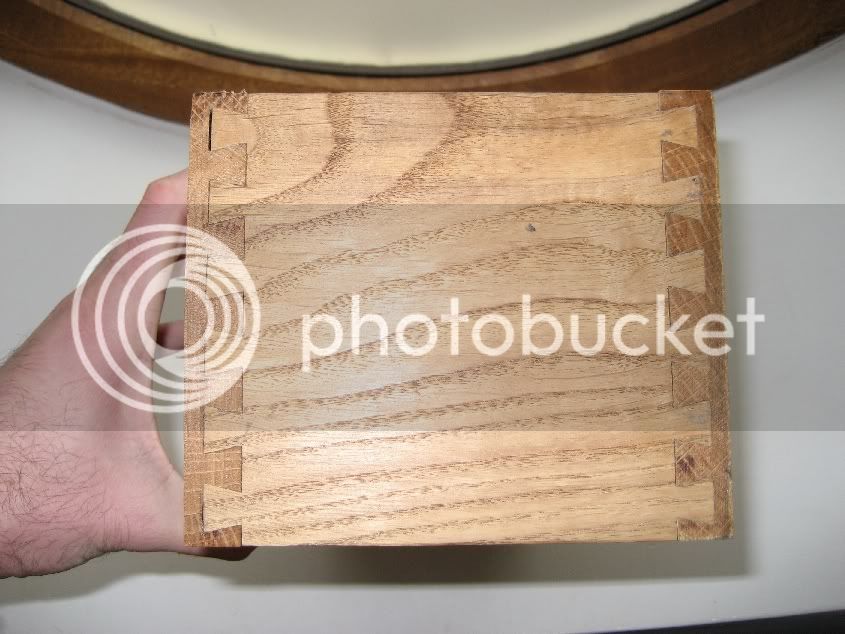
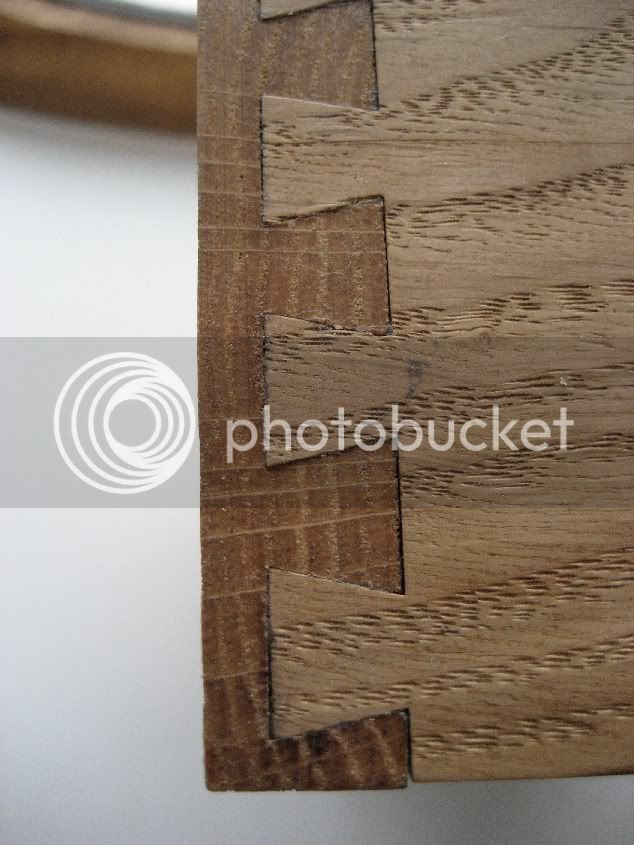
Initially I made the box with simple joinery, front/back 390mm x 125mm x 16mm, sides 140mm x 125mm, joined using my Trend dovetail jig. For the purposes of full disclosure some pics of the d/t's not fitting perfectly due to me doing this before I had learned the importance of properly squaring up edges to faces
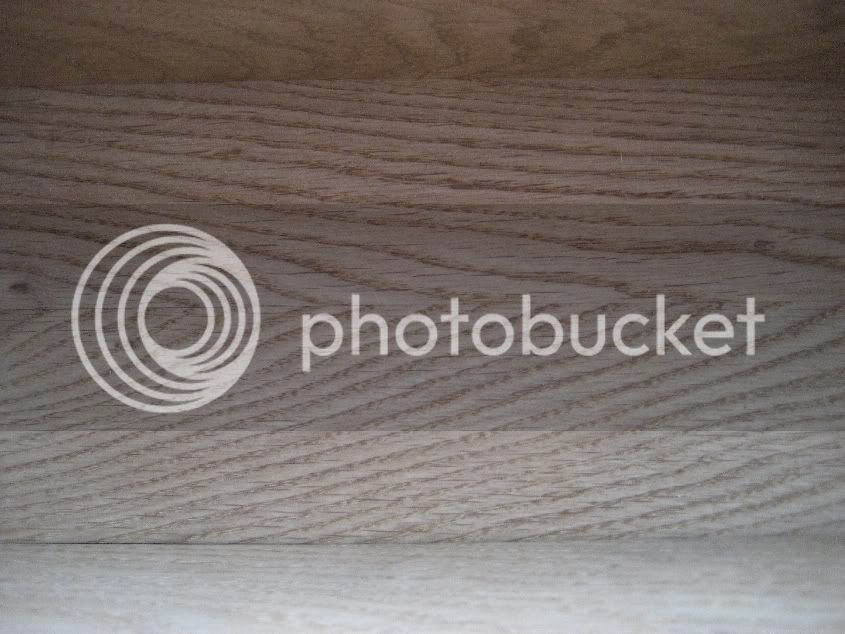
I then jointed a couple of pieces together to make the base, and this was dry fitted into a rebate in the sides. I then put a little cambered detail on the bottom of the base to give it a bit of interest, and glued it all up.
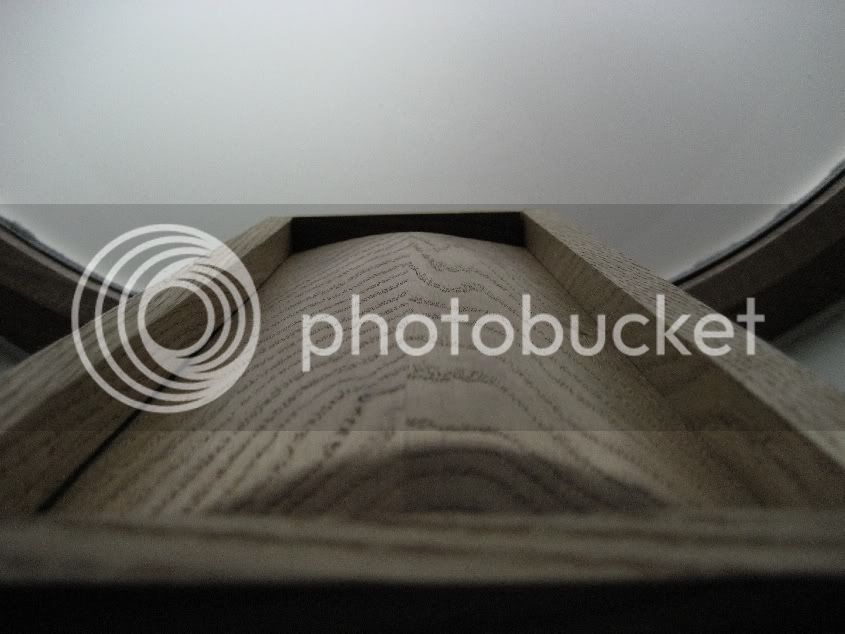
This is a pic of the front, note the line marked on the front where I was going to hand cut the dovetails before bottling out :roll:
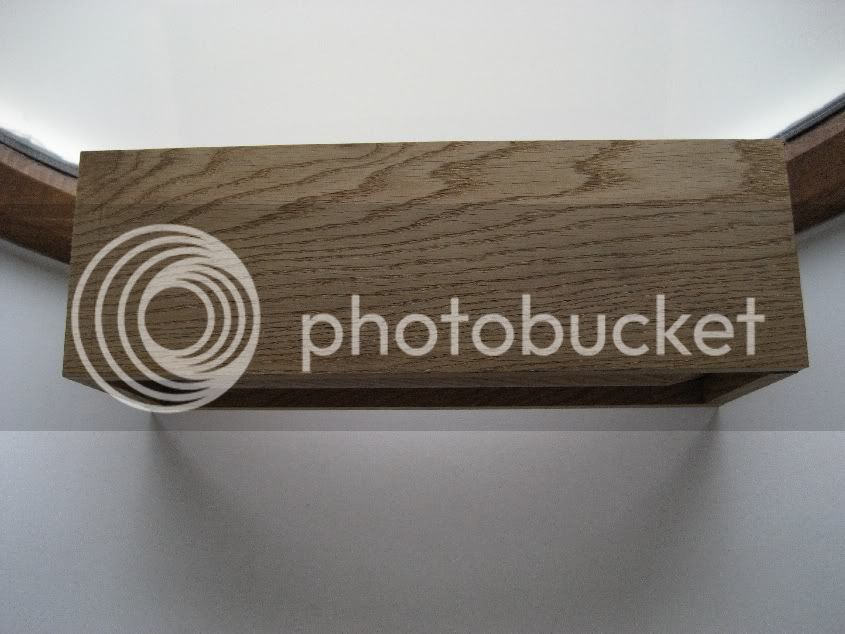
Next I started on the lid. I took this design from a copy of Practical Woodworking then slightly modified it for my own purposes, so I can't lay claim to thinking up the coopering technique. I will however hold on to my smugness of actually managing to not completely balls it up :lol:
After working out the optimum number of slats for the top, in this case 17, you divide 180 (half circle) by 17 (number of slats) giving you the total number of deg per slat, which you then half for each side of each slat :shock:
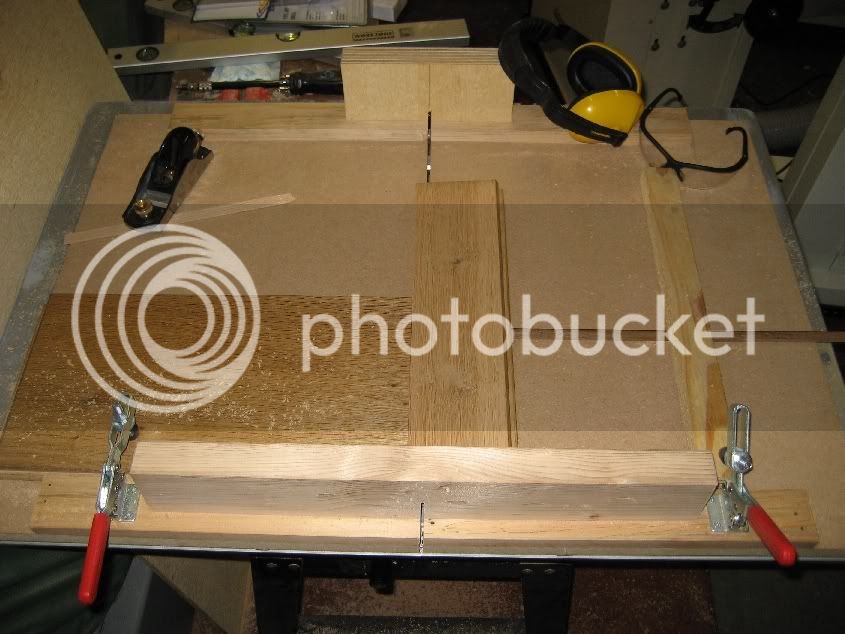
I used my crosscut sled and set up a block of wood on the left as a stop block. Then I set my workpiece just over the slot and wedged it up to 5.1 degrees and clamped it in place and made a cut along the edge of the workpiece.
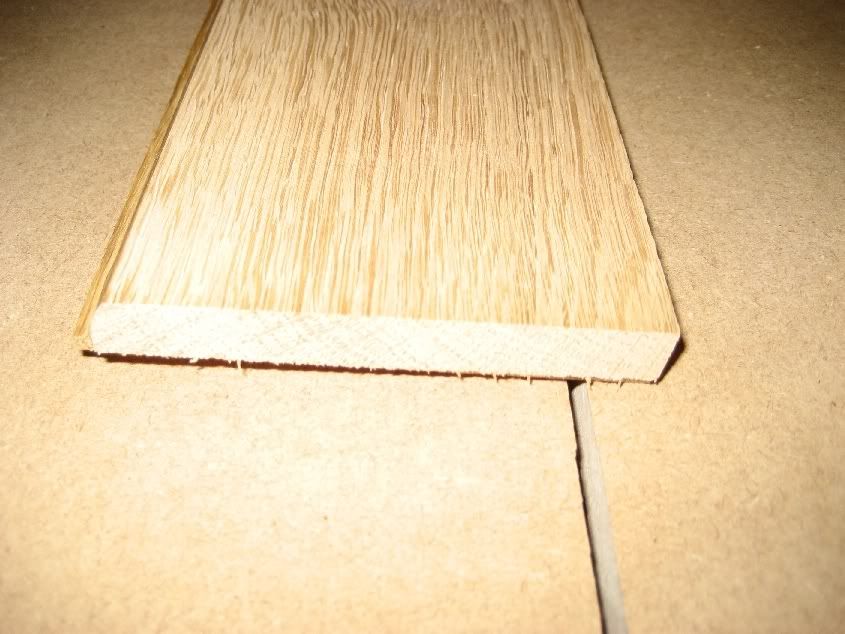
Then I flipped it over and pushed it up to the stop, which was set to the correct distance, wedged it up to 5.1 deg again and made the second cut, then flip and repeat until all pieces cut.
Stacked around the former
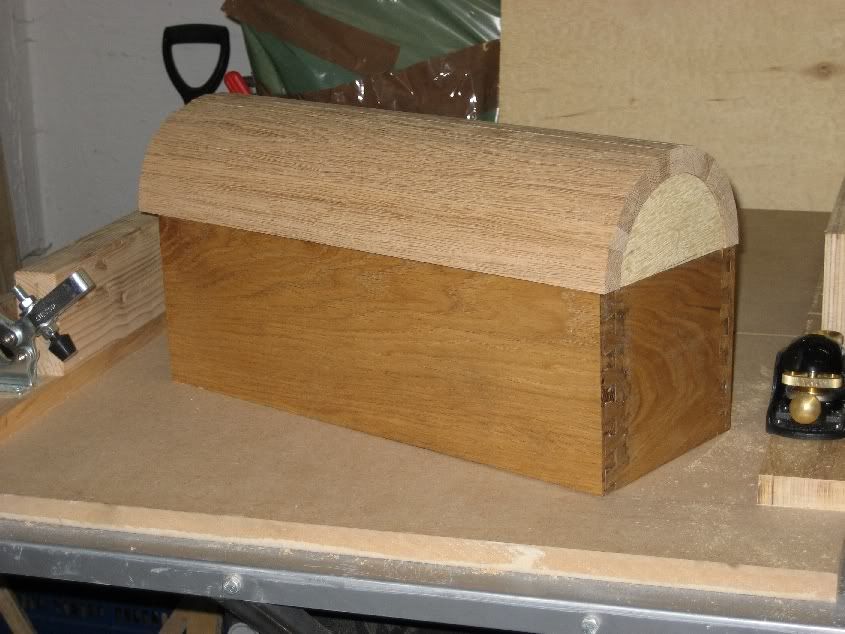
Once all the pieces were cut to width you place them thin side down and tape them together across the top.
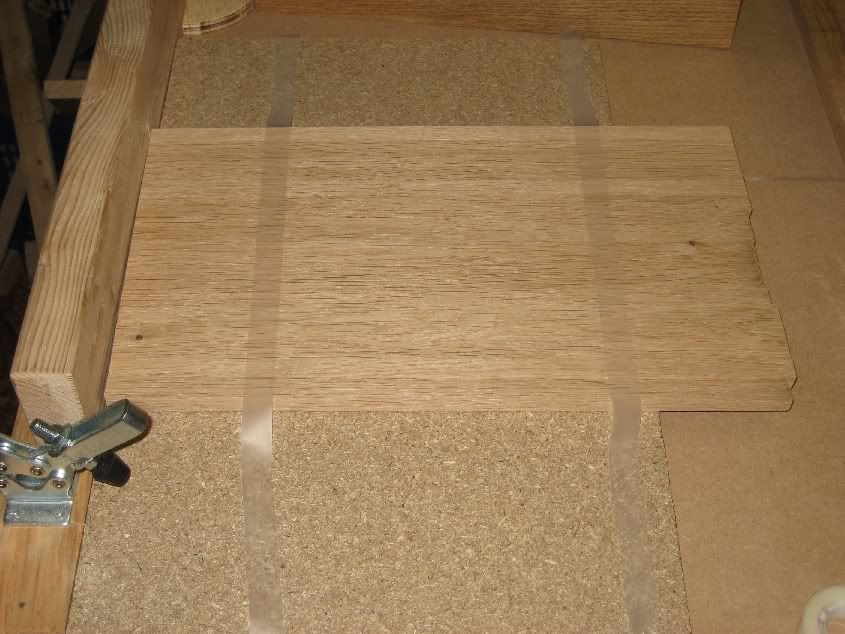
Then flip them over to glue gaps
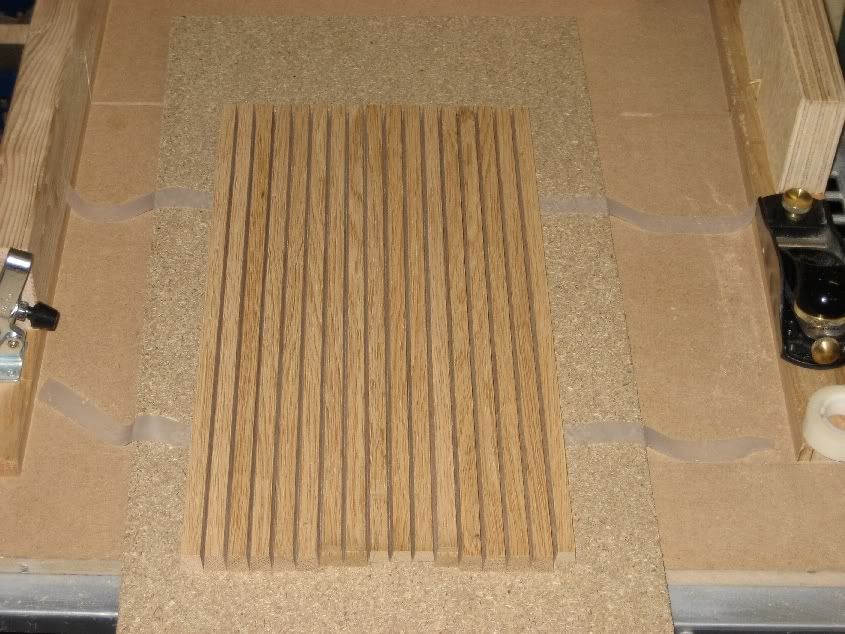
Then put the pre cut end pieces in place, with tape over the edges so they don't stick to the inside (yet) and glue up. Pull the tape up tight and this forms the pieces round the former and pulls up the glue joints nice & tight. I also used a car roof rack ratchet strap to pull them up tight.
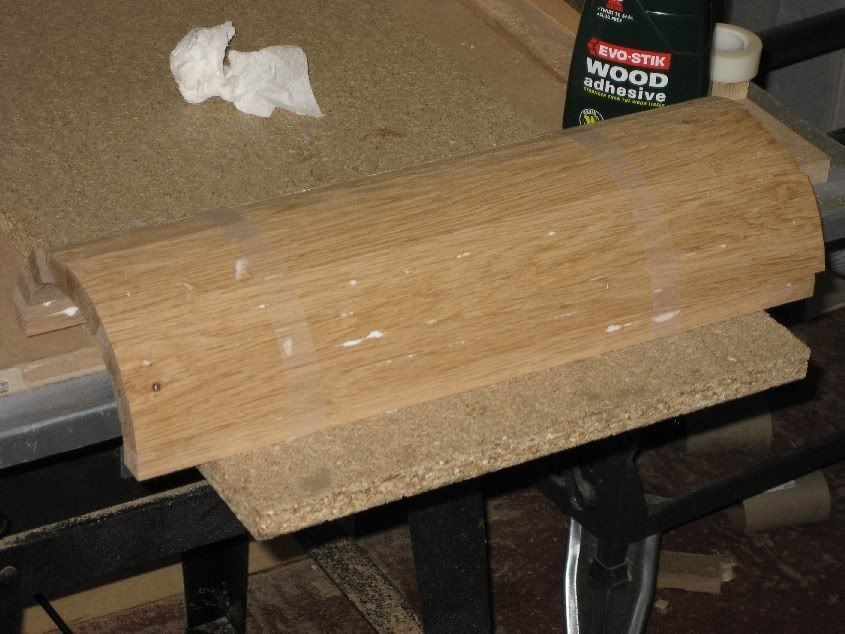
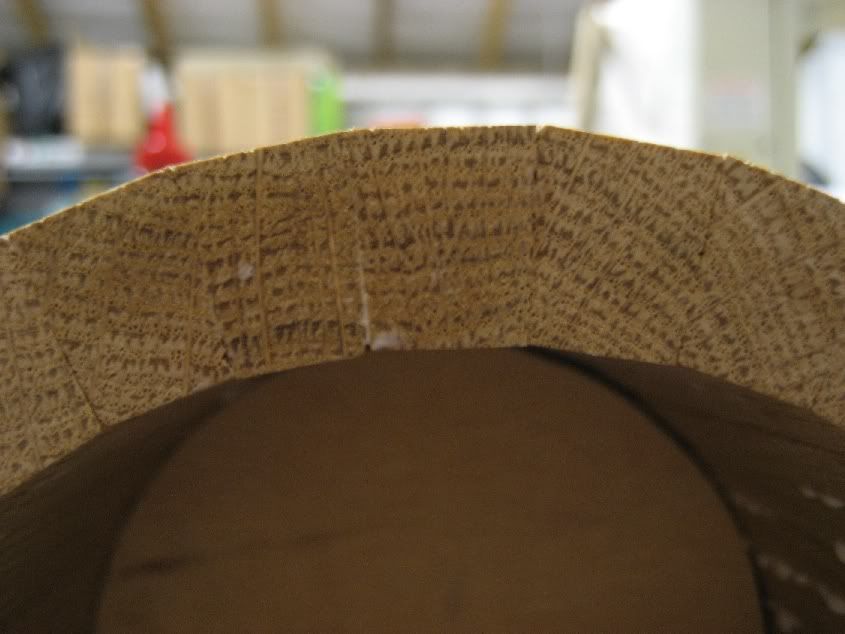
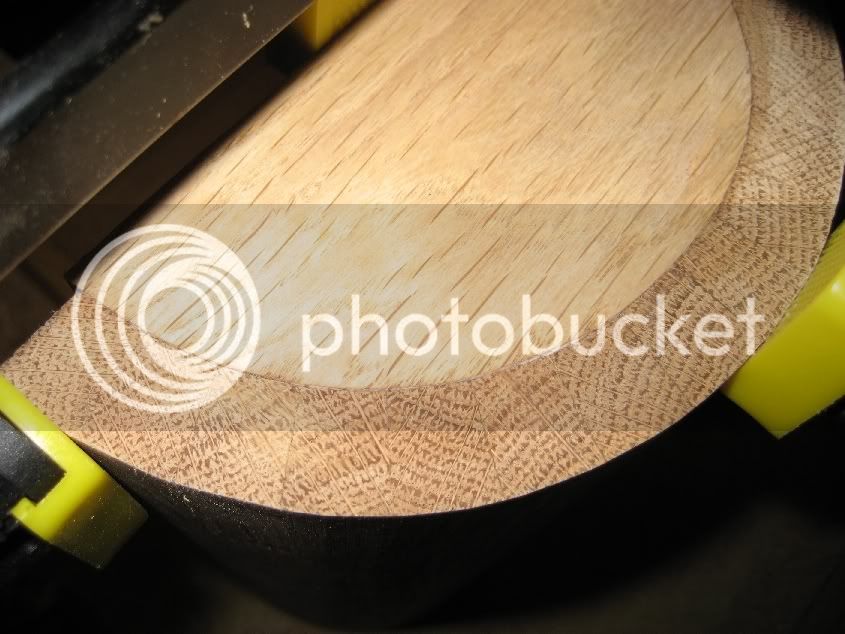
When the glue has dried I removed the formers and planed off the angles where the slats meet to round it off nicely, then give it a bit of a sand to smooth out. I cleaned up the inside with a curved cabinet scraper.
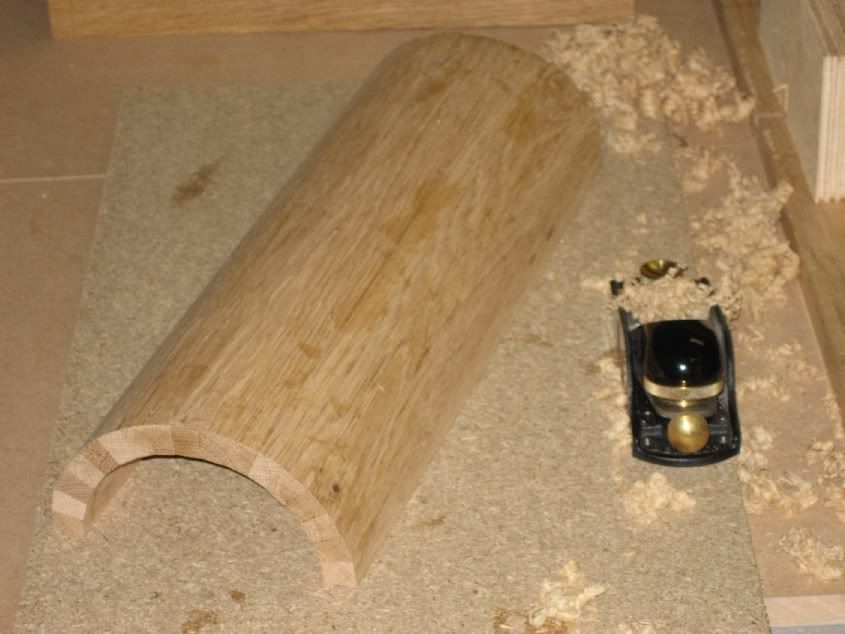
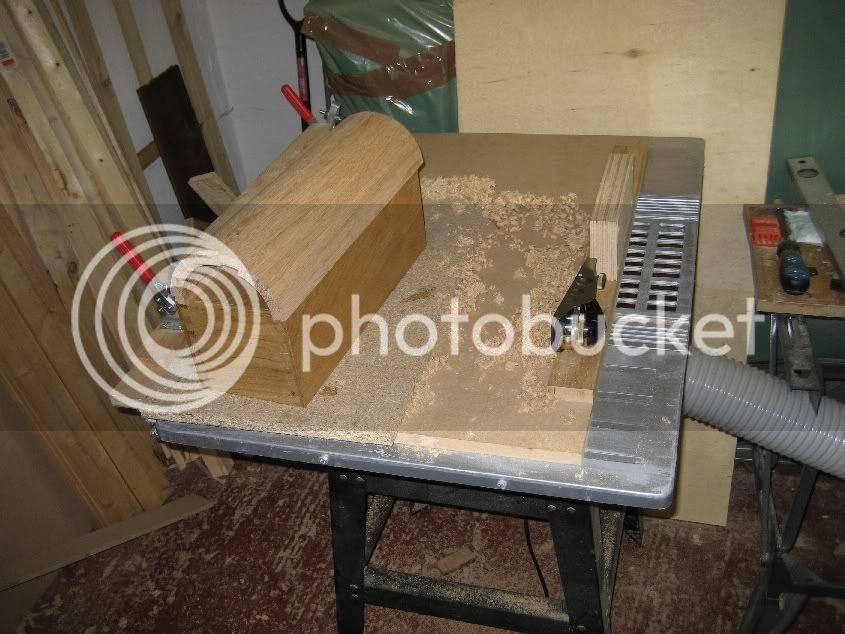
Then cut to length on bandsaw and fit the end pieces, then glue up and clamp.
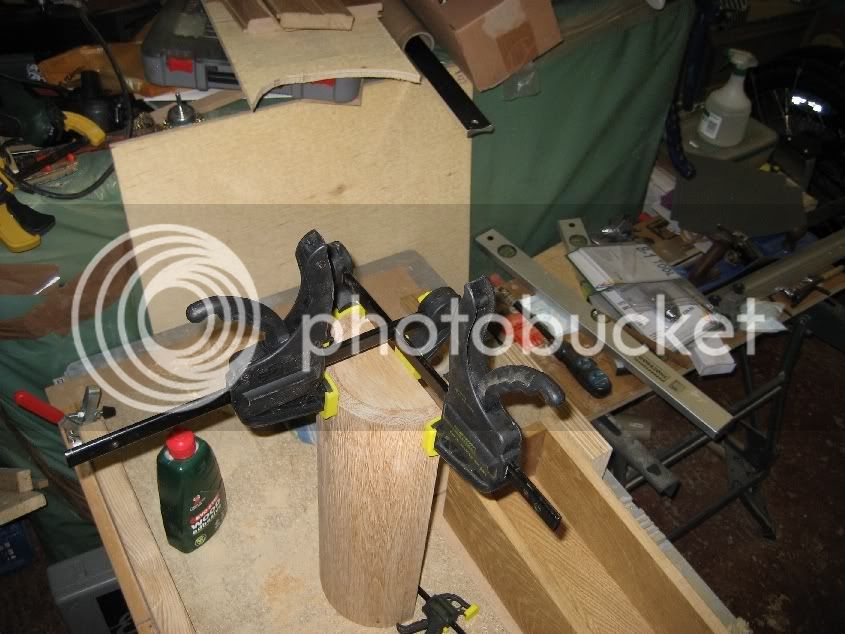
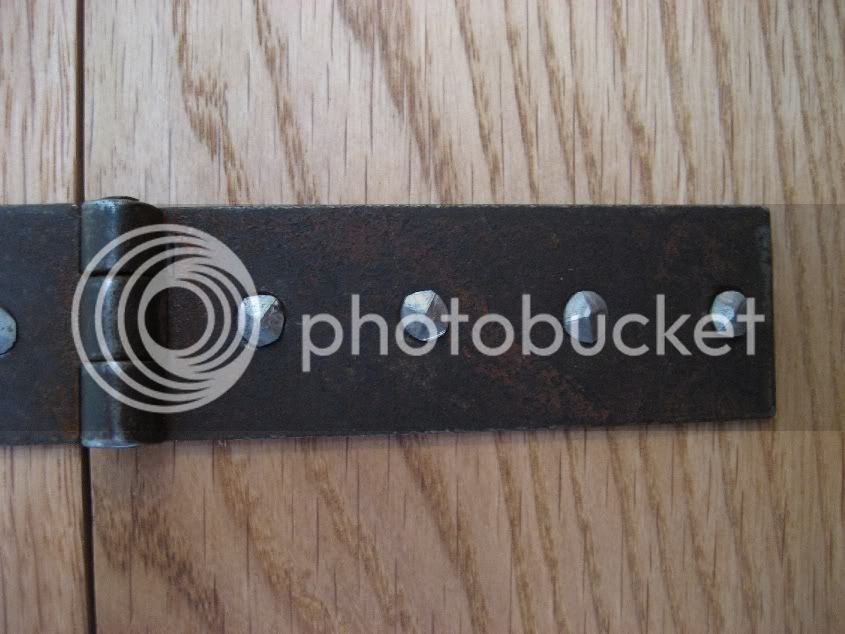
I then put some finish on the lid, same as the rest of the box, 6 coats of Danish oil cut back with 600grit between coats to take off the shine. Then I fitted some lovely strap hinges that I got from Lee Valley and fitted with brass screws after heating them and bending them to shape around a plywood former of the same radius as the lid.
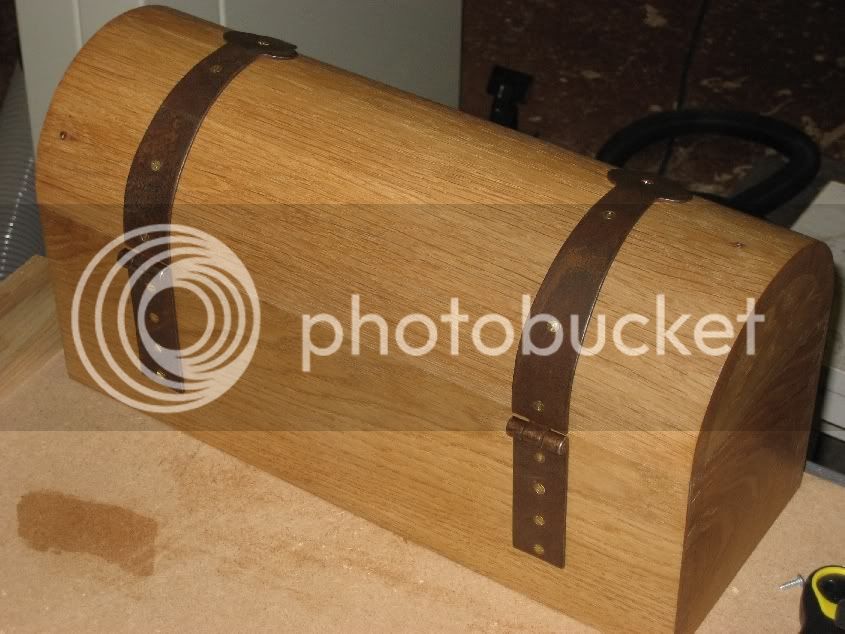
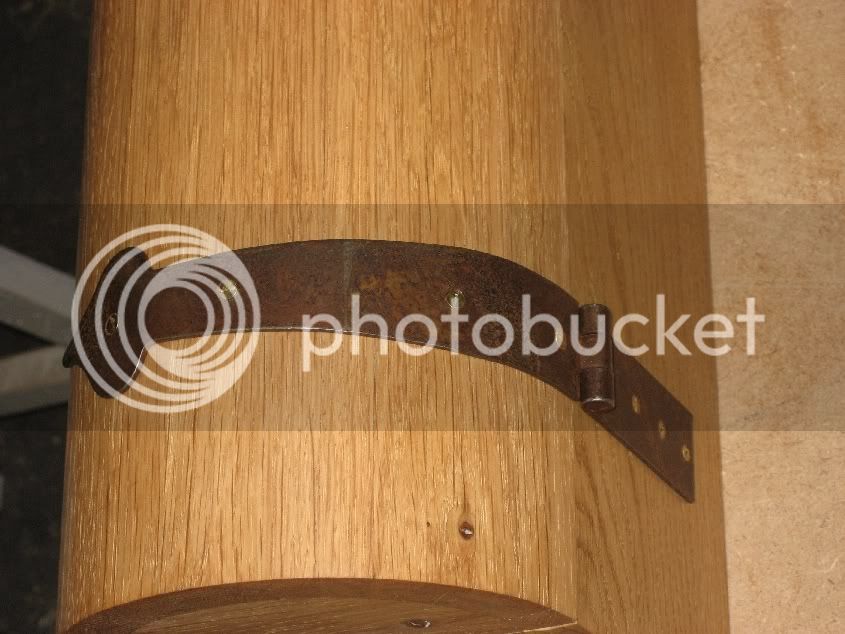
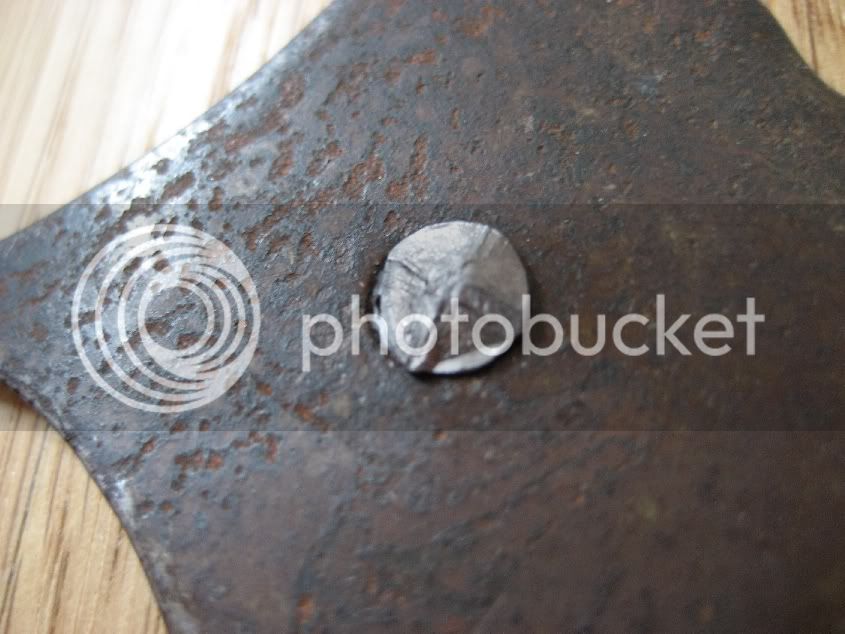
Next I hacksawed the heads off 16 hand forged rose head nails that I picked up and filed off the remainder of the nail so I just had the nail head with a flat bottom and glued these to the heads of the brass screws. Might sound odd but I wanted the strength of the screws with the look of the nails. Should any of the screws fail I can then prise off the nail heads, repair and re-fit nail head.
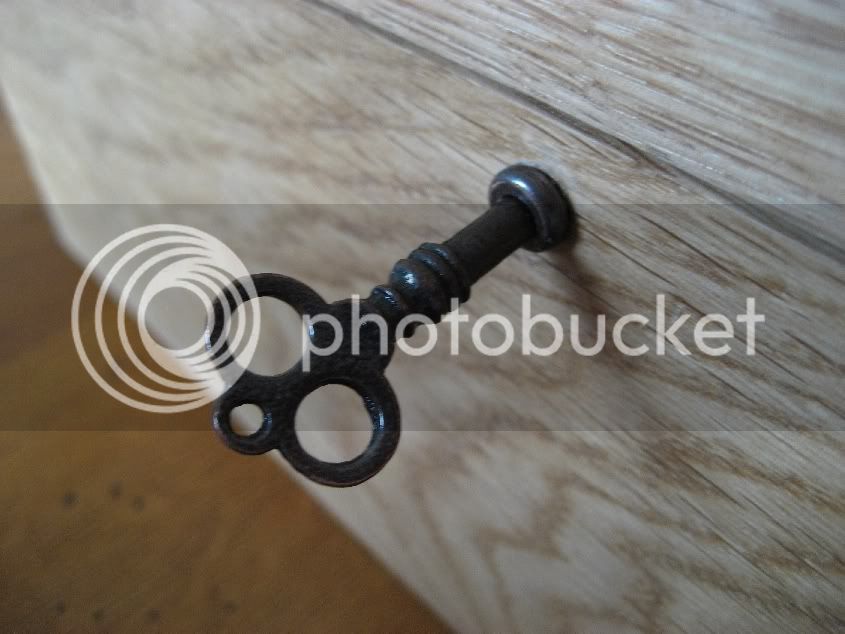
Lastly I fitted a nice little morticed piano style lock that I got from Hafele (through Chippy's mate, very helpful bloke called Darren) to finish it off.
And here's a few shots of the finished article.
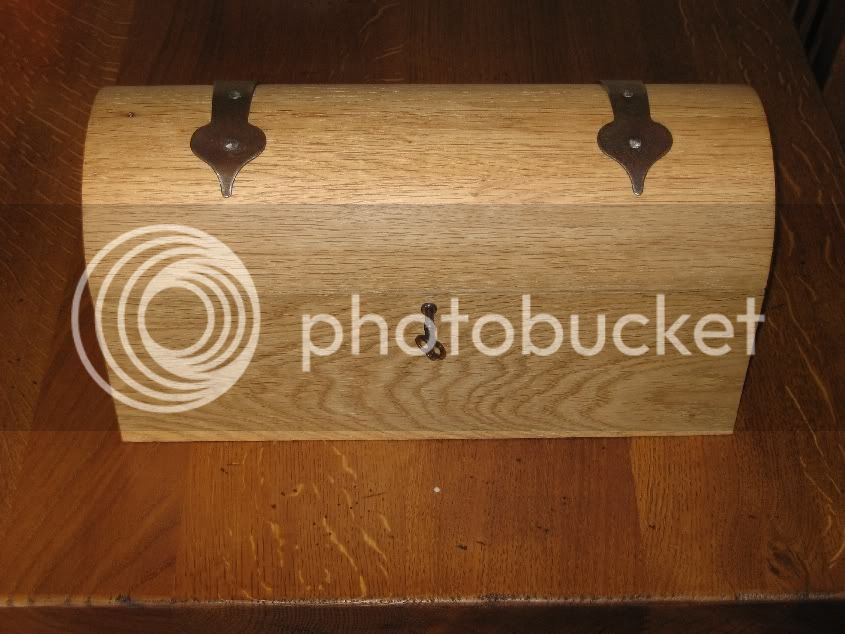
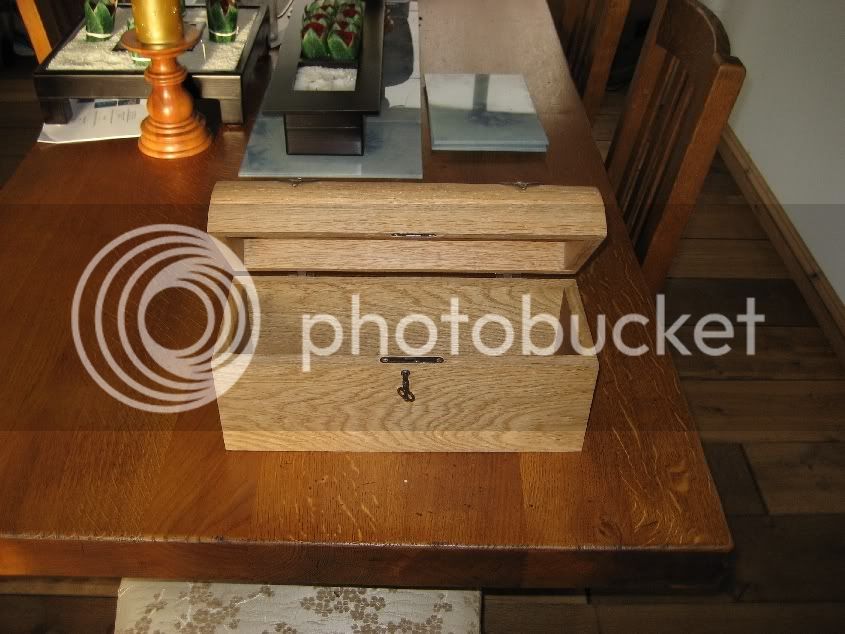
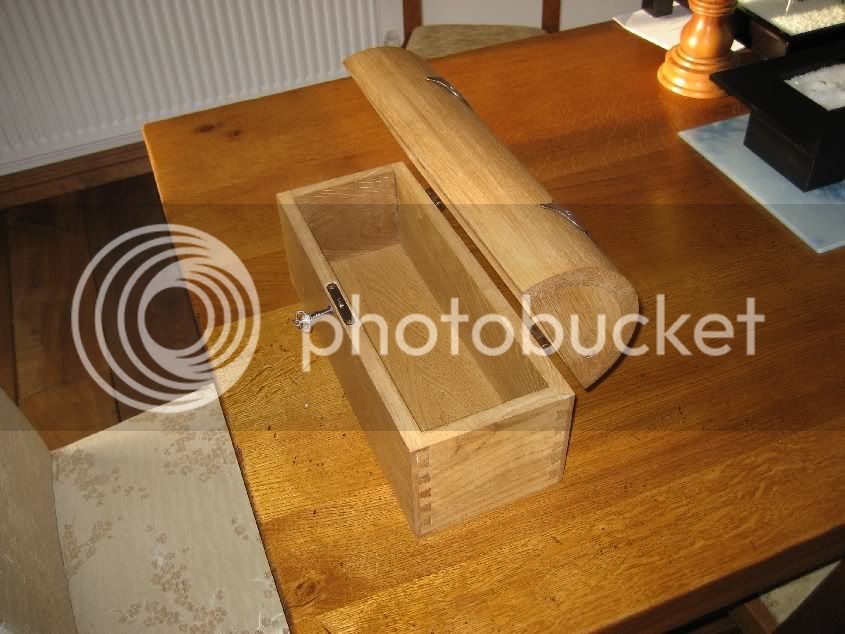
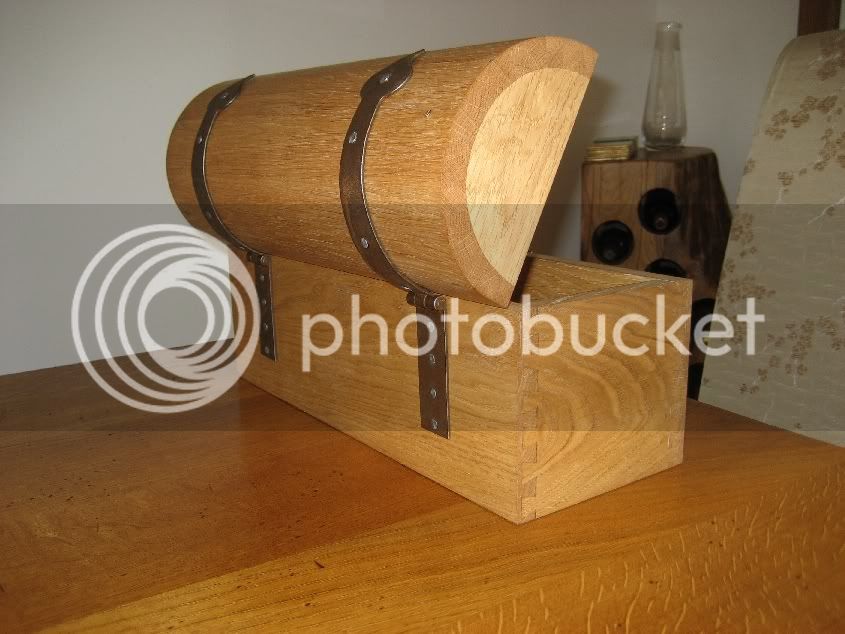
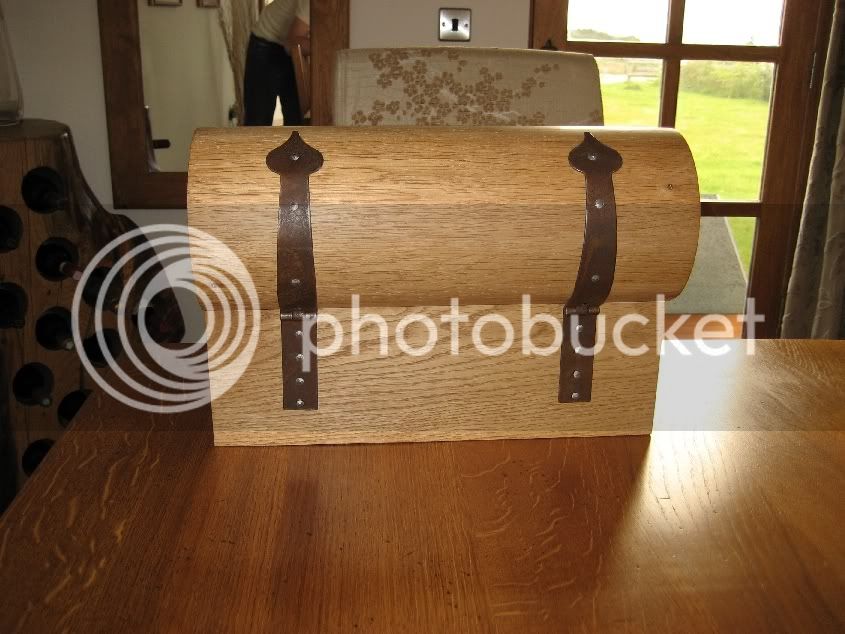
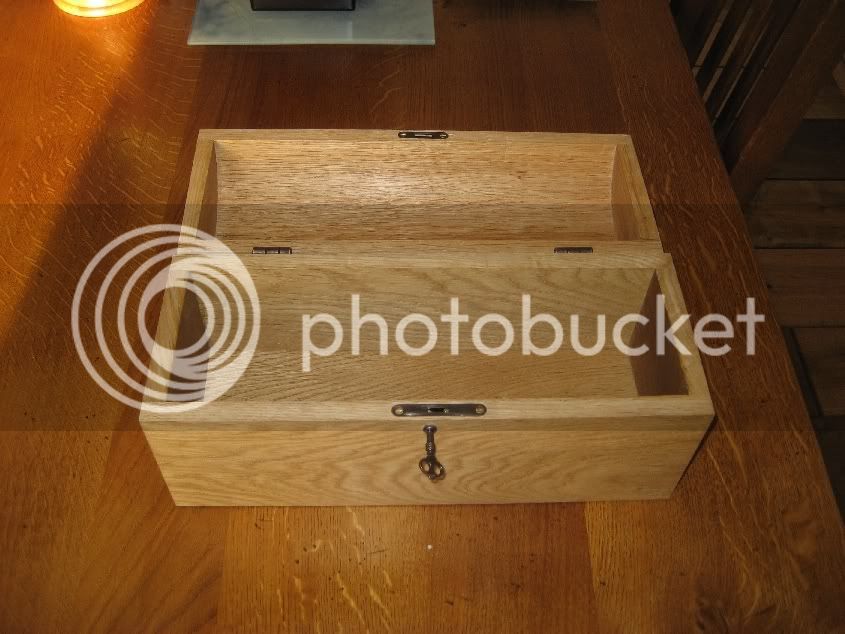
The box is made out of one of the spare floorboards from my house, you can see them in the last few pics. I like to recycle :lol:
Sorry for the huge amount of pics but I wanted to show it off seeing as it's the first thing i've ever made, and hopefully it might help others with similar projects.
Please let me know what you think, and any improvements you would make. I have been asked to make a couple more so any ways to improve it would be welcomed.
Cheers
Mark
Well, after months of taking all the advice and info that UKW has to offer I thought it was about time I gave something back. I have finally managed to complete my first ever project, a Treasure/Pirates chest for my friends daughter who is mad on Cap'n Jack Sparrow.
So here it goes, all critique and comments welcomed.
Unfortunately I have lost the pics that I took as I was making the actual box base, so only have the pics of making the coopered lid, hinging and
lock fitting.
Initially I made the box with simple joinery, front/back 390mm x 125mm x 16mm, sides 140mm x 125mm, joined using my Trend dovetail jig. For the purposes of full disclosure some pics of the d/t's not fitting perfectly due to me doing this before I had learned the importance of properly squaring up edges to faces


I then jointed a couple of pieces together to make the base, and this was dry fitted into a rebate in the sides. I then put a little cambered detail on the bottom of the base to give it a bit of interest, and glued it all up.


This is a pic of the front, note the line marked on the front where I was going to hand cut the dovetails before bottling out :roll:

Next I started on the lid. I took this design from a copy of Practical Woodworking then slightly modified it for my own purposes, so I can't lay claim to thinking up the coopering technique. I will however hold on to my smugness of actually managing to not completely balls it up :lol:
After working out the optimum number of slats for the top, in this case 17, you divide 180 (half circle) by 17 (number of slats) giving you the total number of deg per slat, which you then half for each side of each slat :shock:
I used my crosscut sled and set up a block of wood on the left as a stop block. Then I set my workpiece just over the slot and wedged it up to 5.1 degrees and clamped it in place and made a cut along the edge of the workpiece.
Then I flipped it over and pushed it up to the stop, which was set to the correct distance, wedged it up to 5.1 deg again and made the second cut, then flip and repeat until all pieces cut.


Stacked around the former

Once all the pieces were cut to width you place them thin side down and tape them together across the top.

Then flip them over to glue gaps

Then put the pre cut end pieces in place, with tape over the edges so they don't stick to the inside (yet) and glue up. Pull the tape up tight and this forms the pieces round the former and pulls up the glue joints nice & tight. I also used a car roof rack ratchet strap to pull them up tight.


When the glue has dried I removed the formers and planed off the angles where the slats meet to round it off nicely, then give it a bit of a sand to smooth out. I cleaned up the inside with a curved cabinet scraper.


Then cut to length on bandsaw and fit the end pieces, then glue up and clamp.


I then put some finish on the lid, same as the rest of the box, 6 coats of Danish oil cut back with 600grit between coats to take off the shine. Then I fitted some lovely strap hinges that I got from Lee Valley and fitted with brass screws after heating them and bending them to shape around a plywood former of the same radius as the lid.


Next I hacksawed the heads off 16 hand forged rose head nails that I picked up and filed off the remainder of the nail so I just had the nail head with a flat bottom and glued these to the heads of the brass screws. Might sound odd but I wanted the strength of the screws with the look of the nails. Should any of the screws fail I can then prise off the nail heads, repair and re-fit nail head.


Lastly I fitted a nice little morticed piano style lock that I got from Hafele (through Chippy's mate, very helpful bloke called Darren) to finish it off.

And here's a few shots of the finished article.


The box is made out of one of the spare floorboards from my house, you can see them in the last few pics. I like to recycle :lol:
Sorry for the huge amount of pics but I wanted to show it off seeing as it's the first thing i've ever made, and hopefully it might help others with similar projects.
Please let me know what you think, and any improvements you would make. I have been asked to make a couple more so any ways to improve it would be welcomed.
Cheers
Mark


