More wooden plane making

UKworkshop.co.uk

Help Support UKworkshop.co.uk:

This site may earn a commission from merchant affiliate links, including eBay, Amazon, and others.
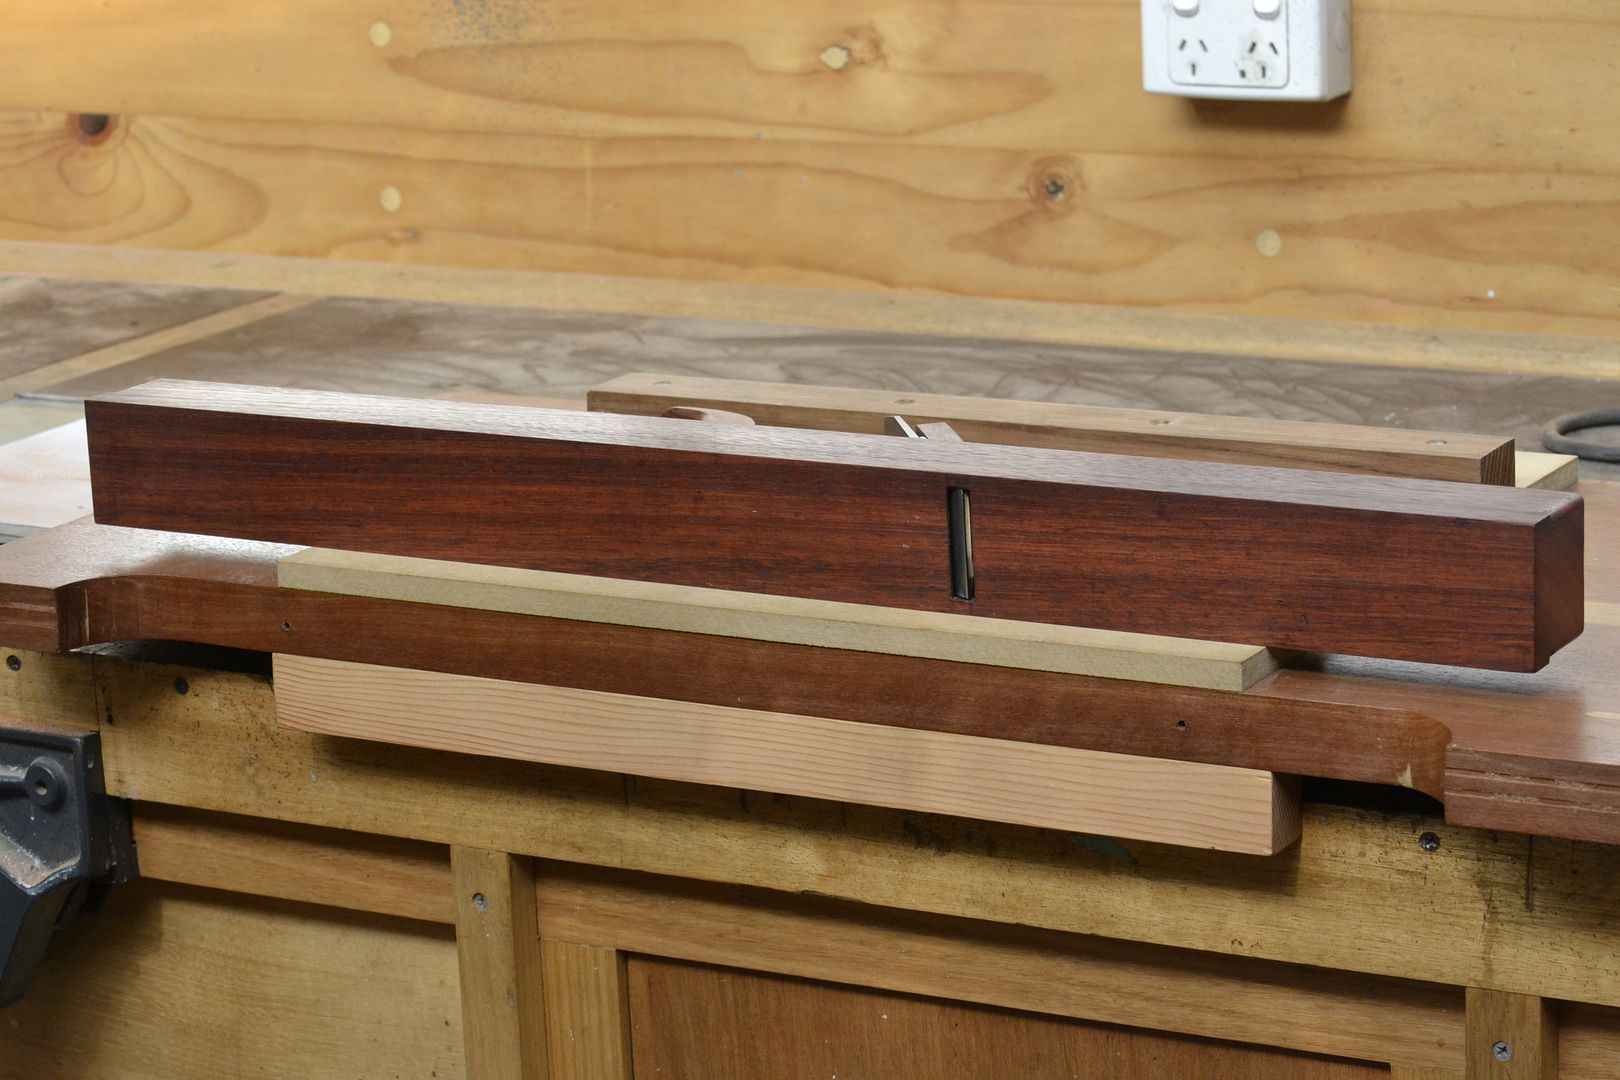
The front of the mouth opening and wear angle have both been squared up. The sole of plane has been dressed back to flat with the double iron in tension. (Little change noted in flatness). The sides and top have been cleaned up to remove all the lay-out markings. The mortise housing for the rear tote has been completed and the hide glued in position. The glue will be left to harden overnight. Both ends of the planes stock still need to be cleaned up with a block plane, then its onto forming the profile bevels.


Pete Maddex":4aqm0h6t said:
I have noticed on a couple of planes the tote mortice was undercut at the back of the socket so and the tote shaped to fit, you had to insert the heel first.
I guess it would help keep it in place.

Pete
Hi Pete. I have noticed this myself when fitting them. I always have to tuck the heel in first. I think it's something to do with the curvature of the tote. I've seen some makers cut the tenon off square at the back to make fitting easier, but I think this may make the tote more inclined to come loose.
 
richarnold":iya17qr0 said:
Pete Maddex":iya17qr0 said:
I have noticed on a couple of planes the tote mortice was undercut at the back of the socket so and the tote shaped to fit, you had to insert the heel first.
I guess it would help keep it in place.

Pete
Hi Pete. I have noticed this myself when fitting them. I always have to tuck the heel in first. I think it's something to do with the curvature of the tote. I've seen some makers cut the tenon off square at the back to make fitting easier, but I think this may make the tote more inclined to come loose.

I know it's seen as not being historically accurate, but I like to drive a standard #12 2" long brass screw through the front of a plane handle after waxing the threads and pre-drilling. It makes it so that it's possible for the glue joint in a handle to come loose and jiggle a little bit, but it's not possible for for the handle to come out.

Before I started building planes, I went through a rash of about 10 old try planes trying various things until I could find exactly what I wanted. Probably half of them hadn't been used for a while, and in using the planes to dimension wood, I worked the handles out. It ran through my head (and others I'm sure) that the worst thing that could happen would be for the handle to come loose in the middle of a brisk forward stroke. However, with any handle that is straight up and down or not or whatever else, it isn't possible to get the handle to come out on a forward stroke unless it's horribly fitted. To do that, a leg of a triangle would have to turn into the hypotenuse. Plus, pushing a plane forward puts downward force on the front of the handle, and potentially upward on the back (same hypotenuse thing). Or in short, the 5 or half a dozen handles that came out never came out in a forward stroke.

There is, though, a chance that you'll pick up a plane with a loose handle and have the entire plane fall away from it. The thing that breaks when wooden planes are dropped is the handle, and you'd still be holding that. Everything else just takes on a dent when it hits the floor.

I undercut my sockets, but if I had accurate machine tools, I wouldn't have to do that as much. I usually cut them entirely by hand without drilling anything, so a little bias makes things nice - and gives a little wiggle room when cutting the slanted ramp at the front.

Not that any of us will probably have to worry much about handles on our planes. When they're well fitted, coming loose at all is probably decades away.

What I'm slowly getting at is that the discussion that ensues sometimes about the ramp or lack of it or undercutting or lack of it really doesn't have much functional impact as far as I can tell. None of the variations will actually get us hurt.
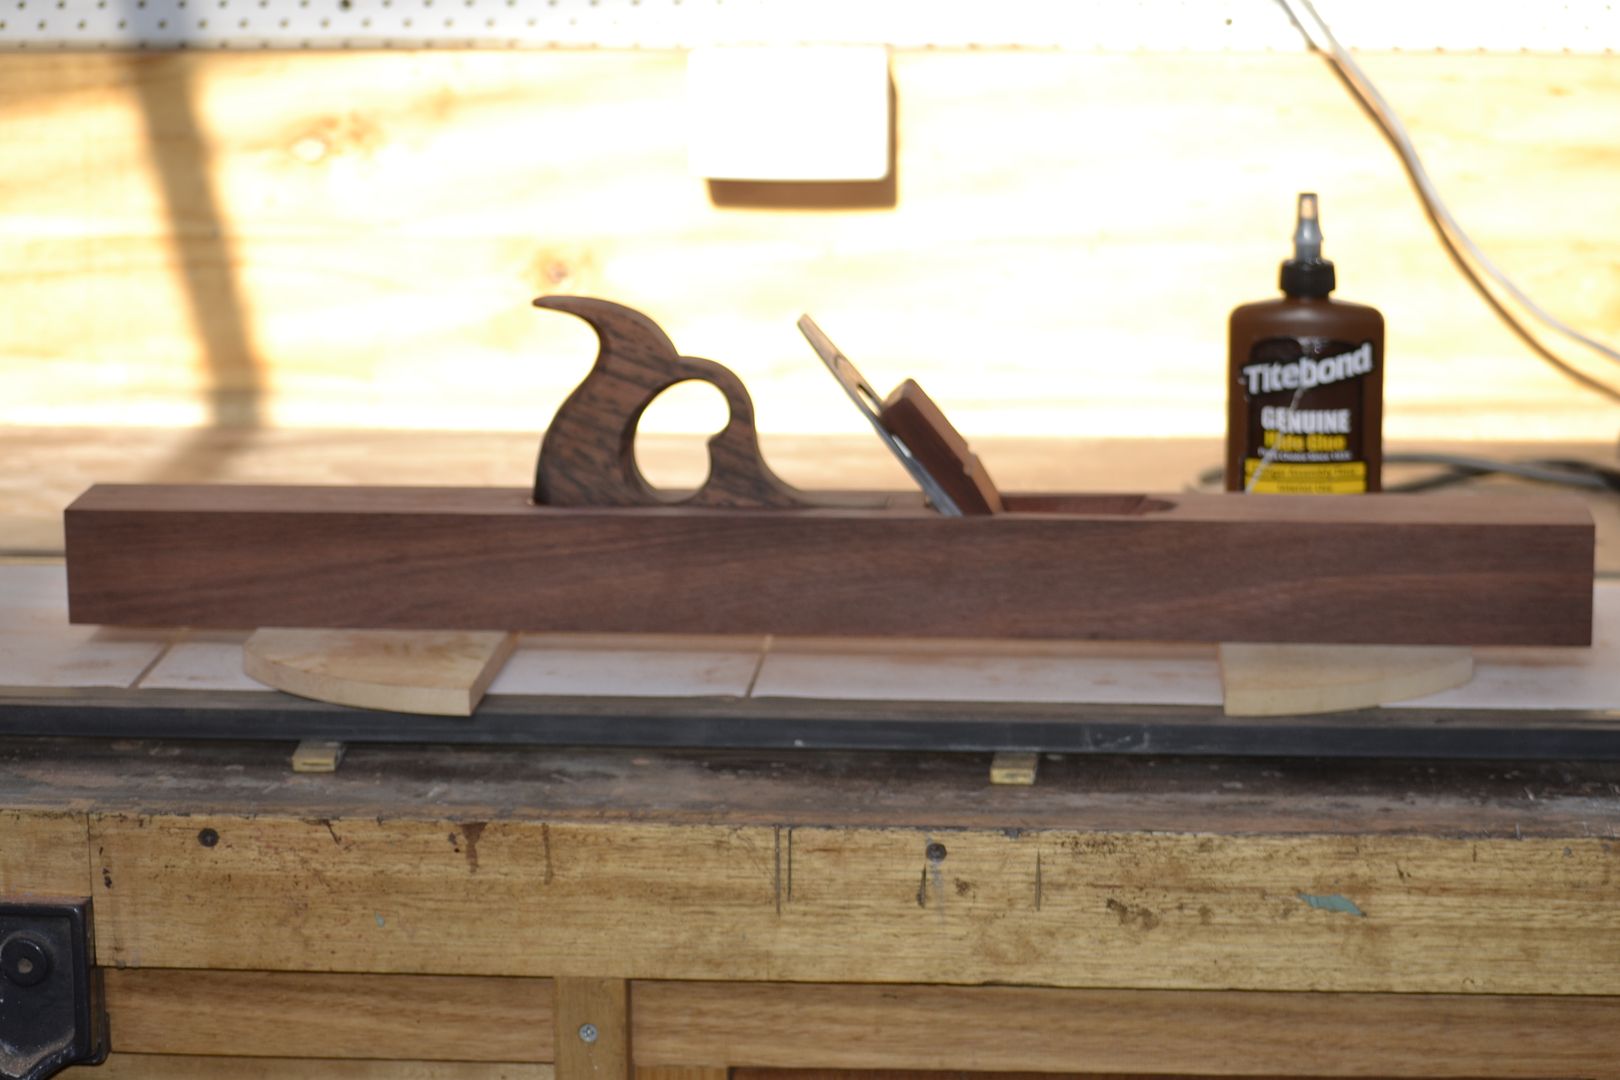
 
Planemakers Edge Floats are used when forming the wedge abutments on traditional wooden bodied bench planes. The common recommendation is to sharpened them to a rip tooth profile. Unless braced against the bed of the plane, they can be rather difficult to control their direction of cut.


As an experiment, I filed the side float teeth at a 10 degree fleam crosscut profile.


As you can see from the following test cuts, directional control was greatly improved by the change in tooth profile.


I would not recommend you attempt a change to the traditional tooth profile on Bed and Side Floats.
https://www.lie-nielsen.com/product/pla ... ?node=4098
 
I believe a saw and chisel are generally used for that work, until the last of the clean up is done.

I asked George once what he used to make planes (in terms of floats) and he said "none, I use chisels". I have tried that a couple of times and found it easier to use floats for most of the finish work.


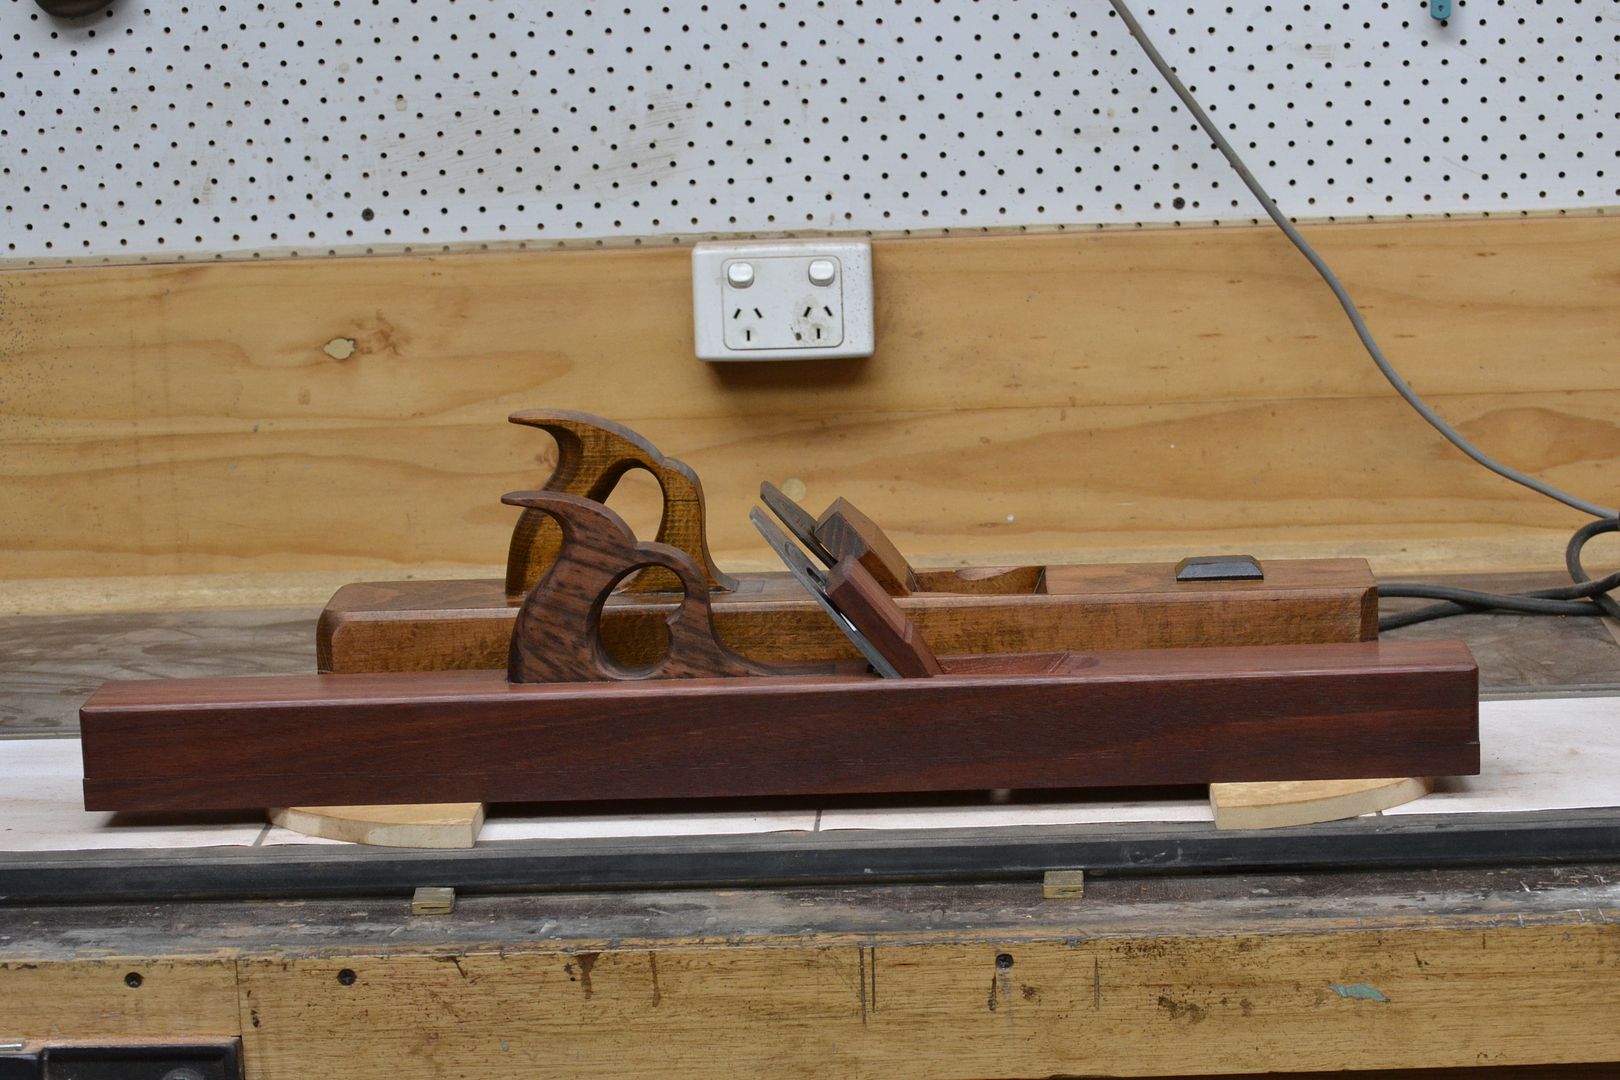
TRY PLANE
Total Weight; 2.915 kg
Weight of double iron; 500g (2 1/2")
Stock dimensions; 22"L x 3 3/8"W x 3"H.
Stock; European Beech (qtr sawn)
Rear Tote; 4 finger entry.
Bed Angle; 47*.

JOINTER PLANE
Total Weight; 2.450kg.
Weight of double iron; 325g (1 13/16")
Stock dimensions; 28"L x 2 3/8"W x 2 1/4"H.
Stock; Australian Jarrah (Rift Sawn)
Rear Tote; 3 finger entry.
Bed; 52*.

While both types of wooden bench planes do serve their function extremely well, it is within the area of comfort and control that the Jointer Plane is a clear stand out. imo most of that can be attributed to the benefits that a 3 finger rear tote has over a 4 finger entry. The lower centre of gravity an additional factor. When comparing the difference in force between the 2 planes, the higher bed angle of the Jointer Plane has been offset by the decision to fit a narrower width double iron. The merits on visual design will be left for others to comment on.

Stewie;
 
Back
Top