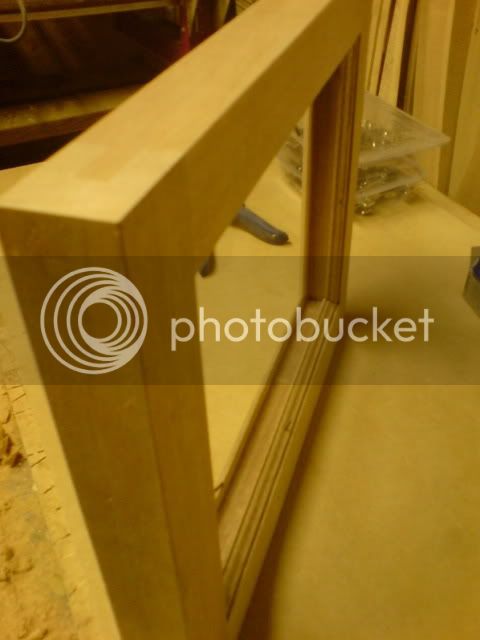
Making a window with basic tools (lots of pics)

UKworkshop.co.uk

Help Support UKworkshop.co.uk:

This site may earn a commission from merchant affiliate links, including eBay, Amazon, and others.
OPJ":33pipm0t said:
...snip... I've heard some paints can actually increase the chances of timber rotting outdoors.

That's a bit of an urban myth actually. Modern paint technology is far better than it was, so much better that the integrity of the finish is vital to the health of the timber. Any damage to the paint layer will accelerate water absorption at that point as moisture cannot escape anywhere else.

However, most rotting of window frames that is blamed on modern paint systems is due to very poor or insufficient finishing of the INTERNAL frame surfaces. Modern homes are so well insulated that moisture from breathing and cooking cannot escape. If the internal paint finish is not as well sealed as the external, then the moisture concentrates in the frames until rotting occurs, from the inside out. Normally due to the warm moisture condensing against the cold external paint layer. When the sun eventually warms up the outer paint layer, the moisture evaporates causing bubbles under the paint which eventually crack.

Of course the timber needs to be sufficiently dry before painting which is why in the past most frames (over here at least) were undercoated at the factory in an open paint system that allowed moisture out but wouldn't let any more water in. Nowadays though a completley closed paint system is used, but only applied to wood under 18% MC.

So if you are going to paint a new frame it is actually more important to paint the INSIDE first!
 
engineer one":1bxi3edy said:
nice pictures and very good work mate, well done, nice explanation too.
I agree. I think I would be tempted to have a go now, whereas before it was all a bit of a mystery.
Dave
 
Dave , that is great to hear ! Ill try and do some more as soon as i can .
 
Thank you so much JFC

I'm "swallowing" your "how to" and watching it every day....and you really use very simple tools...

As one that made a few long pictorial posts, I agree with you that sometimes, to take the pictures, takes more time than the work itself.

I very much appreciate your effort

Thanks
niki
 
Sorry i've not had an update i've been snowed under with work . I will try and get some more done soon ...... it's nearly finished i promise :lol:
 
you mean you have been working :twisted: :roll: rather than teaching us?????

jason where are your priorities. :lol:

actually you are lucky to be able to do both 8)

paul :wink:
 
At last i managed to do a little bit more this afternoon .
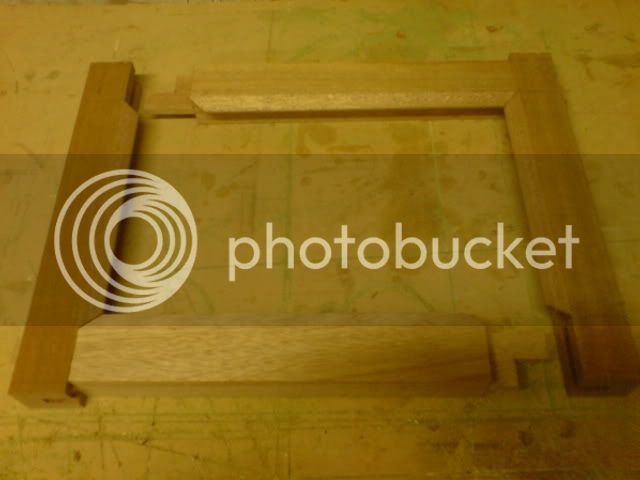
All the haunched M&T cut

DSC00347.jpg


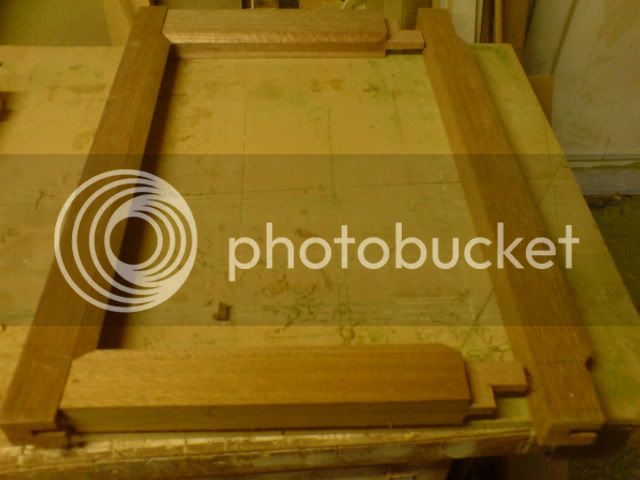
And the most basic of mistakes was made , for some reason i didn't mark out the side stiles for the bottom window back to back . The result is to stiles the same way round .
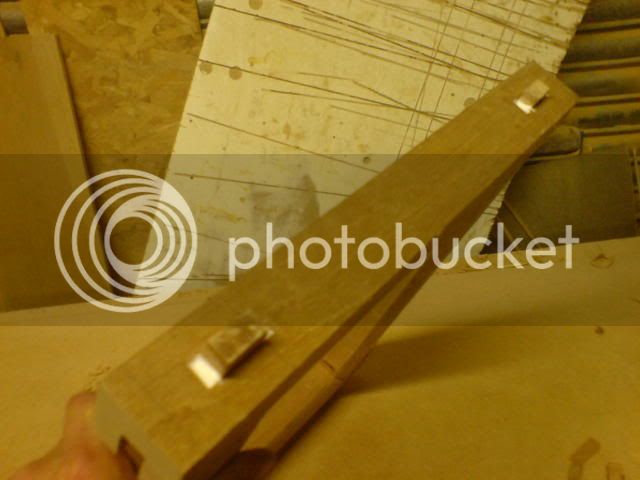
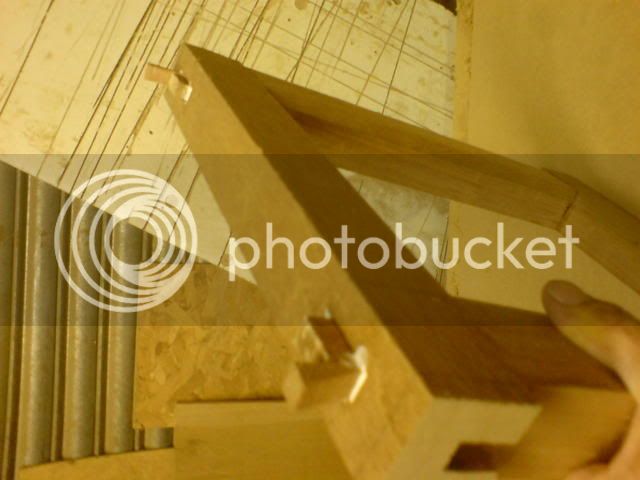
DSC00348.jpg


Annoying but it's sort of good it happened on this one as it shows what not to do .
It's very simple to get around a mistake like this , what you need to do is see what one is the best and set it aside . The other one gets thrown across the workshop while screaming blue murder .....after mumbling to yourself for a while you make another one the right way round .

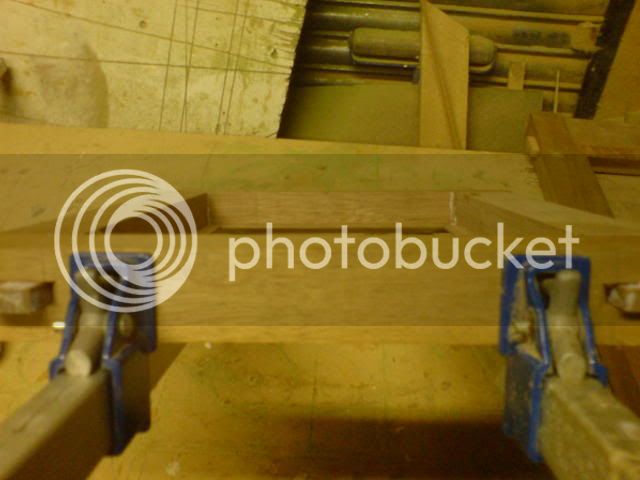
Clamping up , much the same as the frame . Check for square with your pinch rod and make sure the opener is in wind by lining up the edges with your eye .

DSC00349.jpg


Again i put the wedges in after the glue has gone off so i don't knock the opener out of square when knocking them in .
 
Jason wrote:
And the most basic of mistakes was made , for some reason i didn't mark out the side stiles for the bottom window back to back . The result is to stiles the same way round .
:D :D :D :shock: :shock: :shock: :lol: :lol: :lol: :twisted: :twisted: :twisted:
 
Shurrup you ! I was making 50 other windows at the time and my mind wasn't on this one . :lol: At least it's the right colour :whistle: :lol:
 
Spare the ROD, spoil the job 8)
Ditto the face and edge marks of course :lol:
cheers
Jacob
 
Yeah i know i could have just made another one and kept my mouth shut but it's better to show a mistake so people can see what a PITA it is and them not do it eh . Anyway i have made a new record launch for that bit of timber . I beat the last effort by 1.2m :lol:
 
Thank you JFC

Maybe I'm missing something but, assuming that all the tenons and mortises are at the same level, if you'll turn the right stile (on the picture), 180° will it not fit to the tenons? I mean, is there any difference between the left and the right stiles.

niki
 
Niki , the bottom rail is larger than the top rail by around 30mm . If it was on the top opener it wouldn't matter but the bottom opener has a larger bottom rail .
 
Wakarimashita (Japanese - I understood)

Well, in that case, also my neighborhood kids would learn some new vocabulary :)

Thanks
niki
 
Once out of the clamps i glue the wedges in . I was actually taught to do this on glue up as the way you put the wedges in tightens the joint to the shoulder but as i said before i do it after as i need to speed things up to earn a living and squaring clamping and then wedging saves alot of messing about i think .

DSC00353.jpg


I still use the same practice of knocking in the outside wedges first .

DSC00354.jpg


Once you have fitted the wedges and cut them flush and have cut of the horns like on the frame check it fits :lol:

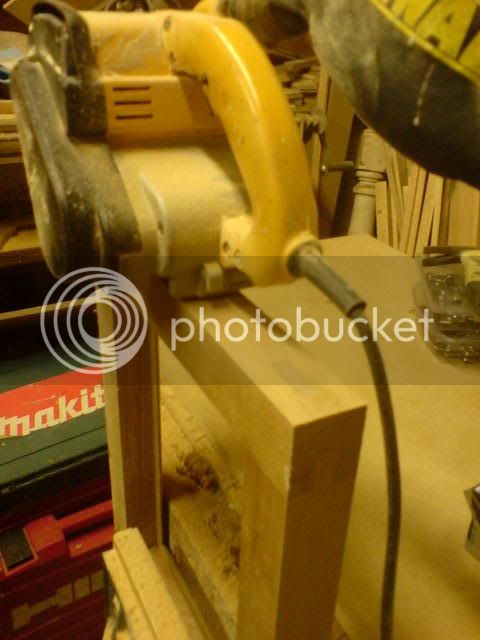
I use a belt sander to clean up but a hand plane or sanding by hand can be used , it just isn't as quick .


DSC00355.jpg


I run the belt sander all over the window not just the edges .
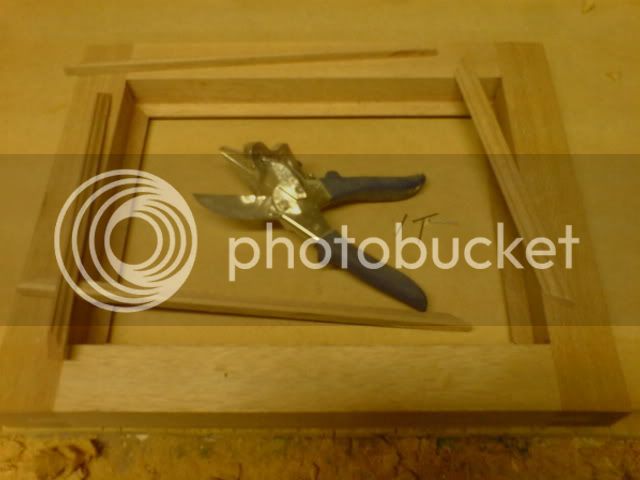
Once that is done you can cut your beading to hold the glass in and pin it in so you don't loose it . 1 pin left proud does the trick

DSC00356.jpg


DSC00357.jpg


One window ready to hang . The other may take a while as i messed up the stile and i'm still very busy but the practice is the same so i wont be taking pics of that one .
 
P.S The good thing about cleaning up with a belt sander is you can fill all the gaps with glue and the sander pushes the sawdust into them :lol:
I use worn out 80 grit for my cleaning up .
 
Back
Top