Making a casement window (single glazed)

UKworkshop.co.uk

Help Support UKworkshop.co.uk:

This site may earn a commission from merchant affiliate links, including eBay, Amazon, and others.
meccarroll":2ix6p2xy said:
ColeyS1":2ix6p2xy said:
meccarroll":2ix6p2xy said:
Hi looking at your workshop equipment and trollies for material movement I'd say you do this sort of work for a living. You have already said that the sequence of machining is
not how you would make a window in practice but show it this way so a novice might find the sequence easier to follow.

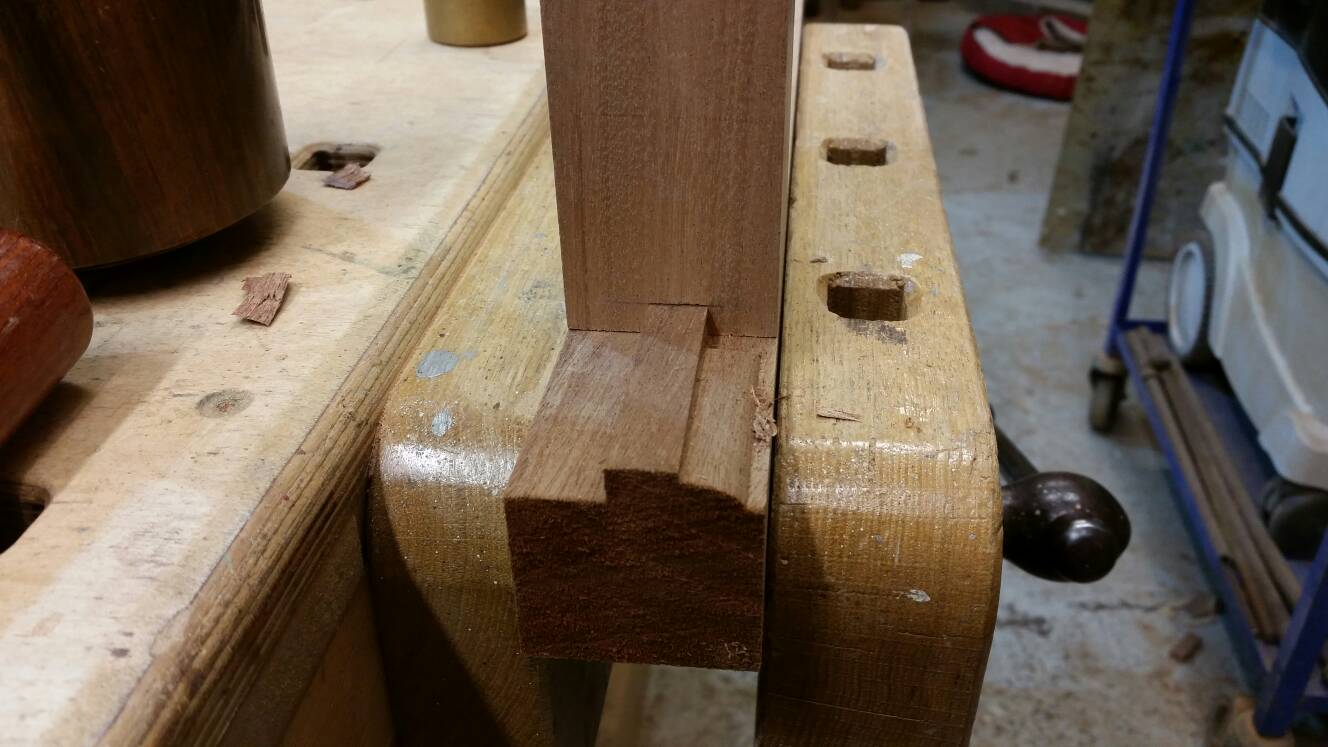
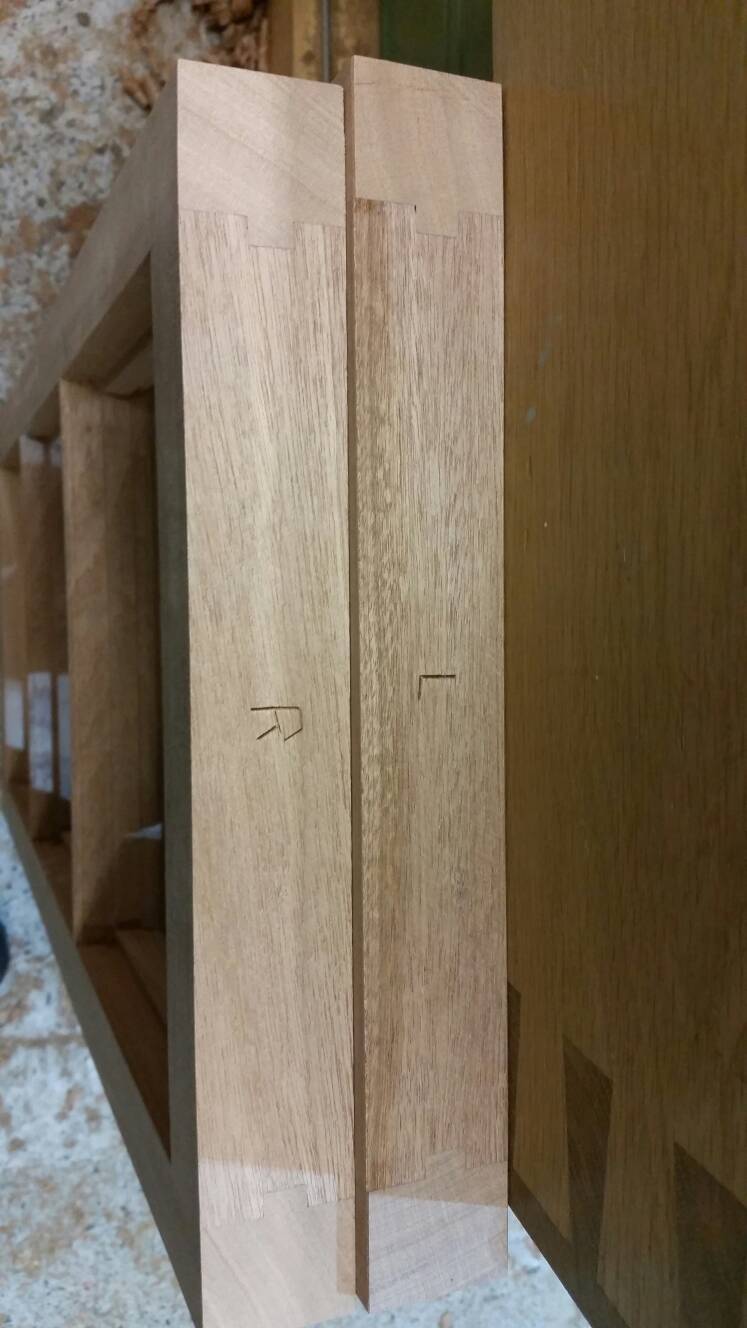
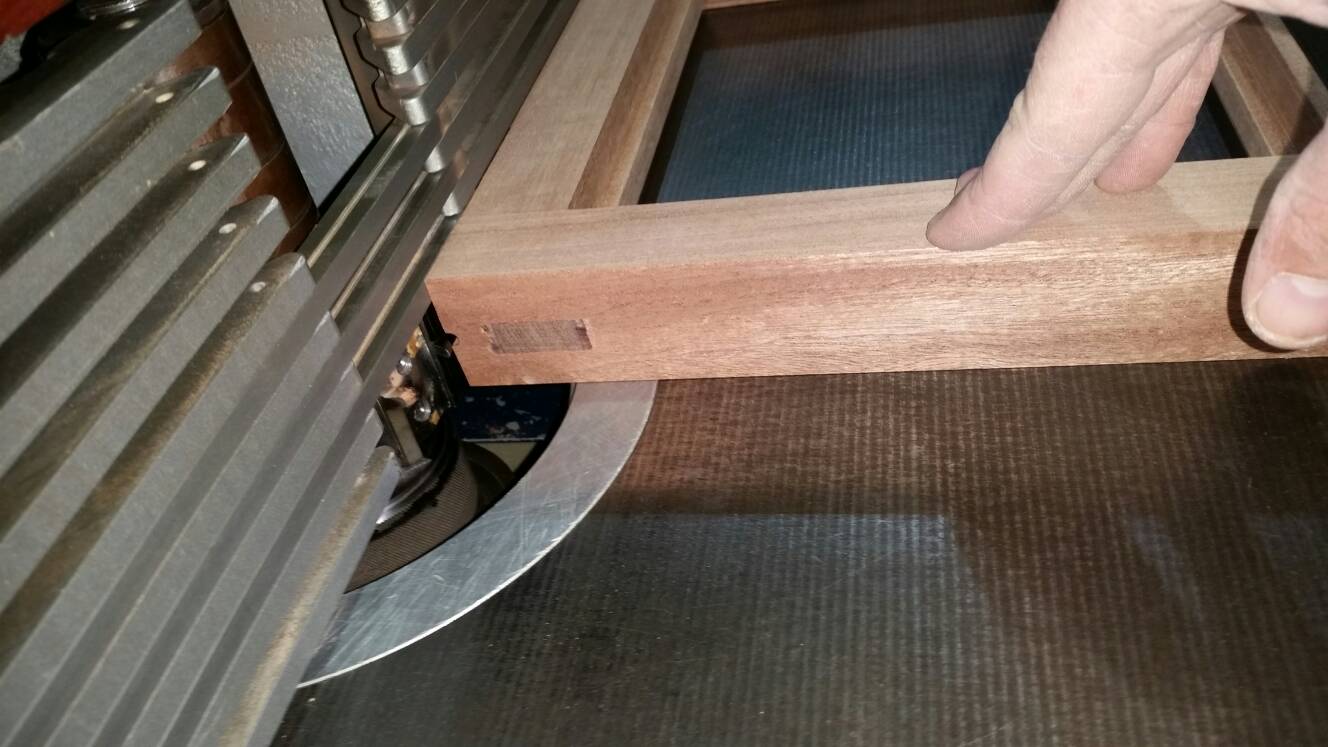
The only technique that puzzles me, with regard to the frame, is why you put a shoulder on the side of the mullions at the M+T joint (a shoulder either side of the tenon and in line with it?).

Mark
Hi Mark. I would normally do things slightly differently, the most obvious difference would be using a scriber on the tenoner for the sashs. This would also mean the tenoning and scribing would be done before the rebate and mould. I was hoping to show that someone who perhaps didn't fancy doing all the machining, could just buy in all the sections required.
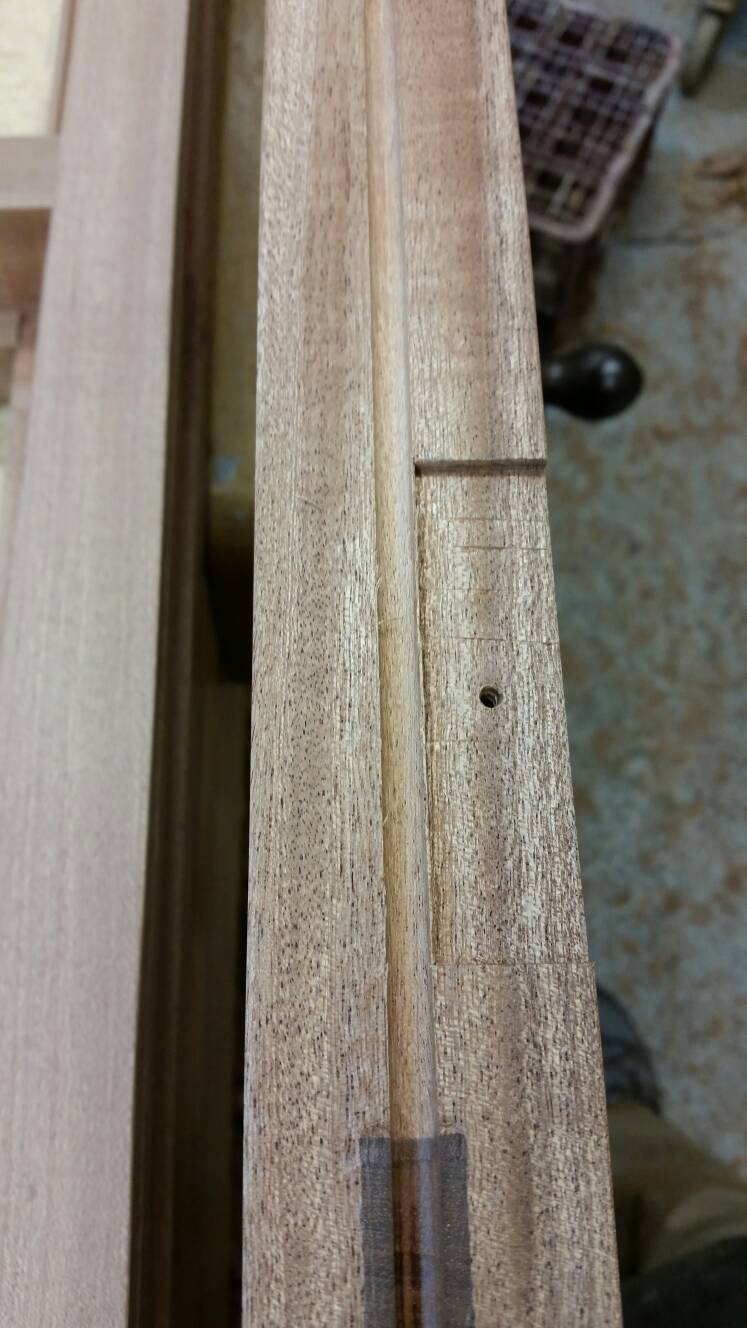
I'm glad you raised the point about the notches on the frame tenons. For years I just made the tenons the same width, with no real problems. Depending on how warm/roasting the central heating was set, varied how much a gap you'd see when the tenons decided to shrink. Rather than see a hole, it seemed better to in effect scribe them over aswell. More work, but I think slightly better than a straight through joint.
Theres also the thought that if water did somehow find its way ontop of the head, the notch should help it from dripping inside.
Same width tenon, perfectly acceptable. Notched/scribed one, perhaps a tad better.
Thanks for taking the time to read this. I'm relieved it's not all coming out as complete gibberish :lol:

Coley

Thank you for the reply Coley. It's very nice that you have taken the time to construct a window in a way that makes it easier for a newcomer to follow rather than show how you would actually make a window when doing it to make money. I think this will be very helpful to a first time window maker or anyone contemplating making a window for the first time.

Mark =D>
I've always enjoyed the fitting of sashes for some reason, as sad as that might sound. Even though I could have probably saved a few quid by machining the joints, I still on occasion think it's worth taking longer and then proper enjoying it.

Coley
 
pollys13":rexq7thz said:
Very interesting Coley, thank you. Your not using a marking knife but a fineliner pen, pencil? Why no marking knife and what type of pen, pencil are you using? Can I see some of that router non slip rubber webbing on your morticer? I going to look for a short butt chisel, I expect are all much the same quality but can you recommend a make? As I say very interesting, enlightening how this is done. thanks for taking time to explain to people. You certainly are a very able craftsman!
Cheers.
I'm not sure about the nonslip mat you mention, I think you may be mistaken ;)
You can use a marking knife if you'd rather. I've always found a 0.5mm mechanical pencil more than accurate enough for joinery. Rubs out much easier aswell if you do put a line in the wrong place :lol:
Apologies for not replying to your email regarding the 9 degree cut. It was kind of a slip of the tongue. I quite often think it might be frowned upon using machines instead of good ol hand tools. If I didn't use the tipped over chopsaw for the 9 degree cut, my other option would be a tenon saw. Reality is, the chopsaw can perform the task quicker, cleaner with repeatable results. The downside, if you cut one wrong on the chopsaw, you're royally rubberducked cause they'll all be like it :lol:
You won't regret getting an ashley aisles butt chisel. They're like princes though, once you pop you can't stop ! You'll end up with the whole set.
Glad you find it interesting and appreciate the comments Peter. As soon as I started photographing each step, it was surprising how quickly the numbers started rising.


Coley
 
ColeyS1":2uy29q6a said:
katellwood":2uy29q6a said:
Coley

Your reverse haunch is actually called a franking

great job by the way, not had an occasion to do something like this in years (since plastic took over) however did loads in the late seventies/early eighties. if I do anything like this now it is usually for double glazed units which dictates that the rebate also goes back past the mortice and tenon (hope this makes sense) which narrows the width of the tenon by the rebate depth.

some may be interested in a few sketchups in did in this post

http://forums.ukworkshop.co.uk/viewtopi ... 9&p=731989
Thanks for clarifying the name katellwood. I struggled for about 10 minutes to find the correct spelling and gave up in the end :lol:
Your sketchup drawings are amazing ! I'd love to be able to draw with that amount of detail but can just about manage shapes, let alone all the scribey parts.
I know what you mean regarding double glazing. This window is probably a once in 3 year kind of job. It's mostly all double glazing with the odd like for like listed window.
Thanks for sharing those sketchup pics. They make it much easier to understand.

Coley

just to clarify

franking.JPG


The guy who i was apprenticed to told me the name however I have also found a reference in a Charles Hayward book

Its referred to as being franked as opposed to haunched
 

Attachments

  • franking.JPG
    franking.JPG
    38.9 KB
ColeyS1":3kkf9jsy said:
skipdiver":3kkf9jsy said:
Excellent work and thread Coley. I've knocked up a fair few windows in my time but always with pre machined window sections. All the local timber yards used to carry framing of different patterns but alas no more since the onset of UPVC. It's been a long time since i had occasion to make a wooden window and chances are i will never again, so thanks for the interesting peek into your world.

Glad you found the thread interesting. I had no idea the parts could be bought off the shelf back in the day. Out of curiosity did they provide hardwood cills or was it all softwood ?
Cheers

Coley

They did do hardwood cills but they were machined to match the door framing that was also available. It could be adapted to fit windows with some fettling. I still have some of that hardwood cill in my workshop and just the other day made an internal threshold with it for a job where two floors of differing heights meet. Strong smelling and made me itch a bit- not sure what it is.
 
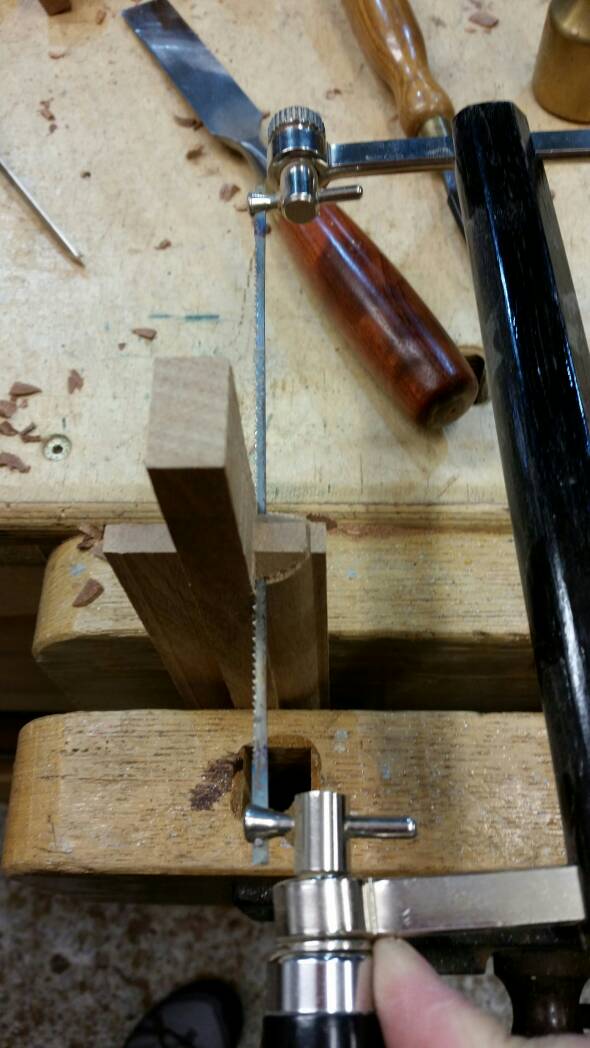
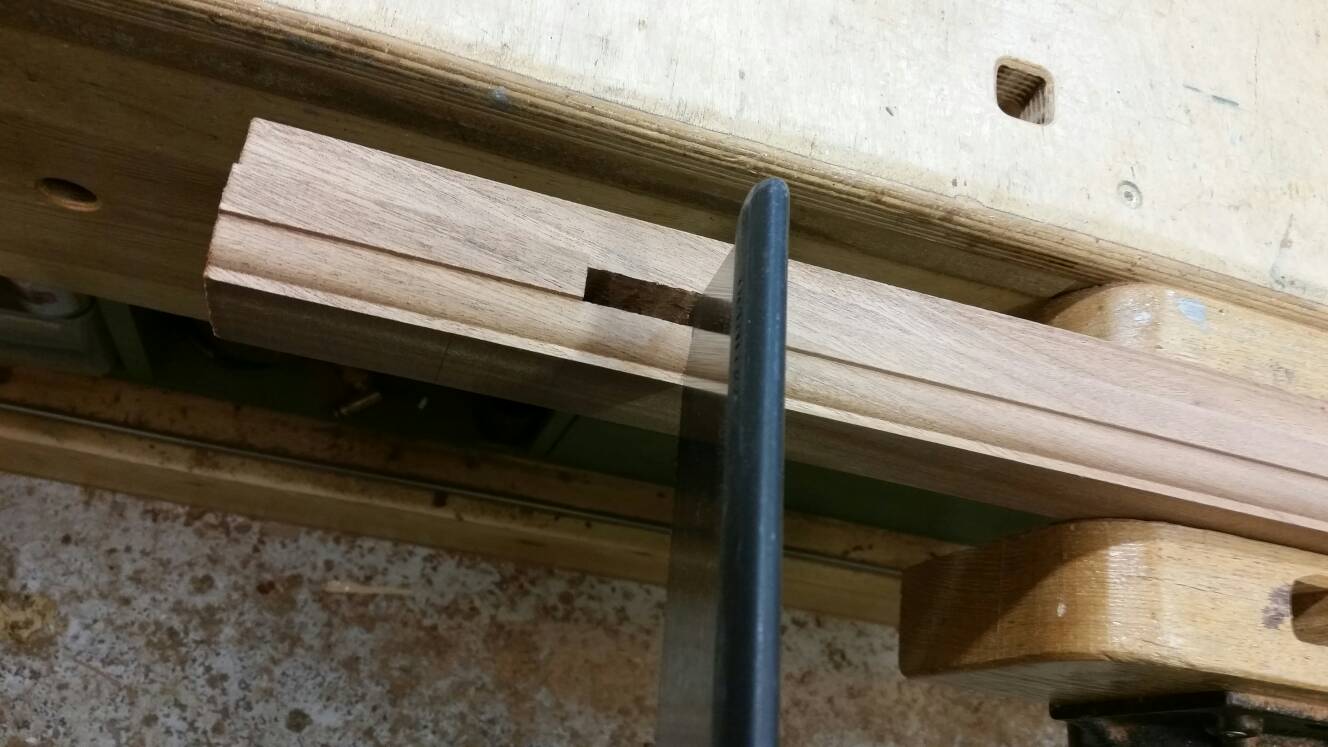
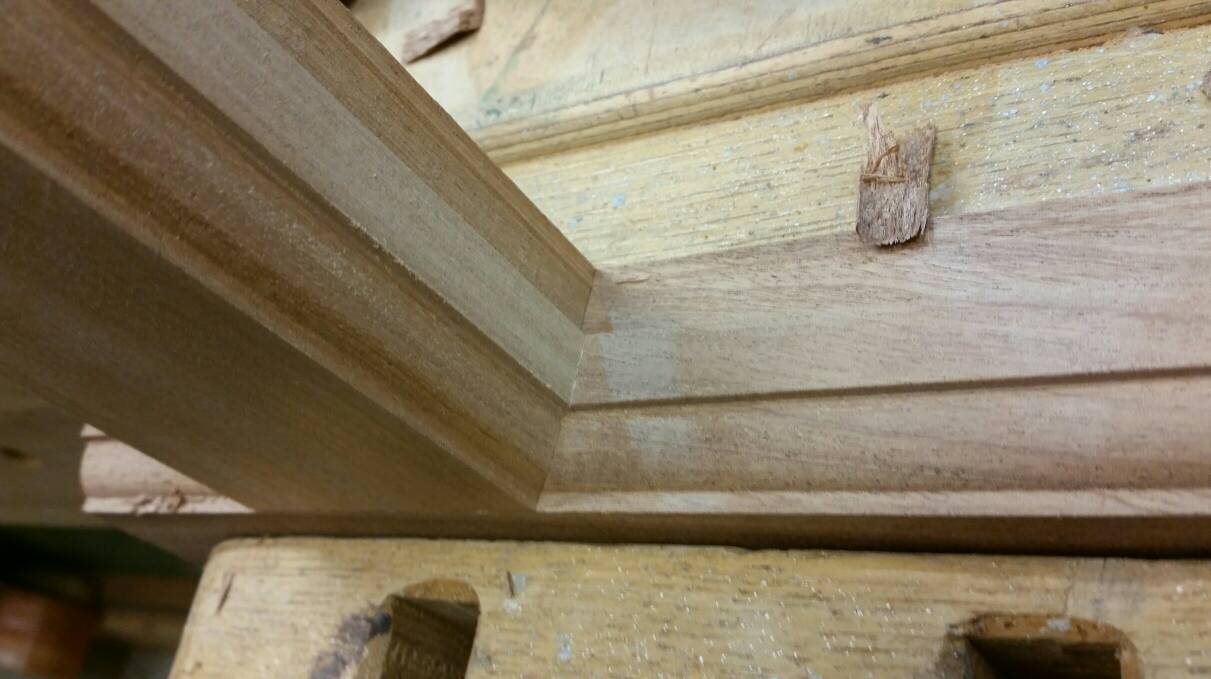
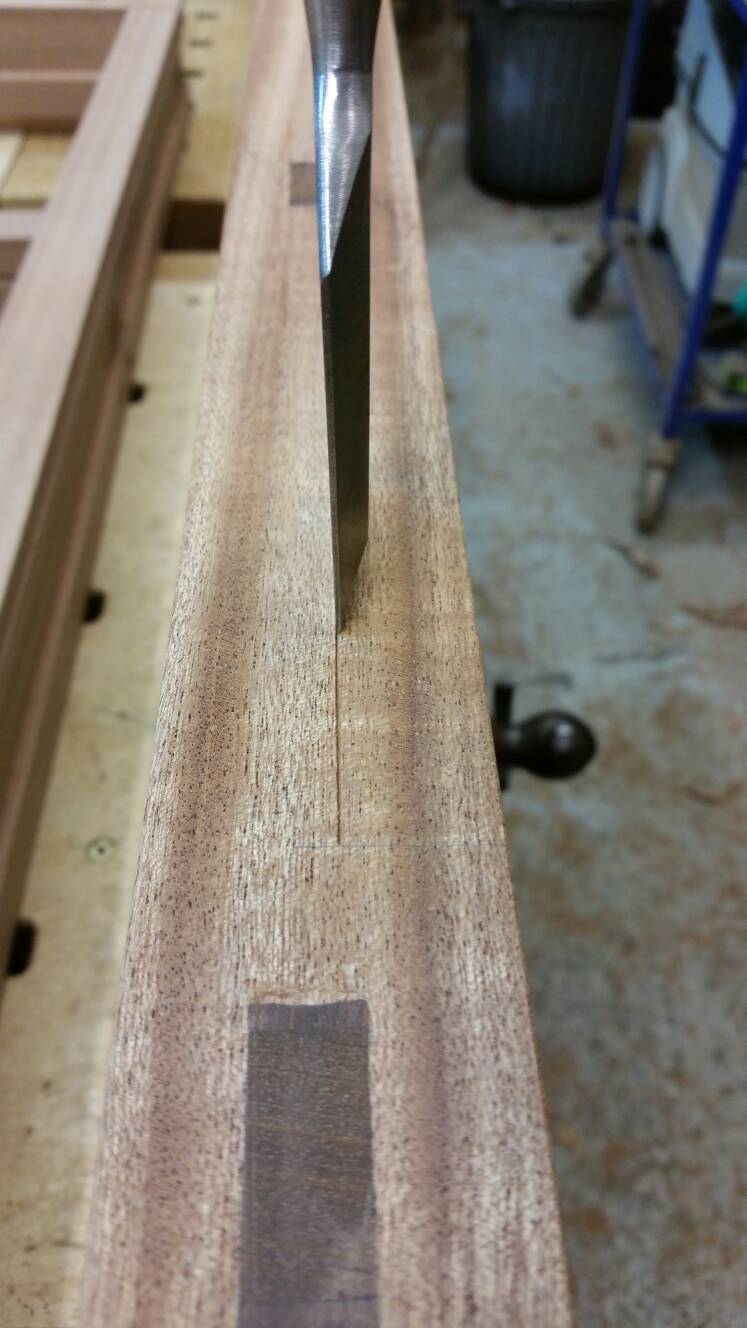
The glazing bars easy to scribe. But the glazing bar fairly low in the vice jaws. Get a well tensioned coping saw and begin sawing to the line. Cut a bit, peak at the backside, perhaps adjust the angle of the saw and keep going till you reach the tenon. It'll become second nature and you'll soon be able to follow the line on both sides with ease.
c789b1d66af92b61b9762eebbb2023e6.jpg

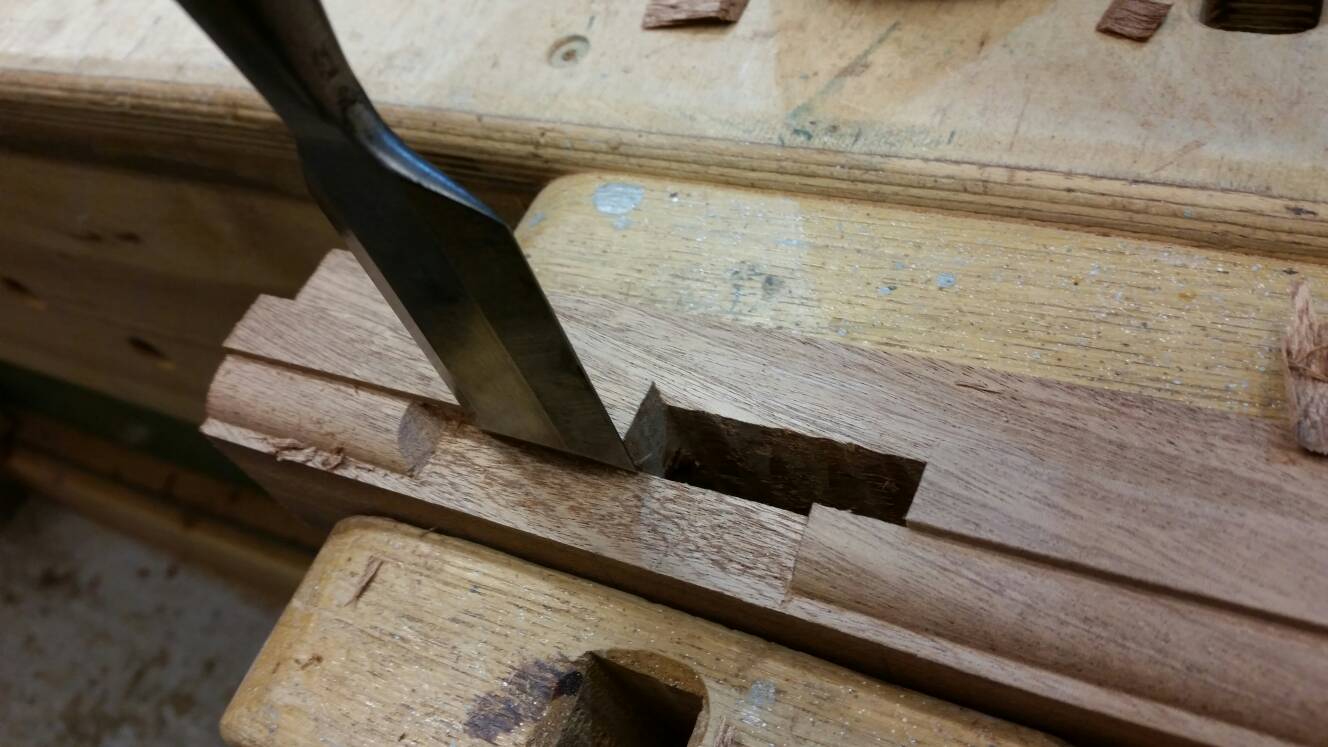
If you hover your head directly above the tenon you'll be able to see both lines at the same time. Chisel off the remaining bit.

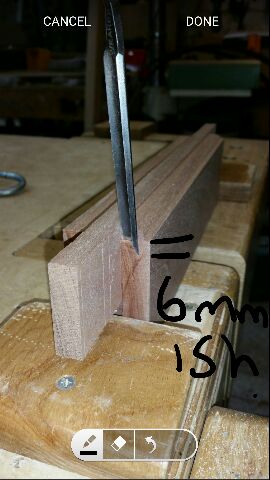
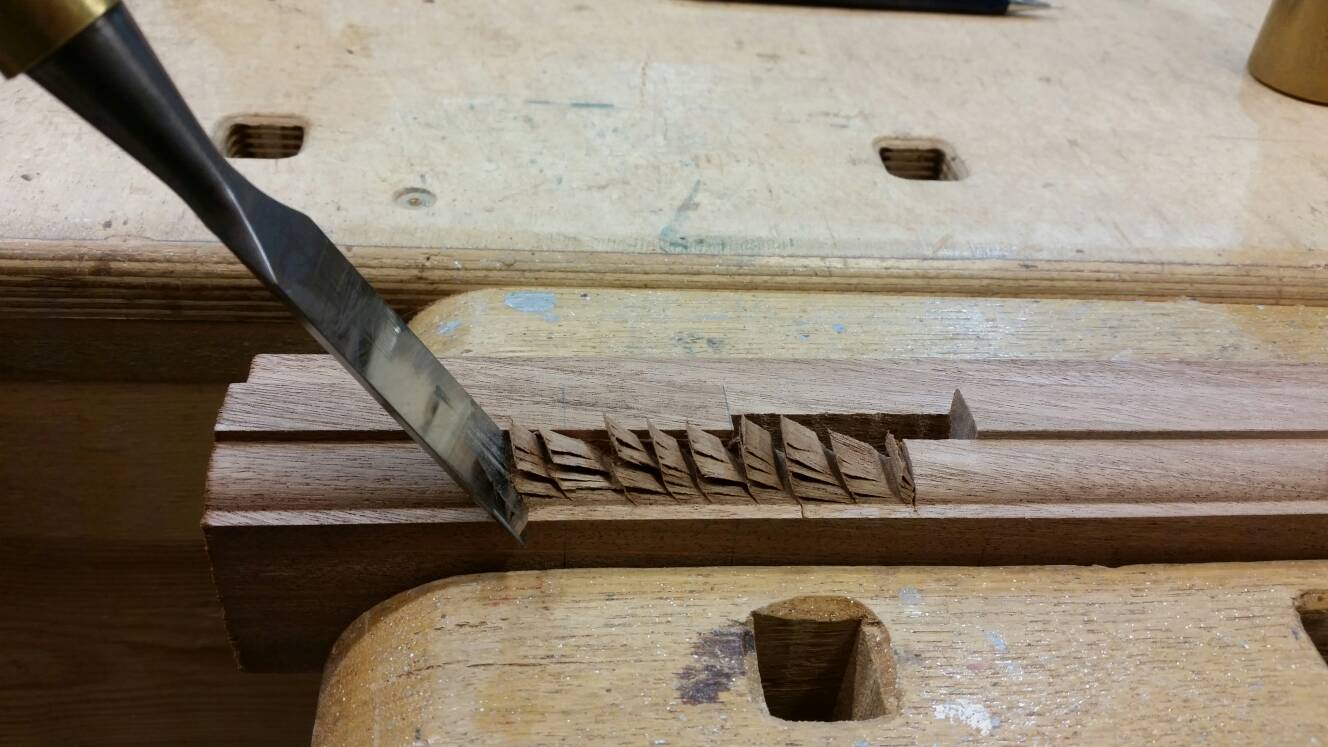
The rails require an incannal gouge. A 3/8 one is my go to gouge for most scribes.
3eaf301d80ea174785633c12ab5ff400.jpg

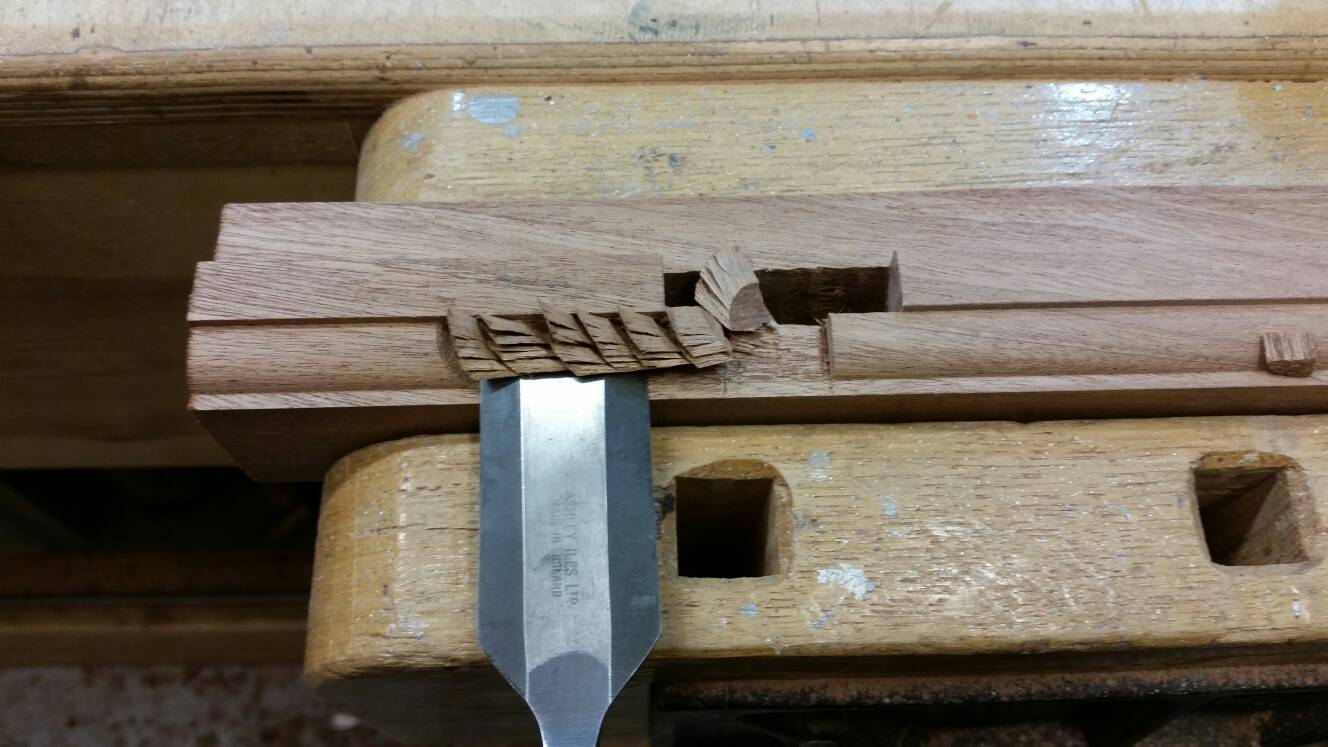
Follow the shape of the mould/mitre line. Don't try having it all out in one go, have a few bites at it ! Ideally about 6mm deep past the flat bit is enough, give or take, doesn't have to be exact.
f3defa402f929aab2c154bf069c22974.jpg

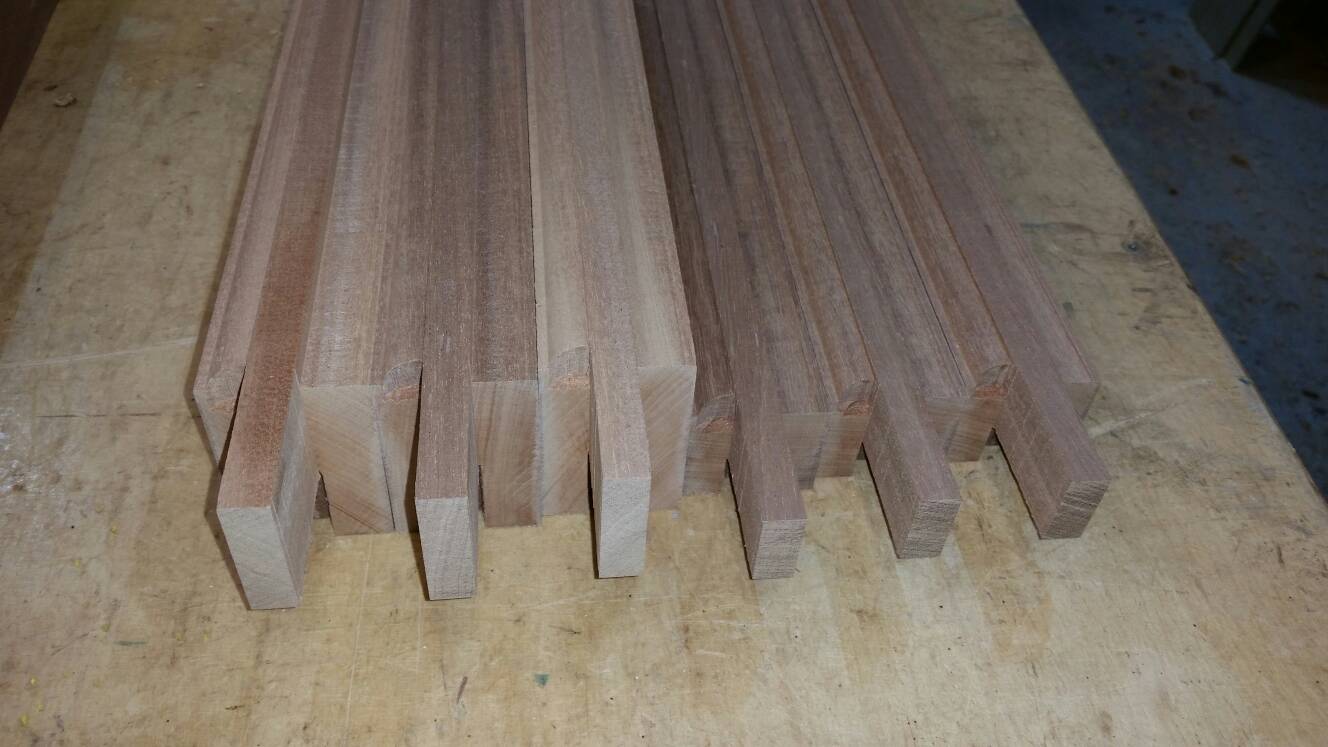
You should then end up with a pile of readily scribed rails.
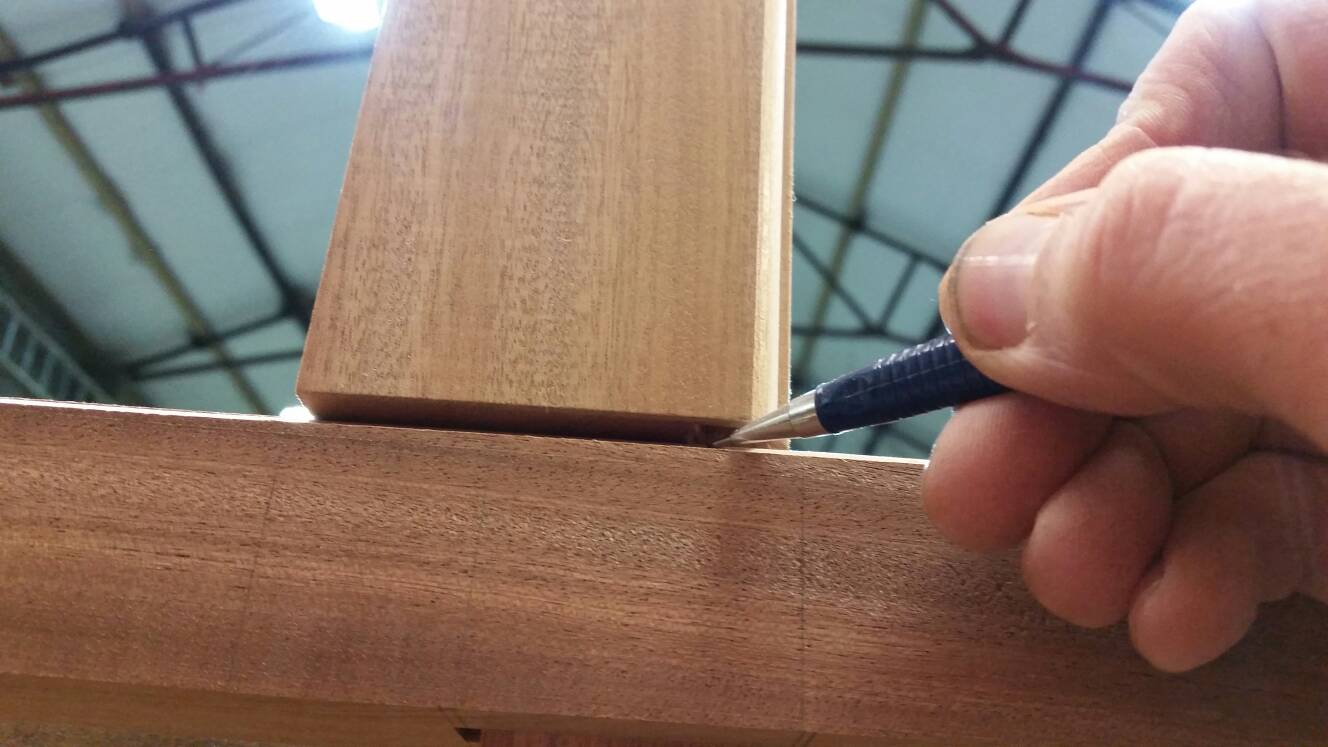
Place your tenon in the mortice
3921f57addb95a215e50a3f2ba0e730a.jpg

Mark where the scribe you've just done ends.
4b3f62641faca6ac47198acb45f36bff.jpg

Saw this line, or chisel what ever works for you.
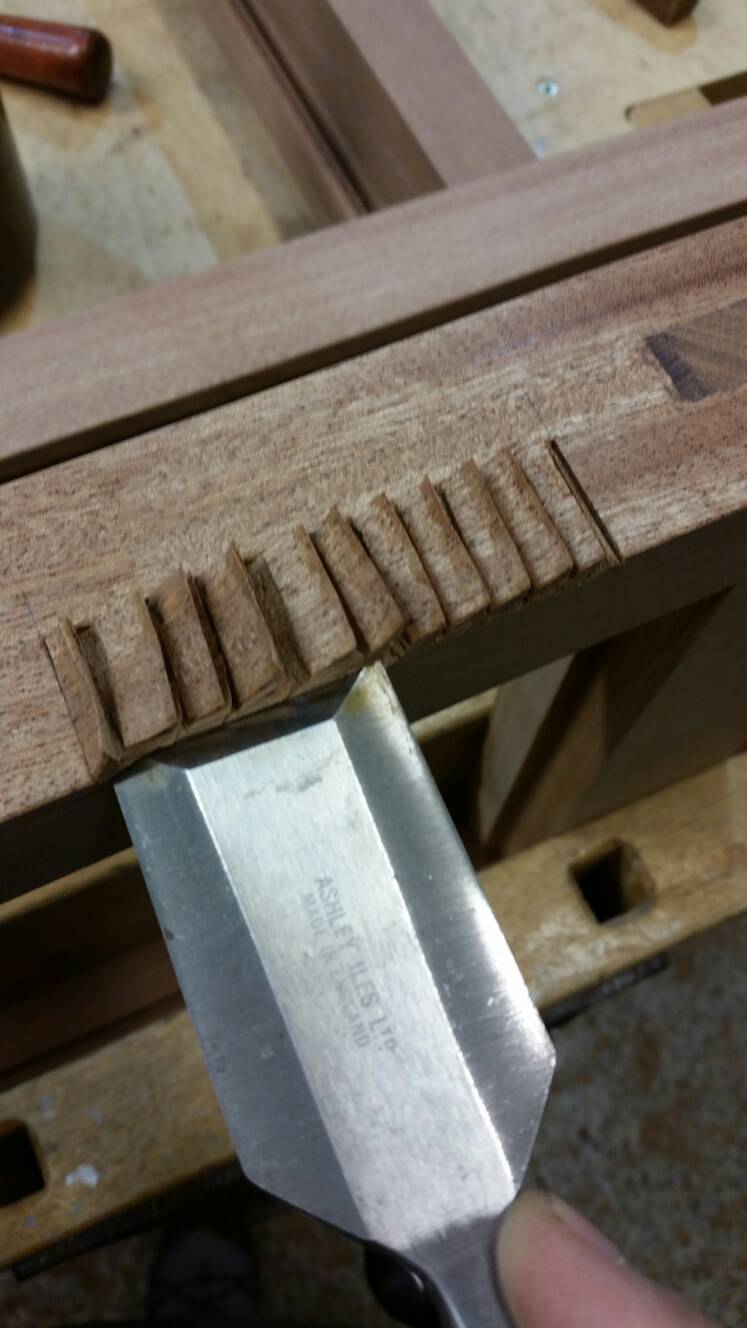
Next step make a hedgehog.
97947700a33c8dd636c3ff2ec0fcb209.jpg

Trim the hedgehog
fa60eac5be40a7cdcfd4430cb95b70eb.jpg

Then finally tidy up the hedgehog so it doesn't look hedgehogy anymore. Don't be sad, you can make more !! :lol:
7acb1580fb0b3d0aff737fdab4fb116b.jpg

That's 1 joint completed ! Test fit-
dc2a55d17dfeac44951ec3668ea71798.jpg

3662a6520cef197ca297d14bbcb0106a.jpg


Coley
 
Again brilliant stuff Coley
" Rubs out much easier as well if you do put a line in the wrong place "......Ah........... right :)
I have the Charles Haywood book.
Just had a Google for Ashley Aisles butt chisels, which width should I go for?
 
pollys13":y7etok5f said:
Again brilliant stuff Coley
" Rubs out much easier as well if you do put a line in the wrong place "......Ah........... right :)
I have the Charles Haywood book.
Just had a Google for Ashley Aisles butt chisels, which width should I go for?
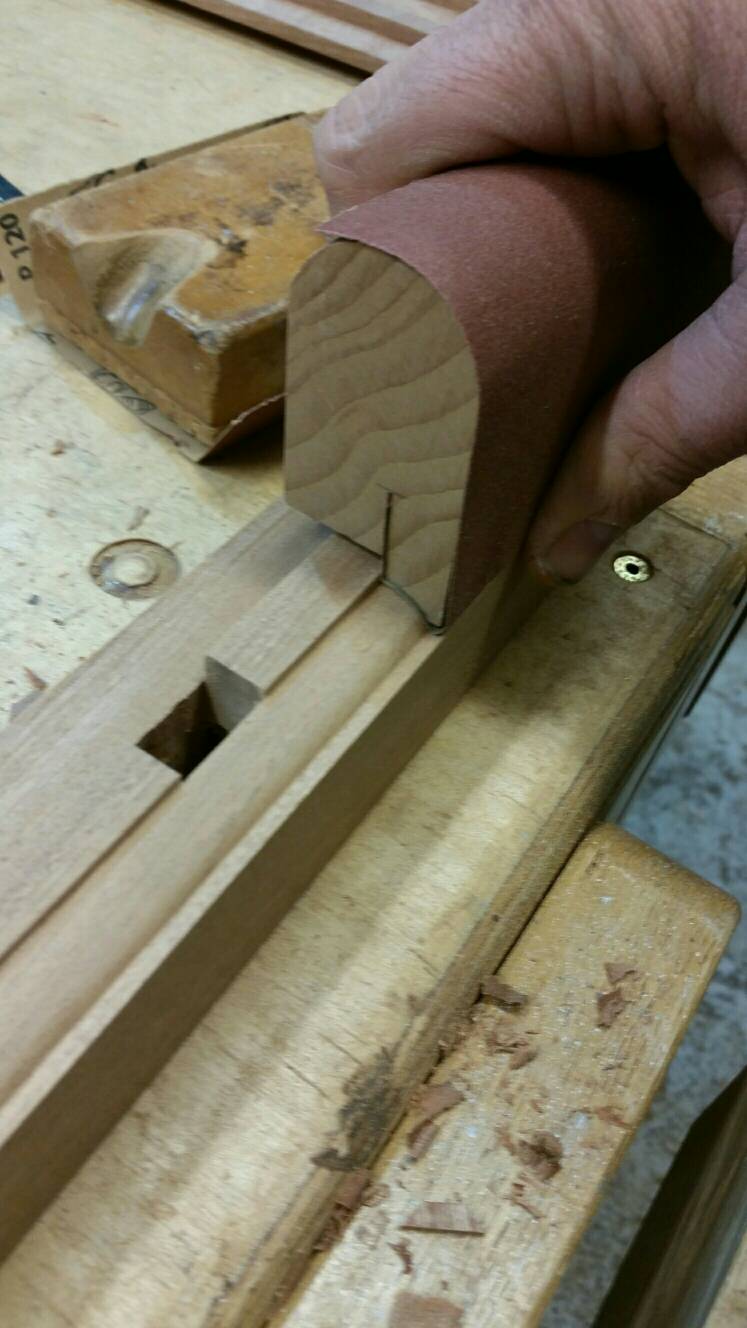
Well I prefer the 2inch just because I have one. This mould is tiny compared with some frame moulds that need to be mitred. A 1.5 inch would probably be more useful to be honest, perhaps even a little easier to get use to.
I took a pic with a smaller chisel
602fd158d0d10ddafc1ade67f20650cc.jpg

You might find a smaller chisel works fine. It's something I really struggled with in the early days. For some reason I also felt the need to lift the chisel off the mitre template and found smaller chisels a bit wobbly. Perhaps it's just me, mummy did tell me I was special :lol:

mikefab":y7etok5f said:
This thread is set to be THE Internet resource on window making!
Glad you find it helpful ;)

Coley
 
Now all the joint fit, clean up the inside edges, ready for gluing.

456d774dad6ecac096e43faaab5f3416.jpg

Tapatalks having issues with uploading pics, hopefully this'll work.

Coley
 
Before gluing, check your sash measurements.
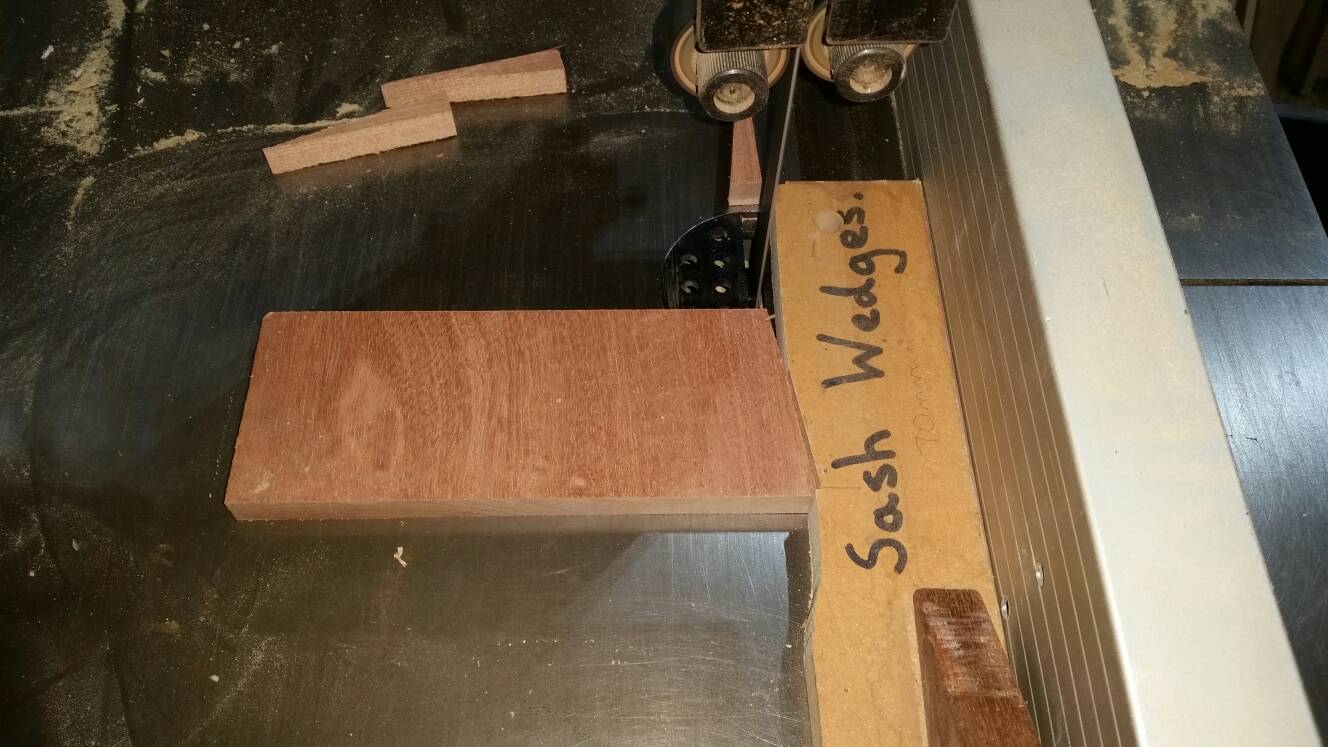
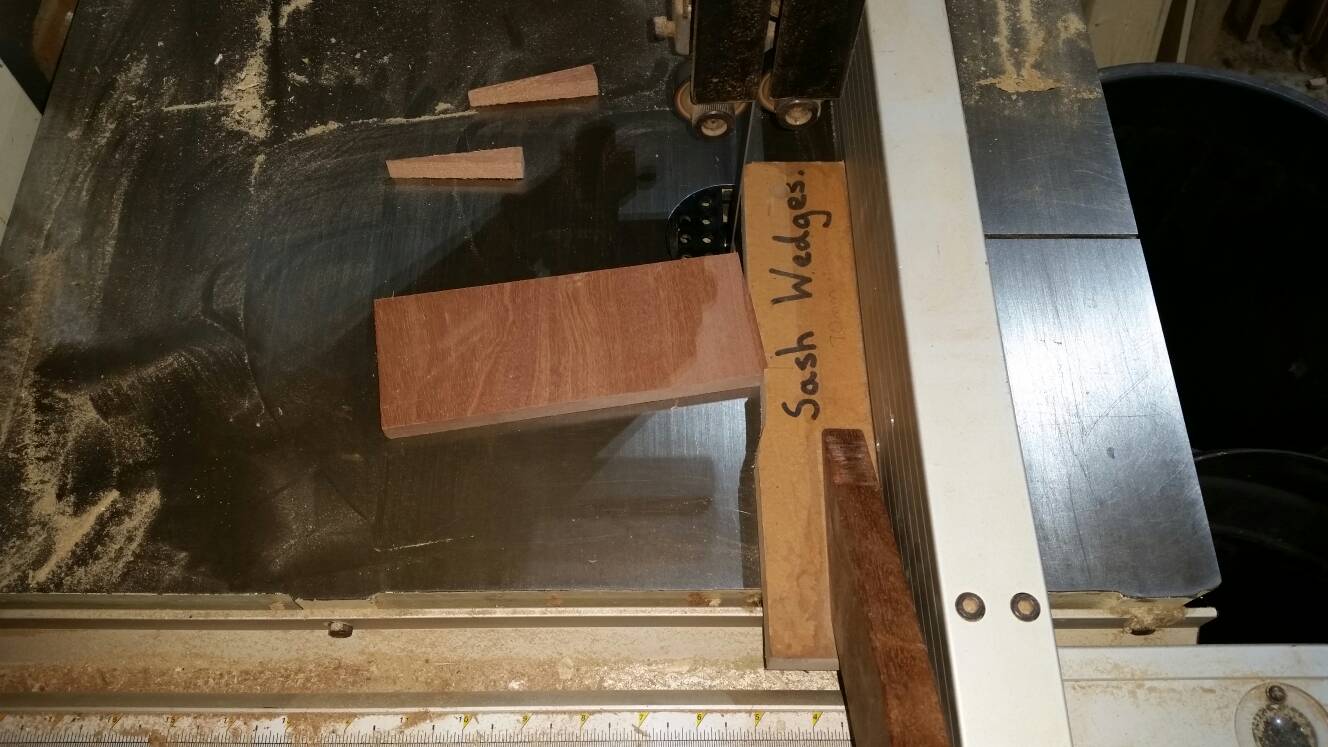
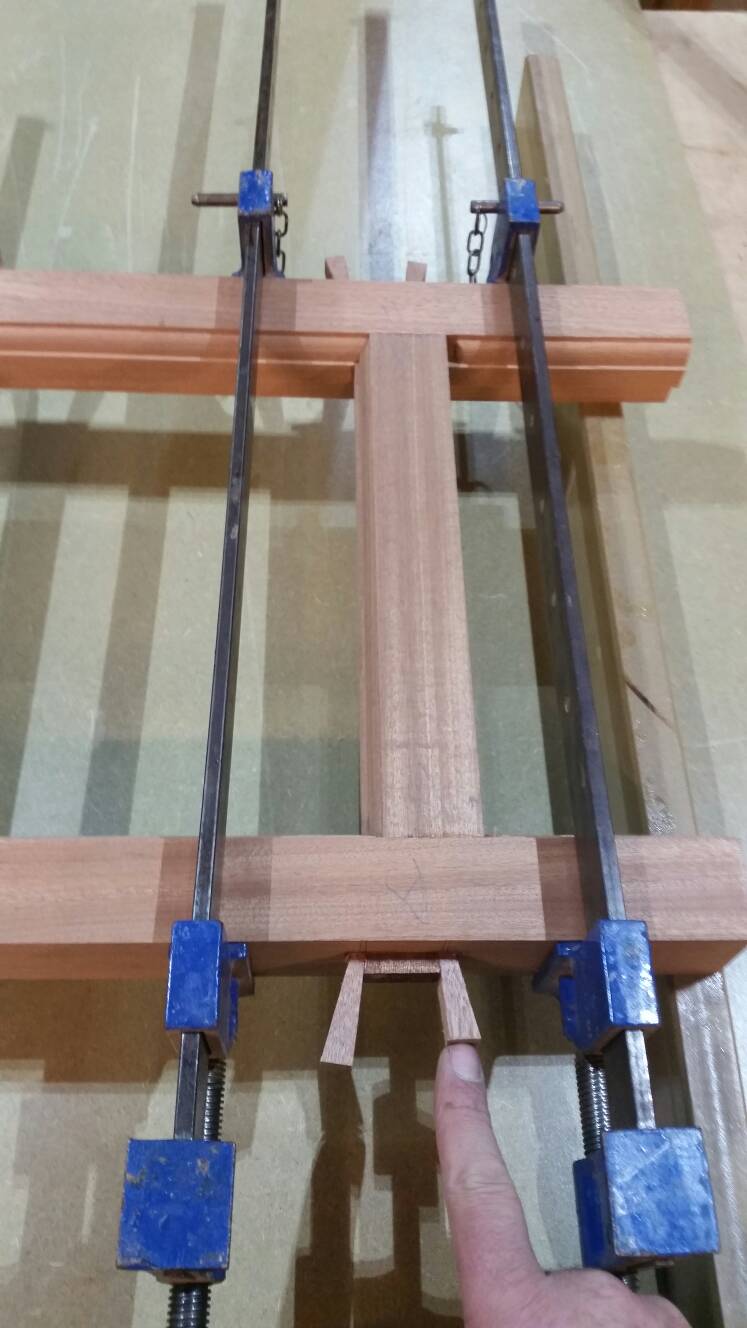
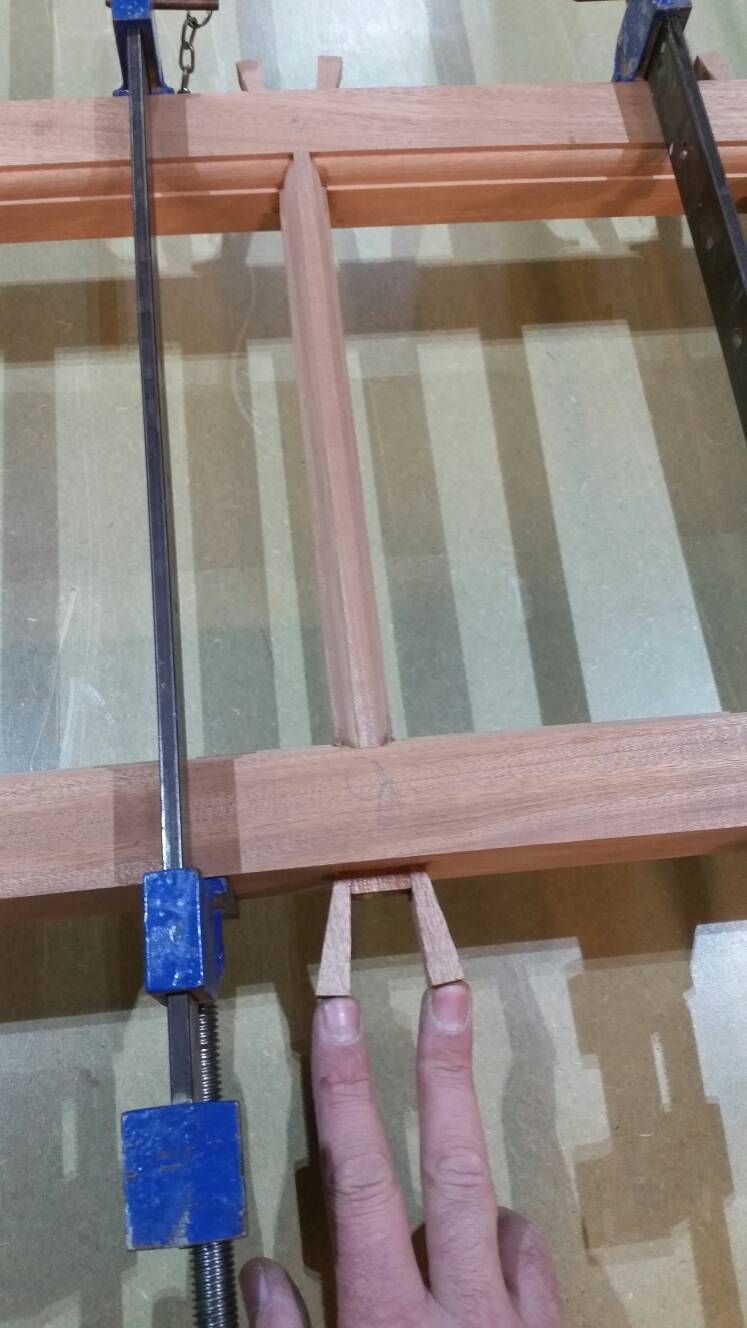
Cut wedges
3a796c538feeb0616cd2aaed4e4dbf82.jpg

f7e073af41164e908f343d4e07a50cd5.jpg

Glue all your mortices and tenons and assemble the sash. Forgot to mention to label where the glazing bars go each time you fit one.
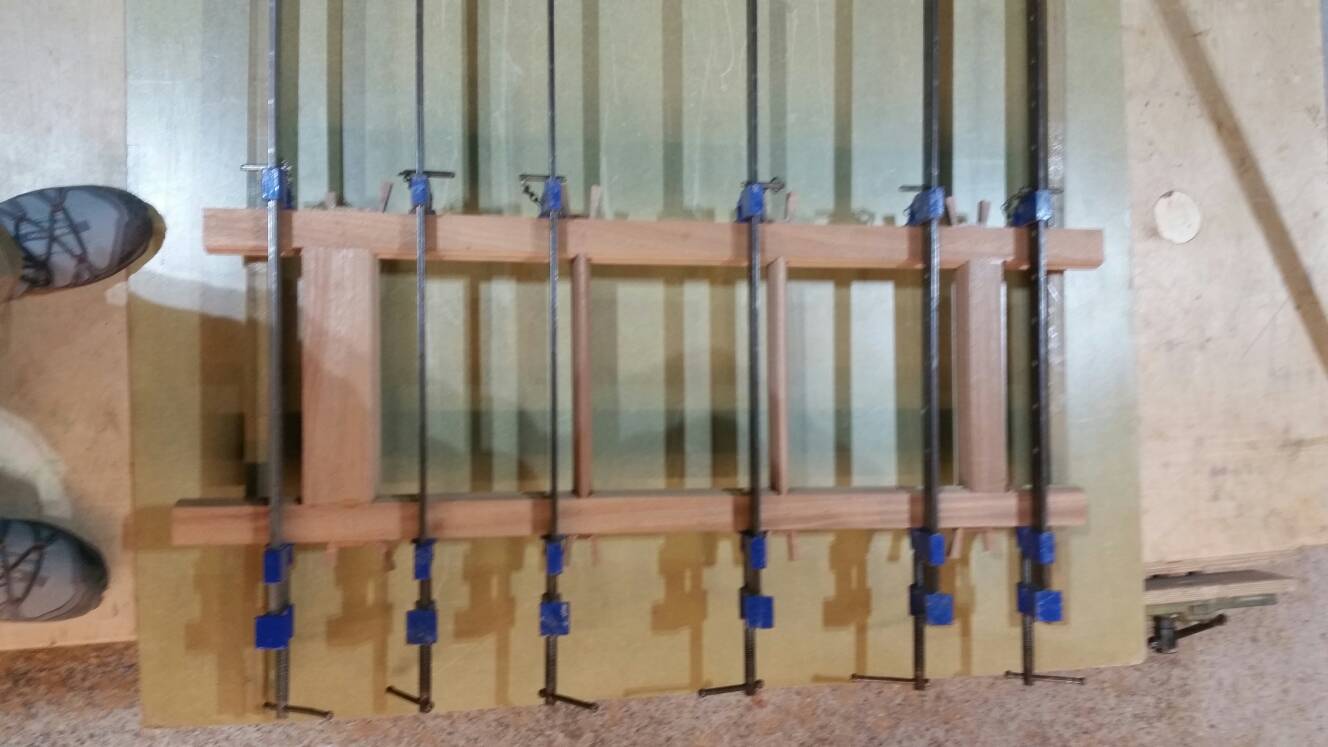
Have a couple parallel bearers /pieces of wood and lie your sash down on the bench
99e3aaee38de7409af87a7eecead9dd3.jpg

On the top and bottom rails put a clamp each side of the rails. The glazing bars are small, so usually one clamp on any side is enough.
ab3893c82e73f748ad2bd8d632a6f428.jpg

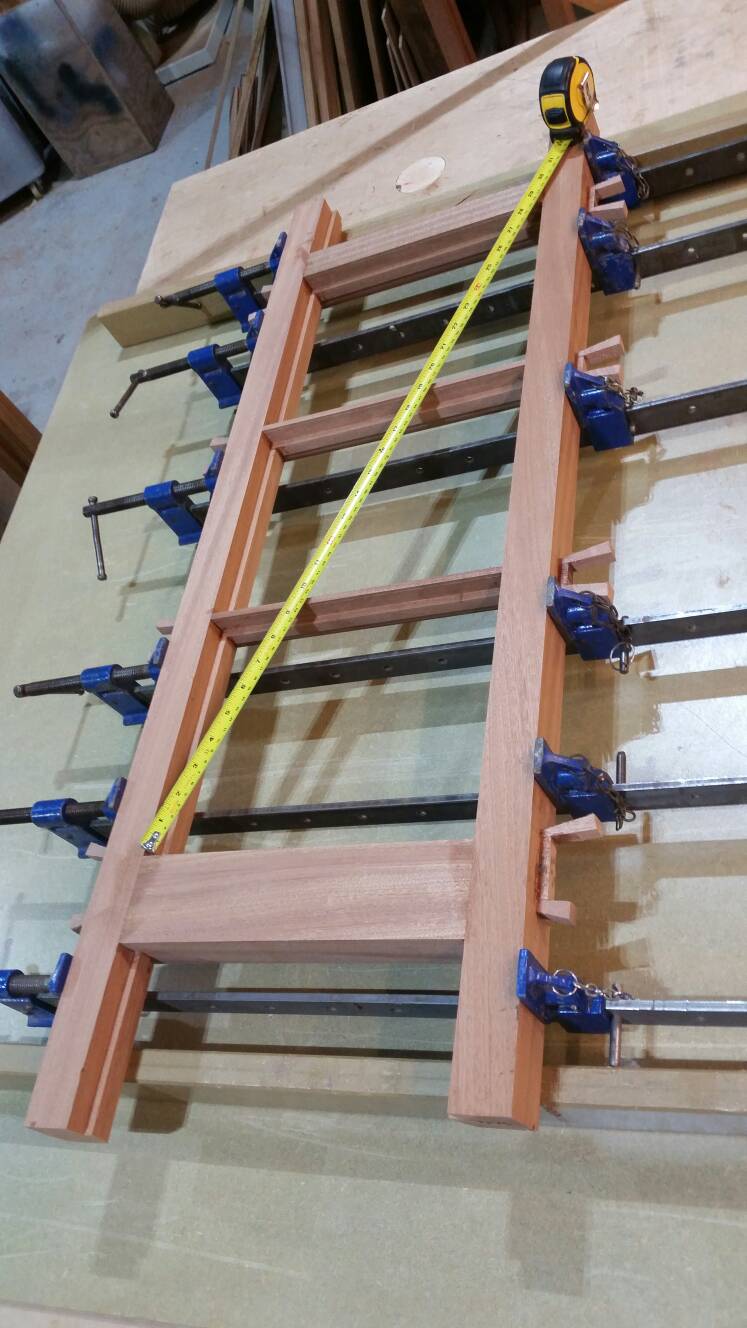
Turn the sash over and check the diagonals. If the measurements are slightly different, hitting the longer measurements horn, might fix it
7c2a78ca15208aa4e26752e5ab05bd49.jpg

If the measurements are still different, adjusting the clamps to pull the frame square will definitely fix the issue
71fc7300847671669f25a4ee4e3b43f3.jpg

I've demonstrated this to the extreme. In reality moving the clamps 6mm will probably be enough to pull it square.
Once your measurements are the same, start wedging.
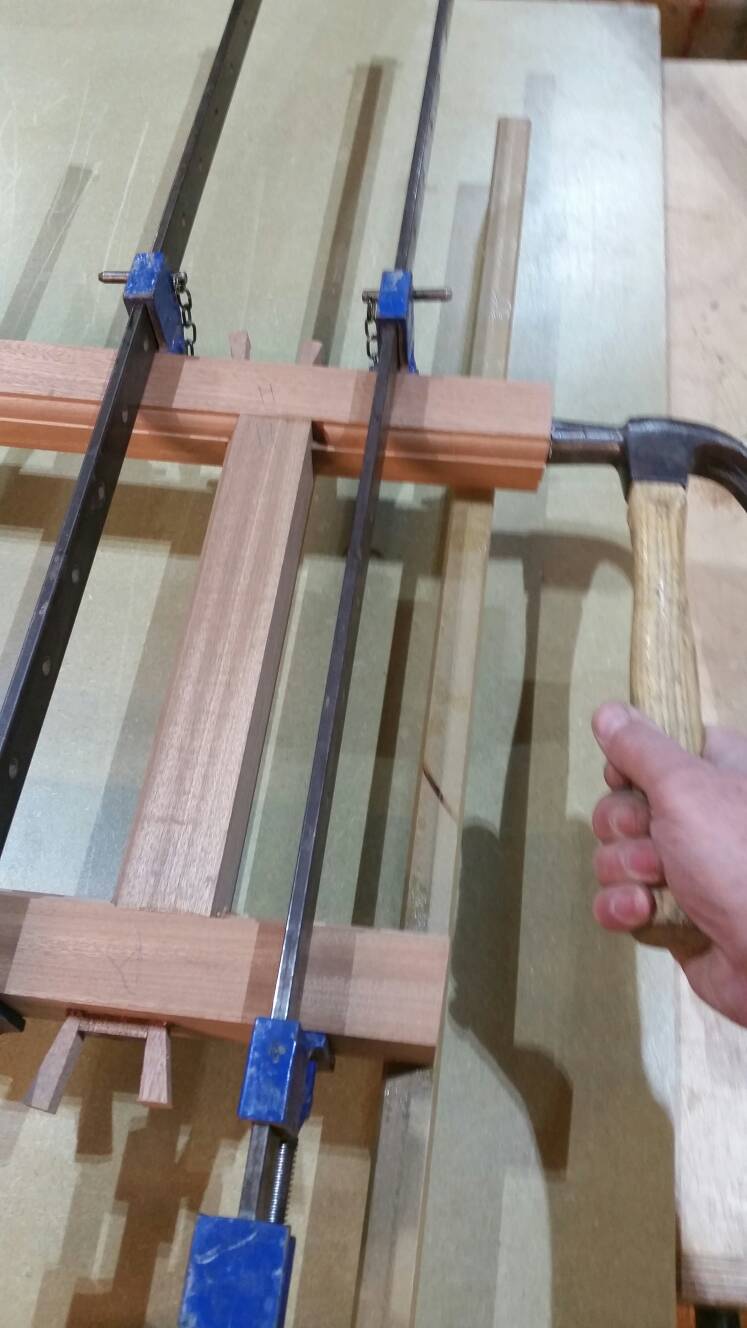
Start with your outside wedge to force the tenon up tight to the mortice.
fe788de3918dc2dedb60132b78d84536.jpg

Tap this home and then tap the other one in. On the glazing bars, tap them in equally
6c7be4efe4da6208b970b76500b21c32.jpg

Be cautious with wedging and watch/listen to what's happening. I was told to smash them in till they stop but I think a better suggestion is to tap them in until you feel it's not going in anymore.
In the early days I was gluing a softwood sash and smashed the wedge right through the mould side ! You'll only do it once, but just be aware it can be done ;)
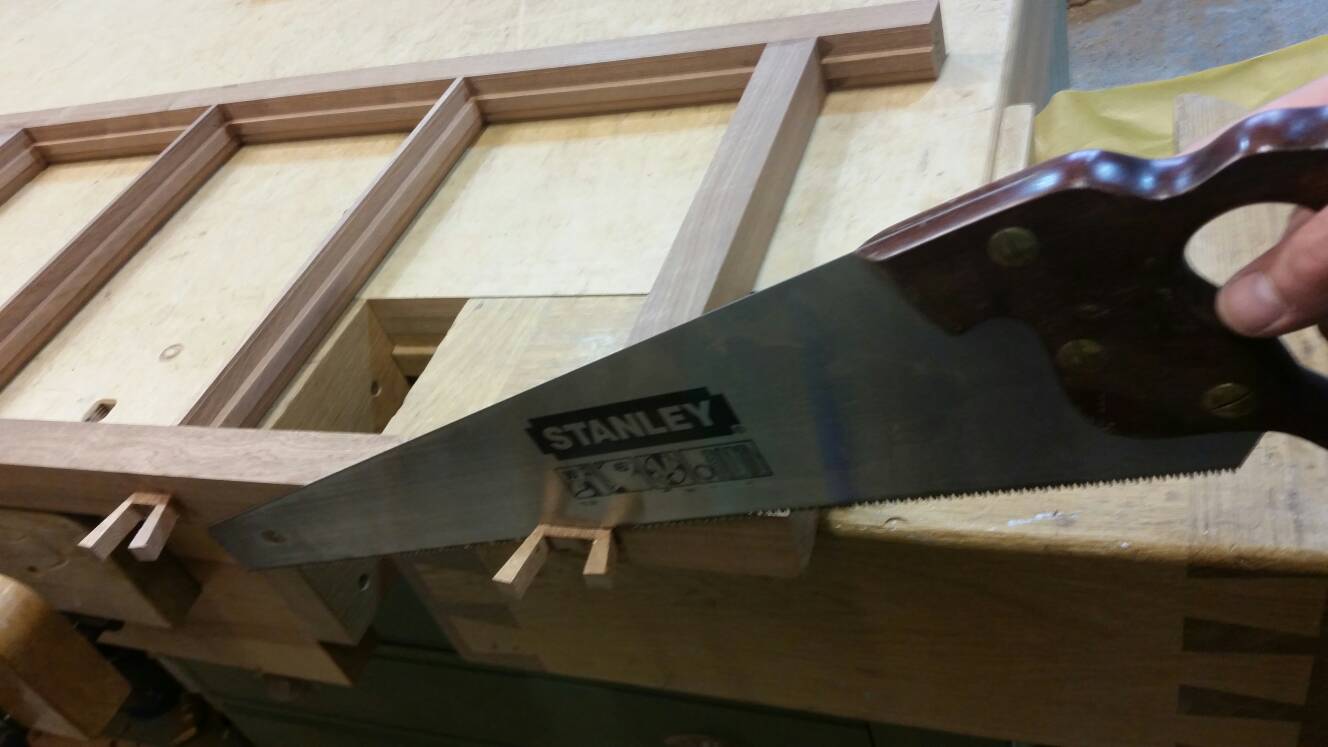
Clean off all the glue- your handsaw will thankyou later if you also clean around the wedges/tenons.
Stack them somewhere flat.

Coley
 
I must admit, sash windows leave me rather baffled. Nonetheless, this is fascinating stuff. Bravo, Coley =D>
 
Nice thread Coley :) I have a couple of questions

Do you slightly angle your mortices to take the wedges?

What ratio do you use for your wedges?

I have always found wedges a pain especially when they break when you are at the start of tapping them in
 
johnfarris":d13ffi1l said:
Nice thread Coley :) I have a couple of questions

Do you slightly angle your mortices to take the wedges?

What ratio do you use for your wedges?

I have always found wedges a pain especially when they break when you are at the start of tapping them in
I just do the mortices square for the wedges John. I know what you mean with the wedges snapping. I suspect alot of its down to short grain timber perhaps. My fave is when the wedge snaps but the hammer keeps going and strikes the edge of the stile. It's usually followed by my finger getting covered with saliva then smeared onto the half crown/dent, then a few choice words ! lol
I'm sure it happens to everyone, still gutting though. I usually make the wedges 70mm long and tapered about 14mm to 1mm. Most times they could be shorter but I prefer to keep my distance from the edge of the stile where possible.


DTR":d13ffi1l said:
I must admit, sash windows leave me rather baffled. Nonetheless, this is fascinating stuff. Bravo, Coley =D>
There's not much to it really, it's just of little tasks that after a while start resembling a window. Thanks DTR ;)
pollys13":d13ffi1l said:
Thanks again for taking the trouble to show us all this.
No problem Peter. If you want to see a potential tablesaw jig for doing the 9 degree cill cut, just give me a shout and I'll cobble something together and post some pics ;)

Coley
 
Once the wedges are tapped in the sash clamps can be removed.
I prefer to let the glue dry before any further work, just to prevent smearing glue residue everywhere or bumping it out of square. The wedges perform the same job as sash clamps,so if you really really wanted to carry on, you could, just take it easy.
1dc6a4f79e396fec1dd704e68cce5f38.jpg

Cut off your wedges.
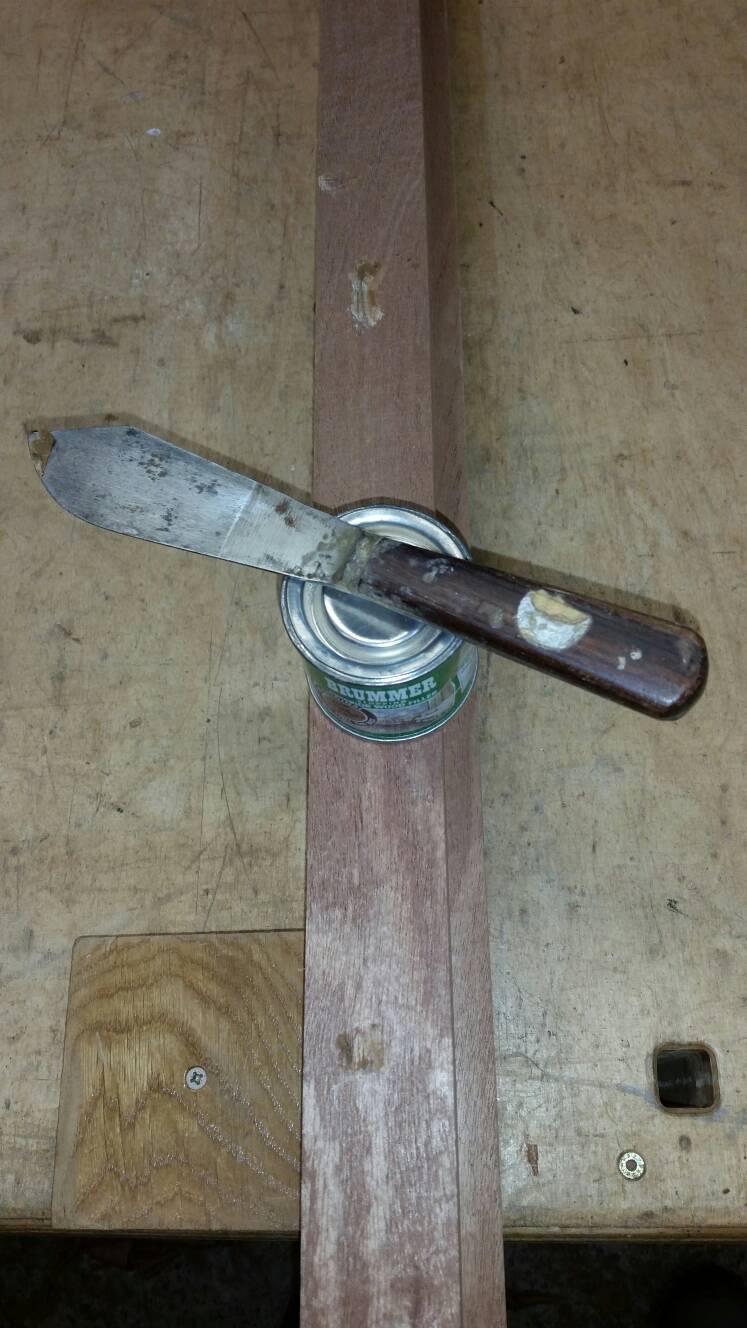
Fill any small blemishes with brummers external filler (or an alternative) Any bigger holes/knots a 2pac filler is a better choice
a0f49baa8ce114222a813ad6ee111442.jpg

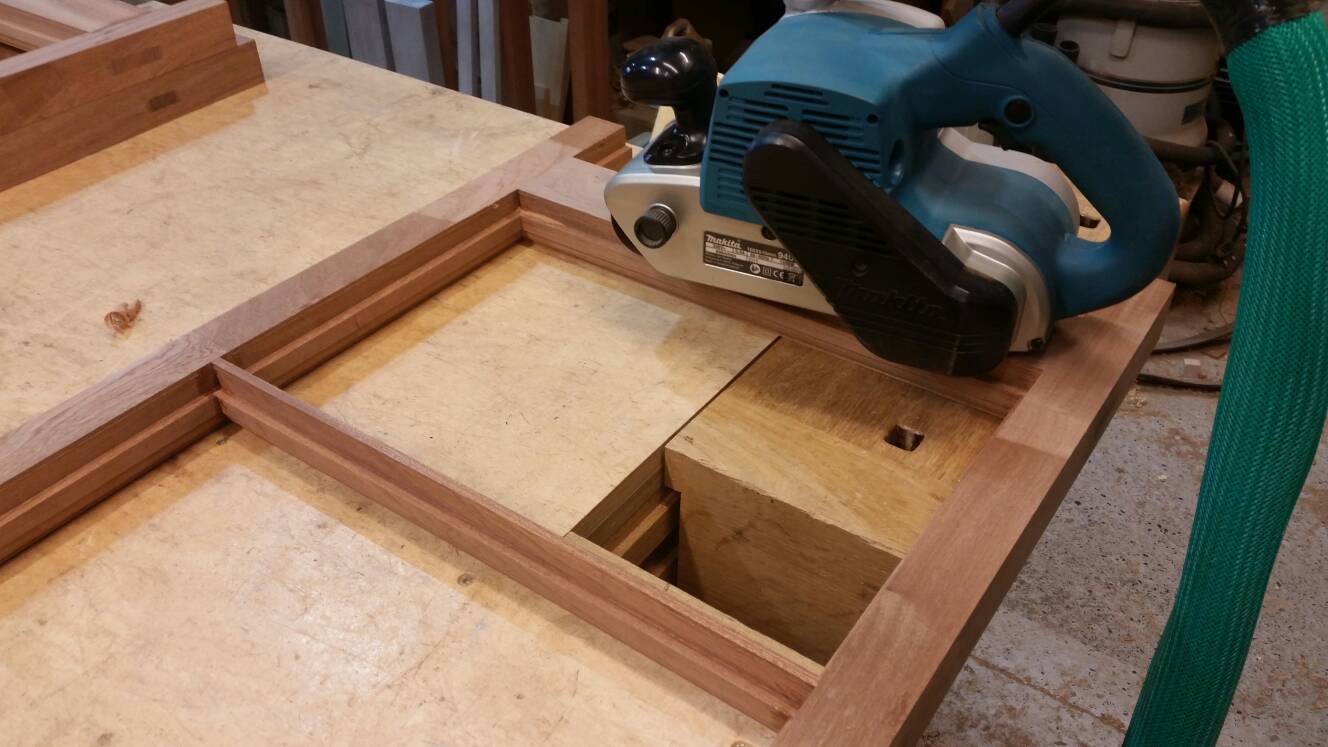
Belt sand each side. The rails first, then finally the stiles to remove the belt sander marks. You shouldn't need to go near the glazing bars with a belt sander.
d57f2891ca22dc8dfdb9e4b17792bd45.jpg

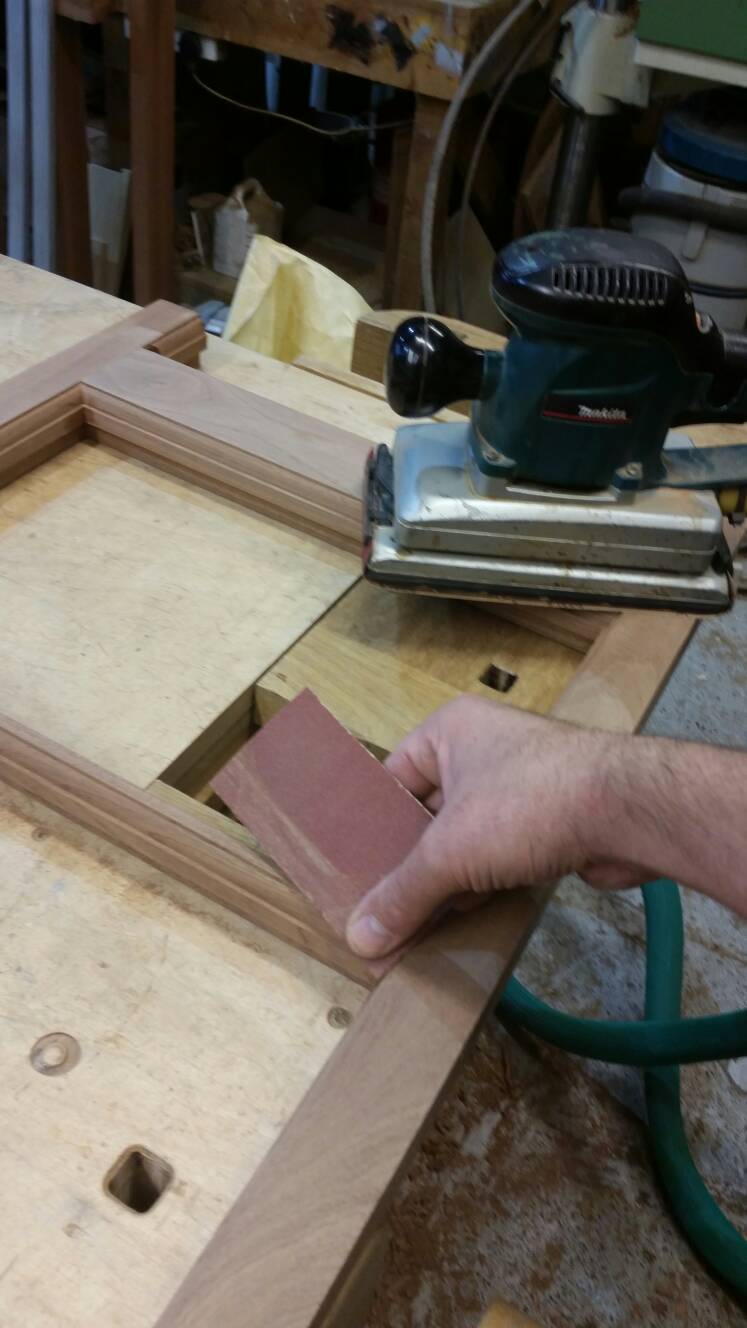
Orbital sand both sides
7fe923386c300418ff053be08124d654.jpg

Sand off inside sharp edges.
2aae0e67ad32264cfa71111d7469ec5c.jpg

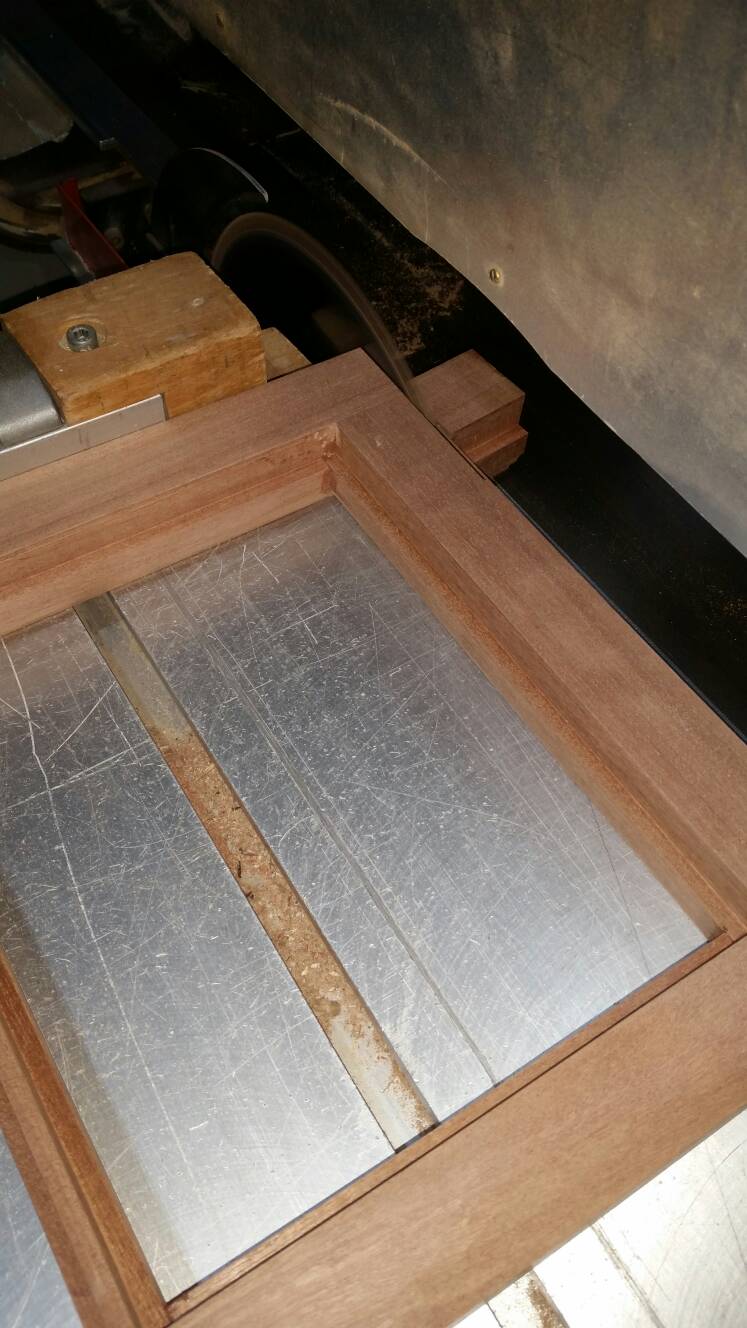
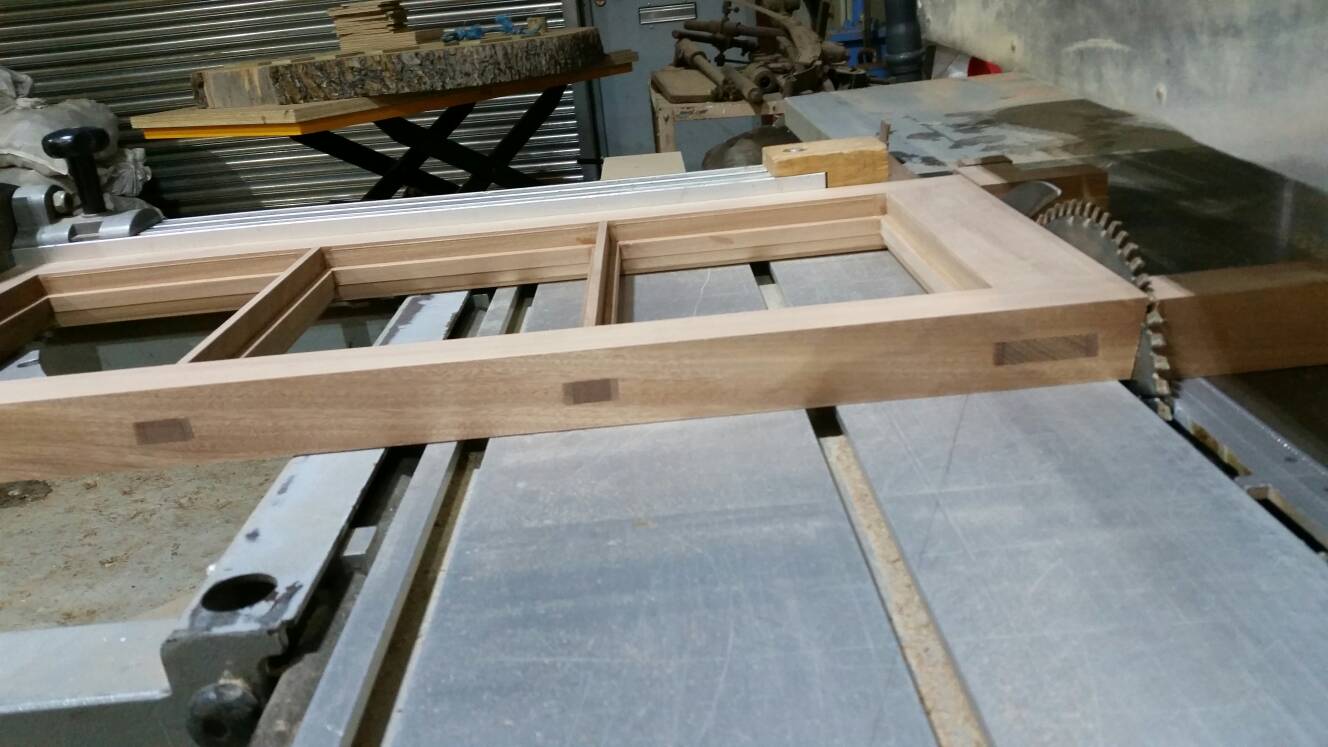
Cut the top horns off. A tablesaw will make light work of it, or a handsaw would do exactly the same.
Cut your horns off the bottom. This will need to be a 9 degree cut to match the cill.
c2b44559d13fce5a2db1ab843e39f521.jpg

If your tablesaw tilts to the right, your rebates for glass, 95% of the time, will always need to be facing up when performing this task- Yup you guessed it, early days I cut several the wrong way :cool: If you're doing this by hand, a fairly simple way would be to just saw the horns off square, then plane a 9 degree bevel after.
If your sashs/casements are a smidgen wide, offering just an edge in the hole will be a good indication you've got the height right.
5ee637e2ac9fb85a5074c19f7d52910a.jpg

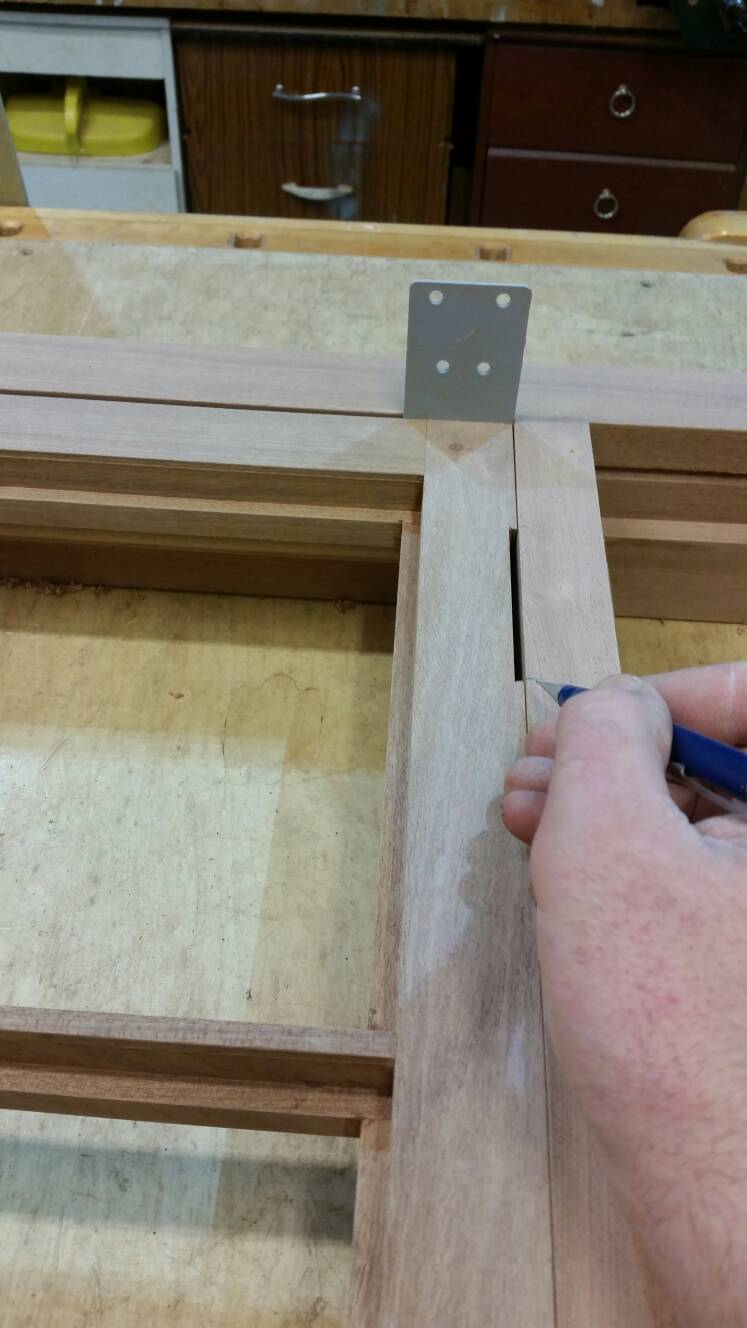
Once the fixed sashs are fitted into each opening, label them so they don't get muddled up.
f9ca877c82f4da29c0d7e98a7aa2b9e8.jpg

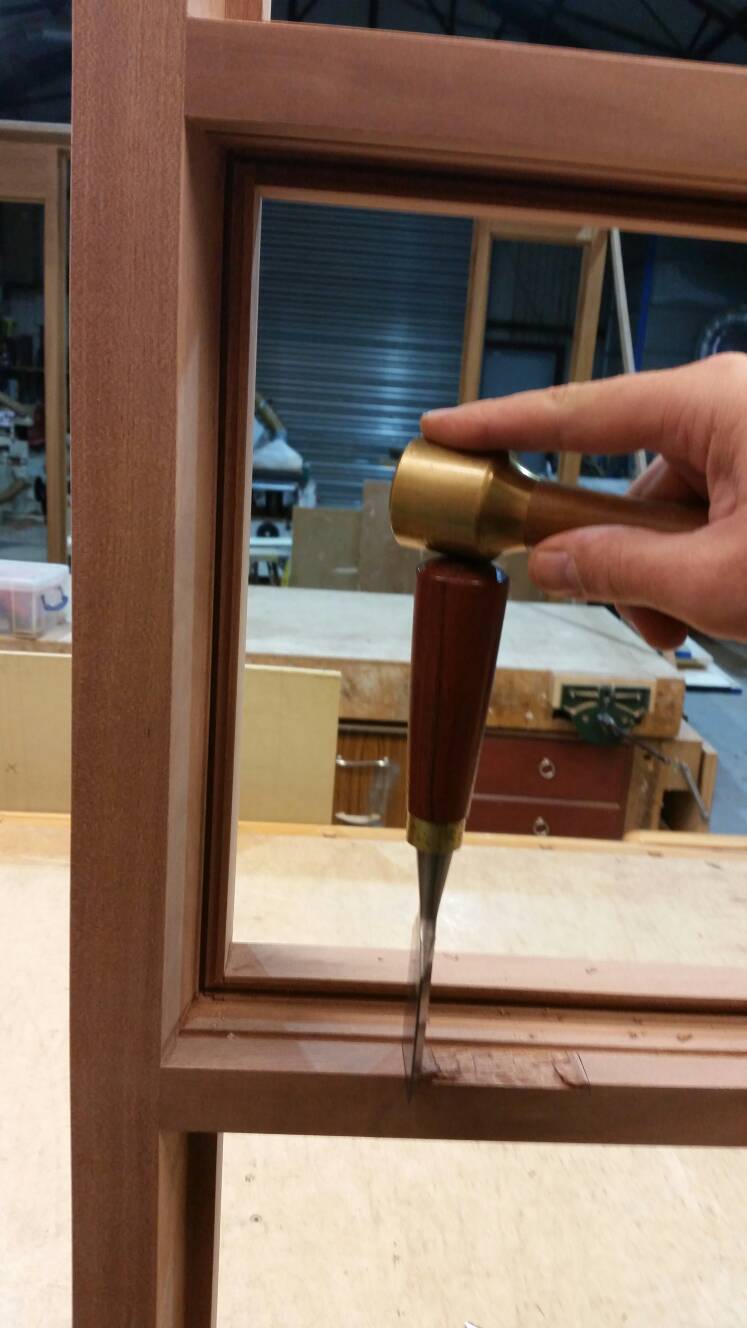
Chiseling the position will ensure it doesn't get painted over and lost.

Just the opening sash left !

Coley
 
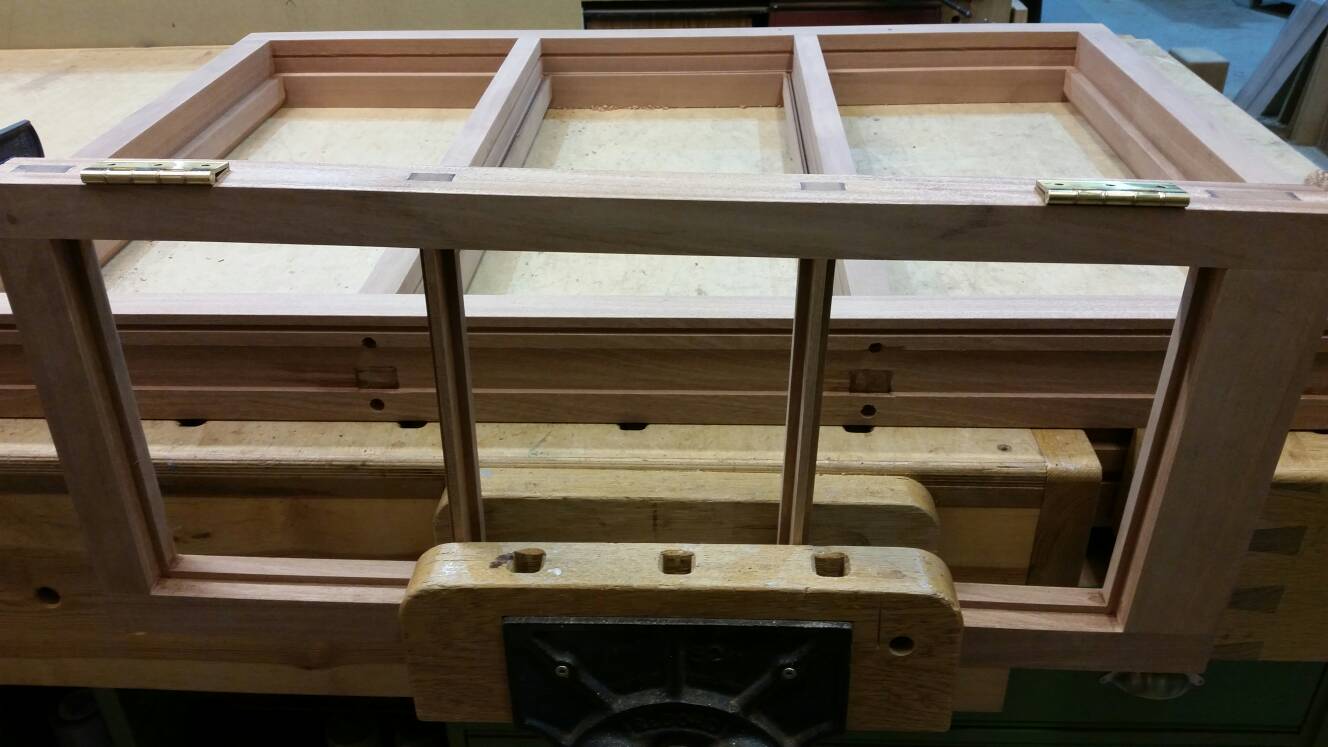
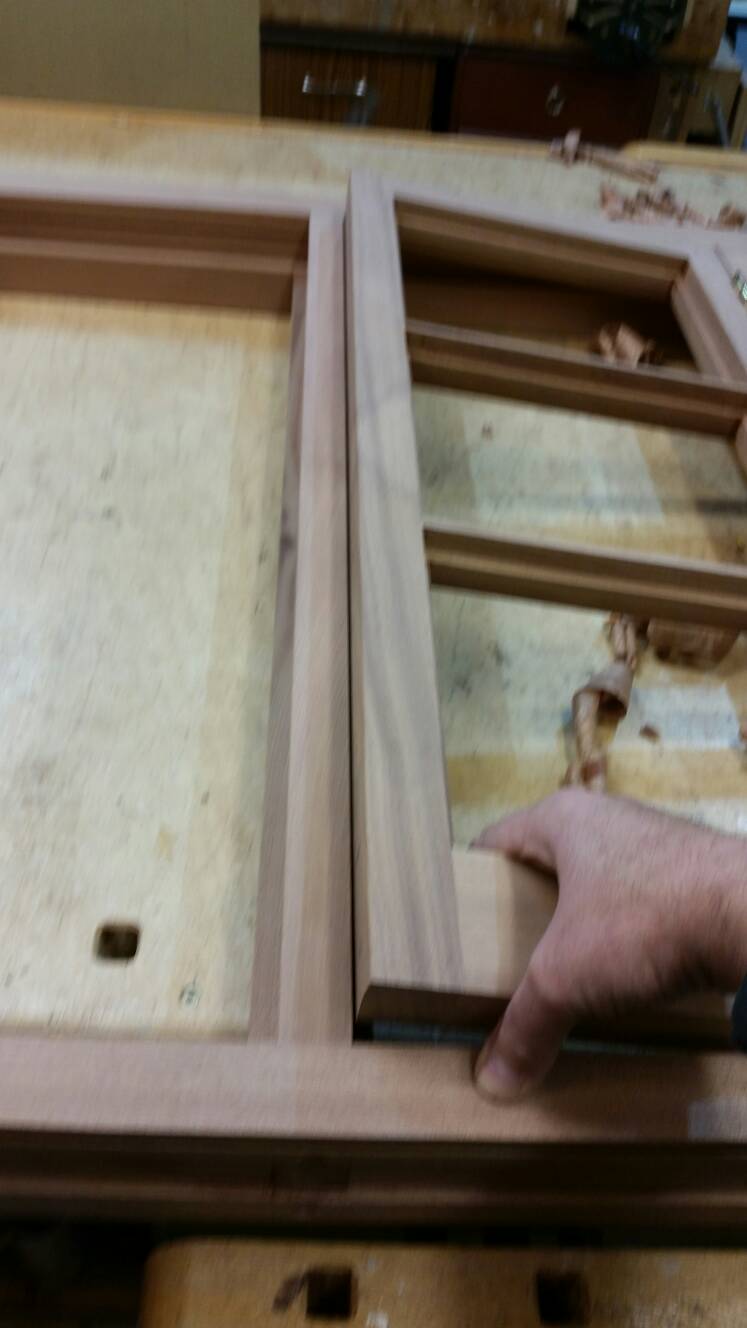
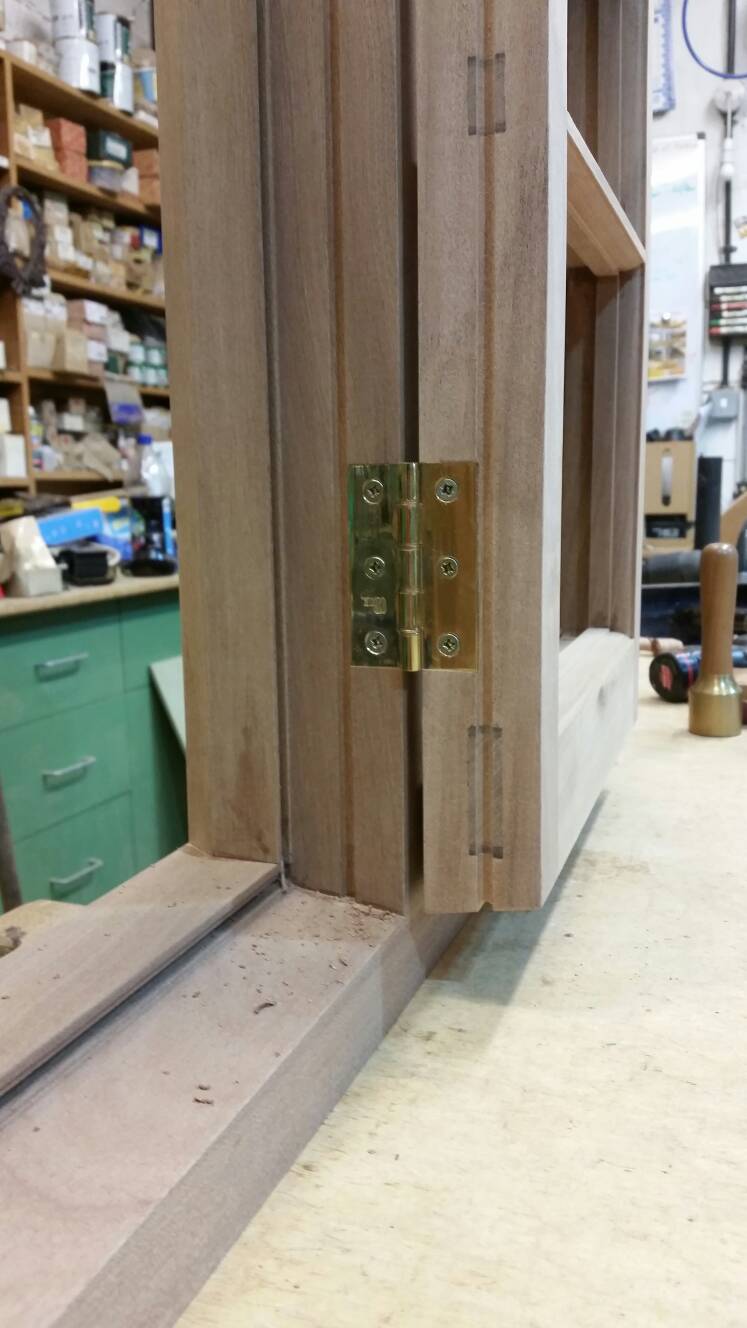
If needed, get your hinge side stile to fit against the frame. I aim for a 2mm gap all the way the casement, so if it's tight for width, remove 2mm before you start
4c71dc40d4b15aa46f8507475385eb24.jpg

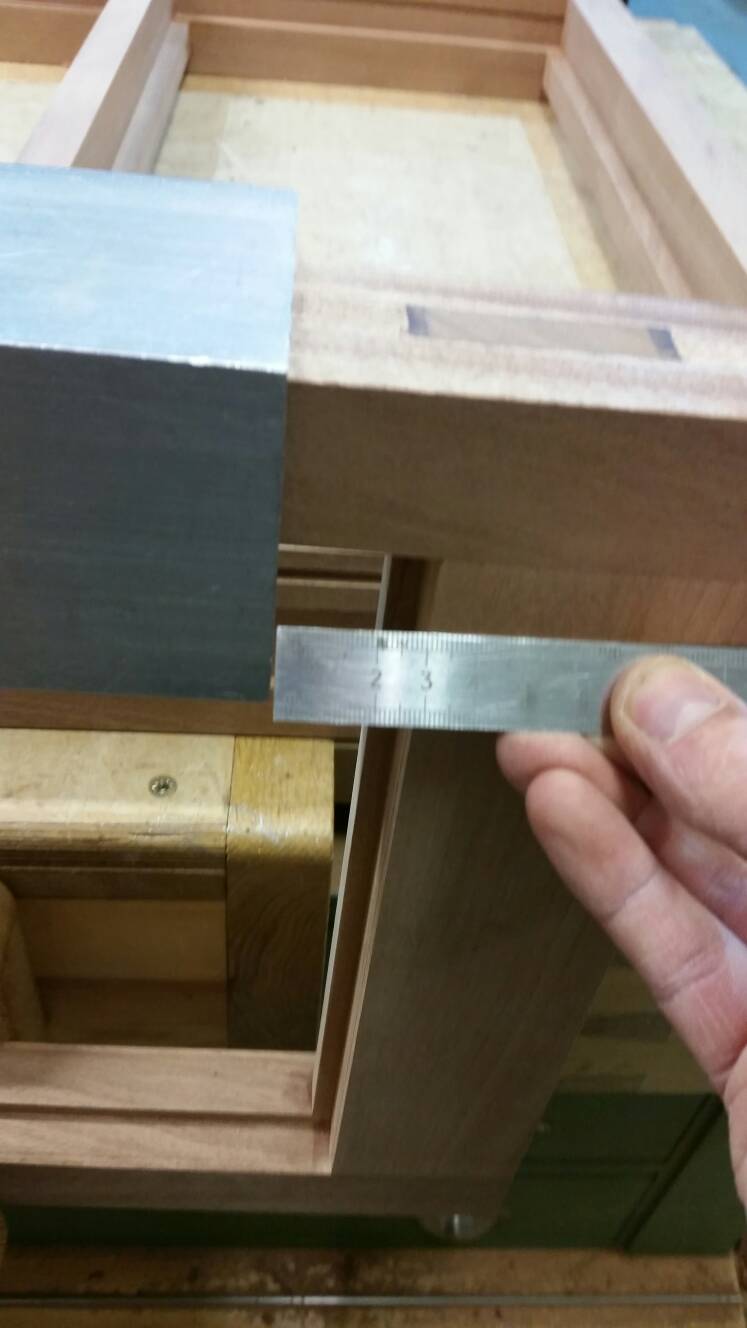
Next, with the stile pushed tight to the hinge side, also allow a 2mm gap on the top and bottom. If somethings slightly out of square you may need to remove a few shavings to get the joints parallel. Don't be too hasty doing this. It's easy to remove too much VERY quickly !!
d8b4f9a51789b254984c16711e385da3.jpg

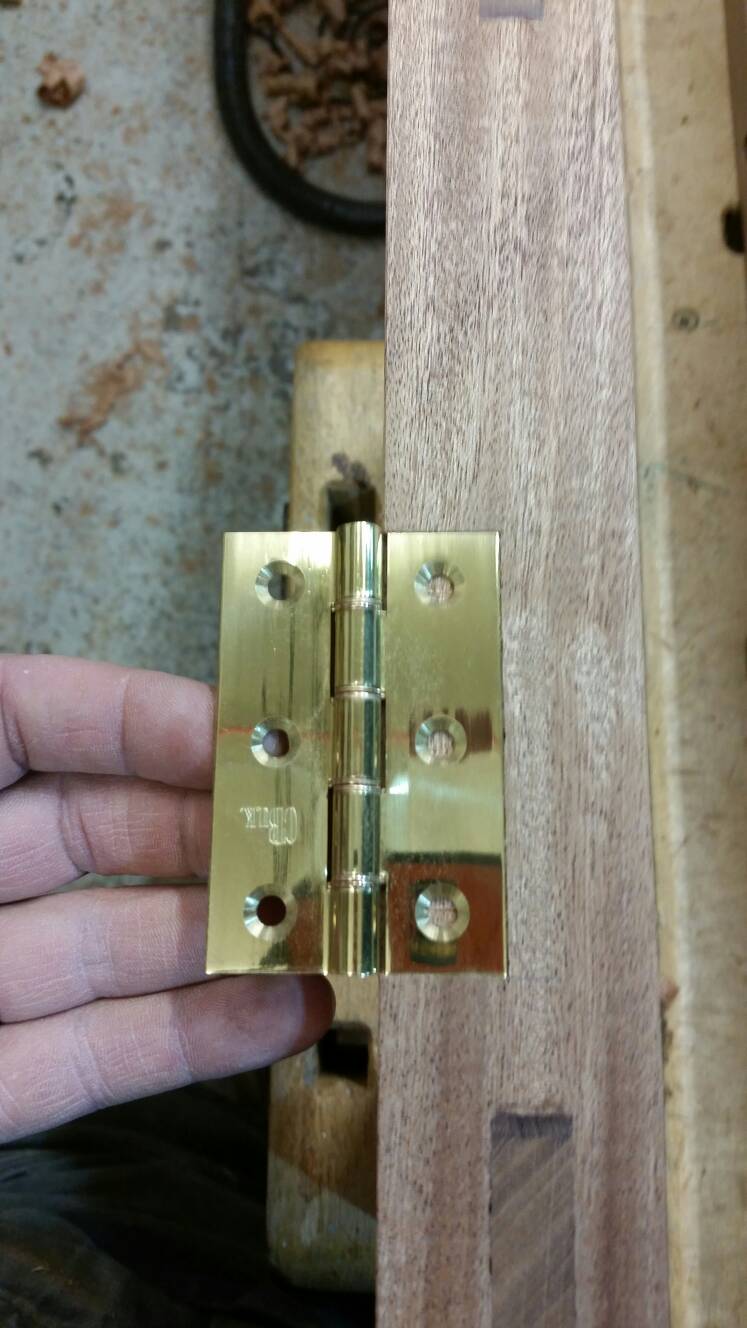
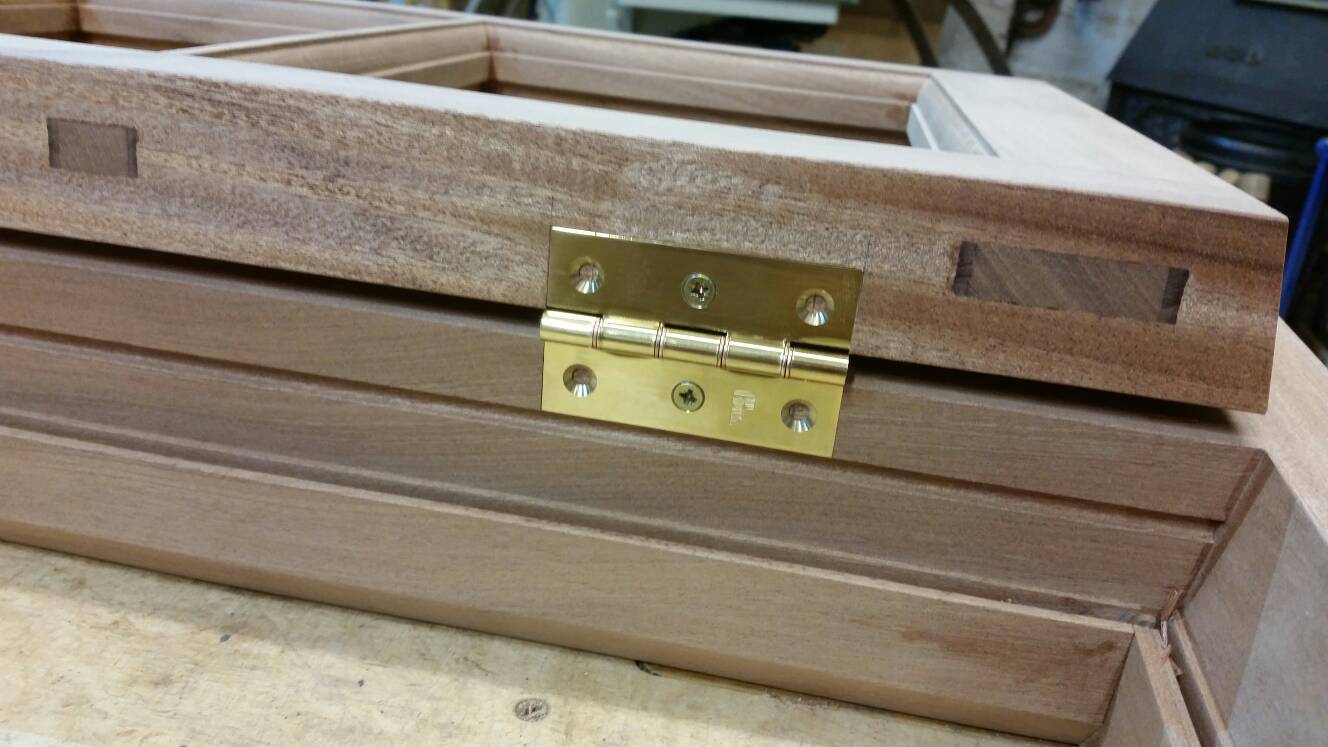
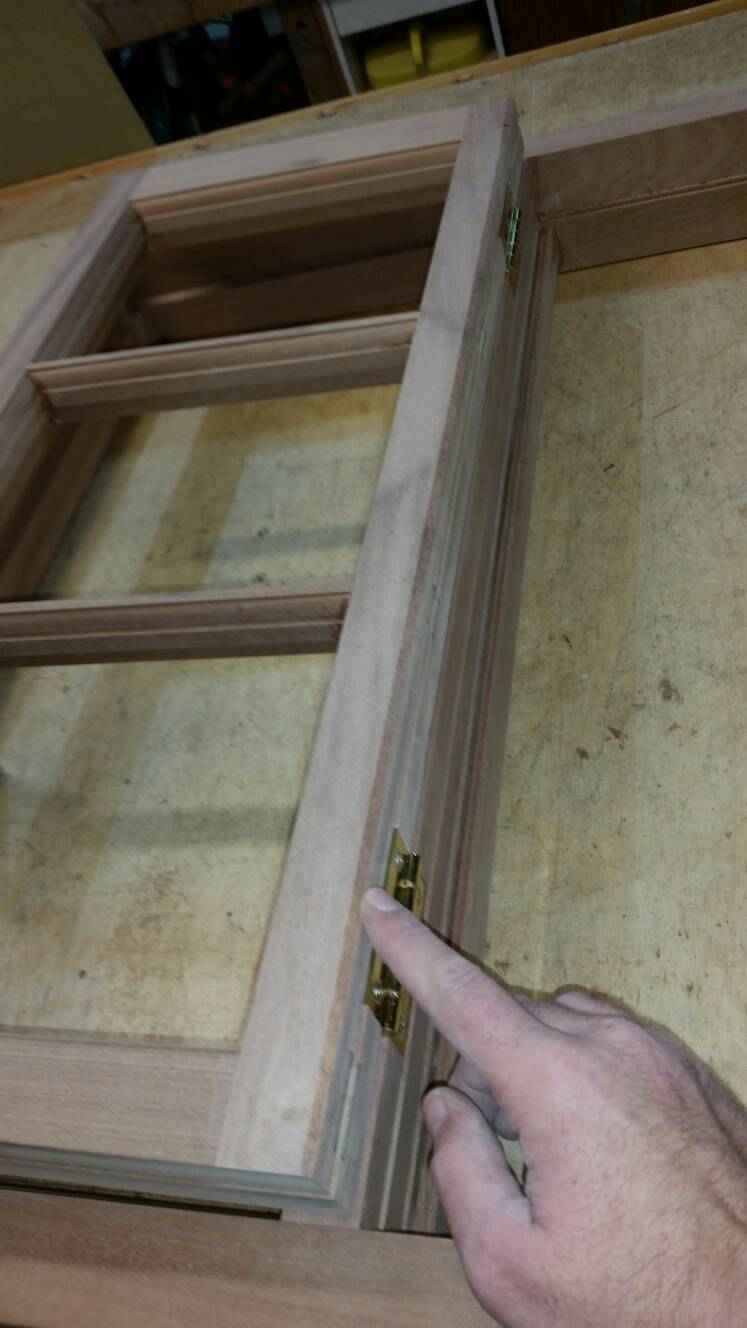
Next step is to think about where you're going to put the hinges.
e173ec118ac32c7b156f16d423cab16d.jpg

Fairly near the top and bottom is best. On longer sashes you can use 3, but I think 2 should be adequate for this.
bdd85123d5b568319e89b0d14f90d7d5.jpg

I chose to keep them 30mm in from the rebate line.
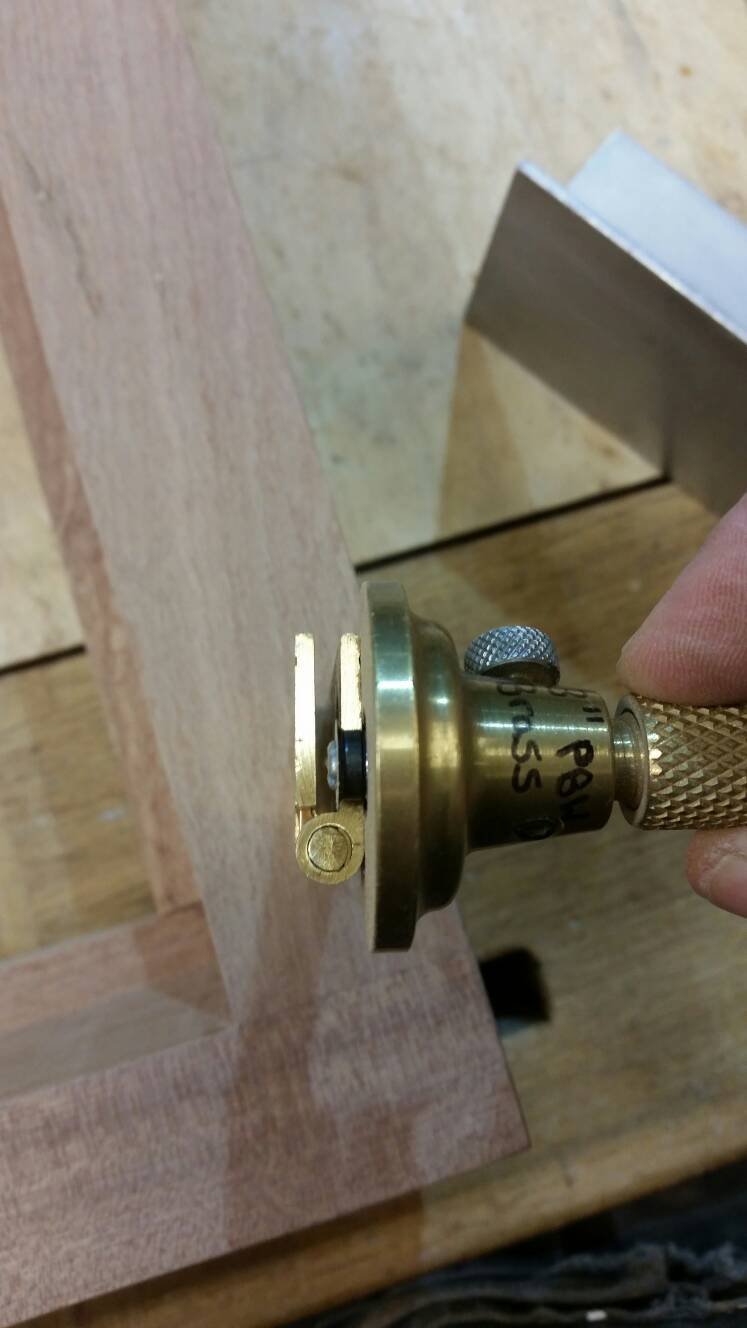
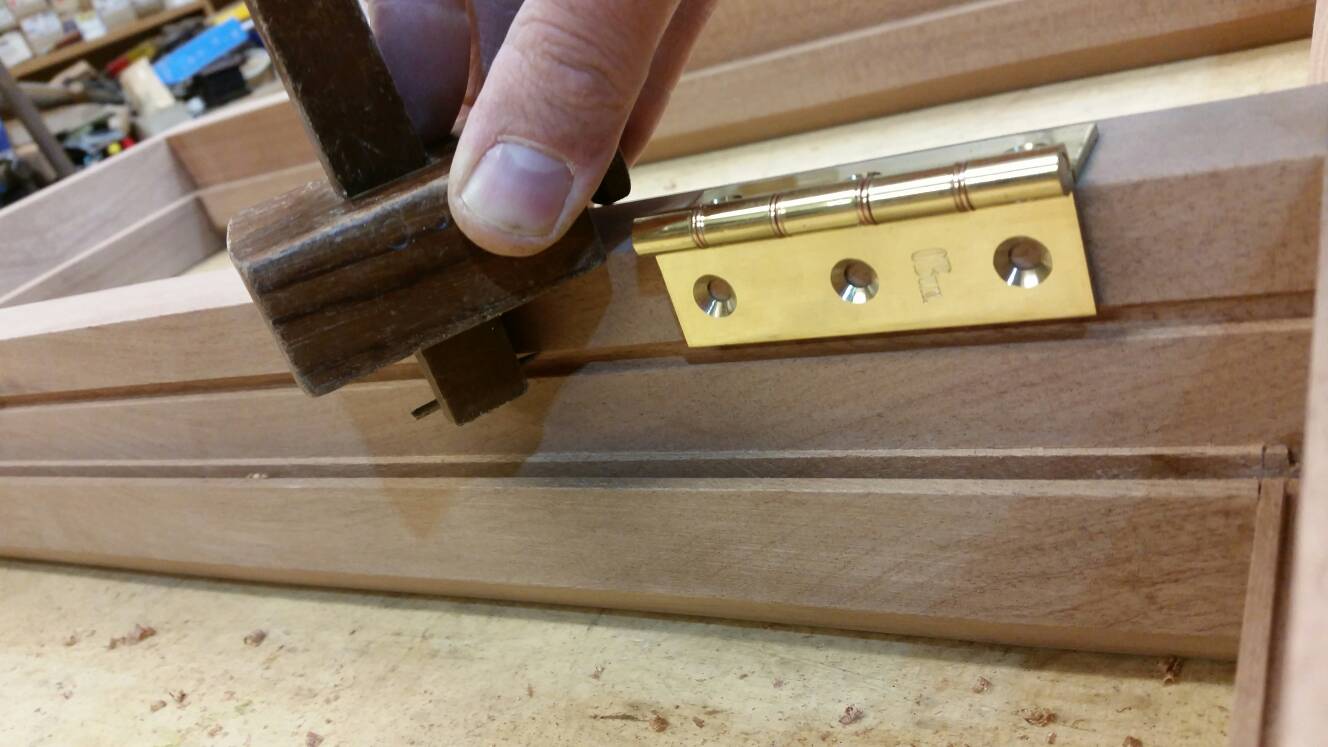
Set a marking gauge to depth, allowing for a 2mm ish gap. This might mean going slightly deeper or shallower then the leaf thickness.
ed6e0fa04b8abae8fc103a554306ecce.jpg

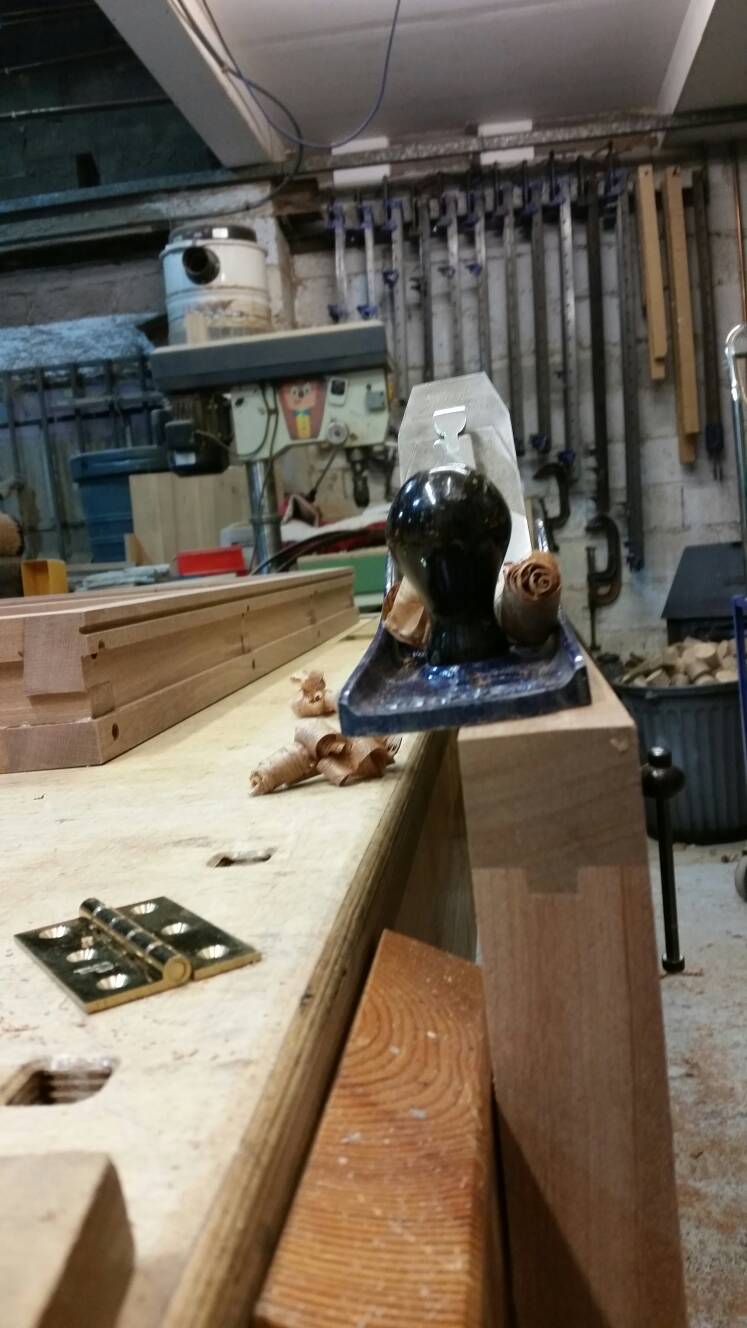
If you wind back to machining the frame, you'll remember using a hinge to get the position of the rebates drip groove. This will be the height of your hinge, so set marking gauge to this.
288c7d2db7920009da1ab98798d28687.jpg

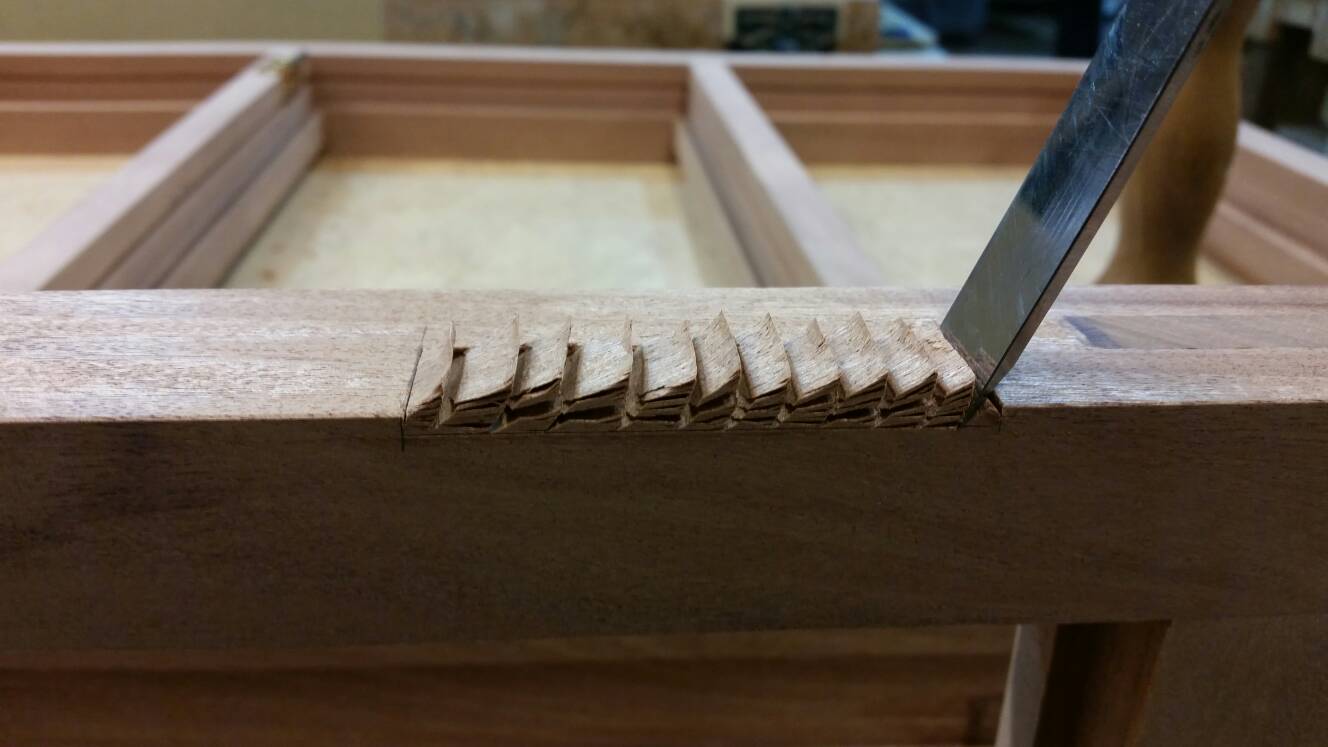
Next step- hedgehog time !
1b90609e728da13ef2954aa807a501c1.jpg

be36aa5eb41f75ca2ce0df1691a59a99.jpg

158d8baa654b1450fc14995a5298699c.jpg

088a2a10ac9b5961619e3d81e4eb4108.jpg

With the your hinges chopped in the sash/casement, offer it into the frame. Ensure you've got your correct gap top and bottom (note 2mm packer in top gap), then transfer hinge lines to the frame.
6e39e8ed6701f513bfa4426d39795061.jpg

Square the lines into the rebate and chop in the hinge recess to the frame
ad05fb4bac0f6fc710791b681f8cb7bc.jpg

I find it easiest to chop the frame vertical. Before having a tail vice I always chopped the frame hinges with the frame flat on the bench. Whatever works for you [WINKING FACE]
ee6b741d6275d8dfaf2211035e0d69b3.jpg

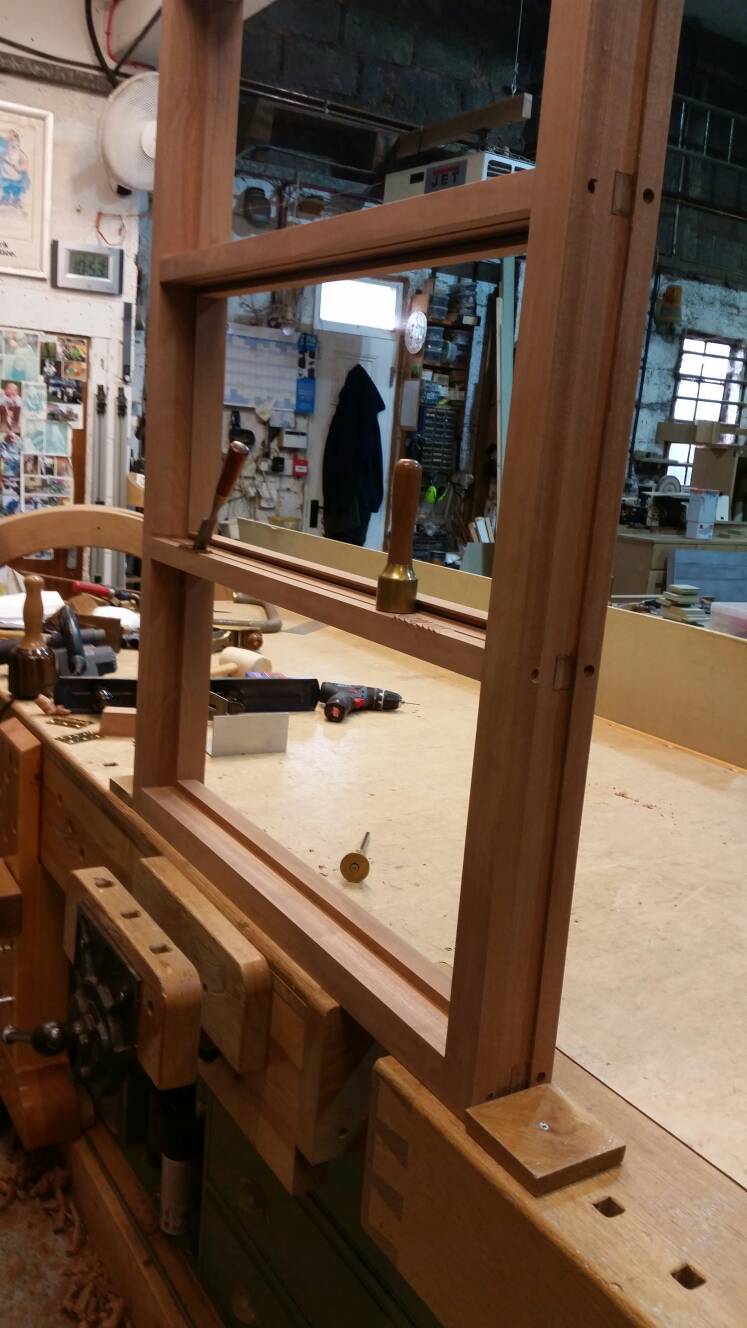
A small mallet and butt chisel is definitely a blessing when mallet swinging is restricted.
6f7b74cea230359e1bfa668f7a963b84.jpg

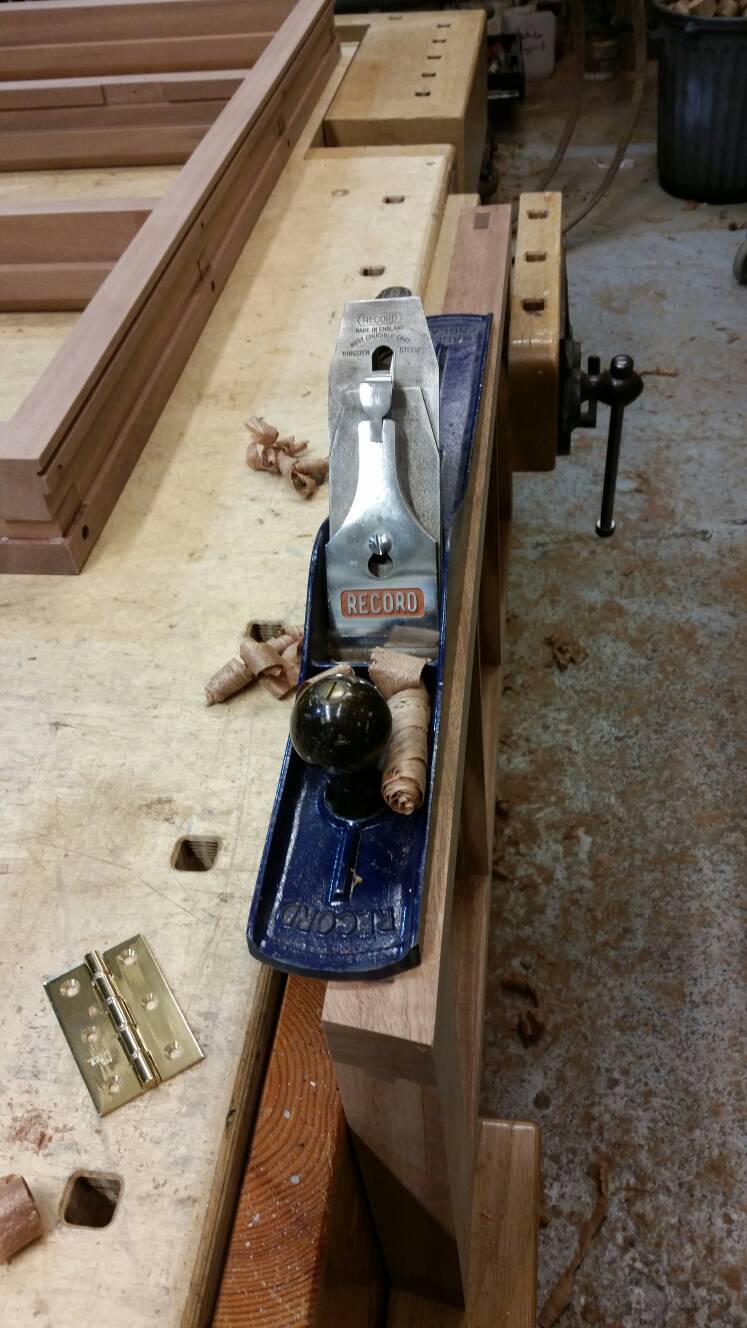
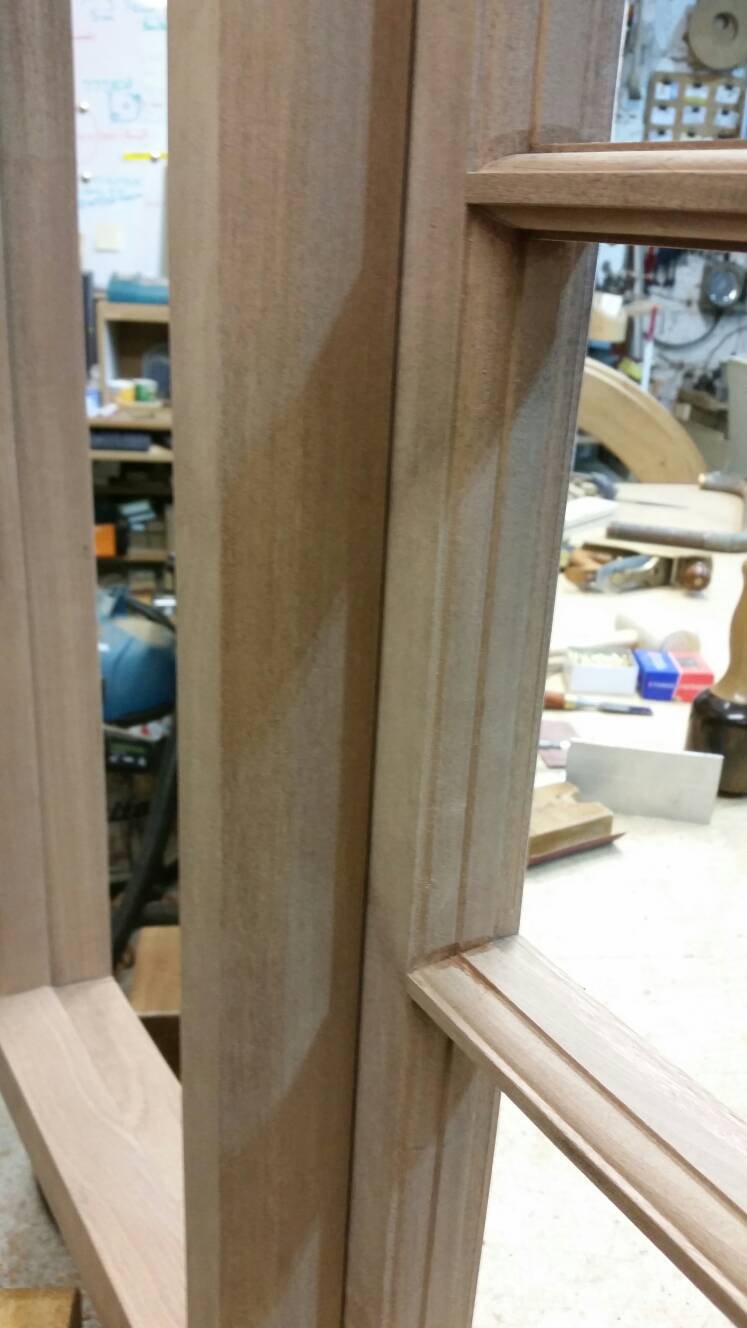
Take off the closing leading edge. I prefer to do enough so the closing side shutss, but is still tight enough to plane the 2mm gap once the sash is hung.
367f6e406762c892c5685eafcba9f6f2.jpg

Im sure this'll be obvious, but to ensure you don't remove anything from the front edge (only leading edge) keep your plane away from it.
6358388c809e0635f08a975a4b1c4caf.jpg

Pilot drill one hole in each leaf. Use a normal pozi instead of the slotted brass, to make life easier.
Check the hinge side gap is correct.
281a7fe1265921b077fdcb09ac2f3227.jpg

Remove shavings on the closing side so you've got a 2mm gap when it closes.
You should also have a 2mmish gap between the inside of the sash and frame rebate
50348464477d842edc89600fbfa191e4.jpg

When you're happy with the gaps remove sash, and machine a drip groove around the entire outside of the sash.
cac71270b218dcbc2d9b7067df3743dd.jpg

This should be in line with your hinge recess.
1ccbef2dc67e3bff5cb955c089d9d0ba.jpg

There was a tiny slither left (poor machine setup) so I chiseled it off.
c65d1fe80099eff7eb56c3dba0b677b8.jpg

Sand up edges.
That's all there is to it !!
Temporary pozi screws for making hanging/removal easier.
7cdf5a48120f1301868c7fdd9a83a570.jpg

A few shavings from-
749ebe8b2fbac9cc3e0a7c2042c26623.jpg

Will help it to sweep past the draughtstrip easier.
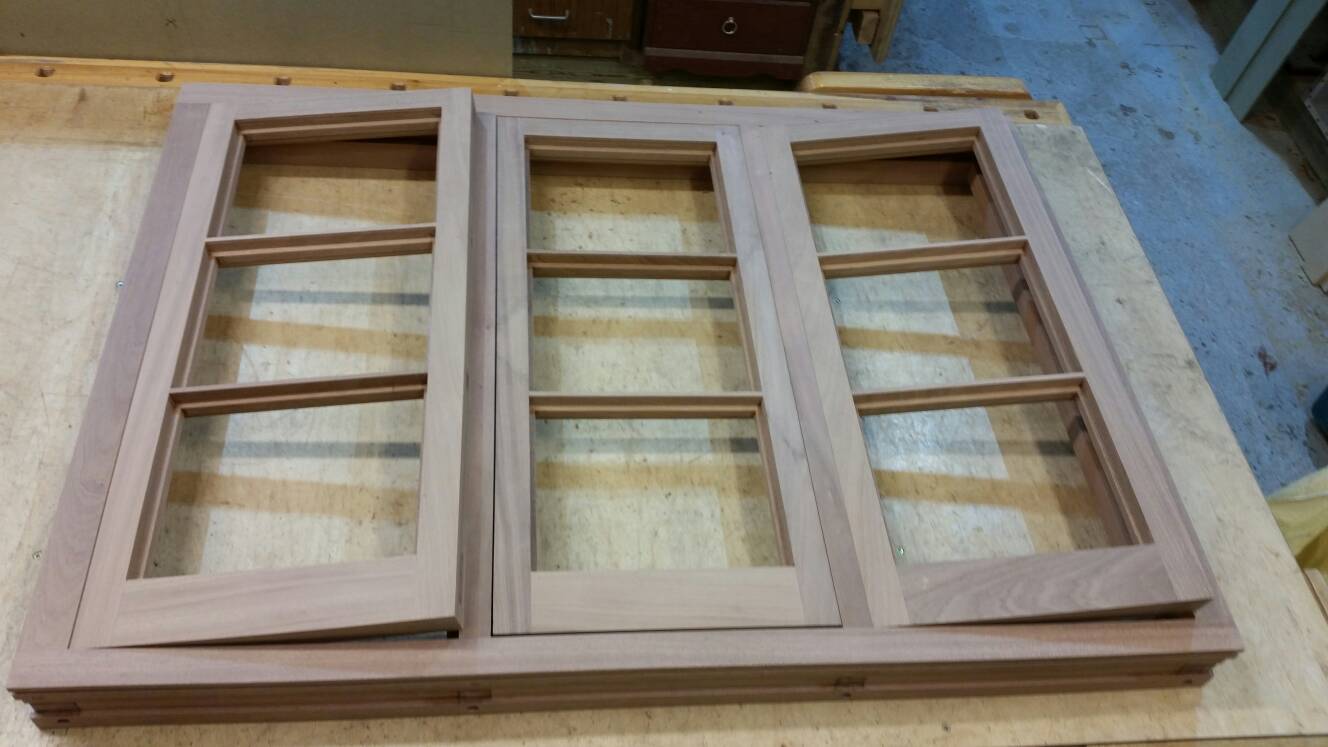
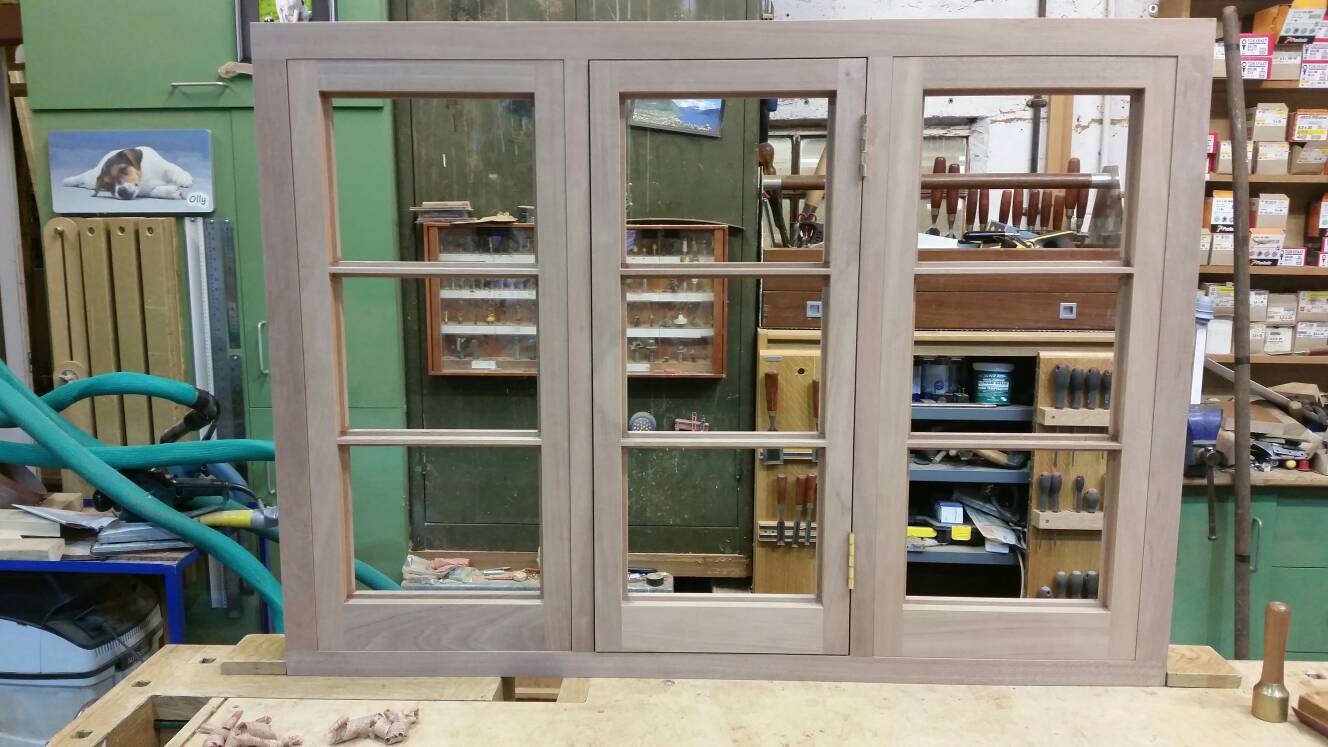
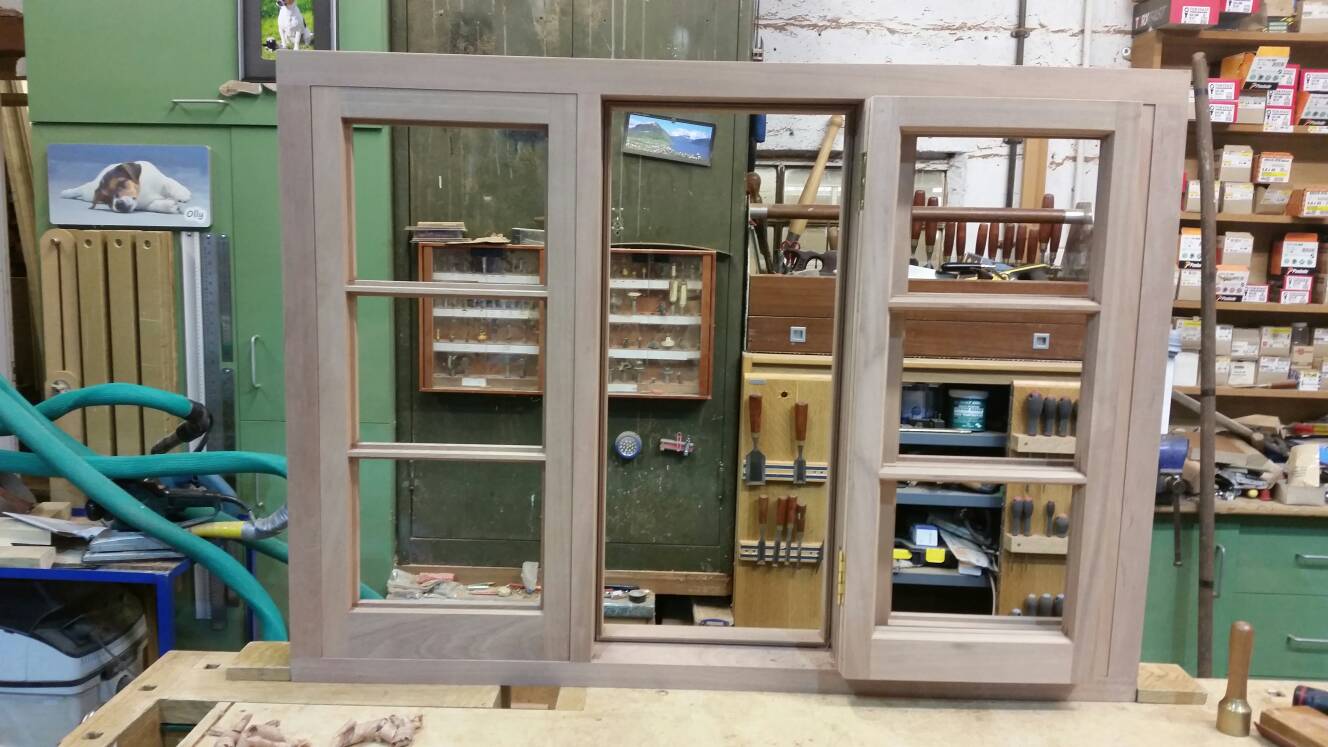
That's it folks.
a94ffe3c6ad9412e86609affd6672afa.jpg

b98827ab040336d3effa7e29f6fcf28a.jpg


Hope this may inspire someone to have a go at making a window. Having a massive amount of tools can help speed things up, but the reality is, everything could be done with fairly basic tools if time isn't an issue. I'd say one of the most important things is to check your dimensions before getting out the glue pot.
I've got a few more pics of painting,fitting, but feel this is probably a good place to stop.

Cheers


Coley
 
Top class work there Coley

So much work and difficult work at that goes into making a good window and that looks like a very, very good window =D>
 
No problem Peter. If you want to see a potential tablesaw jig for doing the 9 degree cill cut, just give me a shout and I'll cobble something together and post some pics ;)
Out of interest, yes please.
 
" ...... A small mallet and butt chisel is definitely a blessing when mallet swinging is restricted "....... ahh :)

Amazing work and also a very nice window, looks to me like Oak but you said something else but the light changes how it looks.
As a time served experienced joiner how long did it take in toal do you think from start to finish to make it. Those mortar grooves is that a standard thing on frames then? That window I fished out the skip to look at how was put together, it had grooves I thought they were weathering strips, or thats what I thought they were called. The window board was jointed to the frame like the cill was too. I am familiar with the cill, jambs and header all forming one unit.
Ps how much did you flog the window for, if don't want to say, OK
 
Back
Top