Making a brass infill plane (Hattori Hanzo, DP)

UKworkshop.co.uk

Help Support UKworkshop.co.uk:

This site may earn a commission from merchant affiliate links, including eBay, Amazon, and others.
I also screw lever caps in. I don't have a mill or a mill drill, just a cheap press (like really cheap - bench top, $150 or so). I have always located holes on infills and drilled from both sides. freehand (not with the press, but by eye with a cordless drill). the reason for this for me is probably different than most - if you are a hand tool woodworker, you can learn to see square and plumb very well, so I find usually only a tiny step where the holes meet, and my oldest planes now are 10 years old, and no ill effect.

But inability to drill across spans accurately leaves me using screws just as shown in the plane above - they are readily available, all you need is to be able to tap the lever cap and the need for precision drilling in the lever cap is relieved. Tuning the lever cap and bed to be tight and even on the iron so that the plane adjusts perfectly is also made a lot easier.
 
Thanks for the comments guys.

Hattori, you're cranking these things out so fast I can't keep up! :eek:
Ian, don't worry I'm not getting any quicker. I'm still catching this thread up.
There was about 3-4 weeks of work to the plane at this point.

Thanks for the advice about the cheese head screws chaps. I think they suit some planes more than others.
I do prefer the clean look on a peined over rod but have to say its suits your plane nicely Ian.

One of my main concerns with them is the stepped hole depth into the body.
Am I right in saying cheese head screws aren't counter sunk, instead they have a flat bottom?

How deep would you need to drill the hole in the plane sides to get the head of the screw flush?
and how do you go about drilling a flat bottom hole?
I've done it before by grinding a drill bit flat but it's not ideal.

If I were using 3mm brass for the sides and needed to drill 2.5mm deep hole to fully seat the screw head that leaves a very thin bit of brass holding the rest of the screw, or is this not a concern once the lever cap is fitted?
 
Hattori-Hanzo":1sl800lk said:
......
How deep would you need to drill the hole in the plane sides to get the head of the screw flush?
and how do you go about drilling a flat bottom hole?
I've done it before by grinding a drill bit flat but it's not ideal.

If I were using 3mm brass for the sides and needed to drill 2.5mm deep hole to fully seat the screw head that leaves a very thin bit of brass holding the rest of the screw, or is this not a concern once the lever cap is fitted?.....

Hattori, you are over-thinking & over-complicating matters. :?

The heads of the screws become simple stub-axles, they go all the way through the side and abut the LC. The screws don't need to bear on the sides at all; once both screws are in, the lever-cap is effectively captured. This method does require the LC to be a neat fit between the sides, of course.

This sketch should explain all:
LCscrew b.jpg


No complex joinery needed. Because I make my own screws, I can make any size I want with any diameter & depth of head. But a typical M6 or M5 machine screw should suit a medium to large plane with 3.2-4mm sides.
There is no compelling reason to have a larger diameter head on the screws. Before I had my lathe I just found bolts of the diameter I wanted that had a partial thread. Screw the bolt into the lever cap until the thread runs out, then cut it off so the unthreaded bit left sticking out is a little shorter than the thickness of the side. Neaten the cut by spinning the bolt in your drill and applying a file, then carefully cut a slot (a 'junior' hacksaw blade cuts a slot of an appropriate width for a fine-bladed driver). Simple, effective & you don't need a different diameter hole in the sides.

The aesthetic aspect is a purely personal matter. Rivets can be made to disappear, keeping the sides as one continuous & uninterrupted surface, but to me there's a functional beauty in seeing that I can easily remove the LC if the need arises.
It has on only a couple of occasions, I'll admit..... :)
Cheers,
Ian
 

Attachments

  • LCscrew b.jpg
    LCscrew b.jpg
    112.3 KB
Thanks for clearing that up Ian, makes perfect sense now.

I will look into this method in the future as it certainly seems a good approach to take and like you say the ability to remove the lever cap for fettling is a bonus.
 
Also in other news I started work on the forge today.

kxBnYxc.jpg


Just got to wait for it to fully dry for a week or so which is okay as I haven't even started on the blade yet.
 
A paint can or coffee can (anything around a gallon in liquid size) lined with refractory blanket and a TS4000 type torch is enough to heat and quench 1/4" thick O1 irons as large as just over 2 1/2".

It's actually a pretty good efficient setup that doesn't take much space and doesn't take long to heat. For practical purposes, the iron that I did in a skew shooter is probably only fully hardened an inch and a half from the tip, but I'll never use that much, and if I do, it can just be reheated and quenched.
 
can we have some details on the forge?

Video incoming.

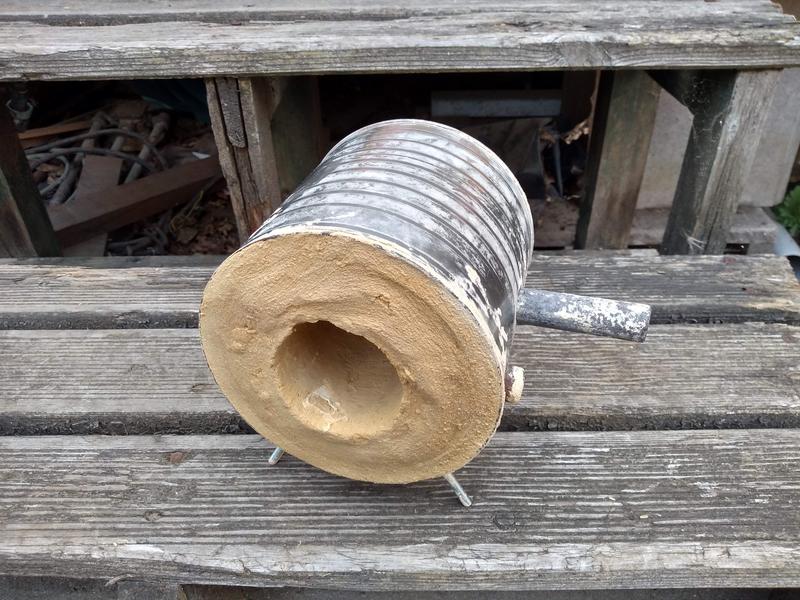
Like D_W says It's an old paint tin cleaned and washed out, I then drilled 4 holes and inserted bolts to act as legs.

Next I mixed fine builders sand with plaster of Paris and water to make a thick paste.
I filled the bottom 2 inches of the tin with the paste then inserted a plastic bottle in the centre to form the hole while packing the paste around it.
I also added a steel tube to the side which accepts a map gas torch.

After 10 minutes or so the plastic bottle can be removed and the tin left to dry for several days before use.


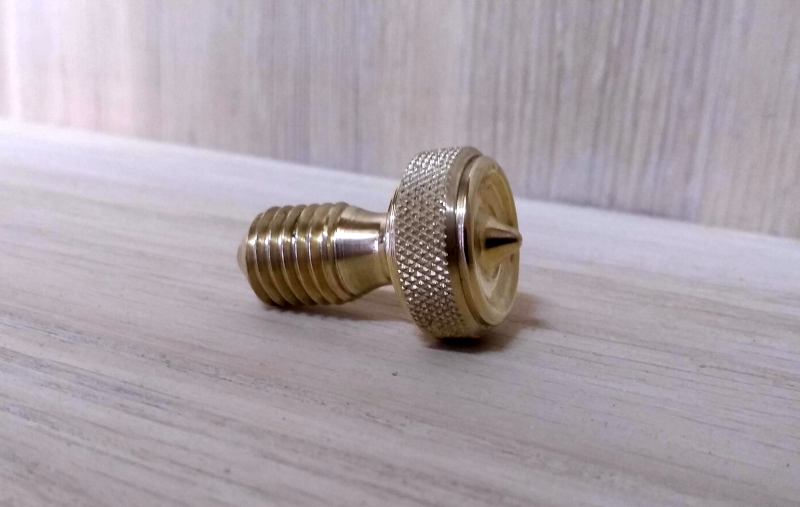
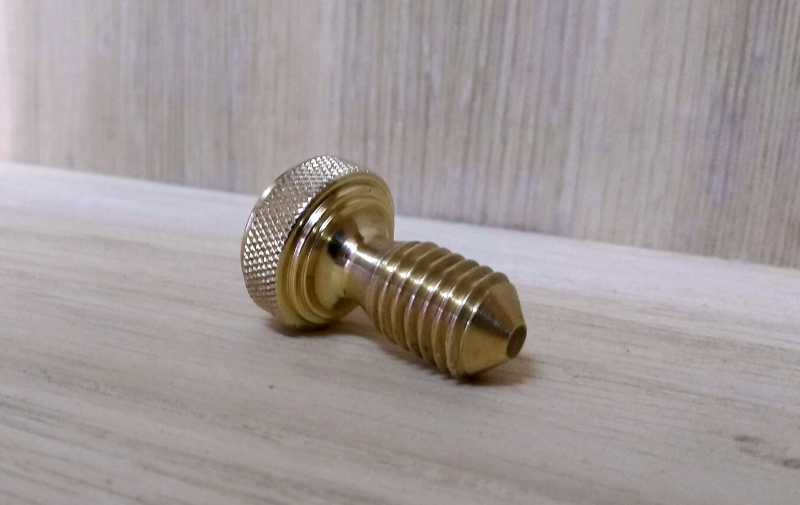
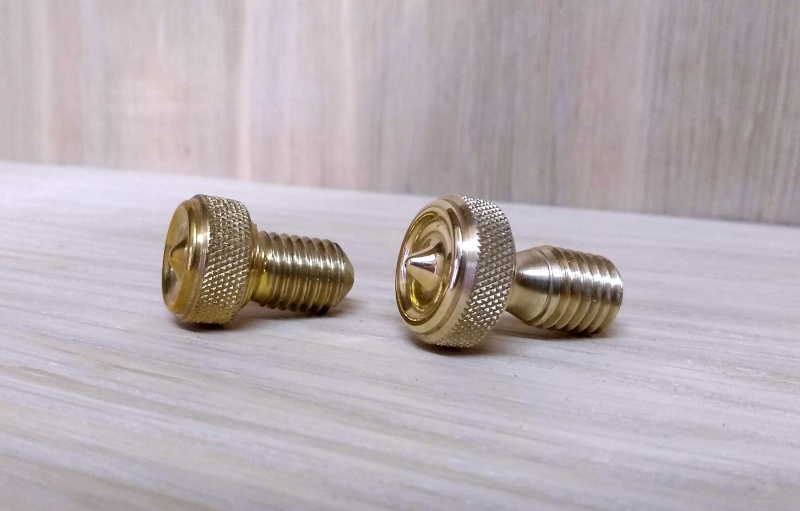
I had some time to make a new thumb screw for the lever cap, while I liked the first one I thought it maybe a little to small as I wanted the screw to be a dominant feature.

Really pleased with how the second one came out.


I managed to accentuate the dome and point more on this one.

p3iBK3r.jpg


And also added a round from the thread into the cap head.

xc9yoM1.jpg


Side by side comparison of the two.

VL2MRMr.jpg


I've also made a start on the blade.

I'm using 6mm O1 tool steel which could help to reduce chatter but it looks quite chunky for a smaller plane.
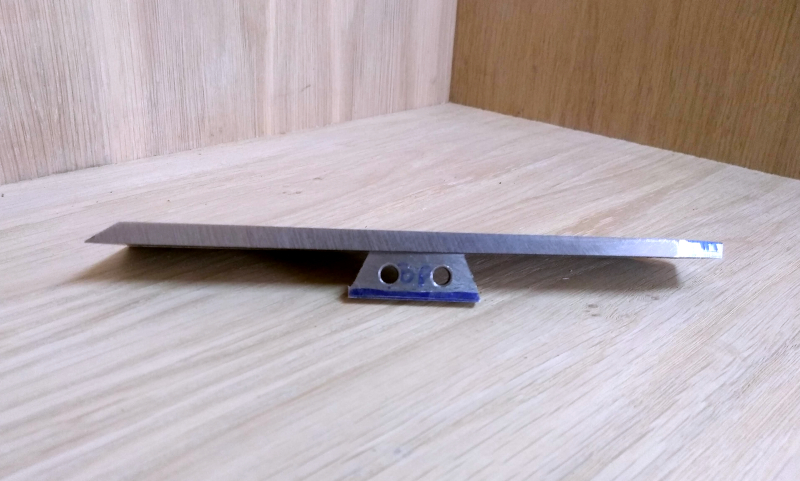
I've managed to taper the blade from 6mm at the cutting edge to 4mm at the heel, aesthetically I think this looks a lot better and also aids comfort when holding the plane.

gZfypK8.jpg


And a short video explaining it all and the forge.

[youtube]Vs_vtIWtSaE[/youtube]
 
I like that screw. The way the cone retains it's shape through the top cap bit looks distinctive in an understated way. Smart.
First effort is probably best sent to me along with the relative tap size and I'll make sure it gets binned.
:-"
 
Haha :) sorry BM it's gone into the "that might come in handy later" drawer for the moment.

Just a quick video on how I heat treated the blade for this plane.

[youtube]7m4J_4V8v3k[/youtube]
 
Lol. Fair play!
I've got a bronze casting from Bristol Designs sat on my desk that I can't justify starting really. Far too many other (real life) things to do. But it keeps winking at me! Especially when I read this thread. The only thing I can't do in my shed is the screw so when I finally get it started I'll put it up as a paid job on here. Or buy an old screw cutting mini lathe. *manic laughter*
No. That's not going to happen. Definitely.
:-s
 
That's really kind but it could literally be years lol. I have a bullnose to finish but I'm on thin ice to get the house done well before I restart that one. It really was a tongue in cheek joke, not a request. :D
Many thanks anyway. You are very kind.
:wink:
Regards
Chris
 
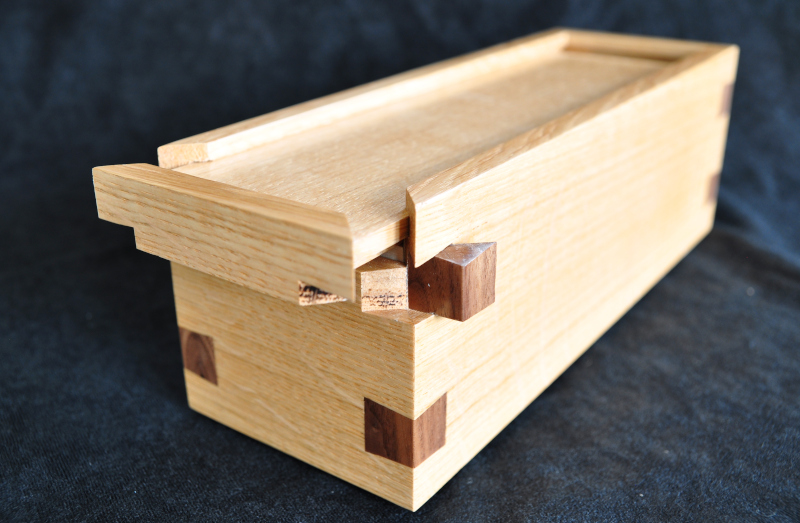
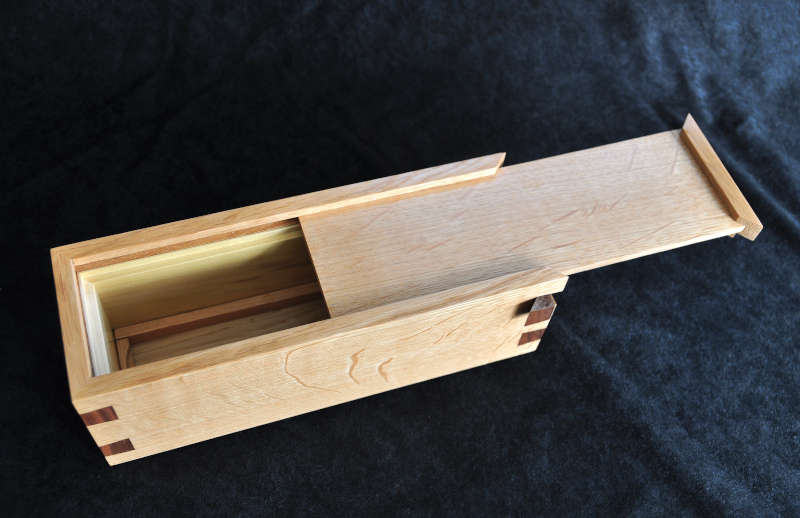
With the blade nearly finished I've started to work on the wooden box for the plane.

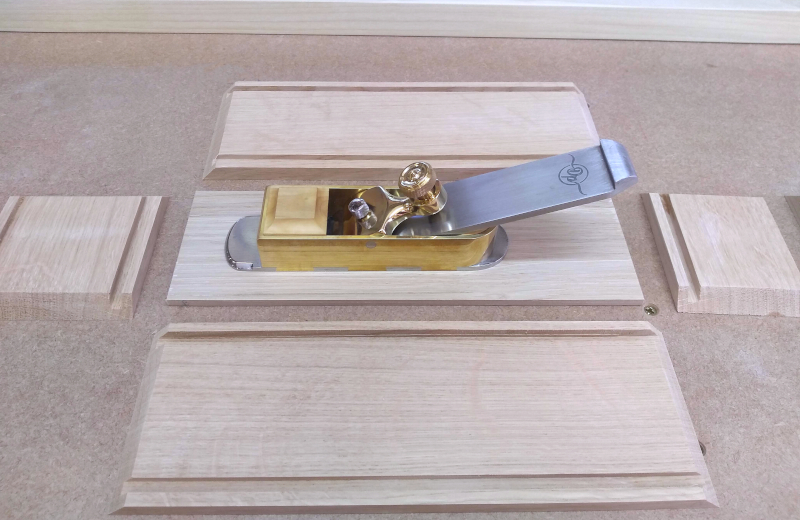
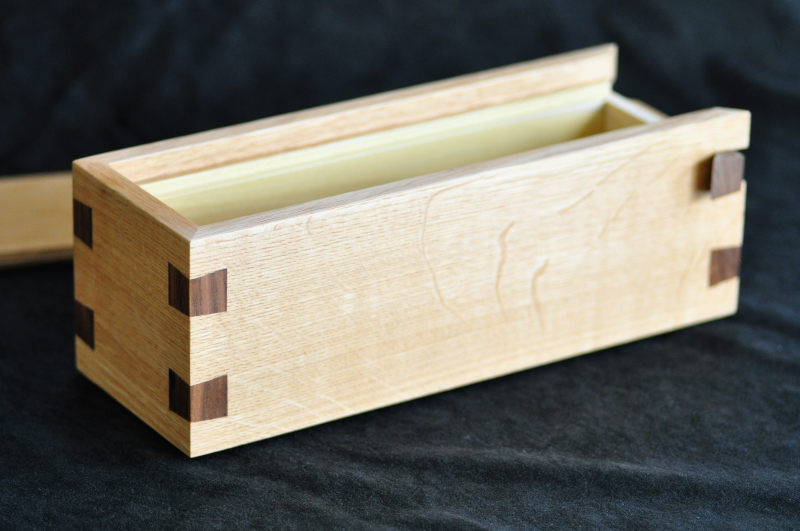
Here's the box in the early stages. I'm using some nice European white Oak with beautiful medullary rays which should show up nicely once polished.

ifC2VY8.jpg


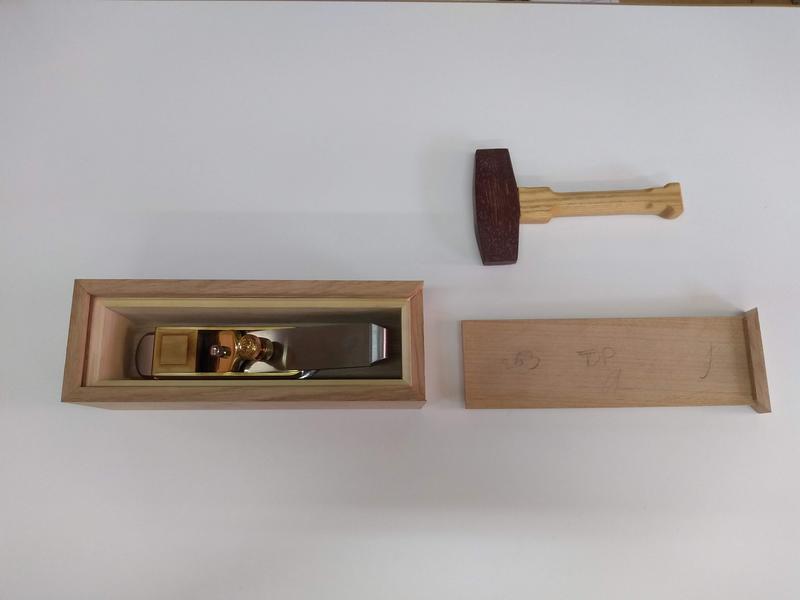
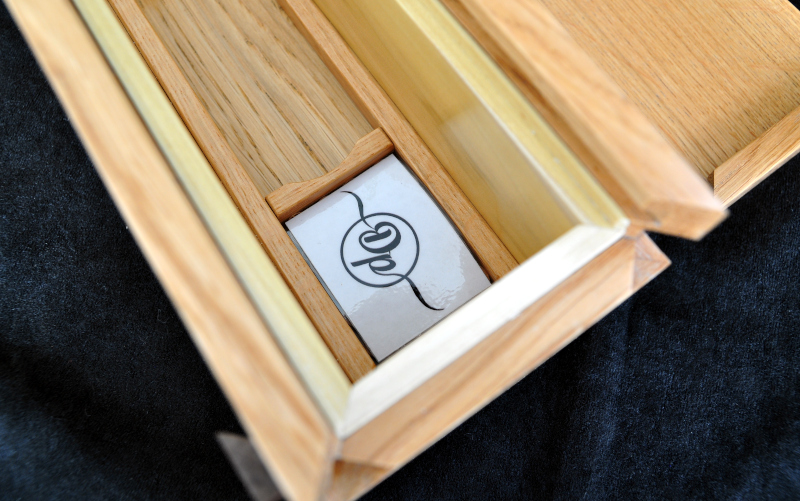
And here is it glued together with the tulip wood lining, I've got a few ideas I want to try out so still a bit more work to do yet.

ZjwpXWr.jpg


The plane is nearly finished I've just got a lot of sanding and polishing to do now.
I'm really happy with how this plane has turned out and the mouth is exceptionally fine, I need to find my feeler gauges to measure it properly.

I've also uploaded the second part of the plane blade videos.

[youtube]vgXv9RCOMEw[/youtube]

Almost ready for the final reveal!

Cheers.
 
Truly awe inspiring Dan, nothing else to say mate except thanks for taking the time to show us. This is you tube at its finest. =D>
 
As I said before, Hattori, you've come a long way quickly! Doing a bit of background reading probably helped, but I reckon you've displayed a lot of natural talent & a capacity to learn quickly. If you keep up this pace you really will be in the Holtey class before long... :D

Interestingly (to me, at least), I have just been reading Jim Kingshott's book properly for the first time. I've seen a few of his articles & some excerpts of the book, but hadn't read it 'til now. I wish I had read it a lot sooner! It would have helped me avoid some of the mistakes I made as I blundered along my own path. I recommend reading it to anyone thinking of getting into plane making, he's eminently practical and gives you choices of approach depending on your skills & access to gear. There's still lots to learn, of course, and skills to develop (like accurate peening), that only come by doing. It tickled me to see that I have independently figured out a few of the things he mentions . Convergent evolution at work....

So, onwards & upwards...!
Cheers,
Ian
 
Honestly thank you so much for the comments guys I really do appreciate every one.

I still think my planes and techniques are light years away from Mr Holtey but I can aspire to his standards and workmanship.

Thank you for the recommendation on the book too, I will certainly check that out.

I feel like I want to try something different for my next project so watch this space :)

Thanks again all.
 
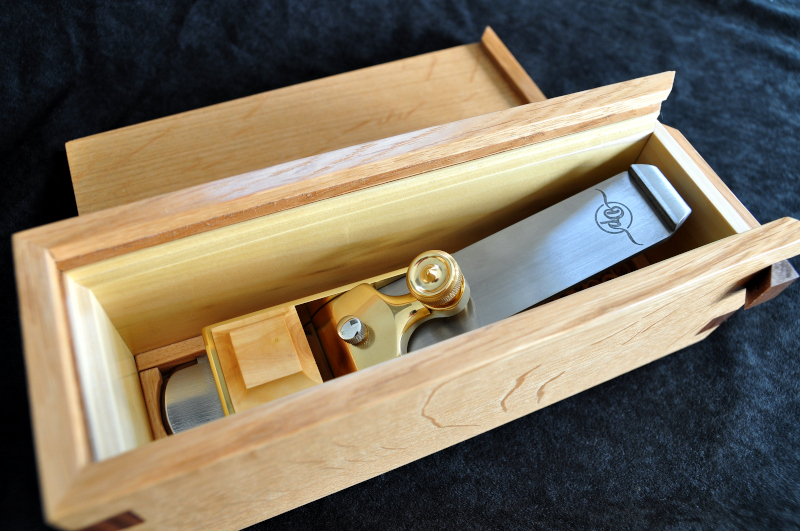
Finally I finished the Mitre plane and box.
I spent a couple of hours taking some photos and video.

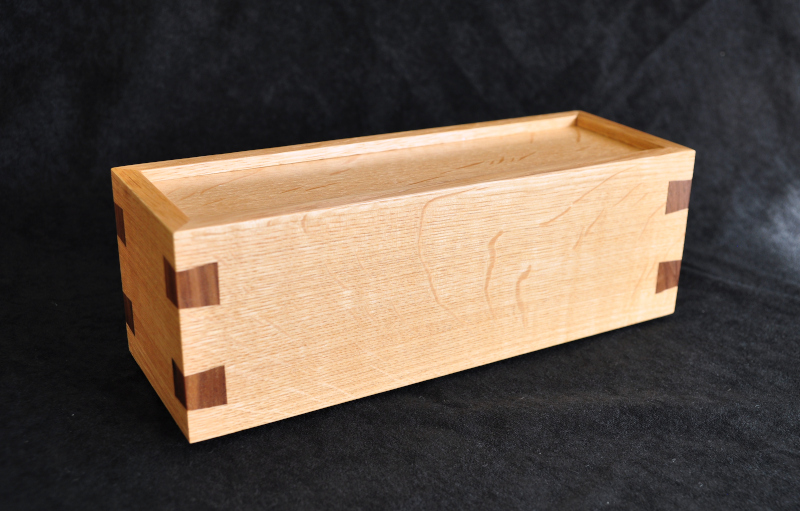
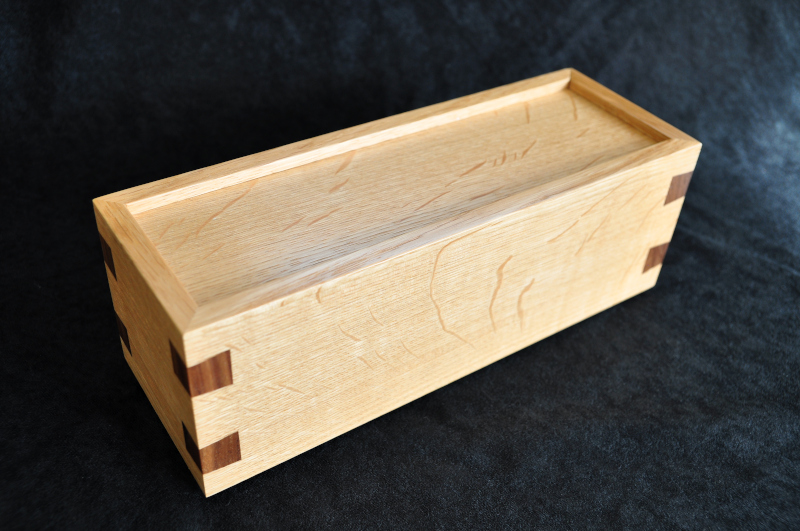
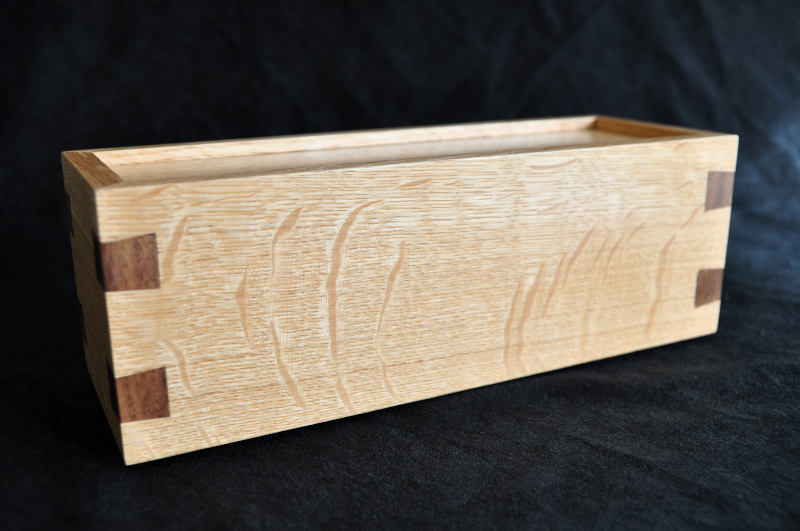
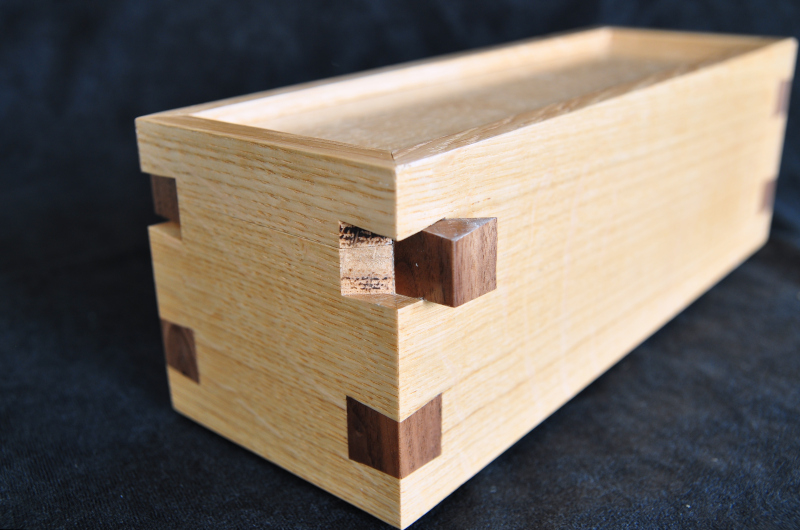
The box is made from European white oak with Walnut dovetail keys.

01
4BBHtHy.jpg


02
UgDDECQ.jpg


03
ZAnXOgd.jpg


04
6T9goma.jpg


05
JgE5RPc.jpg


06
OIGHgXc.jpg


07
r5bk4zH.jpg


08
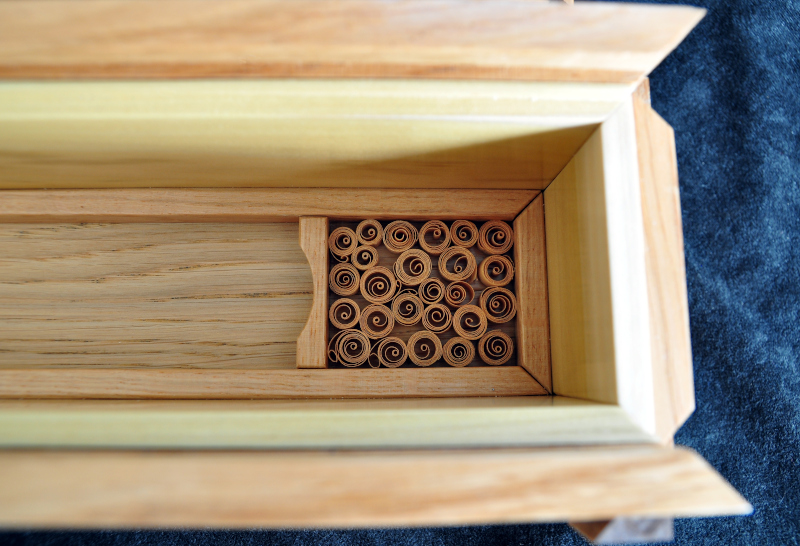
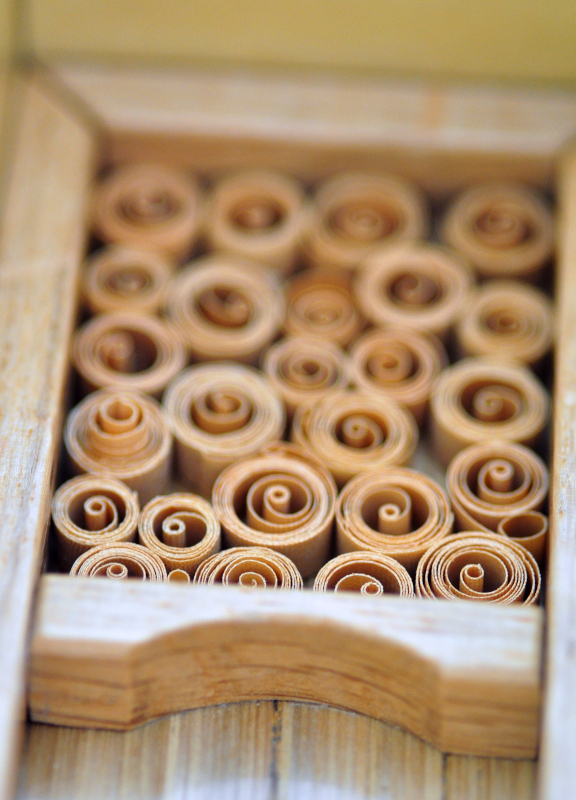
I added some Cedar curls for their lovely smell every time you open the box
VN29Jcn.jpg


09
qab6Exu.jpg


10
UcE5DYg.jpg


11
cBUyrYK.jpg
 
Back
Top