Back in the room.
Who said that, was it that hypno guy McKenna?
Well, anyway I'm back, and I'm pleased to report dear members at this third general meeting we have some progress

I did say I was sure where we were going with the chassis, and I'll be honest it was a damn good decision. Like the great Hannibal said "I'm giving very serious thought to eating your wife"
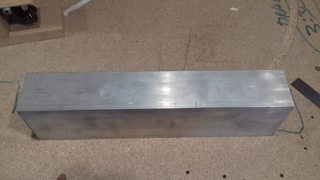
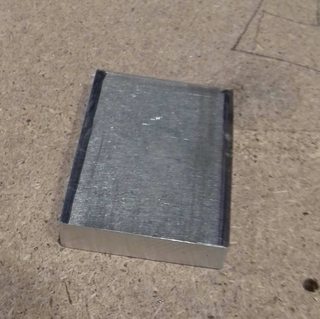
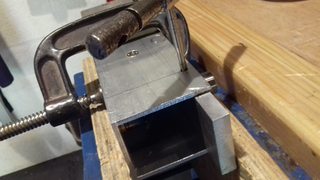
For the chassis, rather than completely fabricate, I went for a piece of 3 x 2 aluminium box section, a bit like the piece below.
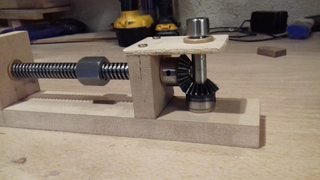
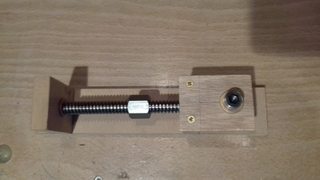
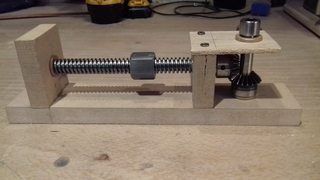
Making that mdf/scrap mock up helped out loads with laying out the critical measurements.
I quite like aluminium, it's easy to drill, tap, cut and file. I'm going to screw this together. Yeah yeah I know "weld it n0legs", ah no. I'd have to buy some ally wire, get some argon and change the liner in the torch (which is always fun, NOT!). The option is still there if I really want too, but this will be solid enough with stainless screws and on final assembly some Loctite industrial grade super glue.
So we better get started.
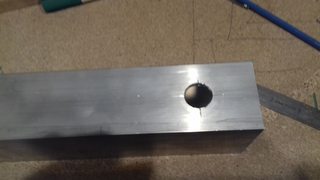
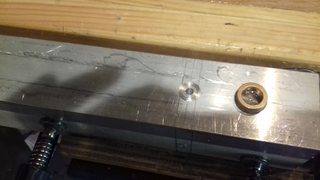
First lets get the critical hole marked up and drilled, this one is for the lower bush of the driveshaft.
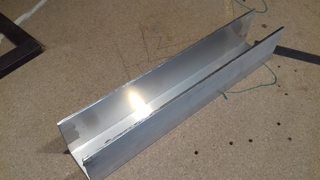
Next saw off one side so now we have a channel (don't even dare ask the question :lol: ) and file up to tidy up.
I need some thicker material for the construction, and this will do nicely.
10mm thick flat ally plate, lush! 8)
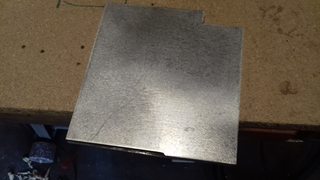
Cut off a useful chunk, clean it up with the sander and carry on.
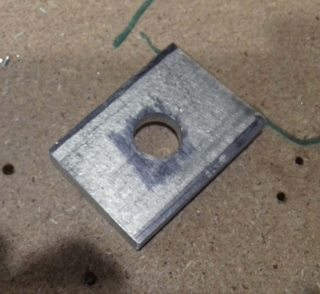
First piece roughly sized, only in the length, width is tight for the inside of the channel.
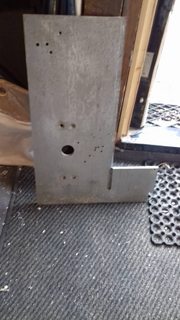
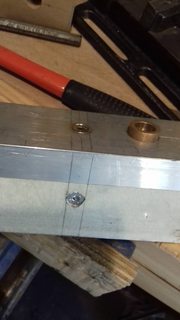
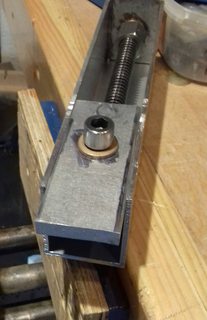
Drilled for a bush. 18mm.
Then a quick trial fit. Looking good

That's been bugging me, my reference to Hannibal. Wrong Hannibal wasn't it? The one I needed was the "I like it when a plan comes together" Hannibal.
A quick interlude.
The good woman decides as a treat to take me down to see Kasabian at The Zooport Centre last Saturday. Oh wow!! Were they cr4p or what! What a waste of money that was. I'd seen them before on a boys night out a few years back, and unfortunately they ain't got any better. Won't be wasting money on them again. And certainly not whilst they write songs allowing the good woman to sing right in my ear on the way home "I'm in love with a psycho" :roll: :twisted:
Back to it folks.
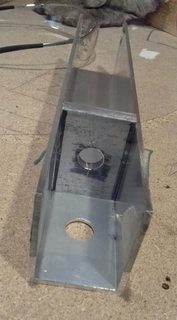
So with a bit of rinse and repeat, we cut out, mark up, drill and trial fit the end bush plate.
Which gives us this :?

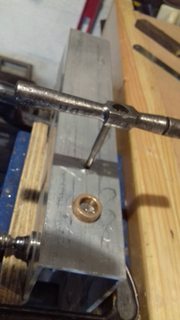
Bit of a result there me thinks. So after a coffee break and a quick smoke, refreshed and empowered we move on to some drilling and tapping.
Out with me best brogues and I'm tapping away to my hearts content. Certainly not tapping away to Kasabian :evil:
Now we can see where we're going, eh? Yes of course you all do.
Another coffee and that bastion of the British workforce, ie a *** break, we move on.
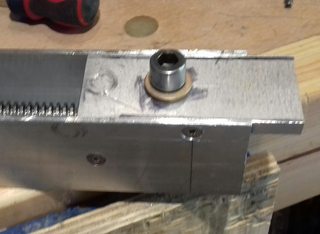
Another bit of ally is rough cut. Then filled and a hole is drilled for the driveshaft top bush.
A quick one here :roll:
Oilite bushes, or one of the many Oilite clones, are brilliant for little bits of nonsense like this. Cheap as chips, that's if you've got to pay for them, (I've only paid for two out of the four used on this). Huge range of sizes both in English and Welsh :wink: and super super easy to use.
Drill the right size hole, bang it in, slip in shaft.
The boys in green might be after me for that one :lol:
Now we're cooking, said Walt to Jesse.
I had a little think and decided on the length I wanted this to be. I marked it up and cut off the excess.
The top bush plate has been left long for now, I'm thinking a hole or two through it and that's how it will be securely installed (well one end at least) in the bench.
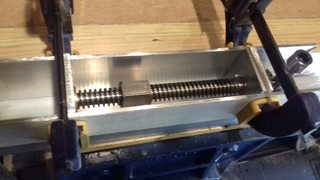
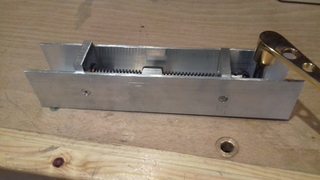
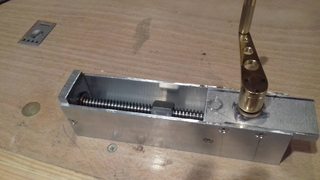
So for a final pic in this update, I offer you..............................
Next I really need to decide what I'm doing with the nut, and what to add/modify it with to actually make this thing clamp up against something :-k
I'll get it. It'll come at me in flash, hopefully not when I'm driving. Driving's one of the two things I hate to stop in the middle of.
As always much love, I'll be back to this soon

Thanks all for the continued comments and interest.
Eating's the other thing.


