Lee J's new workbench build

UKworkshop.co.uk

Help Support UKworkshop.co.uk:

This site may earn a commission from merchant affiliate links, including eBay, Amazon, and others.
I decided it was time to put this thing together once and for all.

Pegs through the large mortices

I used a long drill bit to put a pilot hole all the way through the mortice then using my 20mm spade bit I carefully drilled the holes all the way through.

Photo0263.jpg


I then took my home made 20mm dowel (which I turned earlier) and popped it through - perfect fit.
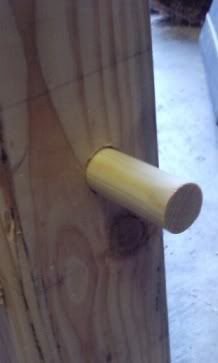
Photo0264.jpg


Capping the screw holes

Took my homemade plugs, smeared on some Titebond and pushed them in the holes. I'll flush cut them next time when they've set properly.
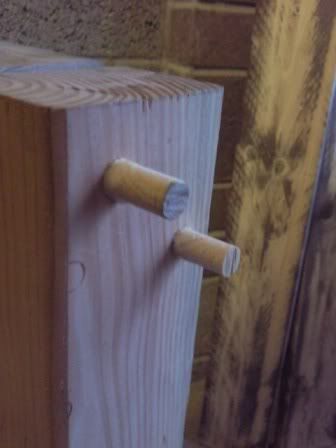
Photo0265.jpg


Bench top

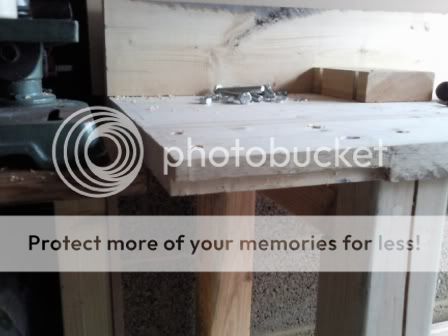
Final job for tonight is to glue the bench top up. I previousley cut biscuit slots along all edges so it really wwas a case of just glue up, push together, clamp up and leave it.
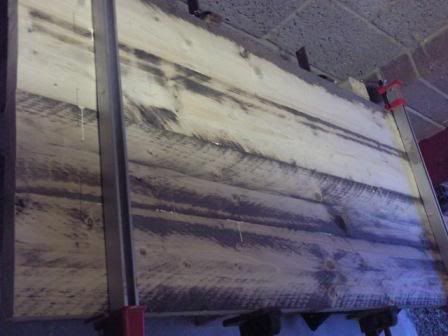
Photo0266.jpg


Next visit should be a sanding session. I'll probably sand down all the legs etc then attach and plane the top, ready for my cap.

Shall I use 15mm MDF of 15mm birch plywood for the top?
 
If you can afford birch ply then, by all means, go for it. MDF won't give you as durable a surface to work on and it doesn't like to get wet (unless it's the moisture resistant grade?).
 
I would prefer birch ply really. This will be the only part of my bench that isn't reclaimed.

How would you recommend I attach the ply top to the wood top?
 
Hi Lee,

Nice project you've got going there with your bench.

I did a bench refurb a few years ago, and put a thick weatherproof mdf sheet onto the wooden top and glued/screwed/plugged it into place. It has one huge problem though, that I just didn't think about. It's not exactly flat and there's no easy way to get it flat now.

When I made an end table, it stood really nicely in one position when glued up, but then ended up out of square because of the ups and downs of the bench.

Depending on the type of work you do, I might consider what Norm Abram did with his workbench in series 1 or 2 - he put a sacrificial board on top (hardboard I think) which he can replace every few years. The solid boards underneath, jointed together, provide the real surface and can be planed/flattened if they ever get out of true.

Cheers,

Lee
 
Lee J":1b0uh9zz said:
Pegs through the large mortices

I used a long drill bit to put a pilot hole all the way through the mortice then using my 20mm spade bit I carefully drilled the holes all the way through.

I then took my home made 20mm dowel (which I turned earlier) and popped it through - perfect fit.

A little tip I learned years ago from the village carpenter where I used to live (when there were such animiles!).

When making pegged mortice and tenon joints, drill through the mortices first, then carefully mark the position for the holes in the tenons a tiny fraction closer to the cheeks and drill them separately. Taper the end of the peg, assemble the joint and drive the peg home. The slight displacement between the holes in the mortice and the tenon causes the joint to "pull up" nice and tight. It's an old technique I know, but it really can make a difference. I've got a "refectory" style bench seat I made many, many years ago using this method which was assembled without any glue at all and it's still as solid as a rock!
 
Tony Spear":110pcayh said:
Lee J":110pcayh said:
Pegs through the large mortices

I used a long drill bit to put a pilot hole all the way through the mortice then using my 20mm spade bit I carefully drilled the holes all the way through.

I then took my home made 20mm dowel (which I turned earlier) and popped it through - perfect fit.

A little tip I learned years ago from the village carpenter where I used to live (when there were such animiles!).

When making pegged mortice and tenon joints, drill through the mortices first, then carefully mark the position for the holes in the tenons a tiny fraction closer to the cheeks and drill them separately. Taper the end of the peg, assemble the joint and drive the peg home. The slight displacement between the holes in the mortice and the tenon causes the joint to "pull up" nice and tight. It's an old technique I know, but it really can make a difference. I've got a "refectory" style bench seat I made many, many years ago using this method which was assembled without any glue at all and it's still as solid as a rock!


Nice tip! many thanks for that, bit late now but it's one I'll remember for the future
 
Saturday found me in the workshop trying to get this bench finished. I was up and at it early, 2 slices of toast with half an inch of marmalade on each one and a potta strong tea and I was ready to fight the world.

I started by putting some detailing on the long braces. Used my angled router cutter and did this...

Photo0270.jpg


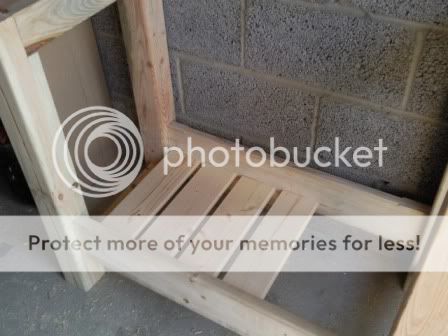
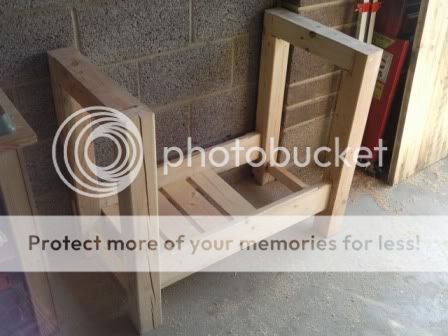
Fit the shelves using me nail gun...

Photo0271.jpg


Photo0272.jpg


Notice the cracking in the left front leg? Well this really doesn't bother me. It was set out from the start that this would be a 'rustic' bench that was made to be functional rather than looking nice.
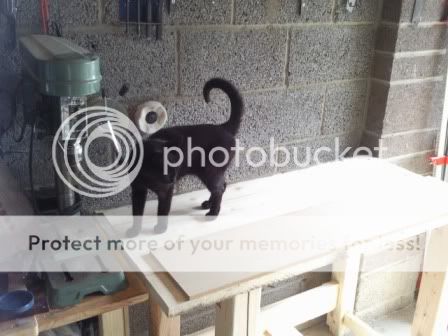
Next job was a mammoth task. Because of me not having a thicknesser, when I glued up the bench top I ended up with a top that was not very flat. so, armed with electric planer (to start with) I proceeded to spend the next 2 hours fannying around planing the **** out of it. After a while I had got the one side resonably flat. Close enough considering I'd be capping this with 15mm MDF.

I spun it over and did the same with the other face.

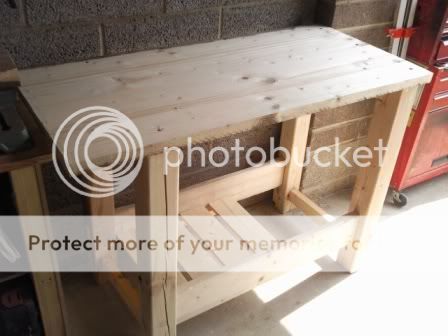
Well wont you look at that...

Photo0273.jpg


Starting to look like a bench now. The metheod for fixing the top to the frame was an easy one to work out. as it was gonna be capped I just used screws. 3 down one side, 3 down the other.
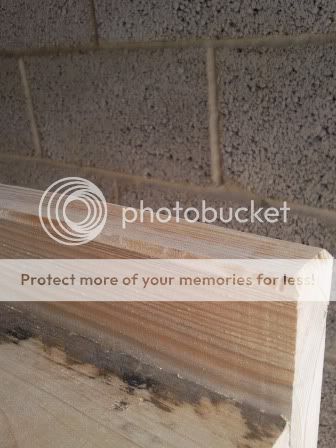
Noticed my counter sink bit was leaving some raggy bits? what causes this then? not sharp enough?

Photo0274.jpg


Just as I got it screwed together I had a site inspection.

Photo0276.jpg


With everything looking puuuuuuurfect (sorry!) I was given the all clear to proceed.
I'd decided to put a pelmet type effort across the back. This would stop shavings dropping down the back onto the floor, add some extra stability using the wall and allow me to drill some hole along the top edge to stand useful stuff like me pencils etc, you know, things that get buried and lost...

Photo0277.jpg


chamfoured the edge...

Photo0278.jpg


I seem to be having a problem with blunt tools today. Looks like my angle cutting router bit may be a touch blunt now.

Photo0279.jpg


Doesn't matter, just makes the final sand down harder than it should be.

Starting to look like I can see the end of this project very soon...

Photo0280.jpg


I got my 15mm MDF cut to size and my front pelmet prepared and cut to size. But before I fit either of these I need to fit my vice.

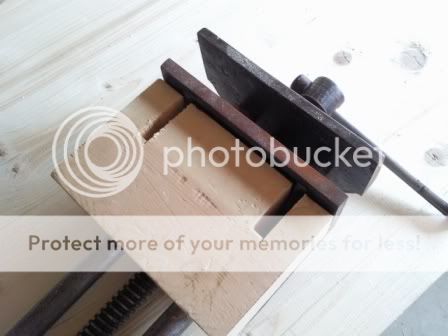
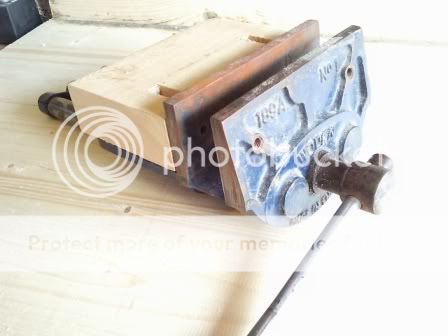
Lined it up and marked it out. It's going as far left as I can get it. I fit the top of center so I had a larger overhang on the left side. Using a wood drill bit I took out most of the waste wood and squared it all up using a sharp chisel. This gave me a rebate for the vice to drop into. I had to make a a block to go inbetween the vice and bench. This is what I came up with...

Photo0284.jpg


Photo0283.jpg


Cant mount the vice today though as I don't have my bolts yet. should get them Monday and fit the vice Monday evening, until then...

... Cheers

mug1_1.jpg
 
Im sure i recognise that vice :wink: :wink: :lol:

Nice bench Lee , looks like it will take a lot of abuse , well done ..
 
hey up, I finally got around to fitting this vice mate - when was it I bought it off you? about a year ago? lol

got any bolts for it??

lol
 
Hi yes it must have been nearly a year ago :lol:

I will have a look tonight for the bolts that came off it , im sure it was fitted with large coach bolts and i think i still have them in a draw uner my bench , if i find them i will let you know and throw them in the mail to you :wink:
 
it's ok mate I was only kidding. I've raided the fabrication dept at work and got some bolts.

thanks anyway.
 
Looking good, Lee. :)

That 'ragged' hole you've drilled can be something of a common feature when working with softwood. Either that or, your bit may be blunt, as you suggest...

What make is your 45° router cutter? Again, a cheap one would be more likely to blunt quickly. Burning is often caused by using too slow a feed rate.
 
Hi Olly, router bit is the one that came with me Macallister router so it'll be a cheap one. I'm on the look out for a decent set for my next project.

Anyway, update coming up...
 
Had an hour last night so I went to fit the vice.

I'd already chiseled out the recess so I lined up the vice and drilled the bolt holes using a 10mm bit...

Photo0285.jpg


The recess looks a bit wobbly I know but it wasn't to critical as it's gonna be covered up anyhow.

I widened the holes slightly to take the bolt head/washer to 20mm.

I offered the vice into position and tightened the bolts...

Photo0286.jpg


Photo0287.jpg


tonight I fit the pelmetand make the small section for the vice jaw, then I can fit the 15mm MDF top and do a final sand down. I'll probably wax the frame just to give it some protection.
 
Tierney":1r86dtxu said:
This thread is great, a no nonsense approach to bench building.

DT


Got to agree with that , goes to show that not every bench and build on here is made with some exotic timber that most of us could not afford , i like it Lee and also the approach to making it 8)
 
A little tip I learned years ago from the village carpenter where I used to live (when there were such animiles!).

When making pegged mortice and tenon joints, drill through the mortices first, then carefully mark the position for the holes in the tenons a tiny fraction closer to the cheeks and drill them separately. Taper the end of the peg, assemble the joint and drive the peg home. The slight displacement between the holes in the mortice and the tenon causes the joint to "pull up" nice and tight. It's an old technique I know, but it really can make a difference. I've got a "refectory" style bench seat I made many, many years ago using this method which was assembled without any glue at all and it's still as solid as a rock!

You can also achieve a 'draw peg' (draw bore?) by clamping the joint up really tight then drilling, then pegging. If you were to relax the clamps before pegging you would see that the peg holes were out of alignment in the same way as hand drilled draw peg.
Also you're less likely to over draw the peg holes as you can only clamp the joint as tight as the material will allow… ish
 
Leee,

I've been following this with a great deal of interest.

It's great to see somebody making a basic, workmanlike bench, particularly from recycled materials.

Your "squaring & thicknessing" jig is a classic example of what can be achieved with some fairly basic tools and a bit of ingenuity.

One thing however has puzzled me right from the start:

You obviously intended from the beginning to use mortice and tenon joints on the lower part of the frame, so why did you go for a simple 90 degree lap joint at the top when it would appear logical to have used mortice and tenon joints here also?

Not a criticism (as I said I think you're doing a great job) I'm just curious.

PS: are you going to drill the right hand leg to allow you to insert supporting pegs for long workpieces, or even bung a holdfast on it??
 

Latest posts

Back
Top