katellwood
Established Member
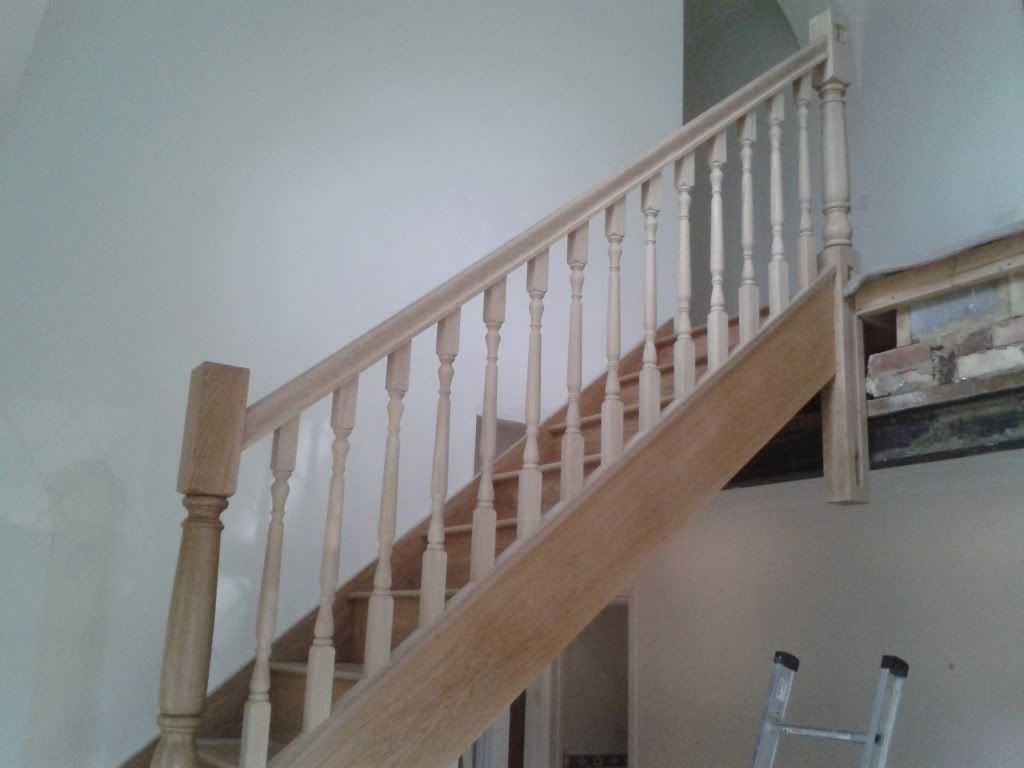
This may be of interest to members, it is a project I finished approx. one month ago (client to apply the finish which is OSMO). As usual I failed to take enough pictures during the build to fully explain the construction, that being said I have kept it as traditional as possible
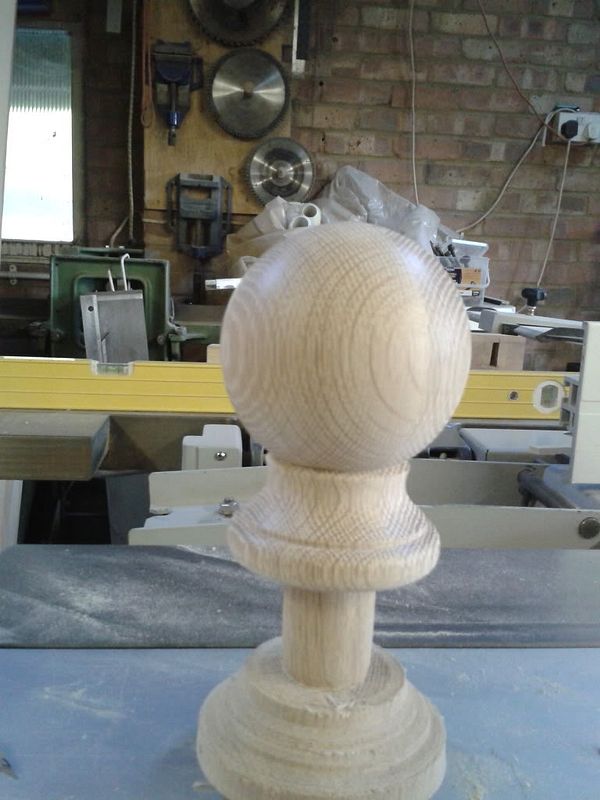
It is made out of rough sawn American White Oak, this includes newels, newel caps, handrails and string cappings which were all turned/machined by myself. The only thing bought in were the Balusters which the client chose, the newels being turned to complement the balusters (a softwood one was turned prior to the final design for approval).
Newel posts are 4” x 2” oak, they were faced, glued back to back then planed square to 95mm x 95mm this being the only pieces of the stairs made up of smaller pieces
The treads finished at 22mm x 292mm final pitch of the stairs being 40.5 degree’s
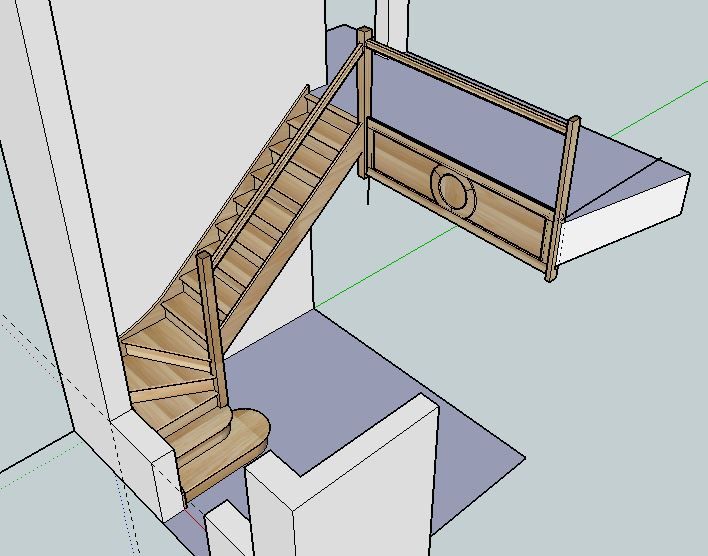
Starting with the original Sketchup as presented to the client
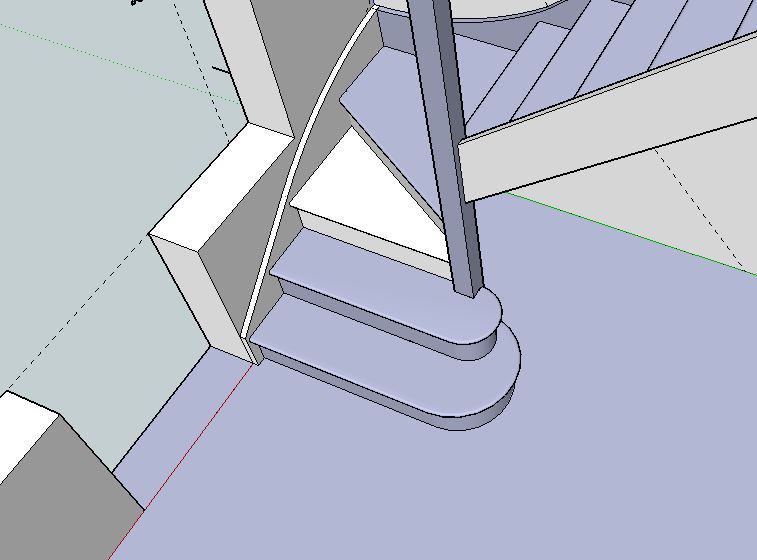
Then an amended bullnose on the second step
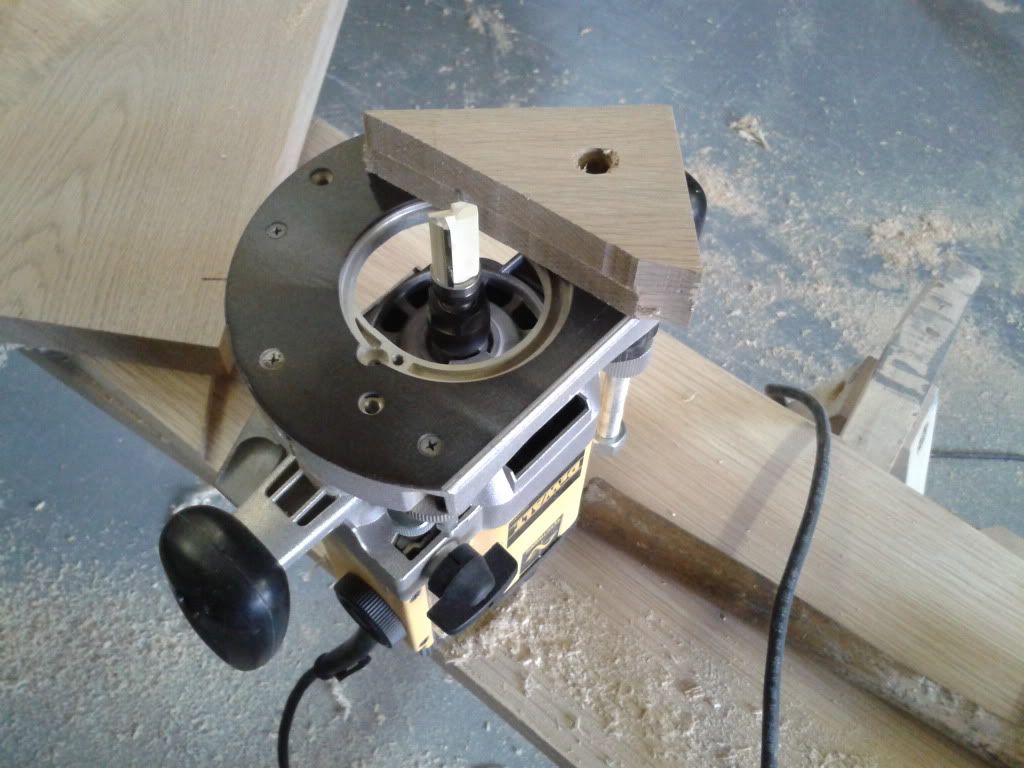
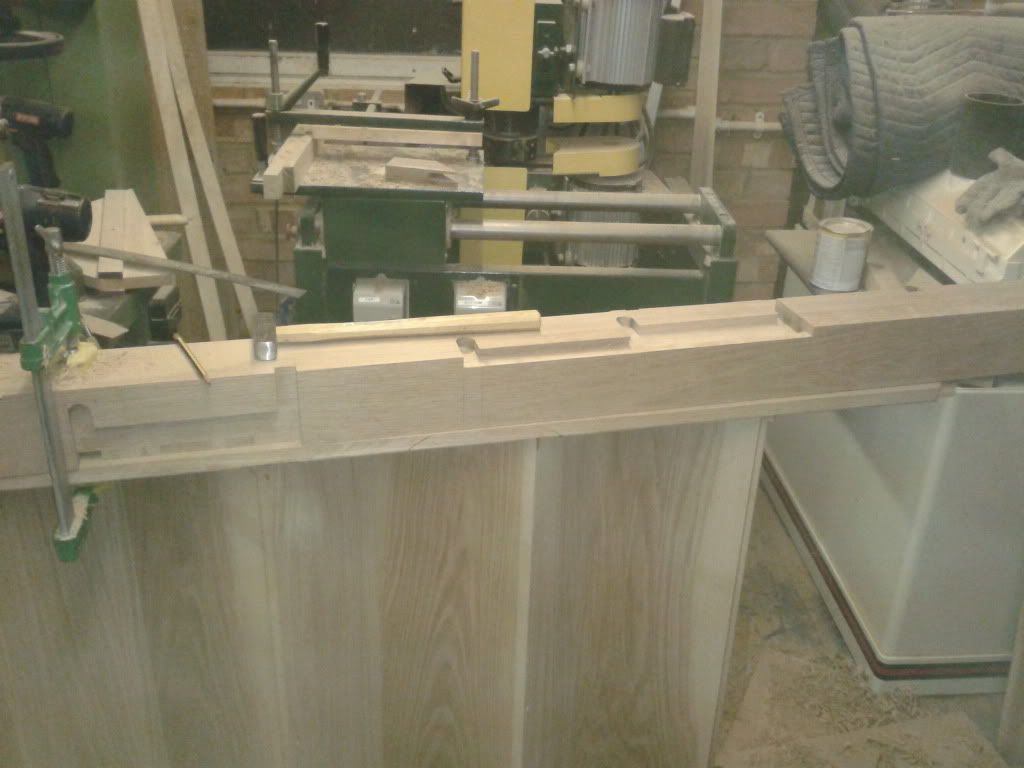
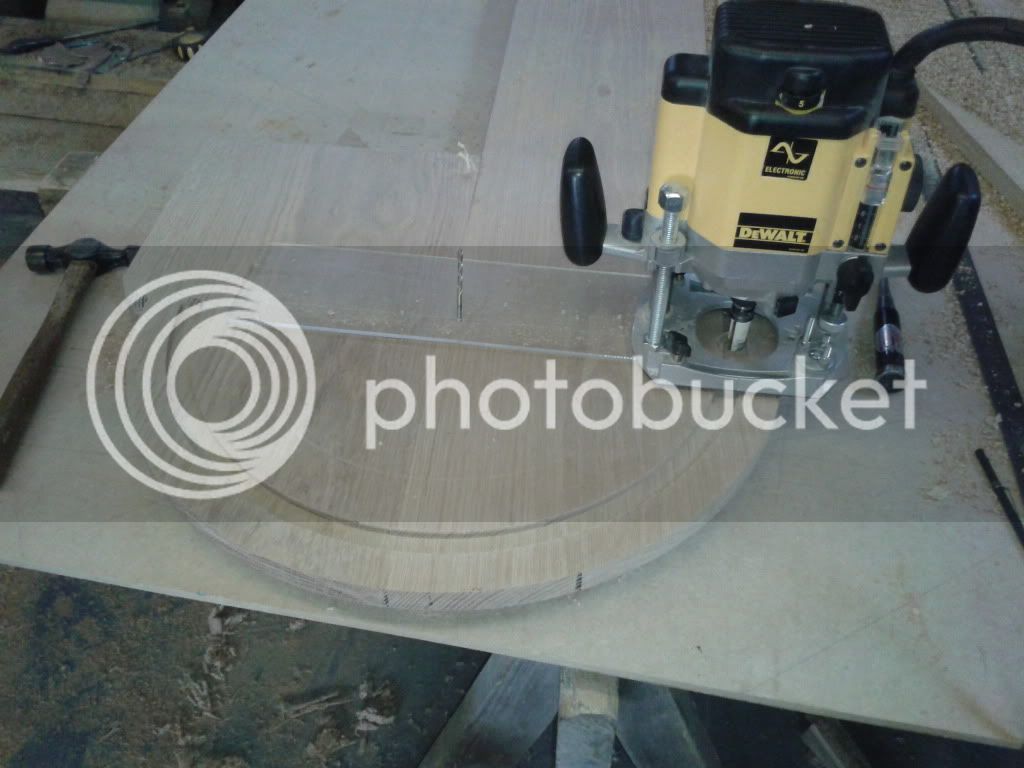
The pictures start with the strings housed and show cutting the tenons on the outer string. As can be seen this was done with a straight bearing router bit with the bearing following a straight edge (waste from the string) clamped on the shoulder-line another piece was screwed to the router base to ensure stability
.
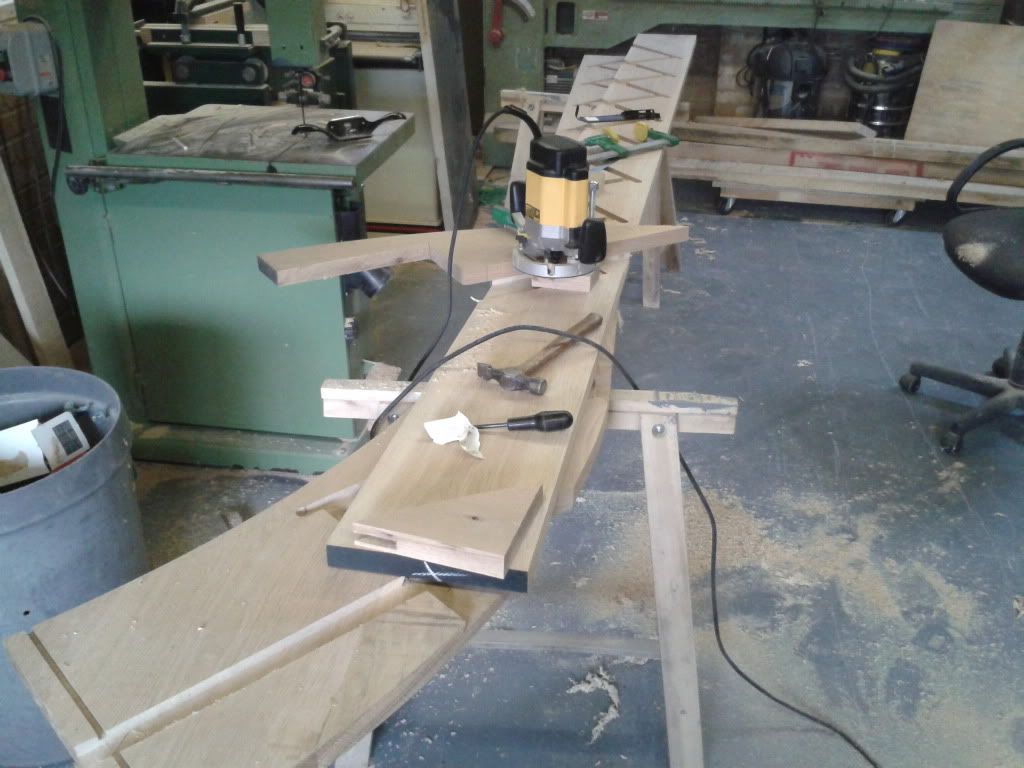
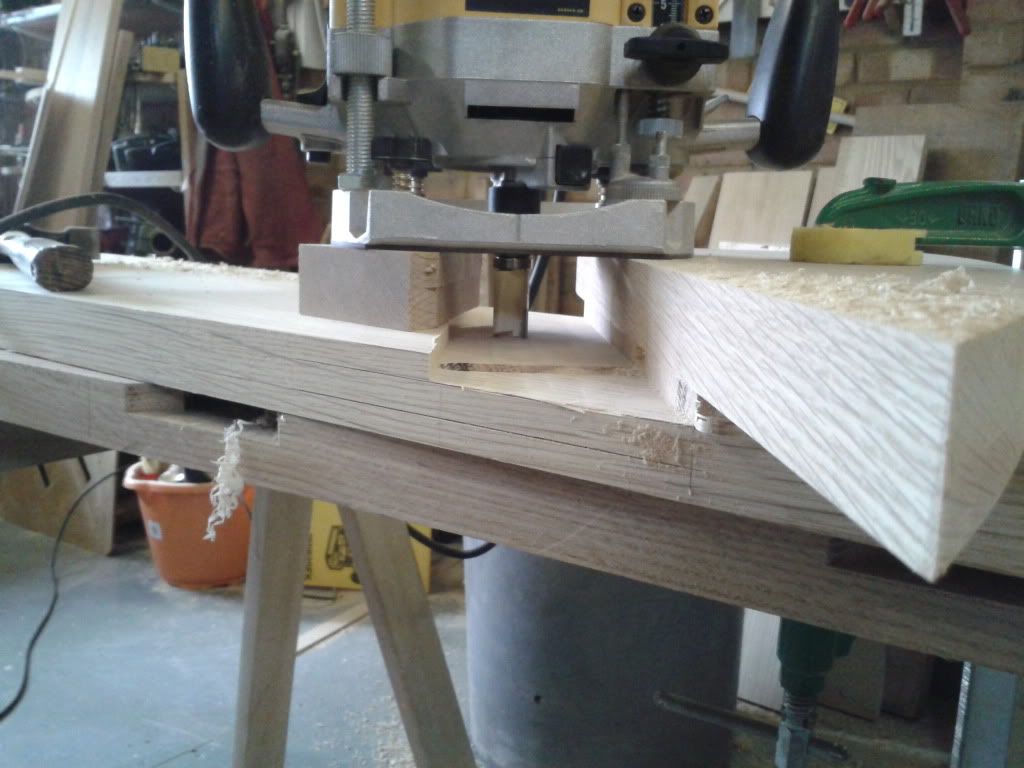
The string housings were routed with a 22mm round bit done in two passes. I always use two jigs one for the tread and one for the riser, this prevents the small round in the string were the riser houses to the underside of the tread. The main section of stairs were glued and wedged in the workshop, the rest had to be assembled on site due to restricted access.
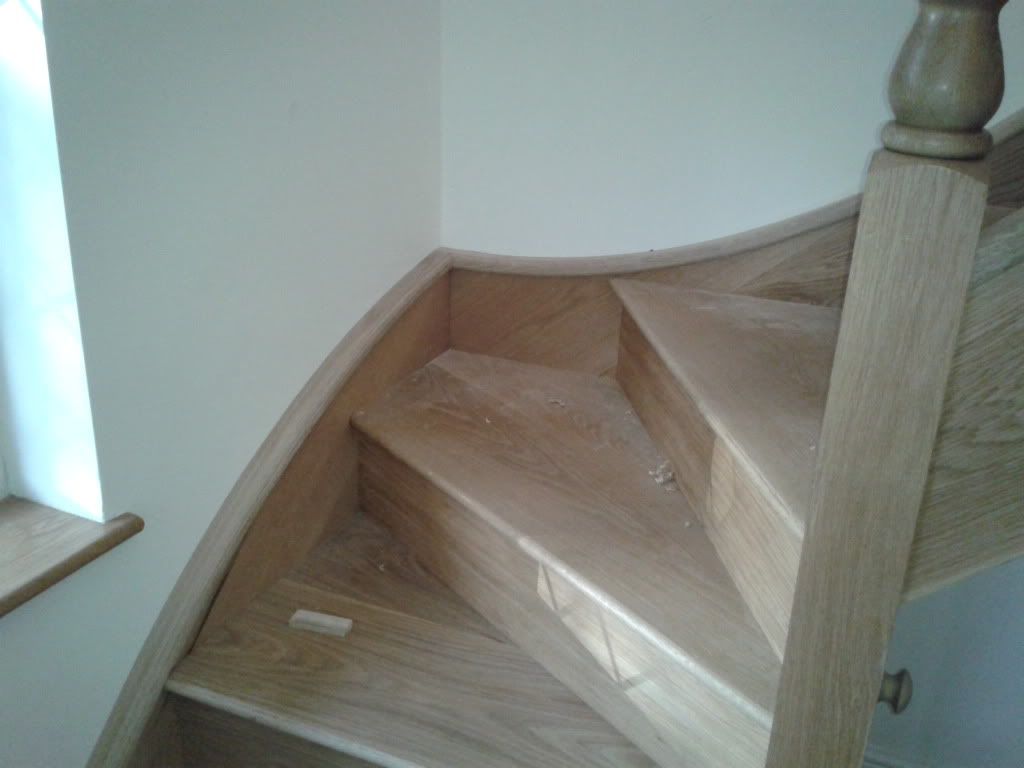
Kitewinders were set out fullsize in plan then projected up to achieve the true shape of the string.
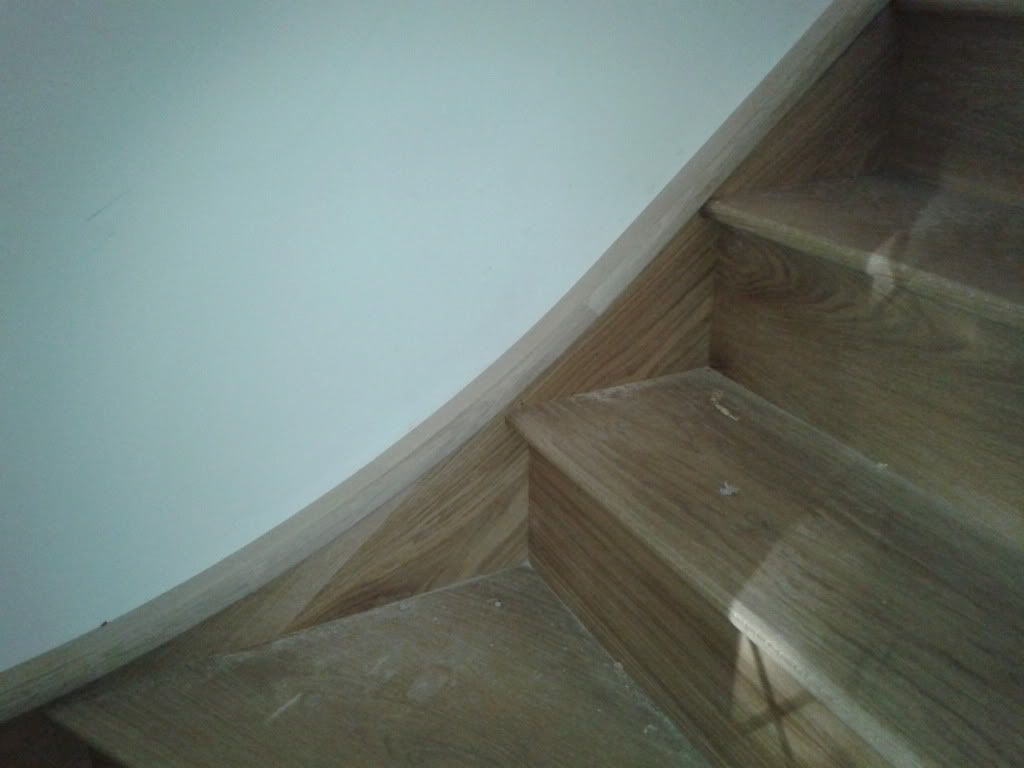
To obtain a true easing I used the top edge of the string as a tangent to the curve (a true radius) this was shaped by cutting two pieces of MDF to the actual curve of the kitewinder string upper edge. The shaping of the string was again done with the above bearing bit (keep the MDF patterns safe as they will eventually be used to form the wall string cappings which were scribed to the wall to hide any gaps between string and wall).
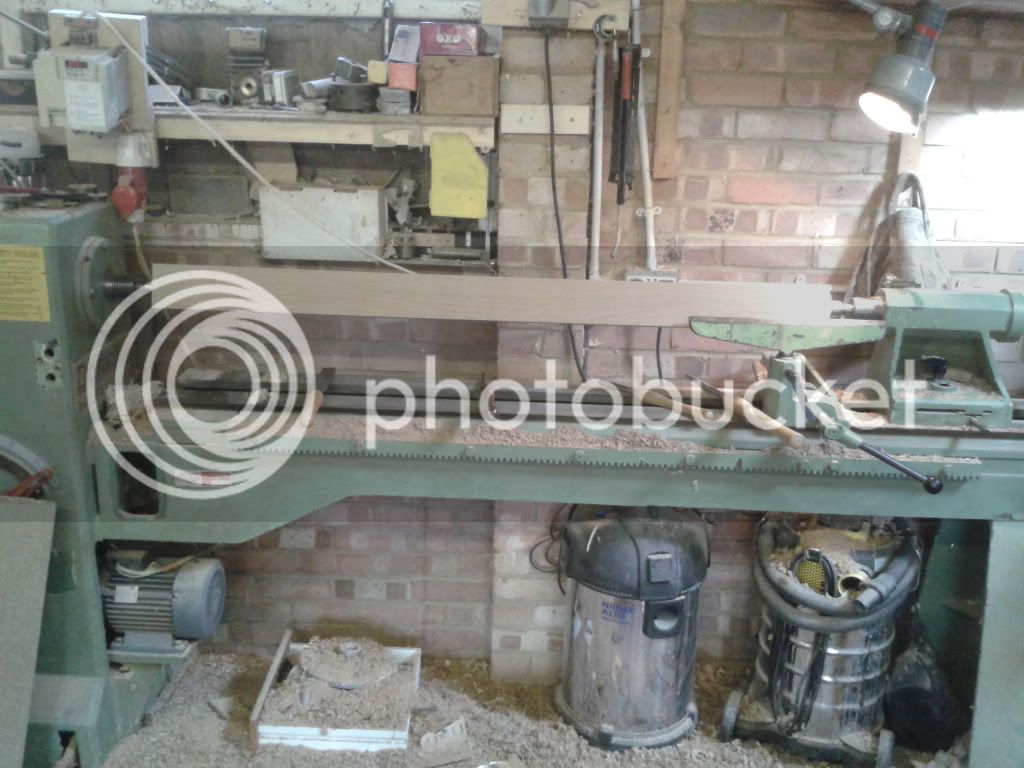
Due to their length the newels were turned in sections with the upper/lower square sections drilled out on the lathe (the pummels were a pig to turn effectively)
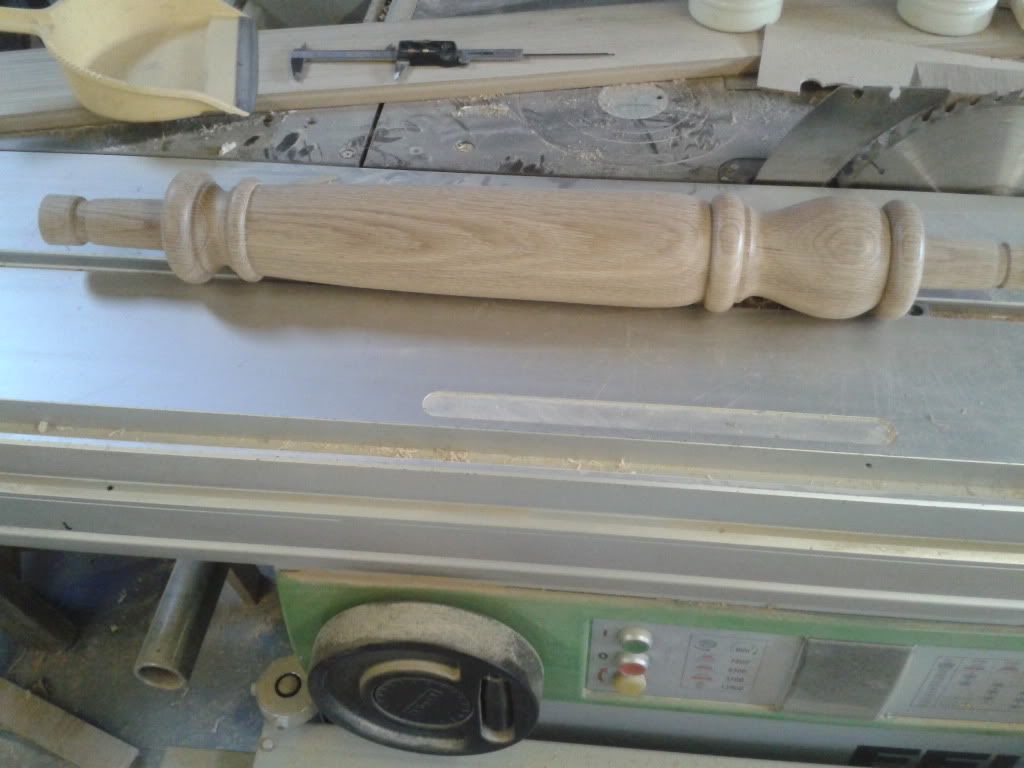
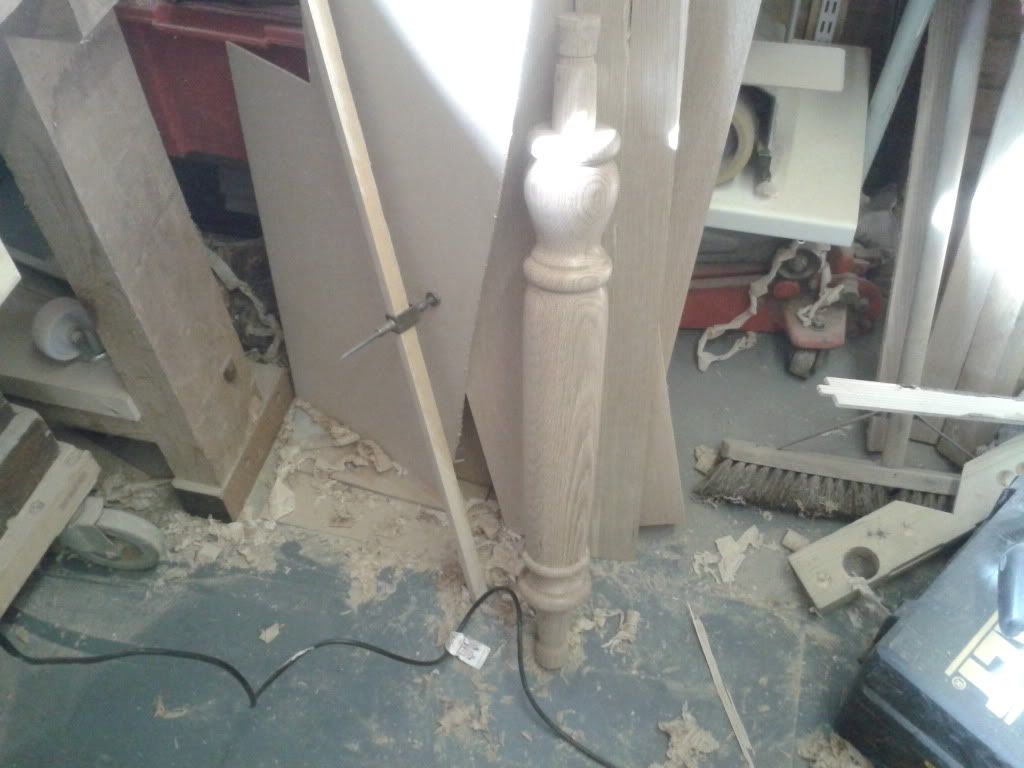
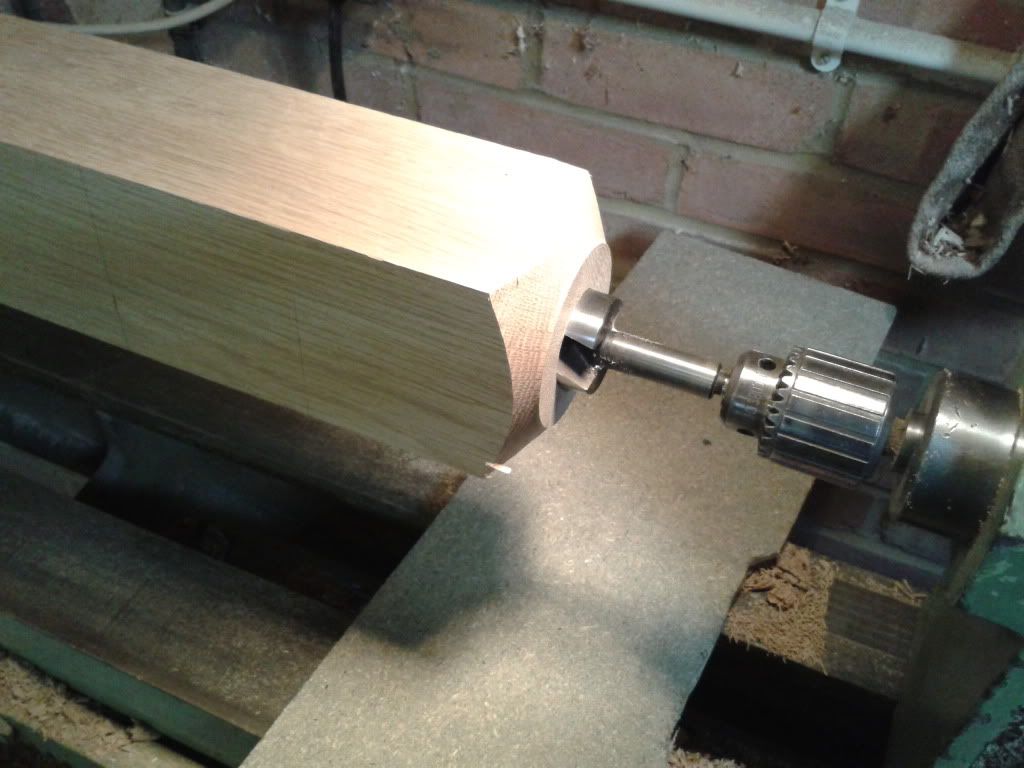
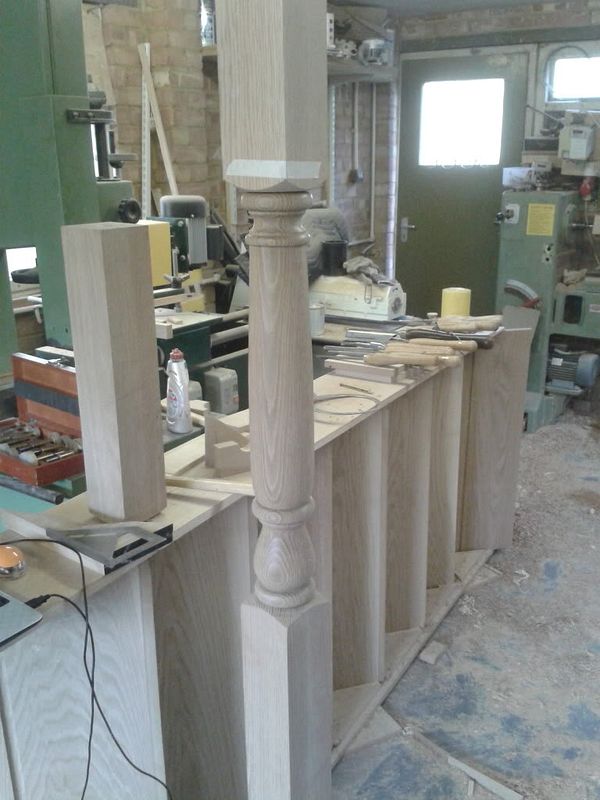
They were also housed to suit the treads/risers of the winders and bullnose steps
 [/url
[/url
]
And a half newel turned for the gallery
[url=http://s243.photobucket.com/user/katellwood/media/stairs/2014-03-15131735_zps277c9cda.jpg.html]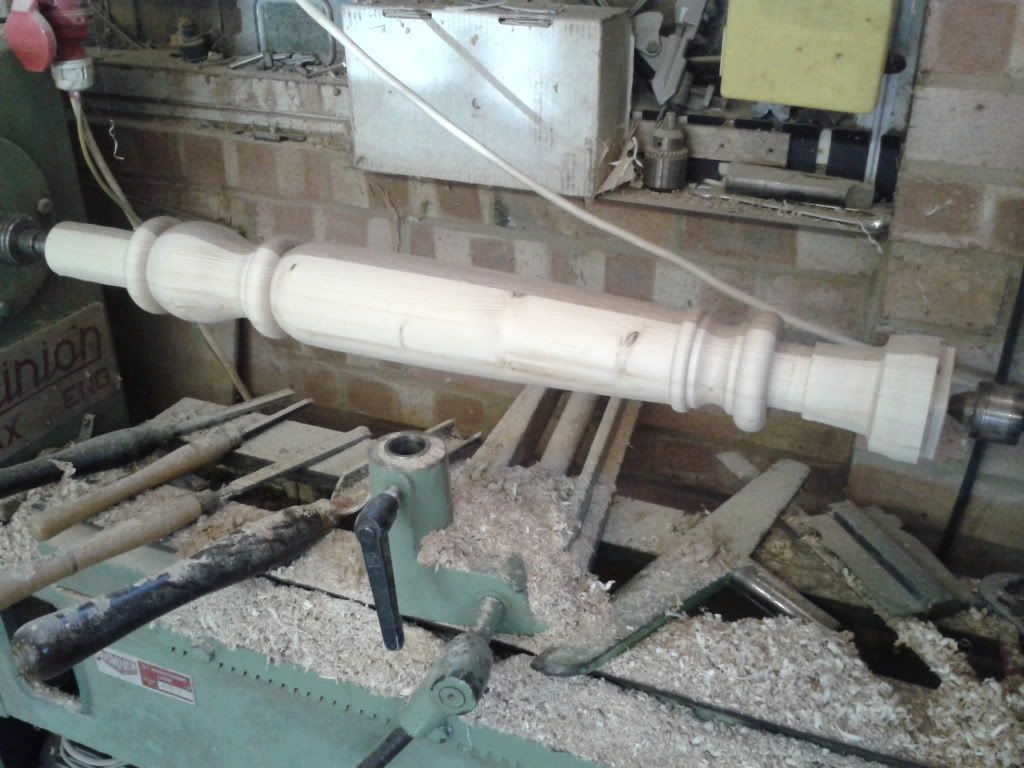
All the risers were made from 19mm veneered mdf, the bullnose steps initially had a 19mm groove routed on the underside of the tread. The riser was then kerfed on the back, glued into the grooved tread then an additional piece of kerfed mdf glued on the inside to strengthen the inner side of the riser this was all clamped to a temporary form on the inside of the riser to create an accurate and perpendicular riser to the tread ( sorry no pics of construction however hope that makes sense)
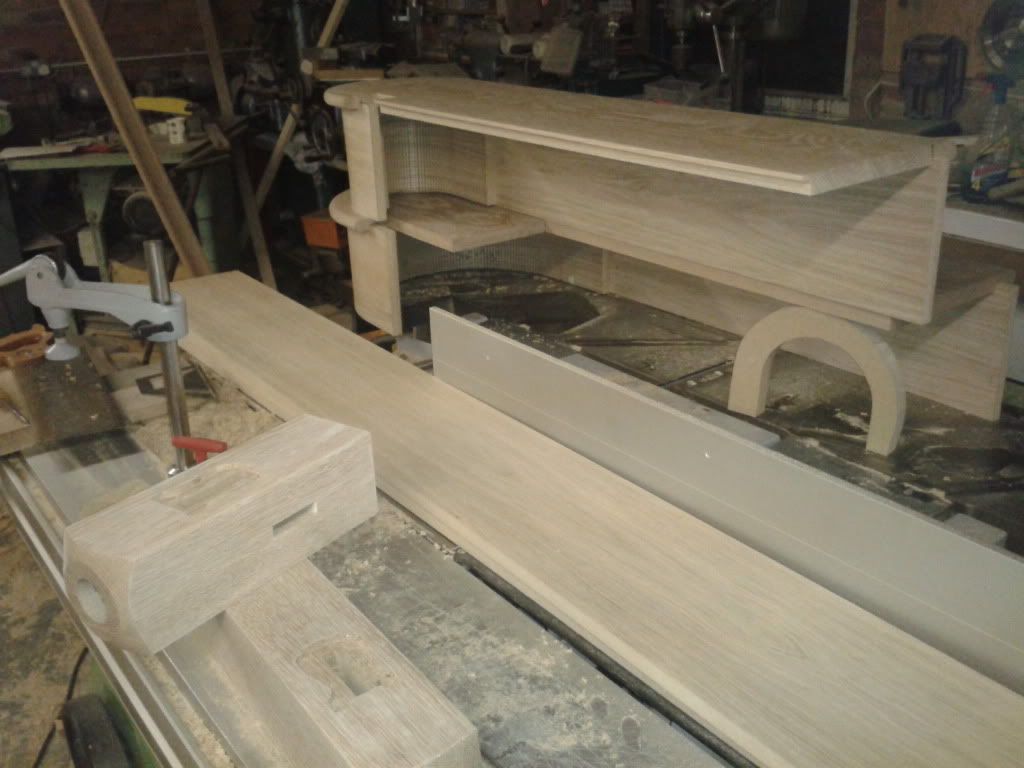
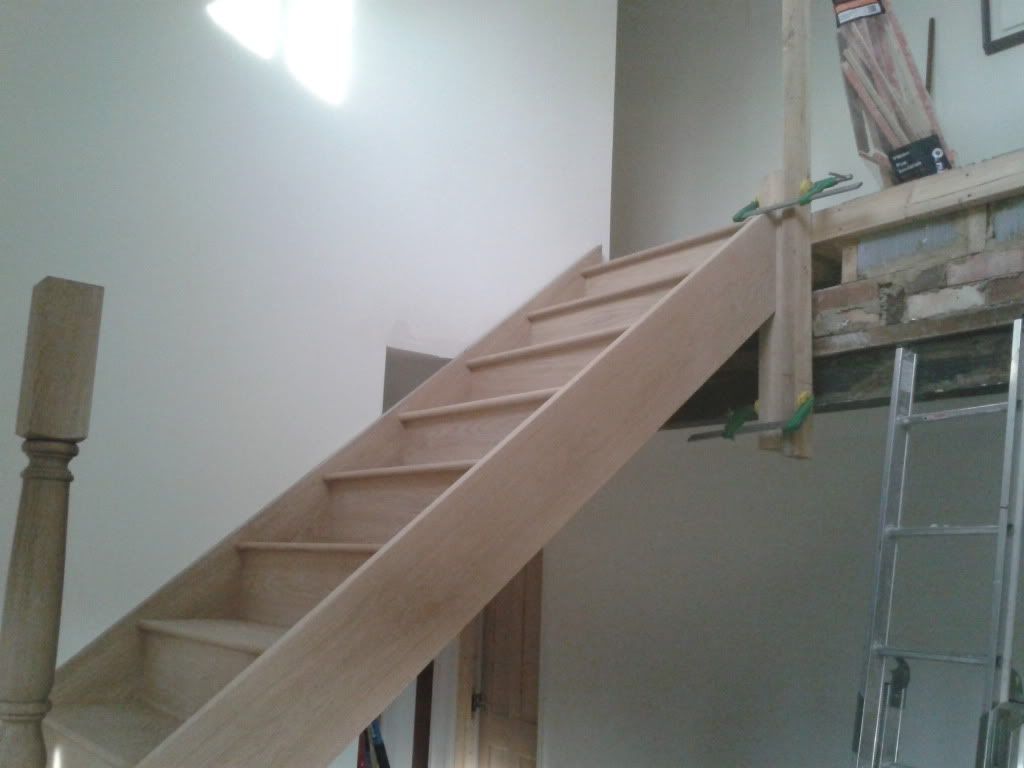
Assembly onsite was pretty straight forward apart from fitting the winder steps which are always a nightmare
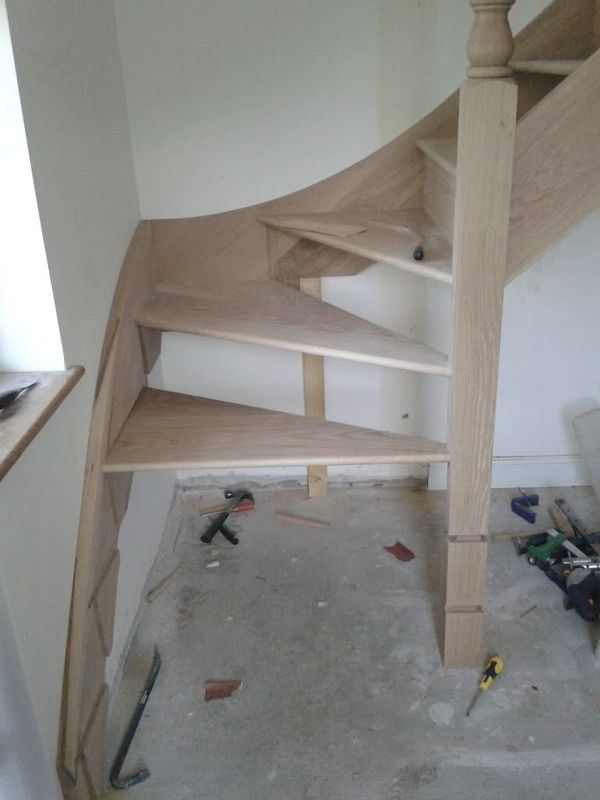
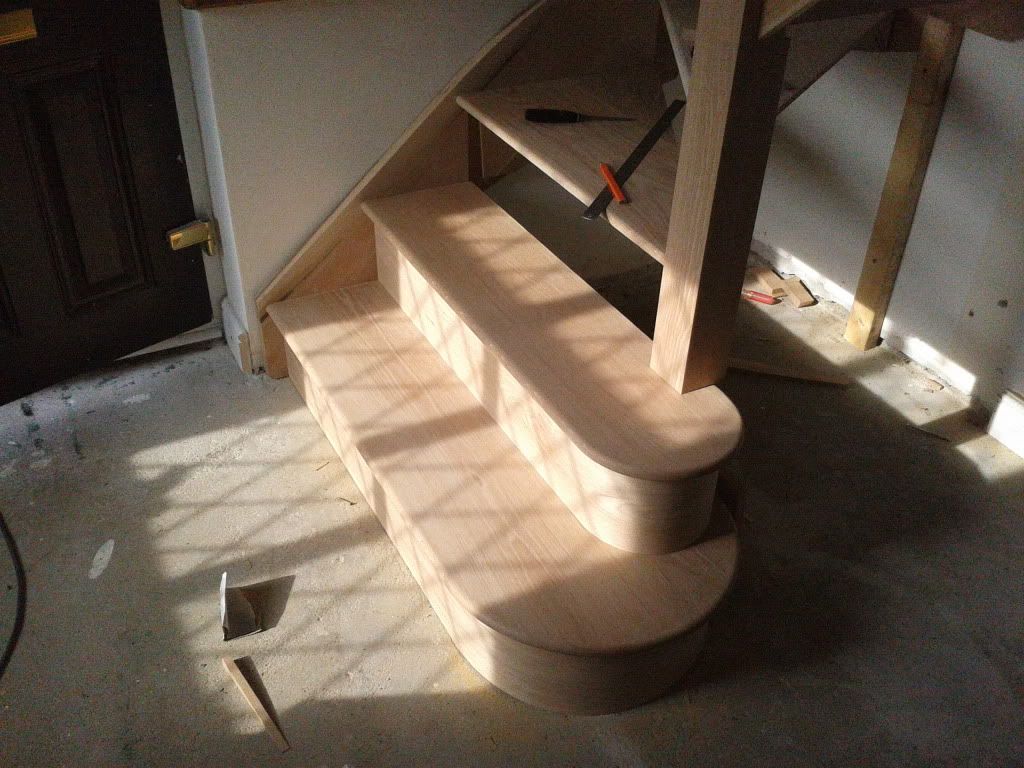
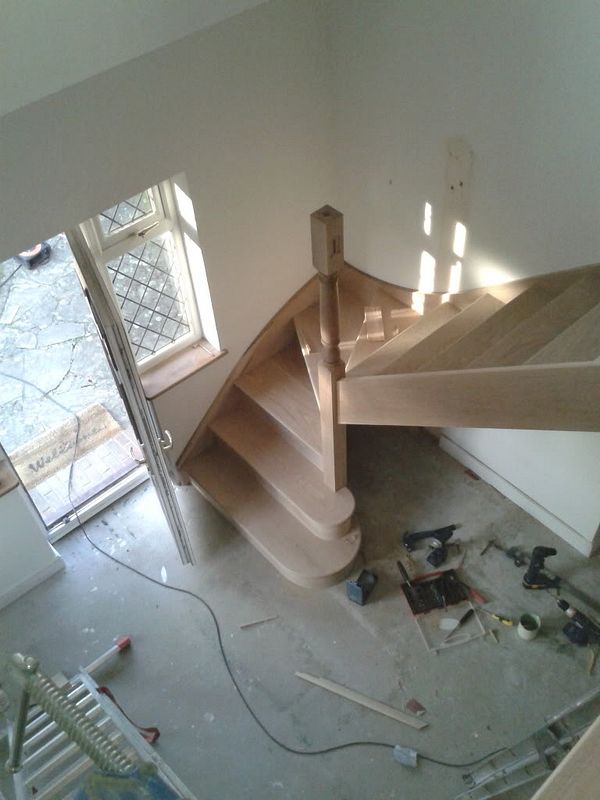
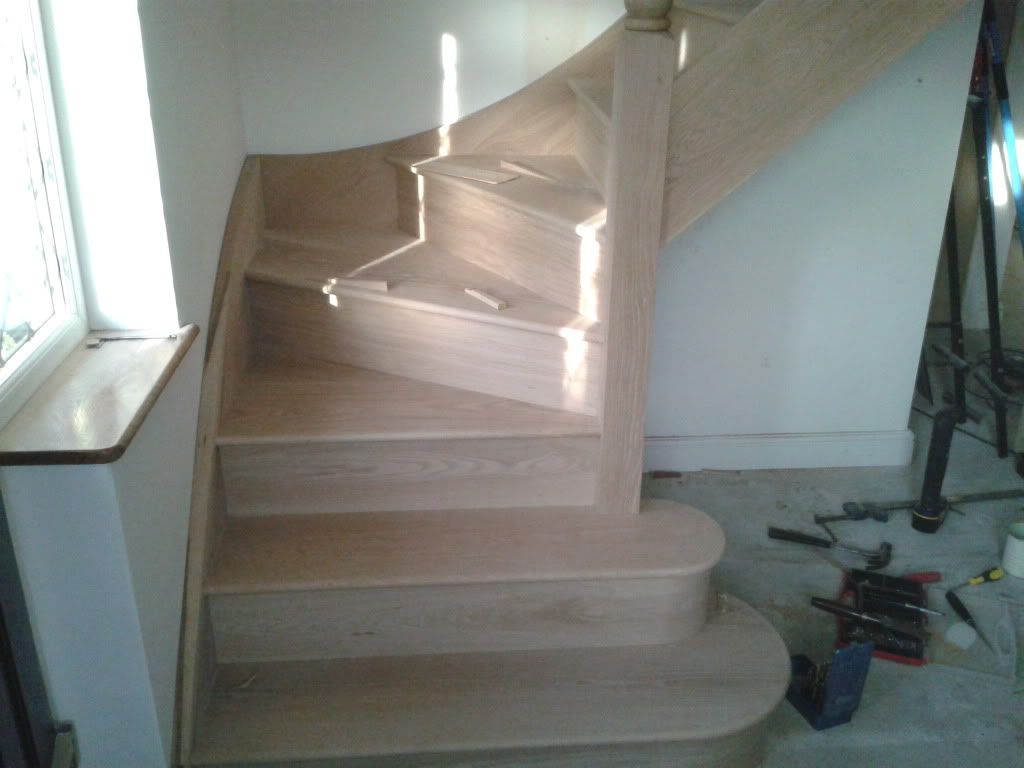
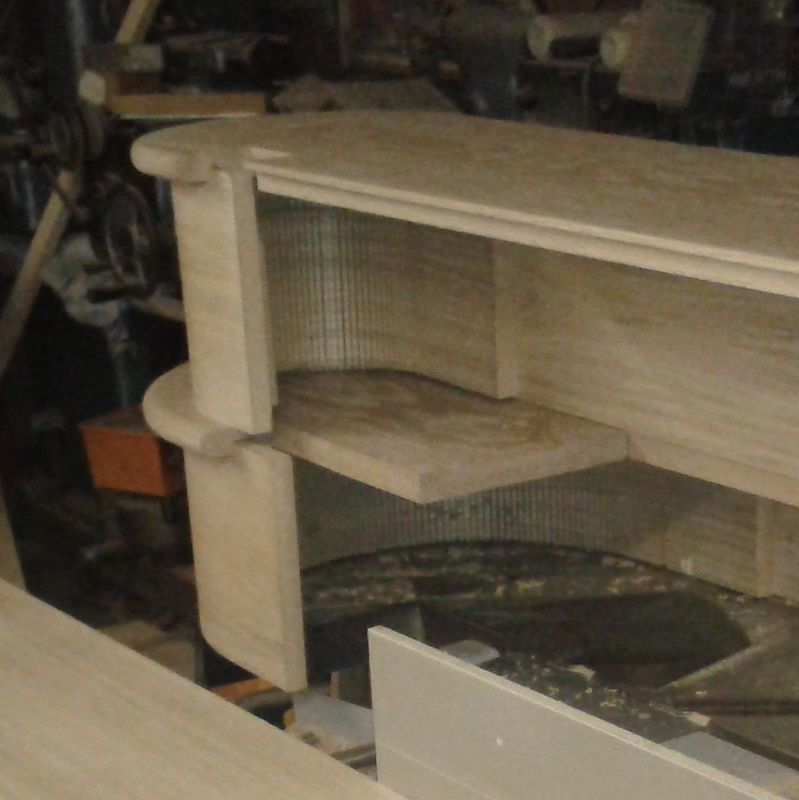
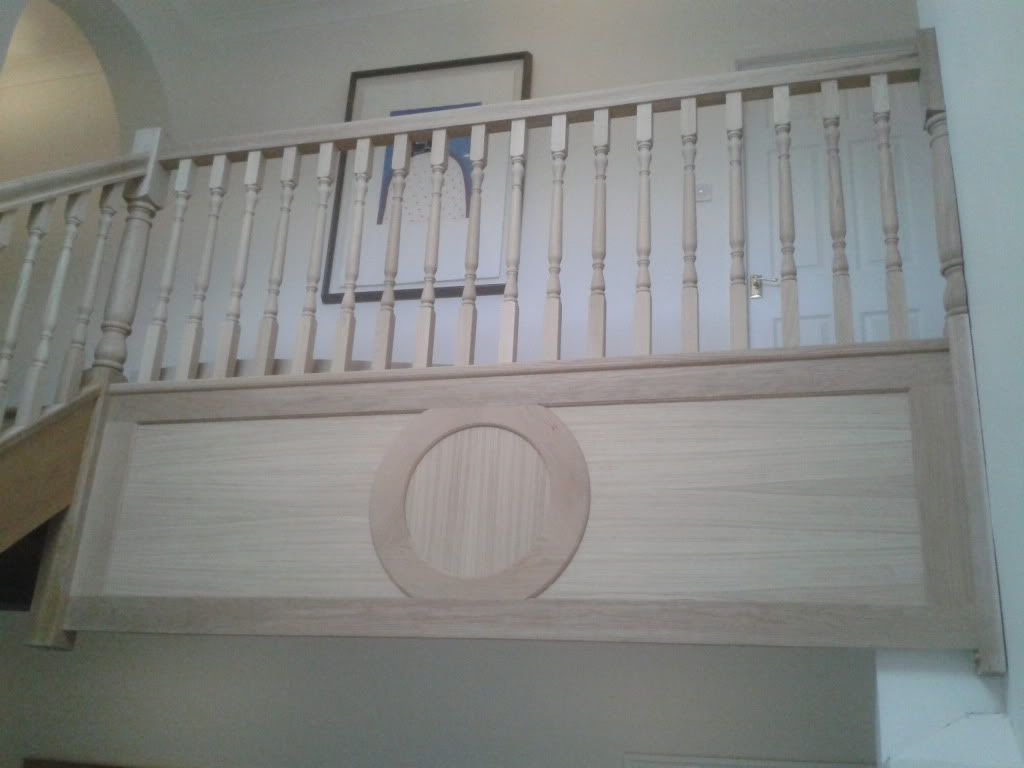
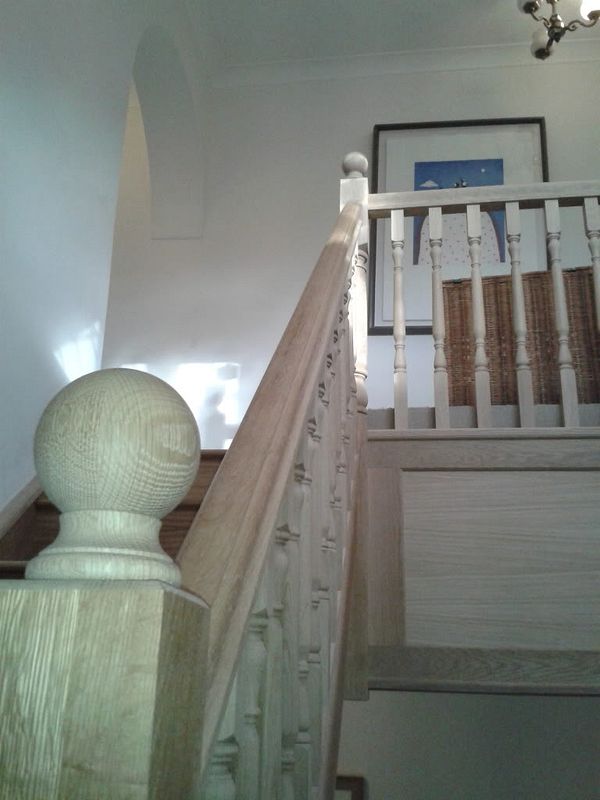
And the Gallery
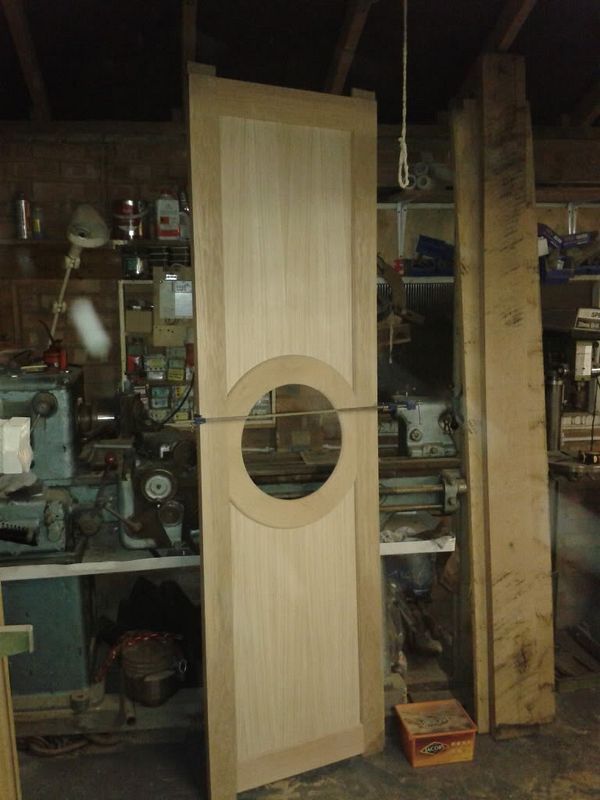
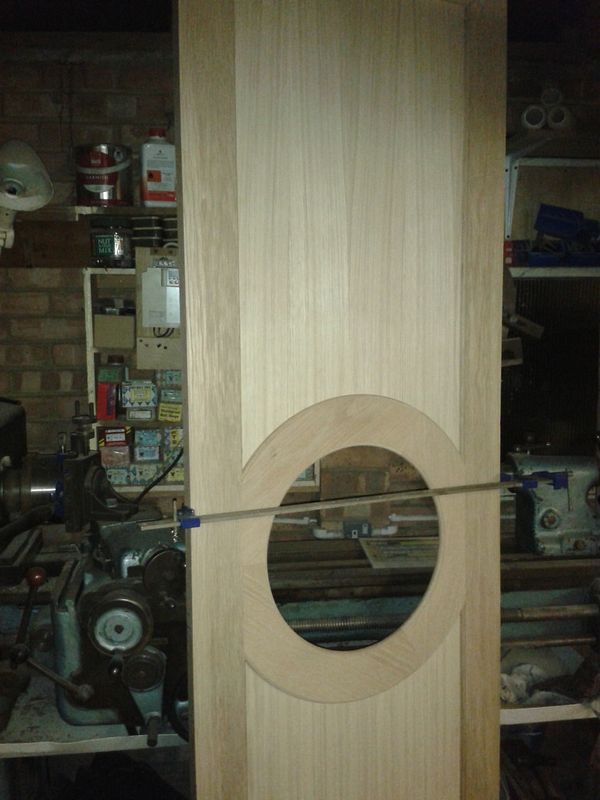
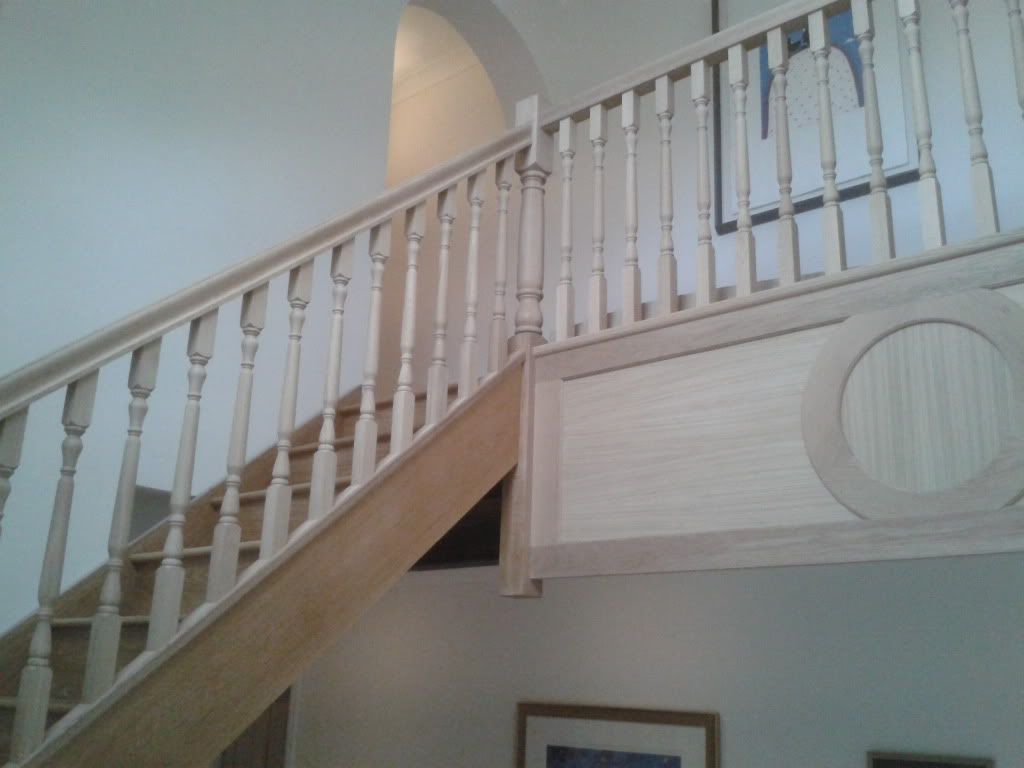
Than the under cloak panel, access door for “shoe Storage” (clients words not mine)
Plus a short false newel and panel to complement the under cloak and gallery panel
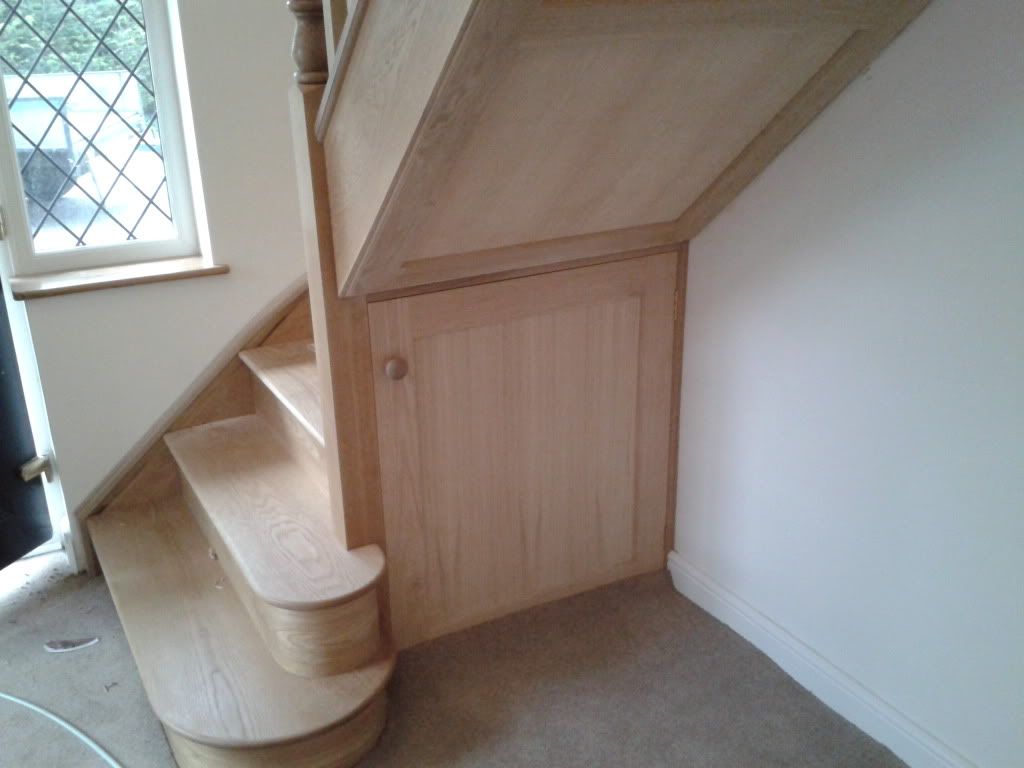

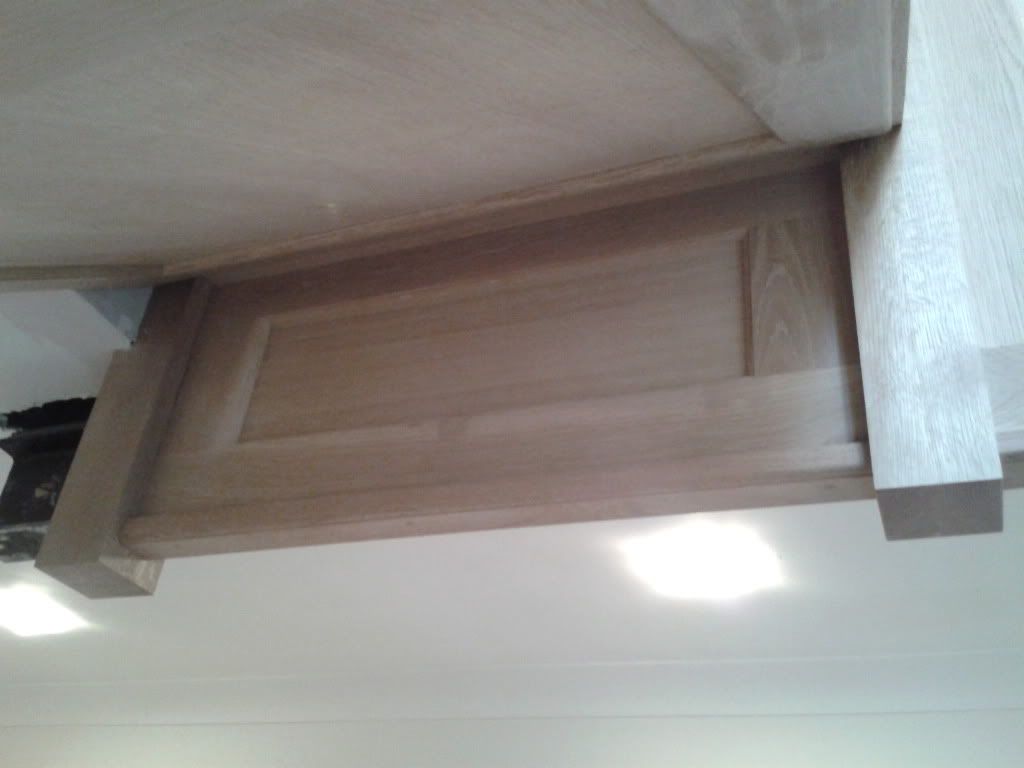
Finally wall string cappings scribed to the walls and newel caps
Just one little addendum
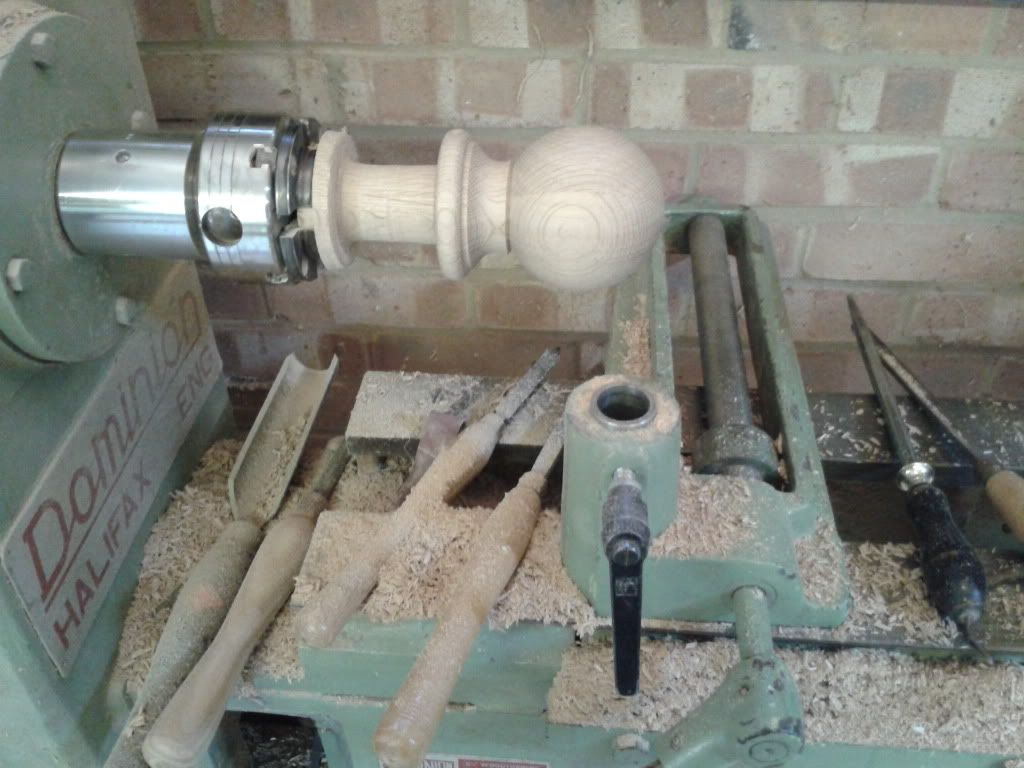
The client purchased a rather nice light fitting which consisted of numerous lights spiralling down in the main well. Unfortunately the ceiling mount was 450mm dia and a little plain so he asked me if I could jazz it up link it with the staircase
I came up with this (which was really fun to turn)
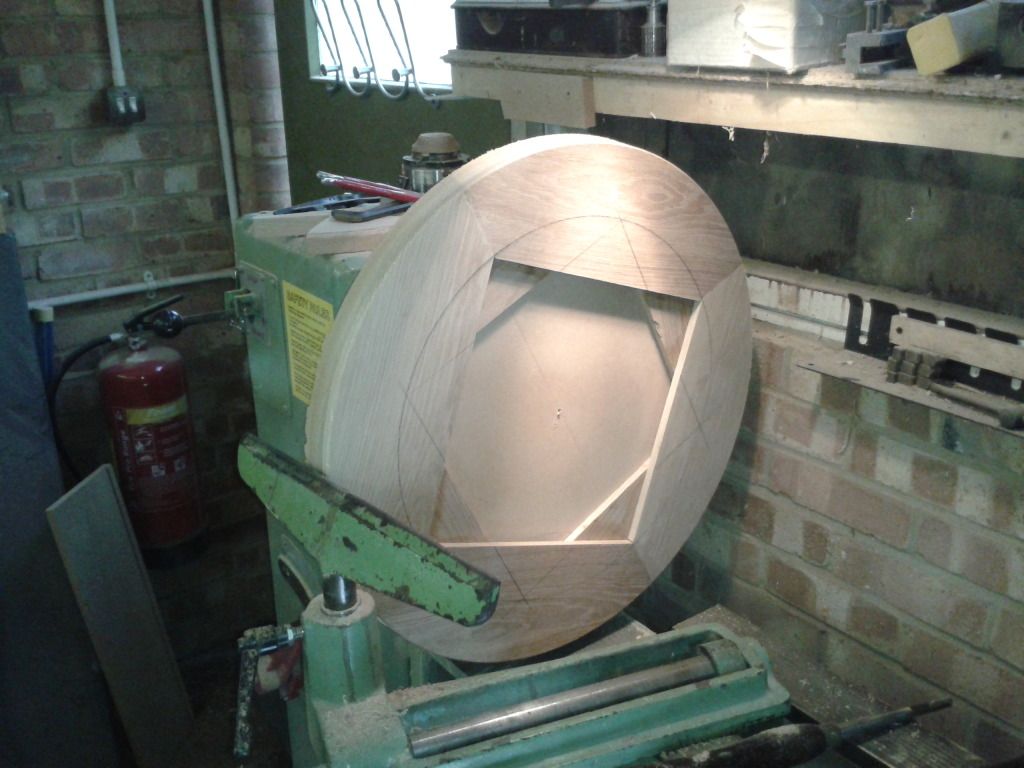
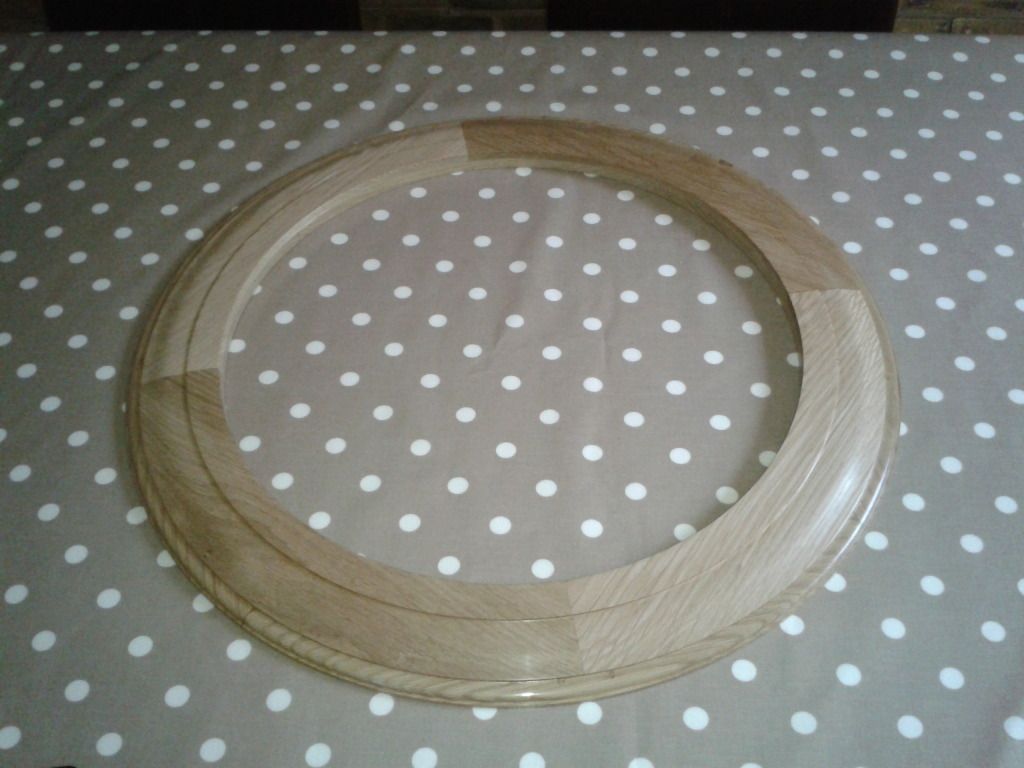
But not seen this is situ as yet.
I thoroughly enjoyed this project and have been offered other stairs as a result
Thanks for looking
It is made out of rough sawn American White Oak, this includes newels, newel caps, handrails and string cappings which were all turned/machined by myself. The only thing bought in were the Balusters which the client chose, the newels being turned to complement the balusters (a softwood one was turned prior to the final design for approval).
Newel posts are 4” x 2” oak, they were faced, glued back to back then planed square to 95mm x 95mm this being the only pieces of the stairs made up of smaller pieces
The treads finished at 22mm x 292mm final pitch of the stairs being 40.5 degree’s
Starting with the original Sketchup as presented to the client

Then an amended bullnose on the second step

The pictures start with the strings housed and show cutting the tenons on the outer string. As can be seen this was done with a straight bearing router bit with the bearing following a straight edge (waste from the string) clamped on the shoulder-line another piece was screwed to the router base to ensure stability
.


The string housings were routed with a 22mm round bit done in two passes. I always use two jigs one for the tread and one for the riser, this prevents the small round in the string were the riser houses to the underside of the tread. The main section of stairs were glued and wedged in the workshop, the rest had to be assembled on site due to restricted access.
Kitewinders were set out fullsize in plan then projected up to achieve the true shape of the string.
To obtain a true easing I used the top edge of the string as a tangent to the curve (a true radius) this was shaped by cutting two pieces of MDF to the actual curve of the kitewinder string upper edge. The shaping of the string was again done with the above bearing bit (keep the MDF patterns safe as they will eventually be used to form the wall string cappings which were scribed to the wall to hide any gaps between string and wall).
Due to their length the newels were turned in sections with the upper/lower square sections drilled out on the lathe (the pummels were a pig to turn effectively)


They were also housed to suit the treads/risers of the winders and bullnose steps
 [/url
[/url]
And a half newel turned for the gallery
[url=http://s243.photobucket.com/user/katellwood/media/stairs/2014-03-15131735_zps277c9cda.jpg.html]

All the risers were made from 19mm veneered mdf, the bullnose steps initially had a 19mm groove routed on the underside of the tread. The riser was then kerfed on the back, glued into the grooved tread then an additional piece of kerfed mdf glued on the inside to strengthen the inner side of the riser this was all clamped to a temporary form on the inside of the riser to create an accurate and perpendicular riser to the tread ( sorry no pics of construction however hope that makes sense)


Assembly onsite was pretty straight forward apart from fitting the winder steps which are always a nightmare


And the Gallery


Than the under cloak panel, access door for “shoe Storage” (clients words not mine)
Plus a short false newel and panel to complement the under cloak and gallery panel


Finally wall string cappings scribed to the walls and newel caps


Just one little addendum
The client purchased a rather nice light fitting which consisted of numerous lights spiralling down in the main well. Unfortunately the ceiling mount was 450mm dia and a little plain so he asked me if I could jazz it up link it with the staircase
I came up with this (which was really fun to turn)


But not seen this is situ as yet.
I thoroughly enjoyed this project and have been offered other stairs as a result
Thanks for looking


