


sploo
Somewhat extinguished member
I've built many loudspeakers and subs over the years, but I've never made a ported/vented sub. I had a load of old white melamine IKEA kitchen doors which seemed ideal for my desire to be cheap and stingy...
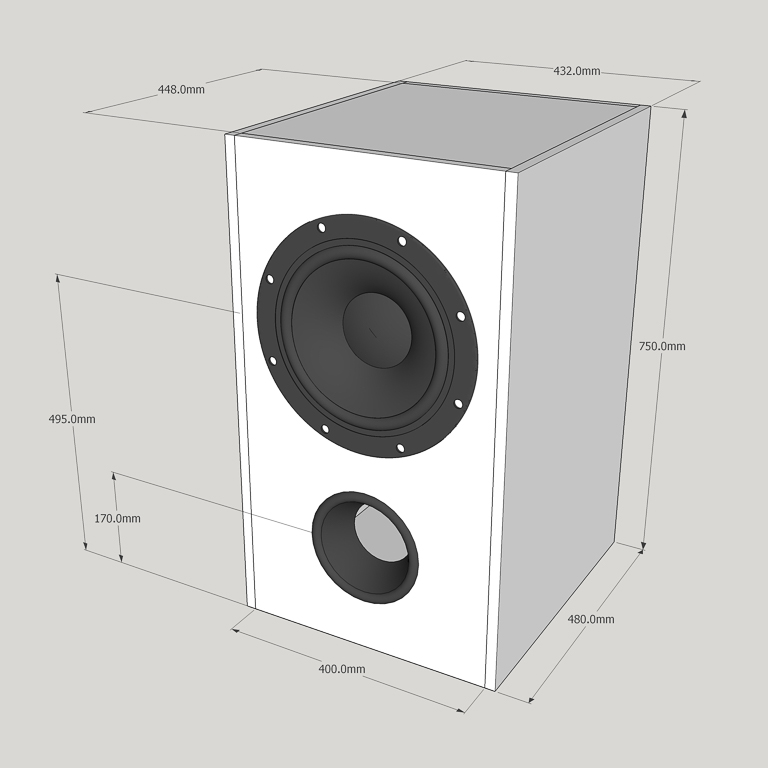
A quick mock up of the rough design in Sketchup. Dimensions were dictated by the available board sizes, but the design is approx 113 litres of internal space, using a 100mm diameter port and a 12" SB Acoustics SB34NRX75-6 sub driver:
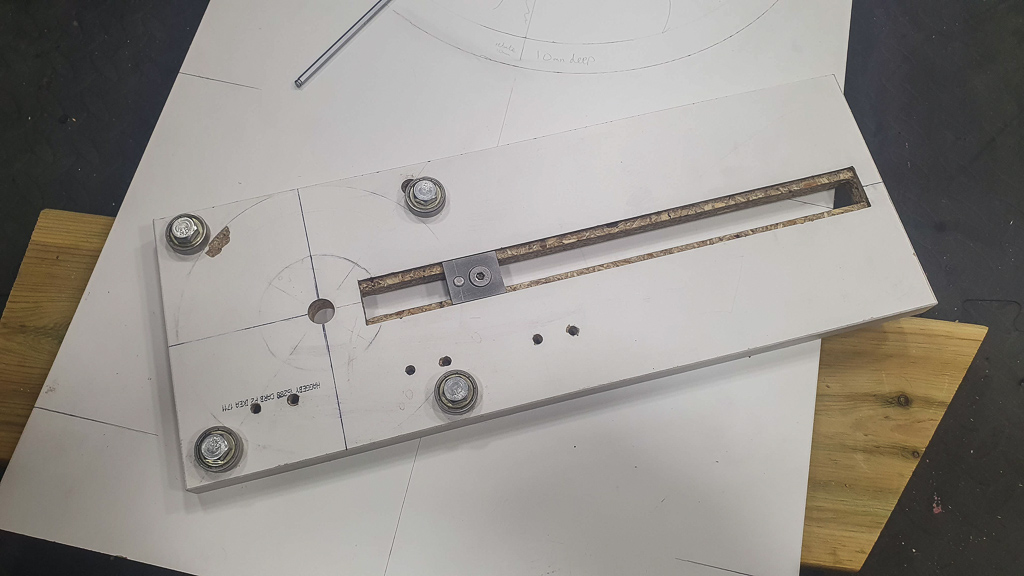
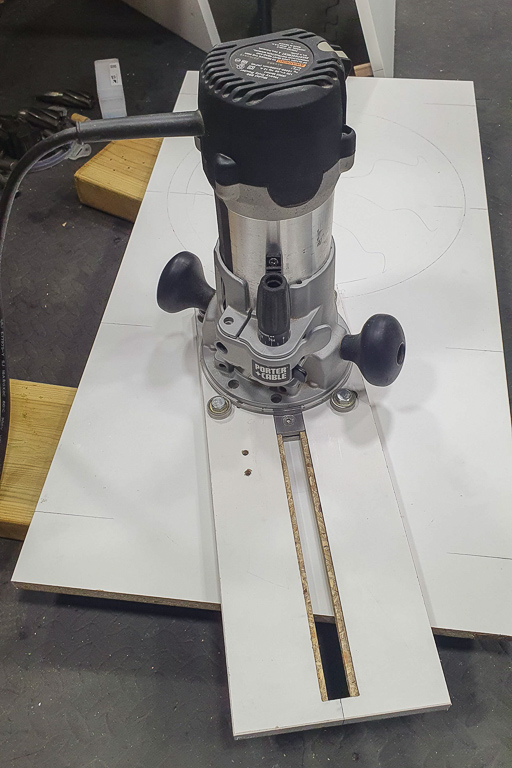
I knocked up a circle cutting jig:
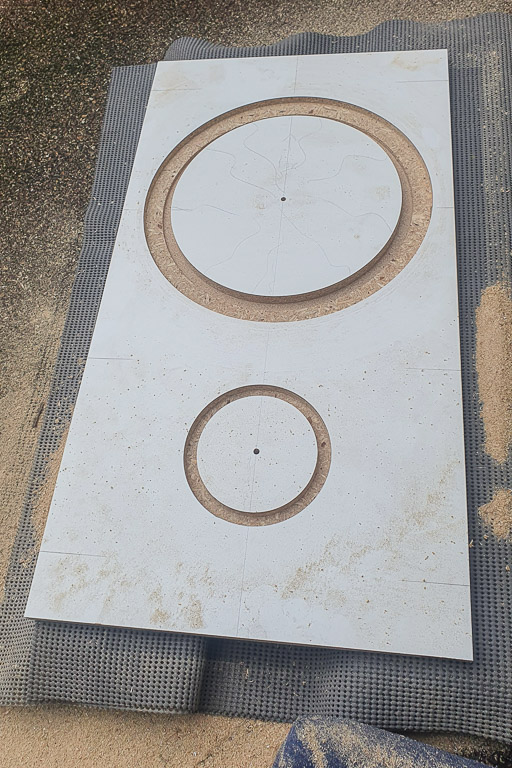
And cut the holes and rebates for the driver and port:
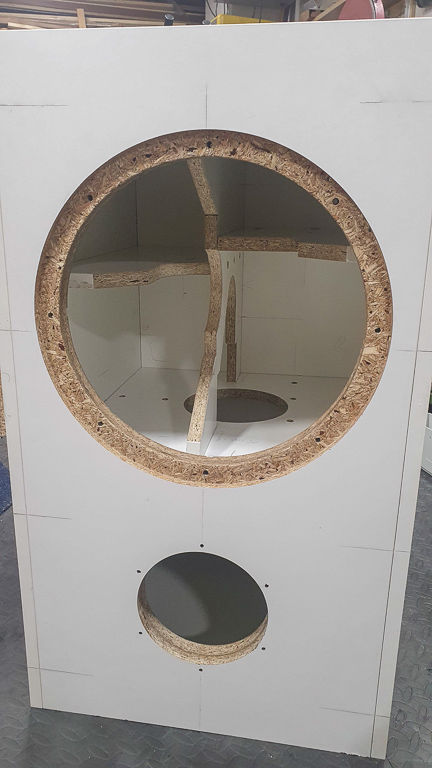
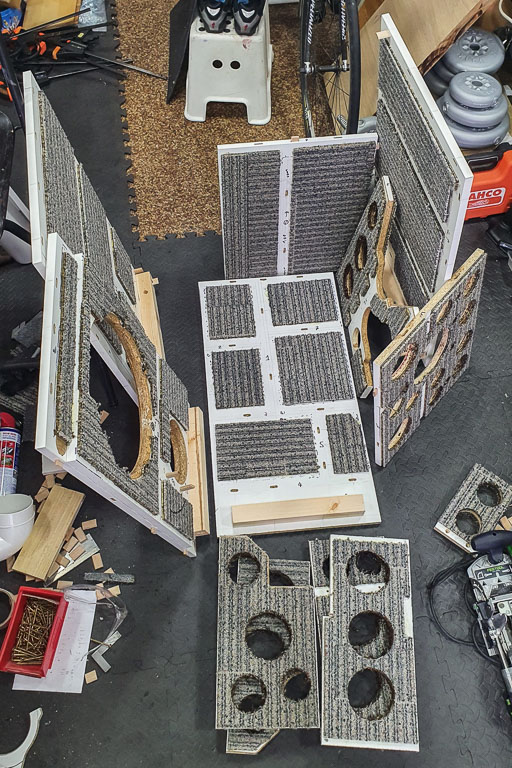
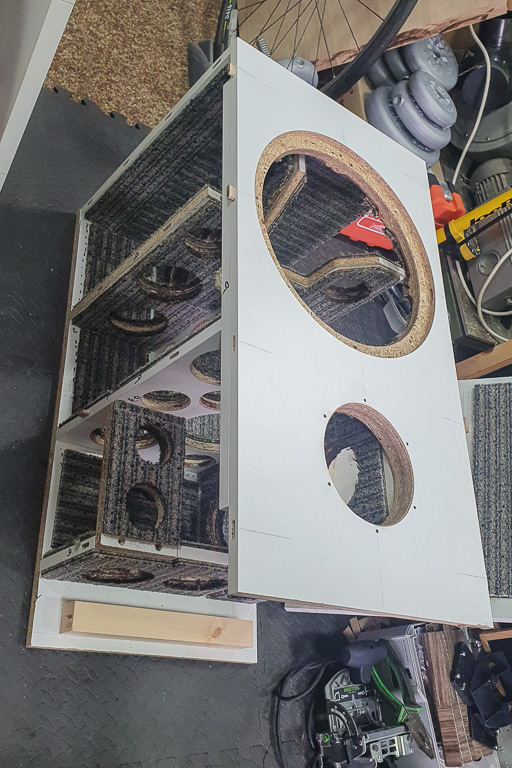
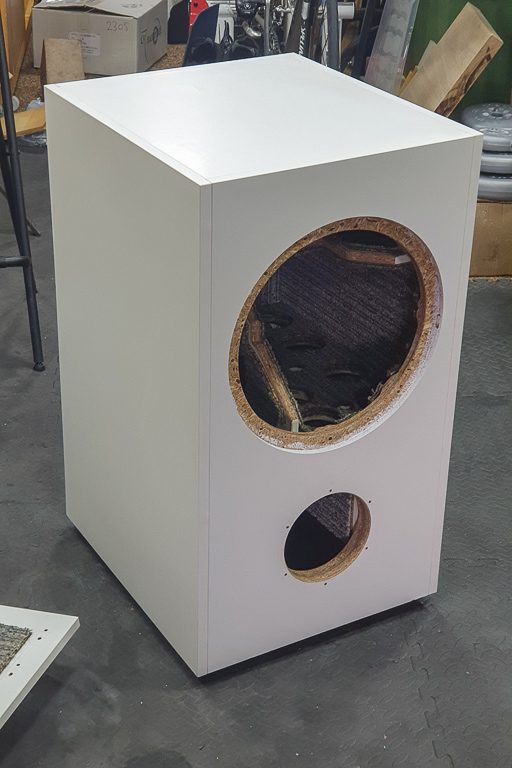
Test fit:
The front baffle is a double skin of the door material, and this also shows the start of the port tube:
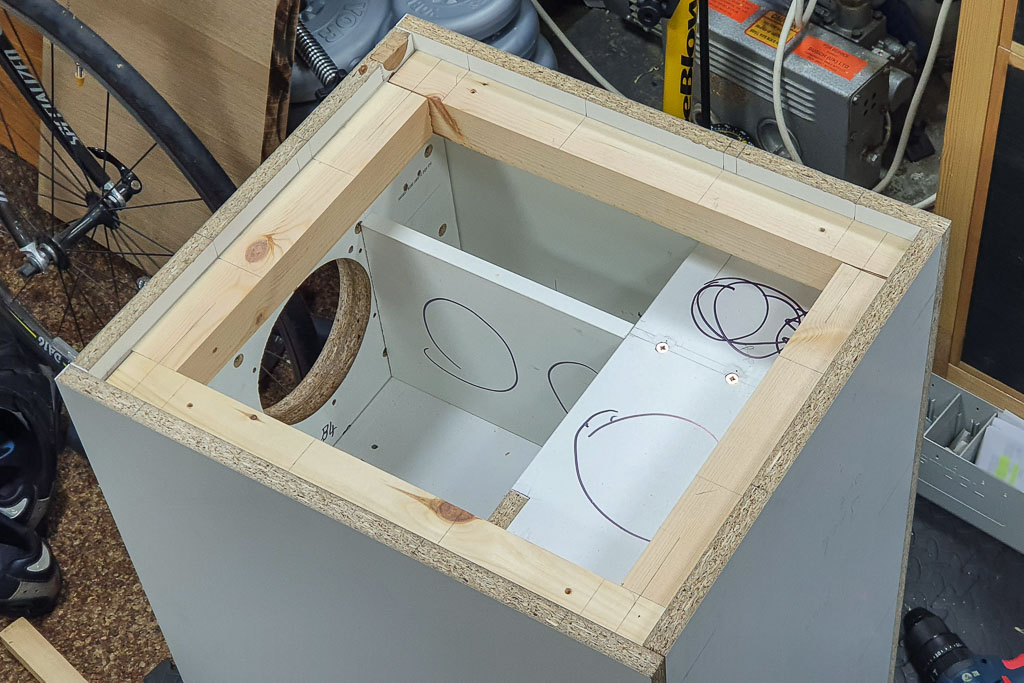
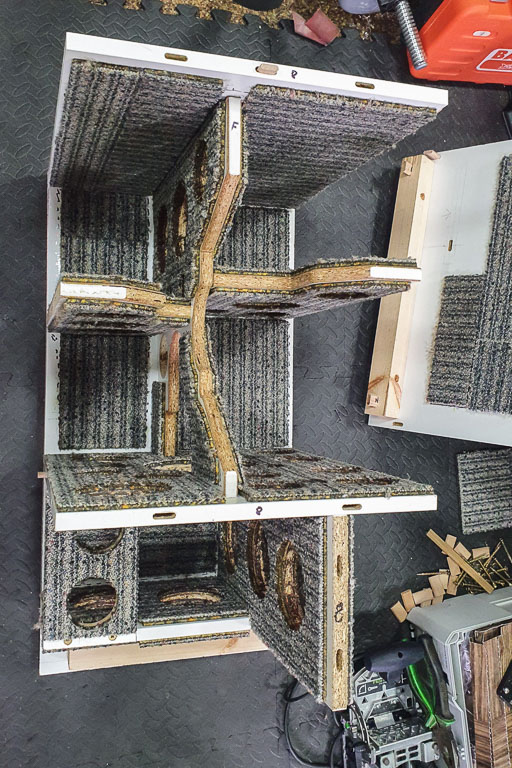
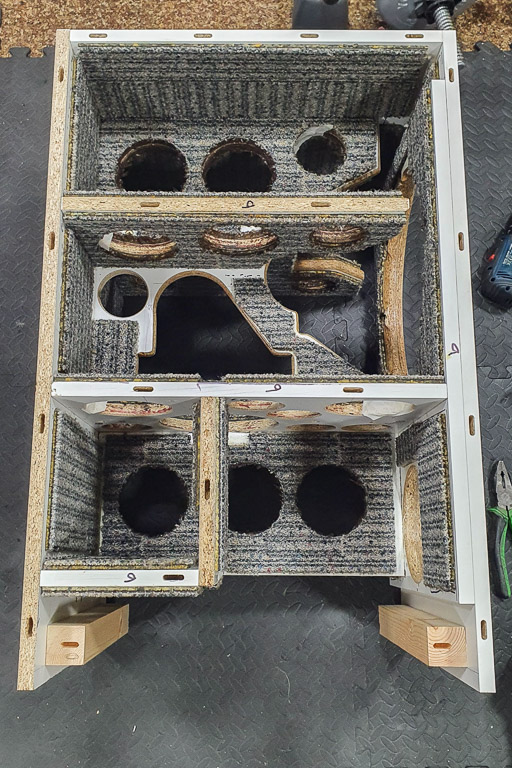
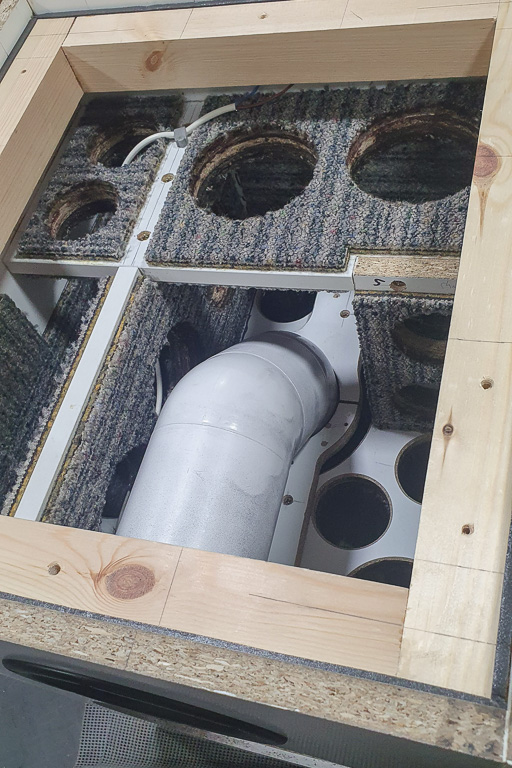
Then it was a job of hacking together internal bracing from what material I had to hand. All bracing deliberately off center to help reduce vibrations:
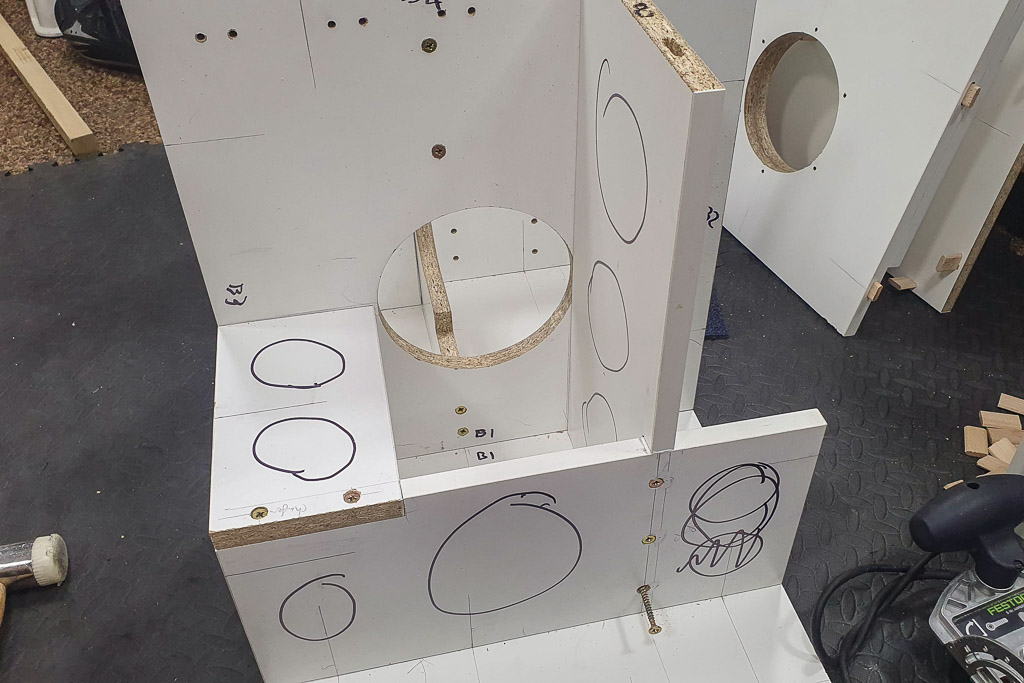
Sound deadening and reflection absorbing sheets are expensive. Reclaimed carpet tiles are definitely just as good (honest):
After many, many (too many) test fits, it was finally time to commit to gluing it all together:
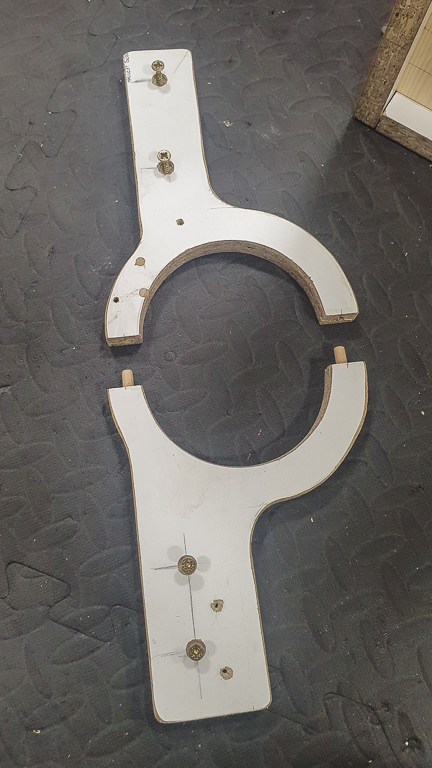
The port tube would need some support, so a two piece bracket was made, which will grip the inside end. The design allows removal of the port tube:
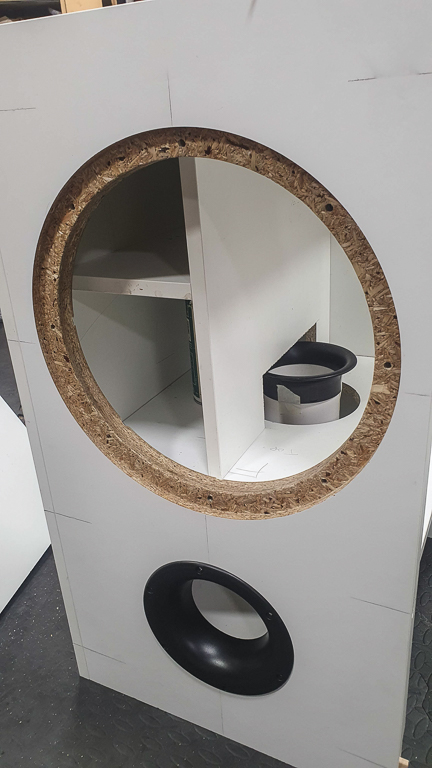
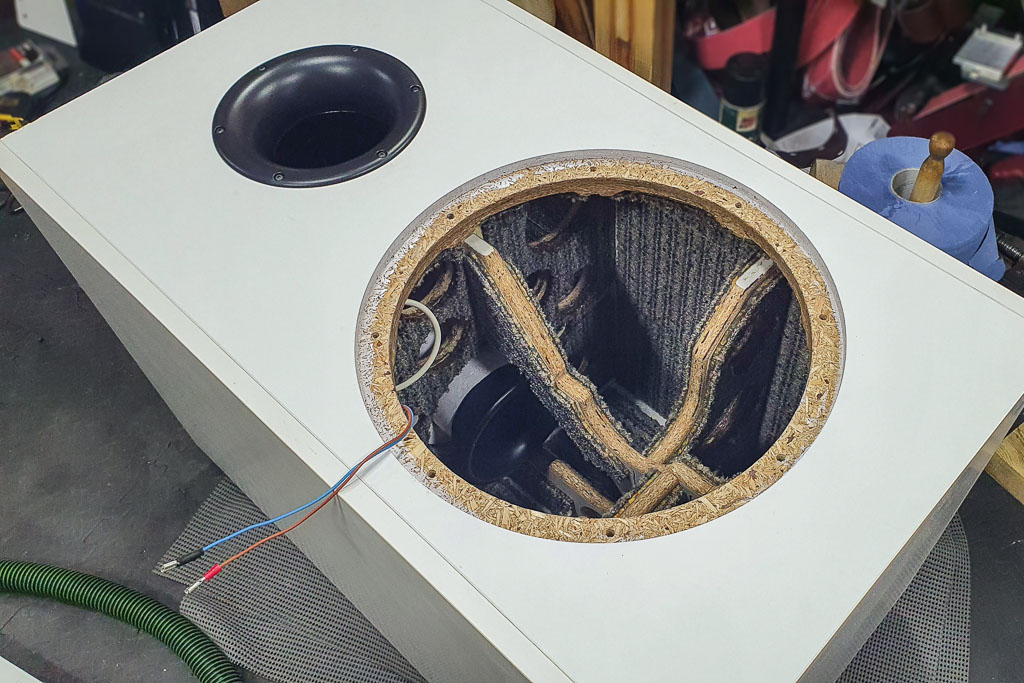
I couldn't find suitably sized black pipe, so the inside was sprayed using plastic paint (the "dust" on the outside is just paint overspray):
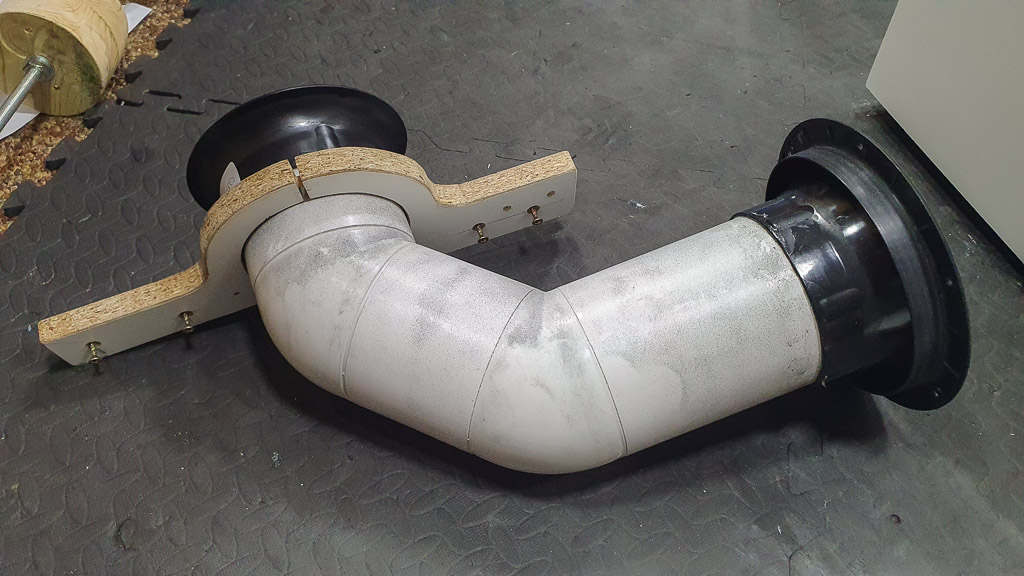
Port fitting detail:
Wiring. As you can see, I used the purest form of stranded cable, made of £1000/m unobtainium, and sheathed in mouse p*nis leather:
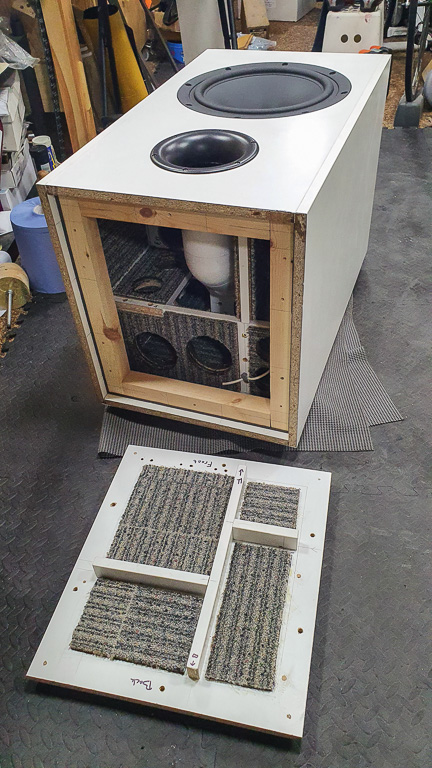
Fitting the base:
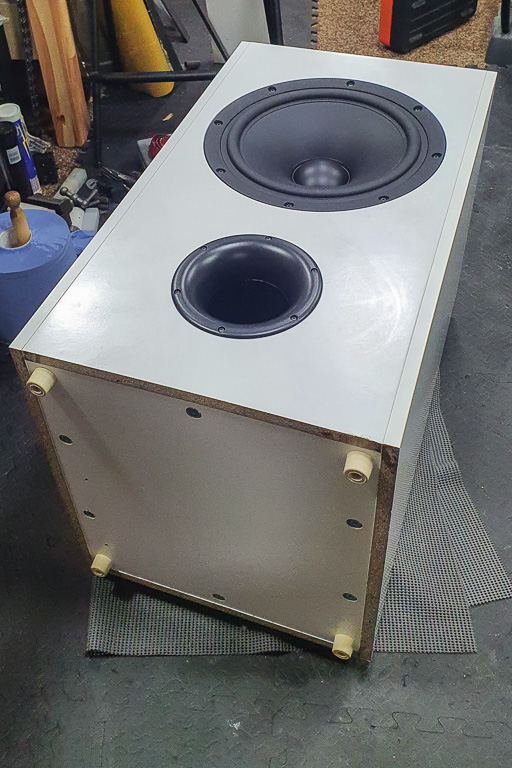
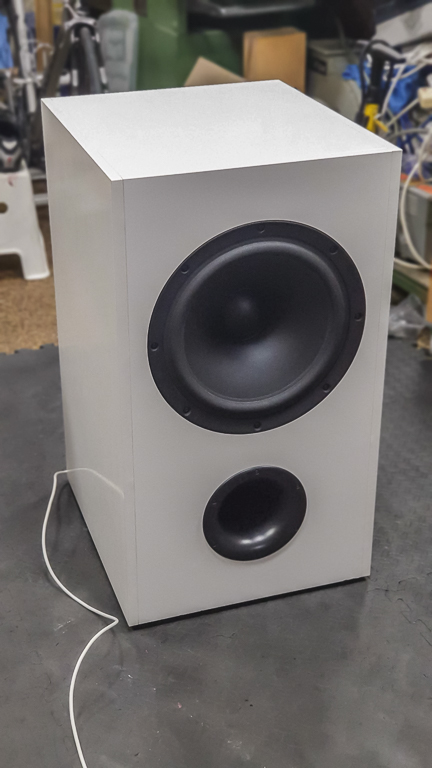
And done:
A quick mock up of the rough design in Sketchup. Dimensions were dictated by the available board sizes, but the design is approx 113 litres of internal space, using a 100mm diameter port and a 12" SB Acoustics SB34NRX75-6 sub driver:
I knocked up a circle cutting jig:
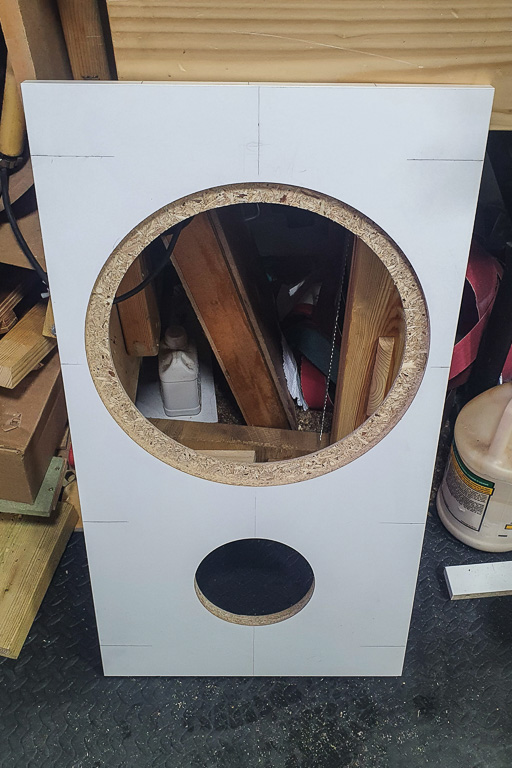
And cut the holes and rebates for the driver and port:
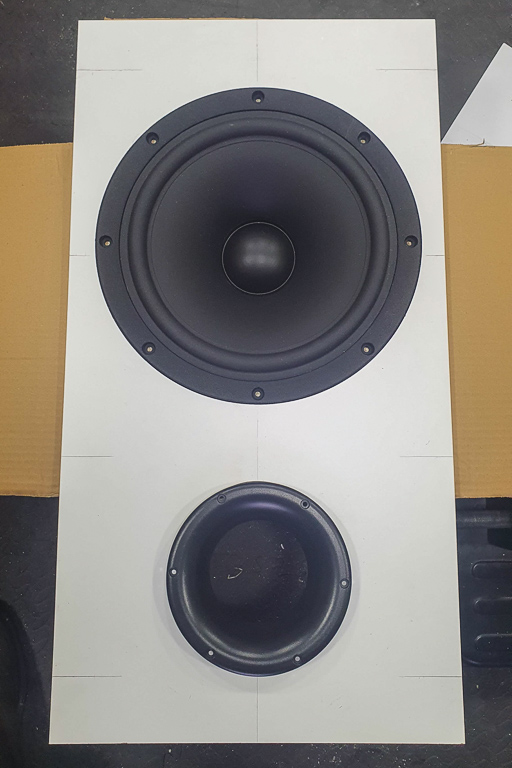
Test fit:
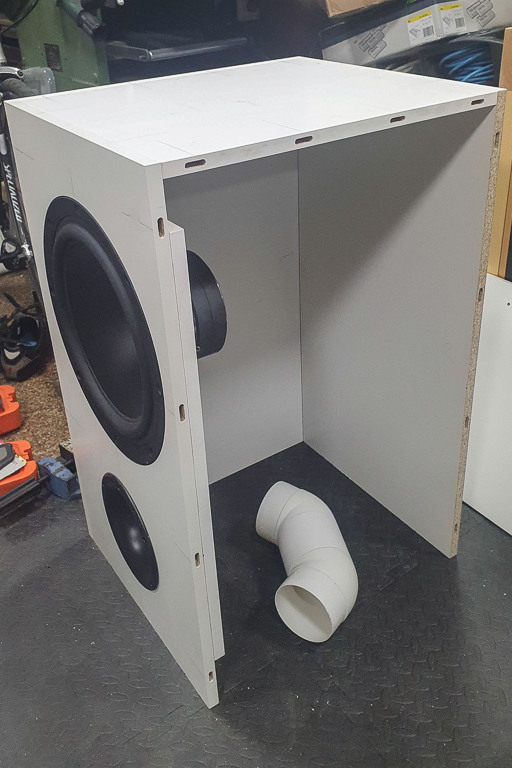
The front baffle is a double skin of the door material, and this also shows the start of the port tube:
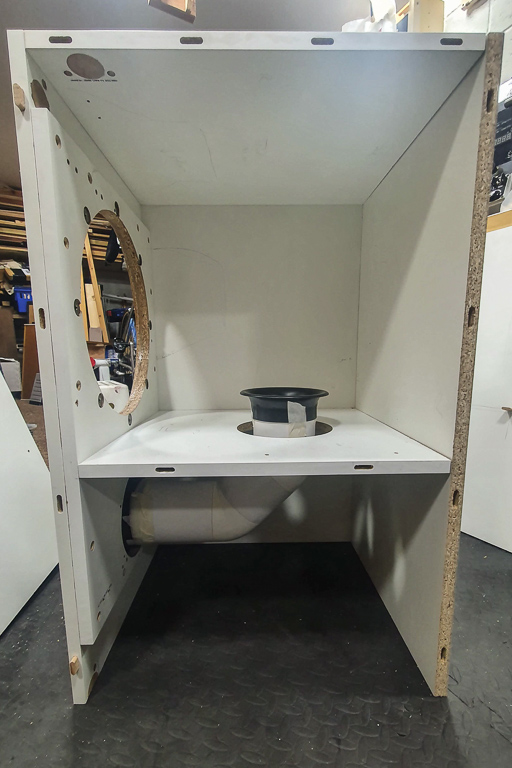
Then it was a job of hacking together internal bracing from what material I had to hand. All bracing deliberately off center to help reduce vibrations:
Sound deadening and reflection absorbing sheets are expensive. Reclaimed carpet tiles are definitely just as good (honest):
After many, many (too many) test fits, it was finally time to commit to gluing it all together:
The port tube would need some support, so a two piece bracket was made, which will grip the inside end. The design allows removal of the port tube:
I couldn't find suitably sized black pipe, so the inside was sprayed using plastic paint (the "dust" on the outside is just paint overspray):
Port fitting detail:
Wiring. As you can see, I used the purest form of stranded cable, made of £1000/m unobtainium, and sheathed in mouse p*nis leather:
Fitting the base:
And done:
")


 .
.