Kitchen WIP- Virtually Finished

UKworkshop.co.uk

Help Support UKworkshop.co.uk:

This site may earn a commission from merchant affiliate links, including eBay, Amazon, and others.
Been doing a bit more on the kitchen. Started off by setting the machines up to make the doors.

The tenons are cut on the tenoner giving a 6mm X 16mm long tenon.

kitchen-17.jpg


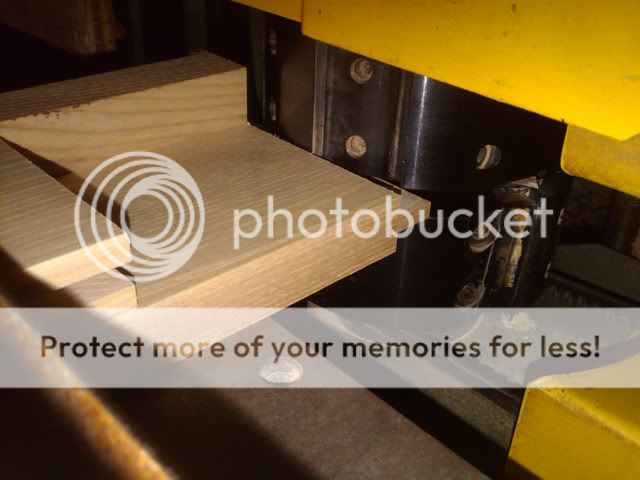
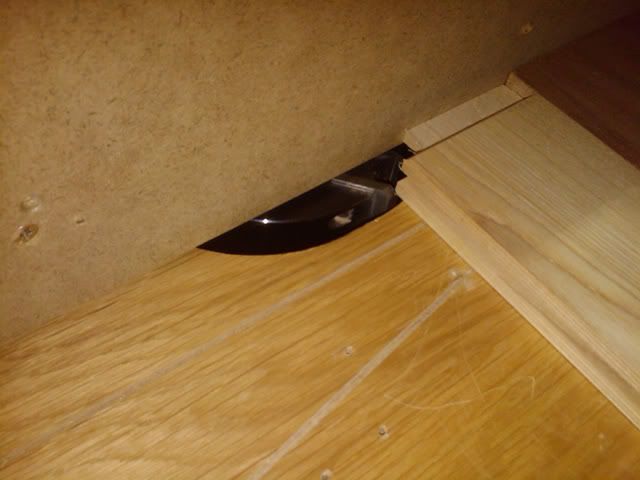
The sedgwick spindle moulder was set up for grooving with a zero clearance fence.

kitchen-18.jpg


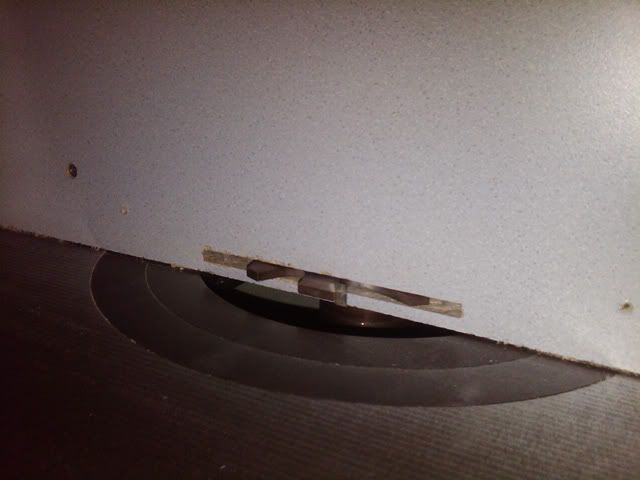
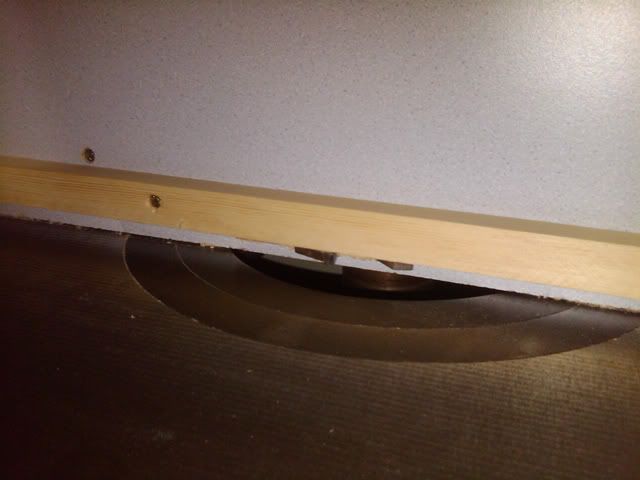
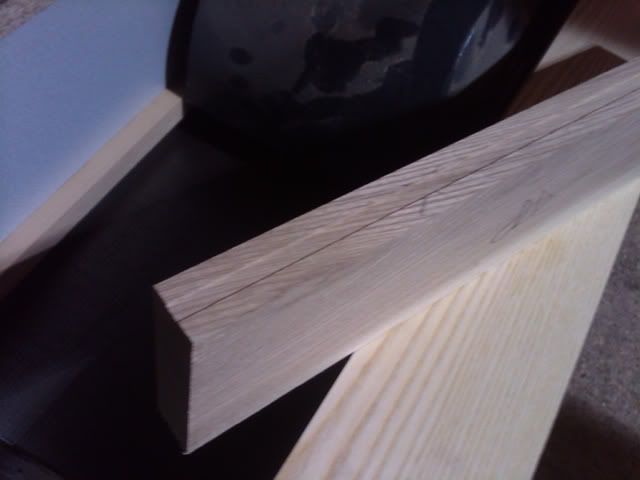
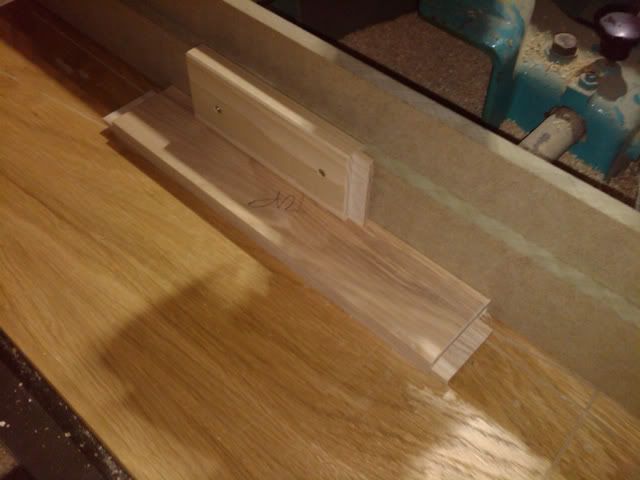
Because the Ash can tear a little when grooving a 1mm scribing cut was done first and then it was machined to full depth. To keep the fence settings a piece is screwed on to do the scribing cut and then removed for the finished groove.

kitchen-19.jpg

kitchen-20.jpg


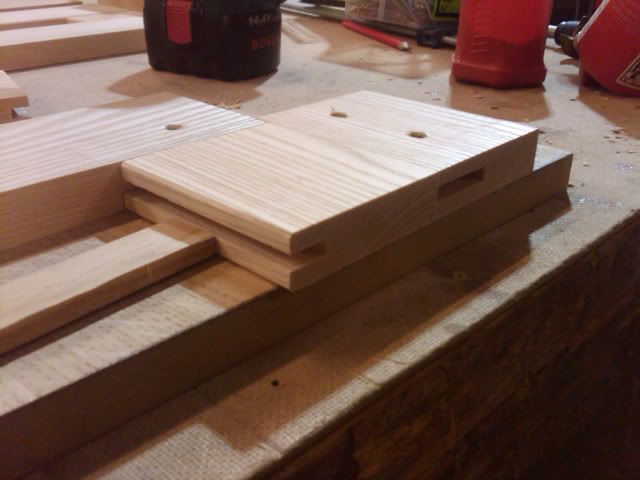
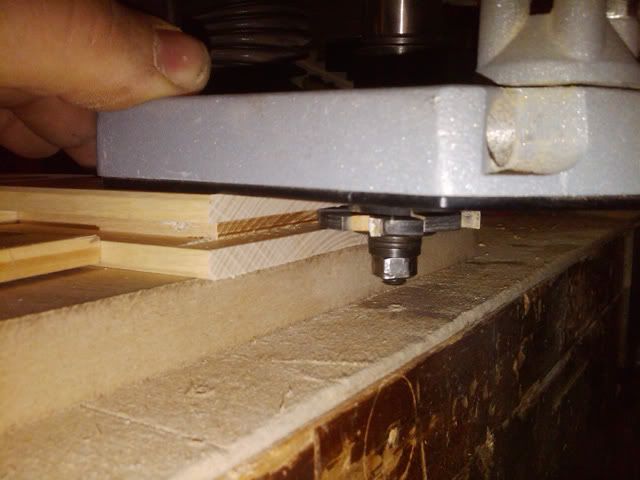
There is a small chamfer on all the edges and i set up the wadkin spindle moulder up to do this. The tenoned ends are done first. Guard removed for photos.

kitchen-21.jpg


a 16mm piece (the length of the tenon) is then screwed to the fence and the long edges are then done

kitchen-22.jpg


some of the doors are quite narrow and the rails are too short to be safely held in the tenoner so I set up and adjustable groover for the router and knocked up a quick jig to groove the pieces out to be jointed with loose tenons

kitche-23.jpg

kitchen-24.jpg


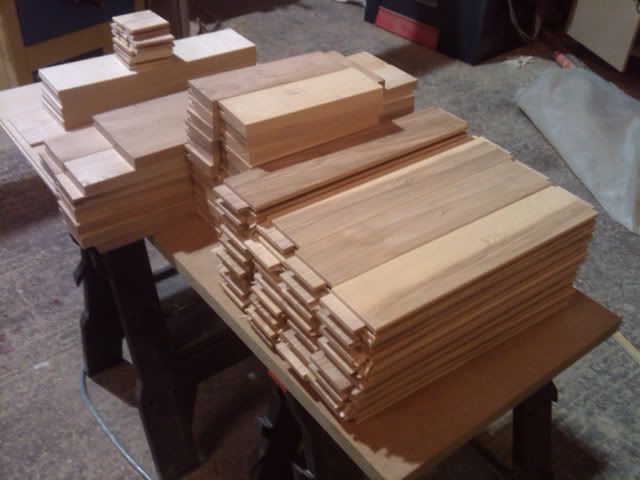
stack of components ready for assembling. the panels are 6mm ash veneered mdf.

kitchen-25.jpg


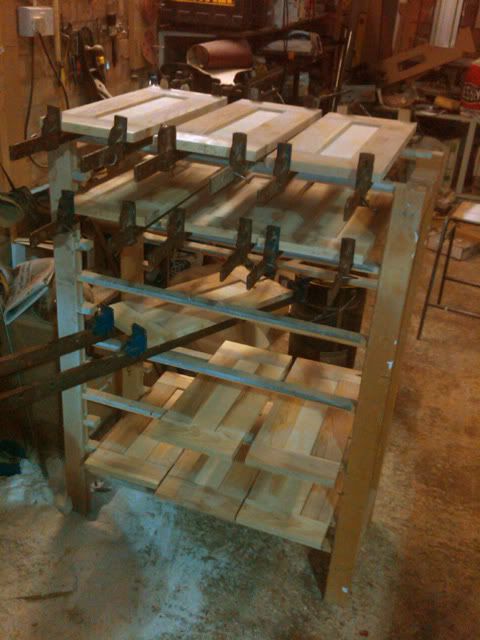
I put a rack near to the stove where it is about 18 - 20degrees but away from the direct heat so that the glue goes of quickly.

kitchen-27.jpg


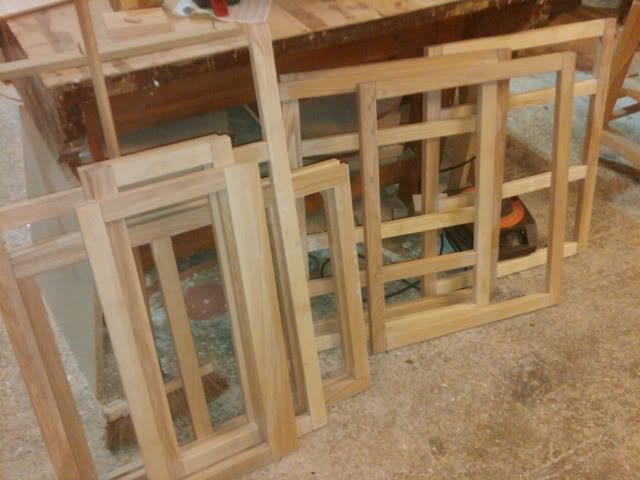
some of the finished frames that have been glued together

kitchen-26.jpg


Thanks for looking and the comments.

Cheers

Jon
 
Looking good Jonny.

Also, ignoring the excellent kitchen for a while, I really like the idea of the clamping rack :)
 
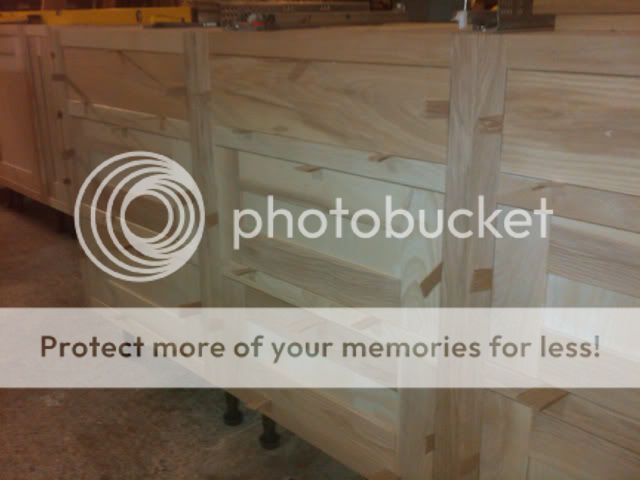
Been cracking on with this. I have assembled the base units using dominos and carcase screws. The face frames are also dominoed to the carcase and the face frames are pockets screwed to the carcases. I dont bother screwing them on until they have been painted as the dominos hold them on fine for shooting the doors in.

kitchen-28.jpg


I have set the base carcases level in the workshop but dont bother screwiing them together until they are on site.

kitchen-30.jpg

kitchen-31.jpg


I generally shoot the doors and drawer fronts to fit the face frames allowing about 1.5mm clearance all around or a couple of pieces of scrap veneer folded over to be precise.

kitchen-32.jpg


Been doing some dovetailing and there are 30 drawers and inner drawers in this kitchen wouldnt have liked to do this lot by hand :D
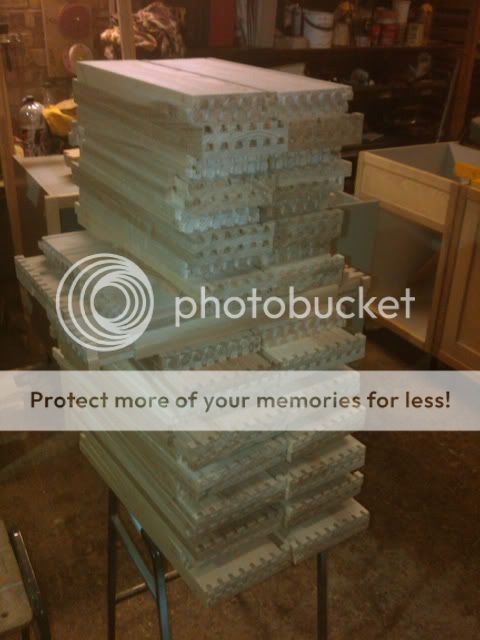
kitchen-29.jpg


thanks for looking

cheers

Jon
 
Yikes! :shock:

So, what jig or machine did you use to cut all those dovetail joints?
 
JonnyD":1cdt78np said:
Been doing some dovetailing and there are 30 drawers and inner drawers in this kitchen wouldnt have liked to do this lot by hand :D

kitchen-29.jpg


thanks for looking

cheers

Jon

I recon you could have done those by hand, only would take 5 days

:lol:

looking good Jon

JHB
 
OPJ":3k7jxevf said:
Yikes! :shock:

So, what jig or machine did you use to cut all those dovetail joints?

Just a basic trend fixed space jig and router. Took about 4.5 hours to do 30 drawers .

cheers

Jon
 
jhwbigley":6orczqyq said:
JonnyD":6orczqyq said:
Been doing some dovetailing and there are 30 drawers and inner drawers in this kitchen wouldnt have liked to do this lot by hand :D

kitchen-29.jpg


thanks for looking

cheers

Jon

I recon you could have done those by hand, only would take 5 days

:lol:

looking good Jon

JHB
And add 2k to the cost

cheers

jon
 
Wish I could work as fast as that :shock: :shock: Looking great, Jon. Thanks for taking the trouble to post all those pictures, it's good to see how you pros work. Very impressive.

Cheers :wink:

Paul
 
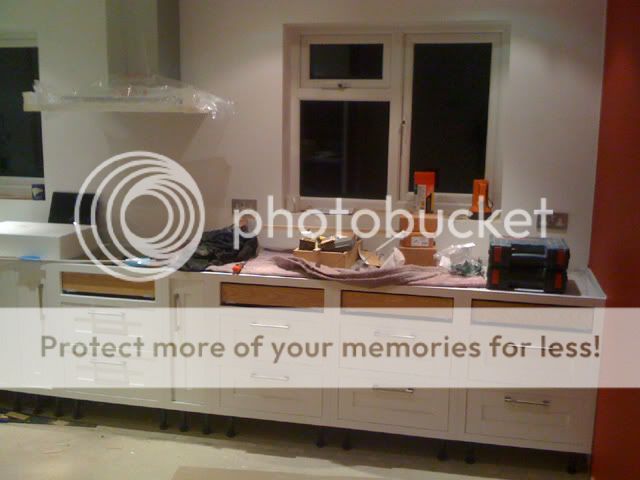
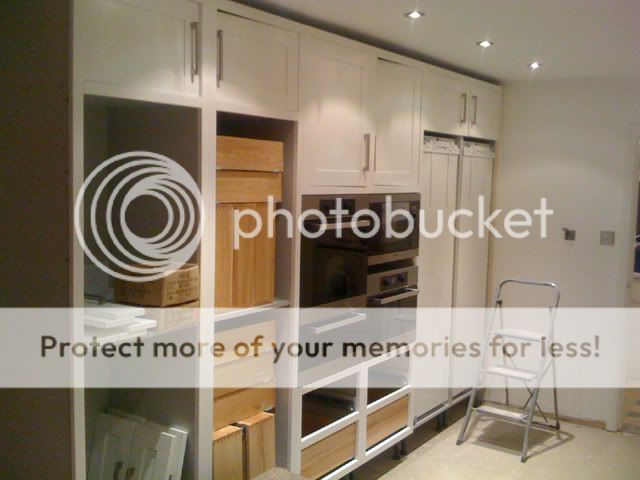
Just an update on this. The fitting is well under way and should be mainly finished tommorow and I should be able to template for the worktops as well.

Base cabinets

kitchen-34.jpg


Wall units 2250mm high by 3600mm long a couple of miele cookers a microwave and warming drawer in the middle and liebher fridge and freezers at the end.

kitchen-33.jpg


cheers

Jon
 
Looking good mate. Like yourself, we (the company I work for) always used to lay out and level the jobs in the workshop. Recently, they're making 'money saving cuts', one of which is to not do this process. I'm fitting the first of these jobs this week, and it's a balls up. I reckon I can add a day and a half to the fit simply because this stage was omitted.
What kind of cornice are you having?
Gotta say I'm impressed with your design skills, workmanship and especially your speed. You're like a kitchen fitting machine! (cue Rocky music)

Nice one fella.
Adam.
 
Looking fantastic. I wish mine was going as well. How have you painted the units and what paint have you used.
 
RILEY":2l3ufz6l said:
Looking good mate. Like yourself, we (the company I work for) always used to lay out and level the jobs in the workshop. Recently, they're making 'money saving cuts', one of which is to not do this process. I'm fitting the first of these jobs this week, and it's a balls up. I reckon I can add a day and a half to the fit simply because this stage was omitted.
What kind of cornice are you having?
Gotta say I'm impressed with your design skills, workmanship and especially your speed. You're like a kitchen fitting machine! (cue Rocky music)

Nice one fella.
Adam.

I find it best to assemble the carcases and shoot the doors in especially on framed kitchens. It takes a little longer in the shop but the units are ready to go on site and makes fitting a lot easier.

The coving is being kept simple and is basically rectangular with a chamfered edging. The design comes quite naturally to me as I did a degree in furniture design a few years ago.

cheers

Jon

Jon
 
tsb":3qtjwp92 said:
Looking fantastic. I wish mine was going as well. How have you painted the units and what paint have you used.

The finish is basically a couple of coats of primer followed by a couple of coats of pigmented acid catylsed lacquer. The finish is sprayed using a fuji HVLP turbine.

The finish shows the grain of the wood through the paint so the woodwork only needs sanding to 80grit and then the wood is brushed with the grain with a wire brush to open the grain. The one i use is a liberon liming brush.

Thanks for the comments

Cheers

Jon
 
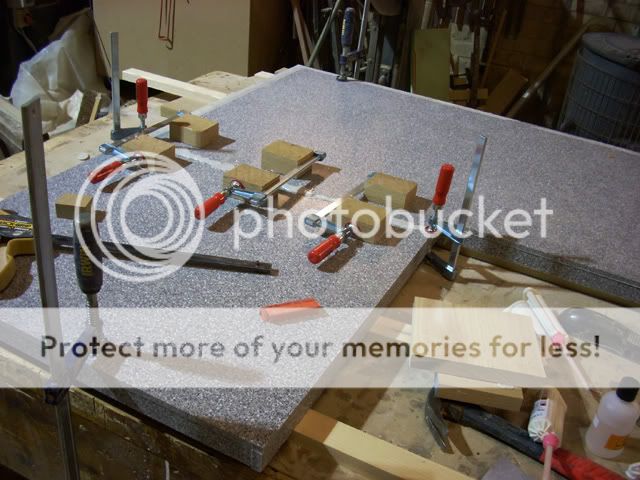
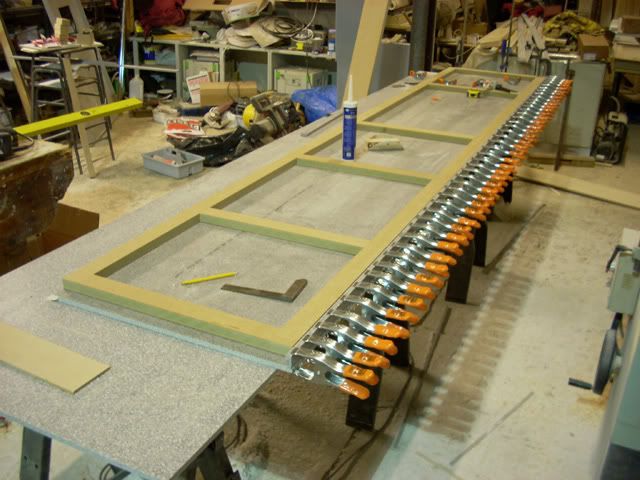
Instead of buying in the worktops it was decided that it would be a good idea to fabricate the corian worktops in house. About 4 weeks ago we did a corian training course at the workshop and became registered fabricators.

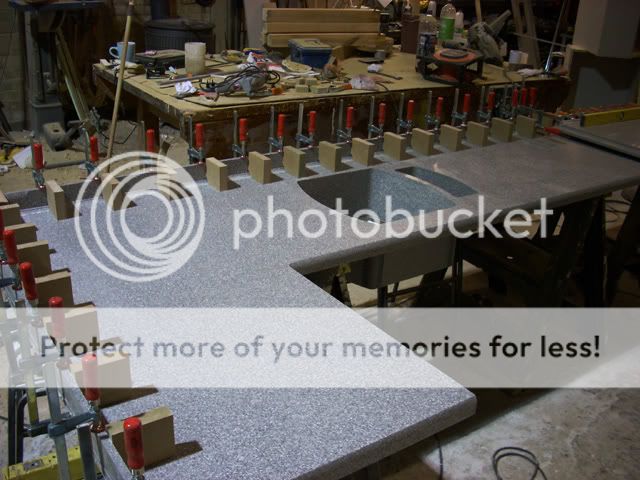
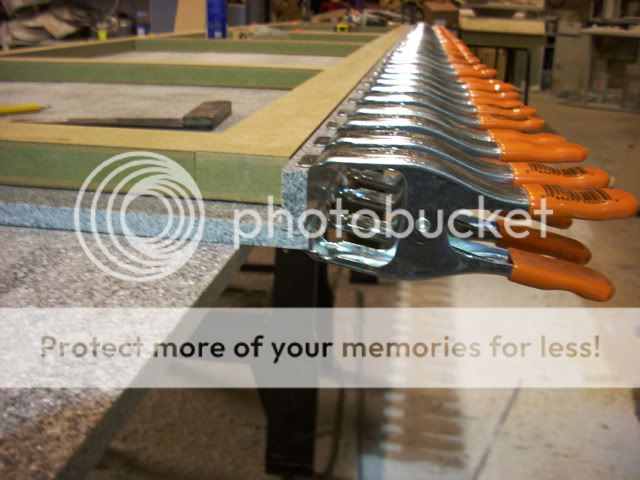
Loads of pony spring clamps are used to hold the pieces in place while the corian adhesive sets.

corian-01.jpg

corian-02.jpg


As much fabrication as possible is done in the workshop and there is just one joint to do on site. The pieces are seamed together using clamping blocks hot melted onto the corian.

corian-03.jpg


Gluing on the coved upstands to the back of the worktop. Mdf blocks are hot melted to the corian to allow the upstands to be glued in the right position.

corian-04.jpg


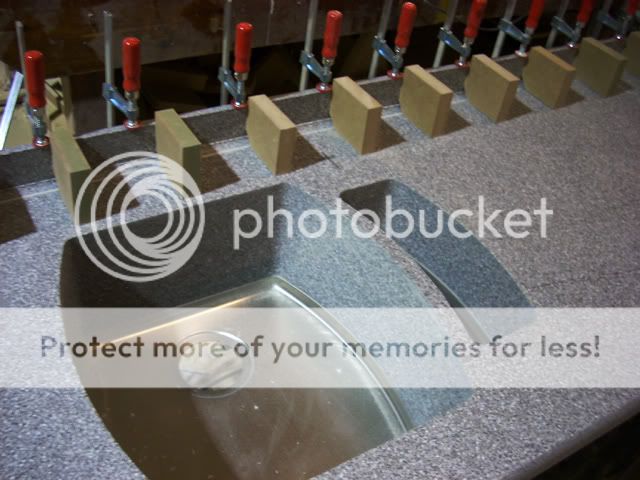
The sinks have corian sides and a stainless steel bottom and are quite sexy.

corian-05.jpg


We installed the worktops today and I will take some pics in the morning of the kitchen and worktops.

Cheers

Jon
 
Nice to see someone using Corian.
I used to be a (Corian) fitter and have to say, as a material to work with, it's brilliant.
You've done a really good job there mate.

Adam.
 
This entire post has fascinated me :shock:

I can't believe how much work goes into a kitchen, :shock: and the quality of this one Jon is spectacular.
I'm not really one for furniture, I'm more of a round the home practical fettler, and this really appealed to me.

The first post I read on this Forum was by Aragorn, that was also a from scratch build, this one has now got the juices flowing again, and the temptation to build my own has increased yet again, does it mean I need more Fetool though :lol:

A truly inspiring WIP post, and as for Corian.........WOW ! how does it compare price wise to Granite ?

looking forward to a finished install pic if you can

Regards

Jed
 
Now I see what you wanted all those clamps from Harrogate for!

Looking good mate

Cheers, Ed
 

Latest posts

Back
Top