Kitchen WIP- Virtually Finished

UKworkshop.co.uk

Help Support UKworkshop.co.uk:

This site may earn a commission from merchant affiliate links, including eBay, Amazon, and others.

JonnyD

Established Member
Joined
10 Mar 2008
Messages
1,173
Reaction score
8
Location
Lincolnshire
Just started a Kitchen so I thought I would post some pics for your perusal.

The kitchen is going to have a plain face frame with shaker doors and will be painted white.

Main run of kitchen. the worktops will be corian.
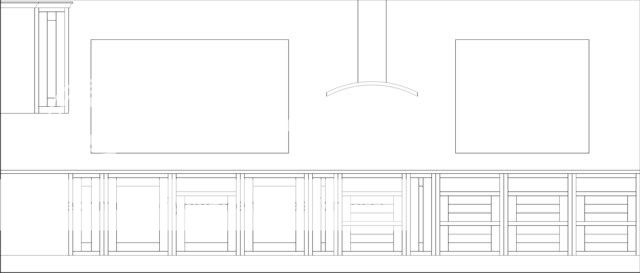
kitchen-06.jpg


Opposite will be a row of larder units. The right hand side will house the fridge and freezer and In the centre will be an oven and warming drawer on the left hand side and a compact oven and microwave on the right hand side.
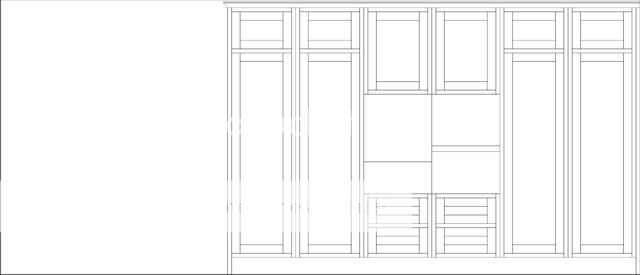
kitchen-07.jpg


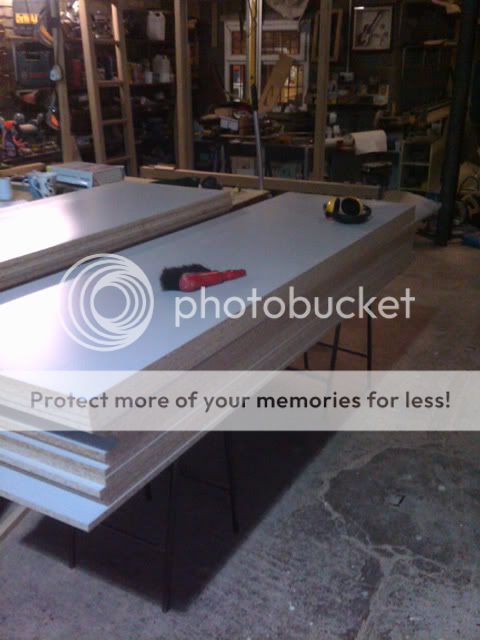
Carcases are in a colour called Unica grey although it looks pretty white in the photos.

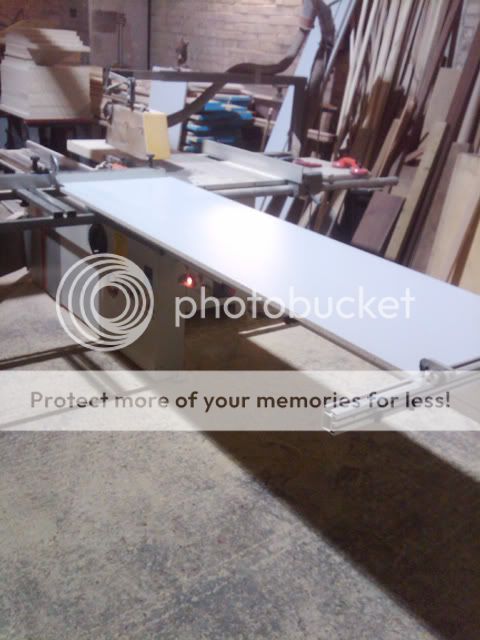
The Sheets come in at 2800mm X 2070mm and take a bit of handling to get them on the saw.
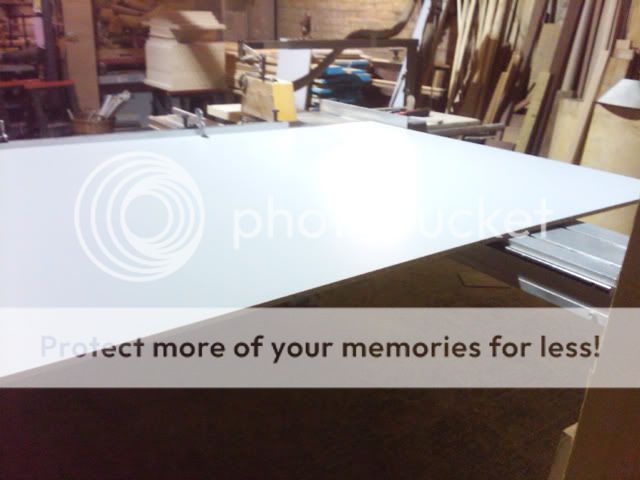
Kitchen-01.jpg


The big sheets are roughly sized and then finally trimmed to size when they are of more manageable sizes.

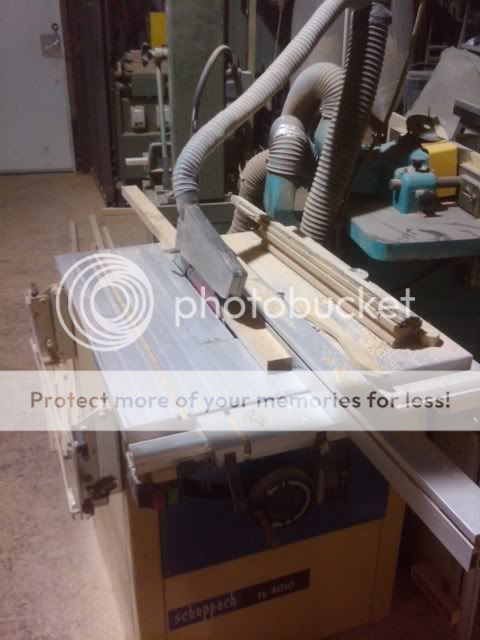
A secondary fence is used when cutting the panels for the larder units to keep the cuts dead parallel
kitchen-02.jpg


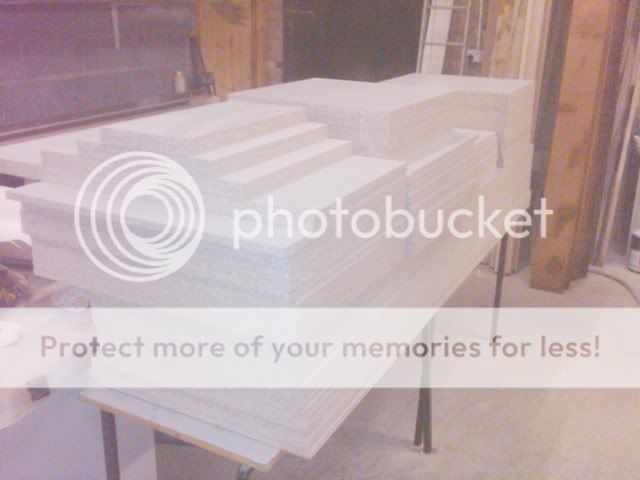
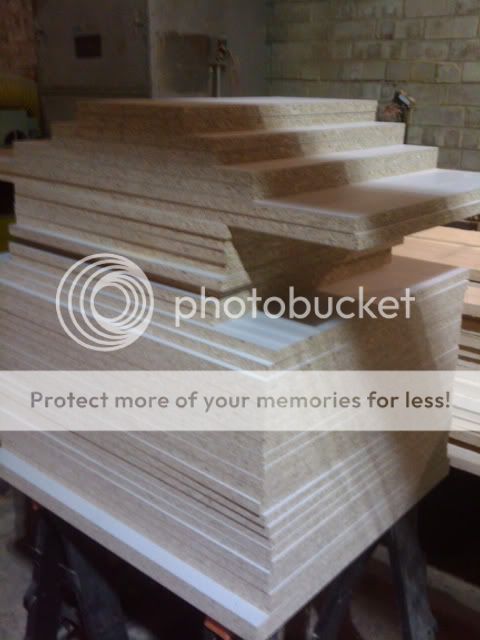
Stack of components for the base cabinets
kitchen-03.jpg


Components for the larder units

kitchen-04.jpg


Had an afternoon on it so far and will keep you updated with progress.

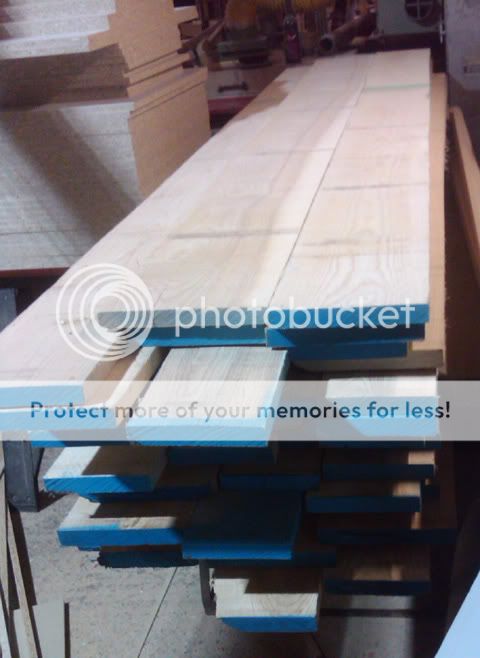
Tomorows jobs should involve making a dent in the 25 cubic ft of Ash for the face frames and doors.
kitchen-05.jpg


Cheers

Jon
 
I'm looking forward to this one Jon, it will be great watching how you go about the process.

That seems like a lot of Ash!

Those sheets are massive, normally moved by suction kit and cut on beam saws, and how do you do it? By roping your poor old dad in i should imagine :D Good work fella.
 
Looks like fun! I take it you're in the 'make your own cabinets' camp? I think I'd go that route, looking forward to seeing the cabinet construction.
 
Mattty":1y88sapp said:
Those sheets are massive, normally moved by suction kit and cut on beam saws, and how do you do it? By roping your poor old dad in i should imagine :D Good work fella.

Thats about right Mattty :D

Cheers

Jon
 
wizer":h0dg9sm3 said:
Looks like fun! I take it you're in the 'make your own cabinets' camp? I think I'd go that route, looking forward to seeing the cabinet construction.

Theres not much in it but i prefer to make my own carcases.

There could well be a few dominos involved :D

cheers

Jon
 
Interesting that your are using ash for a painted kitchen. Presumably this is because the client wants the grain of the wood to show through the paint.

I have just finished a spray painted kitchen using bought in sanded oak doors for the same effect. John Lewis are currently doing very well with a range of heavily grained painted ash kitchens from Mereway. (I had the rep in last week.)

Looks like we're at the cutting edge of fashion again. Jon!

I have to say that I would not even think about making the carcasses. One email and five days later they would be delivered to my workshop fully assembled - custom built to my sizes!

Cheers
Brad
 
Yeah the Ash is to allow the grain to show through the wood after it has been painted. I have done a sample for the clients and it turned out nice.

Its always good to be at the cutting edge of fashion :D

I will look into your carcase place Brad to see the viability of buying them in. Whats the web address Brad?

Cheers

Jon
 
A few pics of todays efforts.

Finished cutting out the carcase components and stacked them at the end of the workshop out te way. Cant do too much more until the egdebanding arrives :twisted:

kitchen-08.jpg


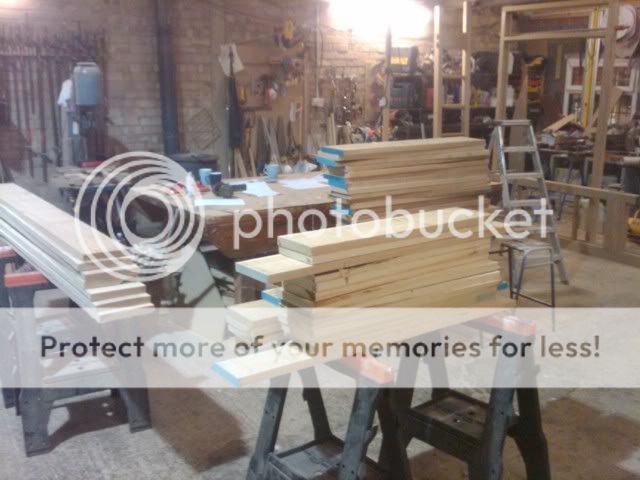
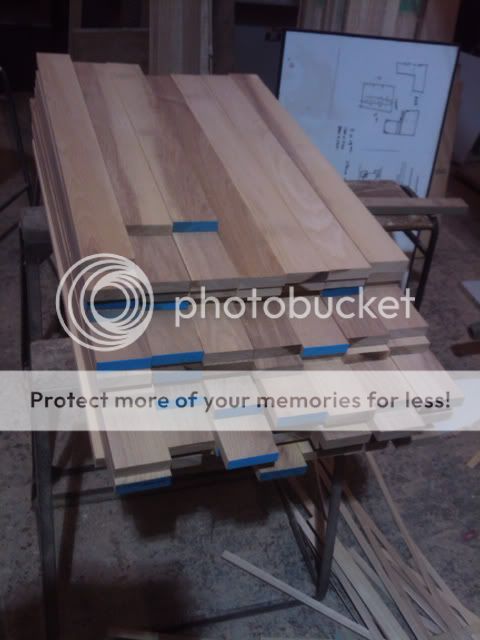
The Ash boards were sorted and the planks crosscut to length. The longest pieces were cut from the straightest planks and the bendy ones used for the shorter lengths.

kitchen-10.jpg


I have got a separate saw that i can leave set up as a rip saw which is handy

kitchen-09.jpg


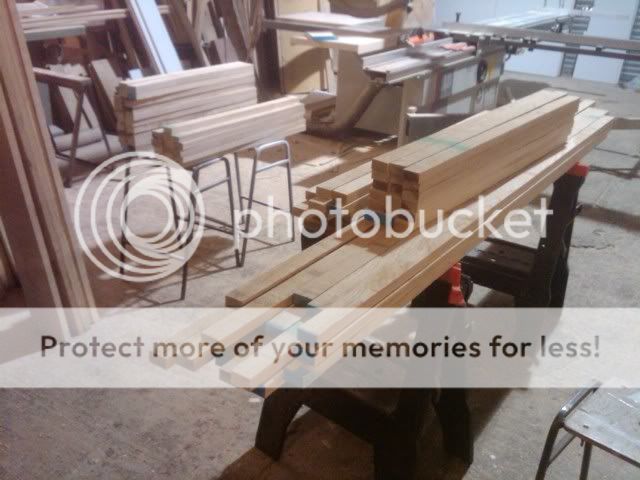
Framing is ripped to 45mm wide and will be finished at 38mm wide seen here stacked ready for surface planing.

kitchen-11.jpg


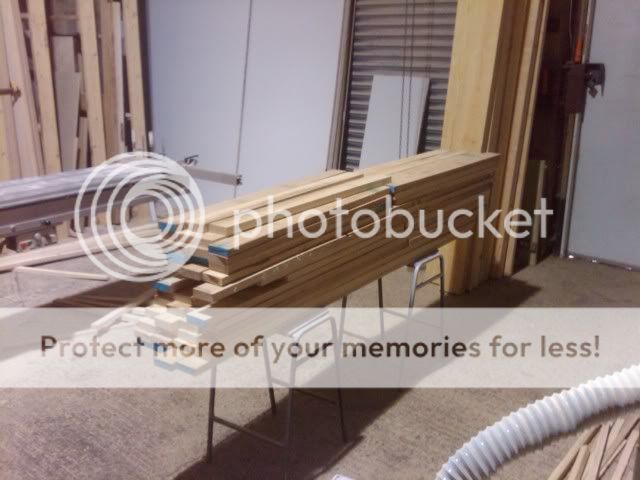
Also ripped the door frame material to size this is 81mm wide to be finished at 75mm

kitchen-12.jpg


Just about had time to surface plane the stock for the face frames

kitchen-13.jpg


thanks for looking

cheers

Jon
 
JonnyD":3g1ptstz said:
I will look into your carcase place Brad to see the viability of buying them in. Whats the web address Brad?

Cheers

Jon

http://www.choixbedroomsandkitchens.co.uk/

Although these places exist all over the country - I'm sure a bit of googling will locate one in your area. I've found 3 or 4 within half an hour of me.


Cheers
Brad
 
How long have you scheduled in for this job Jon? Your certainly cracking on mate.
 
Mattty":ztcl01ms said:
How long have you scheduled in for this job Jon? Your certainly cracking on mate.

I have scheduled in about 4 weeks for the Job including fitting. I have got to squeeze in some smaller jobs around this one so its going to be tight for a 2nd week in december completion but a few late nights and weekends should get in done :D

cheers

Jon
 
4 weeks to do the kitchen plus other jobs!!! Mine's taken me 18months so far, but I have been building the extention as well. I don't think I would ever make any money at your game. Keep the pics coming, if only to see how a pro tackles a kitchen
 
I am really interested as this is a job on my list for after Christmas. Maybe not quite so grand though.

I am but a DIYer so will steal any good ideas and tips you put on this forum, be warned.

Mick
 
I have had a little break from this but I am back on it now.

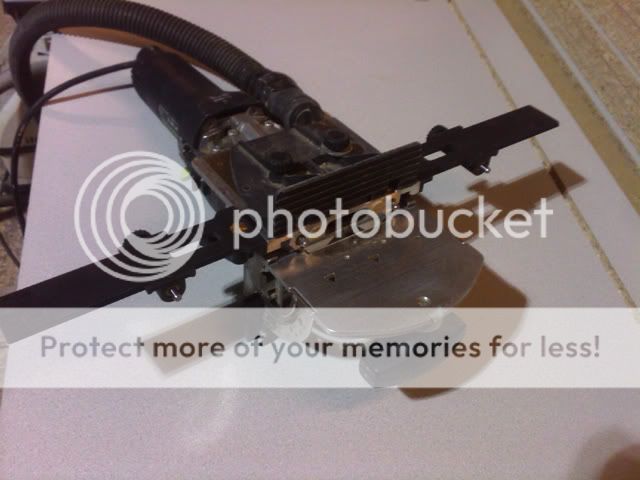
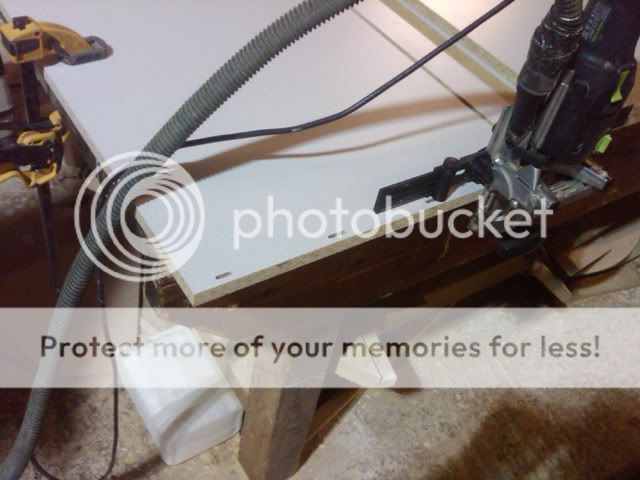
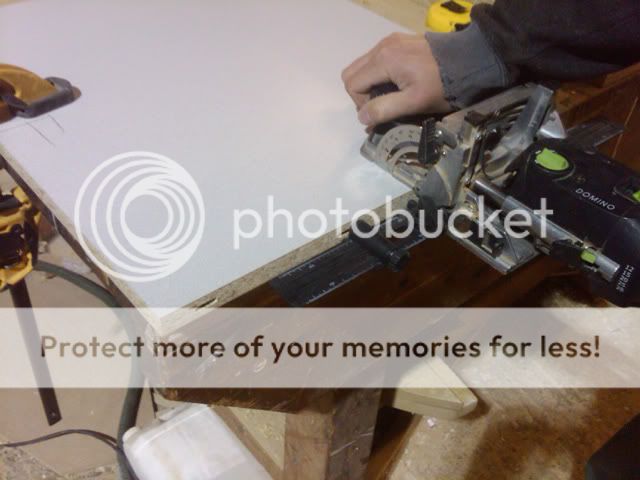
Started of by jointing the carcase components. The domino is turned into and aeroplane by adding the cross stops. Using these means that you can work all the components without any marking out.

kitchen-06-1.jpg


carcase ends are jointed with the domino upright. There is a tight domino at the front edge followed by 3 slack dominos referenced using the cross stop.

kitchen-07-1.jpg


The tops and bottoms are done the same way.

kitchen-08-1.jpg


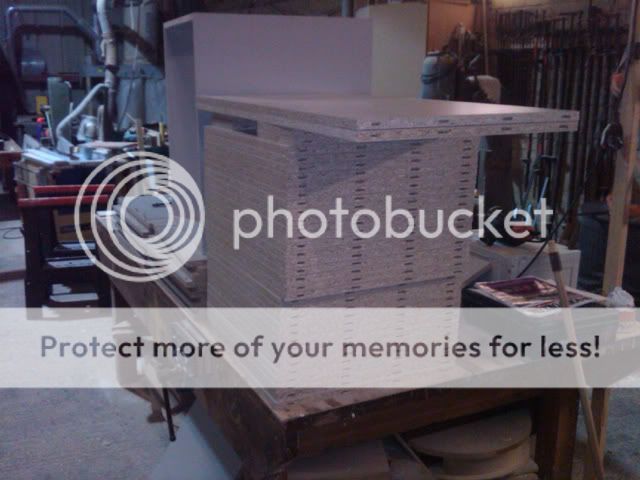
Stack of finished components. Gets a bit boring doing all this in one go.

kitchen-09-1.jpg


This is the sample door i made to show the clients the finish and details. Simple shaker style with a plain frame and the grain of the ash showing through.

kitchen-10-1.jpg


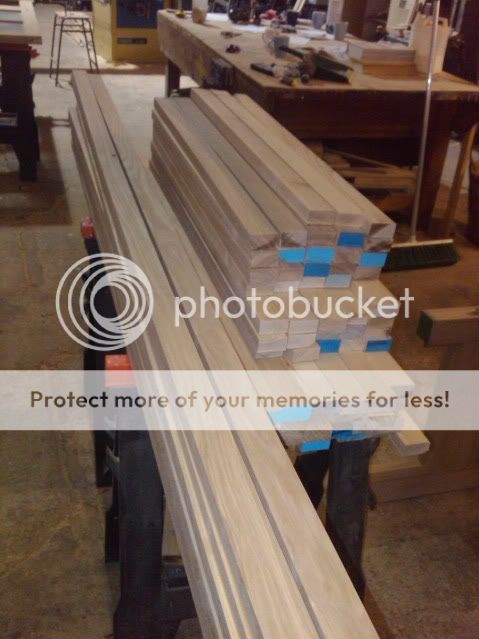
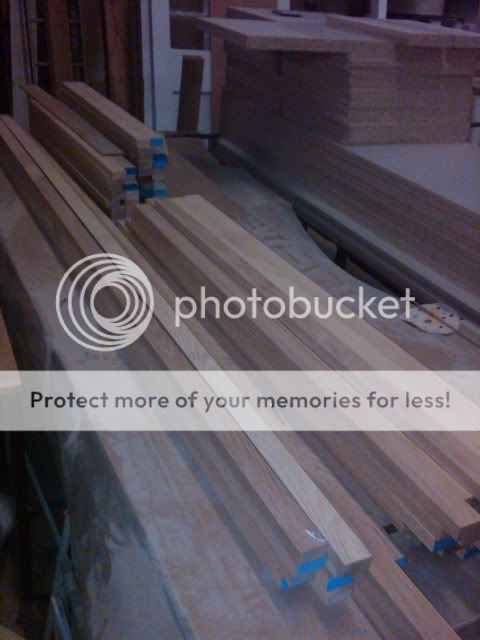
All the timber for the frames and doors has been planed up and sized.

frame stock 38mm X 23mm

kitchen-11-1.jpg


Door stock 75mm X 21mm

kitchen-12-1.jpg


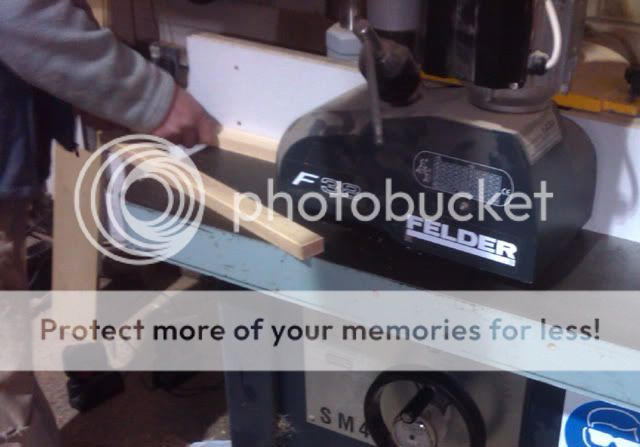
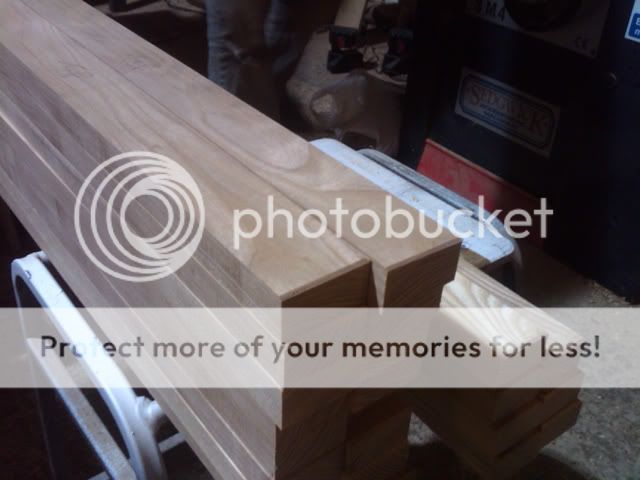
The frame parts were cut to length and then the chamfer detail put on with the spindle moulder.

kitchen-13-1.jpg

kitchen-14.jpg


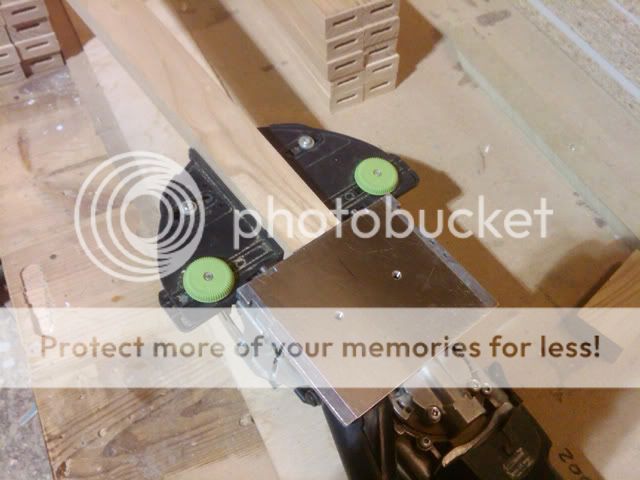
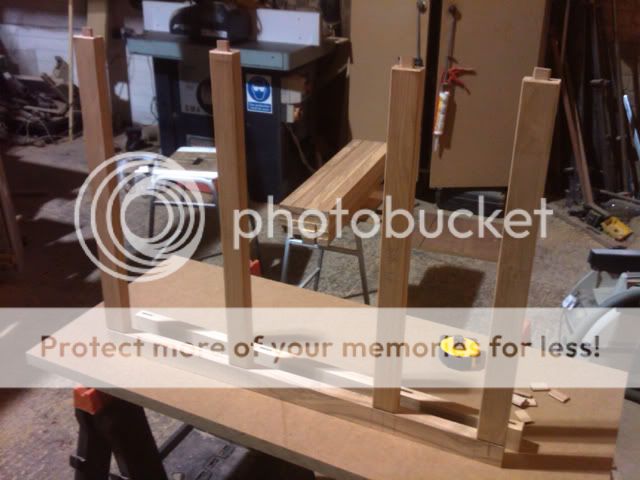
The frames were then jointed again with dominos. The rail ends are jointed using the trim stop thingy.

kitchen-15.jpg


dry assemble of a frame showing how it goes together

kitchen-16.jpg


will keep you updated with progress. Thanks for looking

Cheers

Jon
 
Paul Chapman":1n3e3ung said:
Looking good, Jon.

I reckon that Domino must have paid for itself several times over.

Cheers :wink:

Paul

I would have thought so. :D

cheers

Jon
 
Looking good Jon. 8)
What hinges do you use for the doors that fit in the face frames? I'm currently battling with 2"x1" face frames and 1" thick doors. Looks like I'll have to fit block from behind face frame as there is no support for hinge plate. Unless you have a better idea. :? Thanks Alex
 
Alex":vd3vfzt2 said:
Looking good Jon. 8)
What hinges do you use for the doors that fit in the face frames? I'm currently battling with 2"x1" face frames and 1" thick doors. Looks like I'll have to fit block from behind face frame as there is no support for hinge plate. Unless you have a better idea. :? Thanks Alex

I often use satin chrome butt hinges but these ones are going to be on concealed inset hinges. Some of the frames are flush with the inside of the carcase because there are drawers inside the cupboard and it is easier to fit the drawer runners this way. These units will have a normal mounting plate .The other units where there is an 18mm between the face frame and the carcase a 18mm mounting plate will be used.

thanks for looking and comments will update soon.

Cheers

Jon
 
Back
Top