Kitchen Refresh - WIP - Now finished.

UKworkshop.co.uk

Help Support UKworkshop.co.uk:

This site may earn a commission from merchant affiliate links, including eBay, Amazon, and others.
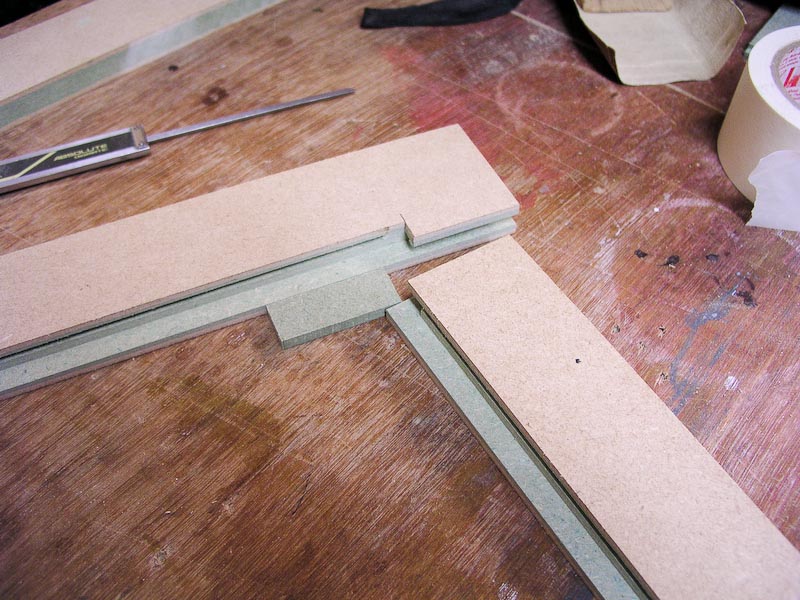
Update on the cornice/ pelmet/ whatever you call it - Now all glued and cut and mitred
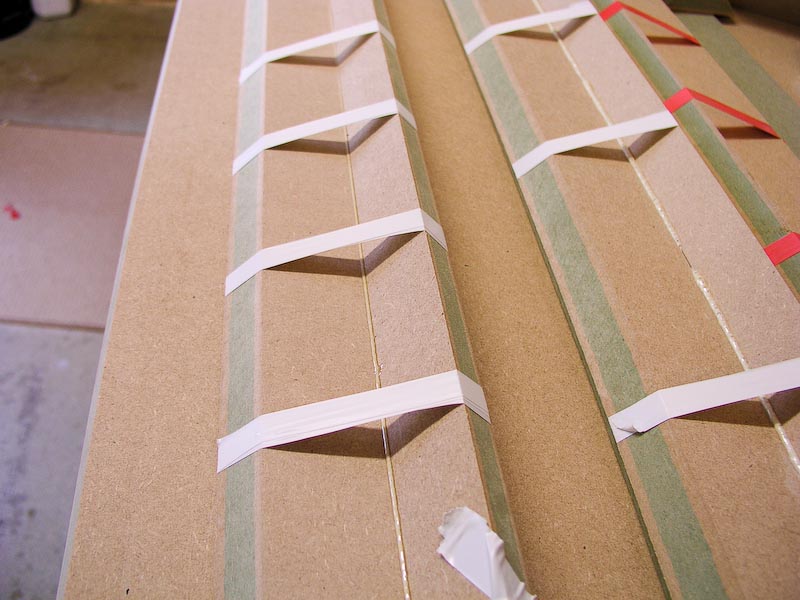
k031.jpg


Also made a glass panel door
k032.jpg


And a beading strip that works quite well. This is a test piece. I've mitred the ends on the ones for the door.
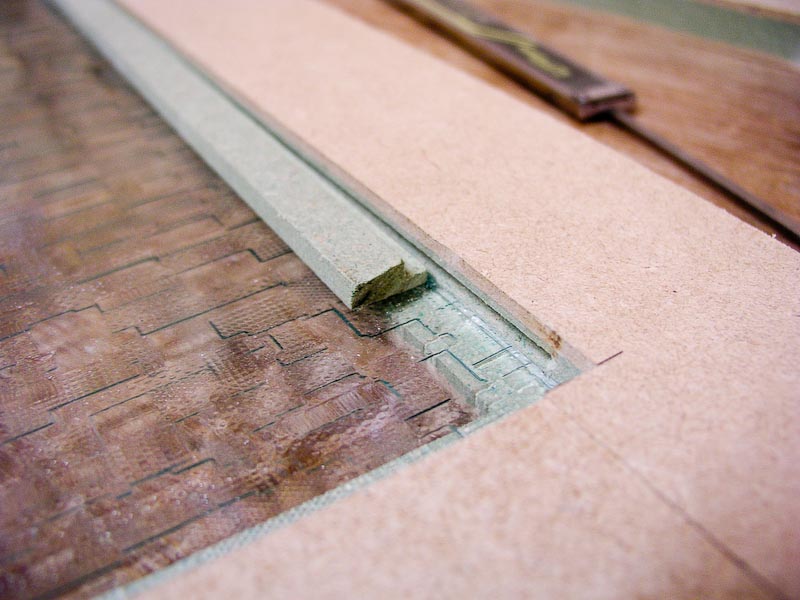
k033.jpg


And at last everything is made! I spent the entire day yesterday cleaning and hoovering the entire workshop in order to reduce the chances of dust getting in or on my paintwork.... then I realised i needed some painting jigs and promptly made some more sawdust to clean up!

This is a screwfix roller stand with the roller bar removed and a bit of 1" square tube in its place. I made this when i was practicing a few months ago by spraying the workshop cupboard doors. A bit of steel tube drops over the square tube and welded to it are 3 arms. messy welds using stick on thin tube but it holds :) . Anyway a big ball bearing sitting on the top of the square tube means it rotates quite nicely with just enough friction to stay put.
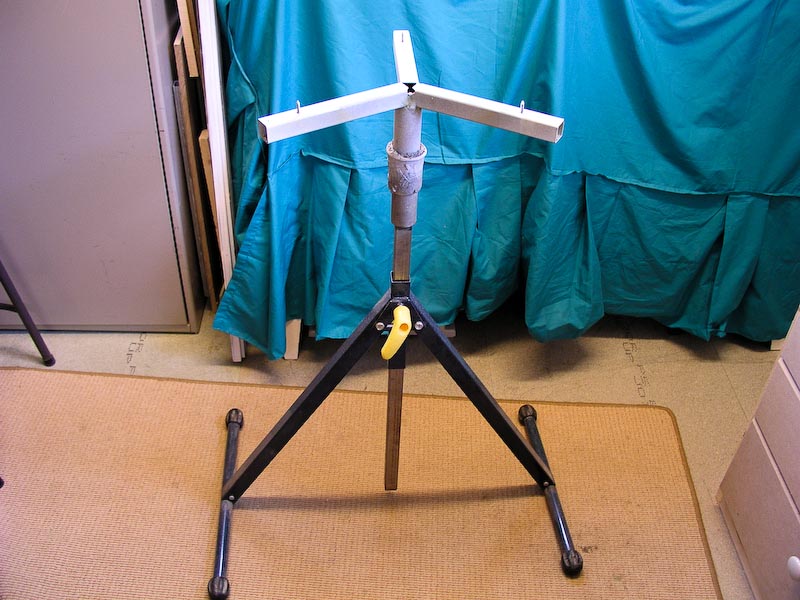
k034.jpg


the idea is to paint both sides of the panel in one visit - which i could do with the stand as it is - but I'd have to leave the panel on the stand to dry. So I cut some plywood triangles and put a 30 mm screw in each corner. means i can paint and handle 15 panels at a time.
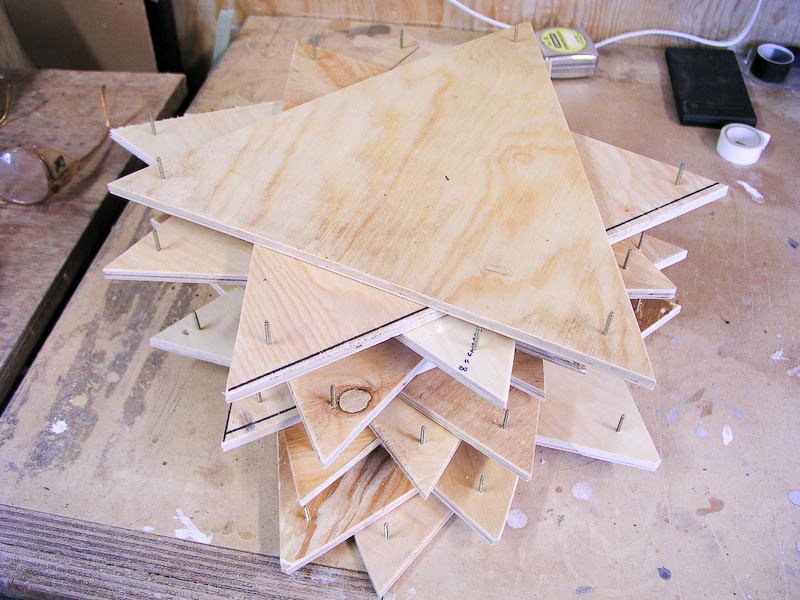
k035.jpg


Time to get my spray booth out of the cupboard :)
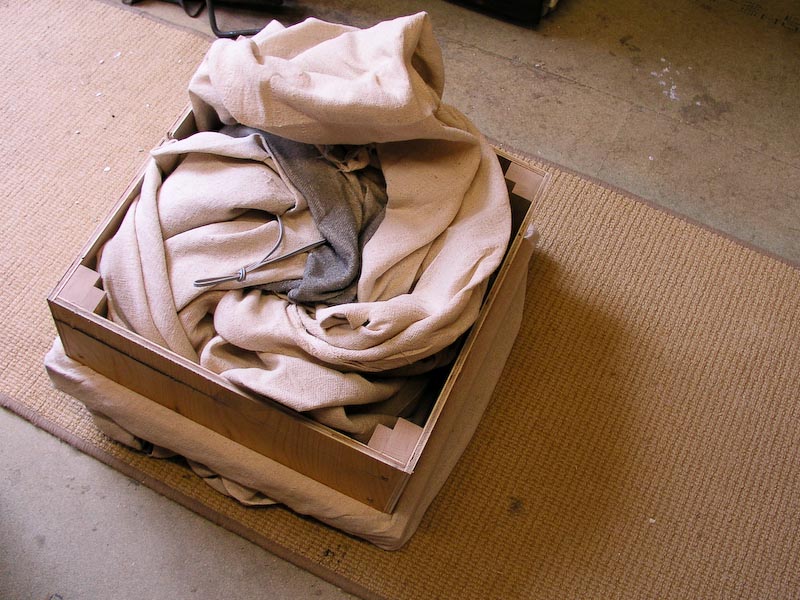
k036.jpg


The box locates to the frame around my plate extractor
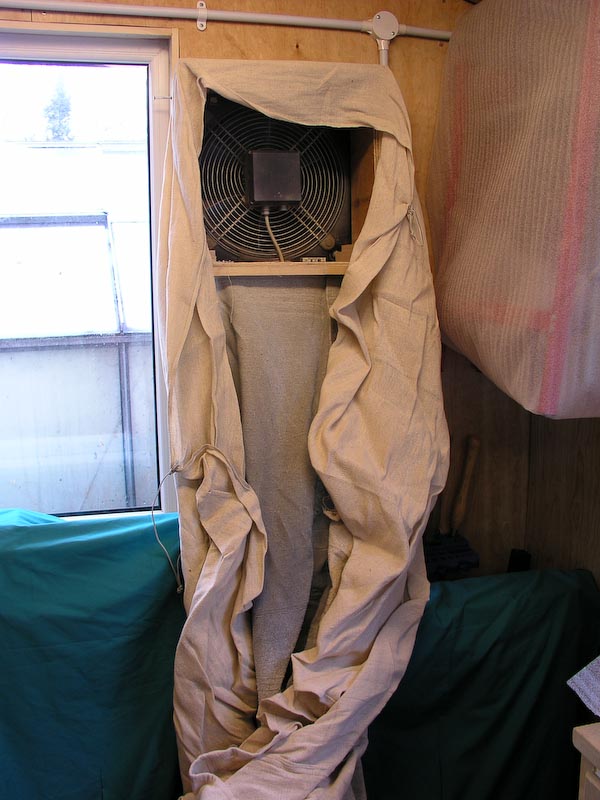
k037.jpg


And unfolded. Another frame (not in the picture) with a cloth filter then goes into the front of the extractor so the fan does not get covered in paint.
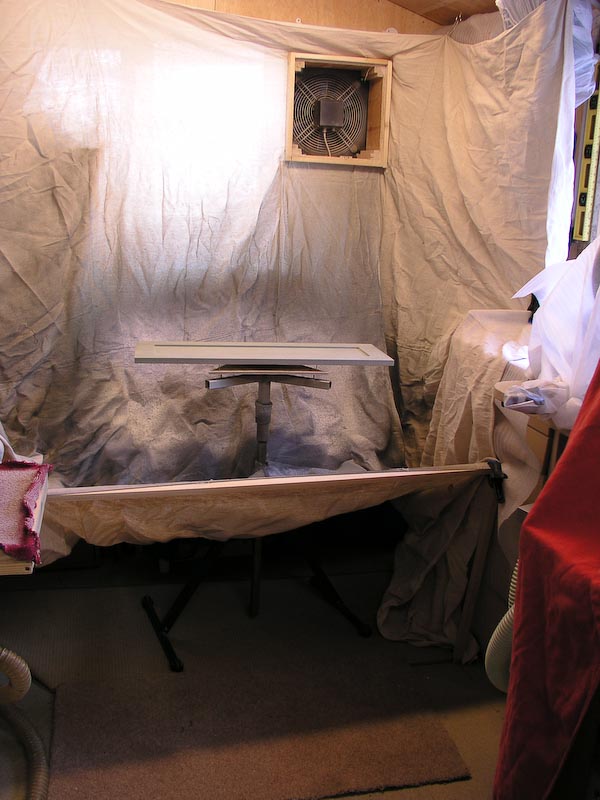
k038.jpg


I paint the back first. I put a couple of bits of cardboard near the fan to baffle the worst of the overspray from the filter so it lasts longer.
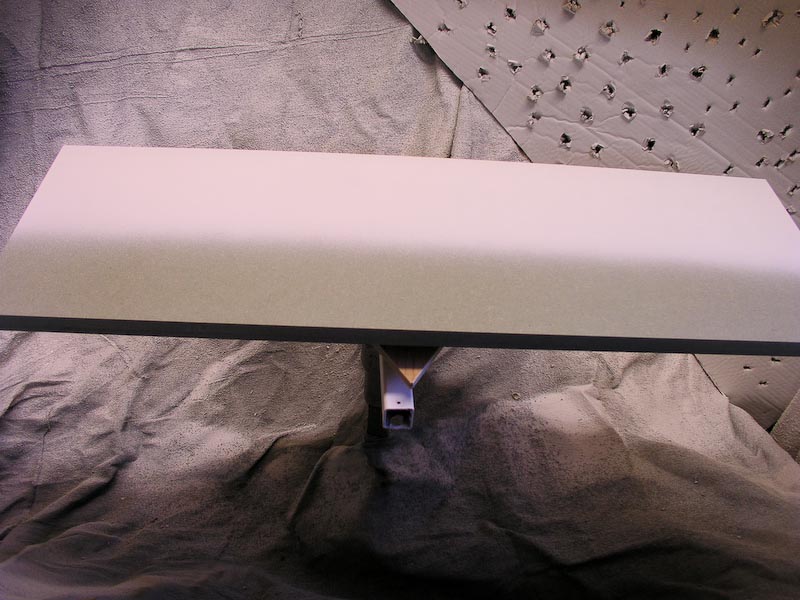
k039.jpg


3 small contact points don't notice on the back. Sprayed the edges first including the internal ones.
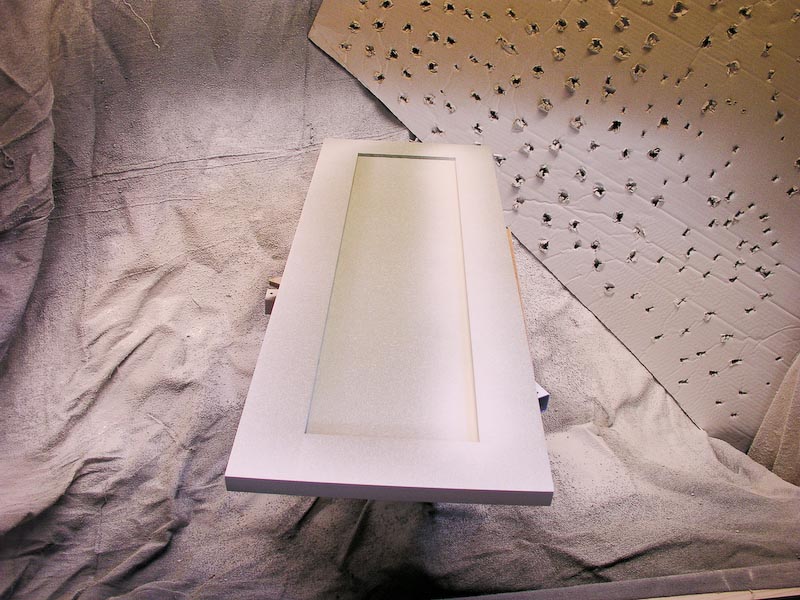
k040.jpg


Then the rest of the face.... now i just have to carry it using the triangle underneath and not touch the wet paint :)
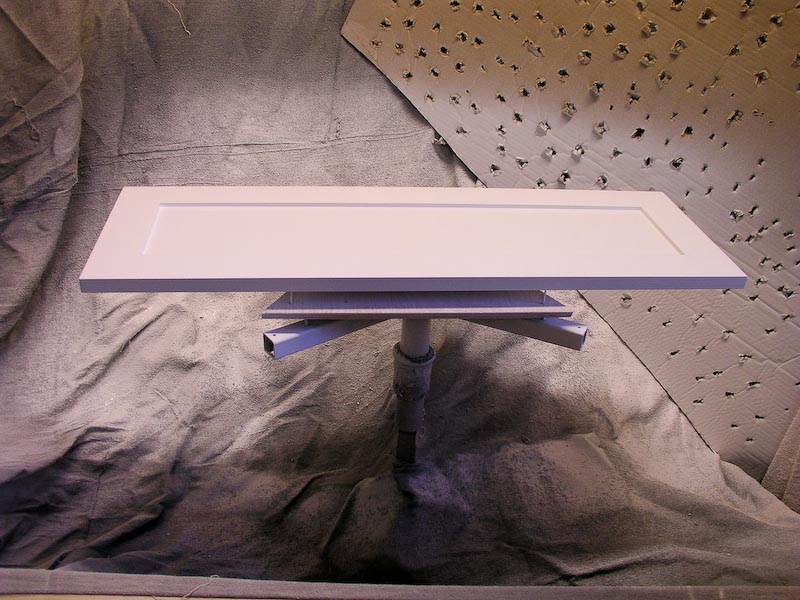
k041.jpg


Stacking space is a problem of course. I have a bit of spur shelving that can be temporarily fitted to the garage door....
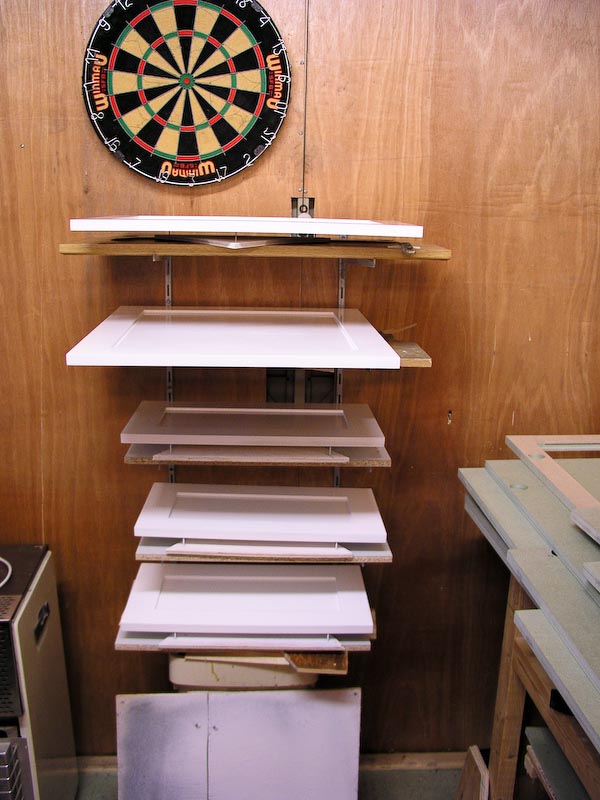
k042.jpg


And have screwed a few battens at high level so that I can gingerly put some over head height and out of the way. I may have 15 triangles but i don't think I have room for 15 panels :lol:
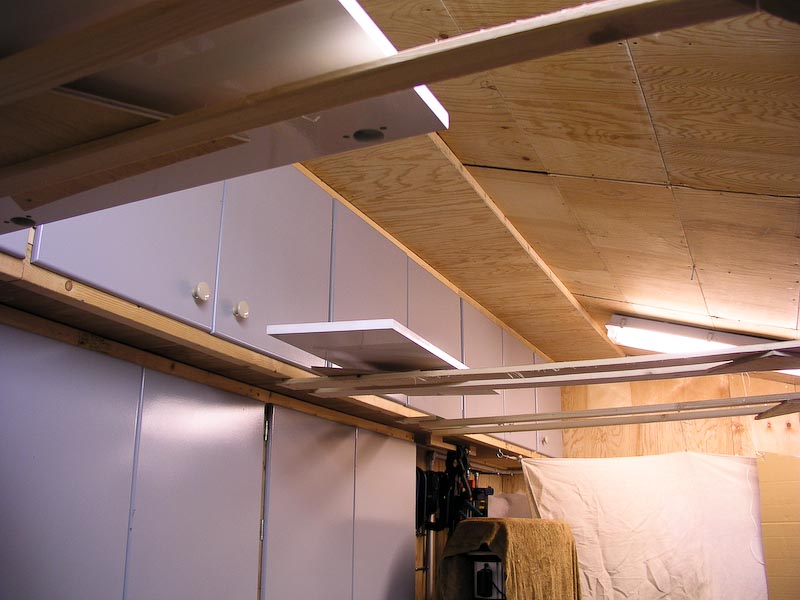
k043.jpg


Oh and you can see my practice grey paint on the workshop cupboard doors (B & Q 50p clearance paint ! )
 
No new pictures to add but a brief update.
Primer went quite well but took ages (days!) to dry hard enough for rubbing down. Must be the cold damp weather and it being water based paint. Anyway it is all done and the edges are as smooth as the faces.

Top coat (Dulux Trade eggshell) so far has not gone so well. Seem to be having dust in the paint (or more likely still on the panel) problems. Got some paint filters and tack cloths on order so hope that will sort the problem.

Sprayed 2 test panels only so far. Apart from the dust the first one had fish eye problems too. Wiped the second one with white spirit before spraying which has fixed that problem... but not the dust. At least we like the colour!

Always knew this stage could take some time but it could be a long haul even by my drawn out standards! Will post more pictures once I'm making progress again.
 
Well I've wasted a fair bit of time on this 'dust' problem and have worked out that it is not dust after all.

The problem seems to be with the Leyland MDF primer that i have used. The primer sealed the surface well and rubbed down to make nice smooth edges.

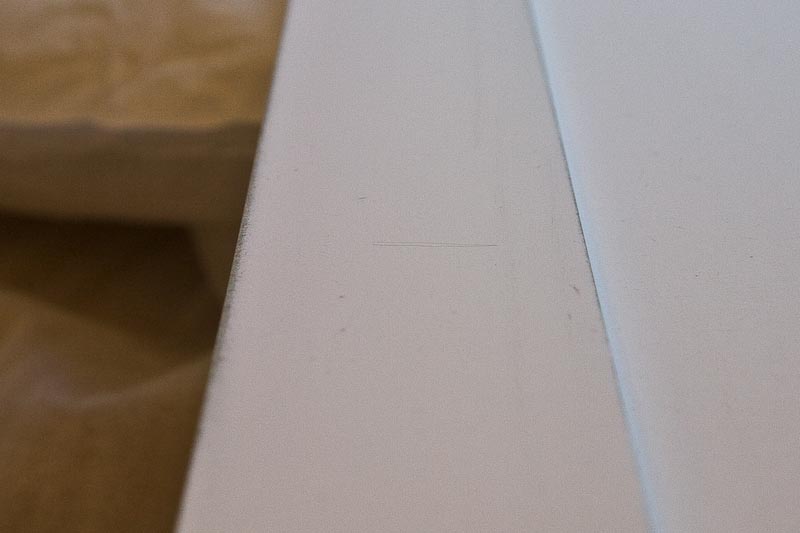
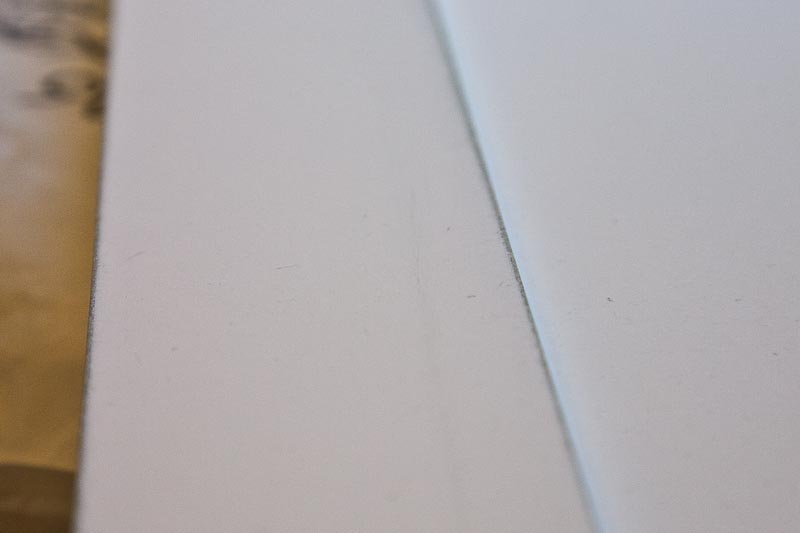
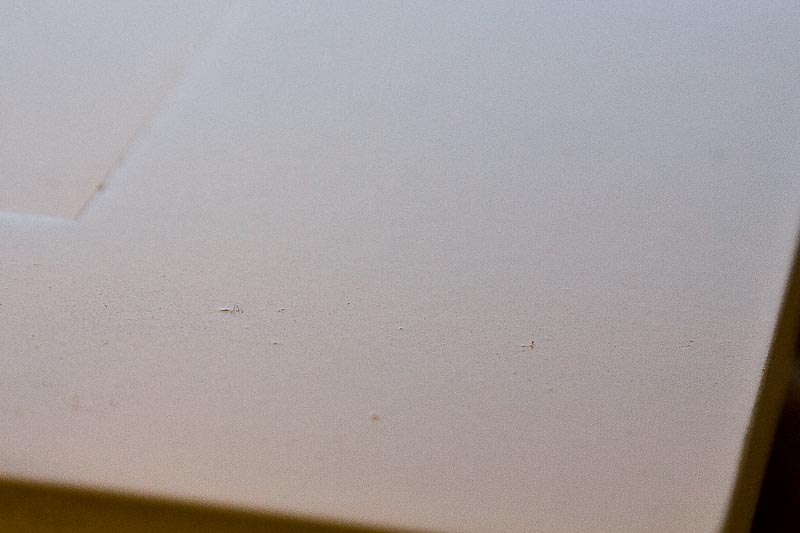
It is very difficult to take close up pictures of a smooth surface but...

k044.jpg


k045.jpg


The darker 'spots' or flecks are where a bit of grain raised on the MDF and was removed by me rubbing it down. The surface looks smooth and feels smooth. (The pencil line was to help the camera focus btw)

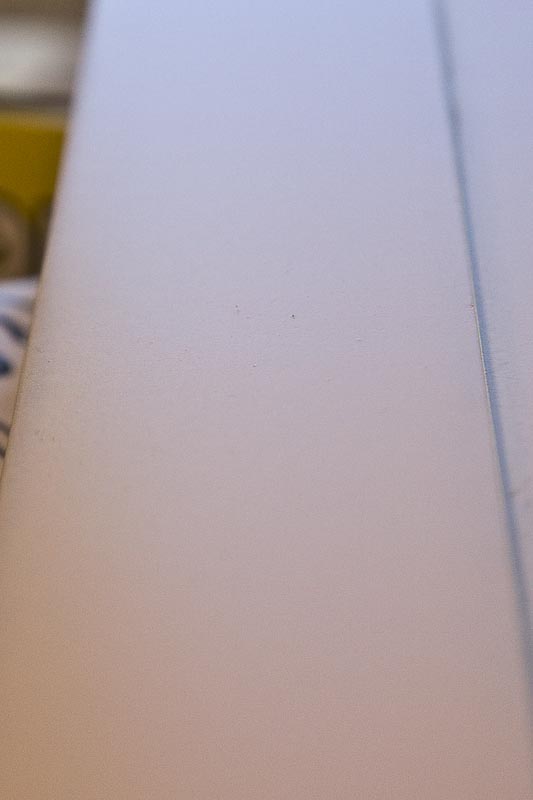
So I put some Dulux trade Eggshell on my nice smooth primed panel. the coat goes on and is nice and level and wet. Then whilst I watch 'dust' erupts in the paint and the surface starts to look like I have just been emptying the shop vac whilst the paint is wet! :(

k046.jpg


k047.jpg


Pictures are taken with the window in the distance so the light skims the surface.

So all a bit depressing but at least i now know what is happening - the undercoat is reacting with the eggshell. So I did some tests. Another brand of eggshell reacts less but still reacts. Unsanded MDF undercoat reacts exactly the same as the sanded so it is not the sanding process.

Went back to the paint shop. Guy says he has never heard of this problem before and offers to give me Leylands tech dept number. Much as I'd like to understand the problem all i want is a solution. He says the answer to any difficult surface is usually Dulux trade undercoat. So I buy a tin. There is a very slight reaction still but nothing compared to before :).

Finally I'm back in production! The slight reaction to the undercoat should knock off easily with some wet and dry... then I should be able to get back to top coating.

Live and learn.

The Fuji spray system has been generally fine though there are a couple of criticisms I have. The fan control (by screwing the air cap in or out) is clumsy compared to a conventional gun with a screw for the fan supply. It doesn't produce what I'd call a nice fan pattern at any setting so I'm using it as a basic gun with no fan. The other thing I have found is it is easy to get paint in the small tube supplying pressure to the paint reservior... and ruin the one way valve in the small air line.
 
As you may have seen here My painting problems took more sorting out than i imagined. Annoying as the problems were it is satisfying to have finally found the source of the trouble.

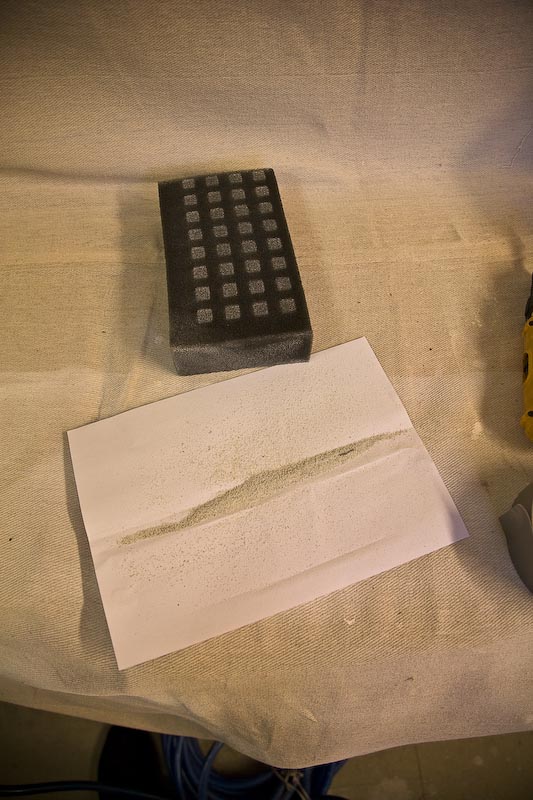
This is the intake air filter from the Fuji Q3
k048.jpg


The paint dust and black crumbling 'rubber' from the sponge filter covered the paper with just a couple of squeezes. I've kept the unit well away from all spraying and the light soiling was from previous use ( I bought it used). The dust that was released into the system only really reacted with eggshell paint so I may never have noticed it otherwise.

Anyway with no filter save a bit of T shirt taped over the intake area and a temporary hose it is working beautifully.

Finally I have been able to get something done that I am happy with the finish on.

This is the first set of parts I have painted. Installed today. The wood pattern MFC on the carcases has been scuff sanded and primed with melamine primer + 2 coats of mini roller applied eggshell to the visible edges.

k049.jpg


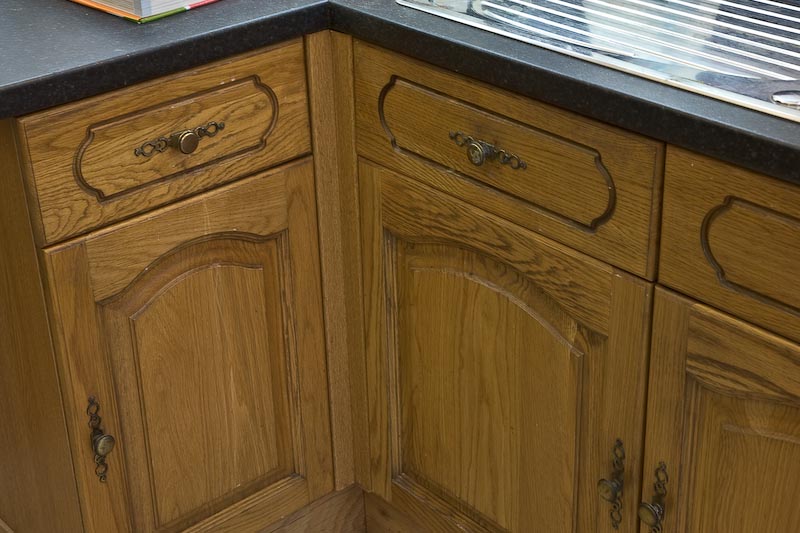
better view of the tired Oak doors that are being replaced.
k050.jpg


Probably amounts to something like a quarter to a third of all the panels and trims so plenty more to get on and paint yet!

Have to say I like Blum hinges. Mine came from Ikea so as per normal with Ikea they are not quite standard (these have a different mounting plate that means drilling new holes) but still they go on nicely and are so easy to adjust.
 
It looks fantastic! I saw this topic when it first started, and to go from all them pieces of MDF, to something actually finished and looking great really is quite good!

I can tell the spray painting with the eggshell became annoying, but glad you've sorted it out now!

Where I work they tried to use a spray gun (it completley went against H&S, no spray booth or extraction!) they were trying to use it with the leyland primer, water-based. And as I remember it took ages to dry!!! That stuff only takes about 30 minutes to dry when applied with a brush. I'm happy to say were brushing it on again now, it took forever to dry!
 
That looks fantastic Robert, good job well worth the effort. We have the exact same oak kitchen; replacing it is on my very long to do list :roll: If you were to do it again would you spray or brush/roller the paint? The finish looks great but is it really worth the extra effort and time?
 
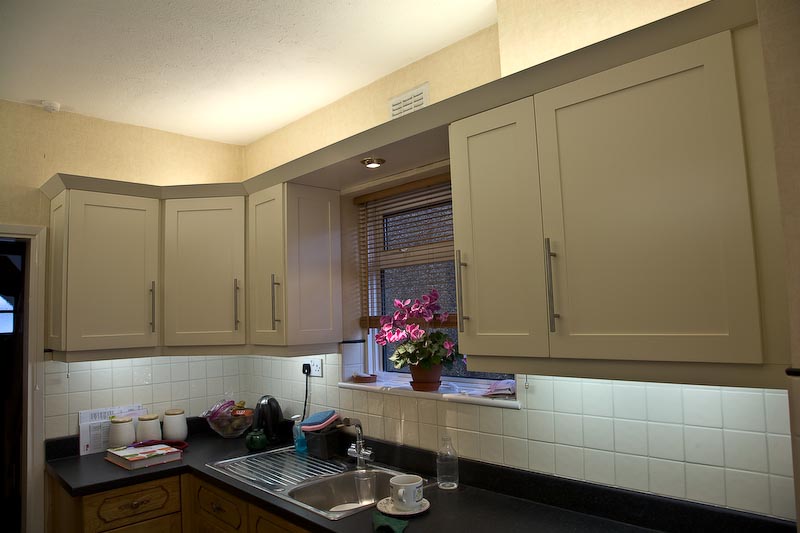
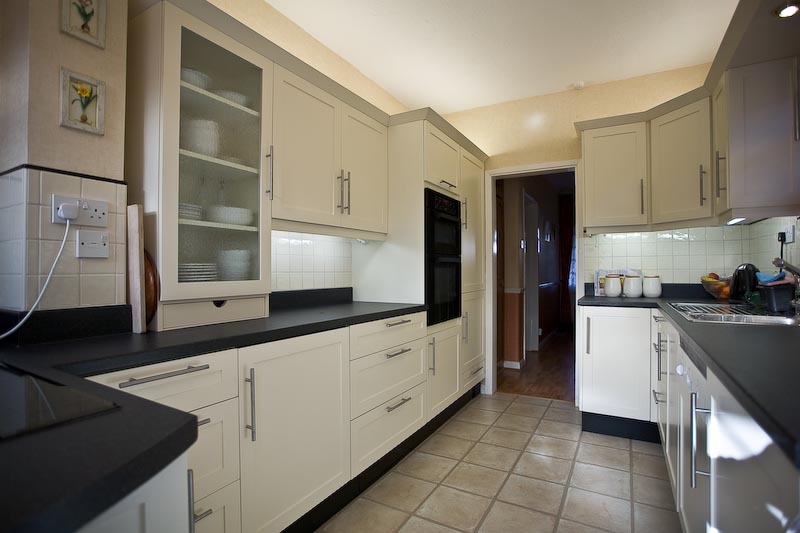
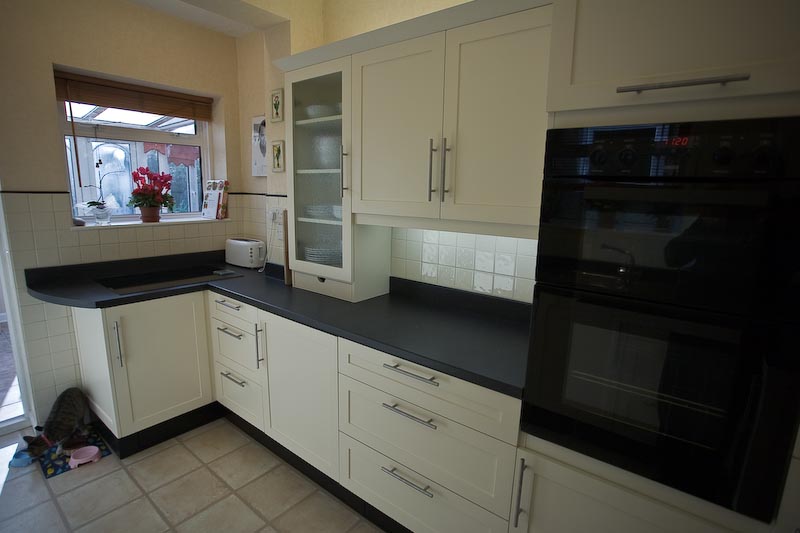
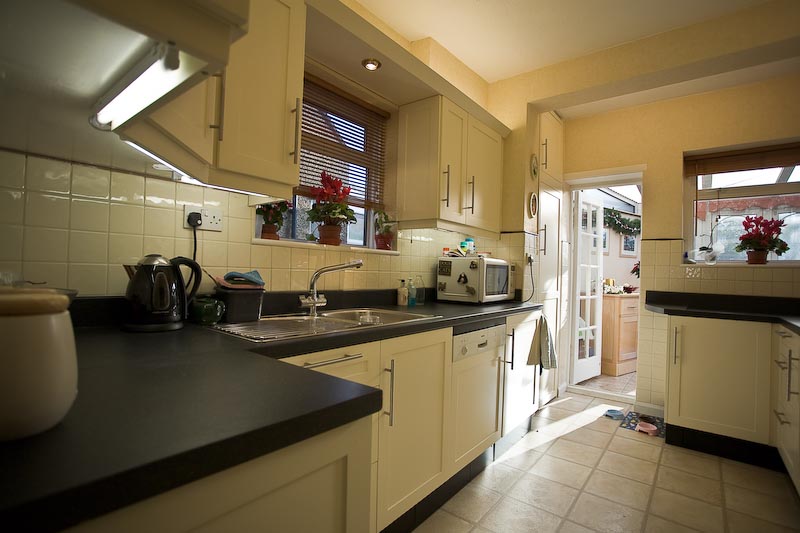
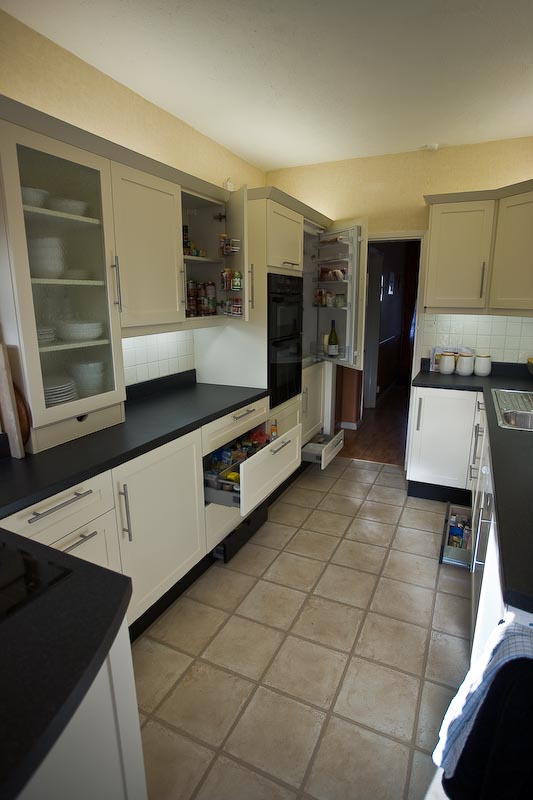
Well I finished it eventually :)

There is always something more that could be done and there is something that may get changed early next year (we don't like the glass door much so it may change to solid) but I think I'll call it finished now!

Some pictures

k051.jpg


k052.jpg


k053.jpg


I added 3 plinth drawers. you can see 2 of them here.
k054.jpg


I've not been keeping close tabs on the cost but if I had to guess I'd put it at around £600 for a newish kitchen with new soft close doors and drawers.

I'm pleased with it. plan is to continue new flooring through from the hall so it should look even better then :)

Just so it is tied in my painting problems thread is here and I'm about to add some pictures of cleaning the gun for addition to the tips there.
 
oh very nice indeed, looks like something out of one of those home magazines.

I see what your saying about the glass door. What about putting some lights in there and storing something a bit more showy? Like a colection of coloured glasses? Or does that just sound awful ? :D
 
Robert,
It looks terrific. A good reward for all the hard work and ingenuity you put into it.

Thanks very much for such an entertaining thread.
 
That kitchen looks great, and your trouble shooting in both threads was an excellent learning tool. Thanks for sharing. Hopefully you'll get out of Christmas day washing up now! :ho2
 
RobertMP":zx4u5icw said:
The MR MDF came from Blumsons in Barking. I collected it using the roofrack on the car so I don't know what delivery would cost.

Ex VAT prices...

2 sheets of 6mm (stamped 'Medite' on the edge) £9.38/sheet

4 sheets of 12mm (No ID on this thickness) £17.66/sheet

1 sheet of 18mm (Medite) £23.48

I didn't try to bluff I was trade or anything so those are their retail prices. Came to about £136 in total.

With my limited experience of working with it so far I prefer it to the std stuff. It cuts a bit cleaner and the dust seems to settle quicker.

Crikey,a sheet of MDF here in NZ costs 10 pounds.(18mm)

A sheet of 18mm melamine is 18 pounds.
 
Think the air fare might make it more expensive for me to shop there :)

Think I'd enjoy the shopping trip though. NZ is on the list of places I'd like to visit.

standard MDF here is about 2/3rds the price of this green coloured moisture resistant stuff.
 
RobertMP":24uhiocs said:
Think the air fare might make it more expensive for me to shop there :)

Think I'd enjoy the shopping trip though. NZ is on the list of places I'd like to visit.

standard MDF here is about 2/3rds the price of this green coloured moisture resistant stuff.
Thanks for info Robert,I am always interested in variation in prices round the world,Australia is even less expensive than here.

The moisture resistant stuff has not reached yet,will make some enquiries
 
As a trade user i expect to pay about £9.50 to £10 a sheet plus vat for standard 18mm MDF and around £12.50 a sheet for the moisture resistant grade.

cheers

Jon
 
bit of a bump from the dead this thread but :)

Still looks good. Only downside has been the little ledge created by the 'panel' edge inside each door and drawer face catches crumbs really well and needs a bit of cleaning attention now and again. The Dulux trade eggshell does clean well though.

Just made some similar style doors for the bathroom airing cupboard but have radiused the strip edges to avoid creating such a defined ledge.
 
Back
Top