Kiddies bed build - WIP - COMPLETE (Well almost...)

UKworkshop.co.uk

Help Support UKworkshop.co.uk:

This site may earn a commission from merchant affiliate links, including eBay, Amazon, and others.

TrimTheKing

Established Member
Joined
16 Mar 2007
Messages
2,108
Reaction score
0
Location
Grappenhall (Nr Warrington), Cheshire
Well seeing as Tom is moaning (not like him ;)) that we don't get enough WIP threads any more I thought I would kick off this one. We are expecting bambino #2 in about 10 weeks and I made the foolish commitment to making a bedroom suite for her new room (she's being evicted from the nursery) rather than let SWMBO spend stupid money on Mark Wilkinson stuff :shock: :shock:

Well, we are a single income household now she's a housewife so need to be frugal!!!

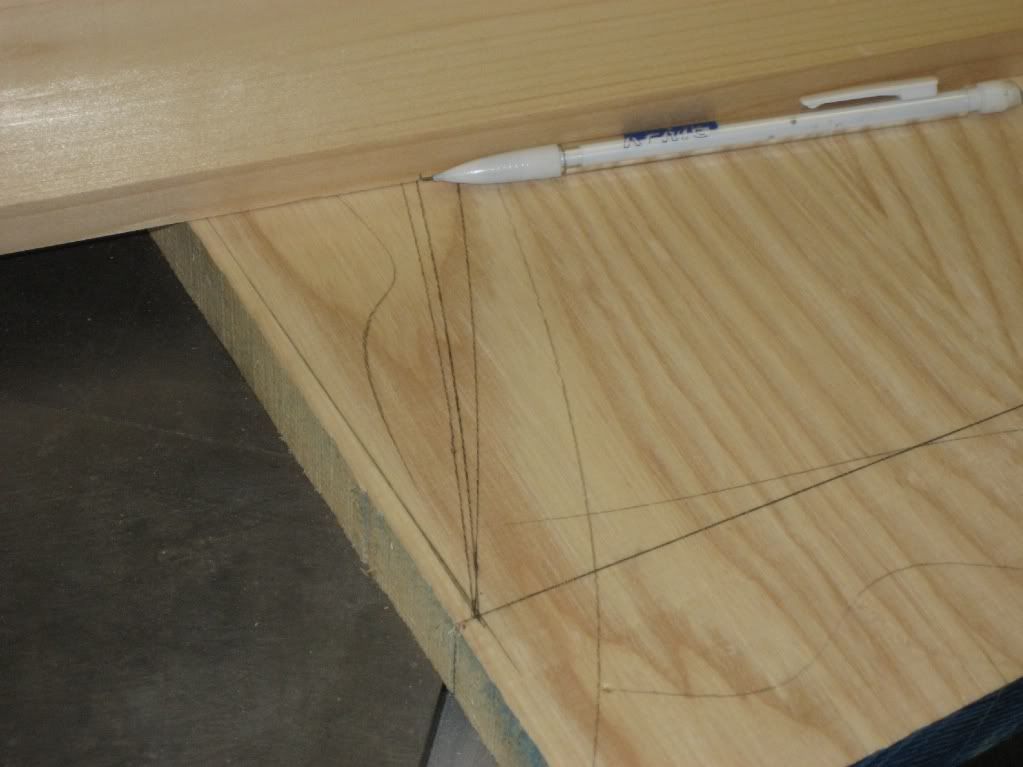
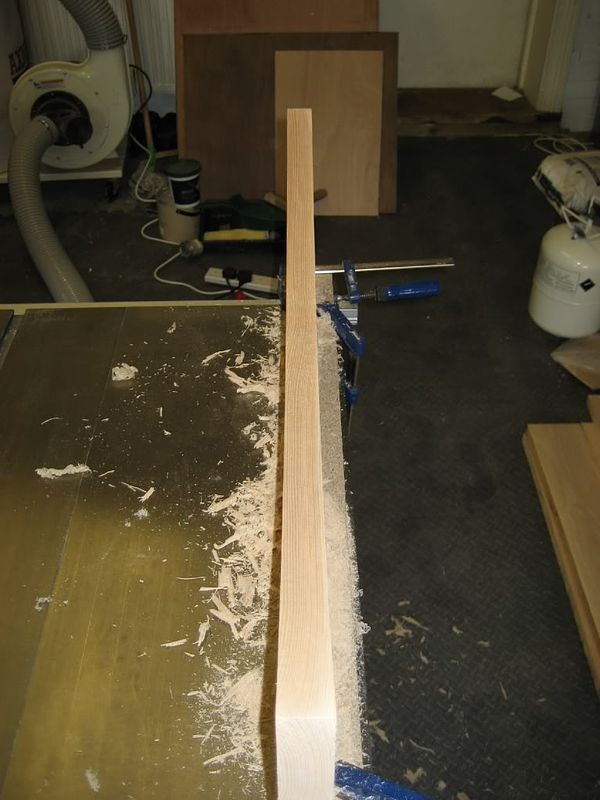
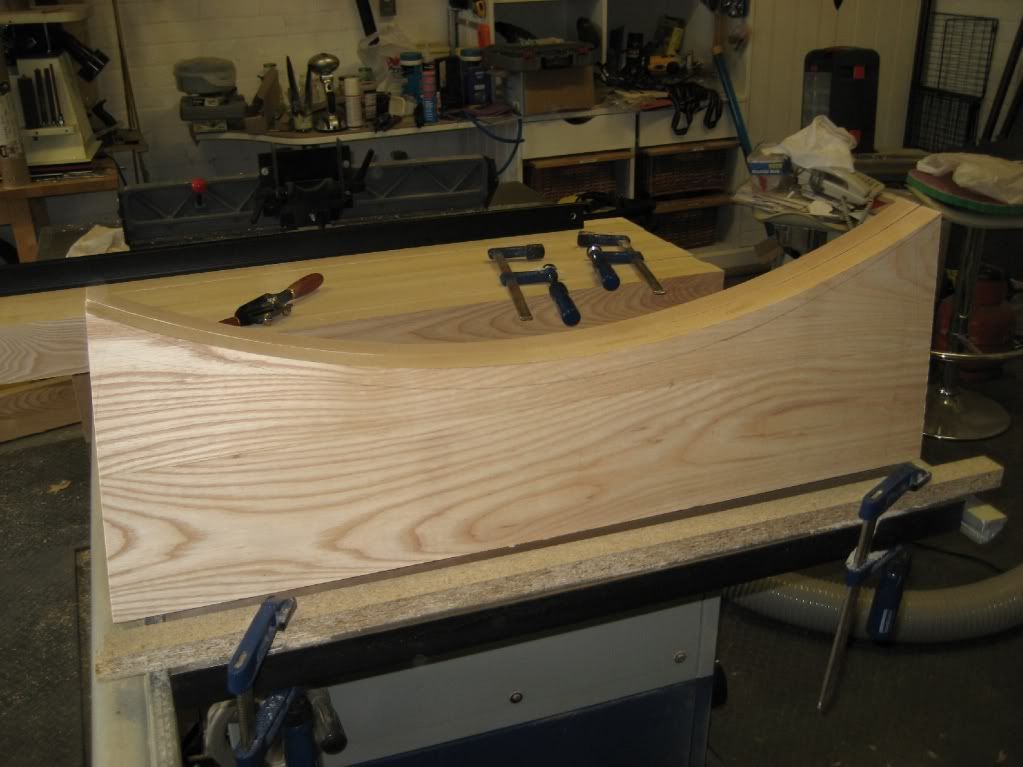
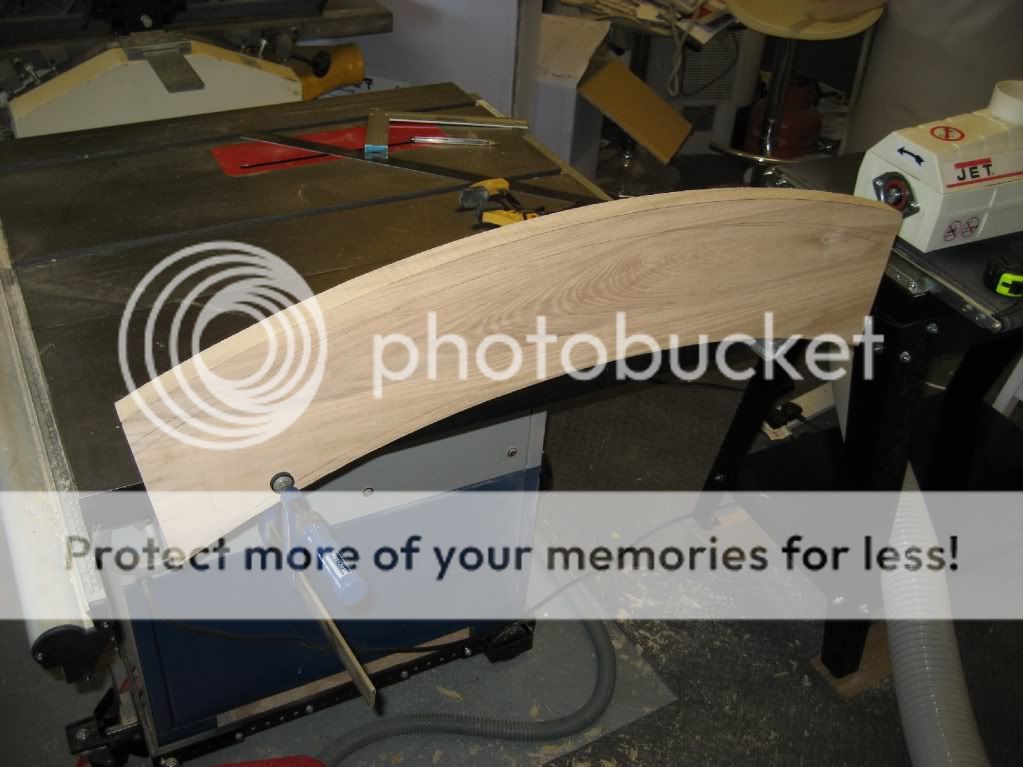
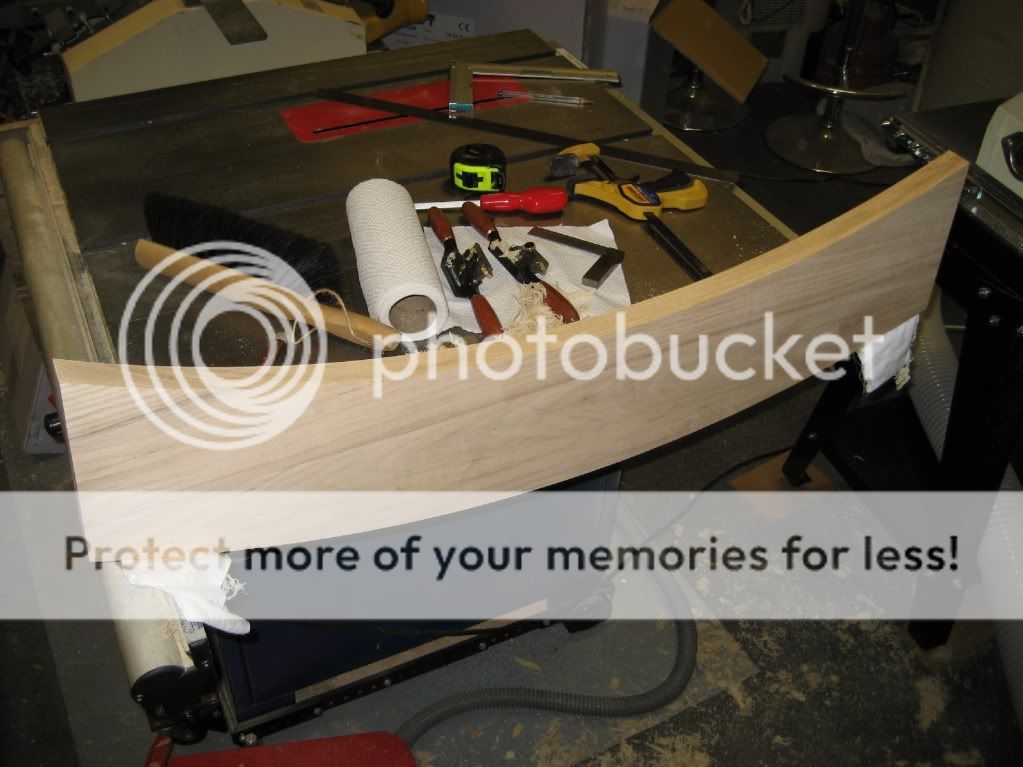
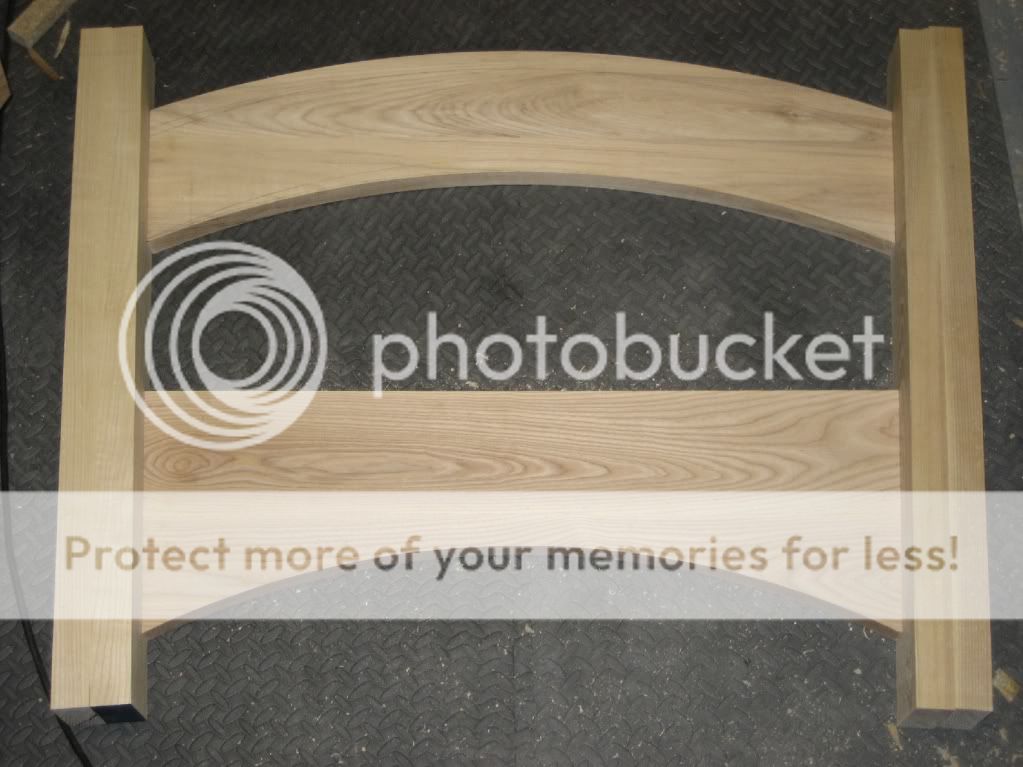
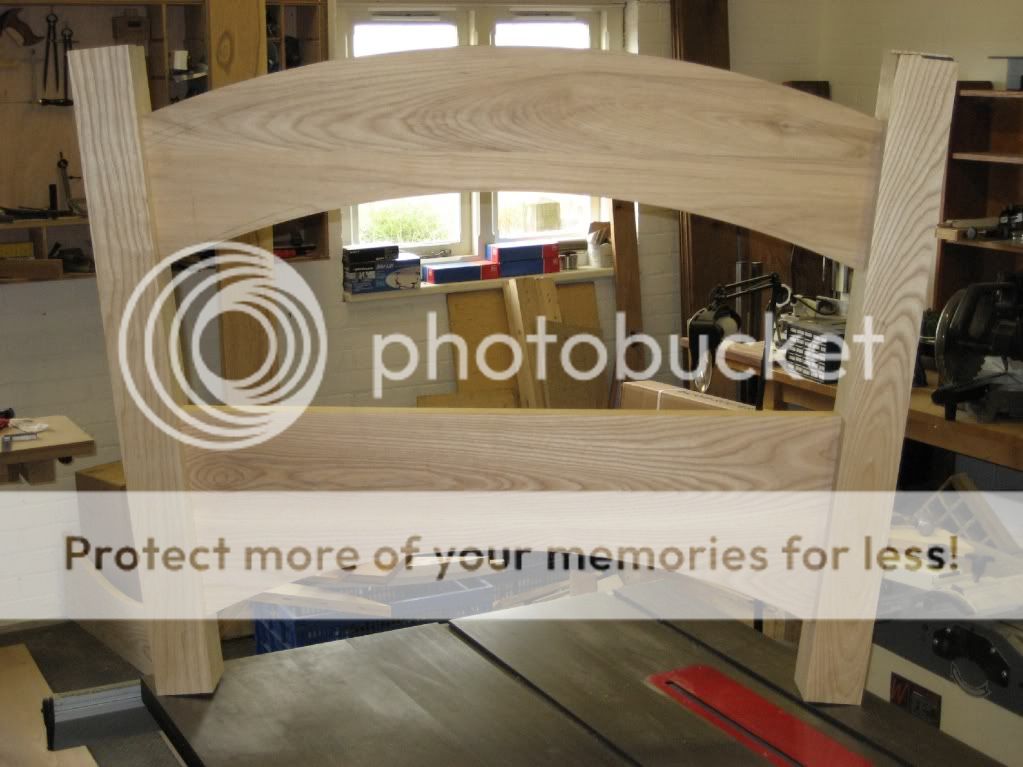
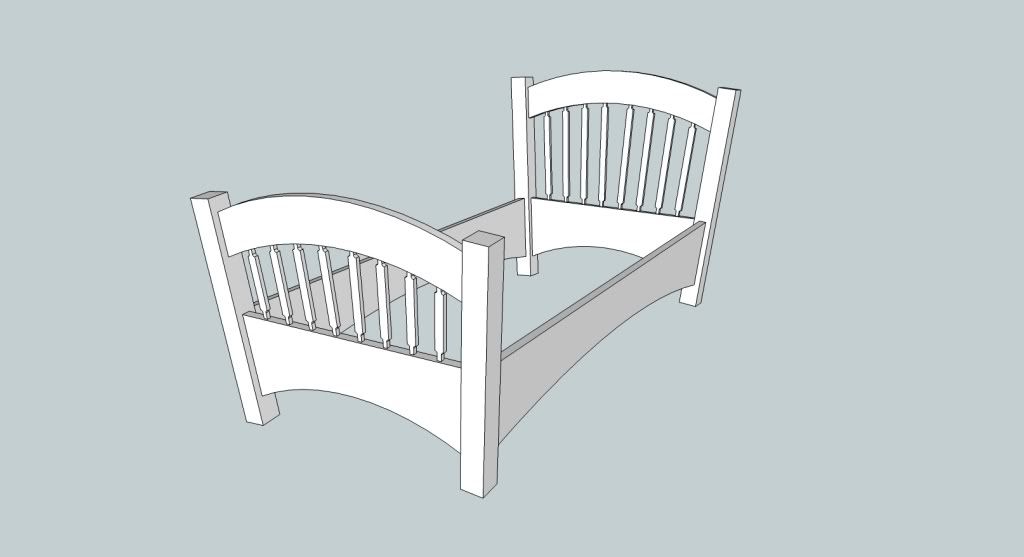
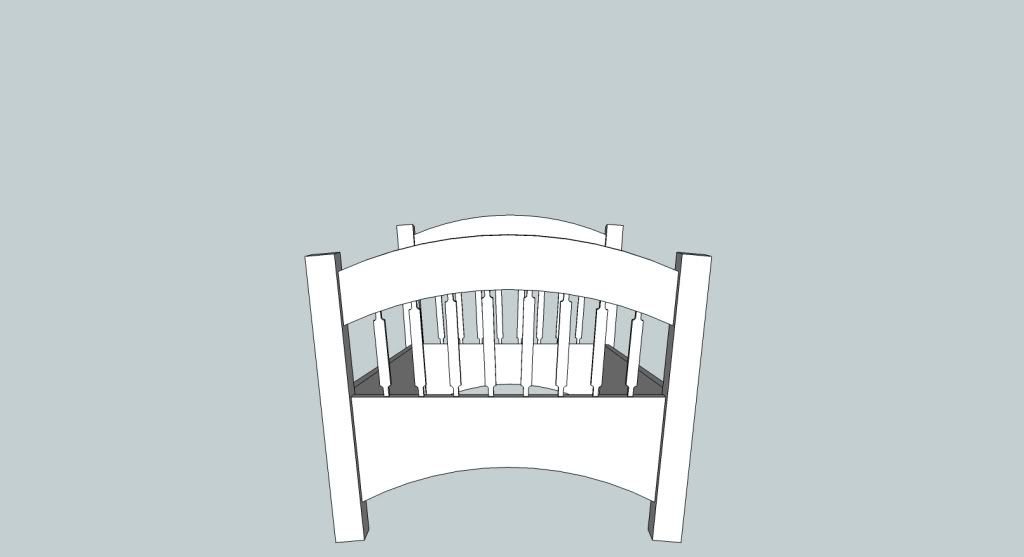
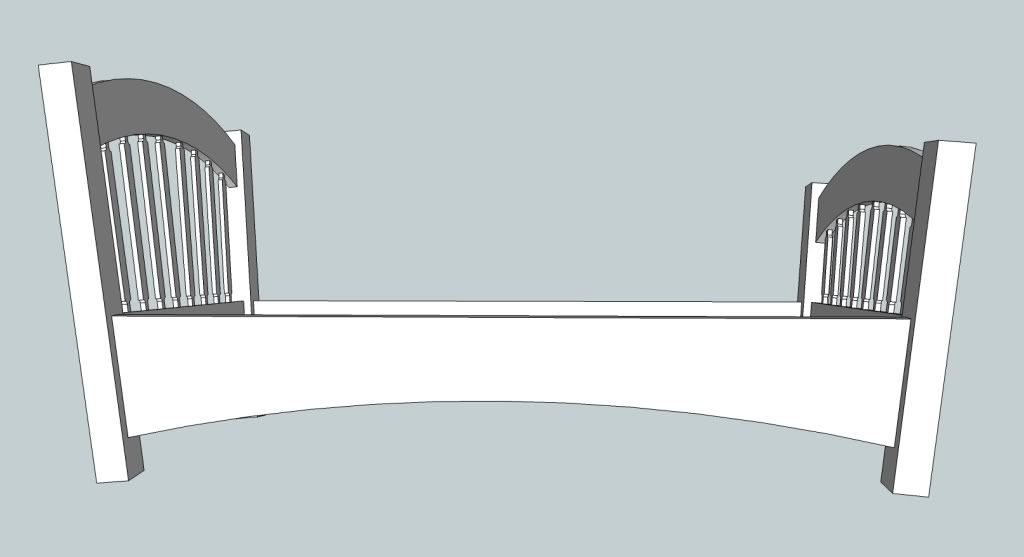
So, I have designed what I want the bed to look like (less some embellishments on the top of the posts that I can't be arsed working out how to draw in sketchup) and went and bought myself about 10cube of Ash (SWMBO's choice...) for making the bed.

The Wardrobe, side table and drawers will follow but given my time constraints and current workshop time the bed is most important.

So, here's the bed design...


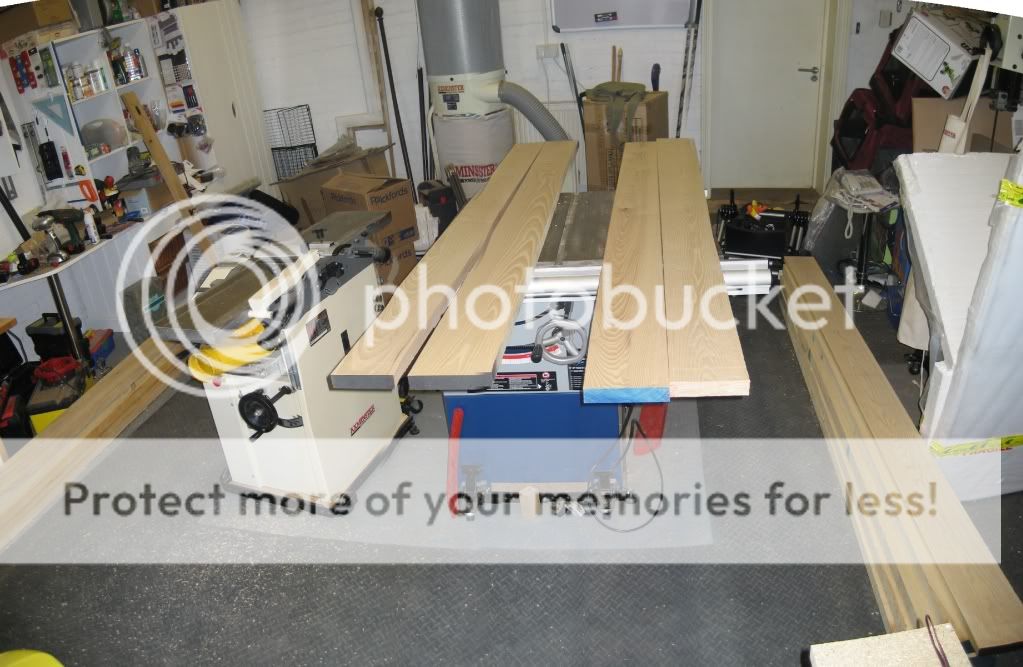
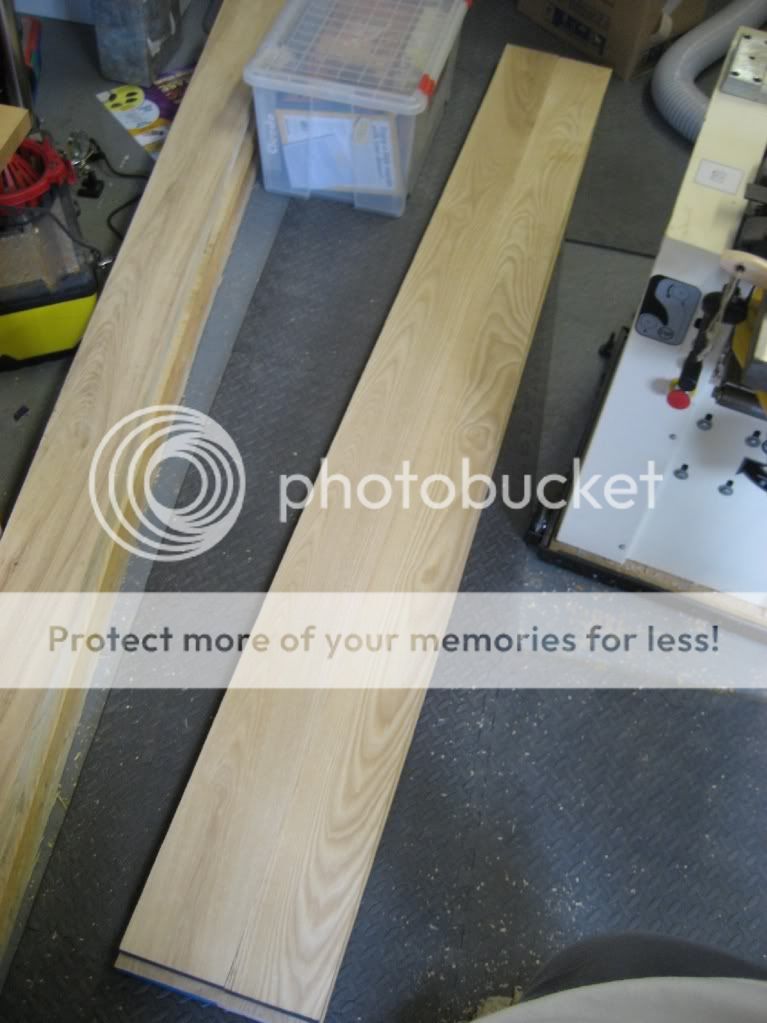
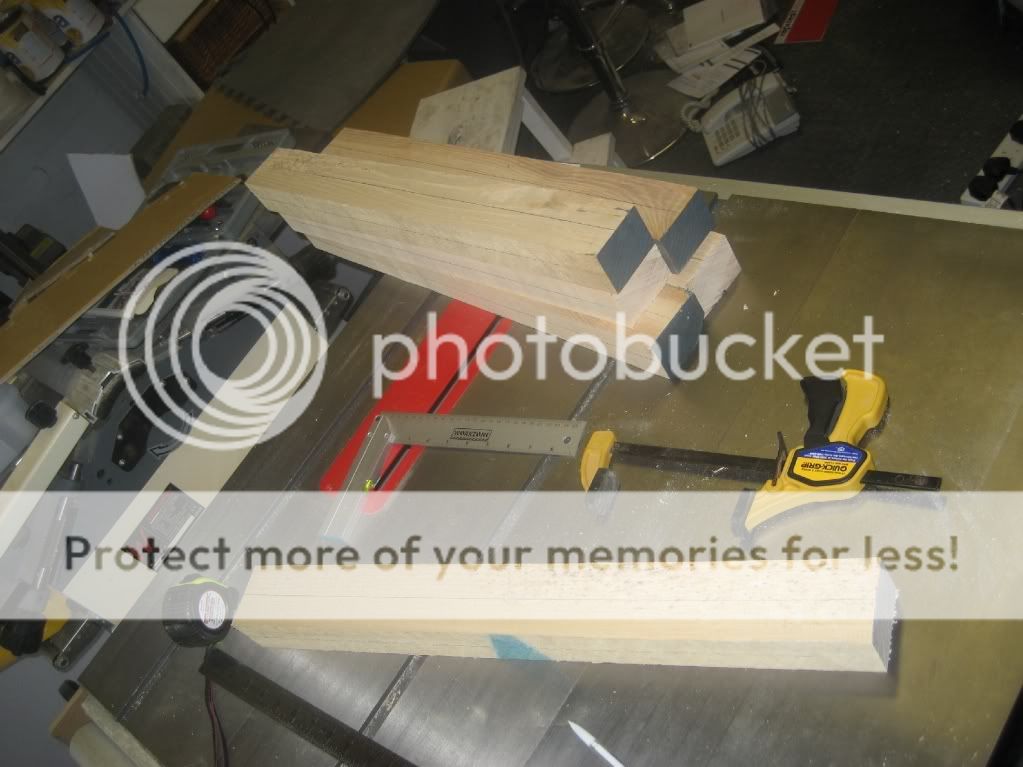
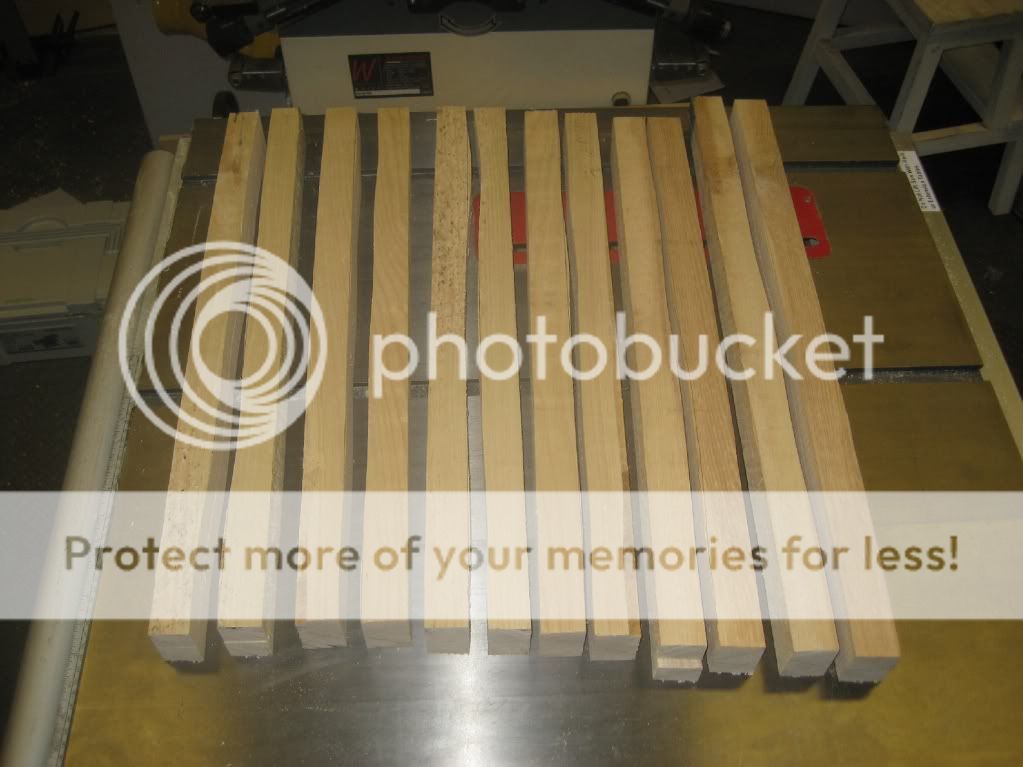
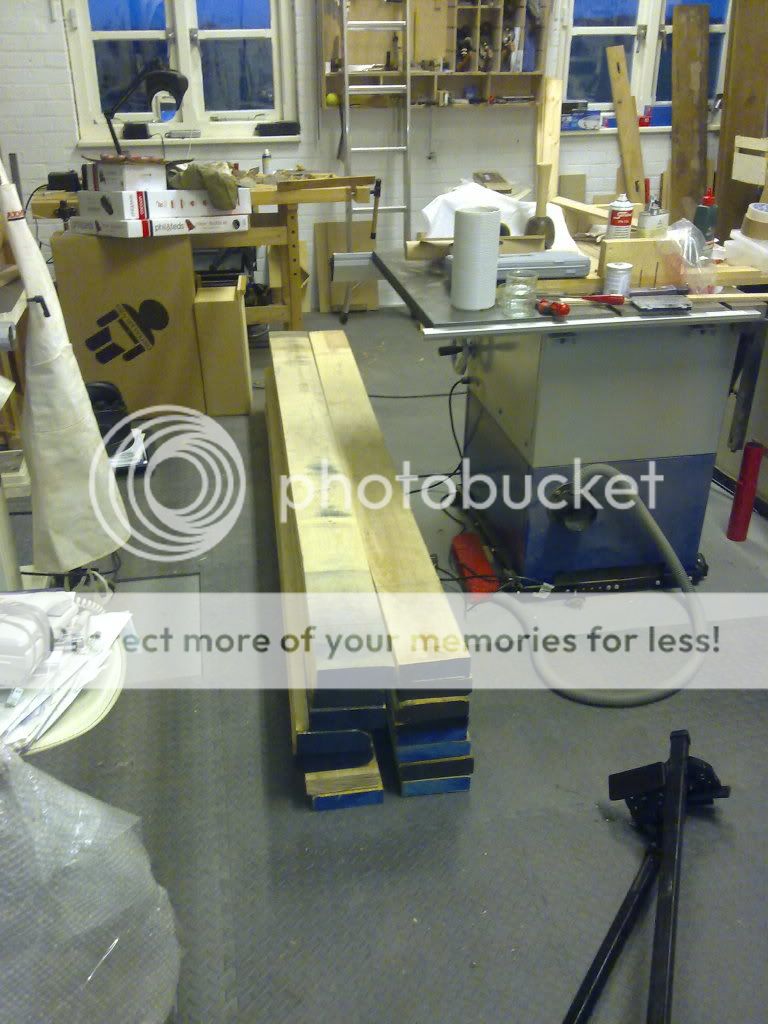
And here's the stack of timber I picked up on Monday. Not sure whether it was a good deal or not but I'm limited for decent timber places that will even talk to me as a hobbiest so this lot cost me £218 (average around £21 per cube).


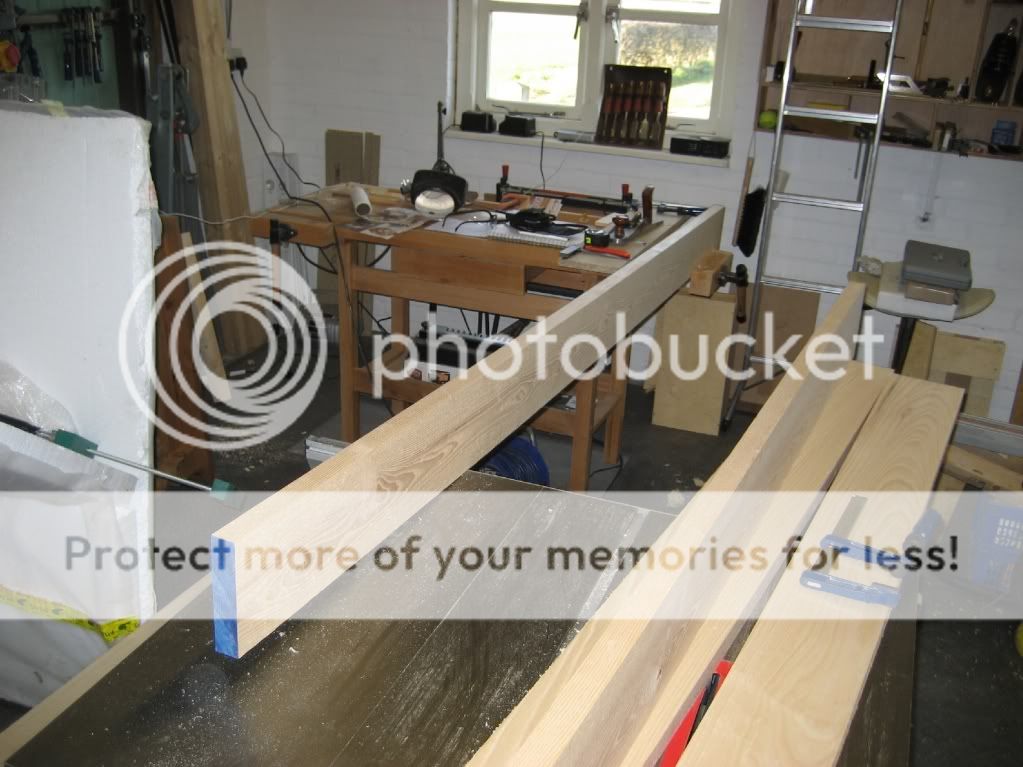
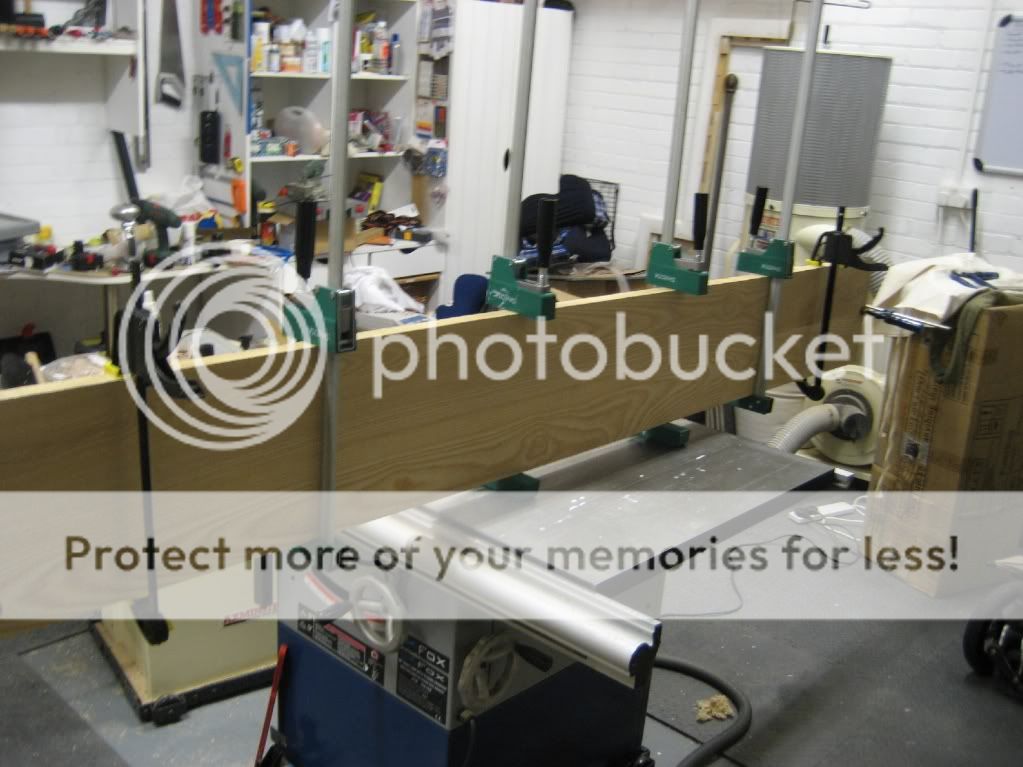
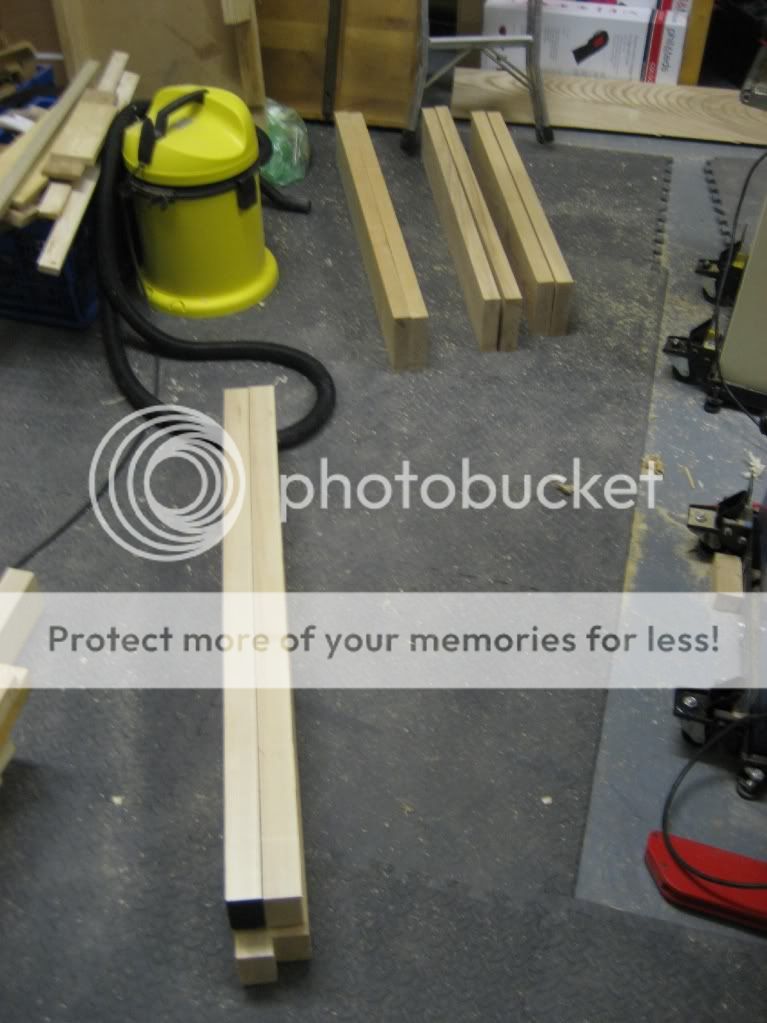
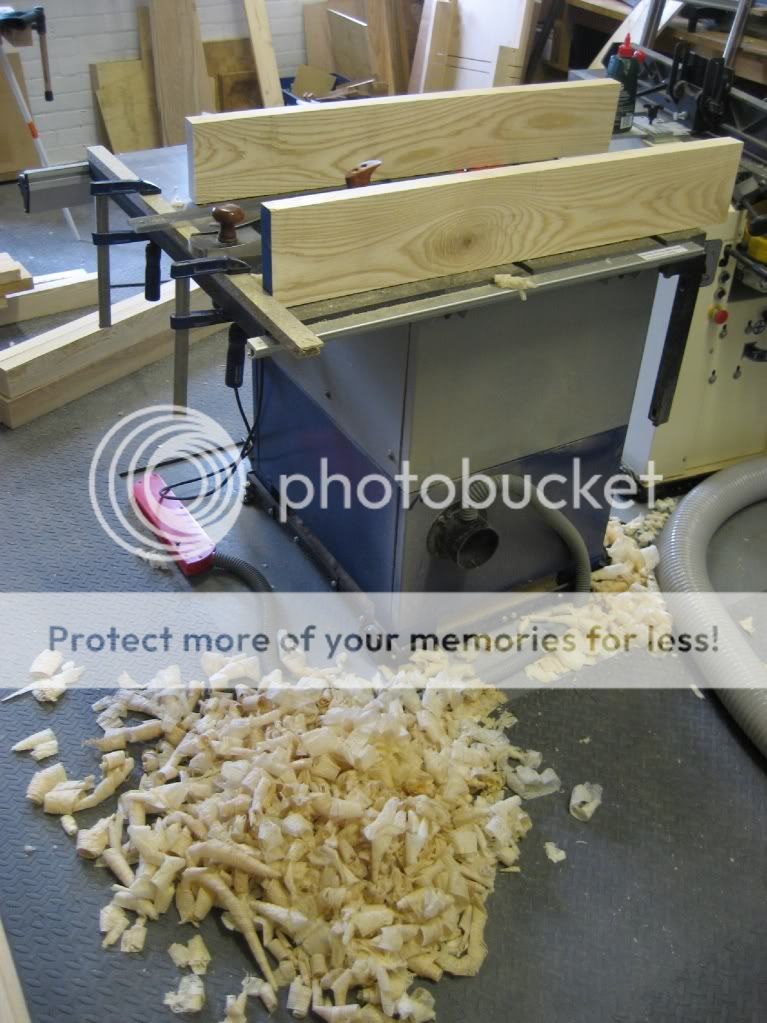
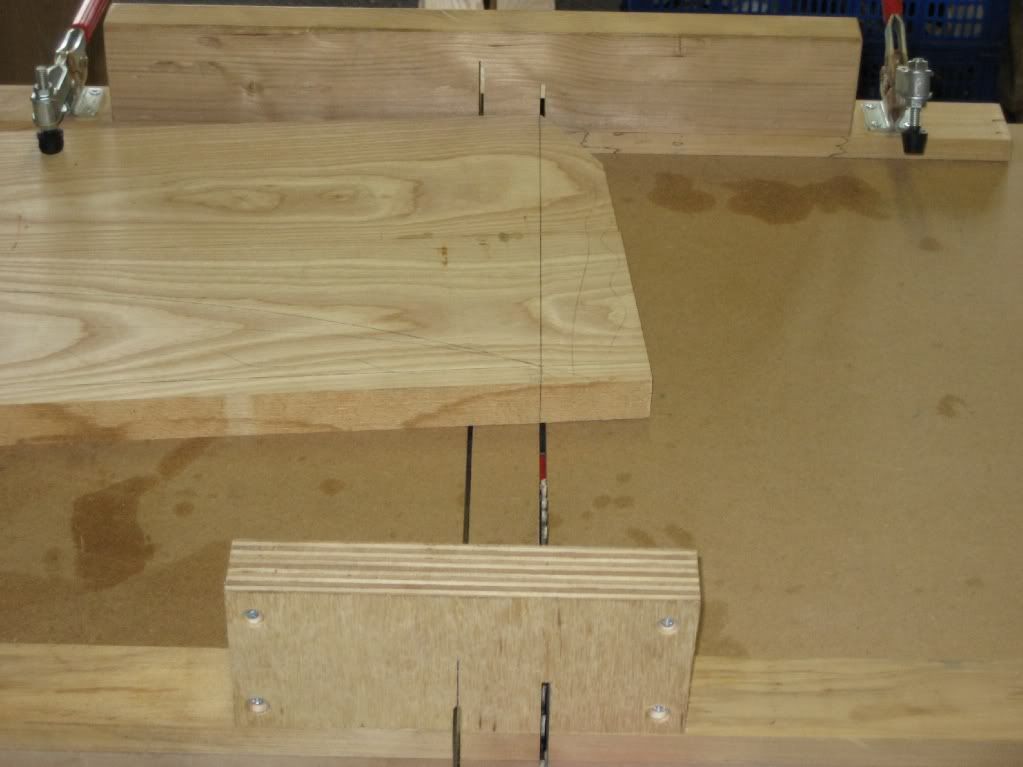
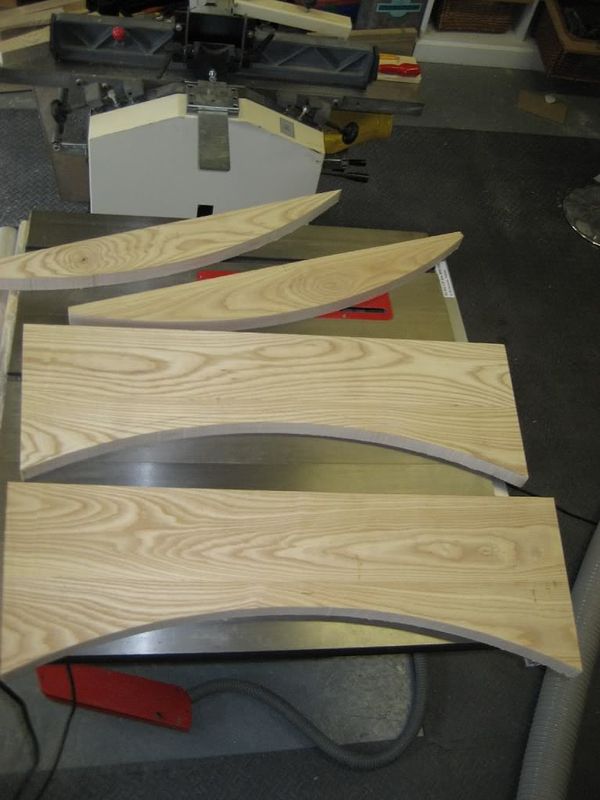
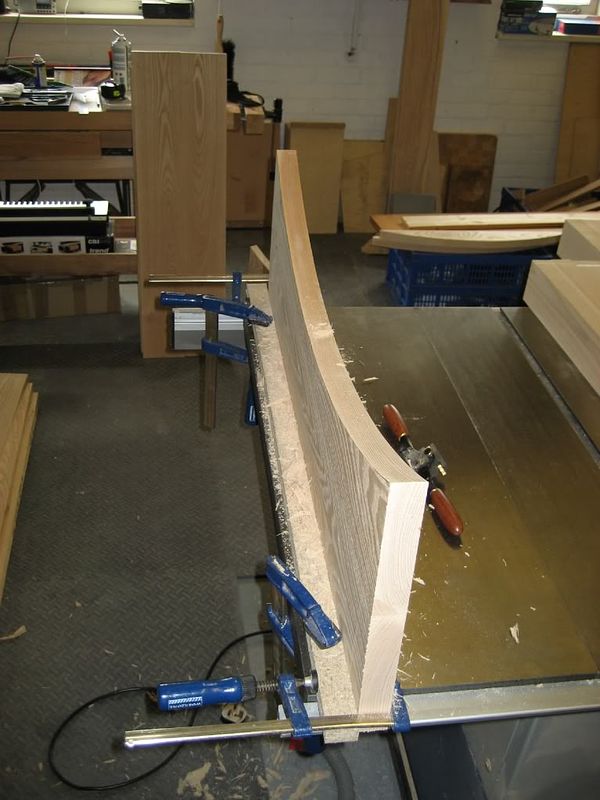
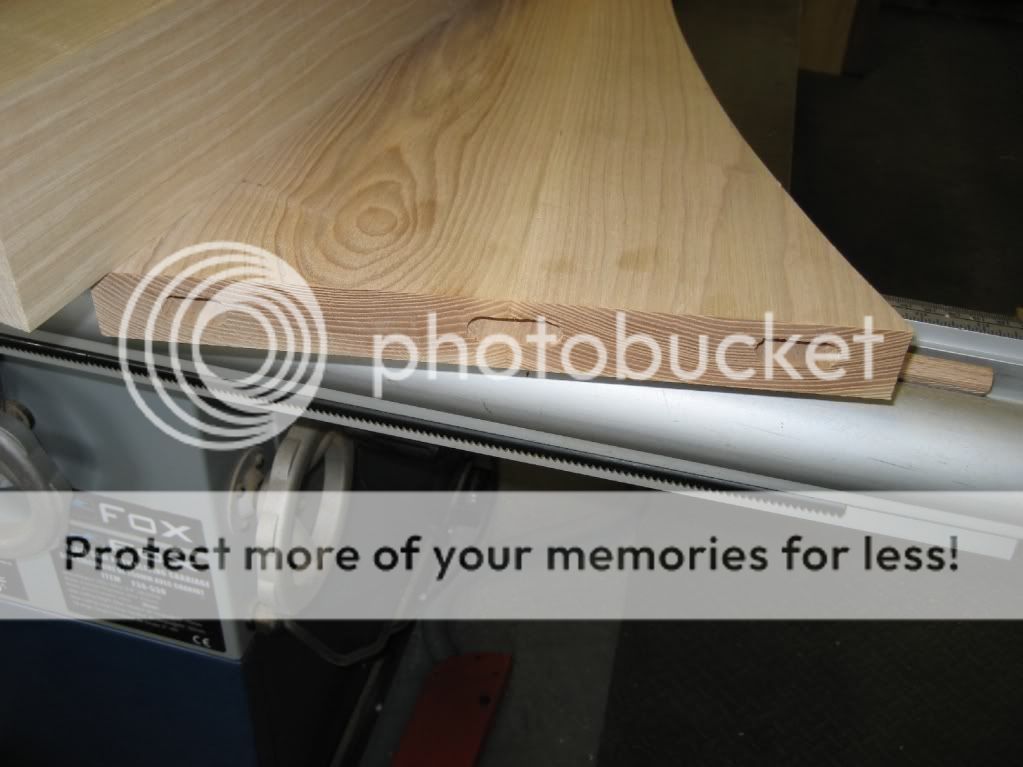
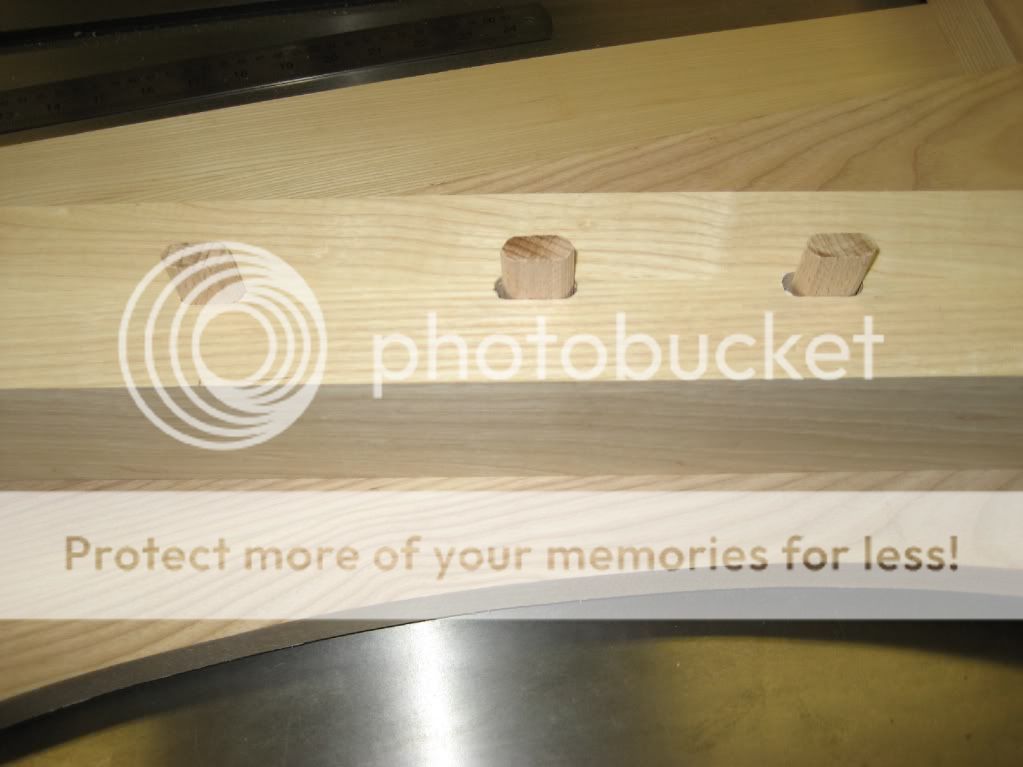
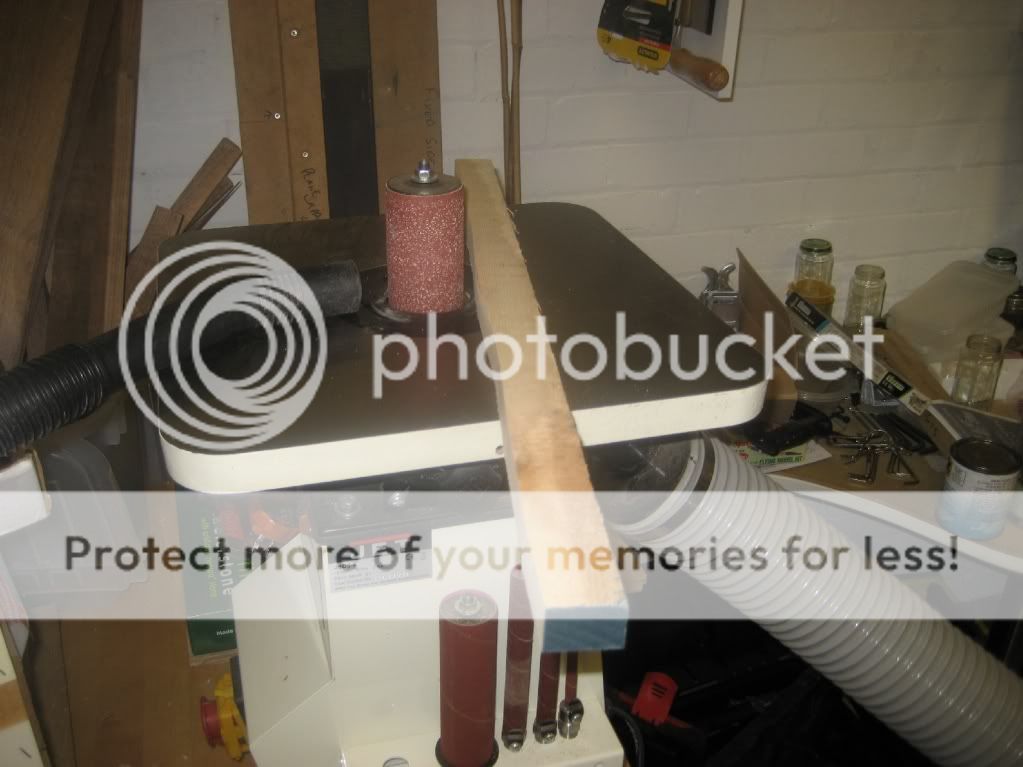
I am hoping to get into the 'shop this evening to face it all up and start organising my cuts to get the best grain matching and go from there.

Hopefully you can help me along the way...Heaven knows I'll need it ;)

As always, comments on desing, construction or anything else always welcomed.
 
Looks good. Look forward to following your wip.

Our second child is due at the end of August and we are planning to get our daughter into a single bed before then. I plan to make her new bed but just at planning stage at present as i have outdoor projects to complete first.

Was wondering how to go about fixing the sides to the ends so that the bed can be dismantled if required, how do you plan to go about this?

Cheers
gc
 
matt":2b221bci said:
Like the design except the bars look disproportionate to the rest of the bed - too delicate and fancy in an otherwise weighty and simply design (IMO, of course).
Thanks matt

The verticals on the head/foot boards you mean? That has been my thought too and may well change slightly to be honest. I want some kind of shape to them as I don't want it to look too square and there are some details I was planning to add (not currently on the sketchup) which should hopefully take some of the chunkiness out of it.

Got some work to do now but when I've finished I will add some of the details and repost to see how that looks.

gc - jyates did a very good bed build a while ago, here, which I am planning on copying, or at least cribbing from. Some kind of locating pins be they dowels or dom's (might be an excuse to splash the cash:D) with the half moon bed bolts. Will keep it nice and sturdy and invisible from the outside.

That's the plan anyway... ;)
 
Thanks for doing a WIP, Mark, this looks like an interesting one to follow with all those curves! Sounds like a fair price for that ash, assuming it's American (otherwise, if it's English then, it's a real bargain!! :D).
 
Looking good mate. I think I agree with Matt to some degree. Perhaps if you make all the rails just a touch simmer? This would lighten the piece a touch. The other option would be to go 'wacky' with the slats and have them curly\curvy. Would be a 'fun' aspect but not if the boss doesn't see it that way ;)

It's good to see the workshop in such a mess. Makes me feel at home :lol:
 
I really like the design as it is. It looks cot like but is a bed. I say cot like because of the big sides and rails at the head and foot. It's maybe a perfect transition for the little'un.
 
how old is the child this bed is for ?

My feeling if its a littleun is that you should either have solid head and footboards or fewer bars as a good number with narrow gaps is aking for feet, wrists, heads etc to get stuck between them

at the less bad end this will ocasion "dadeee, i'm stuck in the bed" and liberal aplications of butter to get the offending limb free while at the worse end it could lead to breakage of either the child or the bed
 
Also, I know you have the biggest house known to man, but have you considered storage? Our daughter's cot\bed has a sliding drawer under it. I know you probably don't want to build that into this design, but you might want to consider clearances for storing things under there.
 
So after buying the timber and facing it all up just after this original post i left it all in stick to settle until I had some time to start looking at it.

Easter weekend was perfect and SWMBO told me that I should use the time when bambino has her morning nap then lunch (approximately 11am-2:30) in the workshop then we could do family things in the afternoon.

Sounded like a good deal to me so on Friday I got in there and had a look at what the timber was showing me to match up the grain for the long side rails.

Came out with these...
Bed001.jpg


Got the long edges jointed on the planer but the tables must be a bit out of alignment after my messing around to get the thicknesser working properly so I could only get a slightly convex edge. Set them up in the vice and rested on TS to joint them by hand
Bed002.jpg


Then same deal to get some biscuits into them for alignment/strength
Bed003.jpg


Here's where I had my first cock up, got cocky on my second to last biscuit :roll: and didn't move it far enough away from the wood before lowering and took a chunk out of the edge
Bed004.jpg


Luckily I had left these rails about 6mm over thickness so providing they don't move too much I should be able to remove most material from this side and lose the ding. I was ruching so I probably should have just taken the edge off on the TS as I had a good 20mm to play with on the width but I wasn't thinking straight so I glued it up anyway
Bed005.jpg


And here it is
Bed006.jpg


Next I planned out and cut out all the components for the legs and head/footboard top and bottom rails
Bed008.jpg


Jointed the edges on these to get a slightly sprung joint. Shouldn't really need it as the timber is dry and my workshop is the same temp and RH as the rest of my house as it's an attached garage running on the central heating system but I like to do it anyway just in case. Mmmmmmm shavings :lol:
Bed007.jpg


One of the legs in the cramps. Having to do one at a time as I want the tightest joints I can to hide the glue joints. Once the cramps came off this and I faced up one side the glue joint is almost invisible so I'm happy.
Bed009.jpg


I have now jointed and thicknessed (slightly over) all the leg timbers and all rails ready for gluing which I will be continuing tomorrow night and over the weekend. Too depressed after United's shocking showing in the second half this evening :(

More to come after the weekend so stay tuned...
 
Good progress, Mark. :)

I've also noticed that at least one of the tables has a tendency to move every few months and I'm also getting convex edges at the minute! :x Most machines I've worked with have suffered from this, including one of the more expensive Scheppach models and a huge Italian Griggio.

I like the way you've planed those edges by hand - good use of the table saw! :D I'll rarely glue up boards straight from the planer anyway, even when using the machines at college, as I like to have that slight hollow or concave edge as well.
 
Are those Rutlands Dakota parallel clamps you've used there ?
I've had my eye on some for a while now but have been worried about the quality compared with the, much more expensive, Besseys.
Are the Rutlands ones worth having ?

Mark
 
Krysstel":3nki4eef said:
Are those Rutlands Dakota parallel clamps you've used there ?
I've had my eye on some for a while now but have been worried about the quality compared with the, much more expensive, Besseys.
Are the Rutlands ones worth having ?

Mark
They are indeed, but don't tell Tom or he'll stop speaking to me :wink:

I'm in two minds to be honest, they can apply a lot of pressure but I have found that the mechanism can be a bit silly and not catch on the bar properly sometimes. You just need to fiddle around with it a bit, but when trying to get something glued up it's stressful enough anyway and when the first clamp does this it's bl00dy annoying.

For the price I'm reasonably happy but having handled the Besseys they are not a patch on them. I have 4 of these and 2 are fine and catch perfectly, the other two are temperamental.

Tempted with the tecord sash's that Paul and Rob prefer now. I'm not convinced that being able to clamp something at 6000N or whatever these can do is really necessary so unless they do a ridiculous offer on them I probably won't be buying any more.

Physically they are well built and feel substantial but the mechanism is the let down. HTH
 
TrimTheKing":1baacwoj said:
Krysstel":1baacwoj said:
Are those Rutlands Dakota parallel clamps you've used there ?
I've had my eye on some for a while now but have been worried about the quality compared with the, much more expensive, Besseys.
Are the Rutlands ones worth having ?

Mark
They are indeed, but don't tell Tom or he'll stop speaking to me :wink:

I've never said a bad word against those clamps FACT. I just had a go at the supposed 'director' of Rutlands when he decided to put his head above the parapet. It just happened to be in a post about those clamps. I've seen them in the flash and they seem ok. Can't tell much difference between them and my Besseys. I'm sure that costs have been cut somewhere, but whether or not that has affected the quality, I'm in not position to comment.

Now, ask me my view on Dakota products in general..... :twisted:


PS, my Besseys are temperamental and I'd probably not buy more unless I was particularly flush. Like Mark, I'd go for either Record Sash's or Sash Heads. Both can't be faulted (and that's saying something from me). ;)
 
wizer":j2u9b9je said:
TrimTheKing":j2u9b9je said:
Krysstel":j2u9b9je said:
Are those Rutlands Dakota parallel clamps you've used there ?
I've had my eye on some for a while now but have been worried about the quality compared with the, much more expensive, Besseys.
Are the Rutlands ones worth having ?

Mark
They are indeed, but don't tell Tom or he'll stop speaking to me :wink:

I've never said a bad word against those clamps FACT. I just had a go at the supposed 'director' of Rutlands when he decided to put his head above the parapet. It just happened to be in a post about those clamps. I've seen them in the flash and they seem ok. Can't tell much difference between them and my Besseys. I'm sure that costs have been cut somewhere, but whether or not that has affected the quality, I'm in not position to comment.

Now, ask me my view on Dakota products in general..... :twisted:


PS, my Besseys are temperamental and I'd probably not buy more unless I was particularly flush. Like Mark, I'd go for either Record Sash's or Sash Heads. Both can't be faulted (and that's saying something from me). ;)

I've got both Besseys and Dakotas. The Dakotas are OK but not a s good as the Besseys, infact I hardley use the D's since I got the B's. I also had the Axi version which are exactly the same as the D's but they have broken. In future I will buy Bessey.

S
 
TrimTheKing":li1w00od said:
Tempted with the tecord sash's that Paul and Rob prefer now.

I've managed with Record cramp heads until recently but I'm gradually building up a set of Record #135 sash cramps. They're unbeatable in my view. Absolutely nothing to go wrong and will last a generation or two, or three.

Places like D&M Tools do them at a good price http://www.dm-tools.co.uk/browse.php/se ... 44/level/4

Cheers :wink:

Paul
 
Thanks for all the replies about the parallel clamps. I'll buy some more clamp heads instead to supplement the 4 axi ones I've already got and been very happy with. Bessey parallels are way over my budget. Incidently, I recently bought two long Bessey f-clamps and they suffer from the same problem with the mechanism slipping on the bar.

Mark
 
Finally an update to the progress on this. It's over on The Haven too so feel free to ignore here if you want :D

Latest update before I go in there tomorrow.

After gluing up the rails for the head & foot boards I needed to draw the curves so here's my super technical curve-o-matic 1000, otherwise known as 2 bits of scrap tacked together with a masonry nail at various distances from the rail until I got the right radius :D
Bed010.jpg


And after a little trial and error...
Bed011.jpg


Next is cutting the 5deg slope onto the ends of the rails (if you remember from above the legs cant out at 5deg, and backwards at 5deg also)
Bed012.jpg


Next cutting the curves on the rails and here are both the base and top rail of the foot board with one curve cut
Bed024.jpg

Bed013.jpg


And then the legs being squared up after some judicious thicknessing. Notice the monster snipe on the ends which prompted a 3 hour hiatus to get to the bottom of this. I can now take any thickness off on either the thicknesser or planer and get 5thou of snipe on thicknessing and not a single bit of snipe on jointing, so I'm happy with that.
Bed014.jpg


Cleaning up the curves with the veritas curved sole spoke shave. Takes a little getting used to to twist the wrists properly, but once mastered (well, when I say mastered... :oops: ) it leaves an amazing finish (second pic) that I won;t even be touching with abrasives as it is like glass to the touch.
Bed015.jpg

Bed016.jpg

Bed017.jpg

Bed018.jpg

Bed019.jpg


And here is the foot board laid out to tweak the angles of the top rail
Bed020.jpg


Now came the exciting bit for me, the first use (in anger) of Big Dom!!! After spending a good while reading the official manual, then both the unofficial ones, I tested it out on some scrap to get my bearings, then took the plunge. Using the reference pins on both the body of Big Dom, then the ref pins on the extension wings I tentatively hit the end of the rail. So far so good...
Bed022.jpg


Then I measured where I wanted them on the leg and nervously did that too (with a bit of waggle to assist ;)...
Bed021.jpg


And here's how it worked out (dry fit only). WooHoo!!! :dance: I appreciate that for the pro's and those who have had a Dom for a while that this will seem ridiculous, but for my first attempt it was scary as all hell as I've a lot of time invested in this so far and didn't want to arse it up ;)
Bed023.jpg


Next I took the offcuts and marked them into quarters in the length then freehanded them on the bandsaw. The eagle eyed among you will notice that they are completely on the p!ss which is entirely intentional! No, honest!

This bed is to match some Mark Wilkinson furniture we have for her bedroom, which is called the Goldilocks range and is made to look like it's bee hand made from curvy woodland sticks (or some such guff ;)) so I want these spindles to match that style.
Bed025.jpg

Bed026.jpg


Once they were cut out I got to work on them with the spindle sander and took the saw marks off. Just a rough sanding for now, they will be cleaned up with the shave later.
Bed027.jpg


And that's it for now.

Hopefully more tomorrow as I plan to complete the joinery for the head board, drill the holes for the bolts to hold the side rails on, and make a start on the spindles, providing I don't 'wizer' anything along the way ;)

Nite nite all.
 
Back
Top