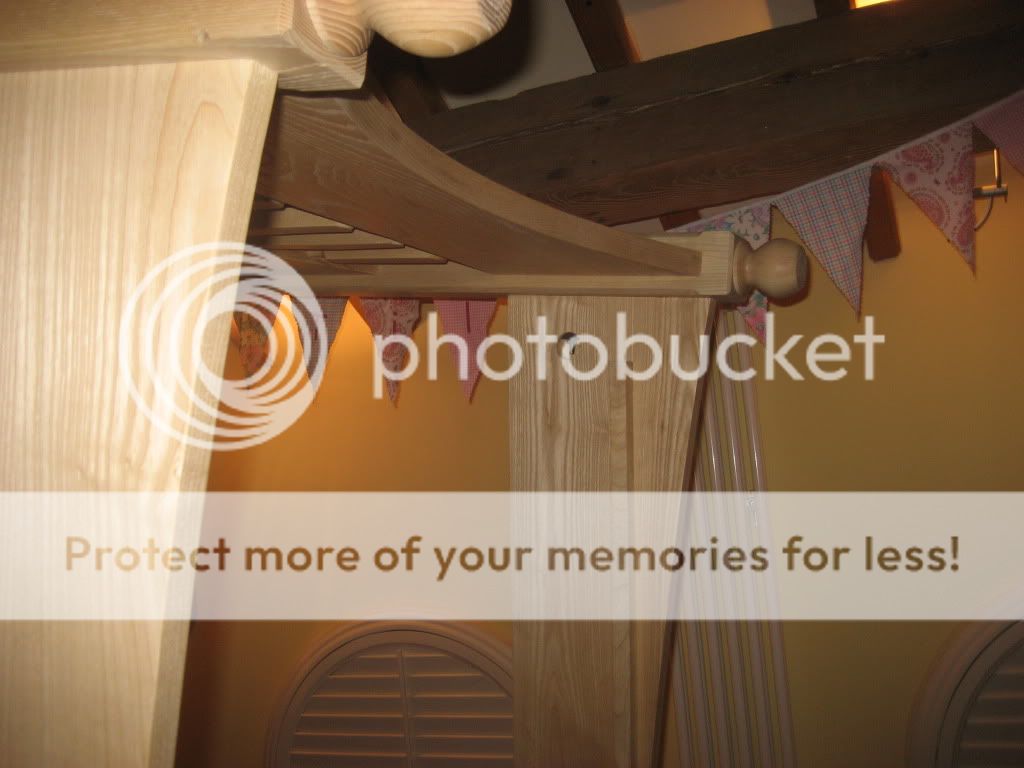
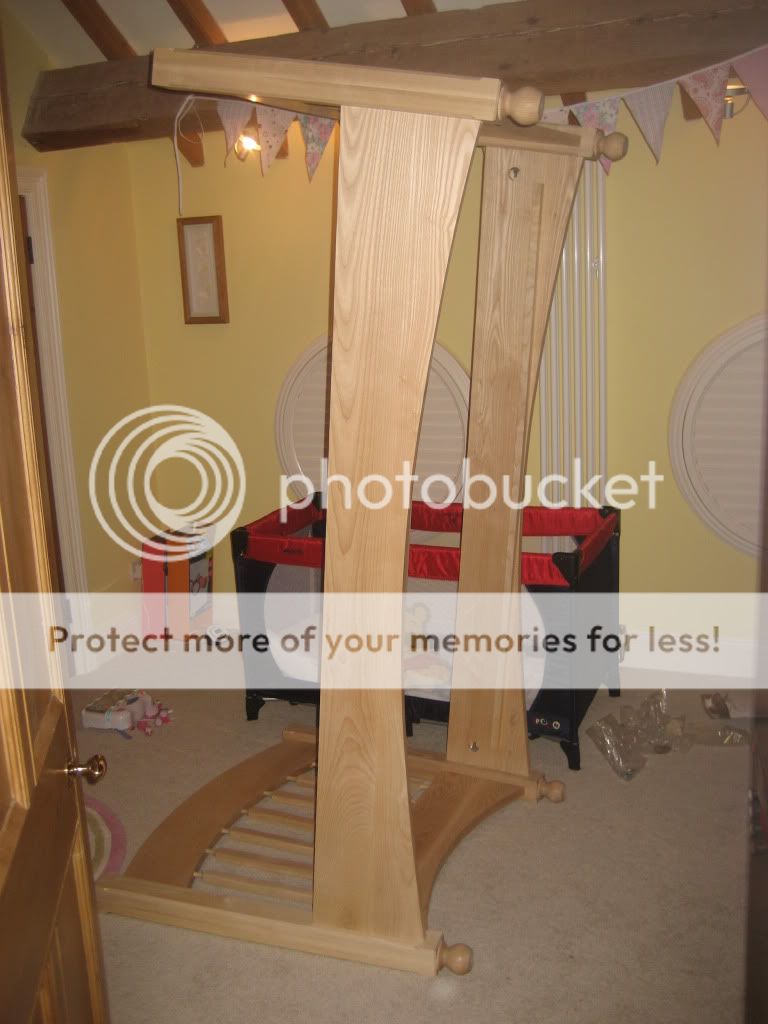
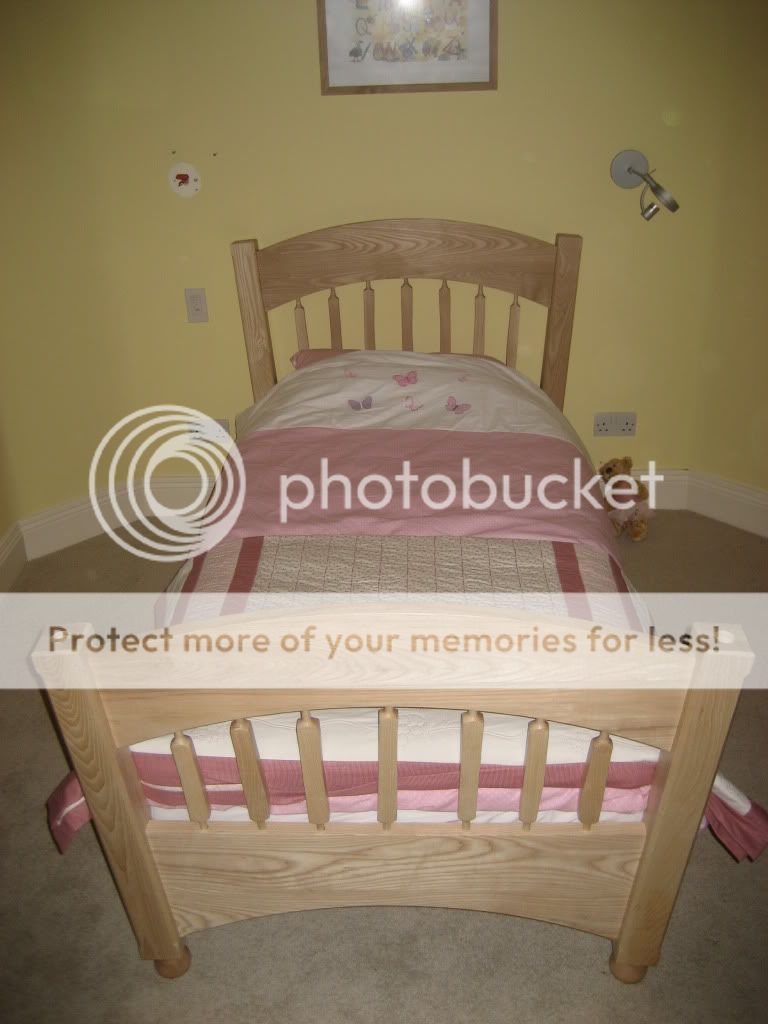
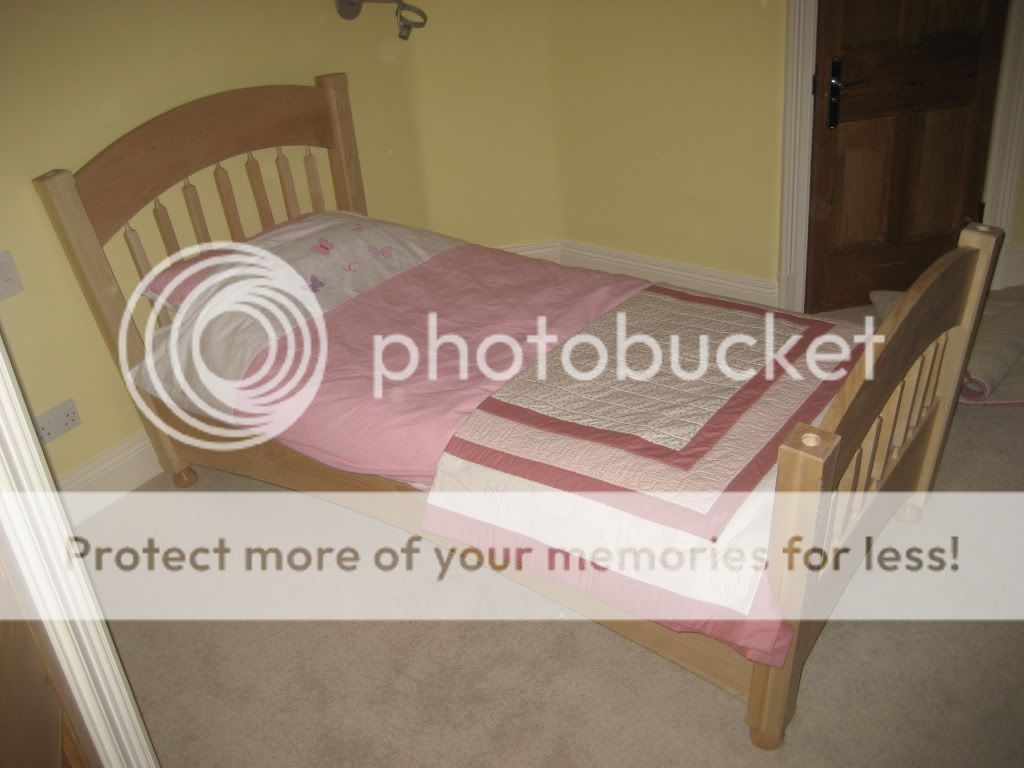
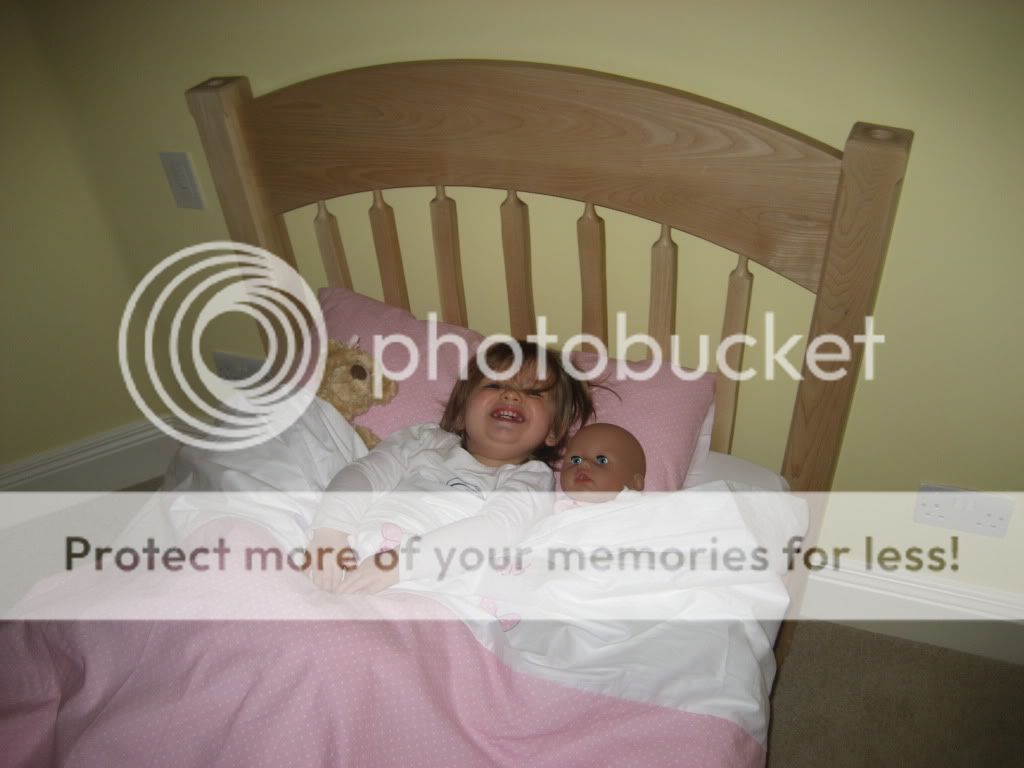
Well it's been a long time in the coming but it's finished!!! Well, almost, all bar the acorns for atop the legs, but she needed to sleep in it before she's too old

and I can do the acorns at my leisure as I need some lathe practice to make sure I get them right.
I apologise in advance for the length of this post, but there's a lot to get in there as it's been 3 months since my last diary entry...
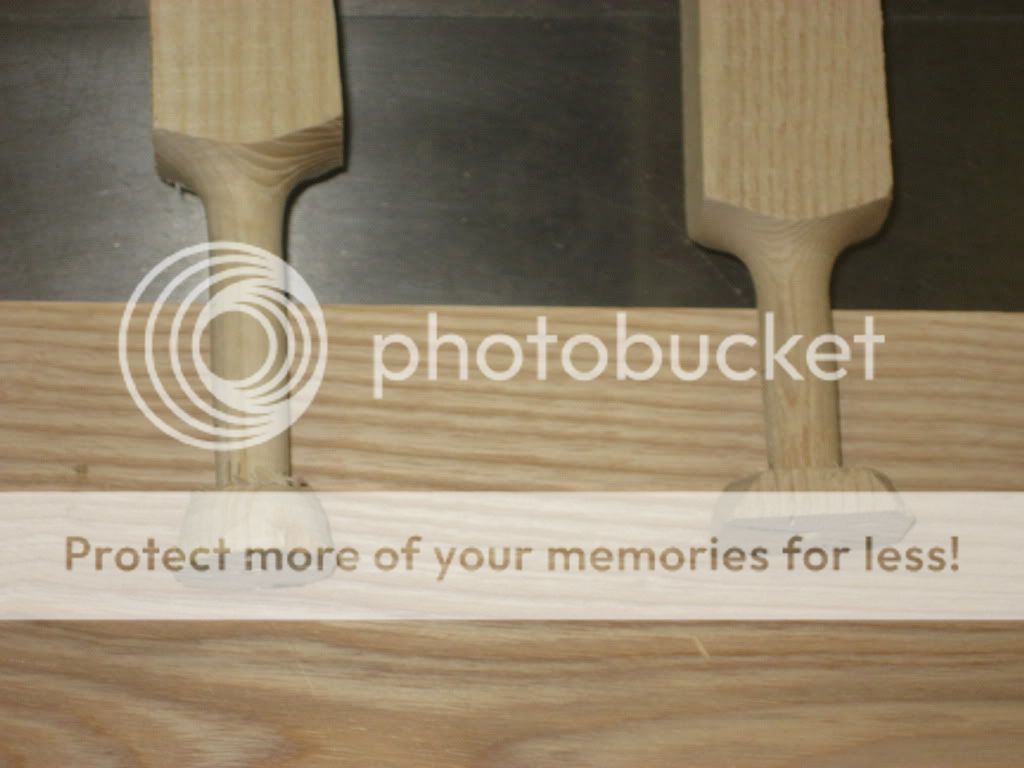
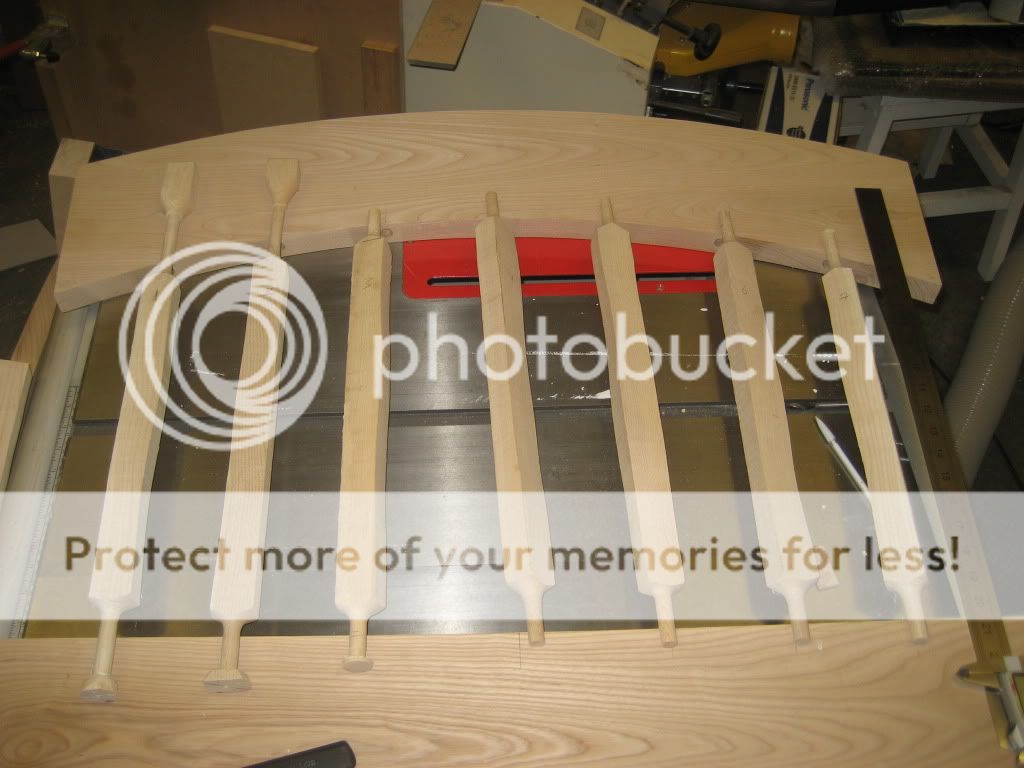
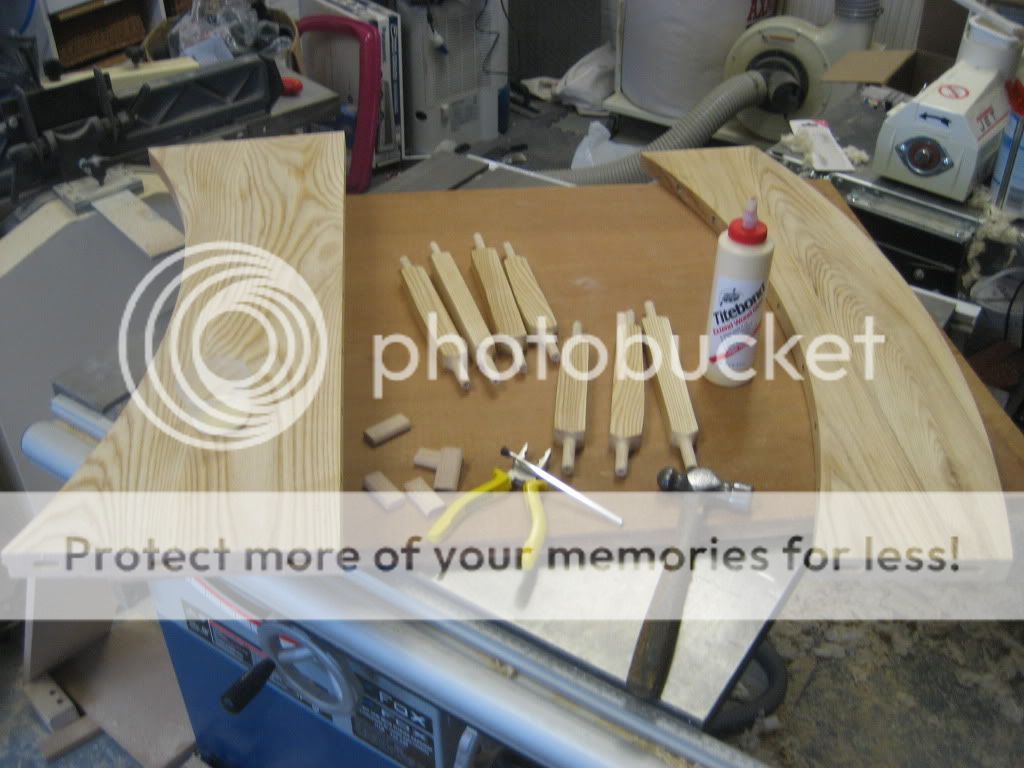
So here we go, after the last update I was at the stage of having dry fit together the head/foot boards and was sanding down the spindles. I then got to work on turning the ends of the spindles to a round spigot to fit into 13mm drill holes in the top/bottom rails of the end boards...
These were then measured, spaced and tweaked to length to ensure that the spindle shoulders were level to each other (ish)...
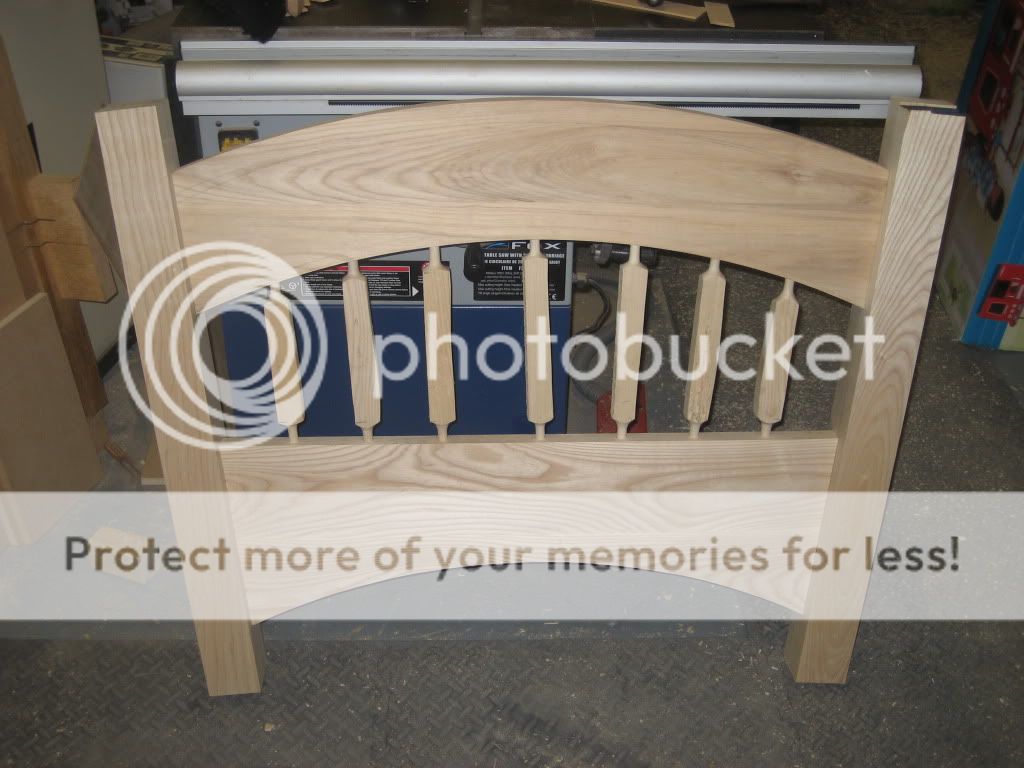
Then dry fit and tweaked until the whole thing fitted together nice and tight in dry fit.
Next, after the legs had been cut to length was to add the details, nothing fancy just a couple of chamfers, down each of the vertical arrises and around the top/bottom edges. All router burn was taken out with card scrapers and the chamfers were tweaked with a chisel to make them look more hand cut, no reason, just fancied it.
All headboard components were then given 2 coats of paste wax (except the holes and spigots of spindles obviously) then came glue up...
I bought the Titebond extend because I knew it would be tricky getting all the spindles etc in alignment, then the legs on, but little did I realise quite how tricky...
Long story but let's just say I started with the footboard as it's the smaller of the two, and after 15 mins the whole shebang nearly went through the bandsaw a la Rob! My nice tight dry fit, once given some glue was just too tight to go together (and I also managed to get the top rail the wrong way round and the slight discrepancy in the angles of the drill holes made it impossible to get together).
So with glue on my hands, tears in my eyes and bile tripping from my tongue at a rate of knots my better half heard the screams and came to assist. Between us we got it all apart, right way round and back together inside 5 mins, although the domino's still needed the assistance of a 2lb lump hammer to 'convince' them they wanted to mate...

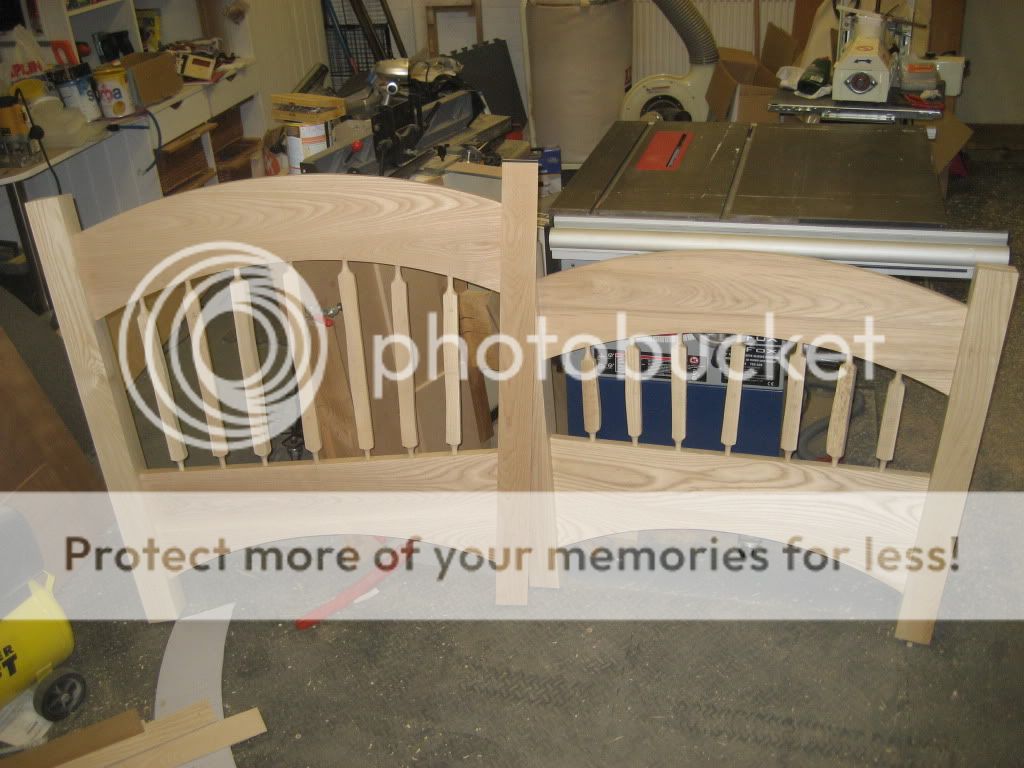
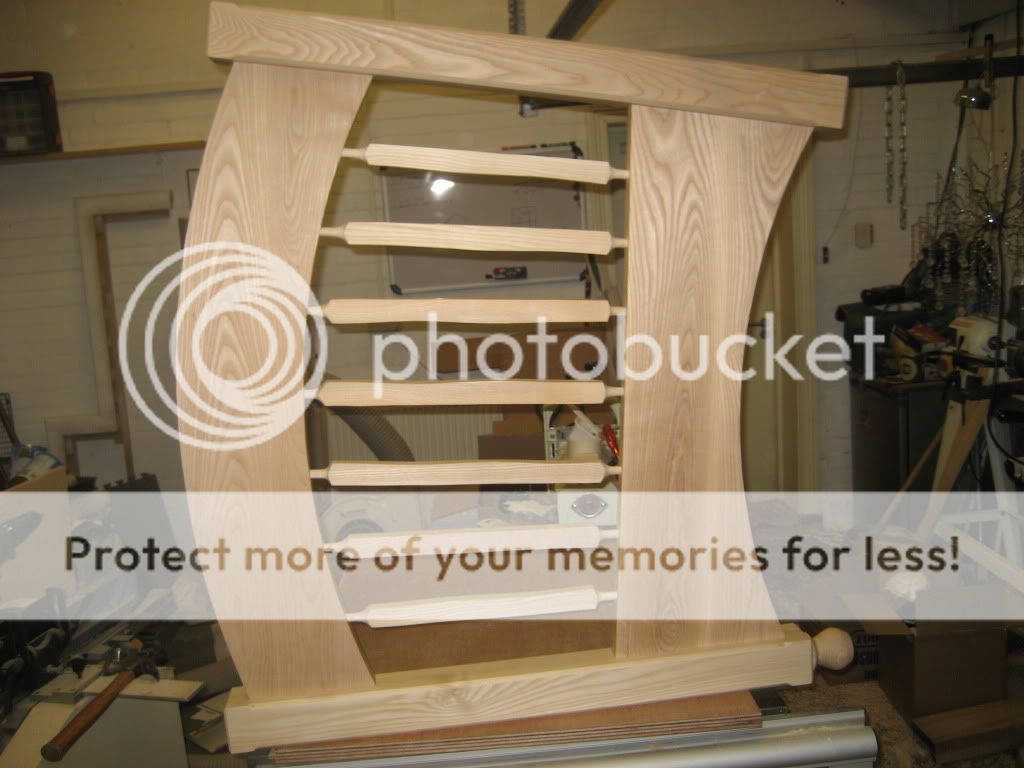
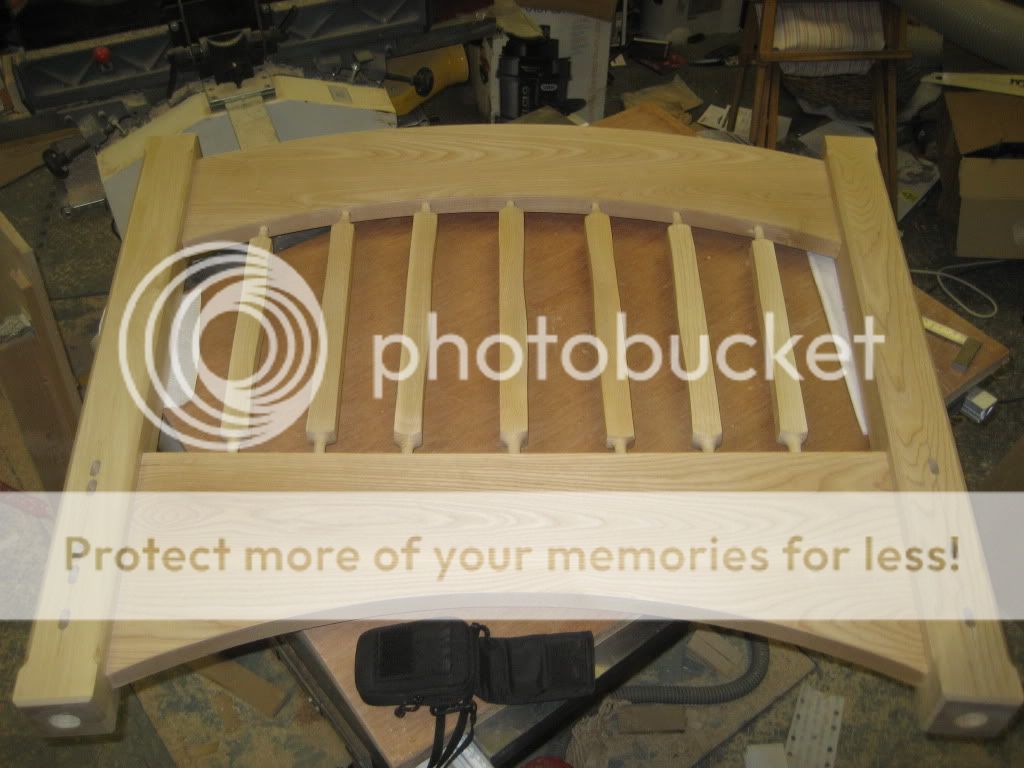
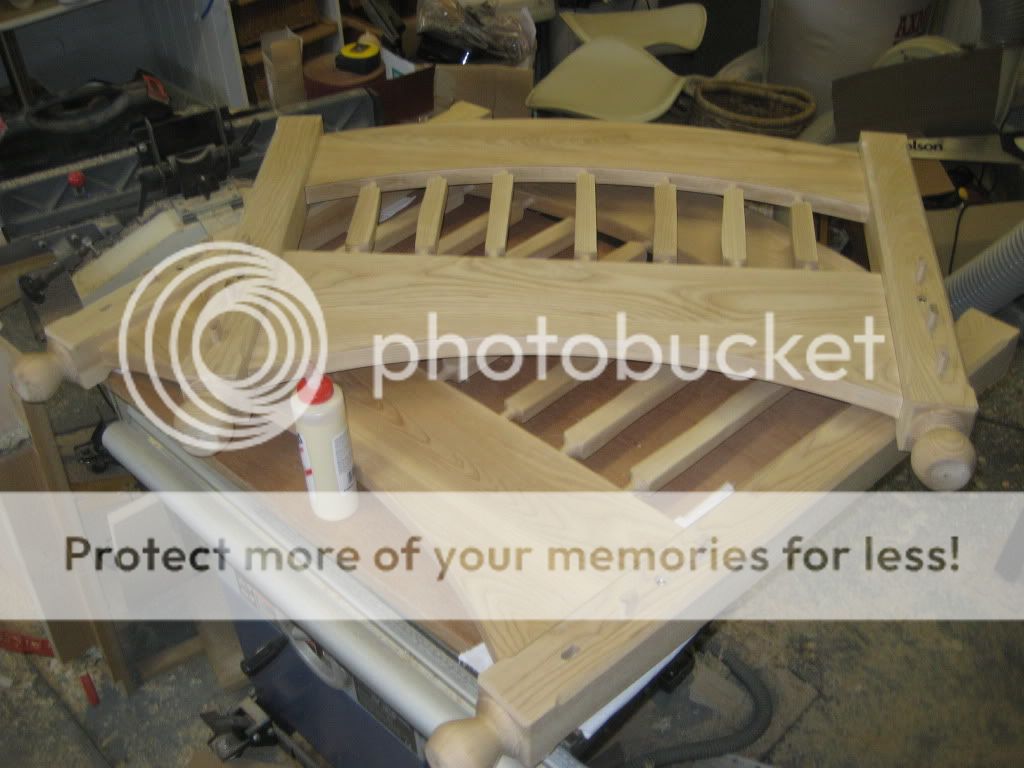
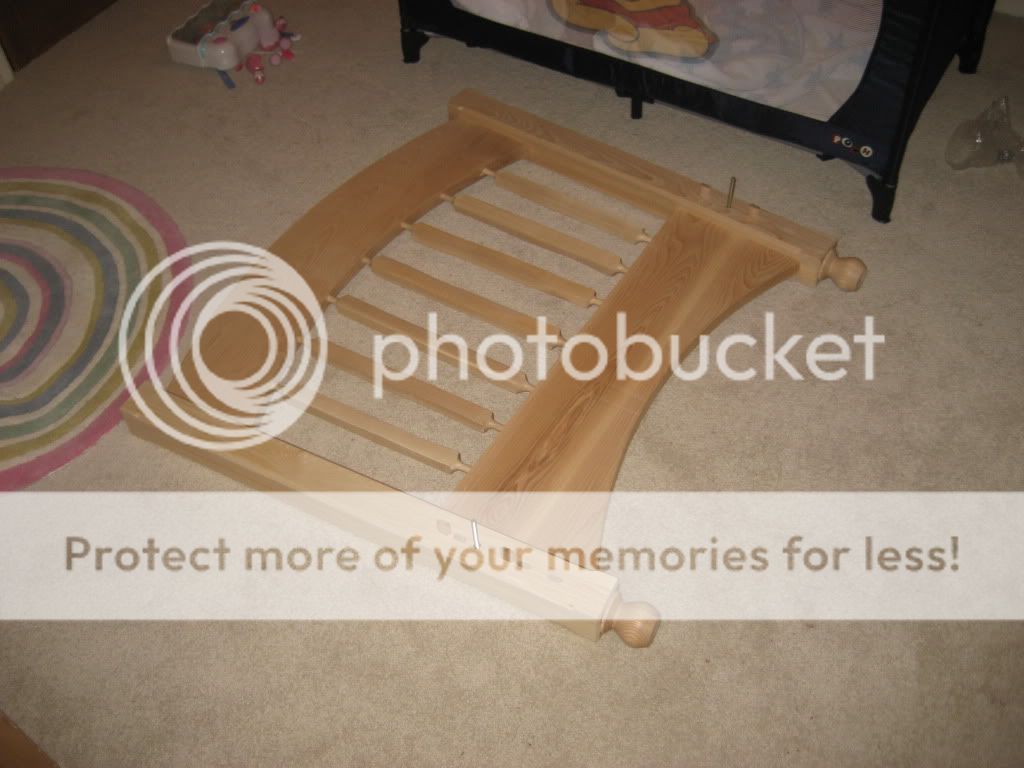
Anyhoo, it all turned out okay and after making sure I had all my parts properly marked for the headboard we end up with these...
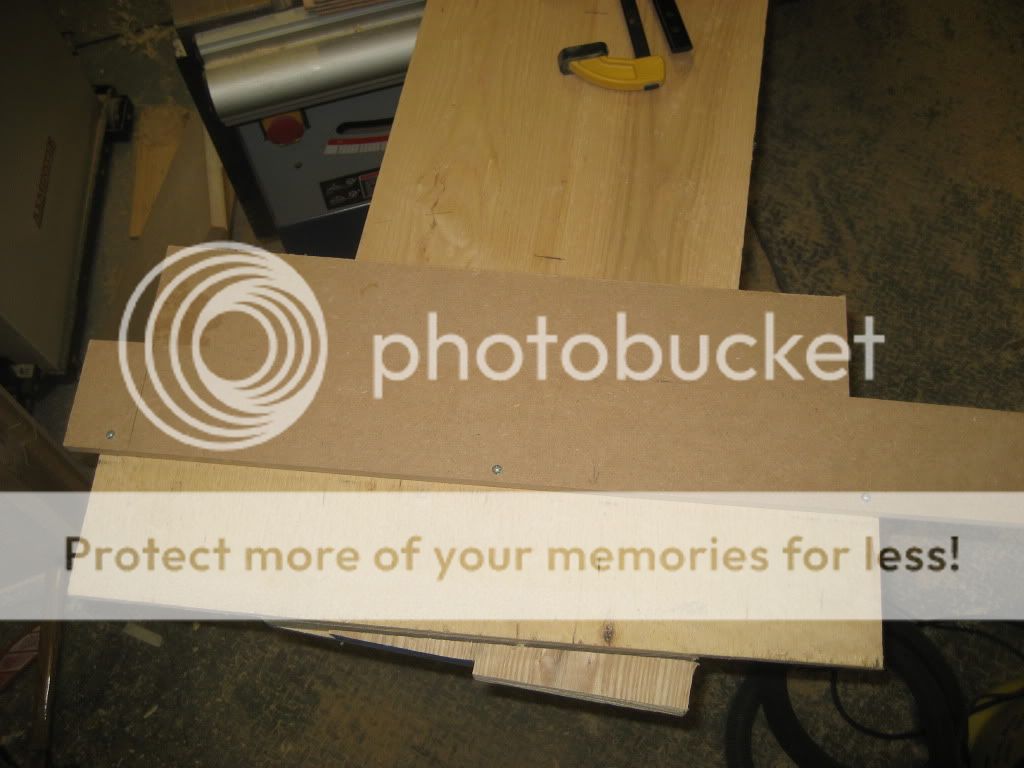
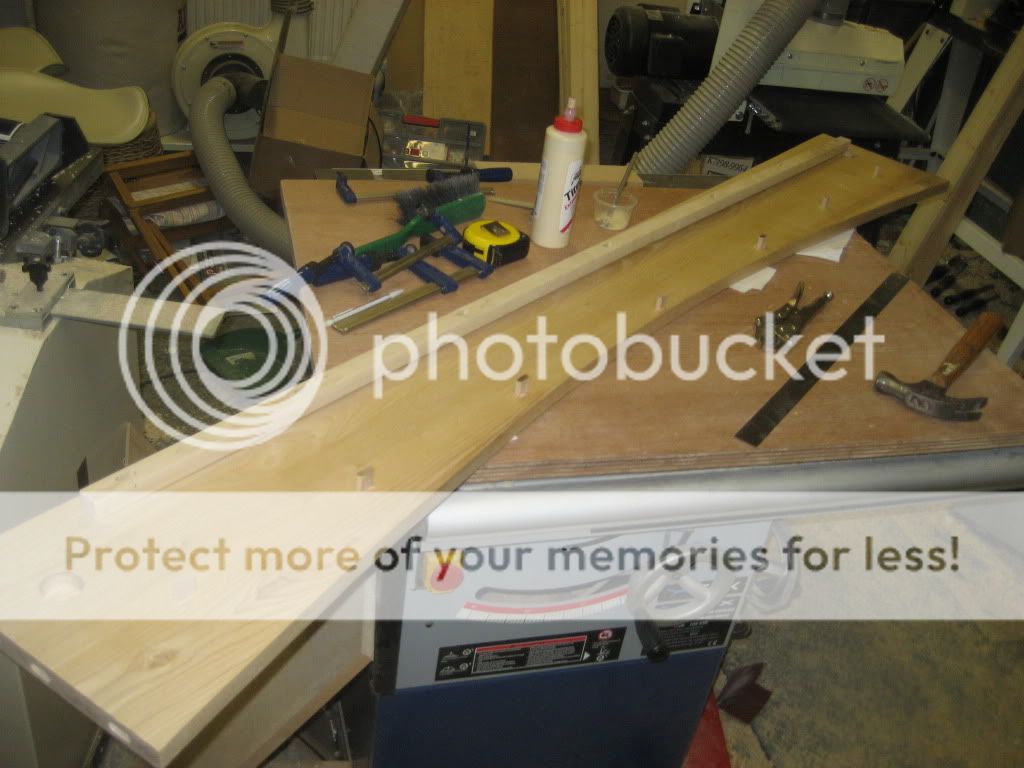
The next job was to sort out the side rails, so after marking out the 5deg angle on one end I then fashioned the Trimble Patented guide rail system for my El Cheapo cordless circ saw, which in fairness did a grand job...
Once one end of each was cut I then measured, checked and repeated appx 10 times to make sure I had it right before setting the saw to the other end. I cut both ends of both boards at the same time, keeping the boards clamped together the whole time, to ensure any slight discrepancy in angle wouldn't matter, but as it was they were all bang on.
Here's the headboard with a foot being tested for fit (bottom right of the pic)
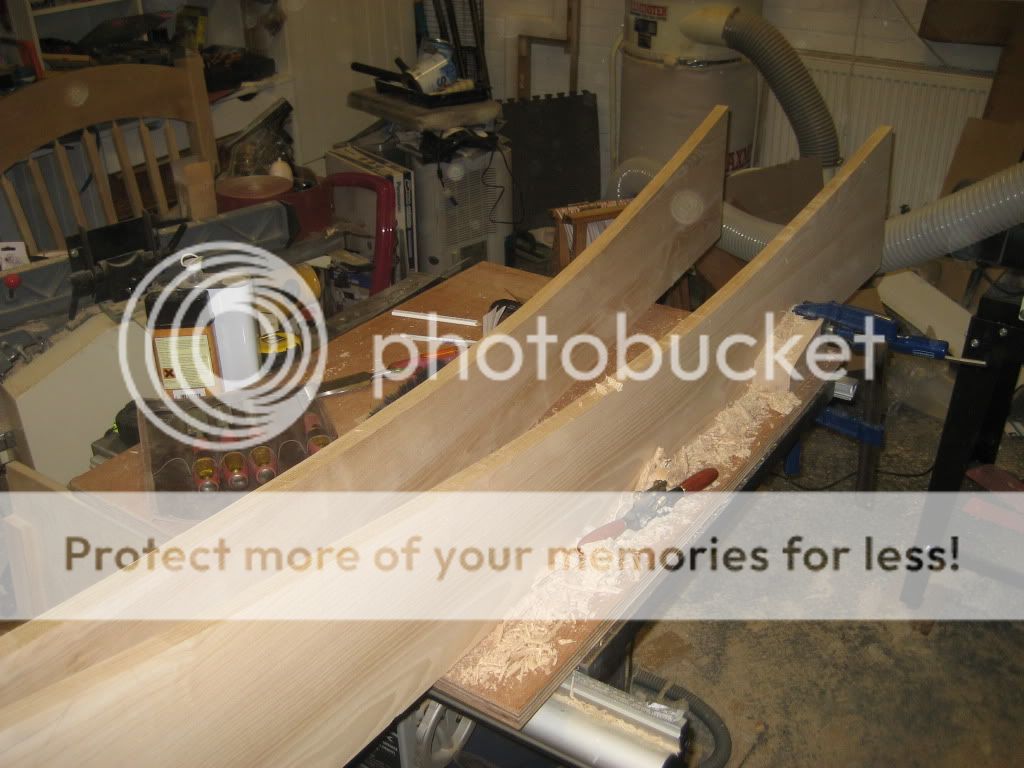
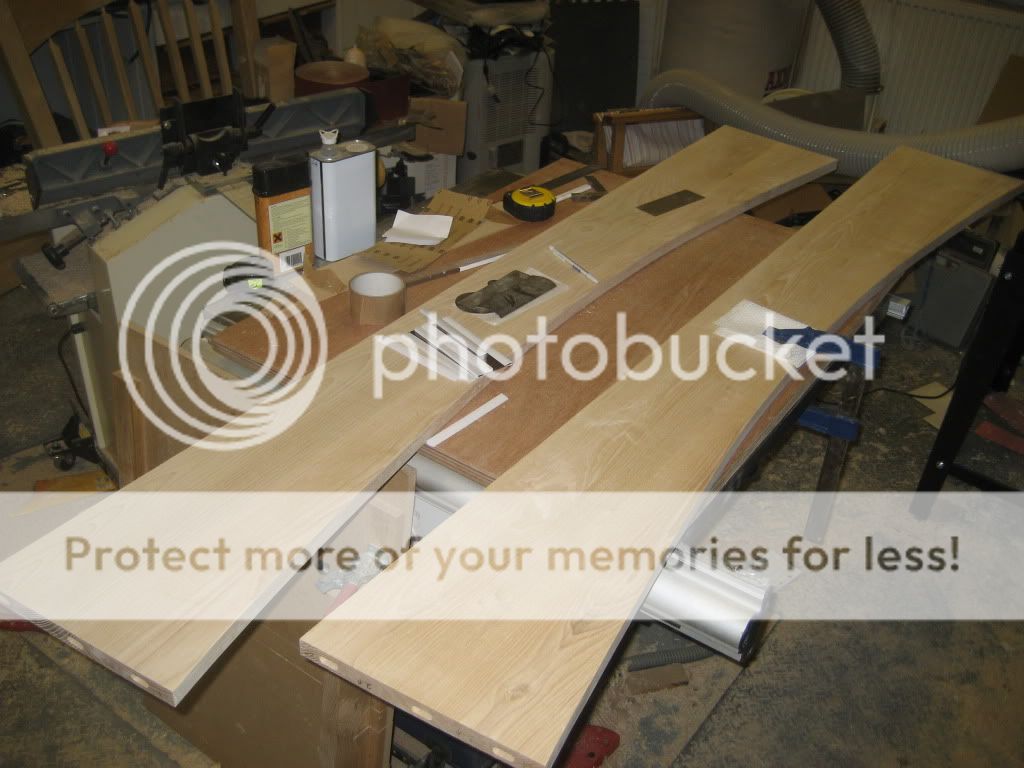
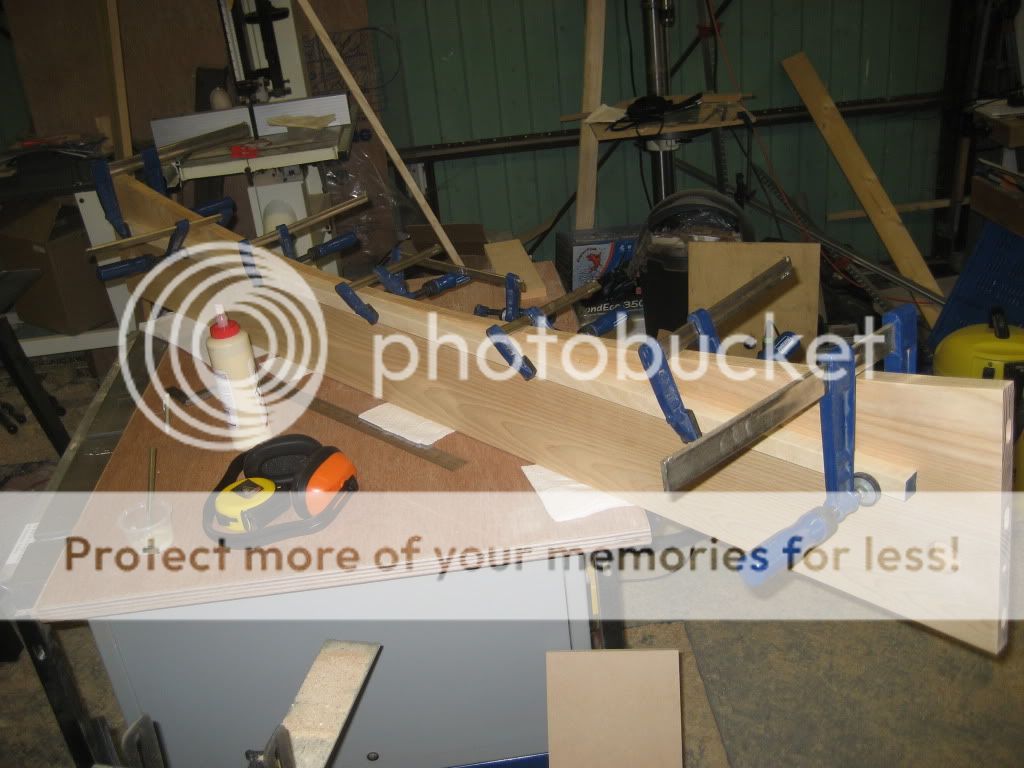
Next came the side rails curves which were done using a piece of flexible plumbing pipe bent to the right height in the middle of the arc and drawn with a pencil. Once cleaned up with the spokeshaves (done together again to ensure symmetry) they turned out okay looking so I didn't bother with anything more scientific.
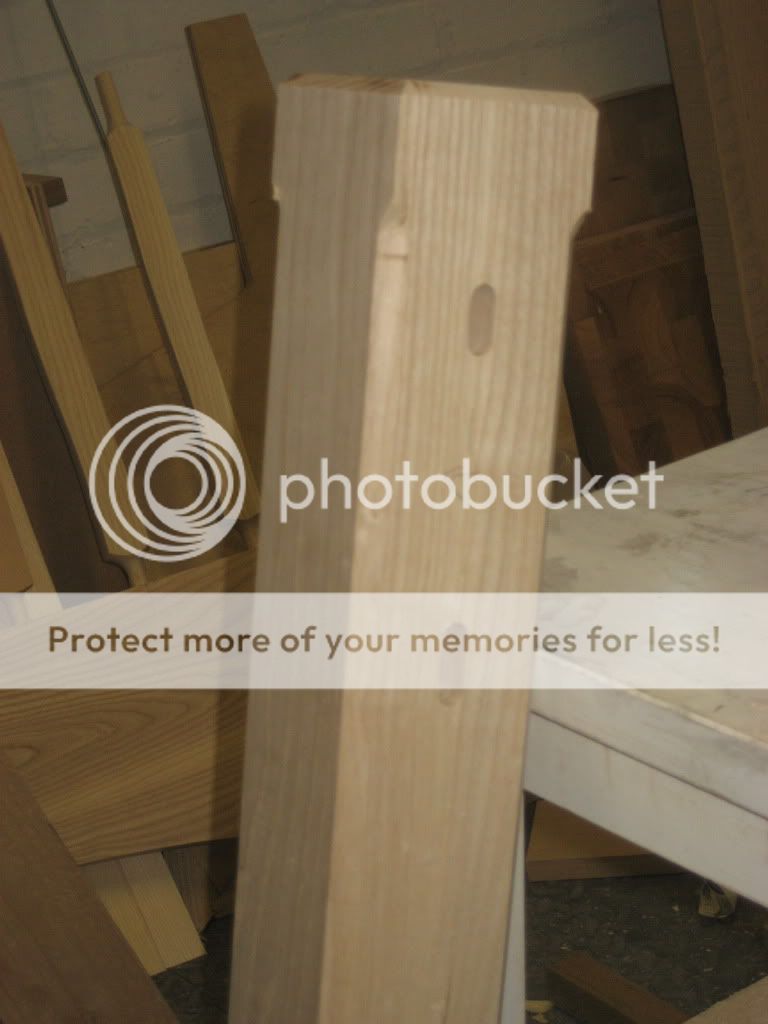
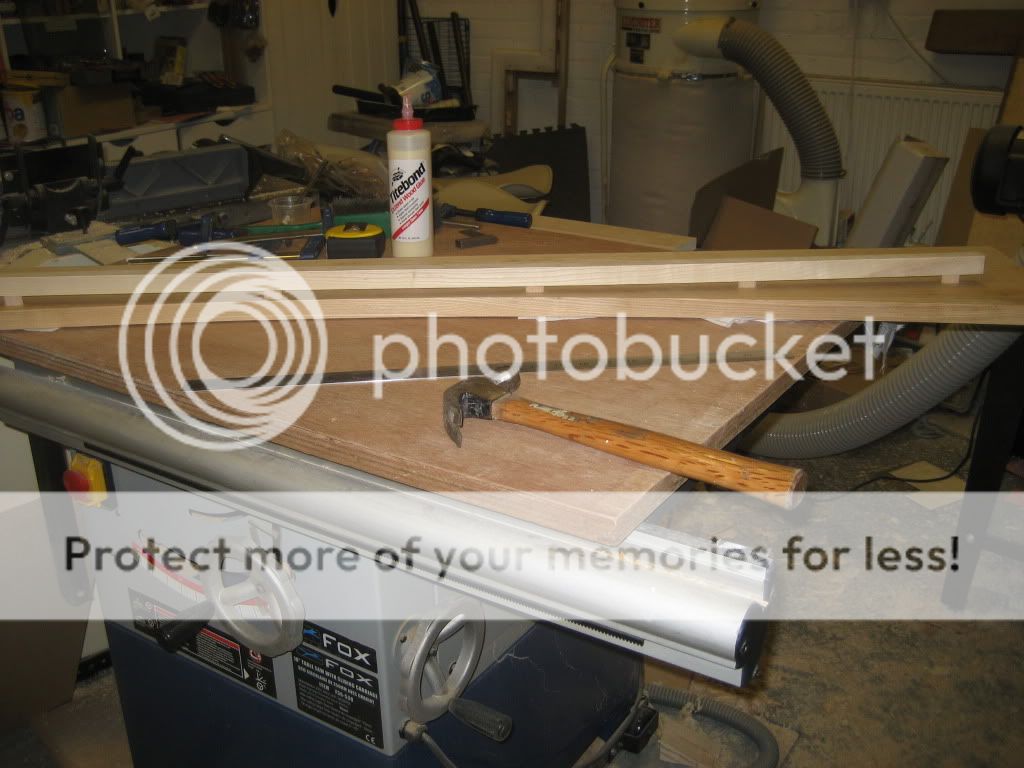
After marking up and cutting the leg rail Dom's (for alignment and taking the weight of the side rails), spot the deliberately misplaced dom holes in the left hand leg, just to give you all a smile you understand

,
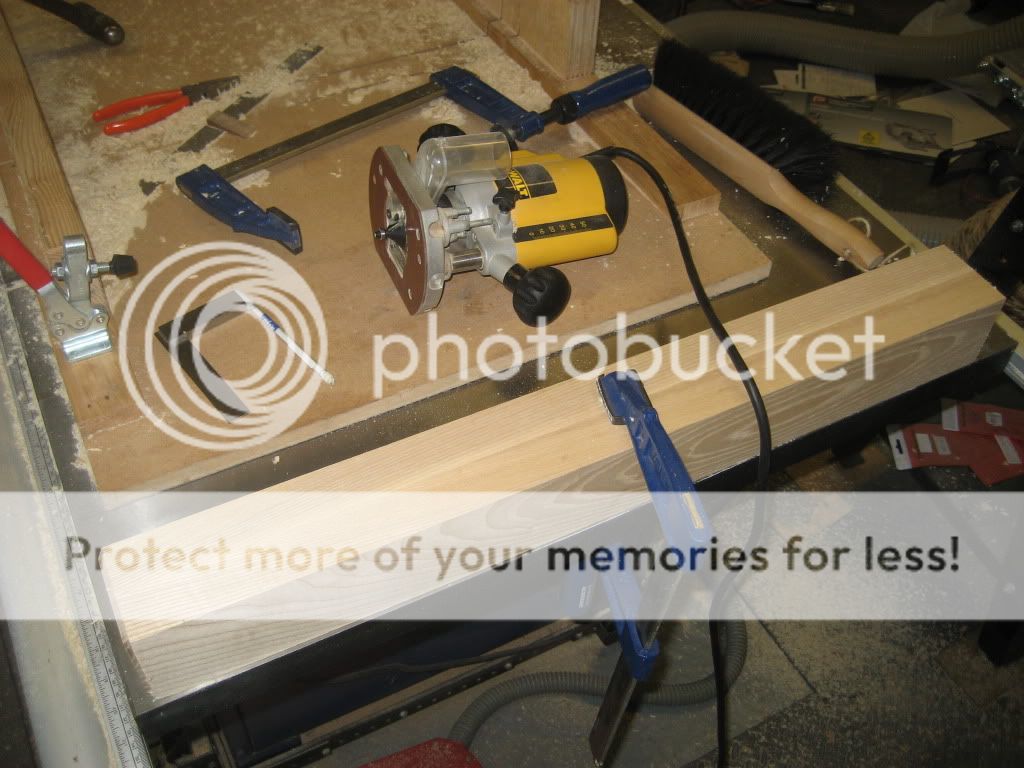
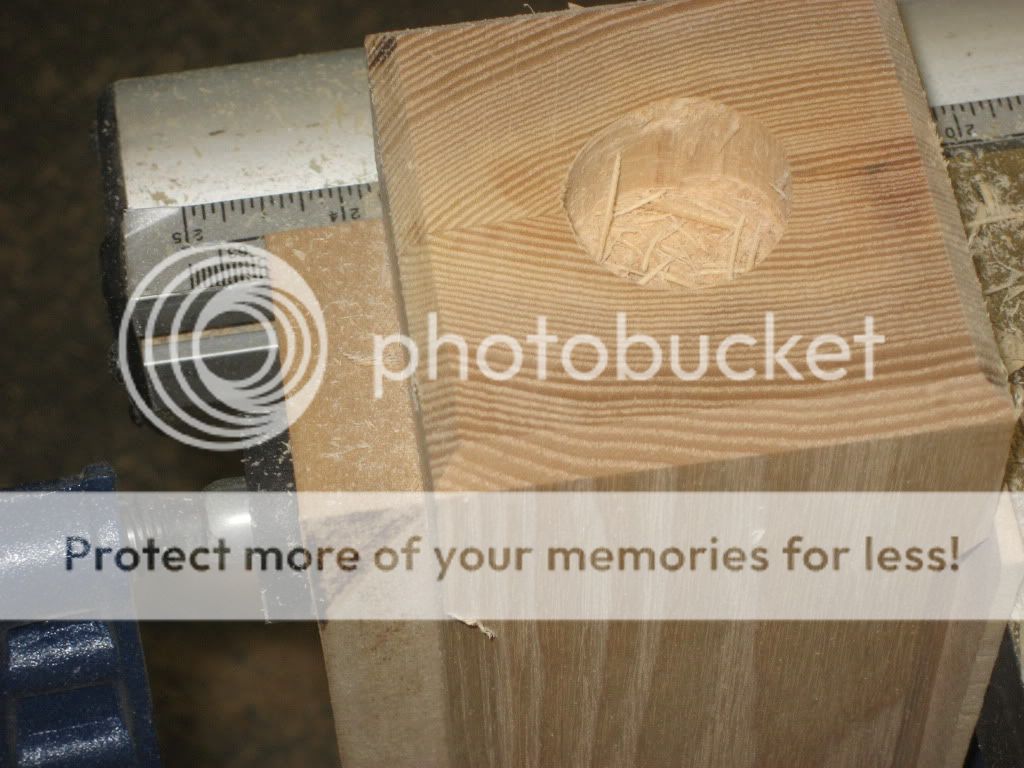
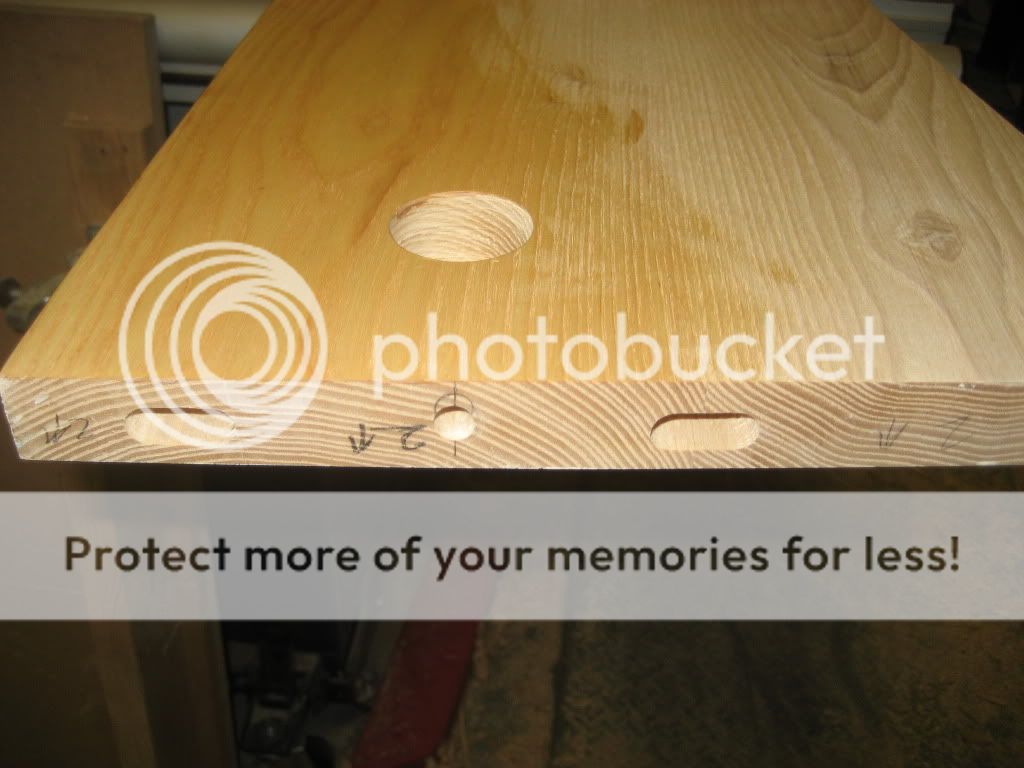
Then cutting the dom's in the side rails, and the forstner holes for the half moon bed bolts to sit in, and the hole through the rail for the bolt...
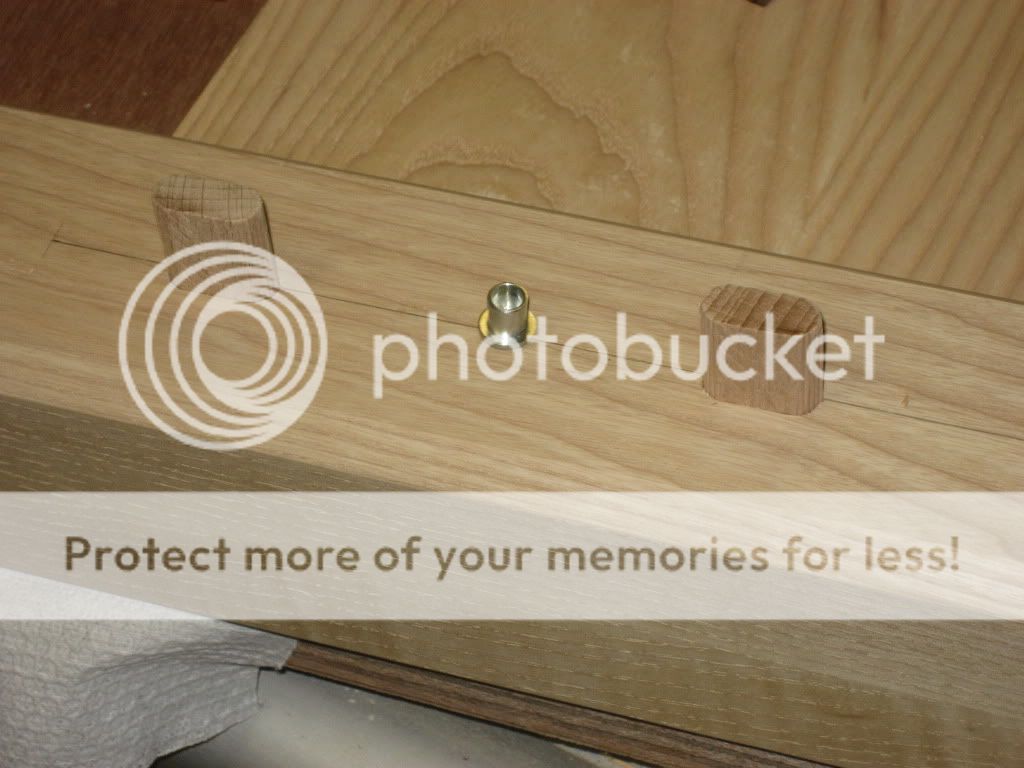
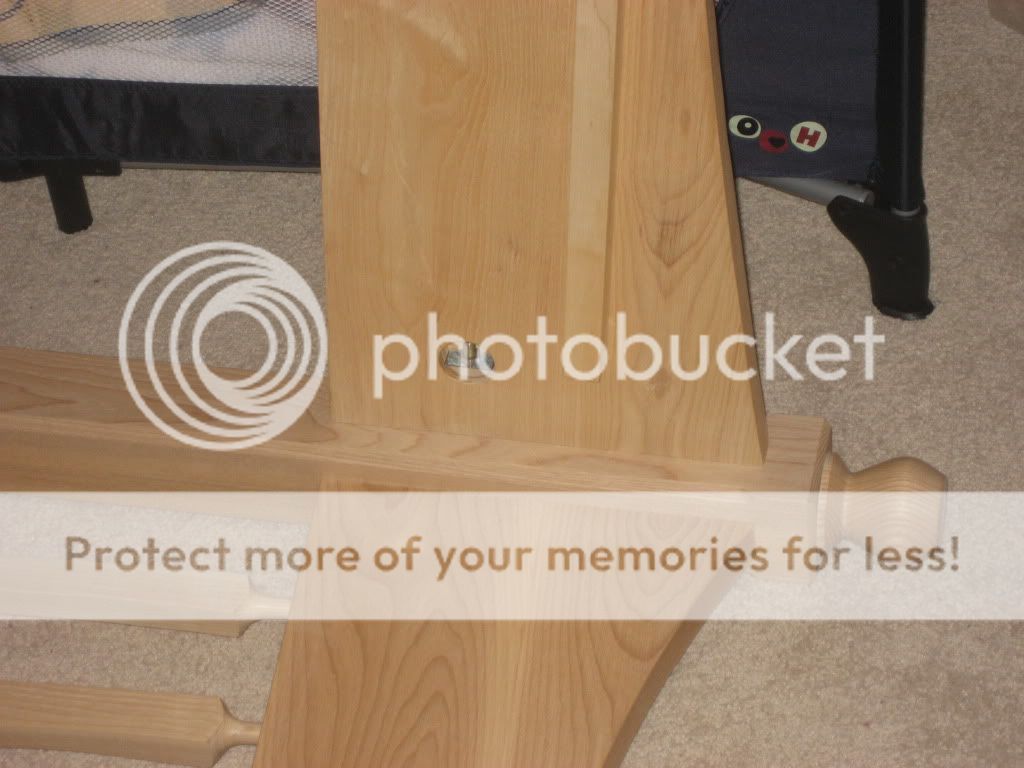
It was time to mark the holes in the legs for the threaded inserts to take the bolts. This was done by sticking a 10mm dowel pin into the hole drilled for the bolt (you can see this in between the dom holes in the shot of the end rail above). Then a dry fit of the side rail to the end board, bit of pressure and the dowel pin is left stuck in the leg...
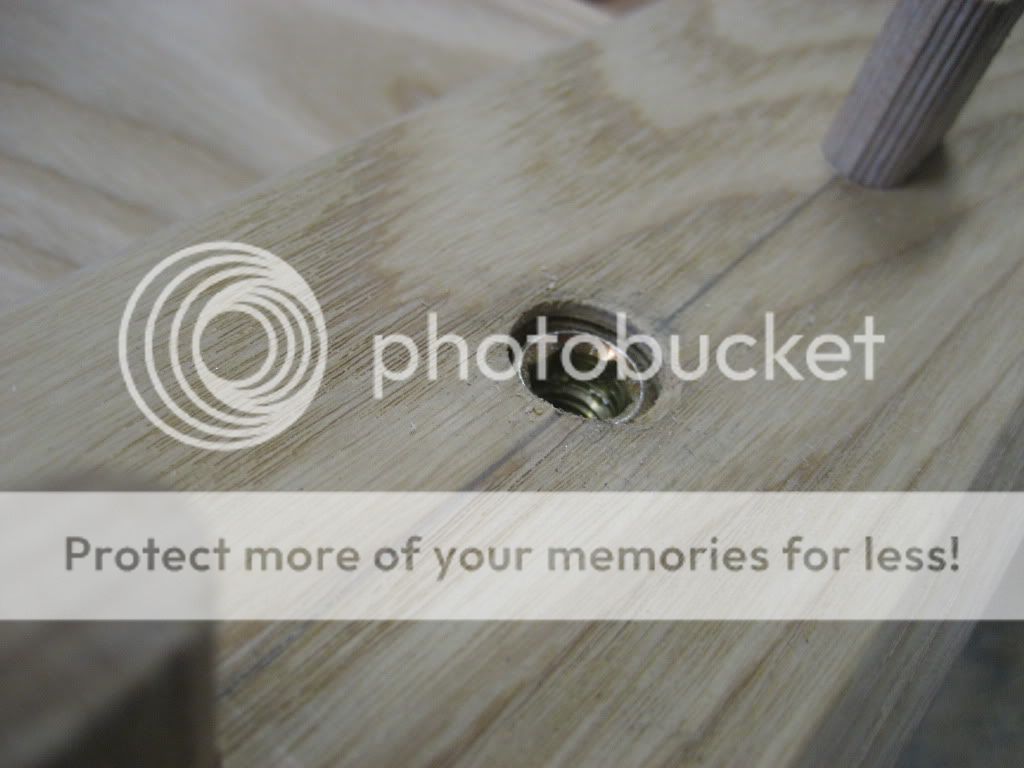
These were then drilled out to 13mm and the threaded inserts sunk in straight. The forstner holes and the bolt holes in the side rails were drilled at 5deg off the horizontal so that when pulled together (due to them being towards the top of the rail) the main pressure would pull the top of the joint together and the cantilever action would push the bottom of the joint together (in theory...) :? .
Hope that makes sense, I know what I mean anyway

And here they are all drilled and inserted
The next job was to add some runners on the inside of the side rails to rest the slats on. Note the 5deg angle planed onto the top to take into account that the rails cant out by the same 5deg.
The ends were tidied up after this shot before being dom'd to the sides.
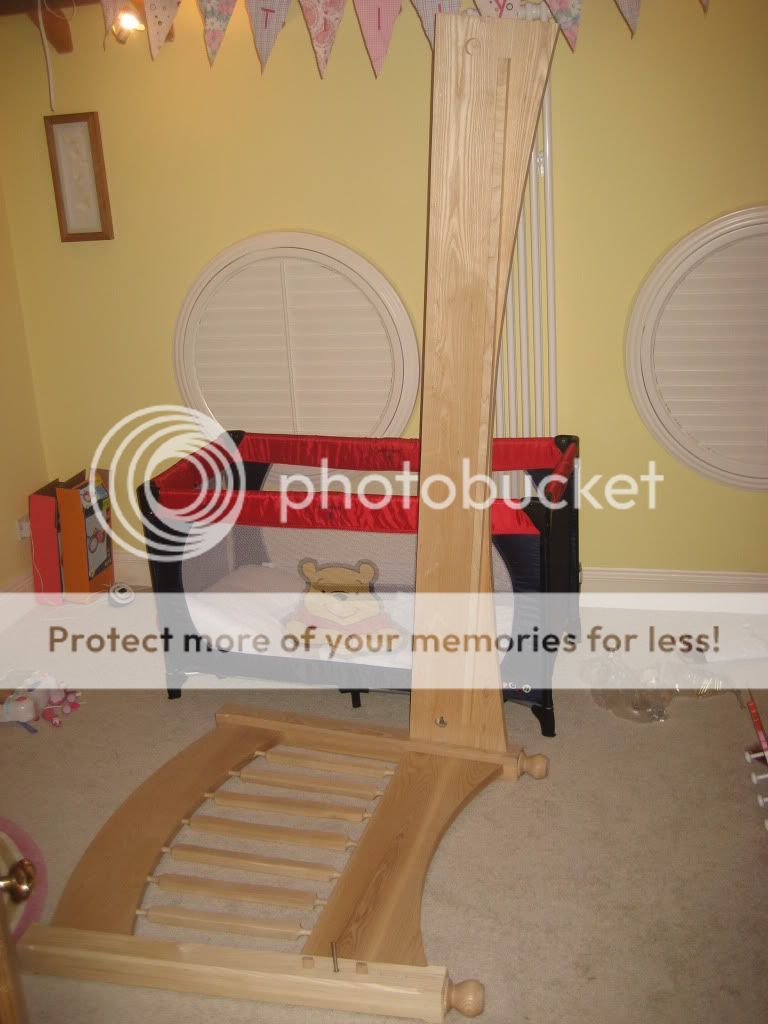
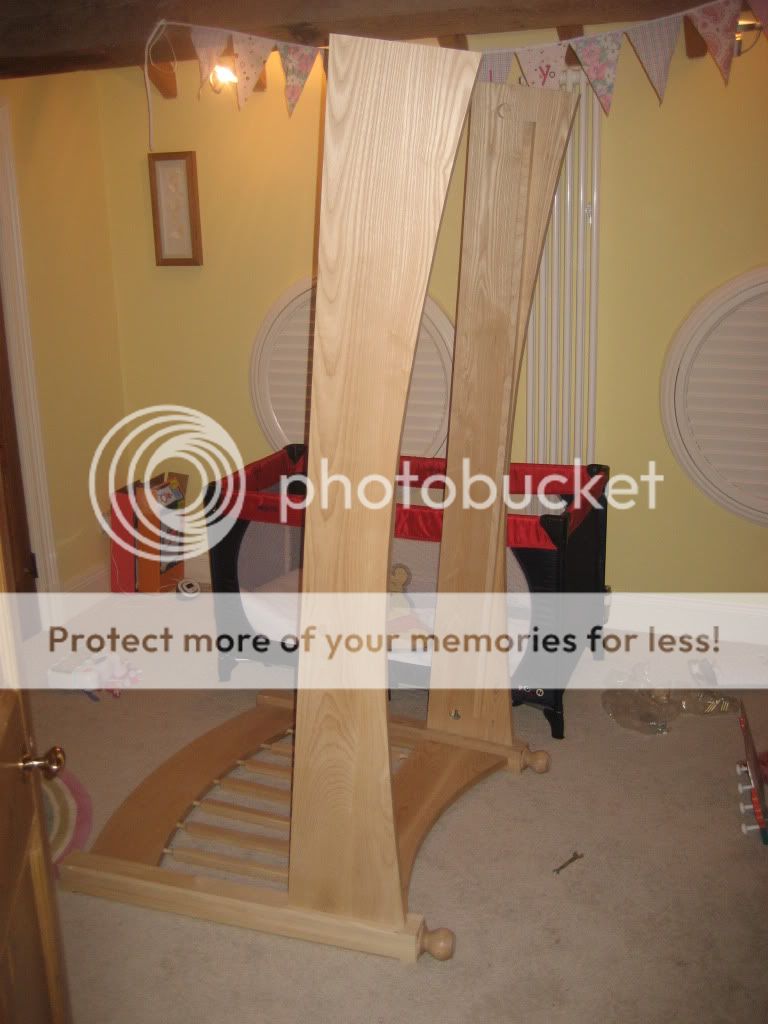
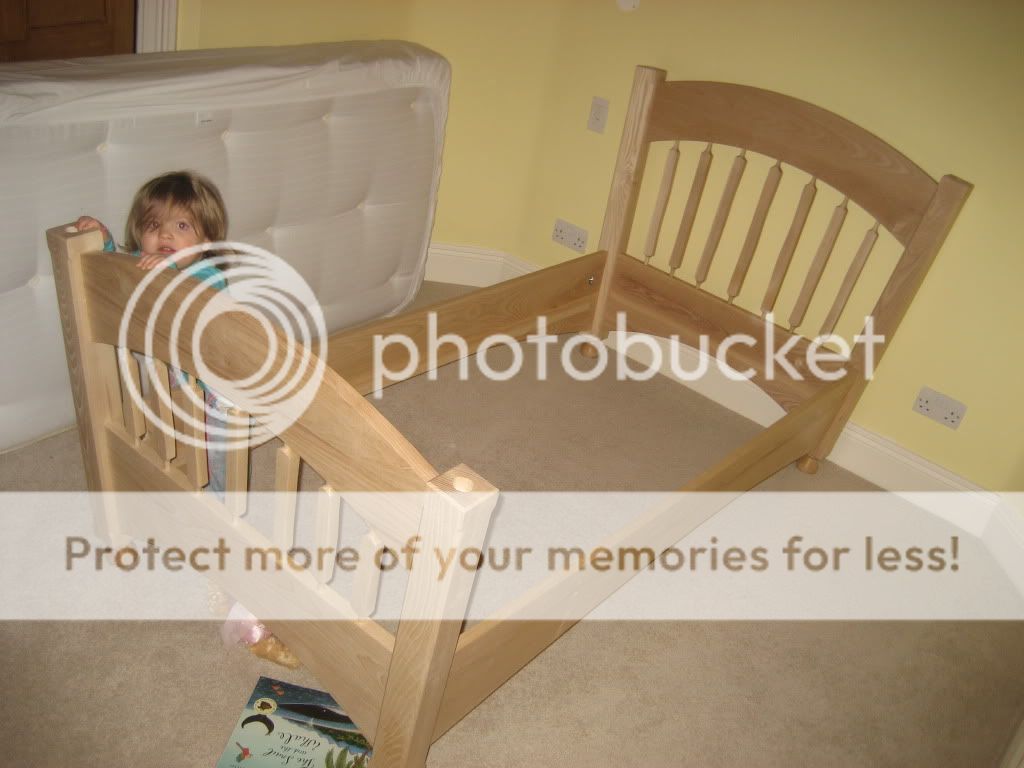
Now we come to the money shot, assembly in situ!!! Here's the headboard with the bolts inserted and the dom's (dry fit only as they are just to take the vertical weight and can be removed in the unlikely event it ever needs to be flat packed).
One side rail attached and bolted in place
Then both rails
Then the foot board
Then slid into place (I was doing this myself while the better half was feeding the bairns)
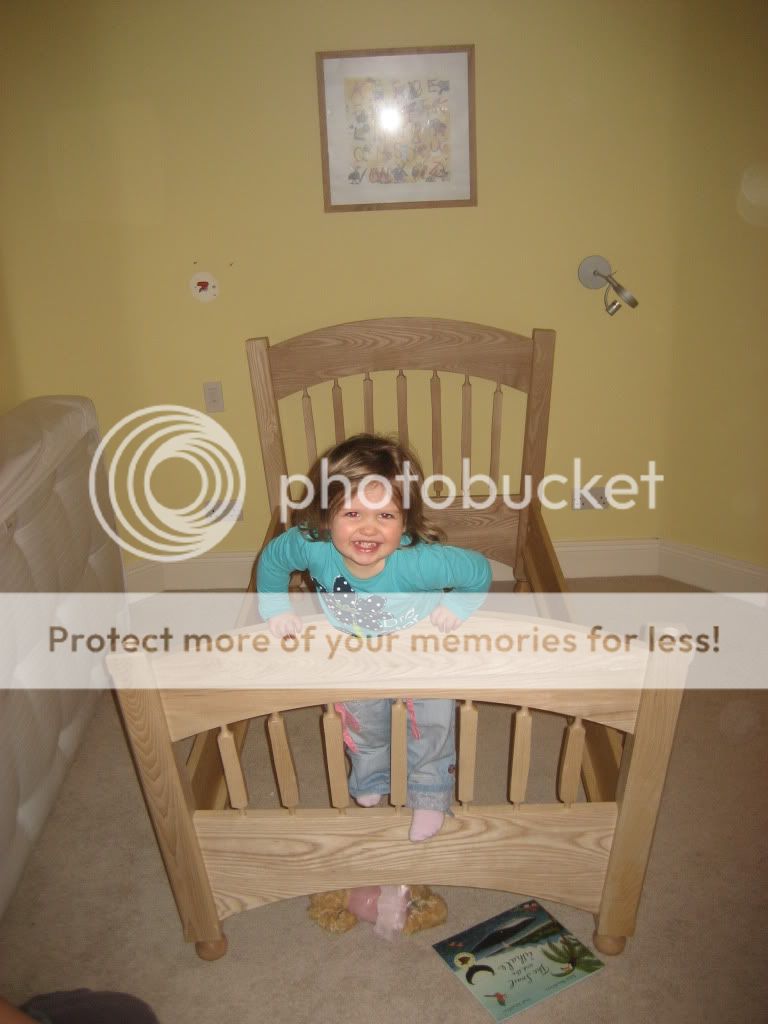
And the young recipient couldn't wait to have a climb
Forgot to get a shot of the slats being screwed in place but they were just 23mm pine rough sanded down to 120g and all arrises broken with the block plane, no finish on these.
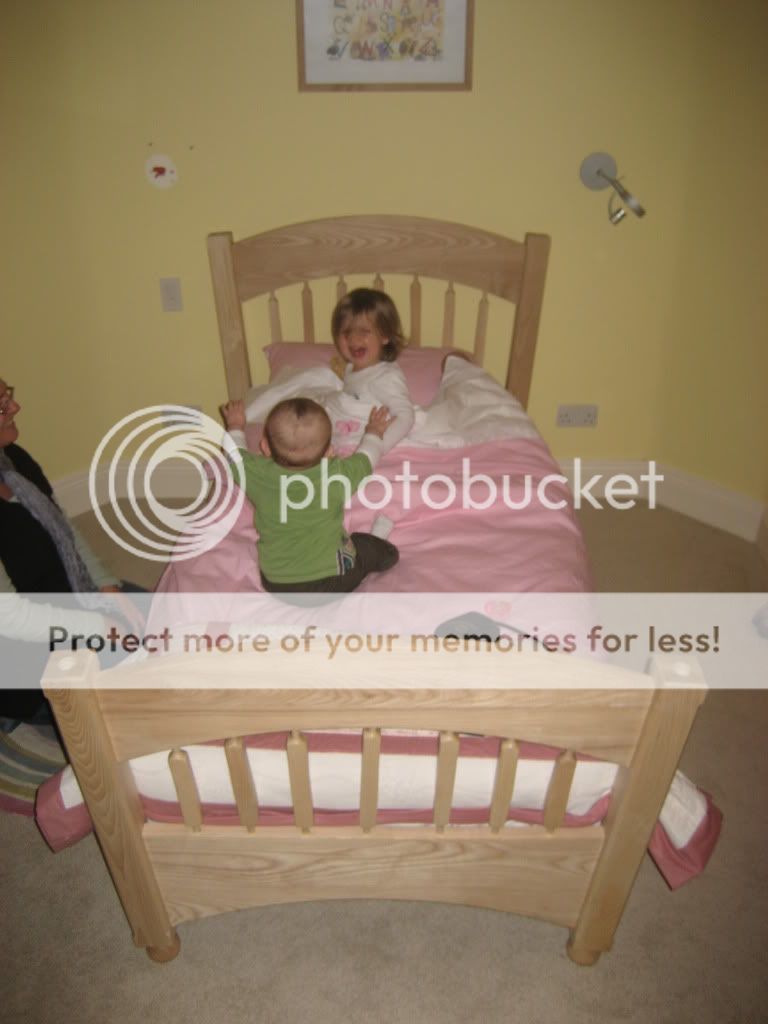
Then it was mattress and bedding on and here we are with new owner (and her little brother getting in on the act) testing it out for size...
Again the eagle eyed (or just not blind) among you will notice the other deliberate mistake I put in there, which was to measure all the holes for the spindles on the footboard but somehow managing to get the central one wrong (on the footboard only) and it is 10mm too far one way at the bottom end. I contemplated drilling, plugging and re-drilling but in the end thought I might do more damage than good so decided it was an acceptable loss and carried on

Obviously the acorns are missing and as I say I will be doing these over the coming days but want to take my time and get some more lathe practice in so I get them right. As always your comments and critique on any aspects are welcomed and positively encouraged

Cheers for looking
Mark
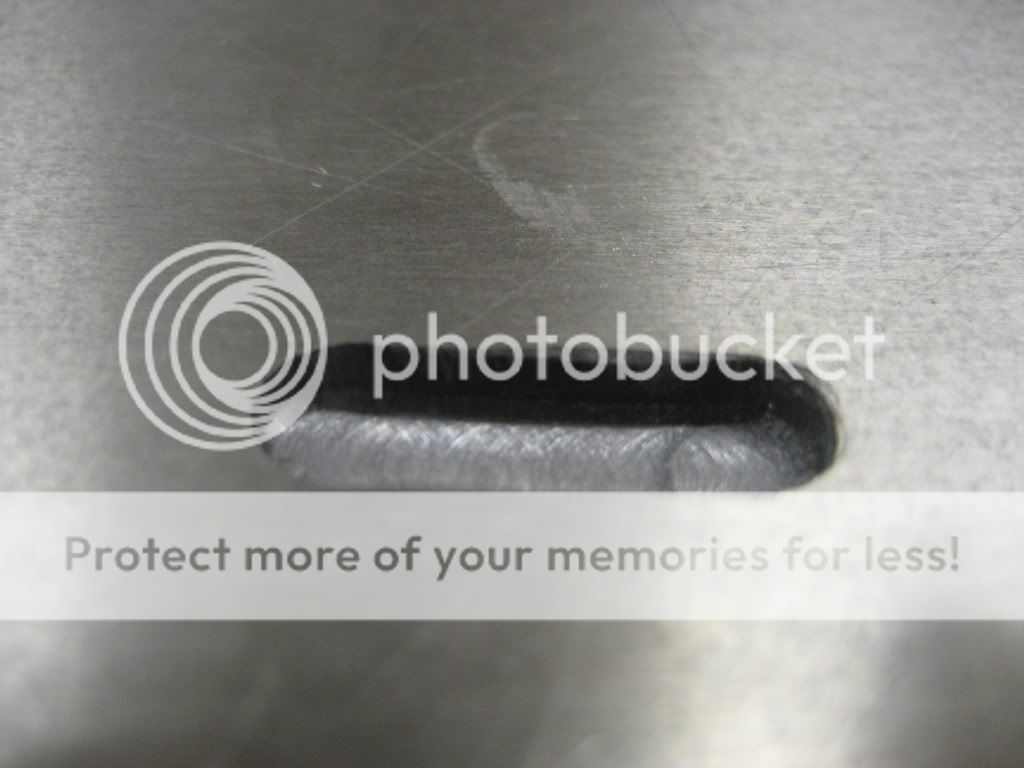
PS And one final blooper for you to laugh at, don't, whatever you do, forgett to change the depth on your domino cutter when you change wood thicknesses, then proceed to press down on the workpiece from above, when working on your cast iron tablesaw top or you get this.....
:shock: :x

:roll:


