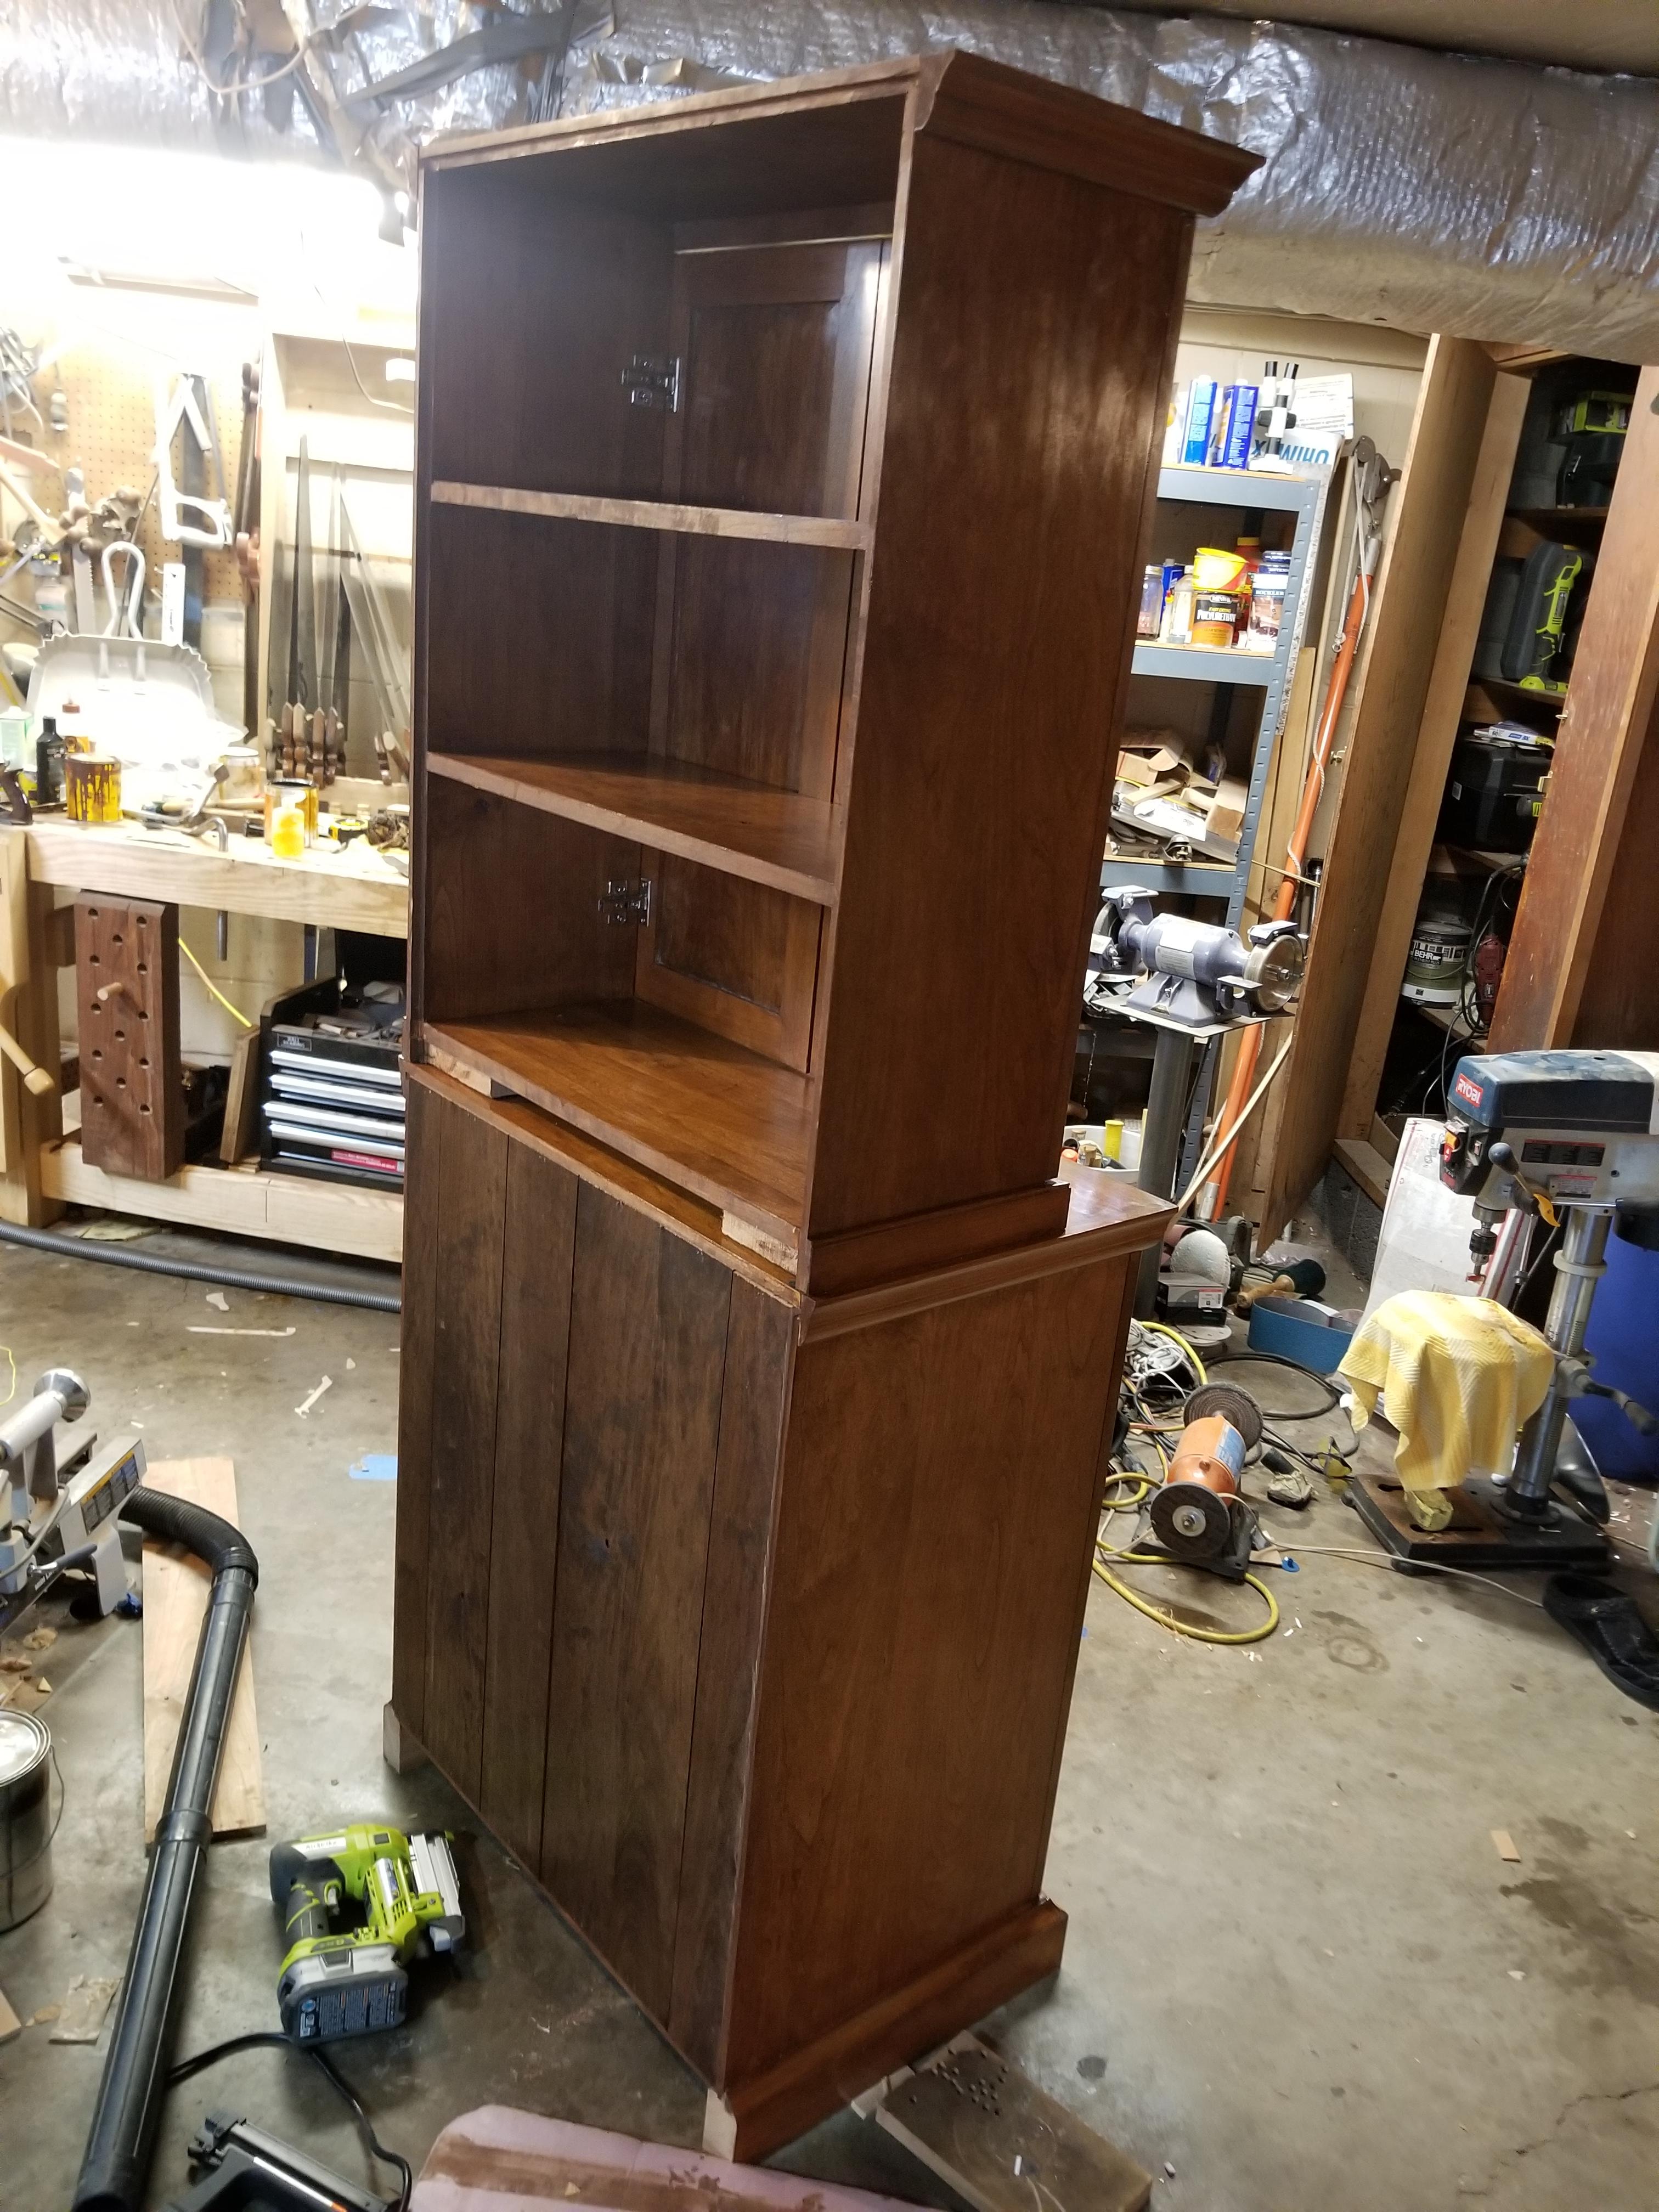
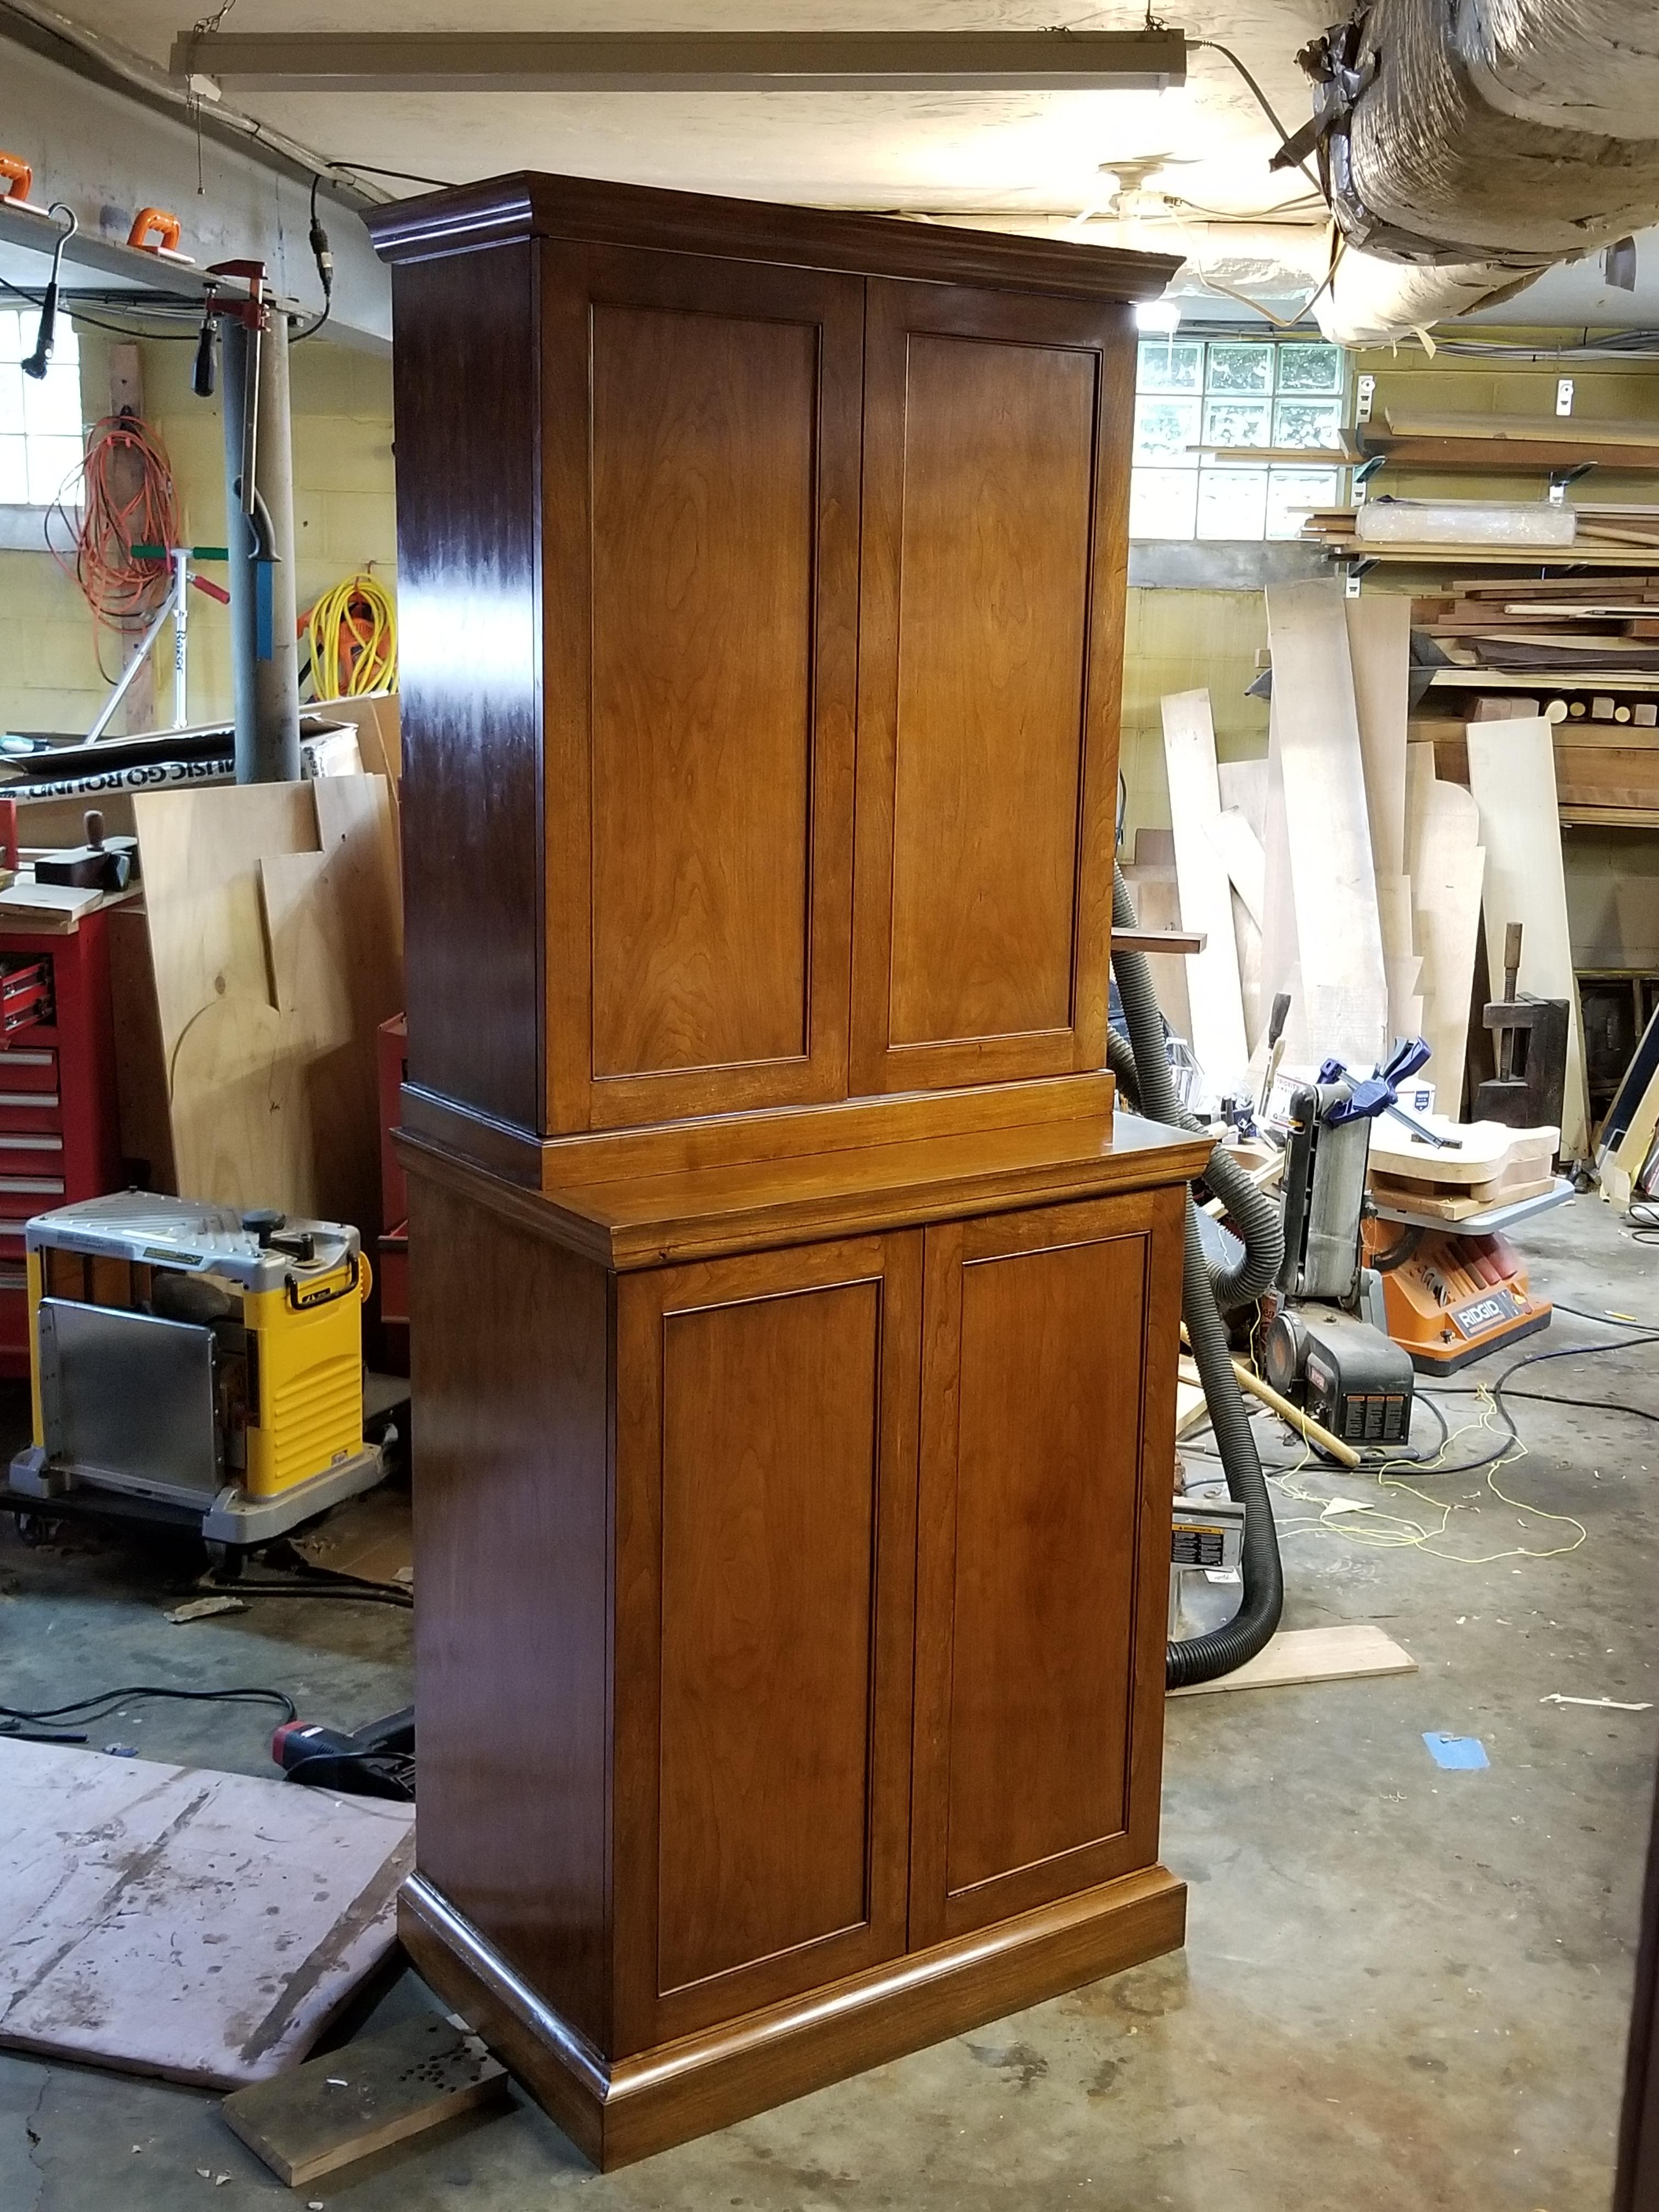
Though there is a portable thickness planer in the background it didn't get much use on this project.
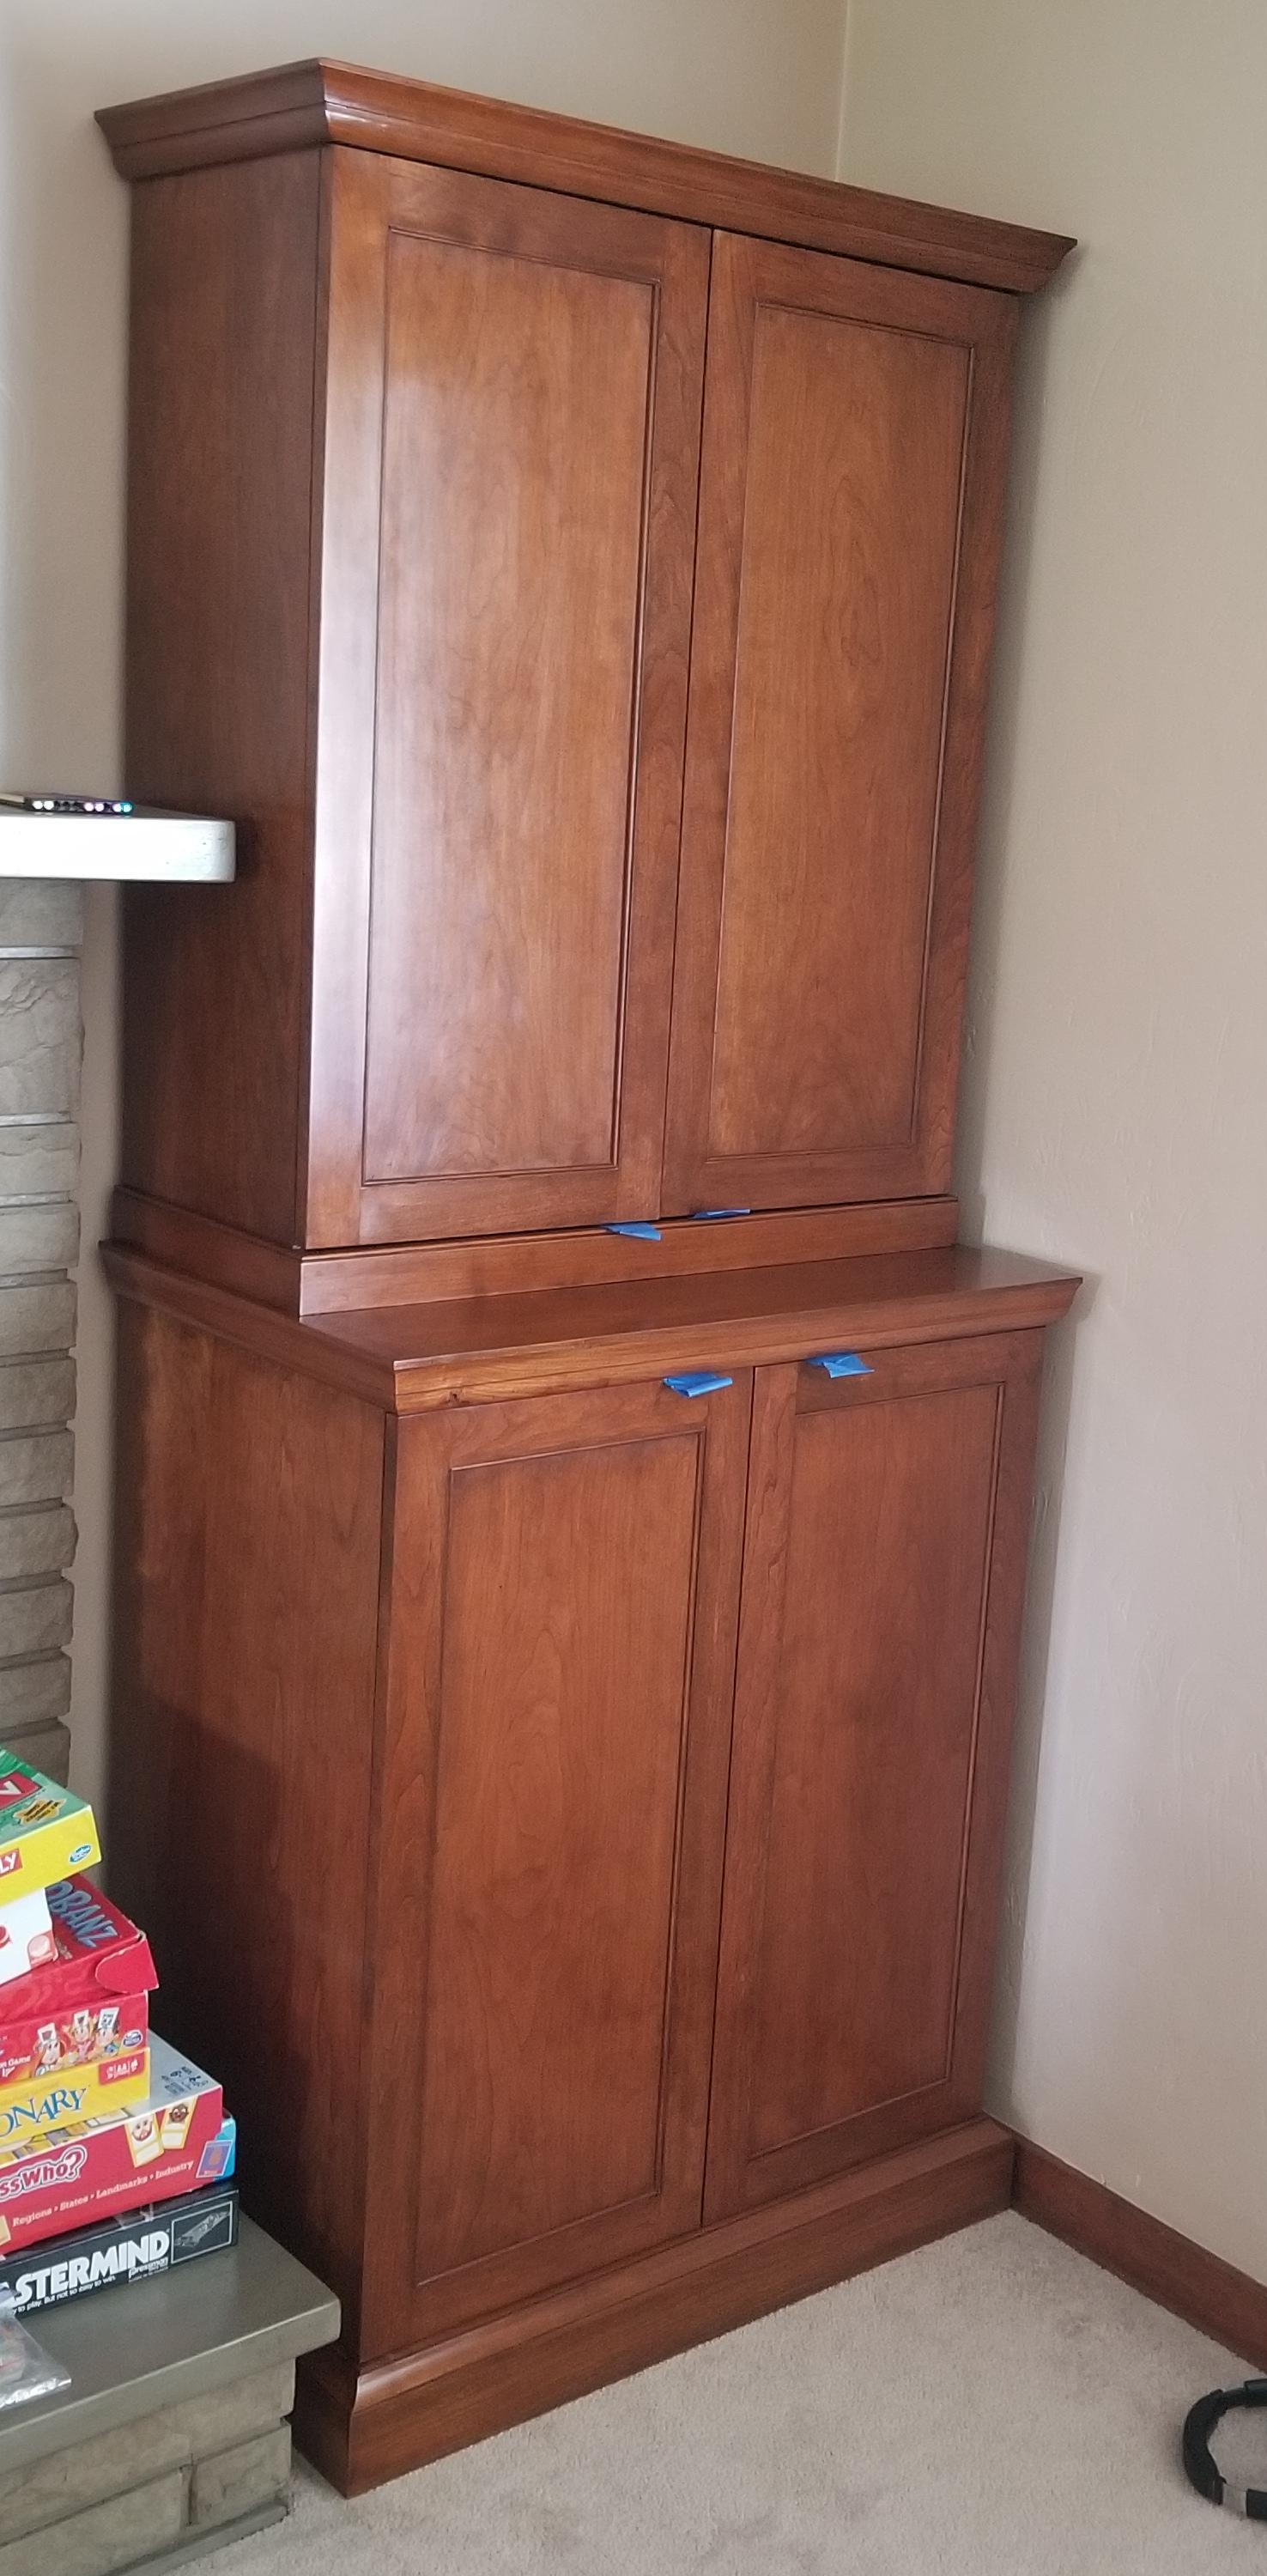
Note, this is utility furniture, and it's intended from the outside to look less than brand new (e.g., I don't want it to look like a plain square box sprayed with conversion varnish or toned lacquer), but there is no intention for it to look like fine furniture - it's a box to hold the kids games and toys upstairs in a corner between the fireplace and the front wall of the house).
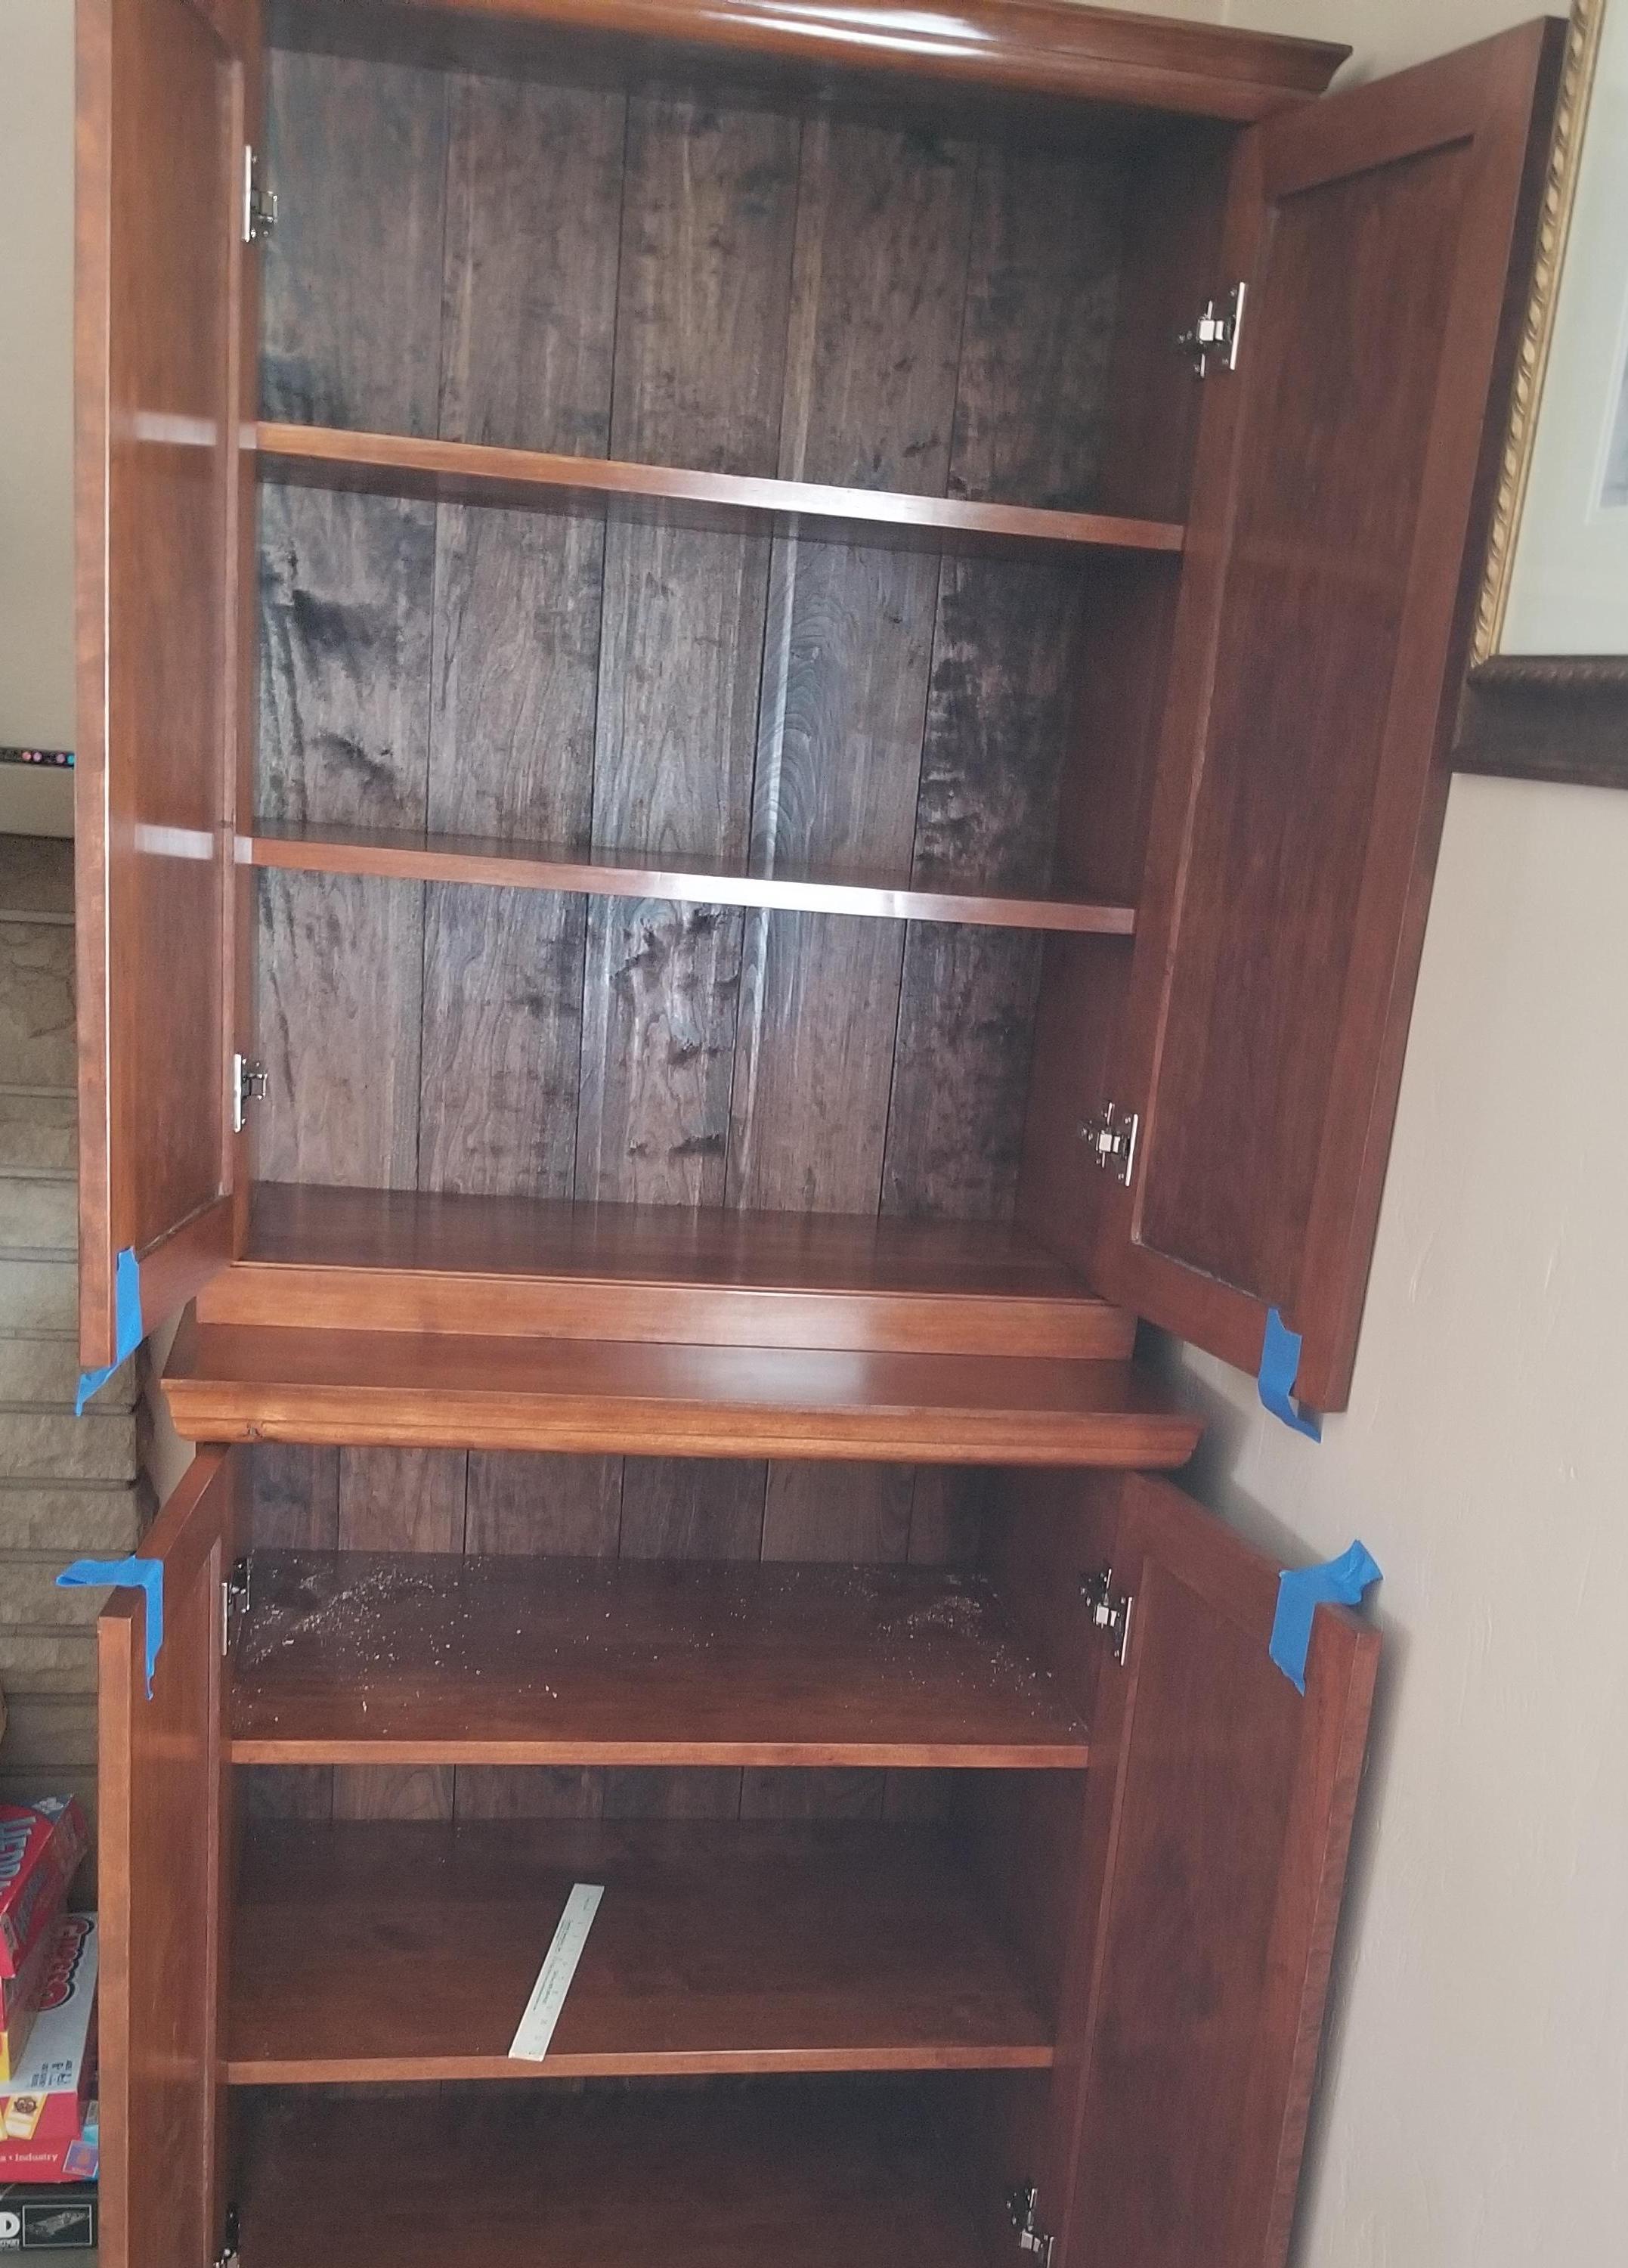
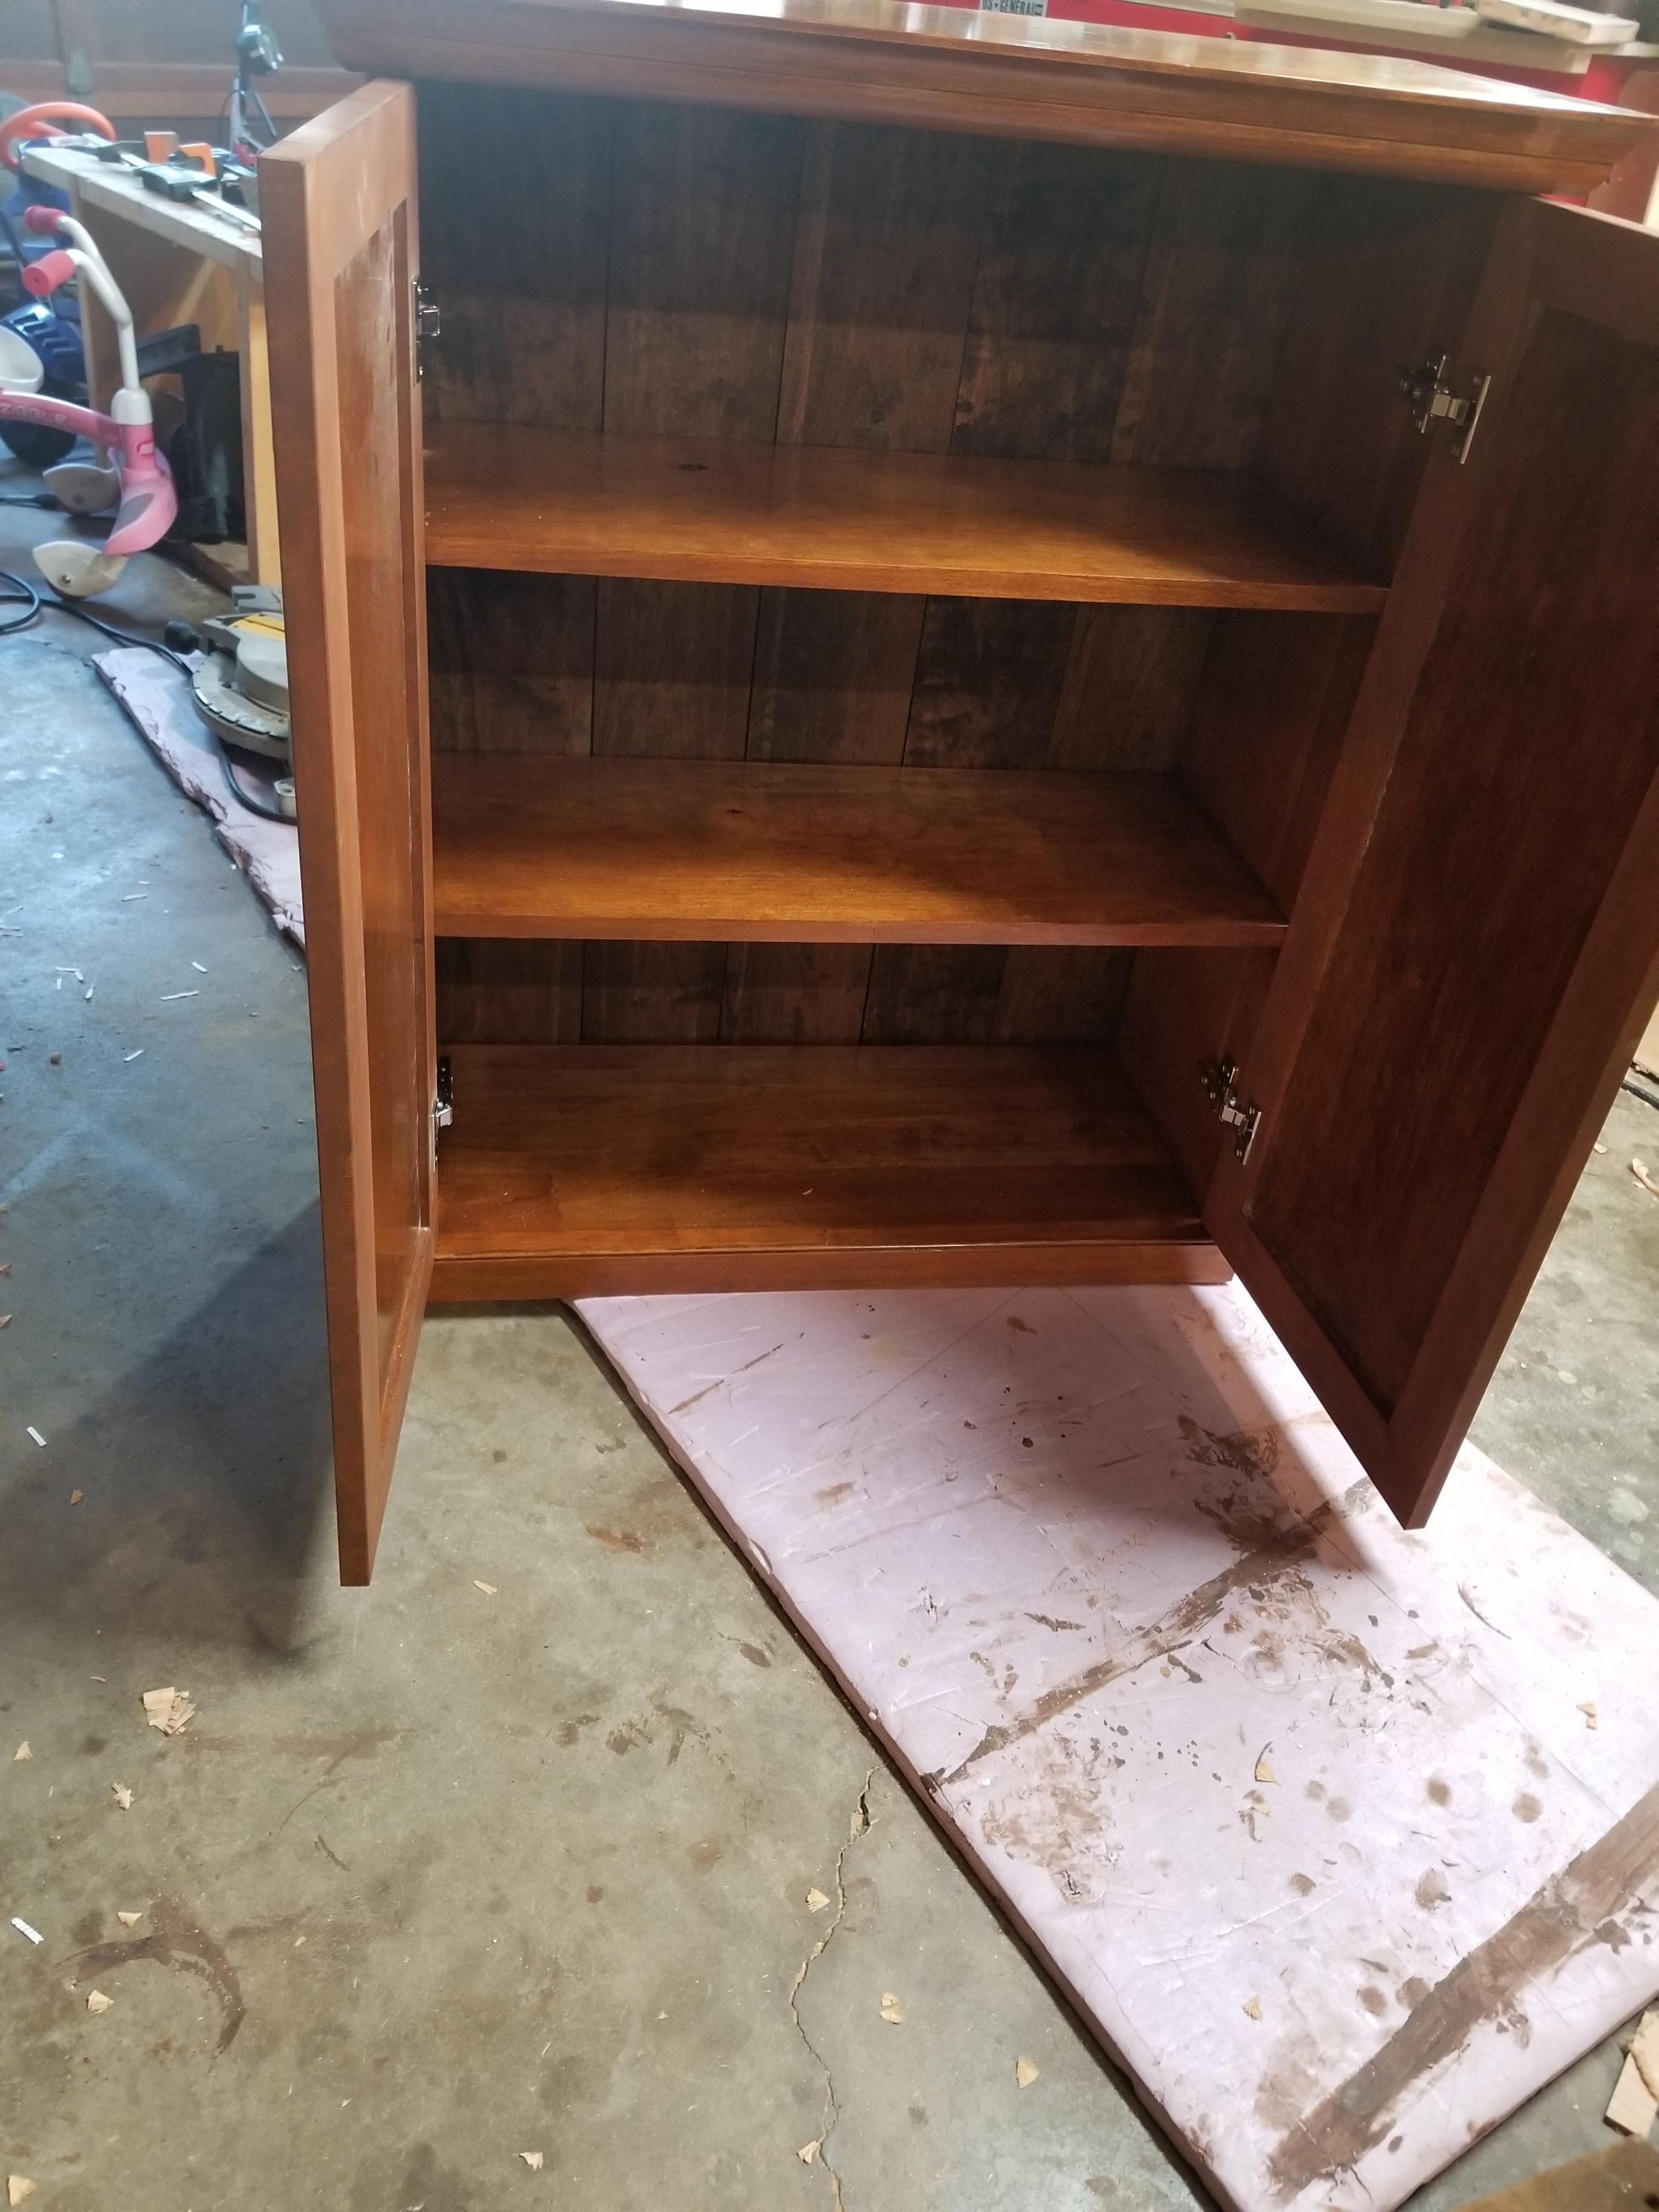
The doors are haunched M&T, flat panel (solid wood panel, resawn by hand). The mouldings are hand cut, and so is the T&G back (the back on the top cabinet will be instilled once it's in situ upstairs (or just before).
The top and bottom are still separate and will be screwed together. There is no plywood used in the cabinet, and no screw or dowel joinery. Just dovetails, M&T, dovetailed shelves top, and housed dado on bottom.
color is 1/2 burnt sienna, 1/2 raw umber japan colors (fine pigments), and top coat is amber shellac padded on by hand using oil (it's short of a french polish, but same idea - very thin finish).
Modern hinges as I know if they are broken, getting replacements will be easy, and they are soft close (this is a house of doors slammers). If it was intended to be "nice", I'd have built a frame, but the mrs. was adamant that she wanted no center frame and maximum doors pace, so the doors sit right on the front of the case. kind of tasteless, but not as overt looking as I thought it would be.
The mrs is in charge the pulls. I am not a fan of building furniture and am glad to be done.
(the one aesthetic minus that I see so far (there is a knot hole to fix on the front of the bottom cabinet moulding, but I'll do that later- at any rate, the one aesthetic minus is that the quirked bead moulding on the bottom of the top case is out of place. I thought it would go with the doors - there is enough there to cut the bead off into a cove and I may do that at a later date so that it doesn't look quite so odd).


