Hanging doors

UKworkshop.co.uk

Help Support UKworkshop.co.uk:

This site may earn a commission from merchant affiliate links, including eBay, Amazon, and others.
Stormer1940":3lbcudwu said:
Jacob":3lbcudwu said:
Looks OK but door hinge jigs are not good IMHO. Faster, neater the old fashioned way - 2 marking gauges, tape, combi square, chisels. Not at all difficult once you have cracked the setting out.
NB You can fire proof existing doors if you want to. Envirograf supply the stuff.
The other essential bit of kit is free - you make a couple of door wedges like I've used here big-windows-t55532.html
then add one or two thin wedges for aligning the door in the hole.

I prefer marking, scoring back line with marking gauge, cutting the straights with a chisel and then freehand routering.
I have a jig and I have used it once. May sell it.... Win Bags are a great addition for door hanging to.

winbag_large.jpg

Winbag...surely not Jacob? Oh, sorry, thought you said Windbag :lol: :lol:
 
I have to check, but our building inspector is very clued up on these things, another inspector said the same thing on the house my MIL is building (also 3 floors)

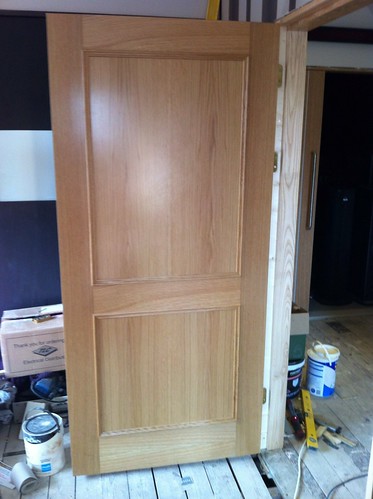
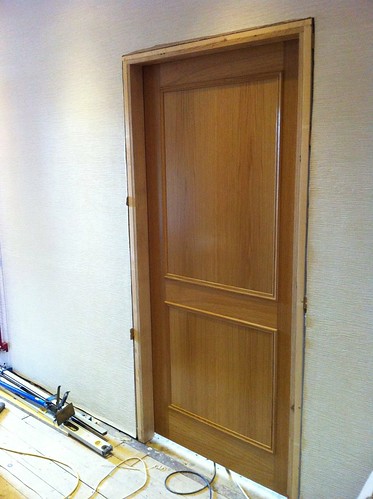
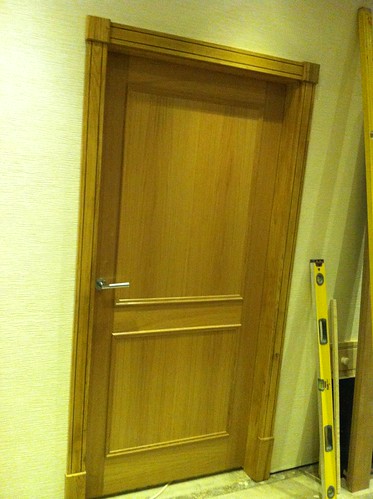
Well another door is in, that makes the top floor done, (5 doors), now its on with the door trim, which will take a bit of time, as its bespoke (I will be using my reclaimed oak floorboards)

I made some samples which the wife liked, but she didn't like the colour of the oak. so i need to give it a light oak stain and then varnish, which means a few extra steps in the process


Untitled by mcluma, on Flickr


Untitled by mcluma, on Flickr
 
Could you have not used standard square cornered hinges rather than those rounded ones ? We fit hundreds of fire doors per year and usually use the normal ball bearing type as specified by most architects. I've not read the whole thread so maybe I missed the reason. We hang quite a lot of pre finished door sets too and normally there is no need to have adjustable hinges you just make sure you fit the lining right.
 
If your OH is fussy about the colour, surely she'll also hate the rounded corners of the recesses that dont match the radius of the hinges - yuk!
 
wabbitpoo":kk6zgvrf said:
If your OH is fussy about the colour, surely she'll also hate the rounded corners of the recesses that dont match the radius of the hinges - yuk!

Im not the only one who spotted that then :lol:
 
chippy1970":rtl9a5ov said:
wabbitpoo":rtl9a5ov said:
If your OH is fussy about the colour, surely she'll also hate the rounded corners of the recesses that dont match the radius of the hinges - yuk!

Im not the only one who spotted that then :lol:


That is the whole reason i had to modify the trend jig so as to not have these issues, but i filled them with brummer oak filler, now you cannot see the mistake anymore
 
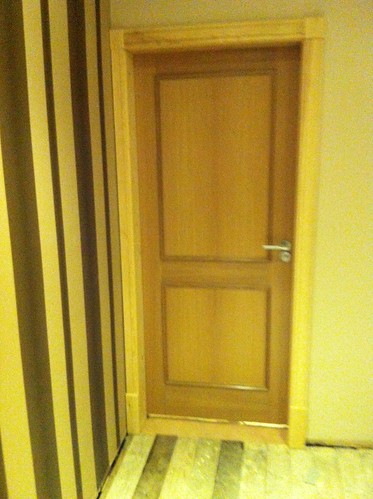
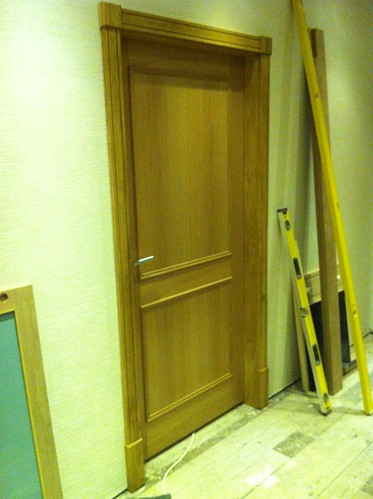
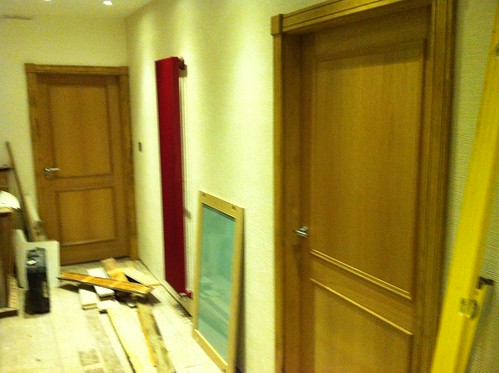
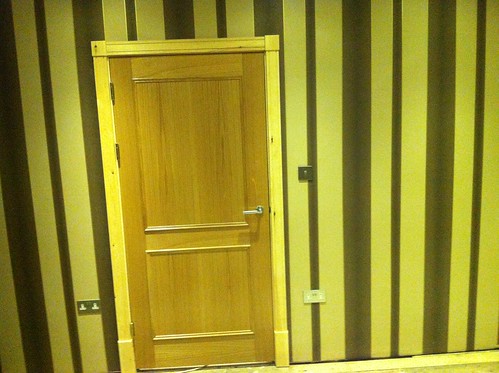
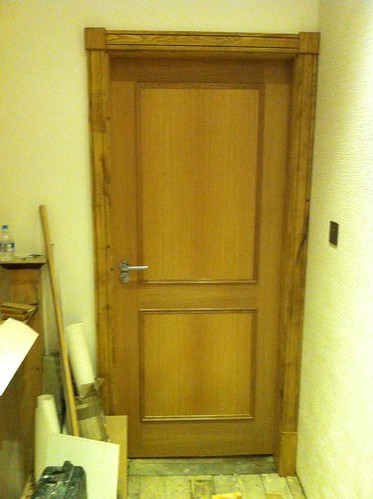
Finished the doors on the top floor (door handles and locks), and I'm almost done with the door trims, only the cinema doors left to do, and some skirting boards

I've been using the reclaimed oak floor boards, and the result is lovely

It will be all oak in the hall way, but inside the room it will be white so there i used pine


IMG_0582 by mcluma, on Flickr


IMG_0584 by mcluma, on Flickr


IMG_0586 by mcluma, on Flickr


IMG_0587 by mcluma, on Flickr

IMG_0588 by mcluma, on Flickr


IMG_0589 by mcluma, on Flickr


IMG_0590 by mcluma, on Flickr
 
Mcluma":ewzcwhvr said:
chippy1970":ewzcwhvr said:
wabbitpoo":ewzcwhvr said:
If your OH is fussy about the colour, surely she'll also hate the rounded corners of the recesses that dont match the radius of the hinges - yuk!

Im not the only one who spotted that then :lol:


That is the whole reason i had to modify the trend jig so as to not have these issues, but i filled them with brummer oak filler, now you cannot see the mistake anymore

Sorry - I missed the point of the post!
 
Did another two last night

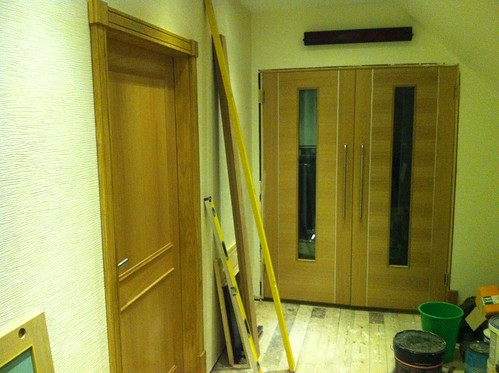
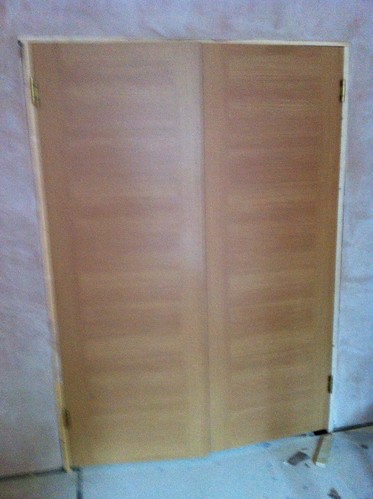
These are the doors that give access from the bedroom into the dressing room. Unfortunately not completely matching the rest of the doors of the house, as it was an after thought to put double doors in. The manufacturer didn't had this size in the matching profile - colour etc is the same

The wife is happy and that counts for more ;D


Untitled by mcluma, on Flickr
 
The cinema? The dressing room? Where did I go wrong? :)

Seriously hope all goes well, sounds like a rather large property.

Noel, who has a total of 11 doors....
 
Noel":1bj427o8 said:
The cinema? The dressing room? Where did I go wrong? :)

Seriously hope all goes well, sounds like a rather large property.

Noel, who has a total of 11 doors....

I had to change some doors in a bungalow a few years back 23 in total. Only 4 of them were wardrobes
 
Mt tuppence as an alternative method. As there is more than one way to skin a cat.

If hanging a lot of doors by hand I made up a hinging stick marked out for top clearence on door and where hinges were to be placed. This can then be placed tight to door lintol and mark where the hinge tails are to go.

To lift the door as long as you have a floor you just place top hinge tail on bottom chisel cut on standard and let the door incline at an angle past standard edge (the more or less angle of door lifts or drops hinge in position, screwing in one screw to locate hinge (bottom screw hole), push door back flush with standard edge and locating hinge at the bottom of the door into standard hinge recess and screw one screw in place. Try the door for fit, adjust by removing door or finish fitting screws to hinges, if they need tightened to get the hinge to rear of tail, adjust your screw entry by fixing a brad hole to rear of screw slot and loosen other screw to allow the new screw to bring the hinge back. Take out the offending screw if you need a lot more travel. Only fix all screws in place when satisfied with fit of hinge or door. I prefer the screw holes closest to standard edge to first screw in, they carry weight of door better and give better alignment and let you see the door looking after all hinges are fixed in place.

Minus about this method though it is fast, you can slip the tail and crease or cut the chisel edge (not bad but annoying). But practice makes perfect as they say. You can hang any door except shop hung doors they need another method as you usually cannot get enough angle as your tight against a wall.
 
101 doors on a new vets in just under 4 weeks,mostly done with a trend hinge jig but mainly makita laminate trimmer for hinge rebate and a good chissell flew them up,,,never want to see another door though again,lol
 
I realise this is an old thread (before anyone jumps on me!) but it wasn't me who resurrected it. :duno:

Anyway...FYI....35 mm fire doors are now widely available avoiding the need to rout out the old casings. I gave up with a jig ages ago, took longer to set up than using a chisel. OK if you have 101 doors to fit, but not worth it for the odd one or two.
 
Sorry to resurrect an old thread again... but...

Question for Mcluma: How did you work out the radius required to make your inserts?

I've just bought the Trend Hinge Jig to fit Eclipse Stainless Steel radius hinges on my oak doors and have run into the same problem of the cutter taking too much off.
I tried making new inserts but cant seem to get the radius identical to the hinges.

:(
 
alunt":11v59qsj said:
Sorry to resurrect an old thread again... but...

Question for Mcluma: How did you work out the radius required to make your inserts?

I've just bought the Trend Hinge Jig to fit Eclipse Stainless Steel radius hinges on my oak doors and have run into the same problem of the cutter taking too much off.
I tried making new inserts but cant seem to get the radius identical to the hinges.

:(


I called the manufacturer (uk based) and they provided me with the drawing - send that over to my budy in Tokyo and he cut the new inserts for me

so in the end it where 32 doors and 4 doors with a centre bottom and top hinge
 
Mcluma: Thanks for the reply.

I actually figured it in the end by trial & error.
I got the radius with a 20mm flat bit.
I made a template from MDF, which after a bit of faffing got perfect then used the template with a flush trimming bit to form 3 oak inserts.
Job done.
I've hung the first door, 7 more to go.

:D
 
I'm probably a bit too late now as i guess you've already finished tyhis job.

However for the future I would simply make my own jig;-

Fix two pieces of wood at right angles, one side long enough to be clamped at either side of the hinge position, theother piece piece sitting on top of the door edge.

Decide on the router cutter diameter and cut a rebate out of the top piece to a width and depth to just take the hinge taking into account the diameter of the router guide diameter..

let me know if you want a picture more details

David
 
Mark the hinge out with a Stanley knife and free-hand with a 1/4" router, simple accurate and very quick.
 
Back
Top