FINISHED - Multi-function workbench WIP

UKworkshop.co.uk

Help Support UKworkshop.co.uk:

This site may earn a commission from merchant affiliate links, including eBay, Amazon, and others.

Krysstel

Established Member
Joined
28 Oct 2008
Messages
633
Reaction score
2
Location
Norway
A new workbench has been on the cards for a long time but now after finally completing all my pre-winter punch-points and with a 3-day weekend coming up with no other commitments the time’s now right.

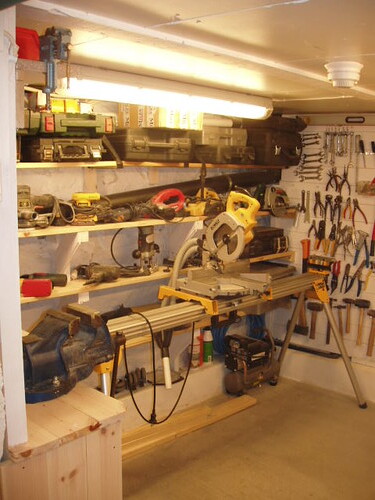
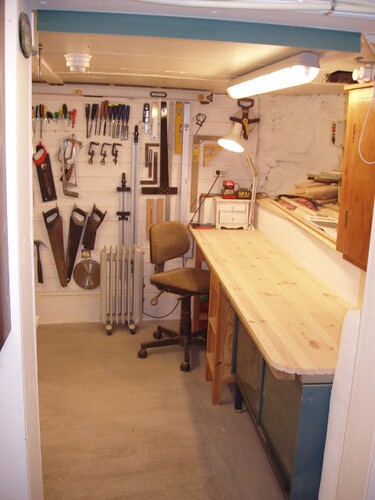
With my very limited space I had to come up with something that was not only small, but also multi-functional. The solution I ended up with was to combine a mitre saw table, vise-bench and storage cupboards in one unit. The construction I’m planning is actually two separate benches joined together by a sunken saw table in the middle. Legs will be 2x4 sandwiched between two layers of 12mm ply. Rails (or are they stretchers ?) from 2x3. Tops; two layers of 19mm MDF lipped with 28mm beech aprons. They’ll be drawers under the vise and cupboard doors on the fronts. They’ll also be backs on the cupboards in 12mm ply to add stability to the whole construction. I’m also planning to make the SCMS quick-detachable and it’ll store in the cupboard directly under and be replaced by a loose bench top section that’ll then give me a flat, continuous worktop when needed.
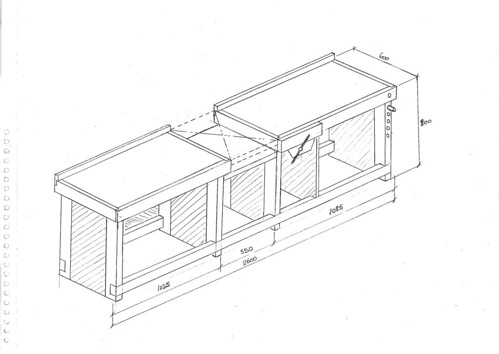
3880485969_1c617a2727.jpg


This will incorporate everything that currently resides along the opposite wall and free up that area for a forthcoming P/T and a whole wall of screw/bolt/odds-n-ends drawers.
3396477590_8acf31a0fd.jpg


Obviously this design is full of compromises, not least of all having the vise only 1 meter from the end of the bench, but hopefully it’ll be a vast improvement on my current setup.
We’ll see ………
3396477270_d3d18bbc1c.jpg


Edit - fixed picture sizes.
 
Your idea is very similar to what I have. Mine wasn't designed as such it just sort of ended up like that. Seems to work reasonably well though.
Try and design your scms fence to be detachable or you end up losing a lot of bench space.
 
Hello Mark!

Waiting impatient for pictures and a update on your progress in your bachelor weekend!

Guess you're working all day... :D
 
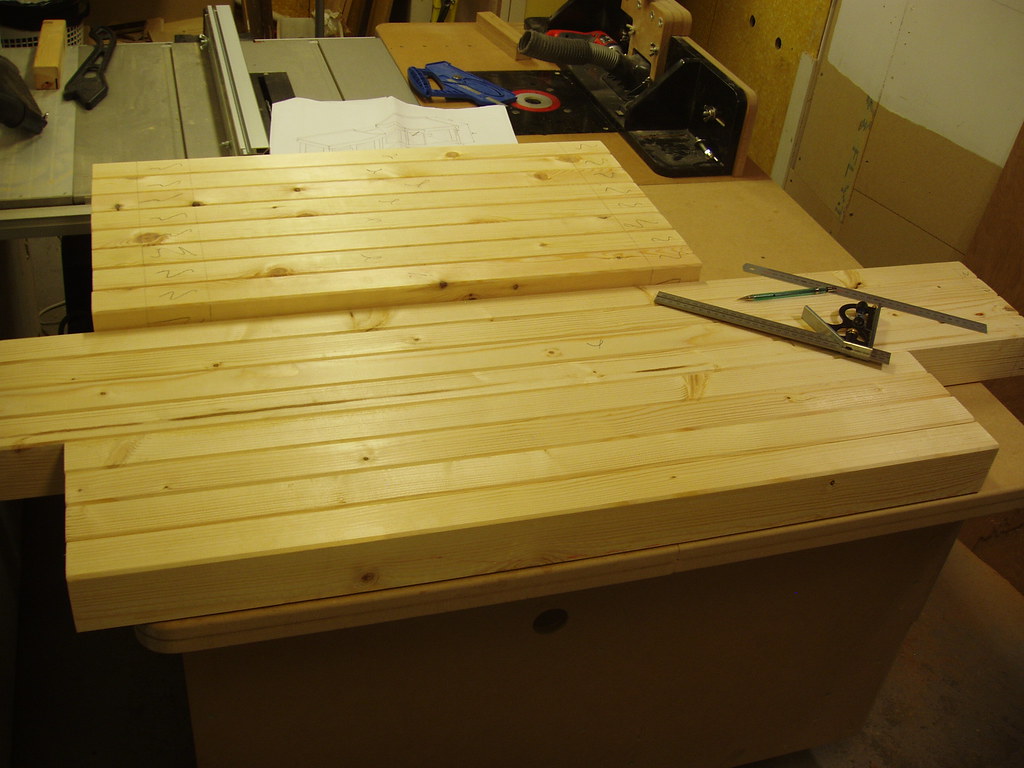
Managed to make some progress during the weekend despite a stinking cold. No pictures of piles of uncut sheet and lengths of 2x4 but here I've finished cutting the framework parts to exact length and marked all the lap joints etc
3895438547_07e7a085fd_b.jpg


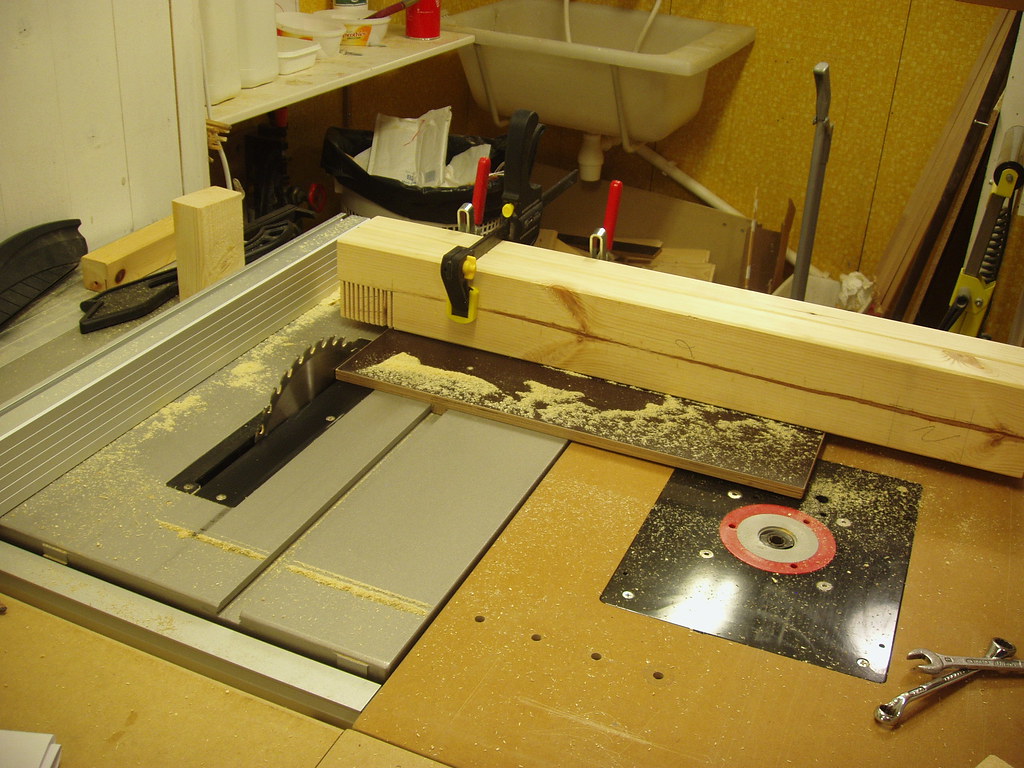
I cut the lap joints on the table saw, two at a time, using my cross-cut jig - not something I've tried before. Worked great and I was very careful :wink:
3895439349_0ed59cb071_b.jpg


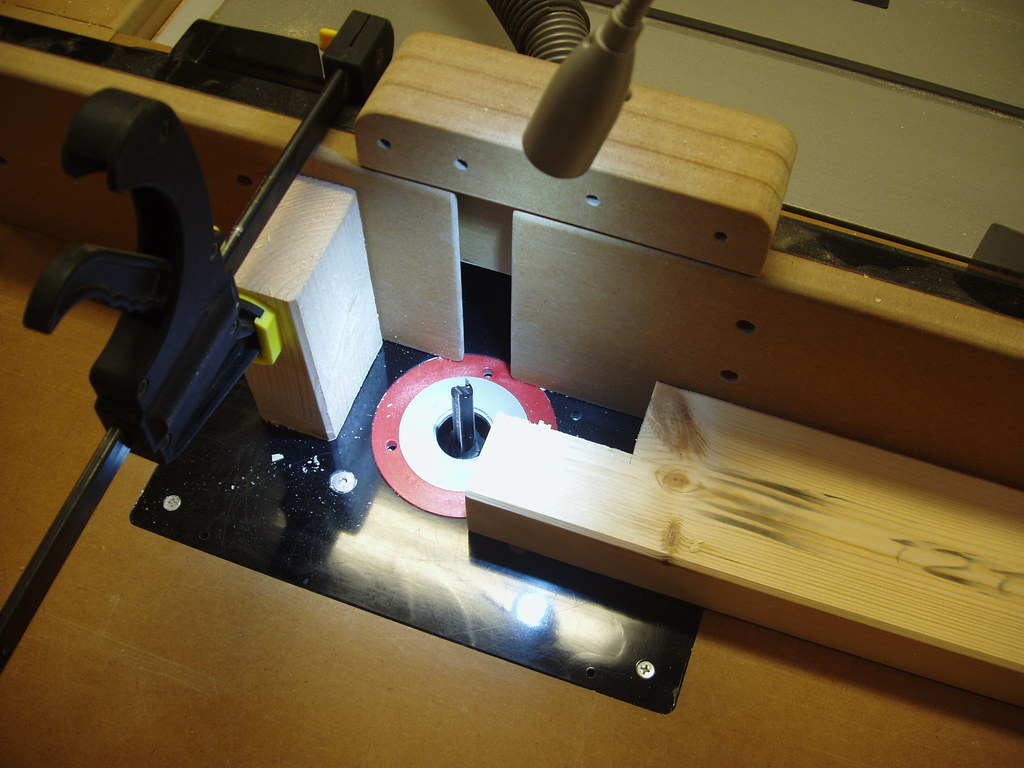
And cleaned then up on the router table using a 52mm long straight cutter.
3895440693_ec9a63eea8_b.jpg


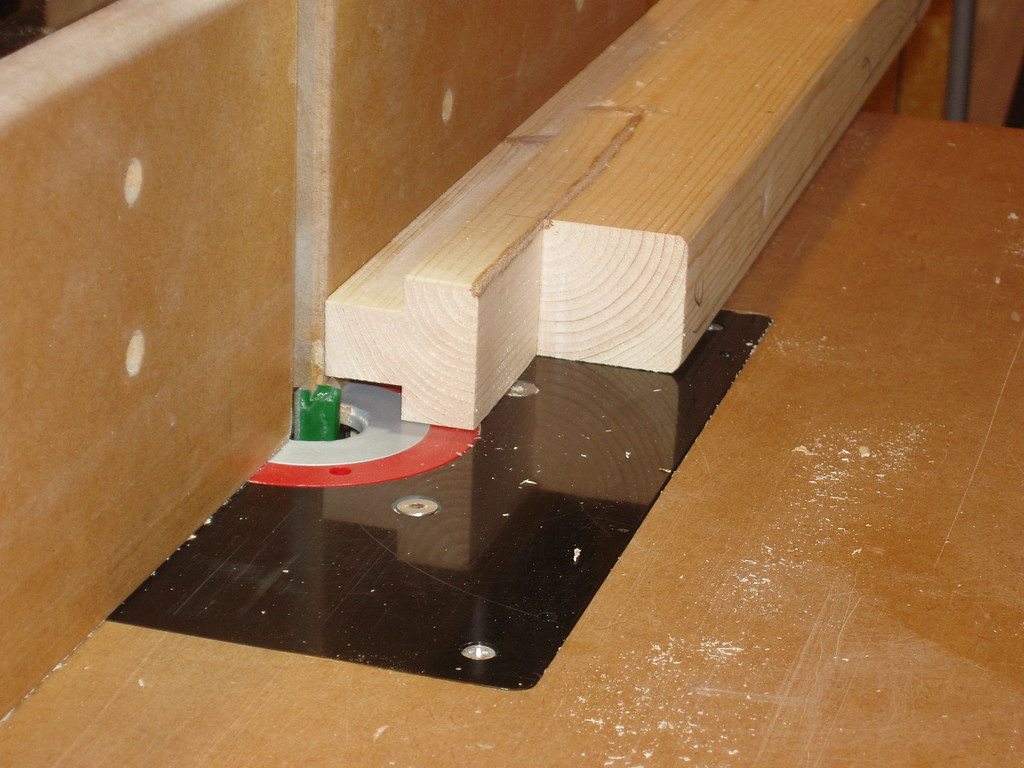
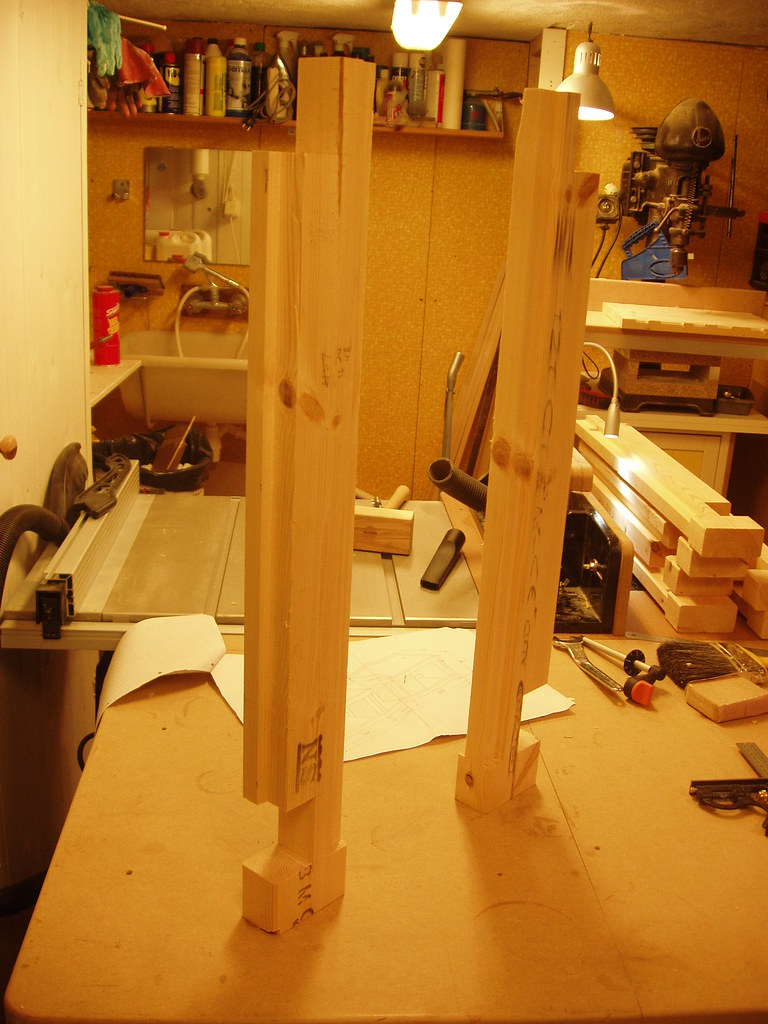
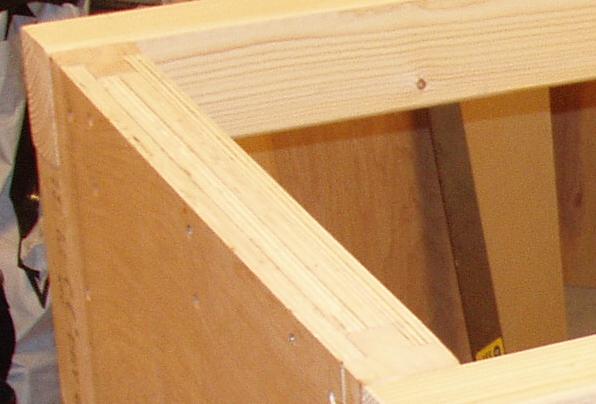
To make the sandwhich construction I was planning for the legs I cut two rebates for the 12mm ply sides in each 2x4 leg. I also cut a rebate in each rear leg for the cupboard backs which will also be 12mm ply.
3896225000_fb46d1d835_b.jpg


And here we have a complete pair of legs ready for their ply "skins"
3895442177_60fc5a5269_b.jpg


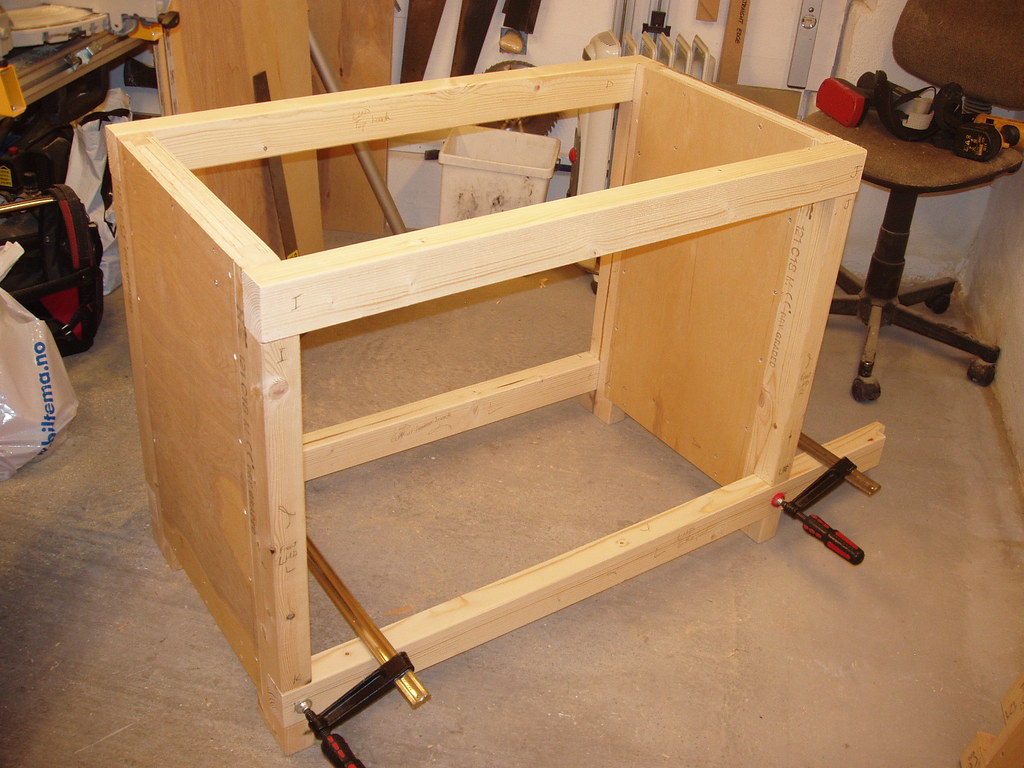
Dry assembly of one framework. Here you can see how the legs went together with the ply sides which were glued and screwed in the rebates.
3895442937_85dc04e64d_b.jpg


To give me something to screw shelf batterns and the mitre saw shelf to; I also closed off the tops and bottoms of each leg assembly with 150mm wide strips of ply glued and screwed between the ply sides. This made a very rigid assembly.
3895492175_d5d271fe88_o.jpg


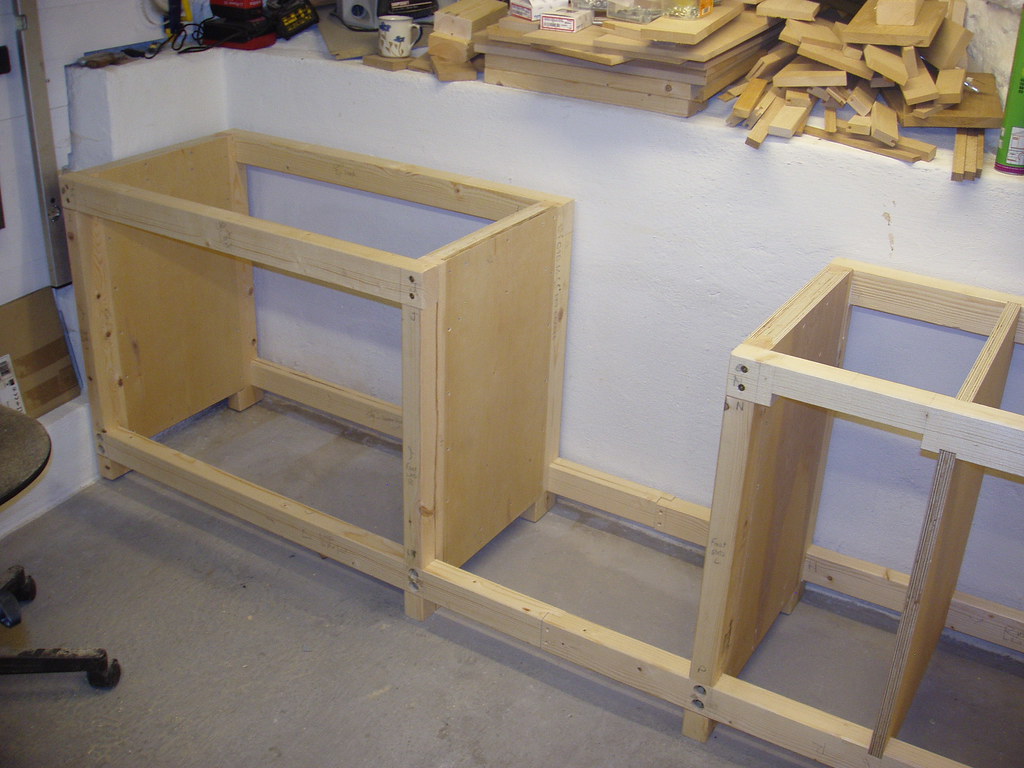
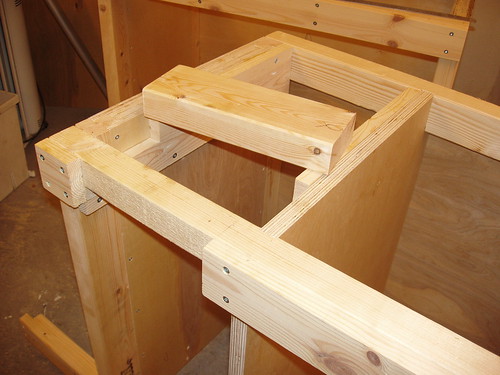
Both frameworks completed and glued/screwed and trial positioned along wall. Here you can also see where I've added the drawer/cupboard side on the right hand bench (two layers of ply rebated into the rails) and started the vise mounting arrangement. You can also just see that the bottom rails will be lap jointed together in the middle when everything else is complete.
3896227246_afb0c3b054_b.jpg
[/u]

And that's where I am now.
Next up is to glue and screw the ply backs and complete the vise mounting assembly before moving on to the mitre saw shelf that'll tie the whole thing together.

Thanks for watching !
Mark
 
Coming along nicely that is!

So your going to move a few other tools onto the work surface so you have space elsewhere for a PT, is that the plan?

One thing I'd add if it was me, some sort of kick board so all the dust and bits you drop can't get underneath the units.
 
They'll be cupboards under both benches which I hope will hide all the power tools currently on the open shelves and keep them dust free. The mitre saw will reside either on the sunken mid section or in the cupboard in the middle which I've sized to take it. Under the vise they'll be drawers.
The Dewalt stand will be kicked out to the garage and the PT will be mounted on a wheeled stand where the saw is now.
I have no plans to move tools on to the new work surface :shock: :D

Mark
 
Oh I see your removing that long top you have, I thought you were putting it in the place the mitre saw was in now.
 
Yes, that's it exactly, sorry if it was a bit unclear. The long top and cupboards under are gone and the SCMS is going in/on the new bench along the same wall. The PT will be where I have the saw/stand now.

Mark
 
Looking very good so far. I think this will be a solid construction!

Smart move to use the router to clean up the joints. Taking notes... 8)

My vise has arrived in Oslo already, so maybe i have to start om my bench soon.. :)
 
Managed to get a bit more done last night.
Cut the 12mm ply cupboard backs to size and glued and screwed them in their rebates + added Axminster adjusteble feet to each leg.
3902624543_108e63fbde.jpg


Also completed the vise mounting arrangement. Two batterns cut from the 22mm pine floorboards taken from the old bench top are screwed and glued to the cupboard sides. These support a short length of 2x4 which I'll glue and screw in place tomorrow. The vise will then be bolted in place underneath. The idea with this is that it'll avoid having the mounting bolts through the worktop. I also added a 22mm front apron either side of the rear jaw and an equivalent across the left hand bench front. When the tops are in place their beech front aprons will then cover the rear jaw and the extra 22mm apron I've added now - if you see what I mean :? :D
3903404296_bd54666a09.jpg


That's it for today.
Mark
 
Not sure if I got the idea about how your going to bolt the vise, but sure ill see when your done! :)

Are the sides with 2x12mm ply a bit overkill, or do you think its required to get the wanted rigidity?
 
All will become clear regarding the vise mounting when I take some more pictures, however the general idea is avoiding unsightly bolt heads in the working top by attaching the vise only to the framework. :)

I got the idea for the sandwich sides from the construction industry. Isn't that roughly how they make enormously strong I-beams from wood ? :wink:
With the two 2x4 legs sandwiched between two layers of ply rebated into the legs and both glued and screwed I've ended up with a relatively light weight construction that was both easy to make and very strong. It's possible I could have used thinner ply but there wouldn't have been much saving cost wise.
 
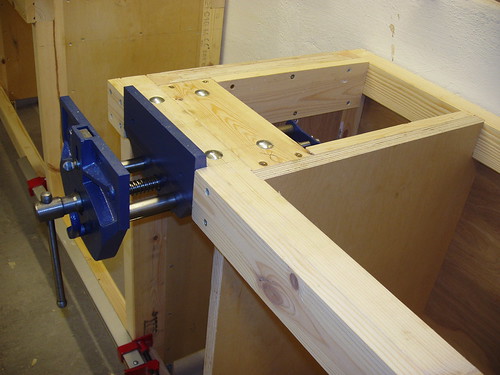
I got the vise mounted the other evening. As you can see; the rear jaw is recessed flush into the front of the framework and will be covered by the beech front apron when I attach the MDF tops. I'll also recess the protruding top of the rear jaw and the coach bolt heads into the underside of the MDF top thus giving a completely clean bench top.
3909334108_27bb1b8874.jpg


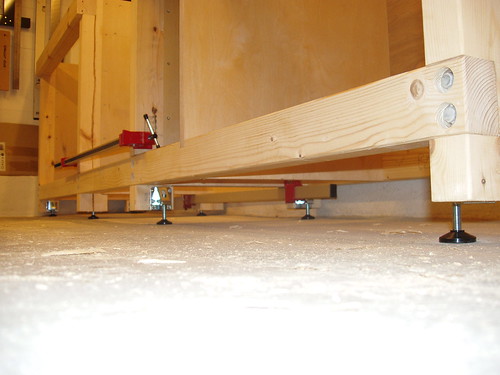
After getting the vise mounting finished I decided it was time to temporarily position both benches before going any further - and I'm glad I did ! I knew the concrete floor was uneven, hence the adustable feet, but had no idea it was a ski slope. As the picture shows; the floor slopes almost 3cm from left to right over a length of 2.6m :shock:
After an hour with a spirit level I got everything exactly level but the benches now look like they're standing on stilts !! This won't do, horrible.
Note the inner most, back, left foot that's adjusted almost all the way in, and compare it with the one nearest the camera and you'll see what I mean !
3909334194_c4fbb01c00.jpg

Not only does it look ridiculous but the benches are now also far from being the solid, stable constructions I'd envisaged.
After mulling it over on and off for most of Thursday I finally decided the only sensible solution is to cast a new, flat concrete plinth over the whole area and then stand the benches on top. The only other way is to hack off each leg at different lengths :(
So that's the next step. Two steps forward, one step back it's known as.
Anyway, other commitments mean they'll be no more bench building before earliest next Monday so I've got some time to think about this some more.

Mark
 
Would it not be an option to put in a wooden (chipboard or ply) floor?

I suppose its not easy sloped but maybe cheaper than a concrete floor and AIUI a wooden floor is more comfortable to stand on for long periods. You could also stick some insulation under it.
 
Hi,

Why not measure the gaps and fit blocks under each leg.

Pete
 
I'm only going to cast a plinth under the area of the bench not over the whole floor. With only 2 meter roof height I'd be hitting my head if I build the floor up any more :D
The cellar floor is dry, almost, but not dry enough to risk covering it with a wooden floor :wink:
No, I think concrete is the way to go, and cost wise I think it'll be quite cheap. We're only talking about maybe 5cm, ie; a couple of 25kg bags of ready mixed should do it.

Mark
 
I wonder, might a level top and sloping floor cause problems when (for example) planing a long piece?
I dunno, but thought going uphill or downhill might affect the work.

Maybe not, but something to consider.

If you only intend to level the floor, maybe you could put in a level area to stand on, that way you'd have level floor, level bench, and if there's enough headroom at the top of the slope now, maybe you'll have enough room at the current bottom of the slope once it's been levelled.

Just a thought.

Good luck either way. Cheers for the progress reports.
 
Thanks for all the good suggestions but I think casting a plinth is the way I've decided to go. This should give the bench the solid feel I'm looking for and if I manage to do the concreting properly maybe I can despence with the Axi feet all together !
In the last picture I posted you can see that the floor is realtively flat under the right hand side of the bench but slopes up at the far (left) hand. Since the vise is mounted on the right hand bench I shouldn't have an issue with walking along a floor that is on a slope to the bench.
 
maybe worth using self levelling compund rather than normal concrete
 
Back
Top