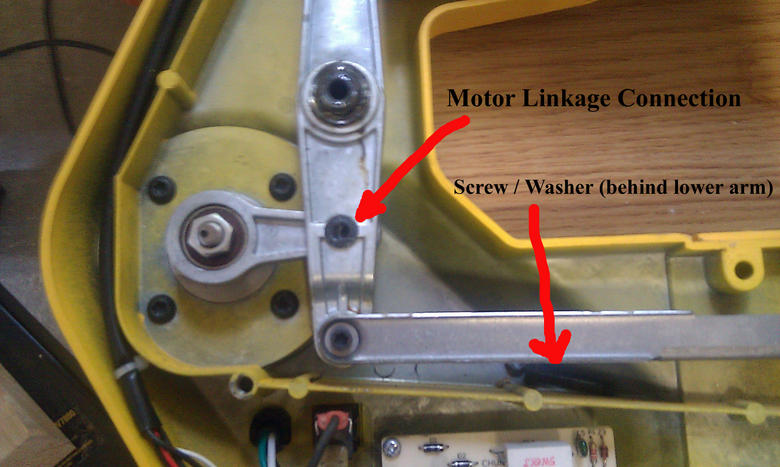
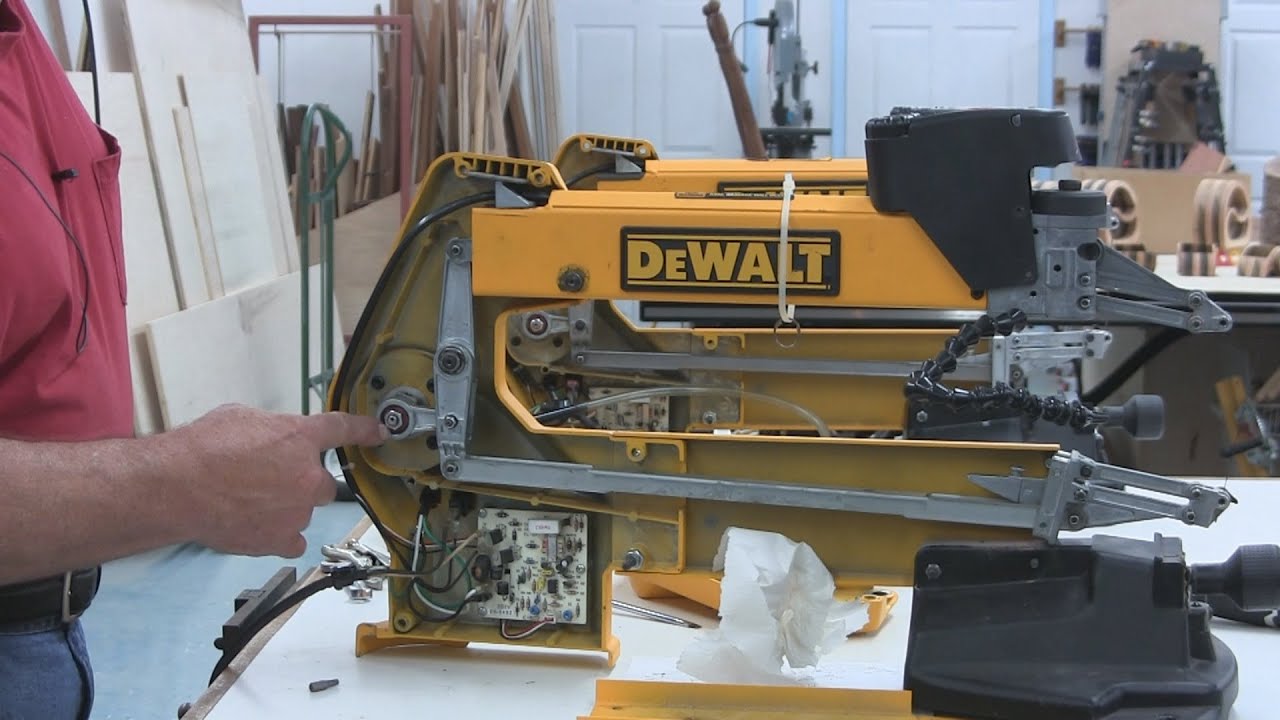
Thanks for that link Dominik. Never seen that vid before, if you posted it here in the past then I must have missed it.
I've now book marked that vid and watched it twice. A few points if I may:
1. His saw looks exactly the same as mine except that the lower part of mine is painted black (his is green, and I note yours is yellow). I have no idea what difference - if any - that makes;
2. Unlike my saw, his blade retaining thumbscrew is on the LH side (as you look at the vid). Mine is on the right. Similarly, the "puffer tube" on his machine is on the right (as you look at the vid), mine is on the left. Again no idea what difference that makes - if any;
3. My blade retaining thumbscrew (steel, like his) goes into the ali blade "chuck". BUT my ali blade chuck is definitely hardened ali. I've had NO problems with waggly thumbscrews at all. BUT I have carefully following the manual to make sure that the (steel) grub screw on the other side of the blade thumbscrew is adjusted so that the inner faces of blade chuck are completely flat. This is to ensure that when the thumbscrew is fully tightened onto the blade, the other (grub screw) side of the blade chuck is indeed flat - NO ident and NOT standing proud. This is clearly shown, with clear diagram, in my Manual. As said, NEVER a problem on my machine (5+ years old) and I even have a spare blade thumbscrew which I've never used;
4. He states that the big black knob on top of the arm right at the back is for setting the blade tension. As per my Manual that's completely wrong - the procedure in my manual is (without blade) to use that big black knob to set the arm parallel to the table. When that's set, that's it, finished. And it only needs checking (as above) now and again. ALL blade tensioning (once the arm is set parallel, as above) is done SOLELY by moving the little white nylon over-centre arm (right at the front of the blade chuck) from the forwards (blade slack) to the rearwards (blade tight) position;
5. I have never even removed the cover on the LH rear of the arm (as you look at the vid) which I why I didn't recognise the part you showed Dominik. I'll look later on and report back, but in passing I should state that in my machine, many parts are made of pressure die castings - they are NOT ali. That COULD mean "better" metallurgy, or WORSE, depending on the "funny metal alloys" General International have used for their castings. We can't tell just by looking, but on mine it definitely ain't ali;
6. Similarly I have never removed the cover on the top of the arm as shown in the vid. As 5. above I will do so later on when I have time (my arm is in a sling at the mo, and likely to remain so for about a week yet);
7. Finally apart from the paint colour difference and thumbscrew and puffer pipe location differences mentioned above, my saw has a "Pegas" badge on it as well as an Excalibur badge. As above, I have no idea what difference - if any - that makes.
My saw was also made in Taiwan, and apart from the "political economics" of that (which I'm not even qualified to go into), as I remarked after buying mine and reporting in depth on that purchase here, 5 years ago now, I was very pleasantly positively surprised at the high quality of the materials and fasteners used throughout the machine, and with the way it had been assembled.
As your machine was bought in 2011 Dominik (mine in 2015) perhaps General International have indeed improved the product/spec? Dunno. But I'd be interested to know when the bloke in your vid bought his.
I'll post more later on, after I've had a chance to look inside those 2 covers mentioned above.
P.S. Sorry. In the list of comments above I forget to say that when your vid bloke was talking about adjusting blade forwards/backwards movement, as per my Manual he is again wrong. My Manual clearly shows that the blade fore/aft adjustment is made by slackening the 3 motor retaining screws at the back of the arm, then SLIGHTLy rotating the whole motor clockwise/anti clockwise until you get the amount of forward/rearward blade motion you want. Then re-tighten the 3 screws.


