European Oak Serving Tray

UKworkshop.co.uk

Help Support UKworkshop.co.uk:

This site may earn a commission from merchant affiliate links, including eBay, Amazon, and others.
Chems":phe98e6s said:
I just had a go with the Bevel box doing the Mitres Olly, same as last time I tried didn't work. I will make a 45degree slope fence for the table and then rotate the table to 45degrees, thats what I did last time and it worked better than working out the compound mitre.

Than sounds very similar to what I have in mind - which is basically inspired by Norm's way of cutting a cornice; "place the moulding on the saw as it will appear on the finished job...". My idea was to plane up a length of 2in scrap and bevel one edge (say, 10°). Place this against my mitre saw fence and, keeping the saw at 0°/90° vertically, swing it round to cut a 45° mitre - simple! 8)

Sounds like you've got the right idea as well... Keep the blade set at 90° but swing the fence round to 45° and place a bevelled section against it.

I agree with Mick though - you should've scraped or sanded the glue off before planing; it'll never be as shiny now!! :wink: :D

Did you get those all those glue brushes from Workshop Heaven? I find I that if I clean one, it can last the best part of the year - therefore, your wad should see you out through retirement! :D
 
Yes I did get them from WH, saw the Wood Whisper using them and just had to have them.

Never mind about the scratches, its a tool after all!

I did the same technique on the crown moulding of the vanity press and it worked a treat. It should also solve the problem that the sides are over 75mm the max height the saw can cut so hopefully with the tilt it will all fit.


To any SIP owners, my saw blade doesn't seem to be rising to its full height, anyone know why? I will investigate tomorrow but could do with some pointers.
 
Chems":ad3xgjyw said:
Olly, if you can at all get away with not doing sloping sides, do it!
Nah, that just means you need a decent mitre saw!! :D
I guess the mitre gauge is a little sloppy? So many are. Maybe you'd have been better off building a jig that runs in the track? You've got the right idea, though :wink:

Your new lighting really makes a huge difference! 8)

Will you be shaping the sides or ends at all? I meant to ask before how you were going to fit the base - I plan to groove mine using the same jig to get the correct angle on the router table with a slot cutter.

I made a 'simple' tray with 90° mitred corners a couple of years ago. Despite biscuiting the joints with no.0s, I've found that a couple of the mitres have crept open slightly. Therefore, you might want to consider fitting some splines afterwards - in BW this month, someone builds a curved shelving unit that shows you how to do this.
 
They'll be a domino in there, hopefully that will be enough. The mitre gauge doesn't have slop but its no were near the level of accuracy of the fence.

May use a contrast bit of walnut along the bottom of the sides.

I'll be rebating in the base with the TS and blade set to 45degrees, the slope of the sides.
 
I made something similar years ago. The only thing i found is that even at 3/8's of an inch thick it was heavy and looked to chunky. Just something to think about, because i didn't think about it until it was done. It was a lot of work for nothing at the end because it just sat never being used. I don't know what ended up with it, got lost over the years... I put some curves on the uprights and cut elongated heart shapes for handles to give it some interest.

I did all the cuts for the frame on a compound miter saw, looks easier then how your doing it on the table saw. That is a nice looking table saw though! Is it the 12 inch?
 
10"

I made the base quite thin, around 13mm, and the sides are under 18mm. Its meant to be a bit chunky and modern so hopefully it will work.

I tried cutting it with the blade set to 30degrees and the sliding table set to 54.7 but that was nowhere near right. Thats what compound mitre calculator said.

Maybe I should invest in a Kapex? :twisted:
 
Another thought - which way will the boards run for the base? Most boards I've seen have the boards running the length of the tray but, it could be more economical to have them spanning the width - also, the shorter lengths would be less inclined to sag under load...

Expansion is possibly more of a concern if you went with shorter boards as there are more of them. But, of course, they're still going to want to move, even if you orientate them the other way.

You've probably made that decision by now, anyway! :)
 
Just done the grooves for the base on the saw and stuff other bits. Even thou I made the base oversized to allow me room to cut it down its not big enough so need to plane up 2 scrap lengths and joint them on to glue overnight. Doing the base is fun, getting a angle dado the right size is precise work and the base has to be dimensioned to final size with a 45degree cut to get the right angle for the bottom of the dado.

Long story short this will be the first and last one of these I do!
 
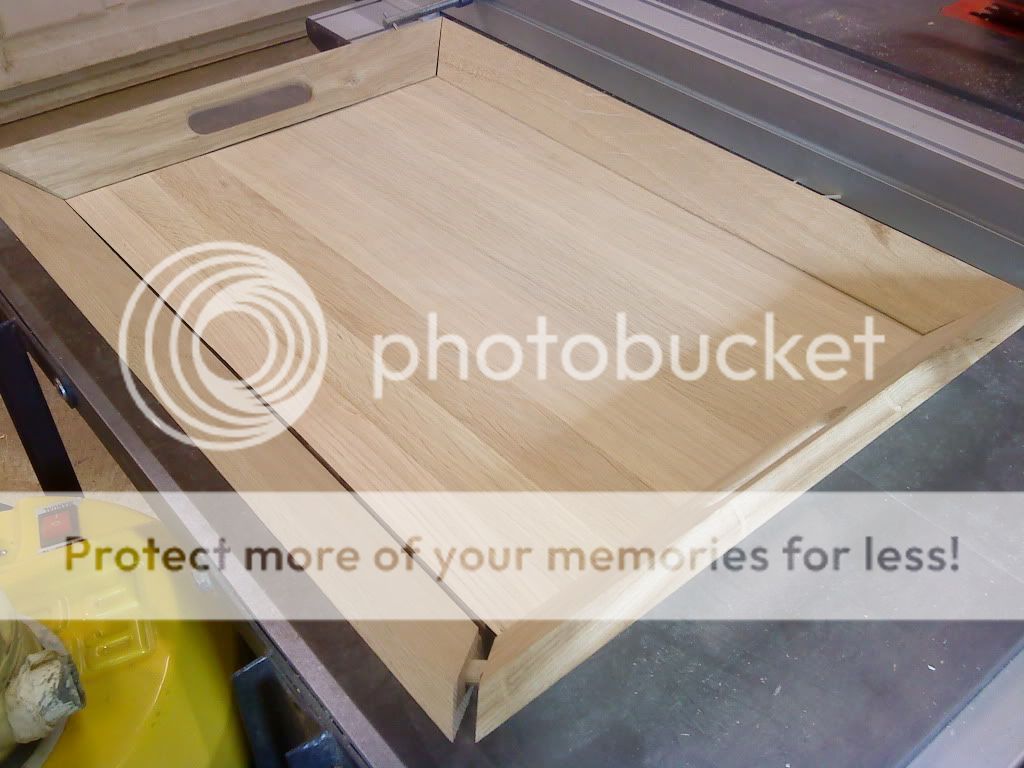
Looks good, although it's hard to get a sense of perspective of the angles from that angle (I'm sure you'll take some more of the finished tray, though. :wink:).

I know what you mean about those side rebate planes... I never really saw the point until I started doing all those projects last year. If they were still £50, I probably would've bought one by now. :( You might see an old Record version on eBay sometimes but, I doubt it'll sell for much less than the Veritas ("Collectors"... :roll: :D).

I was reading someone's blog earlier where he used an iPhone application to set the angle of his chisel in an Eclipse-style honing guide! :D Seeing your bevel box in action reminded me of this. If you had the money for an iPhone though, you could probably spare a little cash for a bevel box... :p
 
I mean these little ones:

05p7501s1a.jpg


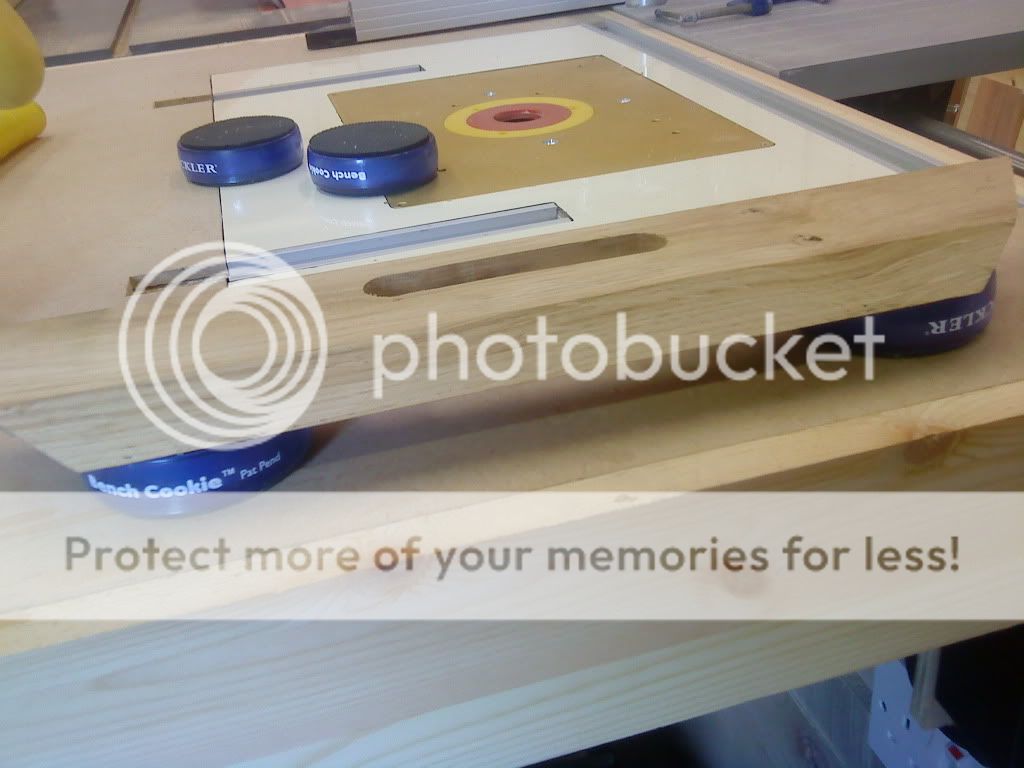
The bevel box is great, another birthday present. My flexible hose which is DAKOTA and quick release hand clamps is the best thing I've bought this year (after the domino :)) so much better than that hard grey hose! Waiting for my bench cookies to turn up in time hopefully for the final sand too.


I couldn't get an iphone, think how long it would last with me! It'd be full of sawdust and water within weeks.
 
Been struggling on, the fit isn't very good but I'll get to that later.

Cut out two 20mm hole with a spade bit and the joined them up with the jig saw:

DSC00777.jpg


DSC00778.jpg


The tried out the bench cookies with the router:

DSC00779.jpg


Its a very weird feeling but they work just as well as advertised, best with the router over the ROS I thought.

Quick test:

DSC00780.jpg


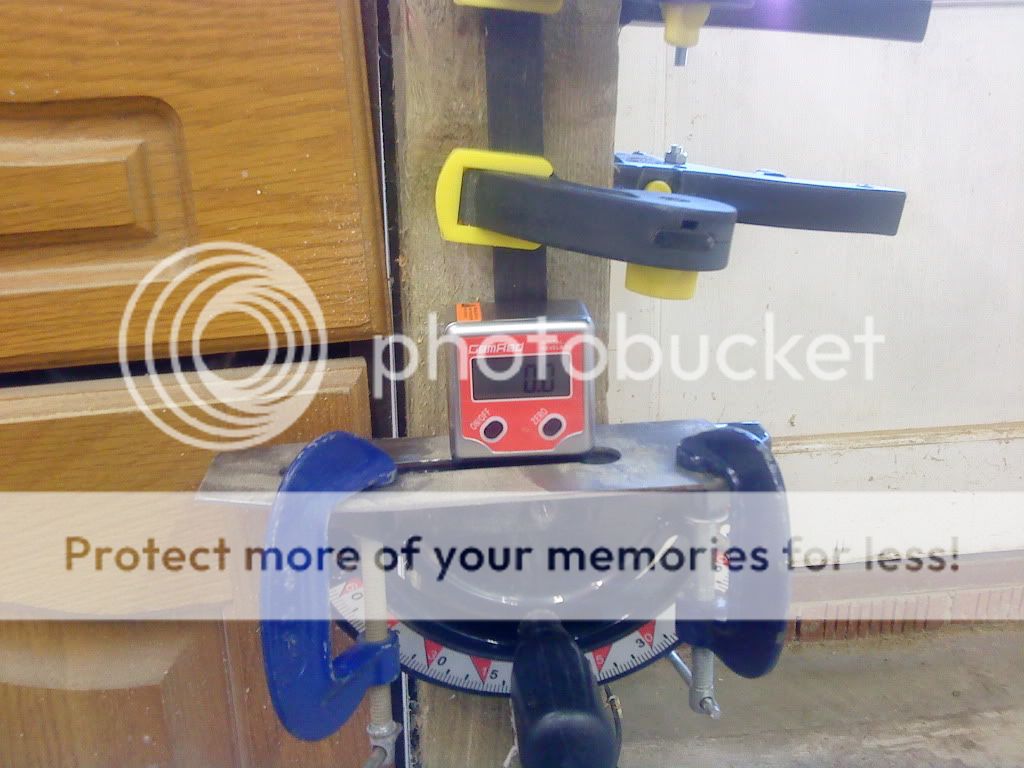
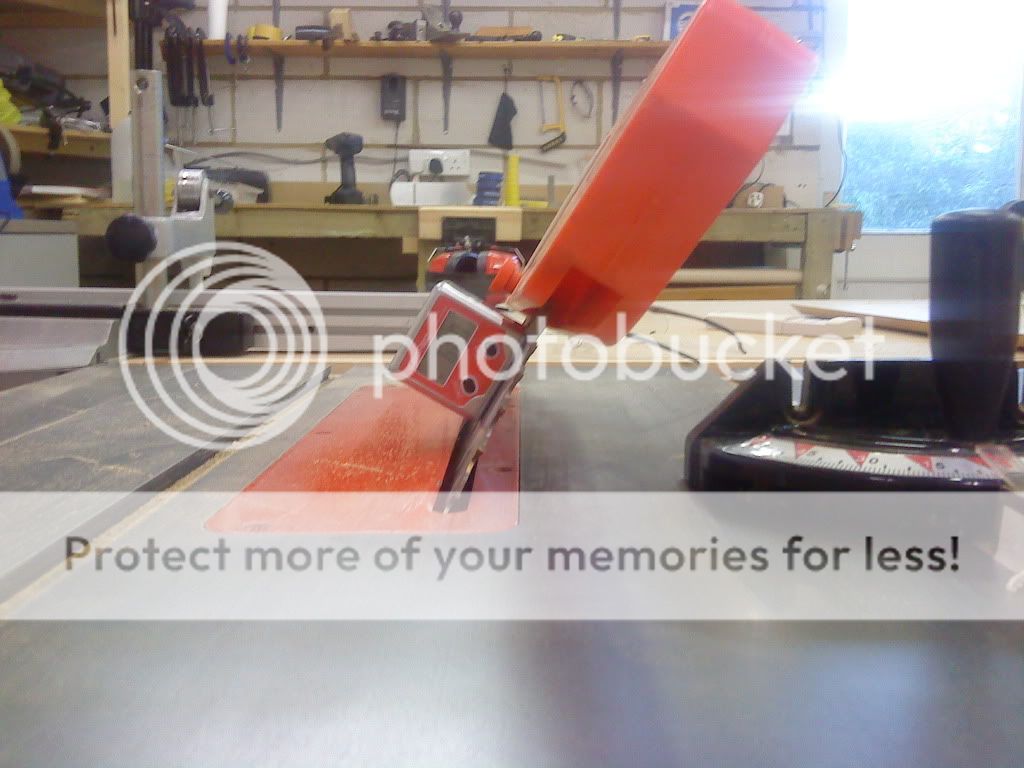
So the fit, I realized that when trying out the blade tilt and mitre gauge setting early on the numbers I had didn't work at all. I realized today the website I got them off must have been wrong. So went back and got the right ones, which is 30 degree blade tilt and 35.2 mitre gauge. Out with the bevel box:

Set to 30 degrees or 60 depending how you want to work it out!
DSC00785.jpg


I then squared up the mitre gauge and added some masking tape to take out the slope. I then clamped an old plane iron onto it to make it magnetic and zeroed the gauge:

DSC00786.jpg


I then set it:

DSC00787.jpg


An I'm very happy to say the fit is now perfect! Didn't get a picture as only tested one corner but will tomorrow. I'll just cut them to length carefully and re-trim the base and I should be nearly ready for glue up.


Anyone have any great ideas how to clamp these up?
 
Glad you got the angles sorted and that you're realising the potential of Bench Cookies! :wink: They are great for routing small pieces but, I agree also; they don't prevent short or narrow lengths from moving about while you're sanding (then again, neither to rubber mats, to a certain extent). I was going to suggest some form on 'inlaying' to hide those gaps but, it would be complicated and you've got it sorted anyway.

I normally use ratchet straps to clamp up assemblies like this. As nothing is at 90° though, you may have to make some special cramping blocks... I haven't really thought it through, myself.

You can buy cheap strap clamps but, in my experience, they're only plastic and they break very easily. There are also several other options though, I'm not sure whether any one in particular would be better-suited to your purpose, with those compound angles.
 
They are clever and very useful. I'm glad I got it sorted, one of the things I'd really looked forward to with this saw was been able to do accurate mitres right off the machine, and when it didn't work I was a bit bummed.

I have one idea for clamping it up which is to clamp some fairly thick bits of wood to the pieces then cut normal 90 degree haunches into the ends then clamp onto these. I'm sure that makes sense to other woodworkers but won't make sense to anyone else.

[/quote]
 
Just had an idea, although this might be very similar to what you're trying to describe...

Ripping a load of scrap timber (got any cheap pine?) so it's the same width as all the sides but bevelled on one face - you're basically surrounding the frame with another frame that'll sit at 90° on the outside face. Then, you should be able to clamp that up.

You might even be able to use ordinary sash cramps, as those Dominoes aren't going to let the joints slide anywhere. :wink:
 
I don't think I'm going to be able to use the dominos, its not accurate enough to align them perfectly. I think I'll glue them then spline them.

To do the dominos you sort of have to balance the fence on a knife edge so they aren't all the same. Fine for a dry fit but not good enough for the final. Would be best to domino before cutting I think.
 
Back
Top