MarcW
Established Member
Hi all,
Eternal, because I nearly needed a year to complete. Here's the first pic, showing it fulfilling its destination.

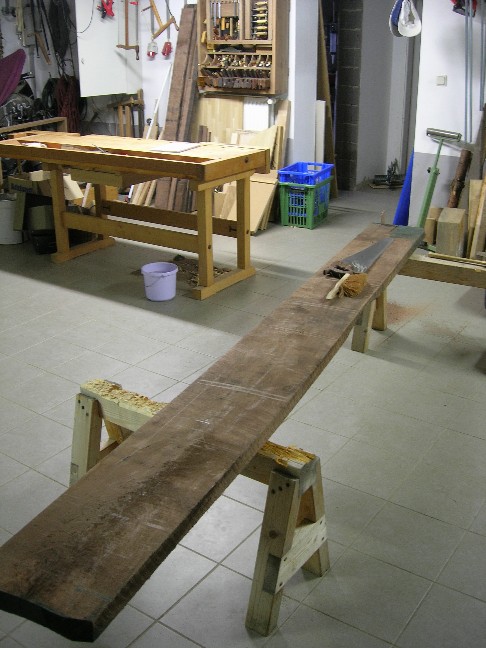
But let's see at the beginning, where two 2 inch planks awaited a then straight rip saw, which now is kinked.
After a lot of hand planing and later on with the help of a british thicknesser 4 frames could be glued together. Looking at the following pic, you'll see two of them jointed with 4 rails. All in all there were 36 tenons and mortises, twins and haunched currently with 4 shoulders.

The panels that got into that construction were made by a #45 and a small Rapier plow plane. The tongues by the Stanley.

And the grooves by the Rapier. Both of the planes got a new wider and longer fence made of walnut plywood.

After the panels, I made the supports for the shelves. I went for sawtoothsupports and here is how they finally look alike.

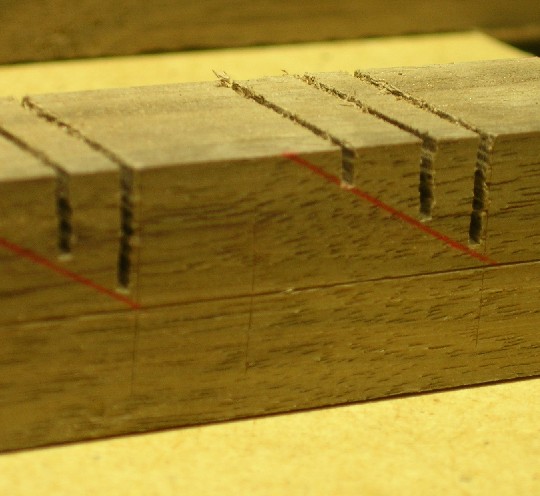
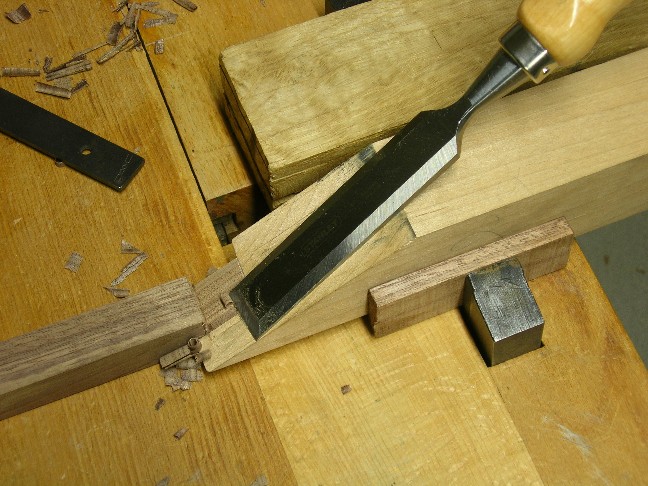
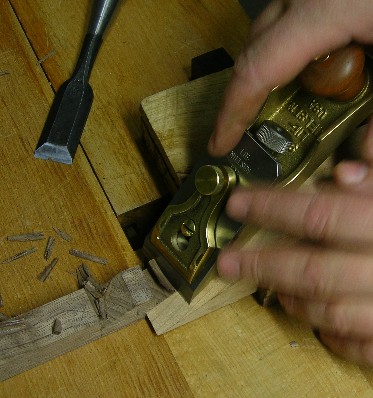
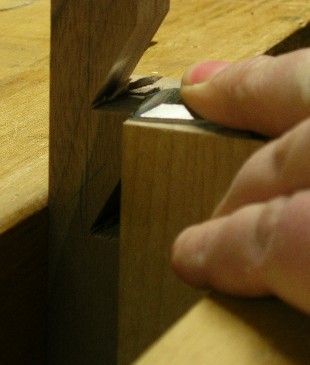
Here is how I made the supports. First marking and a little sawing with an old lady.
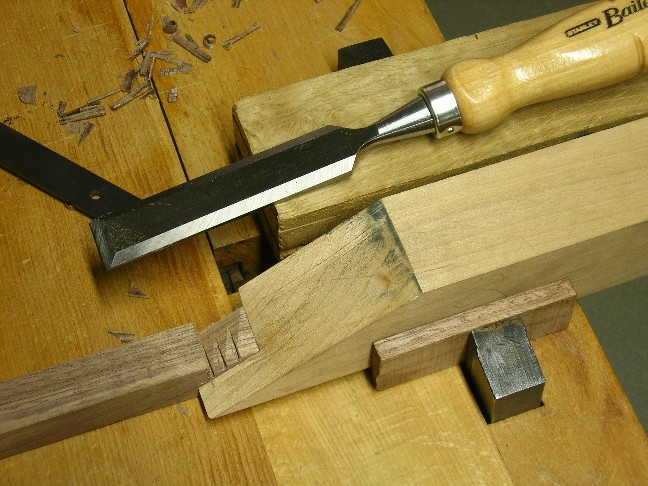
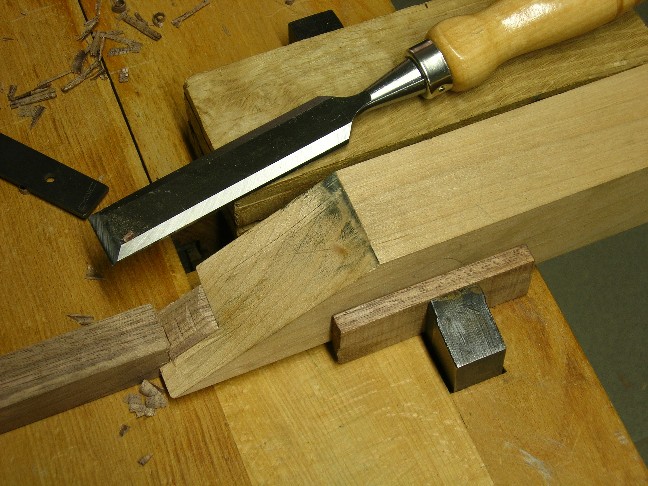
And then some paring with a guide, which can be tricky as it has to be checked for exact fit constantly.
The top panel followed and it looks like this from the front, it features a molding.

This is how I imagined the molding.

A beading tool from LN and an Ulmia fillester with a slightly larger wooden fence did the job on a single ripped board which will match fine later on.

I then glued the two battens with the help of some nails of which I pinched off the heads. The nails prevented the battens to move during the clamping.

The molding plane did not fine on the lower edge, it chattered and despite a new longer wedge it kept on chattering, now clogging too.

Chatter marks are here.

Smoothing the top panel with a LN #164 pitched at 60° EP. It was all I needed :^o

Here's the glue joint, which succeeded very well, thanks David :wink: And the #212, my rescue for marbled grain, you know those nasty spots.

The final step is to make and to fit in the shelves. The piece near the floor is open, because of the floor heating. The cover for the plugs is best I could imagine at that point and I woul redo it, if I could see it every day, but after the wax had dried, SWMBO found easily some books to put into the shelf, hiding the ugly thing. Most of the piece is hand work, machining just with the thicknesser and the plug cover with a tailed router.


Thanks for looking and I have a problem with the molding of the top which I find it is not well succeeded, i.e not enjoyable, lacking some fineness. I'd be glad to hear your opinion.
Cheers
Eternal, because I nearly needed a year to complete. Here's the first pic, showing it fulfilling its destination.

But let's see at the beginning, where two 2 inch planks awaited a then straight rip saw, which now is kinked.

After a lot of hand planing and later on with the help of a british thicknesser 4 frames could be glued together. Looking at the following pic, you'll see two of them jointed with 4 rails. All in all there were 36 tenons and mortises, twins and haunched currently with 4 shoulders.

The panels that got into that construction were made by a #45 and a small Rapier plow plane. The tongues by the Stanley.

And the grooves by the Rapier. Both of the planes got a new wider and longer fence made of walnut plywood.

After the panels, I made the supports for the shelves. I went for sawtoothsupports and here is how they finally look alike.

Here is how I made the supports. First marking and a little sawing with an old lady.

And then some paring with a guide, which can be tricky as it has to be checked for exact fit constantly.


The top panel followed and it looks like this from the front, it features a molding.

This is how I imagined the molding.

A beading tool from LN and an Ulmia fillester with a slightly larger wooden fence did the job on a single ripped board which will match fine later on.

I then glued the two battens with the help of some nails of which I pinched off the heads. The nails prevented the battens to move during the clamping.

The molding plane did not fine on the lower edge, it chattered and despite a new longer wedge it kept on chattering, now clogging too.

Chatter marks are here.

Smoothing the top panel with a LN #164 pitched at 60° EP. It was all I needed :^o

Here's the glue joint, which succeeded very well, thanks David :wink: And the #212, my rescue for marbled grain, you know those nasty spots.

The final step is to make and to fit in the shelves. The piece near the floor is open, because of the floor heating. The cover for the plugs is best I could imagine at that point and I woul redo it, if I could see it every day, but after the wax had dried, SWMBO found easily some books to put into the shelf, hiding the ugly thing. Most of the piece is hand work, machining just with the thicknesser and the plug cover with a tailed router.


Thanks for looking and I have a problem with the molding of the top which I find it is not well succeeded, i.e not enjoyable, lacking some fineness. I'd be glad to hear your opinion.
Cheers


