Enamel Kiln for hardening?

UKworkshop.co.uk

Help Support UKworkshop.co.uk:

This site may earn a commission from merchant affiliate links, including eBay, Amazon, and others.
CHJ":jxy51dcs said:
'perfic' jimi43, in fact the lack of any risk of adding extra carbon to the outer skin is an advantage in maintaining the alloy purity.

Isn't there a chance of reducing the carbon in the outer layers of the piece?

BugBear
 
Theorising, but it's a lot about critical temperatures and rates of cooling. The thin edge at the bevel will certainly cool more quickly when quenched than the rest of the blade. I'm not sure what effect this will have....

ian
 
Hi,

You will have to regrind the bevel to remove the decarburised surface, its never been a problem for me.

Pete
 
bugbear":3pyhurv7 said:
CHJ":3pyhurv7 said:
'perfic' jimi43, in fact the lack of any risk of adding extra carbon to the outer skin is an advantage in maintaining the alloy purity.

Isn't there a chance of reducing the carbon in the outer layers of the piece?

BugBear

BB, I don't think there is any significant risk in the timescales involved, after all the only place it can migrate to is the surrounding air and at the temperatures involved there should not be excessive oxidation of the surface.
All the furnaces and treatment ovens I have had experience of were designed to prevent ingress of impurities into the alloy surface not depletion. Unless of course we were deliberately carburizing the parts or or nitriding HSS. Those that were used for high temp-long time soaks were flooded with inert gases such as Argon or in a vacuum.

Most important thing is to get the item from soaked condition to quench oil as quickly as possible to limit contact with oxygen and agitate as vigorously as possible to avoid soft spots due to gasses on the surface due to boiling slowing the cooling action leading to soft spots.
Never just drop a piece in the quench, if it settles quickly on the bottom then the lower side will not cool quick enough.
 
I've just done six chisels and three plane irons with MAPP gas, using two blowlamps and quenching in vegetable oil (from the supermarket), and guessing the temperature by colour. It seems to have worked really well (and the oil is 100% re-cyclable, either for chips or into the Landy's fuel tank :whistle: ).

I don't know yet how long the edges will hold up but the quenching seems to have been fine. It's my first use of 'scary sharp', previously having always used a double-sided Norton stone and an oil/paraffin mix. I'm pleased with the results so far, and it was a lot quicker than before.

Co-incidentally, this week I changed the oil and oil filter in the Land Rover. Usual nuisance with the filter - punctured it just at the wrong moment and ended up with black used oil all over me. It's disgusting stuff even when cold, and I wouldn't want to use it again for anything, so off to the recycling it goes.

The veg oil smells reasonable when quenching, and leaves a carbon deposit on the surface of the metal. I read its flash point is far higher than engine oil too - there wasn't a hint of a flame, even though the tin it was in was quite warm by the end. The other big advantage is that it's clear enough to see the blade - if there are hot spots they're visible (bubbles or ripples) so you can keep agitating it appropriately.

HTH...
 
Well...we seem to have some intrigue here...with the bit that I thought was straightforward...the quenching.

The choices:

1) Quenching oil or SAE10

2) Old motor oil

3) Vegetable oil

Of the three...the easiest for me is the vegetable oil..I can literally get gallons of the stuff so I think I will try some test stock on that.

The 01 stock arrived the other day but I have only just had time to play with it. I got a piece 500x50x3mm for £15. Not sure this is good or bad but it is local and looks like nice stuff.

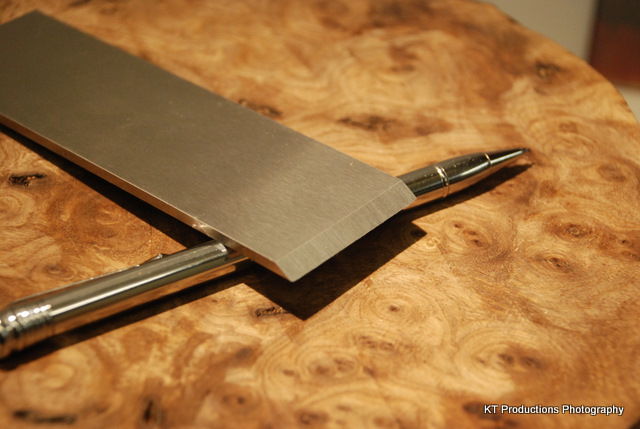
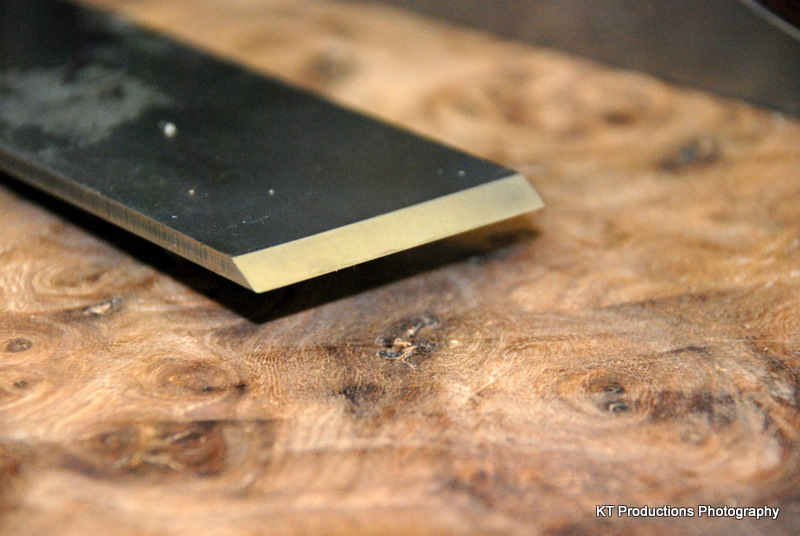
I whittled it down to the bevel I need.....


DSC_0078.JPG


You're right...it is more ductile and workable in the "before" mode! Still hard going but I managed a nice bevel.

I think that I might hit this on Sunday...or tomorrow. I want to get a nice pair of tongs first though with sure grip...

Later....

Jim
 
Does the carbon in the old engine oil cause some case hardening? If it does I'd avoid that.

Simon
 
Well...today was the day!

I plucked up courage and hardened the blade.

I had been waiting for a suitable pair of blacksmith's tongs....I wasn't sure how far I needed to hold a piece of steel at 800 degrees away from my hands!

I tried fleabay and just lost out on a load of blacksmith's tools for £36...quite expensive since I only really wanted the tongs. Then I tried the blacksmith in the village which I didn't even know was hidden behind the petrol station until someone told me! He gave me these for NUFFINK!:

DSC_0005.JPG


So...to the preparation...

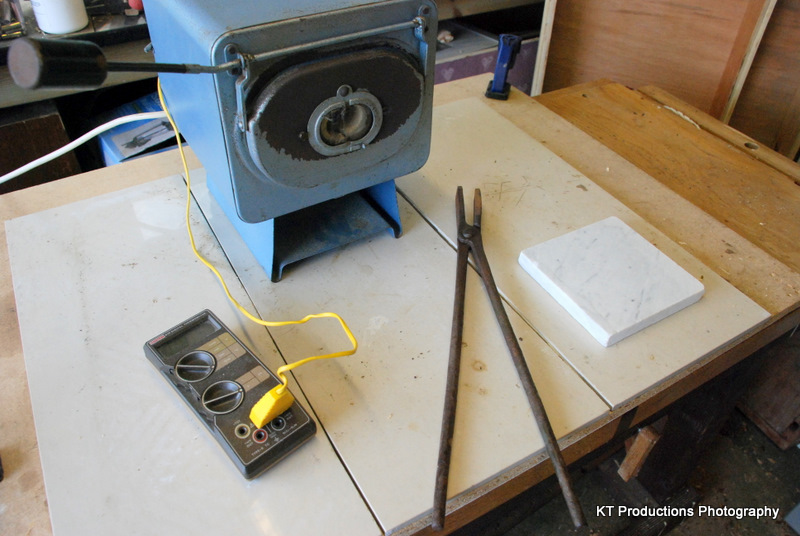
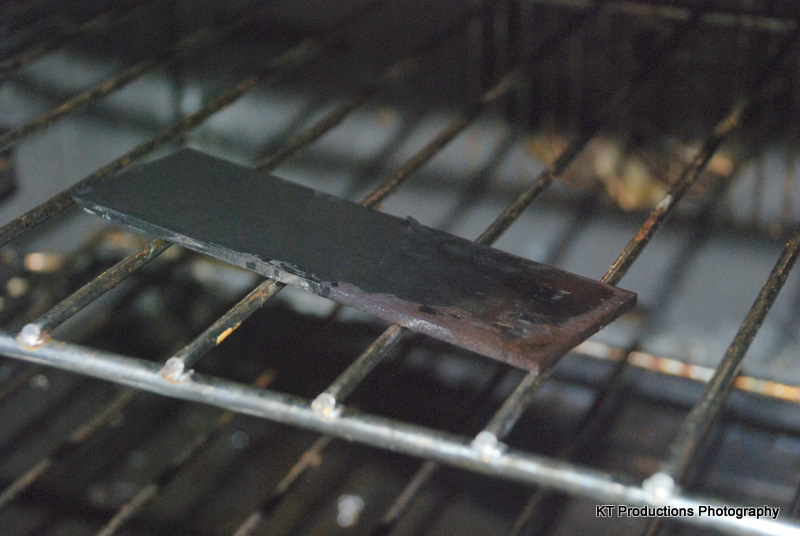
The kiln took about 20 minutes to bring up to temperature with the blade in from cold supported on two ceramic plates wedged in a V shape.

I used a digital thermometer I found at the bootfair...it is a Keithley one but the LCD has seen better days! Hell...I only wanted to read the temperature so that is ok!

I brought her up to 820 degrees then switched off and watched until the temperature dropped to 790 degrees and then back on. With a certain amount of hysteresis it did not drop below the critical point of 780 degrees for 15 minutes.

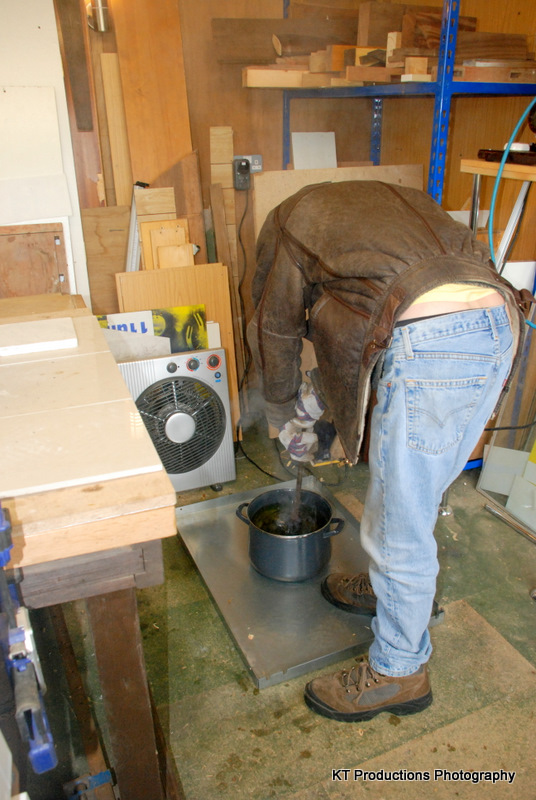
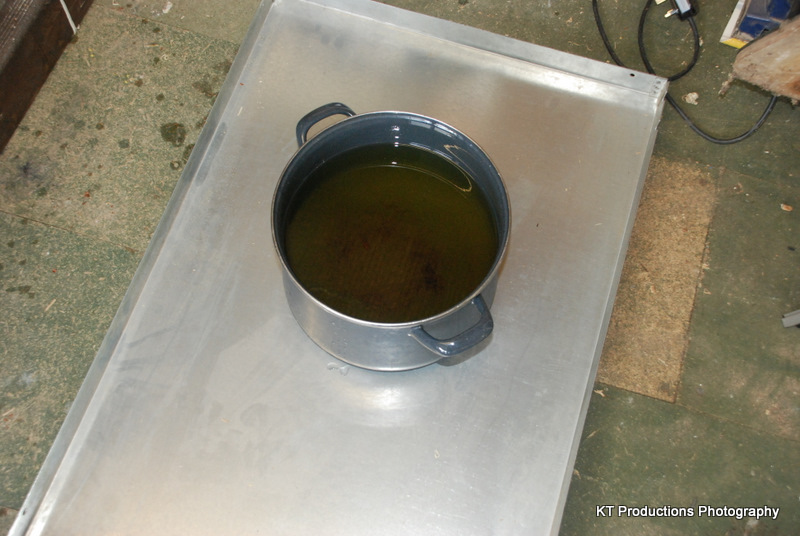
Six litres of vegetable oil...in a big pan...on a steel plate....waiting for the quench:

DSC_0003.JPG


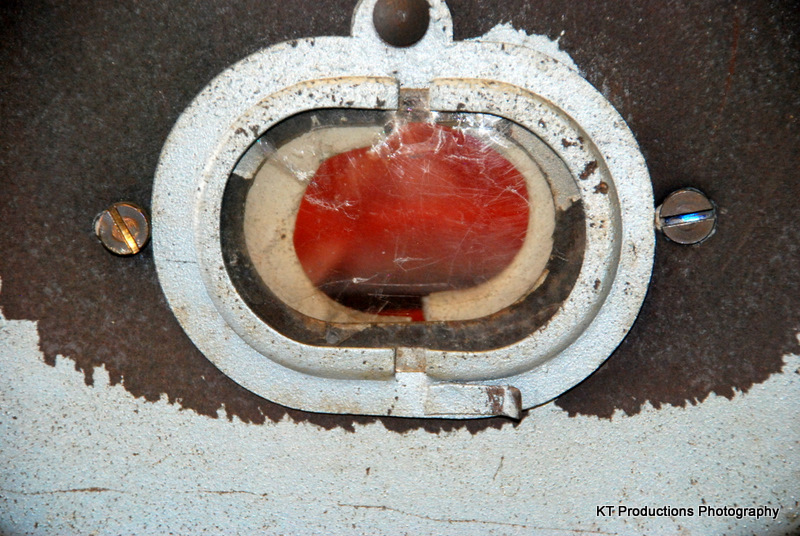
It gets BLEEDIN' hot in there!

DSC_0006.JPG


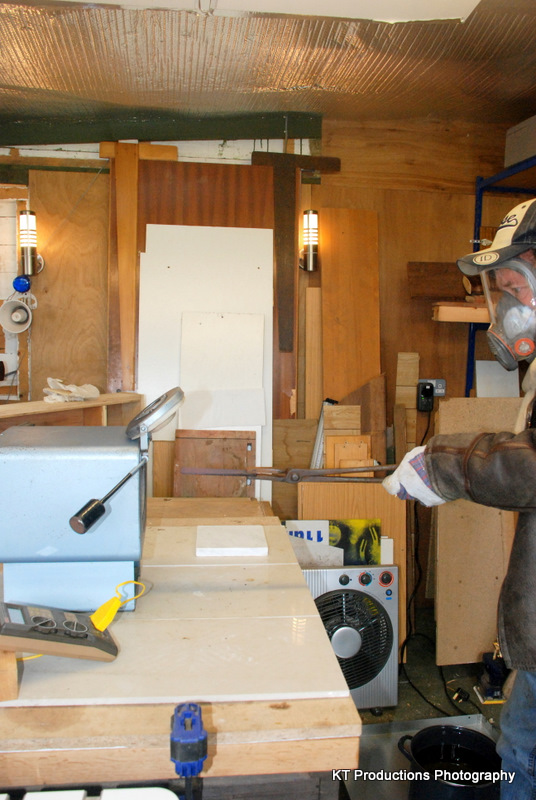
Then suitably togged up so that Annie was laughing her head off...leather gloves...facemask...leather jacket....jeans...steel leather boots...

Out she came....

DSC_0009.JPG


It was glowing...you just can't see it from the side....(my apprentice is still learning!)

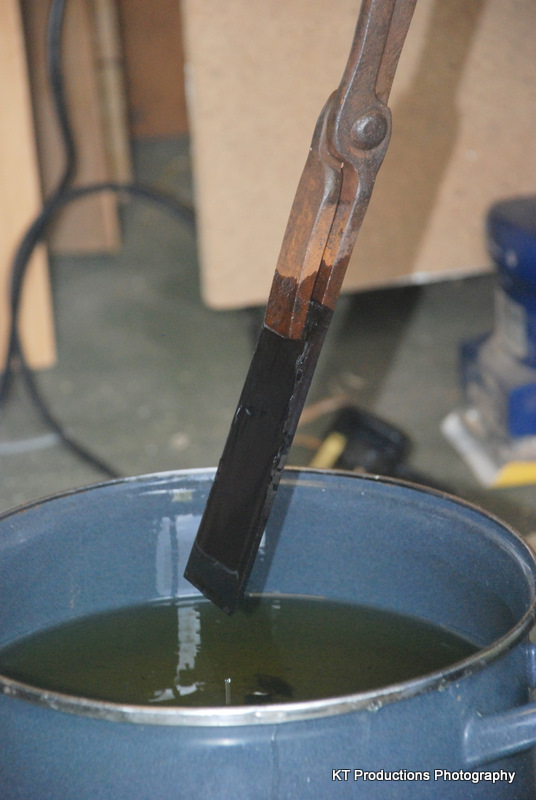
Then straight into the oil....slid down steadily and waved about...lots of smoke but no fire! I had two foam fire extinguishers on hand just in case....

DSC_0010.JPG


After a few more seconds it stopped smoking....

DSC_0021.JPG


Most of the carbon came off in sheets into the oil....but it was still blackened....

I did put three pieces of charcoal in the oven with the steel....just little bits...don't know what effect that would have on the hardening since I have no control piece against which to measure it but we shall see how hard it is later...so into the oven at 250 degrees and oven switched off to cool slowly....

DSC_0023.JPG


Back later with more once it has cooled....

I have to work at 3pm so it may be tomorrow now...

Jim
 
Ok...so I couldn't wait until tomorrow and started honing the iron when I got home at midnight...

DSC_0029.JPG


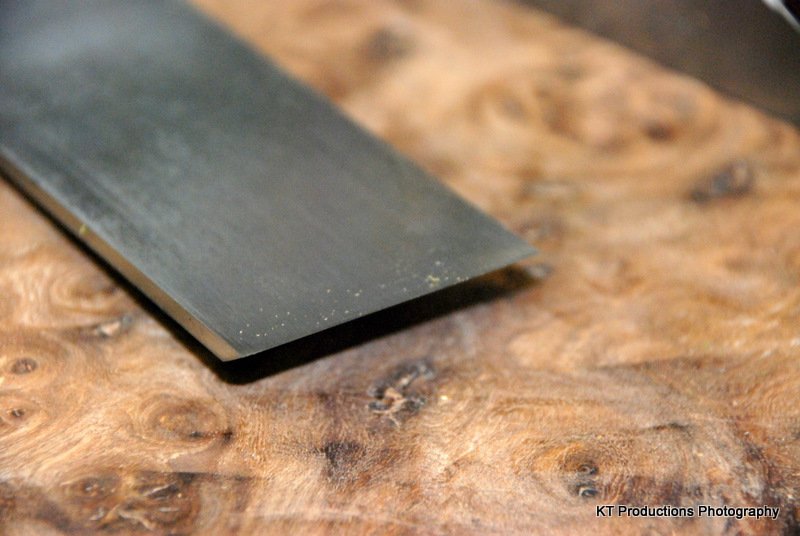
I can actually SEE the lined up hard steel....it seems to have a totally different polished structure than the unhardened steel.

As usual I decided to use the 3M "scary sharp" system...first getting most of the carbonised oil layer off and then going down the grades near the edge from 1500 mesh to 12000 mesh....

DSC_0031.JPG


And the result....well if my cut thumb is anything to go by....it worked!!

I am truly impressed and can't wait until I get out into the shop tomorrow morning to run it through some tests.

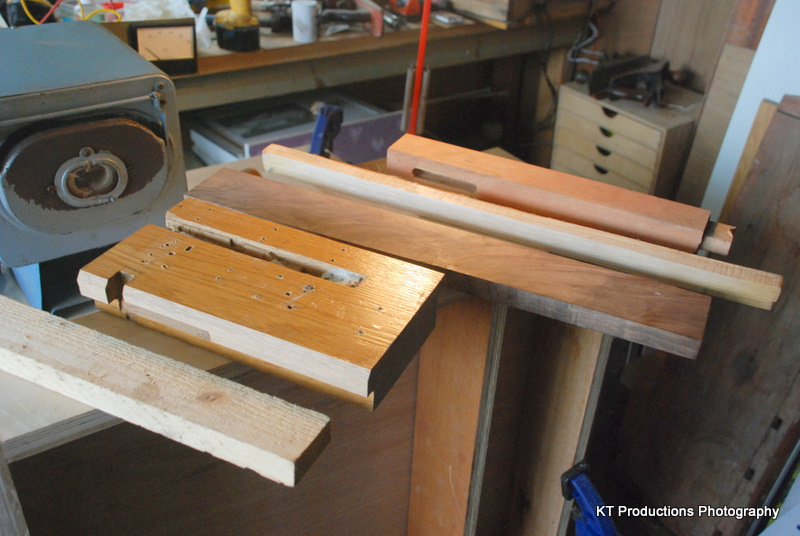
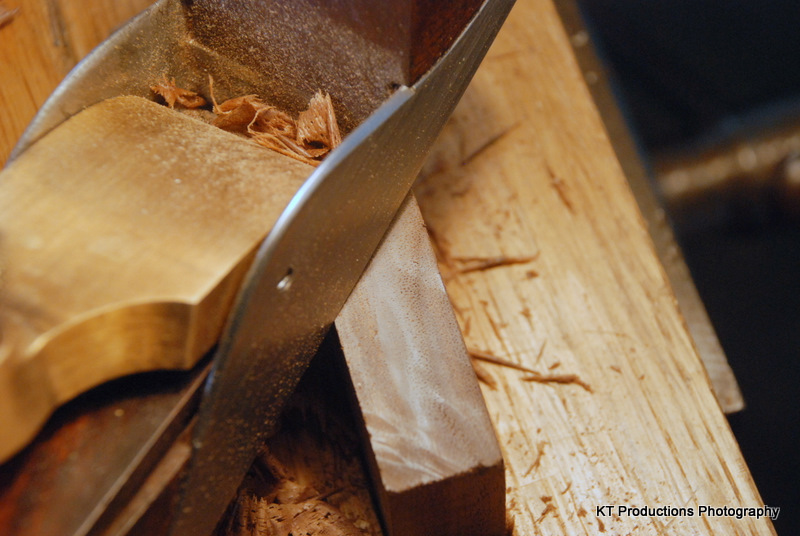
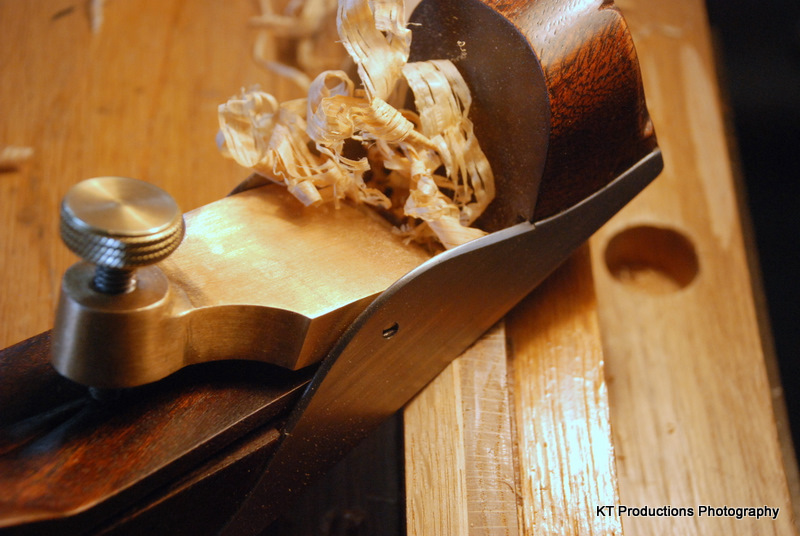
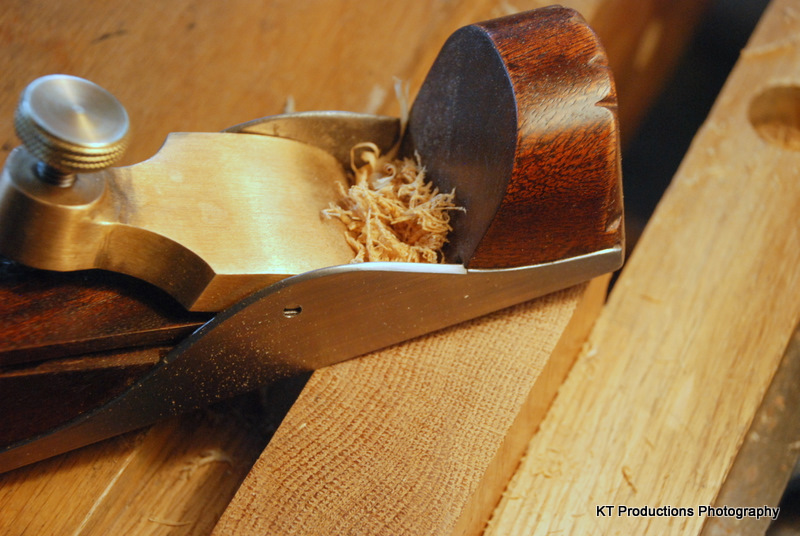
The resultant mouth is much wider than I was hoping for...but that is a function of the original geometry. I think now that I have practiced with this Galoot...I will make my own infill....try some dovetails in steel and brass and choose the bed angle I want...for the plane I want.

More tomorrow...

Cheers guys and gals!


Jim
 
Very impressive stuff!!! I will be keeping my eye out for one of those little kilns. It will be a sad day when you chop up that burr! I've grown accustomed to seeing your items modeled on it.
 
Hi Guys and Gals...

Thanks for the comments...how do I go about hardness testing Simon?

Yes Aled...it is definitely a slope and you are mostly responsible mate!!! :D Thank you!!

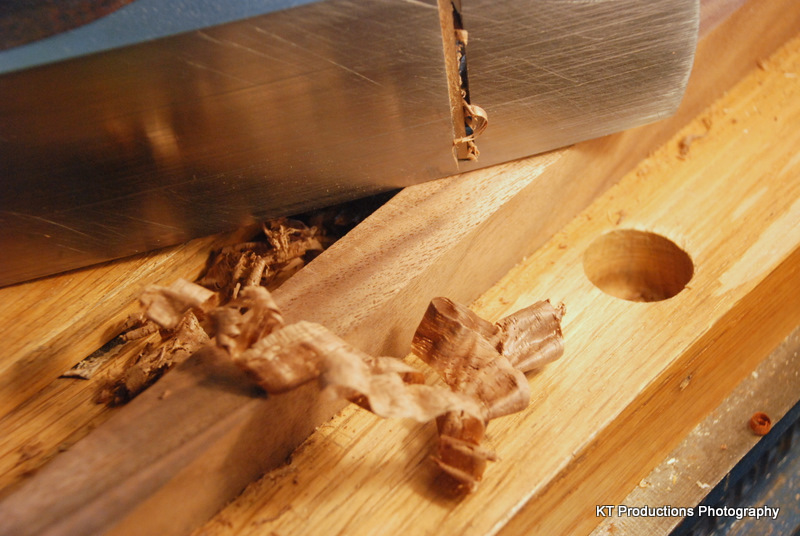
Ok...like I said..the mouth was a little wide for my liking but that didn't seem to phase this little baby....

I decided to start out with the most motley crue of wood I could find:

DSC_0035.JPG


Here we see from left to right...some softwood...a pallet piece!....English oak...American walnut.....some homegrown cherry from the neighbour's garden..... and some scrap beech.

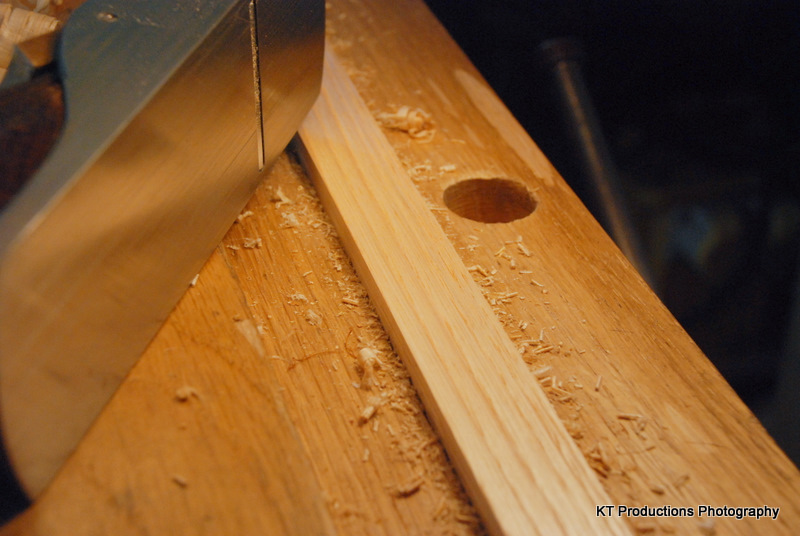
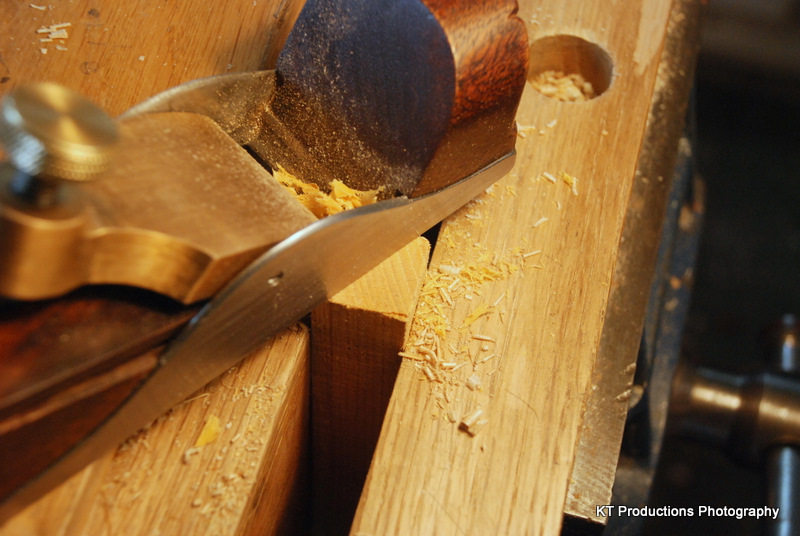
I set the iron using a tap hammer....and tested on long and end grain for each piece:

The beech:

DSC_0036.JPG


DSC_0038.JPG


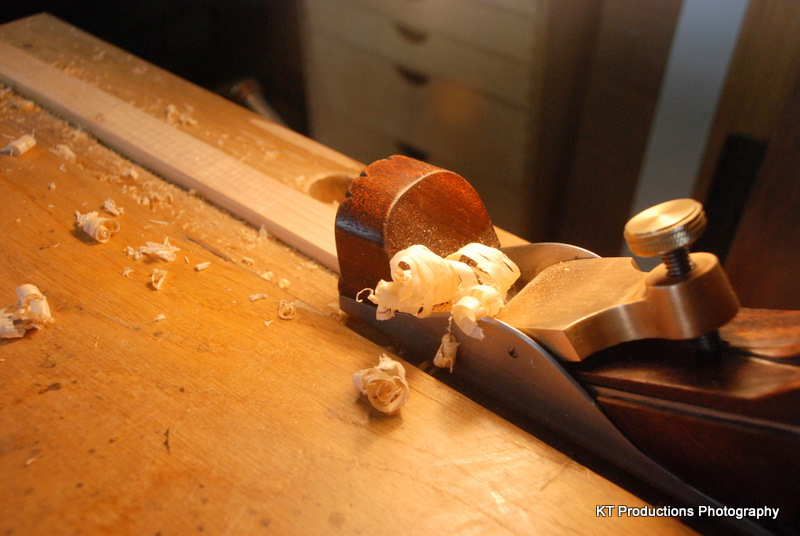
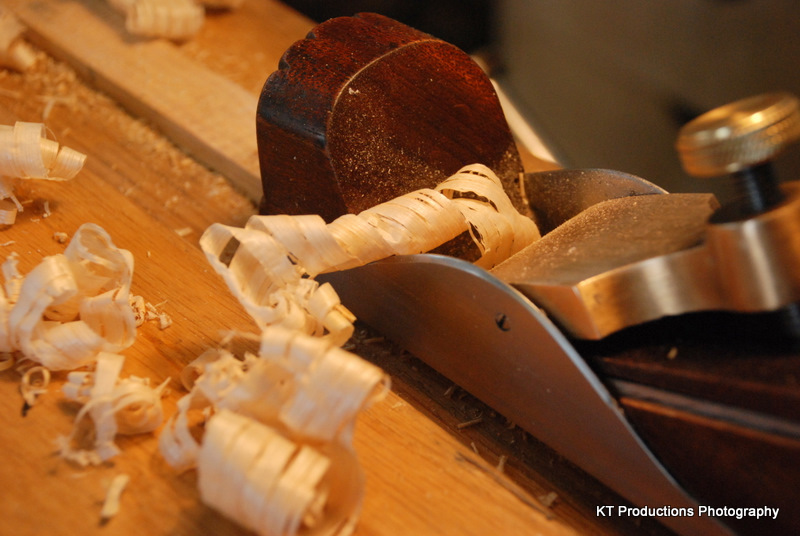
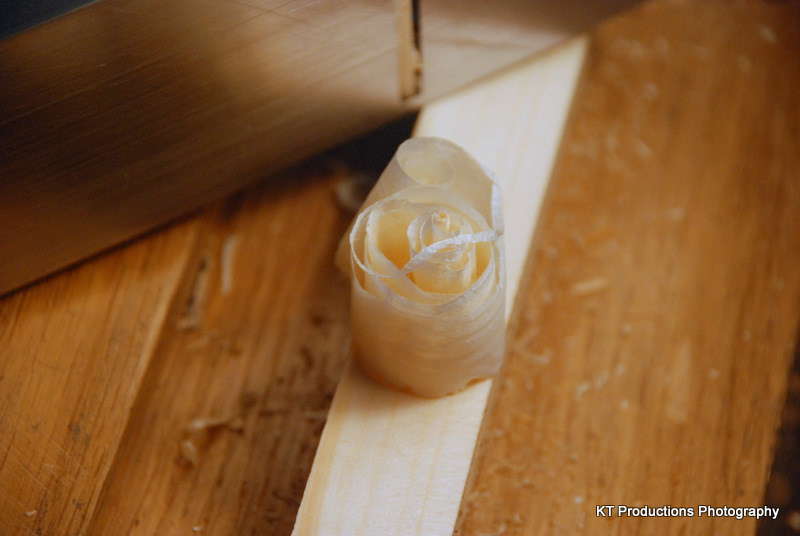
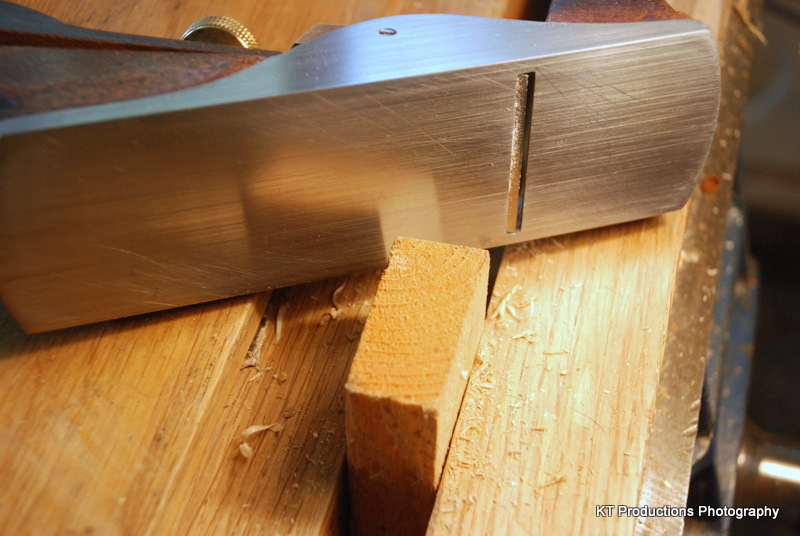
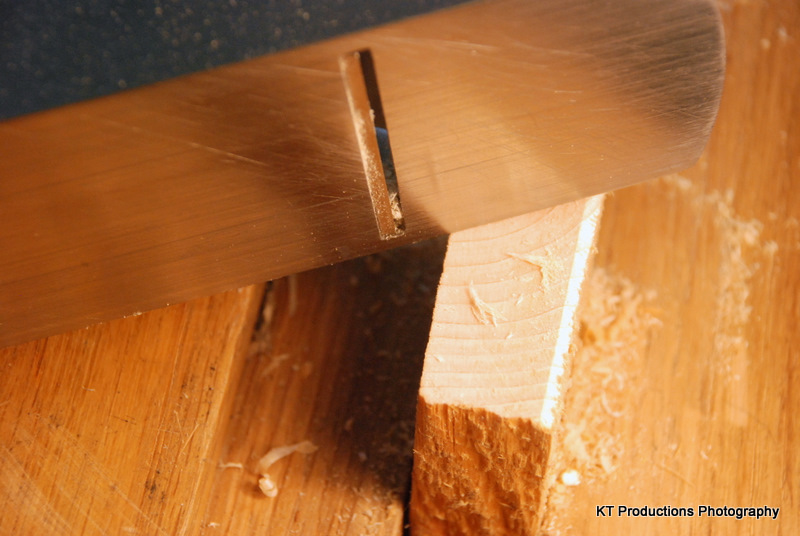
Whoosh...straight across and like a baby's bum finish!

Then onto the cherry...this an offcut from my newly seasoned stock...

This had bandsaw marks still heavy on the surface....

DSC_0040.JPG


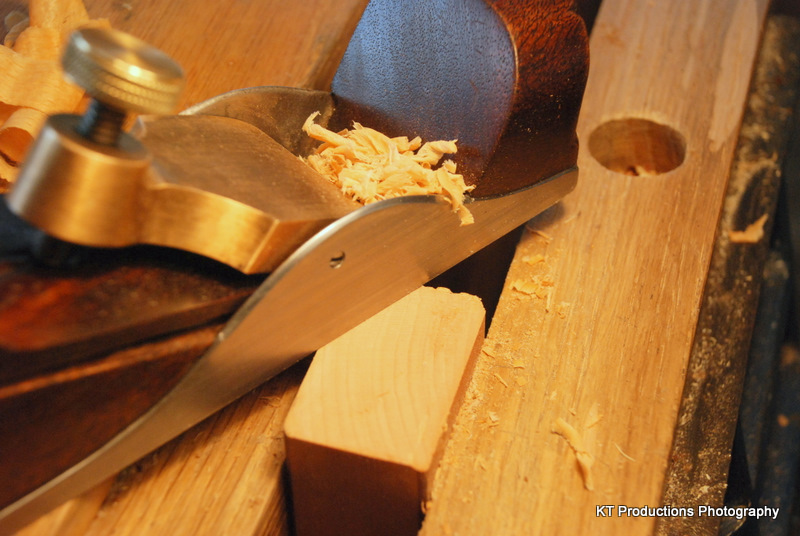
Lovely little shavings....boy am I enjoying this...

DSC_0041.JPG


DSC_0042.JPG


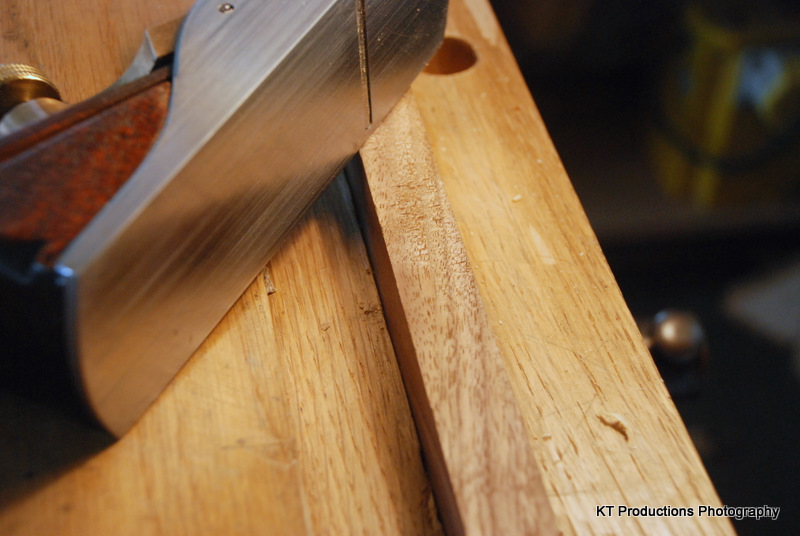
Look at that smooth surface:

DSC_0043.JPG


End grain...no problem...

DSC_0044.JPG


Onto the American walnut...

DSC_0045.JPG


Still whooshing....

DSC_0047.JPG


even on the end grain...

DSC_0049.JPG


Oak...boy I LOVE English oak...

DSC_0050.JPG


The end grain was no problem for this iron...

DSC_0052.JPG


and FINALLY...the fun part...the ubiquitous white wood....

YUCK...

DSC_0054.JPG


Oh FUN!!!

DSC_0055.JPG


Thin enough?...........

DSC_0058.JPG


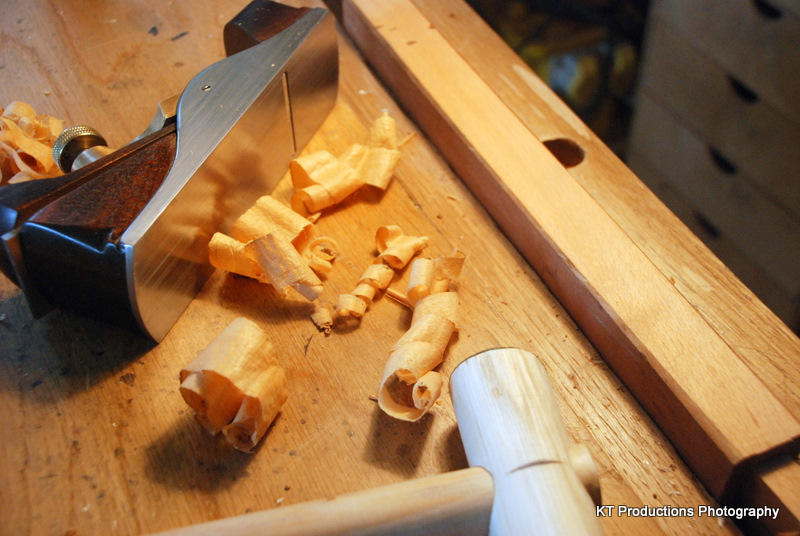
This plane is a real dream....

DSC_0060.JPG


This is GORGEOUS!!

DSC_0062.JPG


Finally end grain..YUCK!

DSC_0063.JPG


Child's play!!

DSC_0065.JPG


I'm happy....very happy INDEED!!

8) :wink:

Jim
 
jimi43":nr5a008f said:
I'm happy....very happy INDEED!!

8) :wink:

Jim
And every right you have to be so. :)

Well done indeed. Very well done.
By the way thanks for the tremendous WIP.

xy
 

Latest posts

Back
Top