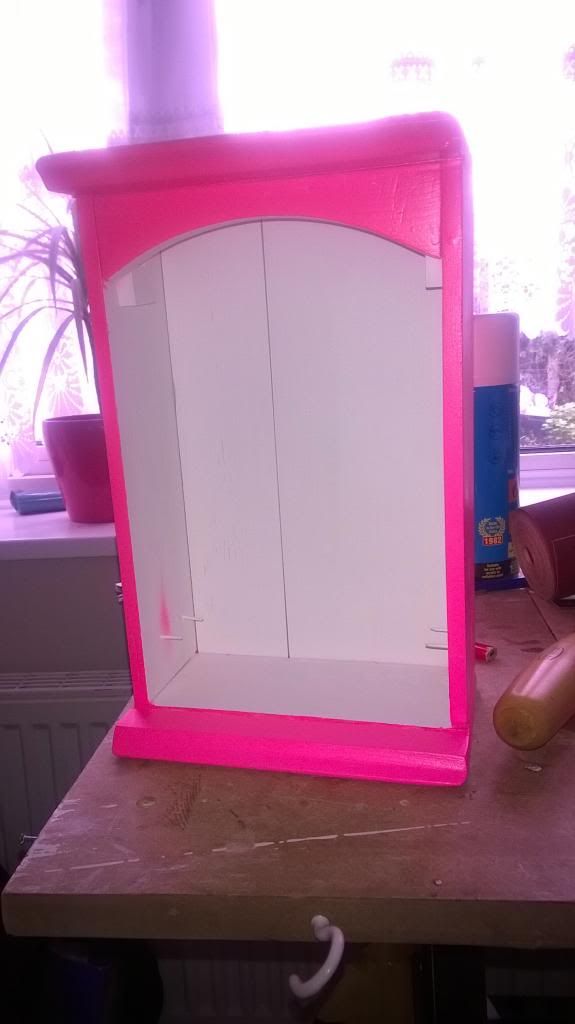
Doll wardrobe for the step daughter (Complete)

UKworkshop.co.uk

Help Support UKworkshop.co.uk:

This site may earn a commission from merchant affiliate links, including eBay, Amazon, and others.

markblue777

Established Member
Joined
2 Dec 2013
Messages
488
Reaction score
1
Location
Waltham Cross
Hi All,

Another project in the works

My step daughter asked me if I could build her Barbies a wardrobe so I said yeah why not. I was going to make it out of some mdf I have lying around but on saturday we was doing some spring cleaning and I found an old wine rack that had never been used (think the misses got it from a charity shop). So instead of binning it I thought I would reuse it to build the wardrobe.

I don't have any picture of what the wine rack looked like before but here are a few shots of the wardrobe
The basic shape all done
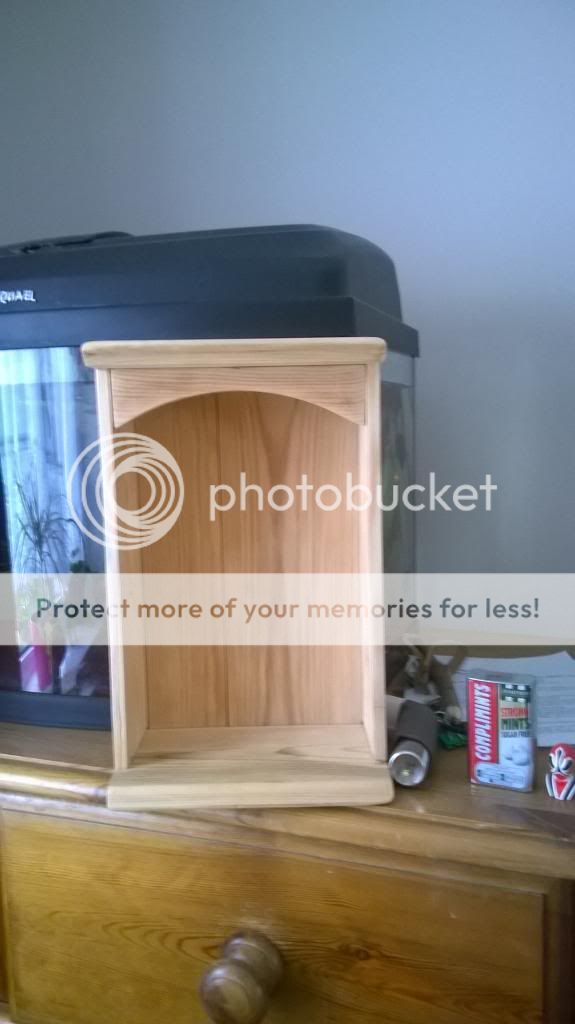
WP_20140421_003_zpsc382305f.jpg


Then with the added shelf for Barbies shoes
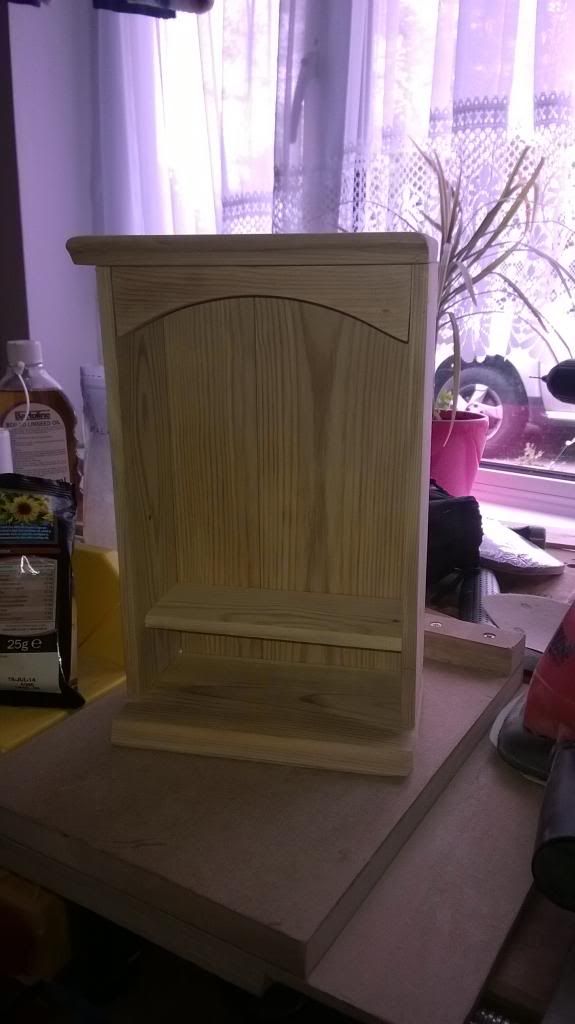
WP_20140421_005_zps87336e73.jpg


There is not going to be any doors and I have since put the pole in for the cloths (will get a picture tonight)

The colour is to be a hot glossy pink (honestly not my choice :wink: ) with the Barbie logo put on the top of it and a mirror attached to the side.

I am thinking of maybe putting a little LED at the top to light it up but not 100% yet.

I will be priming it tonight as long as the weather stays dry.

Cheers
Mark
 
Here is a picture with a test fit of the cloths

WP_20140423_001_zpse61dbdc7.jpg


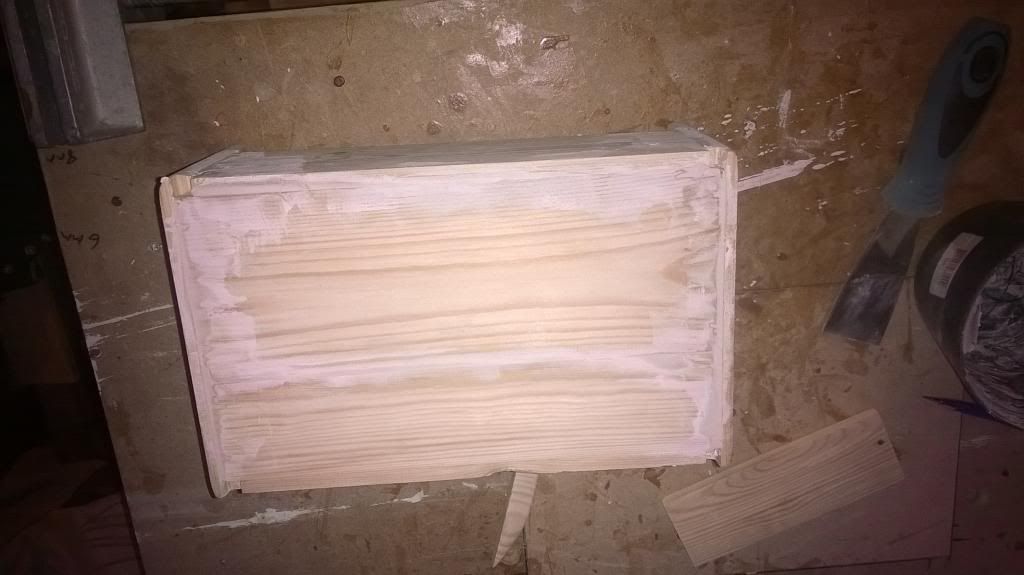
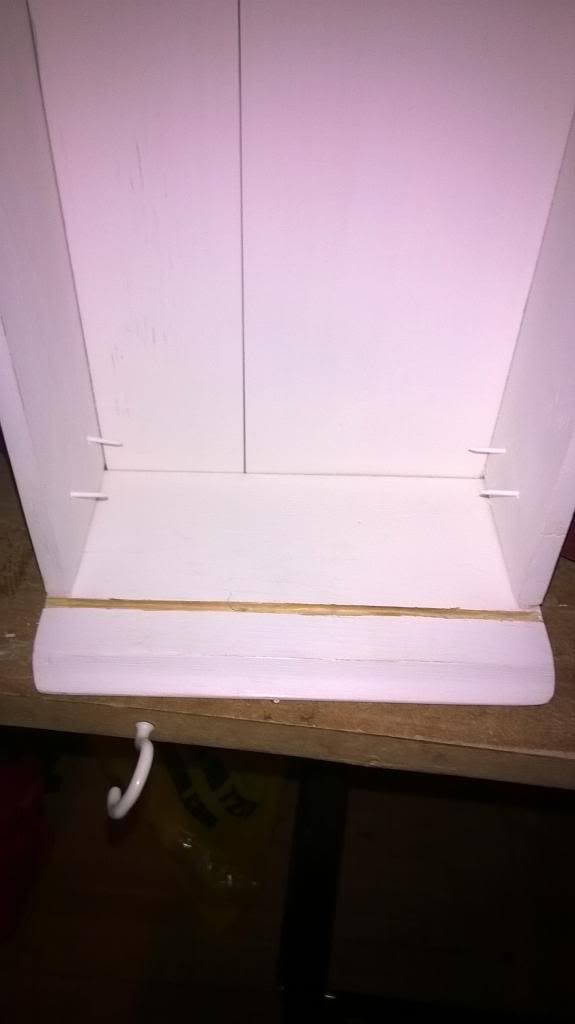
Pre filler to cover the nail holes
WP_20140423_002_zpsc05b8ed5.jpg


filler all applied (would like to do more but the client is pressing as her dolls "need a wardrobe")
WP_20140423_003_zpsddee27f5.jpg


I have sprayed the under coat on but need another going over after a sanding then can do the neon pink colouring that has been selected.


Cheers
Mark
 
So here is another update

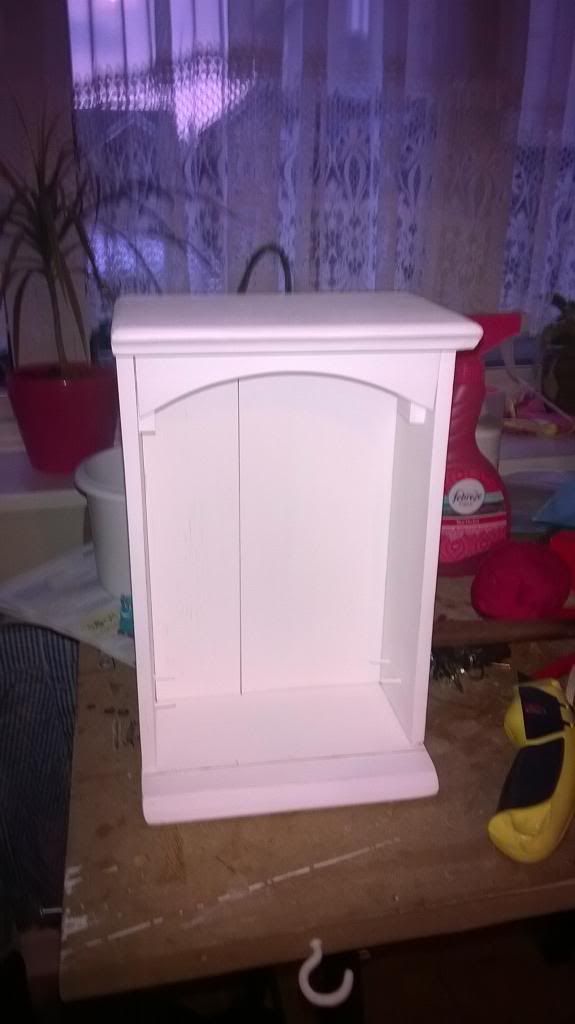
Here it is all primed up
WP_20140427_002_zpsd79e38ea.jpg


but then there was a need for a door. As I never had the material around I was wondering what to use then I remembered I had some 3mm perspex so I cut a couple of channels so the door will slide in and keep everything in place.
The channels before they were also painted

WP_20140428_001_zpsdb3531c8.jpg


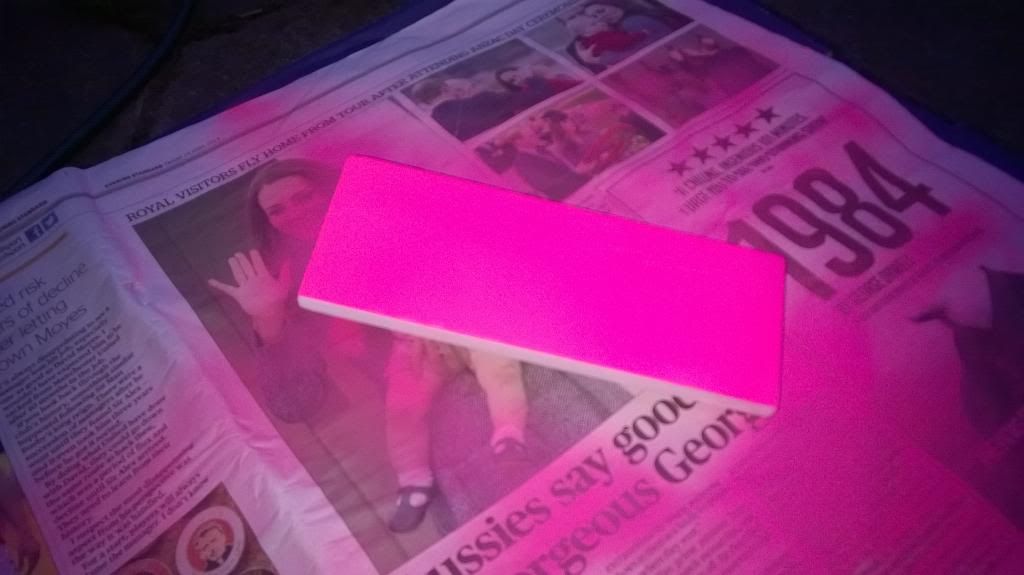
This is how the pink looks on the shelf, it is definitely a sun glasses job when looking at it.
WP_20140428_003_zpsdf710565.jpg


a design decision has been made that the interior will be kept white and just the outside pink (with the exception of the shelf which will stay pink.

More pics soon
 
Some more pics of the project

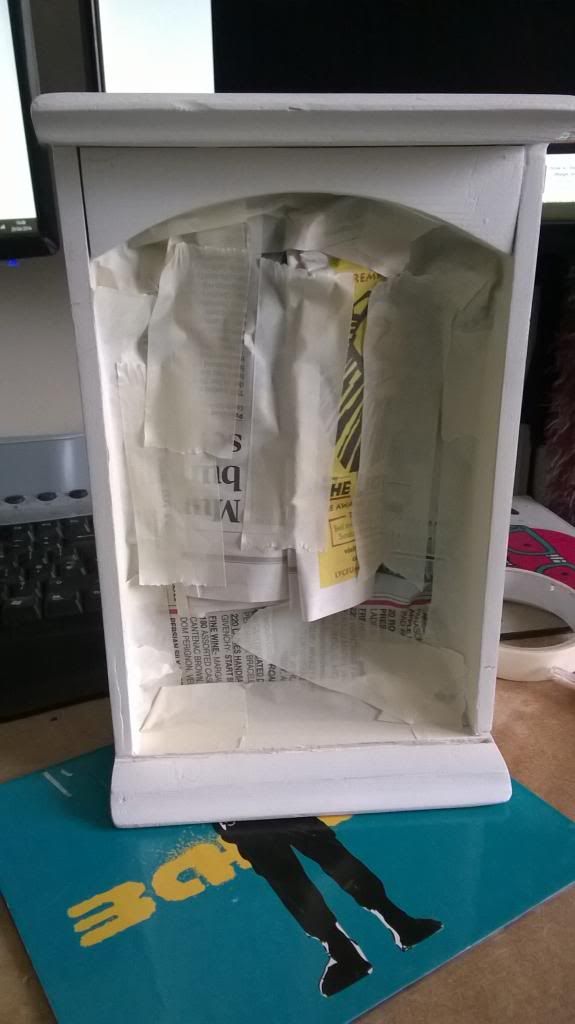
All masked up

WP_20140429_003_zpsccfb1965.jpg


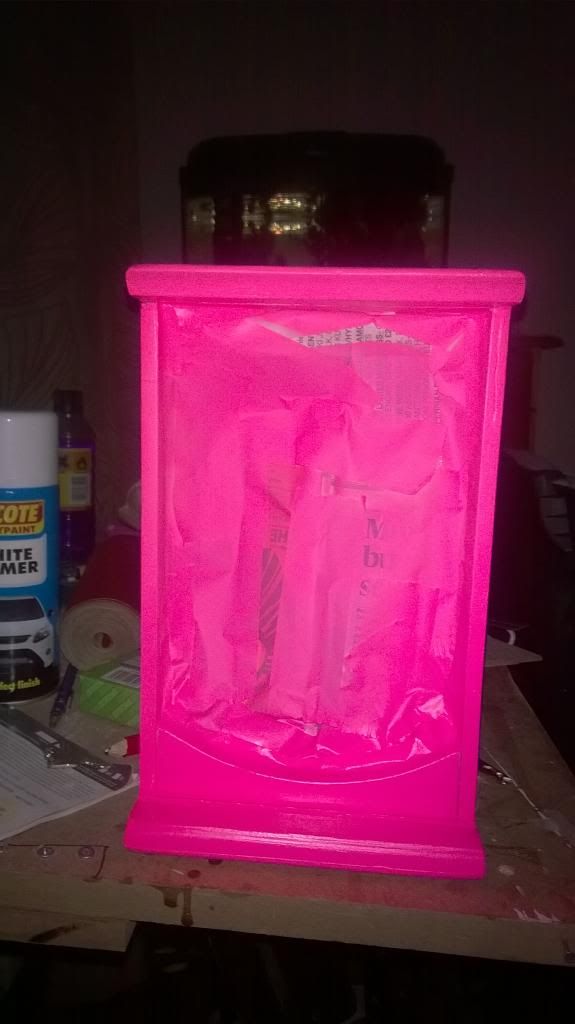
and all painted
WP_20140429_007_zpsbf0431eb.jpg


mask up was not as good as i thought as some spray got through in a couple of random places. So i am having to touch this up by brush
WP_20140430_001_zps825c3cde.jpg


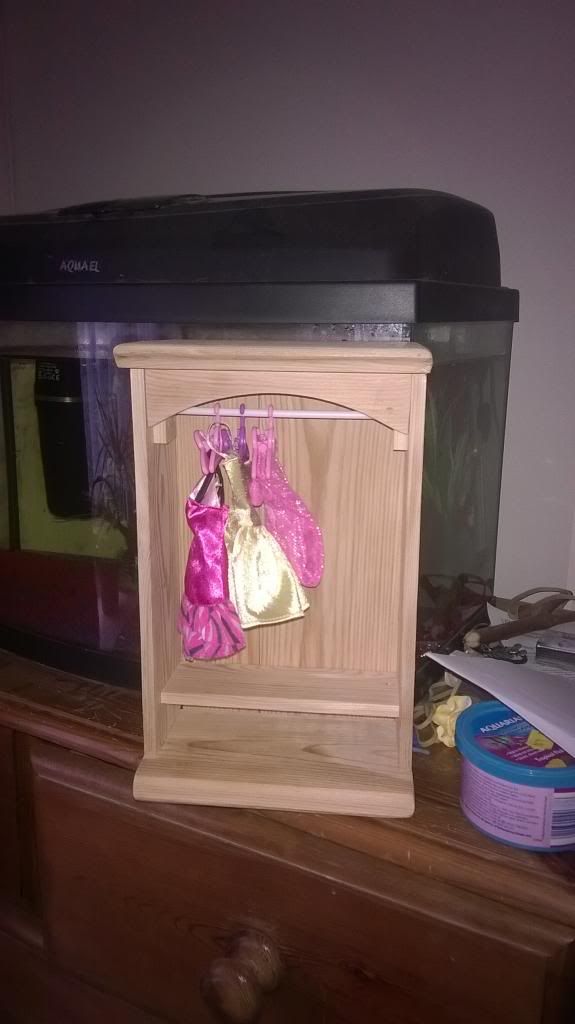
with the shelf and the cloths pole in and some cloths hanging

WP_20140430_011_zps308b0799.jpg


With the late addition of the slide in door so keep everything in the box

WP_20140430_012_zps0b7263a2.jpg


I still have to find a Barbie stencil and spray it on the top and then lacqure over it to give it some protection. Then I have to make a small mirror to put on the side of the wardrobe.

Hopefully should be able to get it finished off tomorrow possibly.

Cheers
Mark
 
That's one cool funky looking wardrobe- nice work btw ;)
Won't be long till you go into batch production once her friends see it !


Sent from my GT-I9300 using Tapatalk
 
Well I finally got around to finishing the wardrobe off the pics are below.

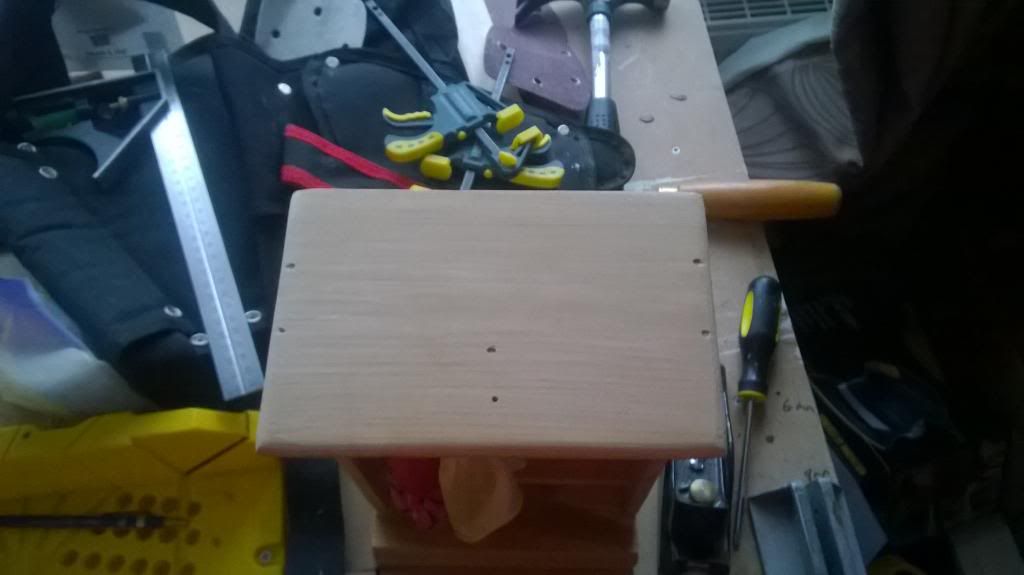
The only thing done here was painting on the Barbie logo and then a couple of coats of clear lacquer for protection.

WP_20140517_003_zpsb68c77e0.jpg


WP_20140517_002_zps2e55f3bc.jpg


Cheers
Mark
 
Looks good now it's completely finished ! So did you end up spraying the barbie stencil or hand painting ? Looks very neat ;)

Sent from my GT-I9300 using Tapatalk
 
In the end I found the logo and printed it to the size needed. I then cut the main lettering out and used that as a stencil to draw around then neatened the stencil up so it looked more like the actual logo and I then painted it the white (i think it was 4 coats with rub downs in between) I then used a sharpie for the border to make it pop a little more

Mark
 

Latest posts

Back
Top