Just seen this post.
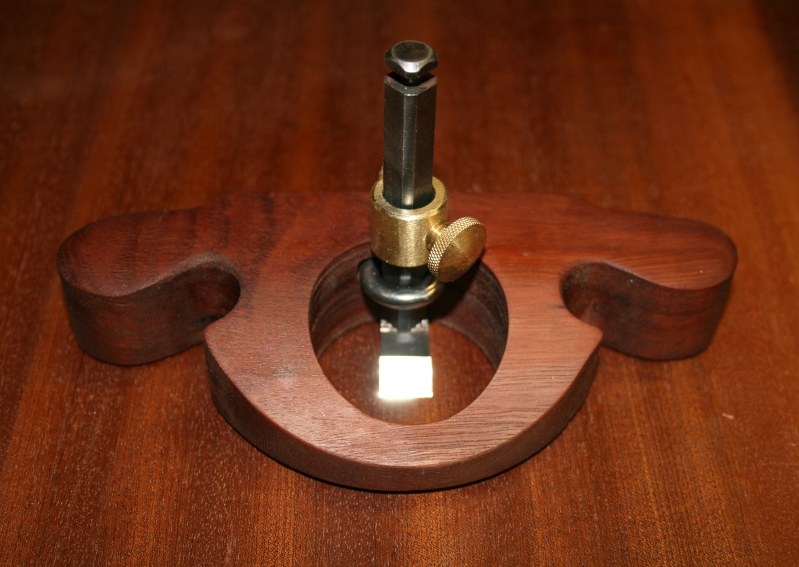
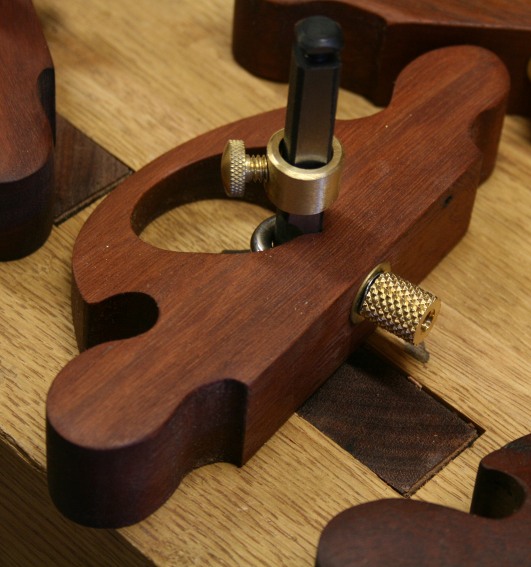
Yes you can quite easily adapt it. Here is a picture of my very old 271 modified with an adjuster (although I seem to have committed the offence of using a sharpened hex bolt - works find for me, after Cherry red temper and then anneal in the oven at 190, needs honing about as often as a regular plane).
To make the adjuster: tap one of the two holes in the screw posts (not the blade hole...) with M6 - ok its about 5.5mm diameter so its a thin screw wall. The adjuster rod is M6 threaded rod, can be secured with glue as well as the screwed grub. The adjuster itself is a knurled nut. The nut is a bit tricky as din standard nuts for m6 are 24/25mm diameter which is too wide for the 271, it would sever most of the cutter, so either find a non standard M6 at 20mm diameter - lots of hours search on ebay. Or a standard M5 nut at 20mm and enlarge the m5 hole with a 5.2mm stainless bit (and drill slow revs and fast progress to minimise heat - or go very slow and keep cool) and then very carefully tap to M6, as its stainless so steady turns and lots of cleaning with oil).
.
Matching the cutter. It cut the slot (notch) in the hex to match the thickness of the knurled part of the nut (lets call it the collar) so as not to get play on the M6 rod when adjusting the blade depth . If you go for Veratas or similar cutters you may need to get a thicker knurled nut collar and sand to the size of the cutter notch. - if that makes sense.
You say you snapped on of the screw posts. For this design both posts are needed, one for the cutter and one for the adjuster so you will have to repair the second screw post enough to hold the adjuster. Not sure what bit has broken. If its the retaining hole for the lock-screw that can be replaced. The hole is an imperial thread just below 5mm, so you could re-tap with M5 and lock with a hex screw or carefully drill and tap a new hole and then glue the bolt in with super glue. Once the adjuster is screwed in place it can stay there permanently. Its only the cutter that you use, and I find I never use the closed end of this router, its so small and in any case you just screw it onto a piece of hardwood.
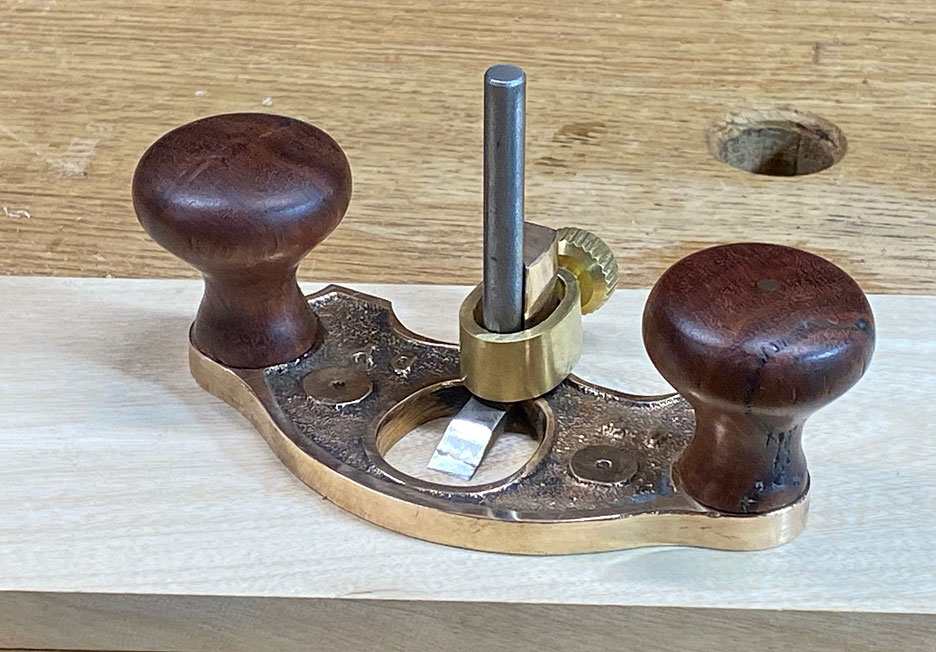
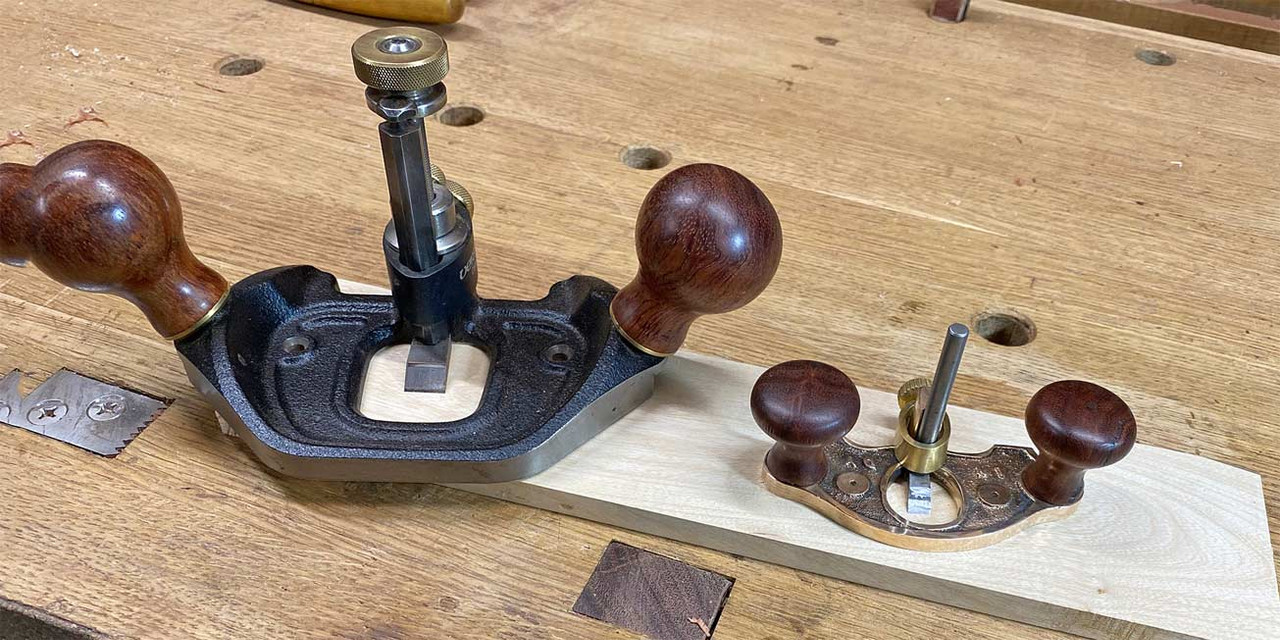
I usually use the 271 bolted to a piece of 15mm oak - quite large 7" by 2/34"- not shown in the photo.
Hope all this makes sense - good luck.
Just noticed your reply to my reply....
Thats exactly the thing i was thinking of, and pretty much the same design, although I was thinking of cutting a thread on the top of the cutter to screw on a flange of sorts,rather than try to cut a slot into it.
Thing is though, i went to thread it and ran an M6 through but it hasnt cut a very deep thread,. in fact i think its just about marked it and cut near about nothing, so what exactly is its diameter

I was also going to epoxy in the threaded rod, so wasnt thinking id need to have a screw to hold it in place and stop it turning, and was going to make a small indent to which a grub screw would contact, also epoxied in, just to make it solid.
Was also looking at Phosphor bronze rod rather than steel, which i can get at 1/4"(6.35mm) put a thread on it but ive been thrown off by the M6 not cutting anything, and ive no digital calipers at the mo to get an exact size. Ive the usual M3-M12 tap and die set, but the plane holes could be imperial after what youve said there.
Im ok with making small metal things from scratch and tapping or threading as needed, but i think id prefer to know what the basic sizes are first.
I usually use the 271 bolted to a piece of 15mm oak - quite large 7" by 2/34"- not shown in the photo.
Was thinking of using Maple, or even something fancy like Bocote as a base for it to give a more usable size/shape and allowing for turned handles, you know, make it into a little project of its own.


