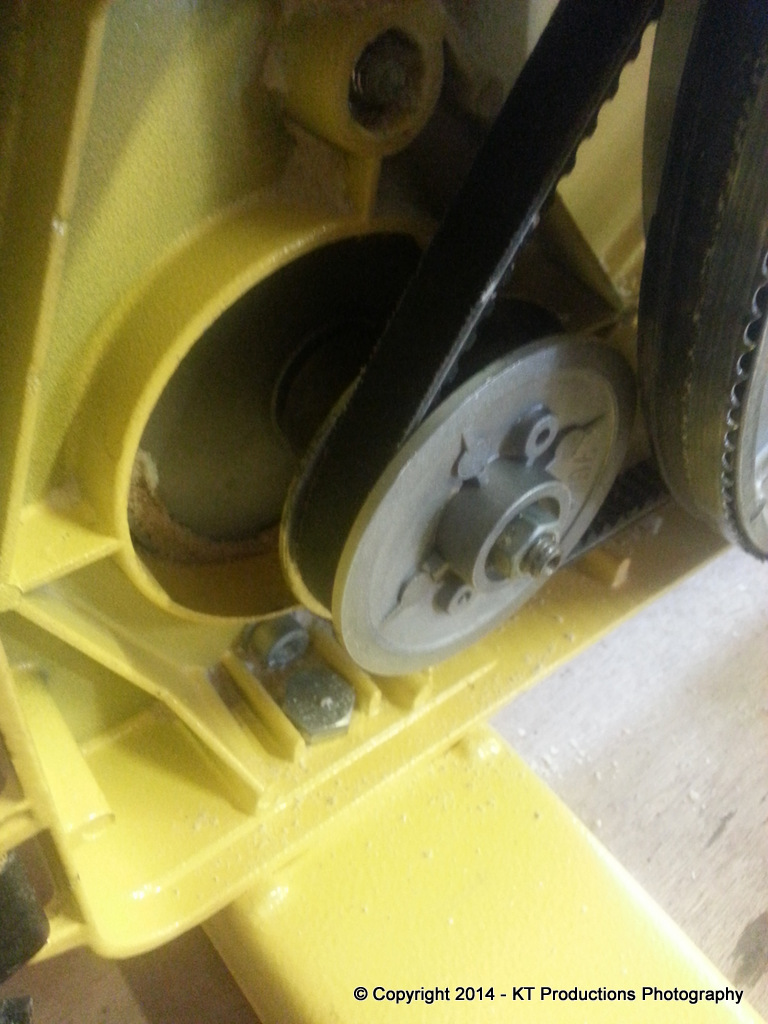
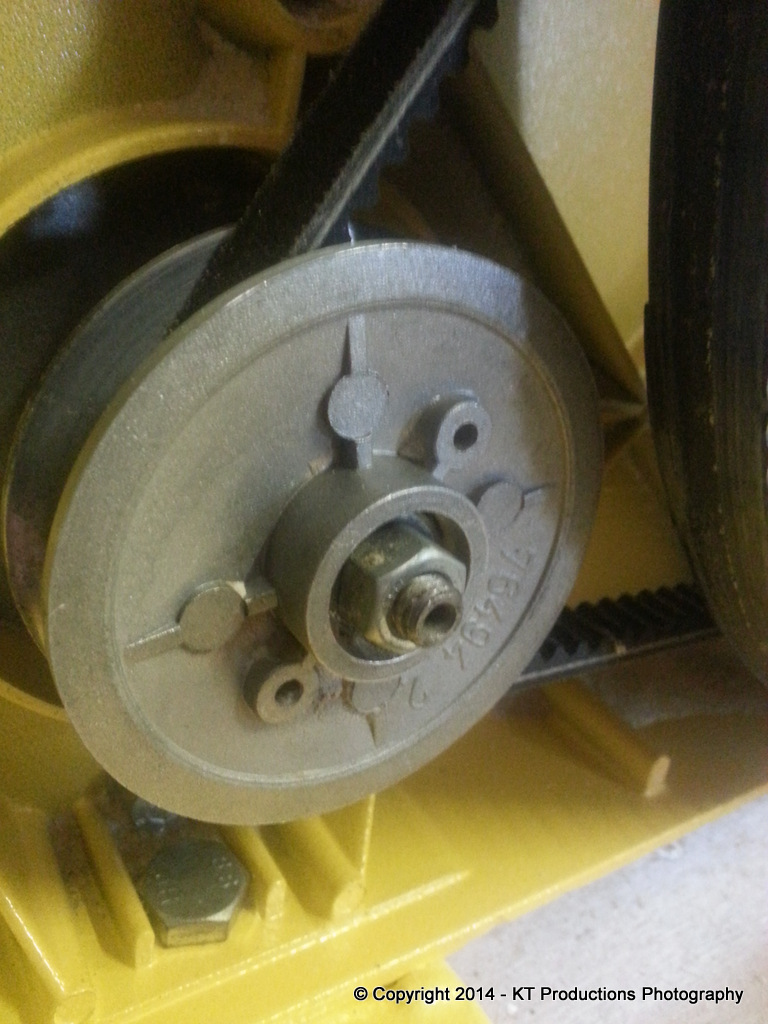
Ok...I finished the installation I was doing in the observatory a little faster than I thought...so I got a few spanners out and took mine apart to show you how it fits together...I had quite forgotten what a BAR STEWARD the design is on these things but it's good because it needed lubricating anyway so you did me a favour!
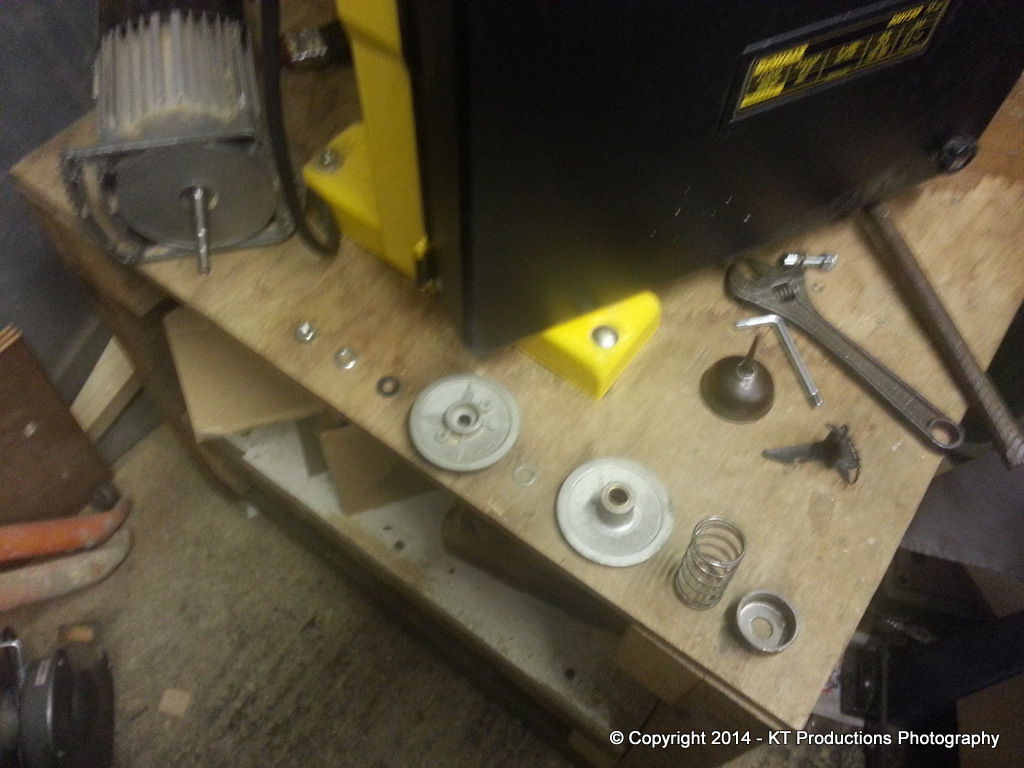
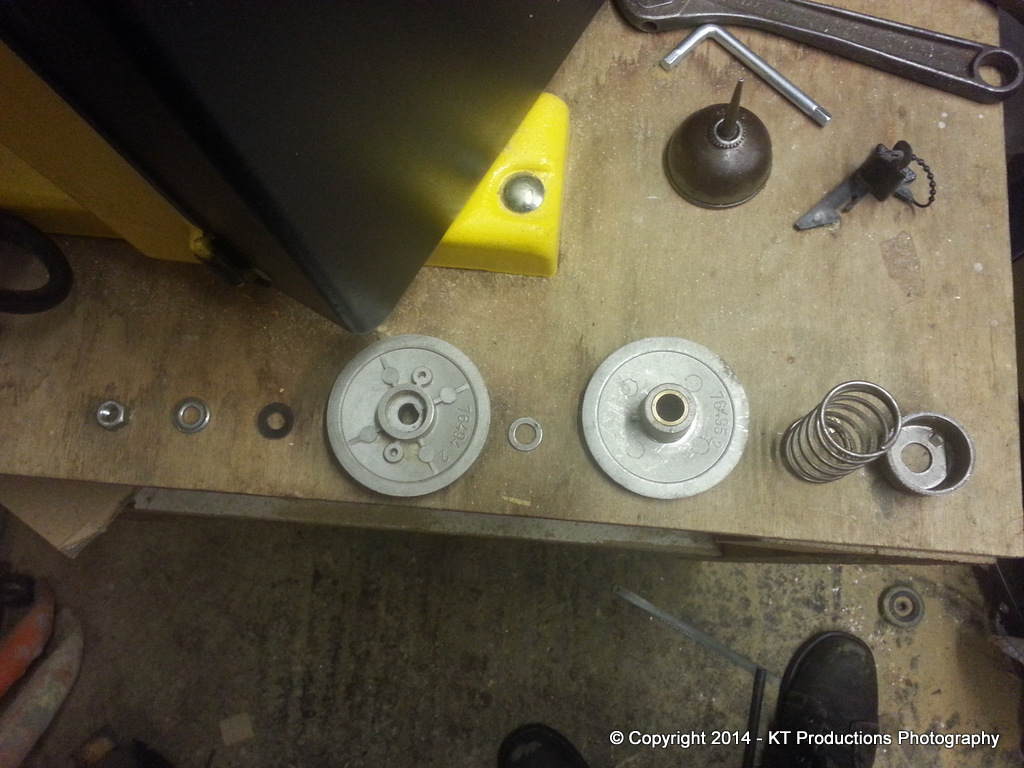
Here is the train laid out from left to right...first off to last off....
So what do we have...
Going from the left...
Remove nut but hang on to the outer pulley and push down on the spring otherwise you will get the whole lot in your face at high speed!
Take the outer two washers off...there is a silver one for the nut and a strong black one below for the pulley...
Holding on to the inner pulley half push down so that you can lift off the outer pulley half.
SLOWLY release the inner pulley taking the spring pressure off and remove the plain silver washer sitting on top of the inner pulley above the bronze bush. This washer is important to separate the two halves when running a tad.
Remove the bottom pulley half and then you can lift out the spring and the spring cup.
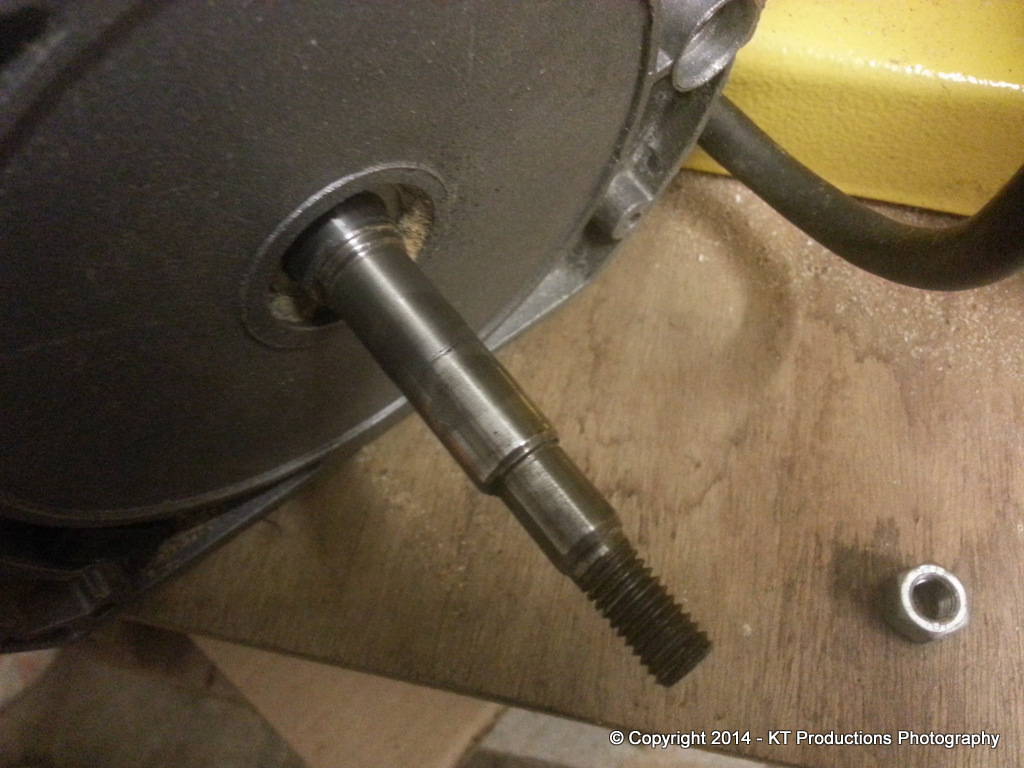
Now you can examine the motor shaft...which should be clean and shiny...
You're not worried about the thread (although it's nice that this is clean too..!) but the critical bit is the inner fatter part of the shaft which the bronze bush of the inner pulley half slides on.
Mine is worn and is no longer a good fit but acceptable for now. There should be little play if you dry fit this back without the spring.
If you can offset the inner pulley on the shaft a huge amount...that bronze bush is shot. You need to replace the inner pulley and bush or get a new bush pressed in by a local machine shop.
Reassembly:
Ok here is the sequence of reassembly:
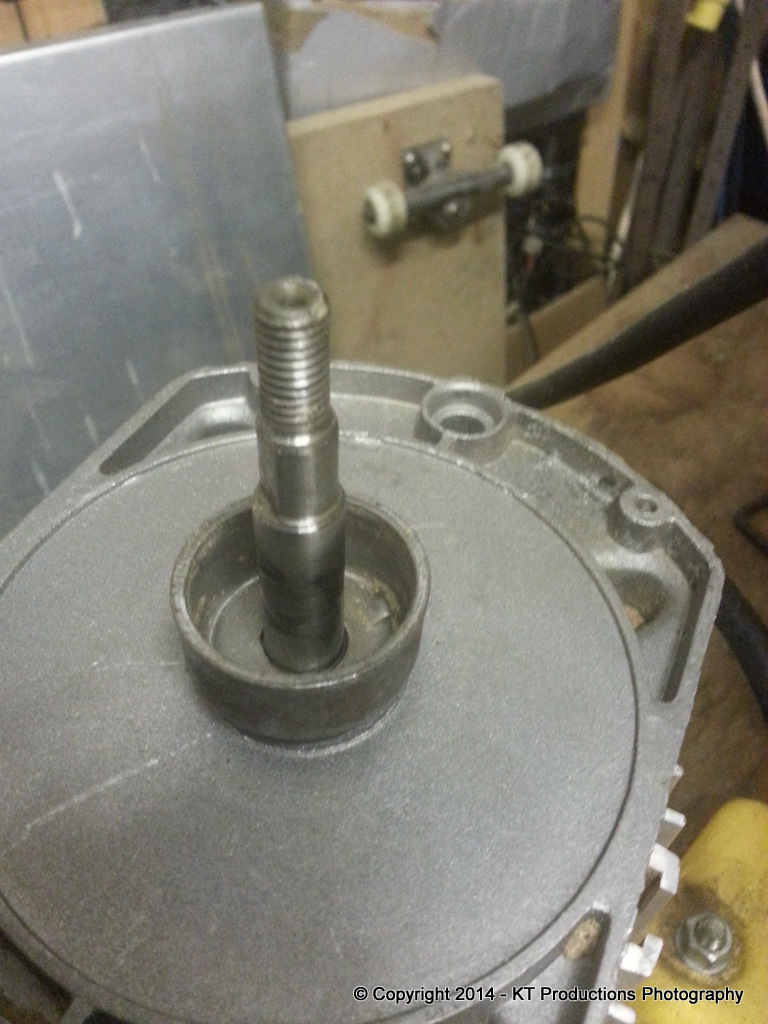
Sit the motor on its end and put the spring cup back so that the tiny flange on it locks into place....you have to hold this in place to ensure it stays there throughout the assembly process...don't let it fall out of lock!
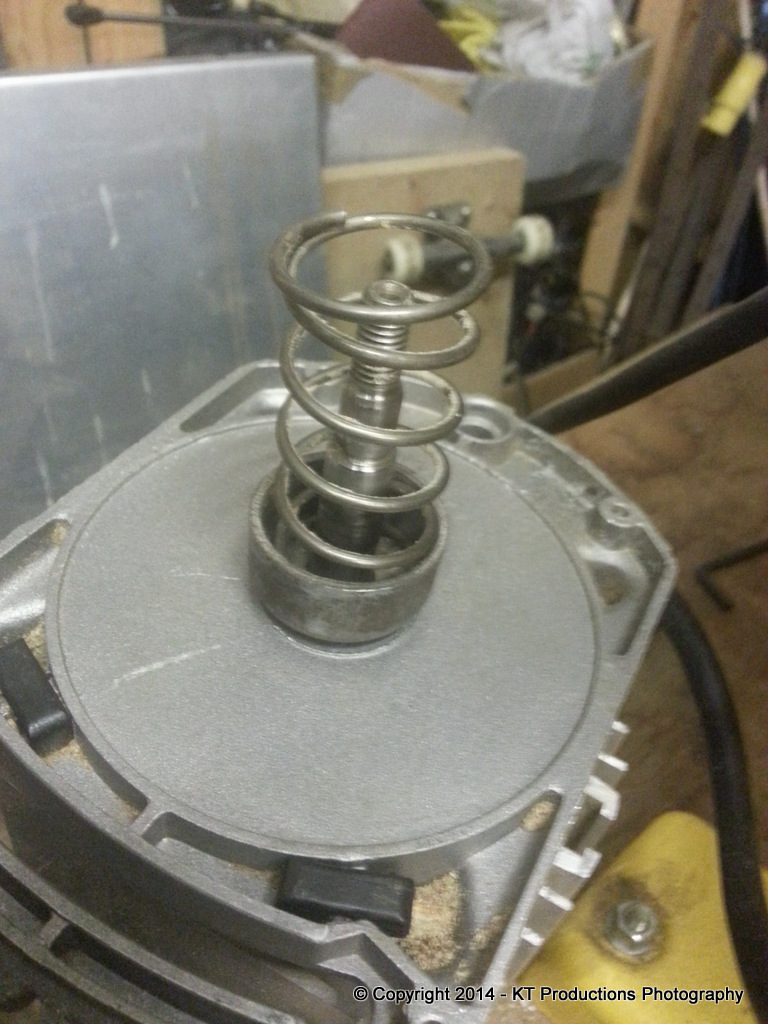
Now put the spring back in the cup and turn anti-clockwise and you will see the end of the spring coil will lock into a little indent inside the cup.
Now the difficult bit!
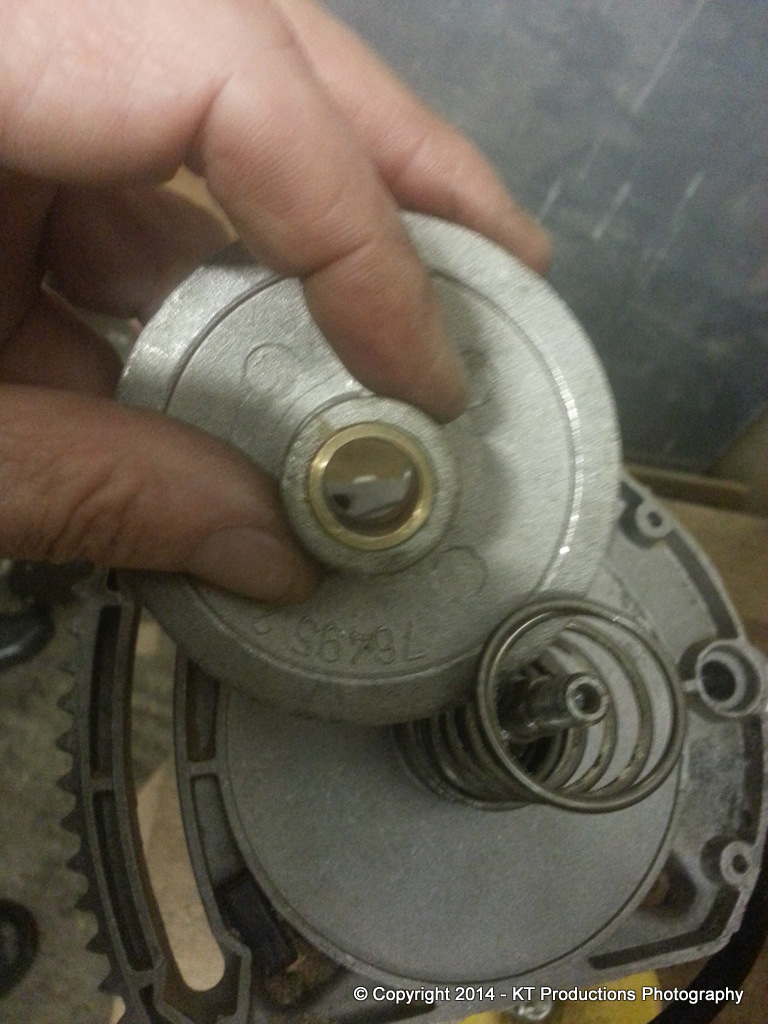
You have to locate the bottom pulley half on the shaft and push down hard on it to compress the spring and hold it there without the cup going out of it's flange.
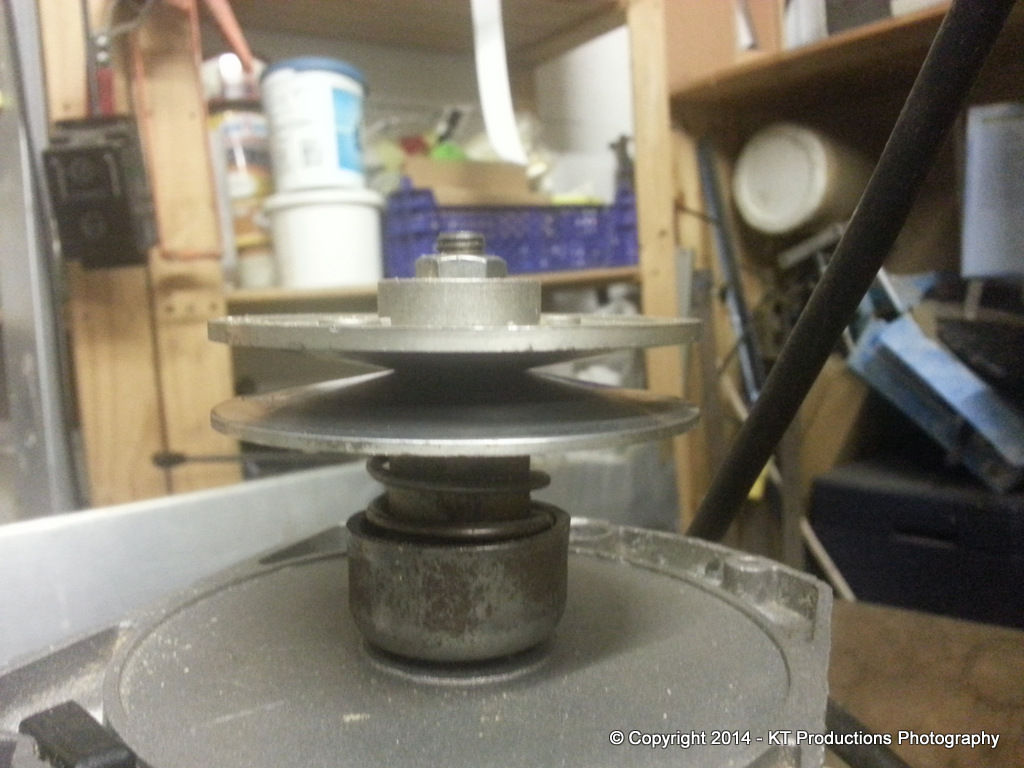
I took the photo above just before inserting so that you can see the thickness the bush should be with little play. Clearly you insert the pulley the other way up!
Once it is completely compressed you put the plain washer on the shaft and it sits high on a shelf of the thicker part of the shaft.
Then still holding the whole thing you have to add the outer pulley half and spin to locate that in the cutout on the threaded part and it drops right down.
Now you have to hold this down so that the whole thing keeps the spring compressed while you grab the thicker black washer...the thinner silver washer and finally the nut and put them on in that order and tighten the nut hand tight.
NOW you can release the assembly and it won't spring out again.
Obviously I couldn't take pictures of the assembly and hold the spring down so I hope you get the instructions.
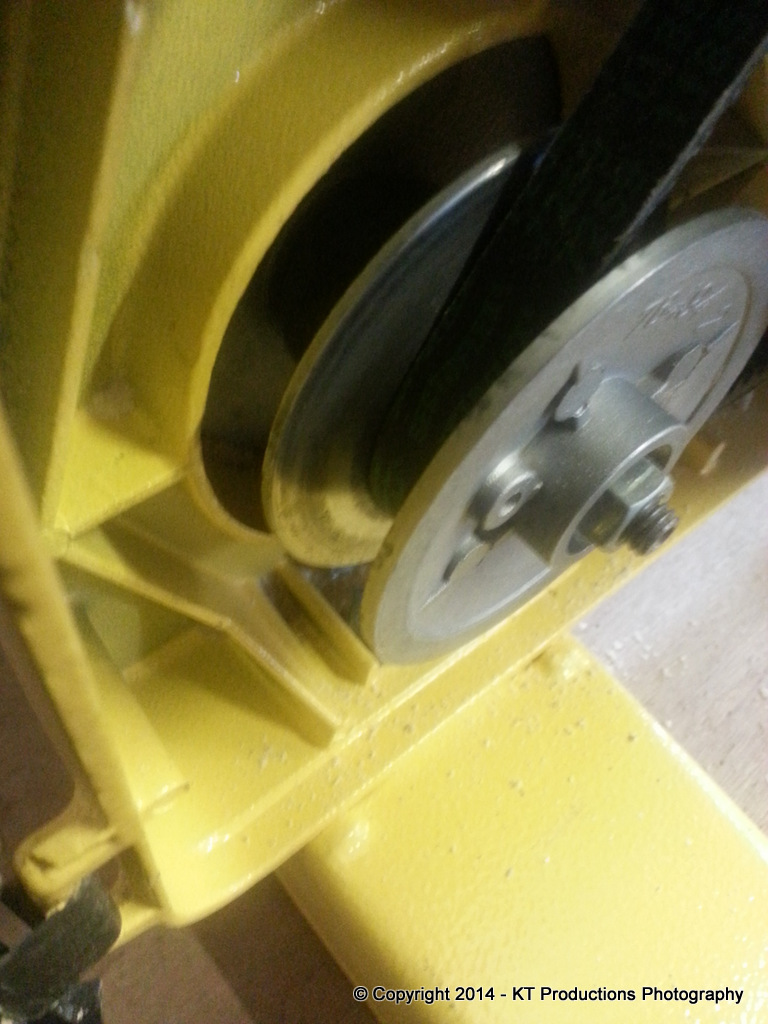
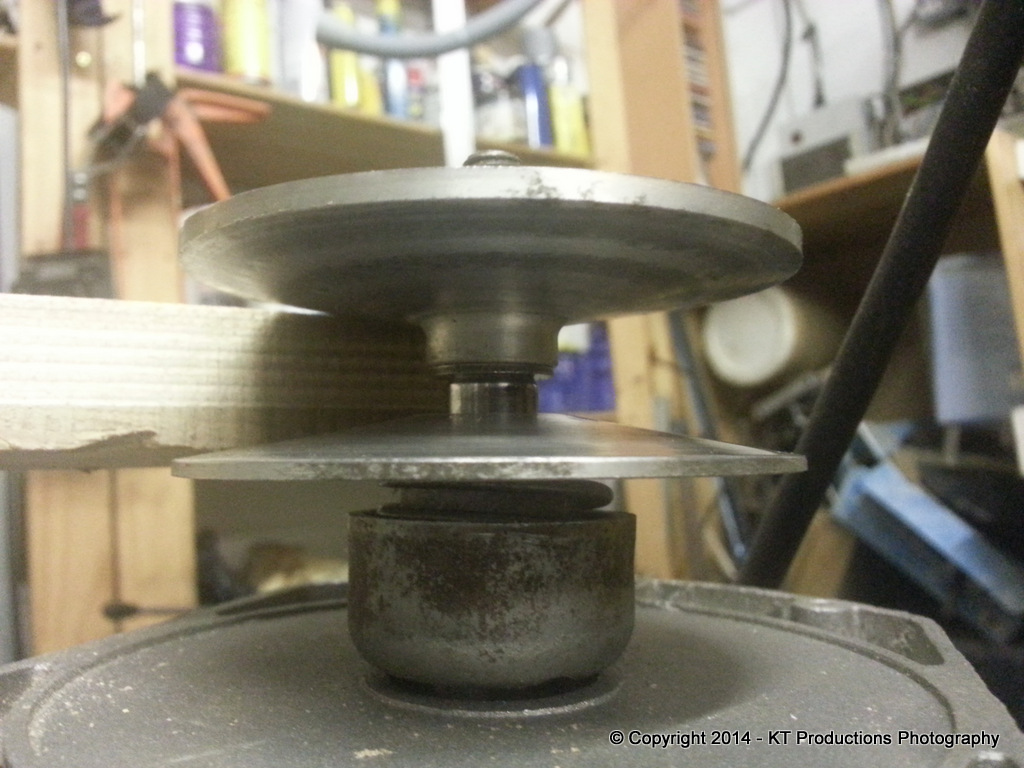
Similarly, I couldn't photograph testing the spring action so I put a bit of wood in it to take this picture:
As you can see...you should be able to push the inner half of the split pulley down against the spring and it should go down smoothly and parallel to the outer half.
I took the opportunity to put two drops of machine oil on the shaft before I inserted the inner pulley.
Again...the pictures aren't as clear as I would have liked but I hope this helps you somewhat.
Any questions, please do not hesitate to ask.
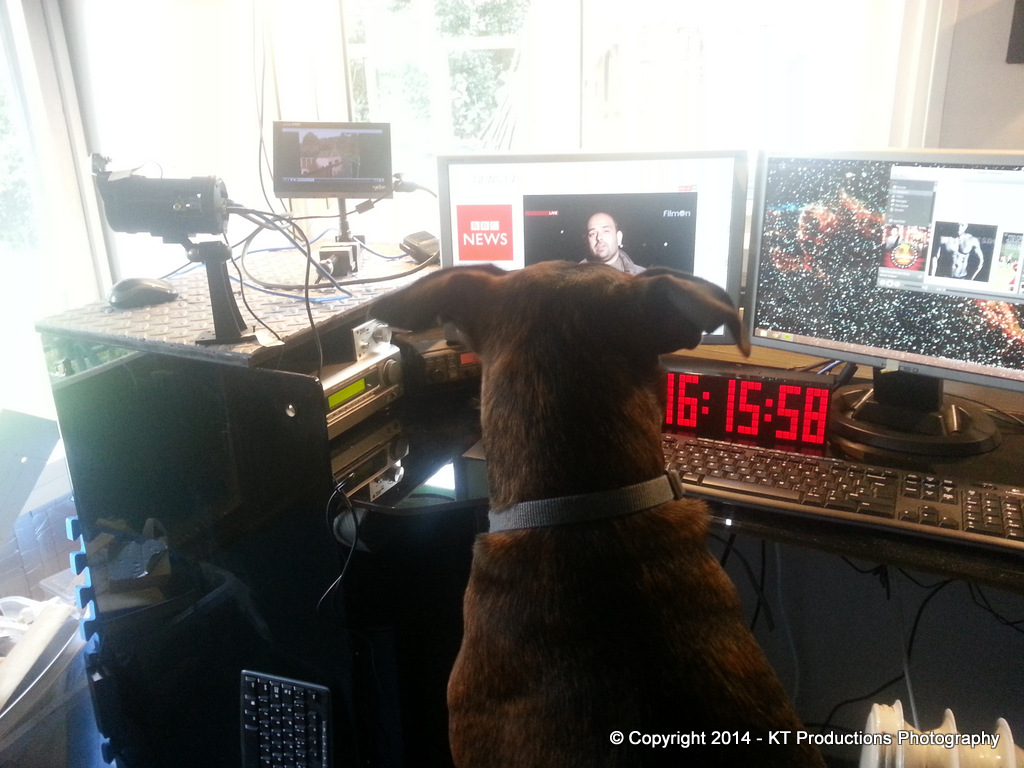
I did manage to get some help putting the CCTV in the observatory so that's probably how I managed to catch up...ALFIE helped me!!!
:mrgreen: :mrgreen: :mrgreen: :mrgreen:
Jimi


