


Derek Willis.
Established Member
Cutting tenons on the router table without a jig,
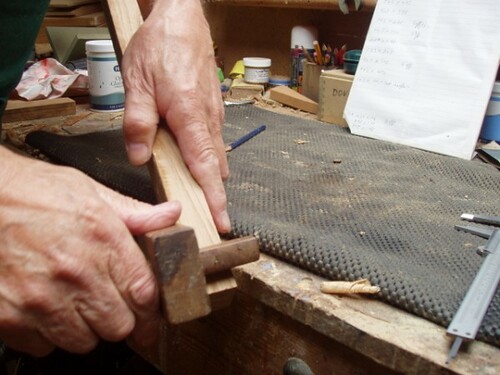
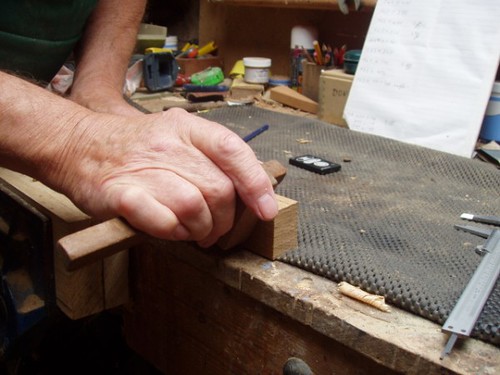
• Pictures 1 and 2 show tenon being marked out, in this instance, the timber is 27mm. and the tenon is to be 9mm.
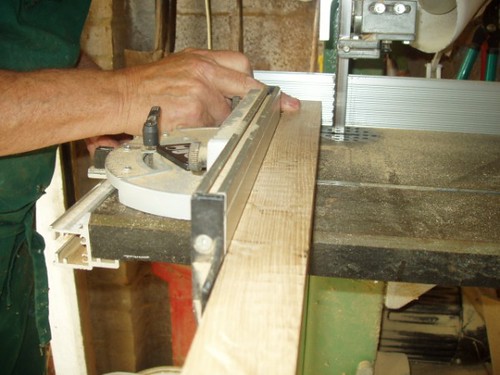
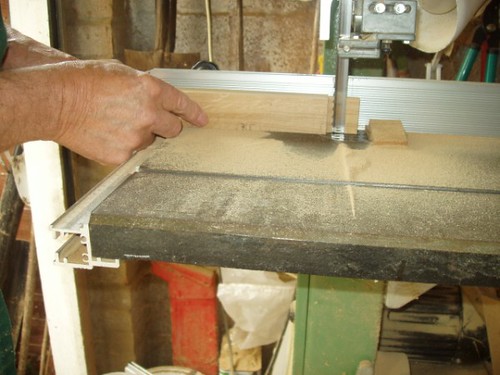
• Pictures 3 and 4 show the band saw fence being set to the shoulder of the tenon, cutting the face to stop breakout, not necessarily to the depth needed.
• Picture 5 shows the fence being set to almost the depth of cut needed to make the tenon
• And picture 6 shows the tenon being cut.
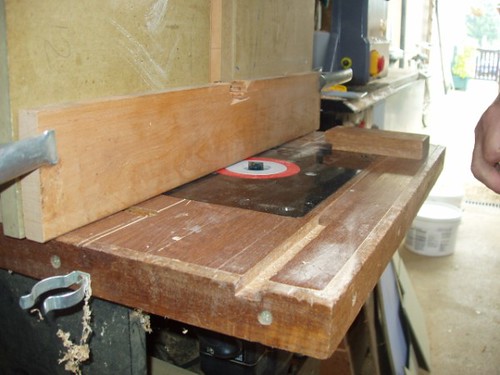
• Picture 7 shows a 25 mm straight cutter fitted to the router and a false continuous fence fitted.
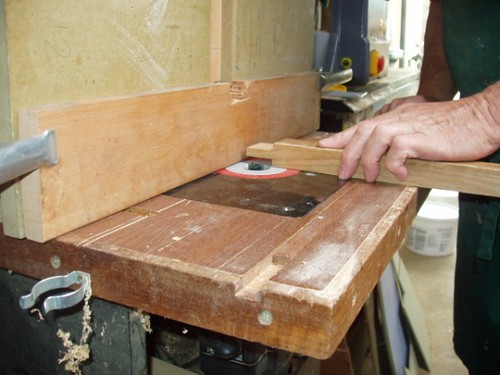
• Picture 8 shows the tenon being cut to its final size, by, “creeping up to the timber very slowly with the cutter until the correct size has been obtained”, this is done with the fine height adjuster.
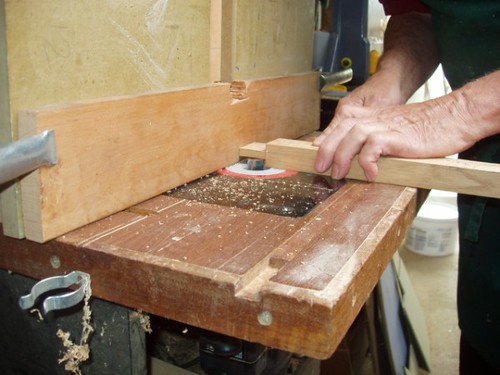
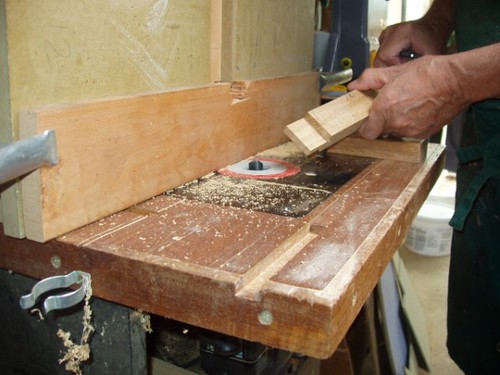
Picture 9 shows the final cut, and picture 10 shows the finished tenon.
Cut this way the tenon will always be dead central with no over cutting and no breakout.
Derek.


• Pictures 1 and 2 show tenon being marked out, in this instance, the timber is 27mm. and the tenon is to be 9mm.
• Pictures 3 and 4 show the band saw fence being set to the shoulder of the tenon, cutting the face to stop breakout, not necessarily to the depth needed.
• Picture 5 shows the fence being set to almost the depth of cut needed to make the tenon
• And picture 6 shows the tenon being cut.
• Picture 7 shows a 25 mm straight cutter fitted to the router and a false continuous fence fitted.
• Picture 8 shows the tenon being cut to its final size, by, “creeping up to the timber very slowly with the cutter until the correct size has been obtained”, this is done with the fine height adjuster.
Picture 9 shows the final cut, and picture 10 shows the finished tenon.
Cut this way the tenon will always be dead central with no over cutting and no breakout.
Derek.
")


