woodbloke
Established Member
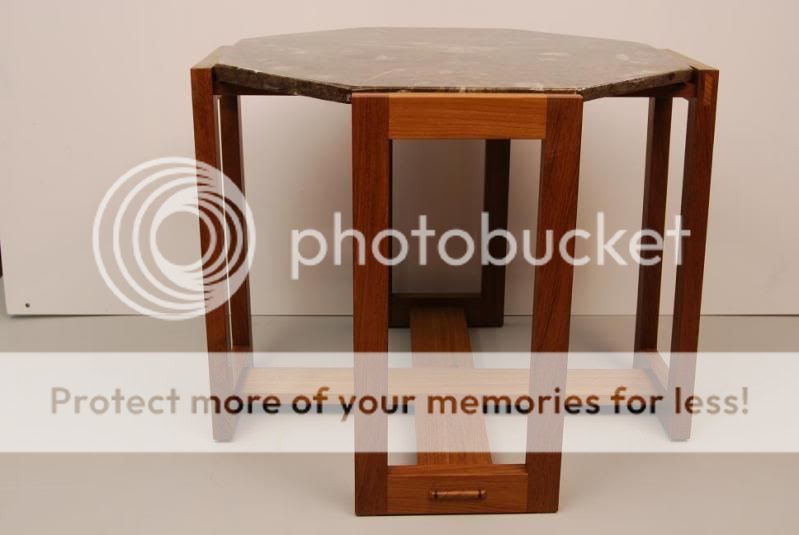
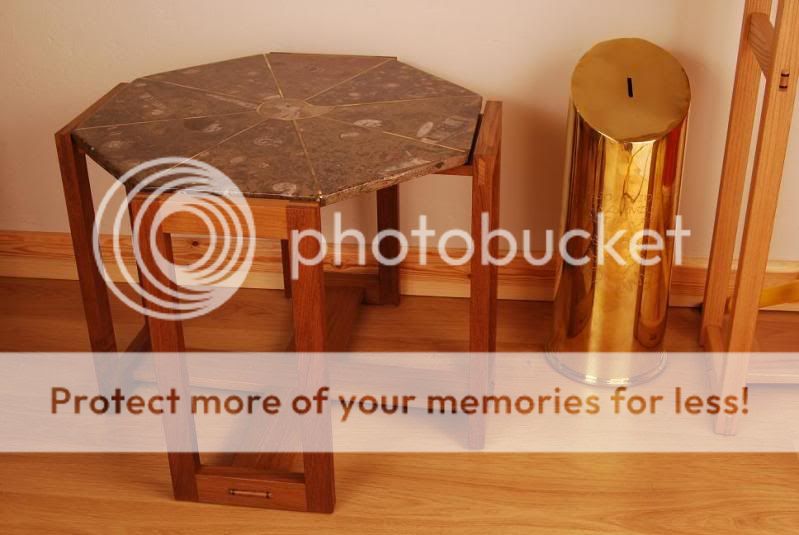
I'm underway with the fossil table (part deux  ) and have made some progress without even so much as a glance at the bandsaw. This is the offending top:

which if you have a look at the pic carefully, looks cheesed...that' 'cos it is as every side is a different dimension with distances accros flats also being dissimilar. Here's the cunning plan for the second version:

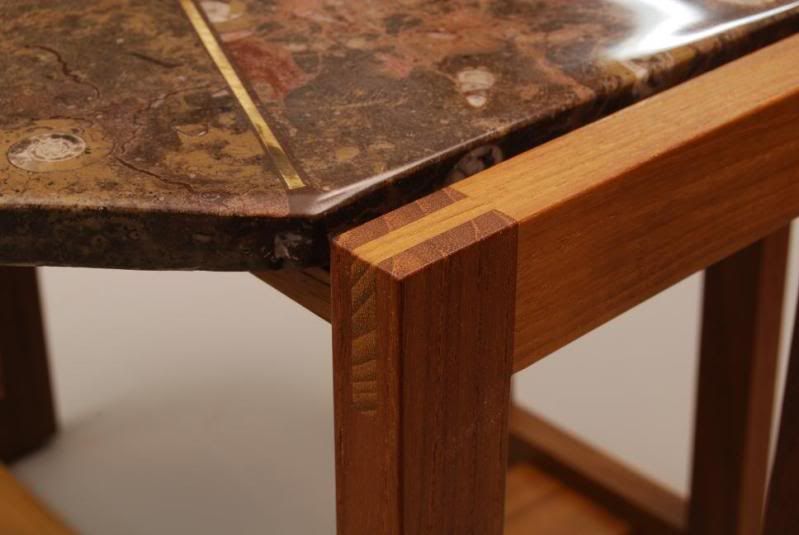
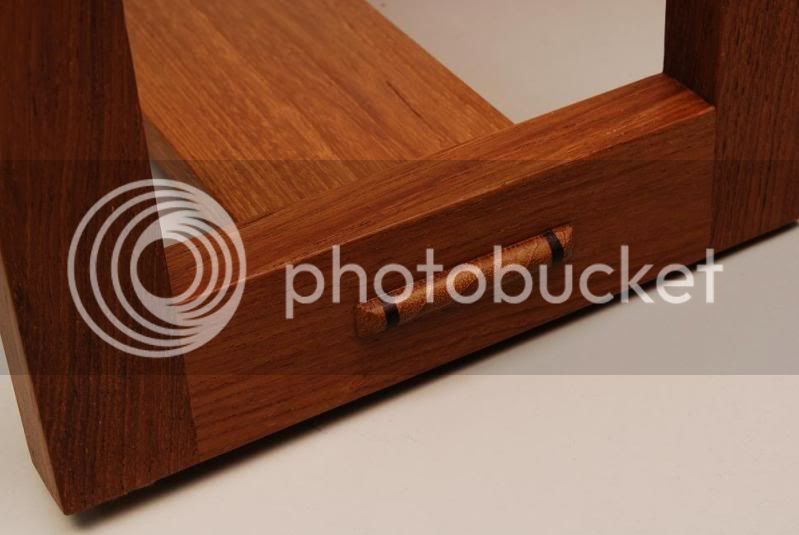
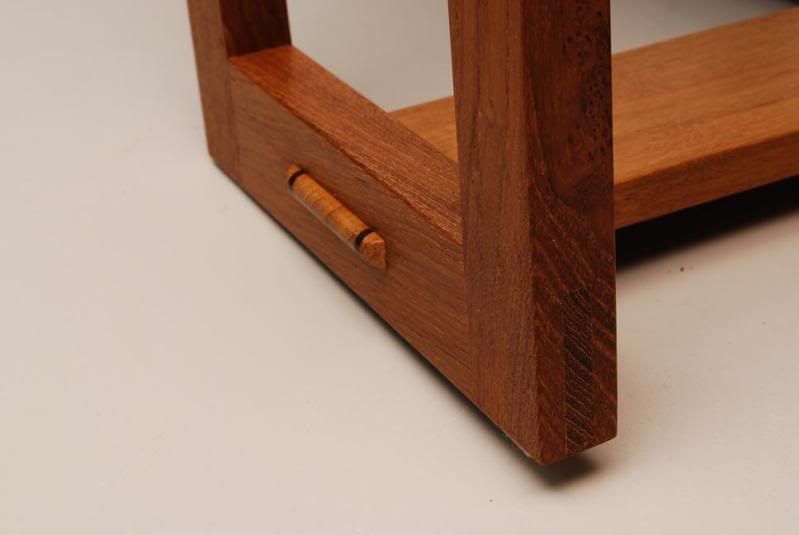
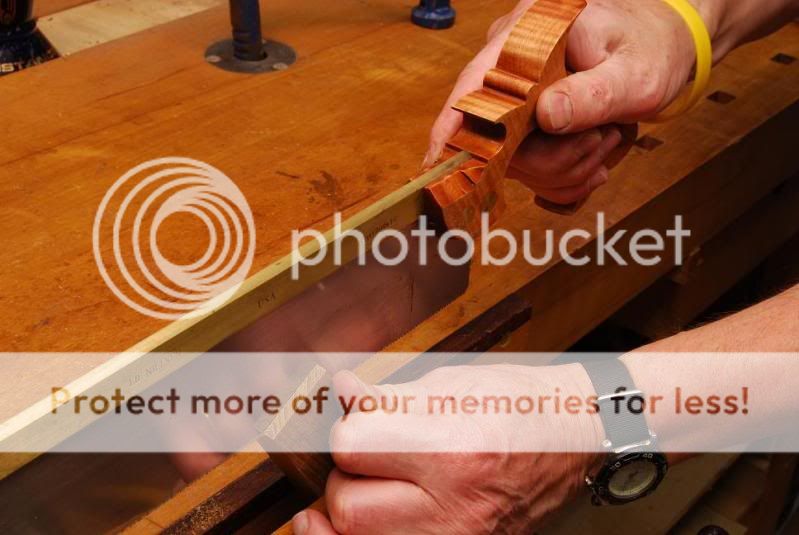
which is four rectangular frames in teak with a pair of wide 'crosses' at the top and bottom to support them. As you can see, all the angles for the two frames are something other than 90deg, which will make for an interesting making experience very soon 8-[ The solid line is the upper X and the lower dotted line in red is the lower X, the lower one will be jointed to the frames with raised and wedged mortise and tenons and the top will be biscuited in place. Jointing at the corners of each of the vertical frames will be by open bridle joints. All timber was prepped by hand:

and then each piece for the frames was shot in:
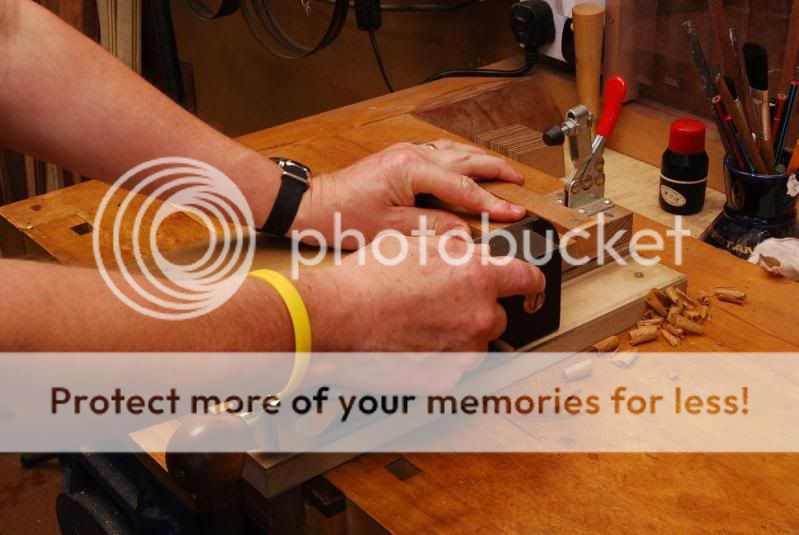
The joints were marked out and cut:
and the tenons were trimmed to fit on the router table:
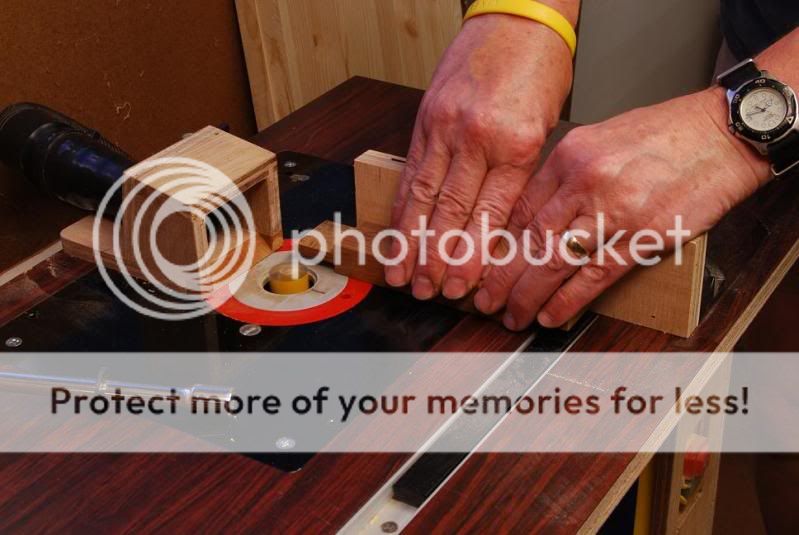
The through mortises were cut using the router:
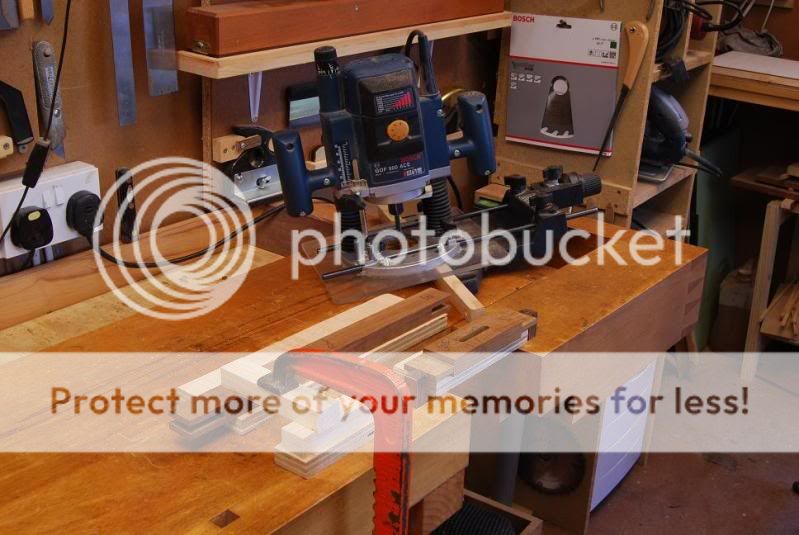
with a larger base. A parallel packing arrangement was built so that the router runs true and square, so need for a double fence which I've tried, but don't like...this way is more stable IMO and just as accurate.
The four frames is as far as I've got at present, I need to start on the two X's next, one of which will be veneered, so some 12mm ply needed and the other one (the lowest) will be in the solid with a halving joint - Rob

which if you have a look at the pic carefully, looks cheesed...that' 'cos it is as every side is a different dimension with distances accros flats also being dissimilar. Here's the cunning plan for the second version:

which is four rectangular frames in teak with a pair of wide 'crosses' at the top and bottom to support them. As you can see, all the angles for the two frames are something other than 90deg, which will make for an interesting making experience very soon 8-[ The solid line is the upper X and the lower dotted line in red is the lower X, the lower one will be jointed to the frames with raised and wedged mortise and tenons and the top will be biscuited in place. Jointing at the corners of each of the vertical frames will be by open bridle joints. All timber was prepped by hand:

and then each piece for the frames was shot in:

The joints were marked out and cut:

and the tenons were trimmed to fit on the router table:

The through mortises were cut using the router:

with a larger base. A parallel packing arrangement was built so that the router runs true and square, so need for a double fence which I've tried, but don't like...this way is more stable IMO and just as accurate.
The four frames is as far as I've got at present, I need to start on the two X's next, one of which will be veneered, so some 12mm ply needed and the other one (the lowest) will be in the solid with a halving joint - Rob


