Can you stand another workshop thread?

UKworkshop.co.uk

Help Support UKworkshop.co.uk:

This site may earn a commission from merchant affiliate links, including eBay, Amazon, and others.
Roger Sinden":2xo9znc3 said:
OllyK":2xo9znc3 said:
I'm doing what I can, in otherwords the electrics and plumbing as well as the joinery etc in the workshop,

I'm sure you're doing it right..just be careful when you come to sell the house ...unless you've got Building Control signing off the electrics.

Garage falls under Part P, my sparky will be installing the MCB in the garage and hooking up the armour cable, at that time he'll check over what I have done and sign that off under Part P as well. He advised on the required cable for each of the circuits and supplied it.

You also mention plumbing. Have you got drainage as well? Reason for the comment is that around our way, Building and Planning give that a big no-no as they think we'll convert the workshop/garage to a granny-flat. As if!

Drainage was originally planned as a soak away, however, we've spoken to the planning officer and we will be building an underground storgage tank so the rain water from the garage and run off from the drive is collected and can be used for watering the veggies.

Great thread and a super build. I'm envious of solid walls. My walls are all stud partition around an oak frame...trying to find fixing points is entertaining.

I've sort of created myself the same problem by putting up studding internally to allow me to insulate as the walls are only single thickness with pillars. However, I have planned where units etc will be going and have put noggins in suitable places, it can take my weight climbing about over it, so it should cope with a few cupboards :D . 9mm ply over it all means I can stick hooks pretty much anywhere for hanging stuff!
 
If you've not yet covered your studding, why not take digital photo's of where they are. Then choose a series of reference points inside (that will be accessible when you've finished) and then mark up the photo's with the distance of the studding from a reference point.
 
Roger Sinden":17xssnda said:
If you've not yet covered your studding, why not take digital photo's of where they are. Then choose a series of reference points inside (that will be accessible when you've finished) and then mark up the photo's with the distance of the studding from a reference point.

See photos earlier in the thread - however the screws holding the ply on to the studding will be a bit of a give away as to where the studs are! :D
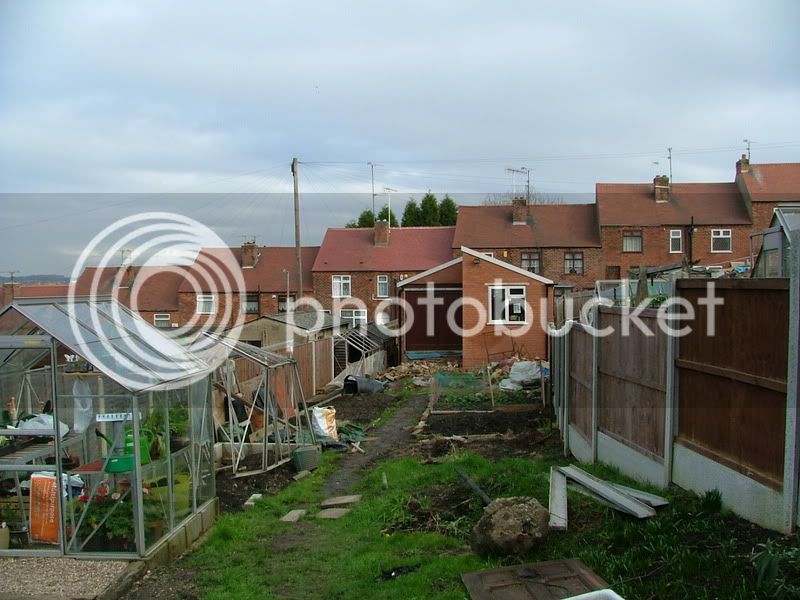
 
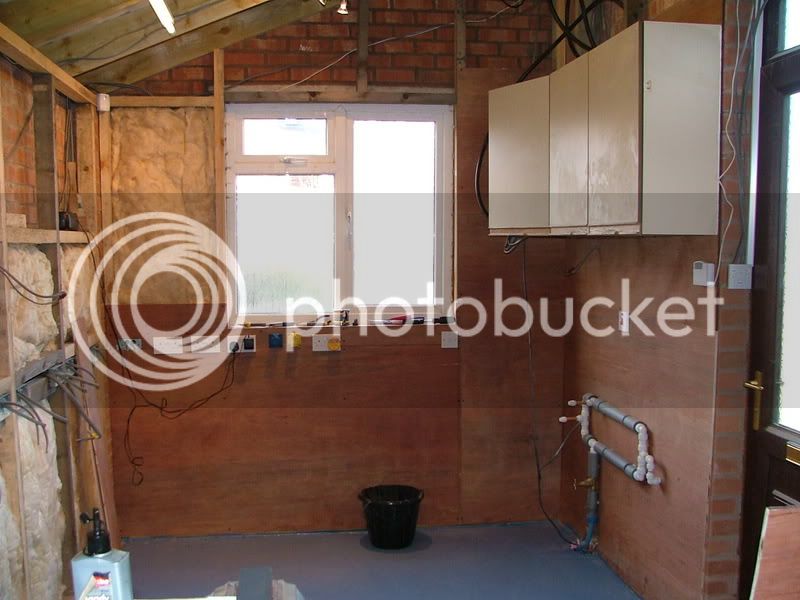
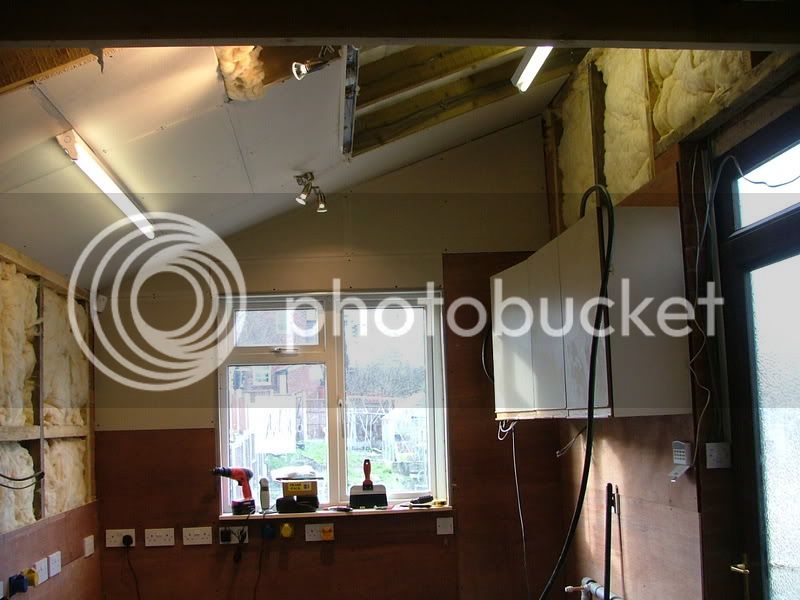
Well done a bit more today - wall units up
DSCF1232.jpg


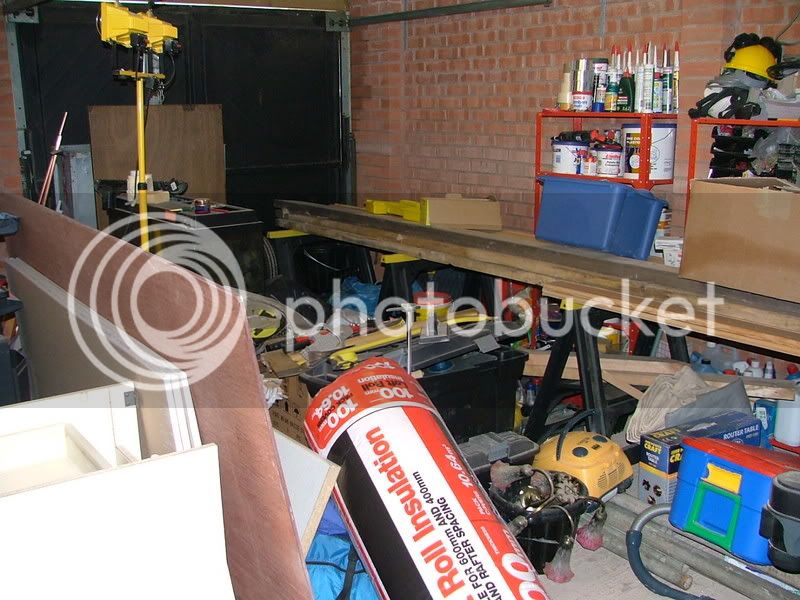
The rest of the garage in disarray!
DSCF1233.jpg


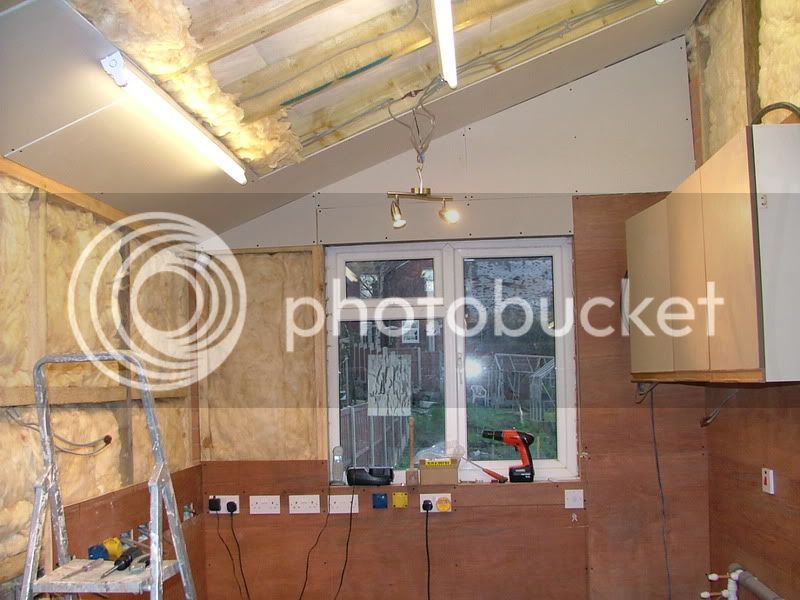
and finally all the insulation in and some more of the dry walling and ply up
DSCF1247.jpg
 
Roger Sinden":1owakj7u said:
Building and Planning give that a big no-no as they think we'll convert the workshop/garage to a granny-flat. As if!


I really don't understand the beaurocratic mindset of the planners. Would they rather that we we all put our grannies in residential homes at public expense?

I think that we should all be encouraged to build granny flats in our gardens.

And workshops! :lol:

Cheers
Brad
 
Olly

What did you use for insulation? I'm at the stage now when I need to purchase some for my workshop but havn't settled on a product yet
 
Time for a couple more pics. It's all a bit piecemeal at the moment as I can drywall the ceiling without some assistance and helping hands have been rather intermittent over the weekend!

We'll start with an external view looking down the garden
DSCF1250.jpg


The window wall is now pretty much complete. A few more sockets have been wired in on the left hand side.
DSCF1247.jpg


The ceiling plasterboarding continues, oh how I love fiddling around with drywall with lights dangling :rolleyes:
DSCF1253.jpg


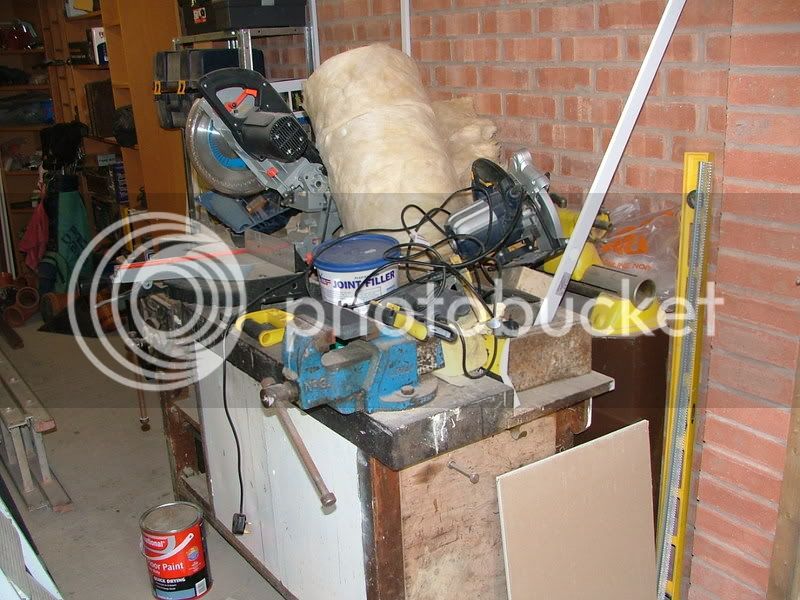
What do you mean my workbench is in a mess? There's a Myford ML8 wood lathe under that lot somewhere!
DSCF1254.jpg
 
ByronBlack":3qa4vhaq said:
Olly

What did you use for insulation? I'm at the stage now when I need to purchase some for my workshop but havn't settled on a product yet

It's 100mm fibreglass roll from Wickes. About the cheapest stuff I could find, but not a lot of fun to handle. You can see it in the foreground of the picture below. 3 rolls has done the lot

DSCF1233.jpg
 
OllyK

I notice that your insulation installation doesn't have a plastic vapour barrier between the insulation and the sheet goods. Is that standard in England? Here we always put one up to keep the insulation dry.
 
Inspector":3lg358gh said:
OllyK

I notice that your insulation installation doesn't have a plastic vapour barrier between the insulation and the sheet goods. Is that standard in England? Here we always put one up to keep the insulation dry.

It would be normal practise in a dwelling to use a vapour barrier and I have also used one in my workshop just in case but it really depend on was moisture sources that are anticipated by the owner.

Bob
 
Inspector":23fn5rl6 said:
OllyK

I notice that your insulation installation doesn't have a plastic vapour barrier between the insulation and the sheet goods. Is that standard in England? Here we always put one up to keep the insulation dry.

At the end of the day, this is a garage and there are no permenant sources of heat in it. I do have portable heater which will be used if it's really cold in the workshop, but to be honest the ventilation is such through the garage that I'm not too concerned about condensation. Add to that the number of holes through the wood and hence in to any vapour barrier behind and it pretty much renders it a waster of time!
 
Ollyk great job with the pics and stuff.

I just had a question. I am going to bite the bullet and build my own porch soon (never having laid a single brick in my life...). I am going to go for a basic leanto roof which fixes on to the main wall. I was just wondering about a couple of thing.

what did the builder of your garage do with the trangle sections which are left by the end brick of each course when you give the angle on the brick side walls? is there any venting in the roof? how is the roof exactly fixed onto the bricks?? also its looks like just a flat roof, is this correct or will you have slates later on? sorry if the questions sound stupid, in my quest for DIY challenges this will be the first time I will venture outside of the house...

If you can post some close up pics of the roof to go with your explanation that would help.

cheers
 
hajsaftar":1pexg38i said:
what did the builder of your garage do with the trangle sections which are left by the end brick of each course when you give the angle on the brick side walls?

The bricks are cut at an angle to follow that of the rafters. The exterior is then covered with a barge board.

is there any venting in the roof?

No, we used Tyvek roofing felt which is breathable and is supposed to negate the need for additional ventilation - seems to work, we have the same stuff on the house.

how is the roof exactly fixed onto the bricks??

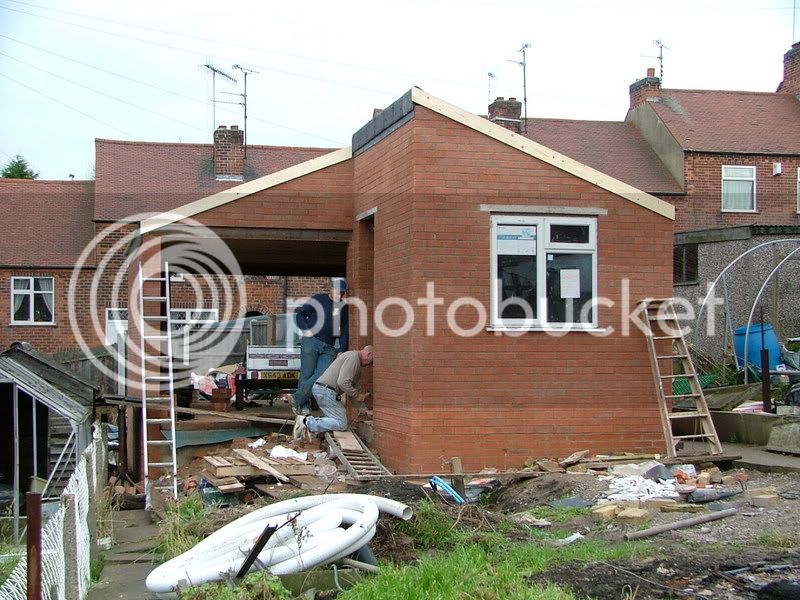
The roof is a little complex, if you look at the picture below it may be easier to follow my comments:
DSCF0873.jpg


The main part of the garage is a traditional pitch roof and was formed with premade rafters. The tops of the walls have wooden wall plates on then and then metal straps holding them on to the walls. The rafters sit on the wall plate and then are connected together with batons.

The workshop end is a half pitch and constructed with rafter going directly from the top of the lower wall to the higher one, again on wall plates, hence the open higher space in the workshop.

also its looks like just a flat roof, is this correct or will you have slates later on?

It's pitched and the roof is slated, well synthetic slates anyway.

sorry if the questions sound stupid, in my quest for DIY challenges this will be the first time I will venture outside of the house...

If you can post some close up pics of the roof to go with your explanation that would help.

cheers

I'll see if I can sort some better pics out, but it could be a while as I am away this weekend.
 
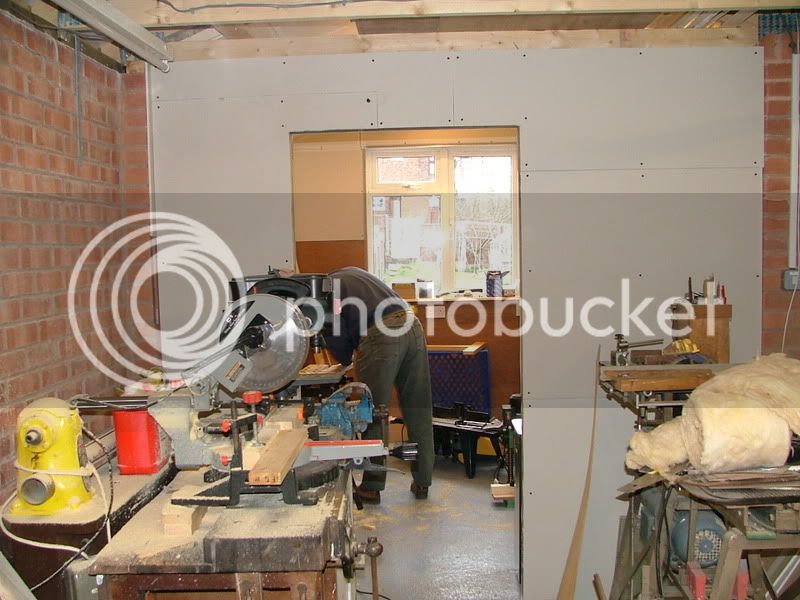
Well folks, I've done a bit more. There is now a partition between the garage and the workshop. Wide enough to get the table saw through if I need to, and deisgned to allow the SCMS to operate with long lengths through the door! SCMS will be the other side of the parition in due course!
DSCF1264.jpg


A sliding door will be fitted, self made, with one of these in due course.

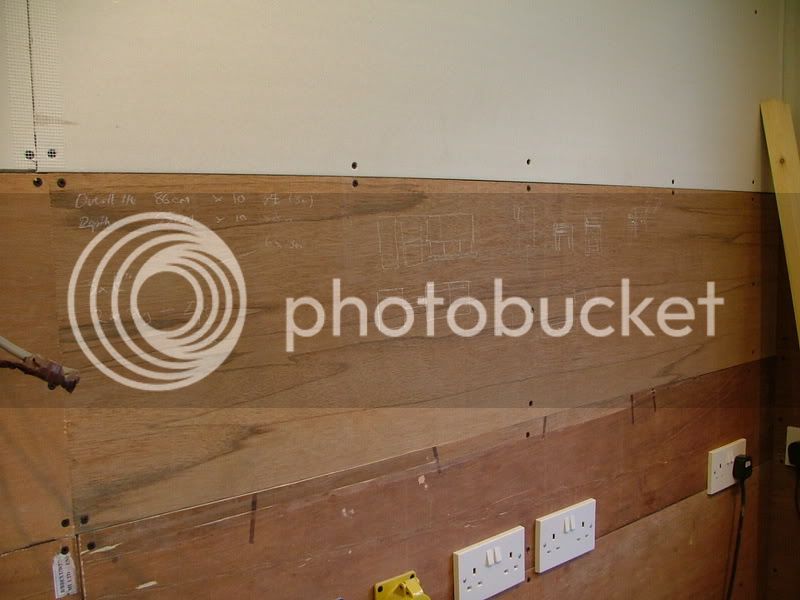
That's the old man working hard there sorting out the tenons I plowed with the SCMS with the depth set. What are the tenons for you ask? The work bench of course. It's not quite Sketch up, but ply and chalk works wonders.

DSCF1269.jpg


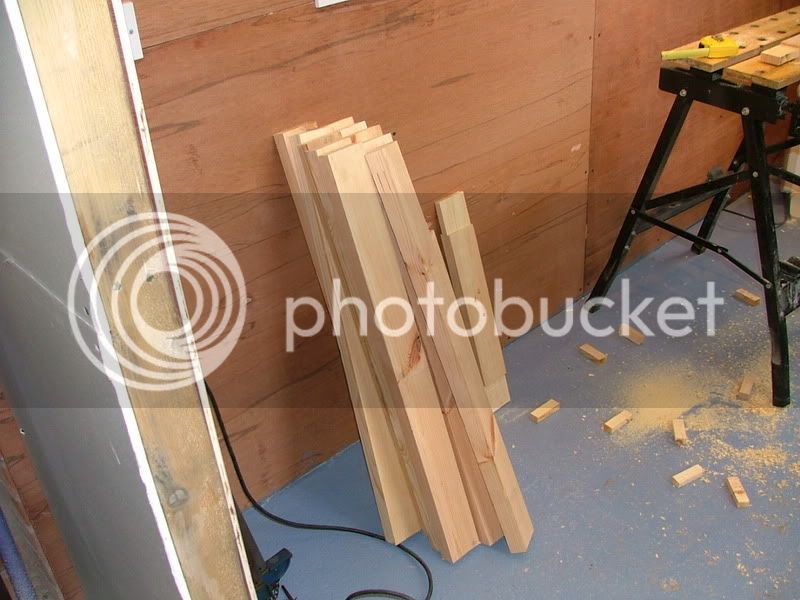
And finally the stock for the panels that will make up the bench. I have a cunning plan for some support for long lengths for the SCMS which I'll show in due course! The panels between the rails and styles will be 9mm ply, same as the walls!

DSCF1266.jpg
 
Its coming along quite nicely. Remember where the sliding door will go is a dead area of wall space, so if you cover it with a false wall you will get your hanging space back.
 
Shultzy":u57pvt1k said:
Its coming along quite nicely. Remember where the sliding door will go is a dead area of wall space, so if you cover it with a false wall you will get your hanging space back.

Sure, but the door will be on the garage side rather than the workshop side, so I'm not too worried about it.
 

Latest posts

Back
Top